Monster Halloween Oreo Balls
You will love this recipe for Monster Halloween Oreo Balls if you want cute, spooky treats without spending all day in the kitchen. These bite-sized monster truffles are simple to make and look adorable on a dessert table. With no baking, minimal dishes, and fun Halloween colors, they are perfect for parties, bake sales, or a cozy scary-movie night at home.
Jump to Recipe

Ingredients for Monster Halloween Oreo Balls
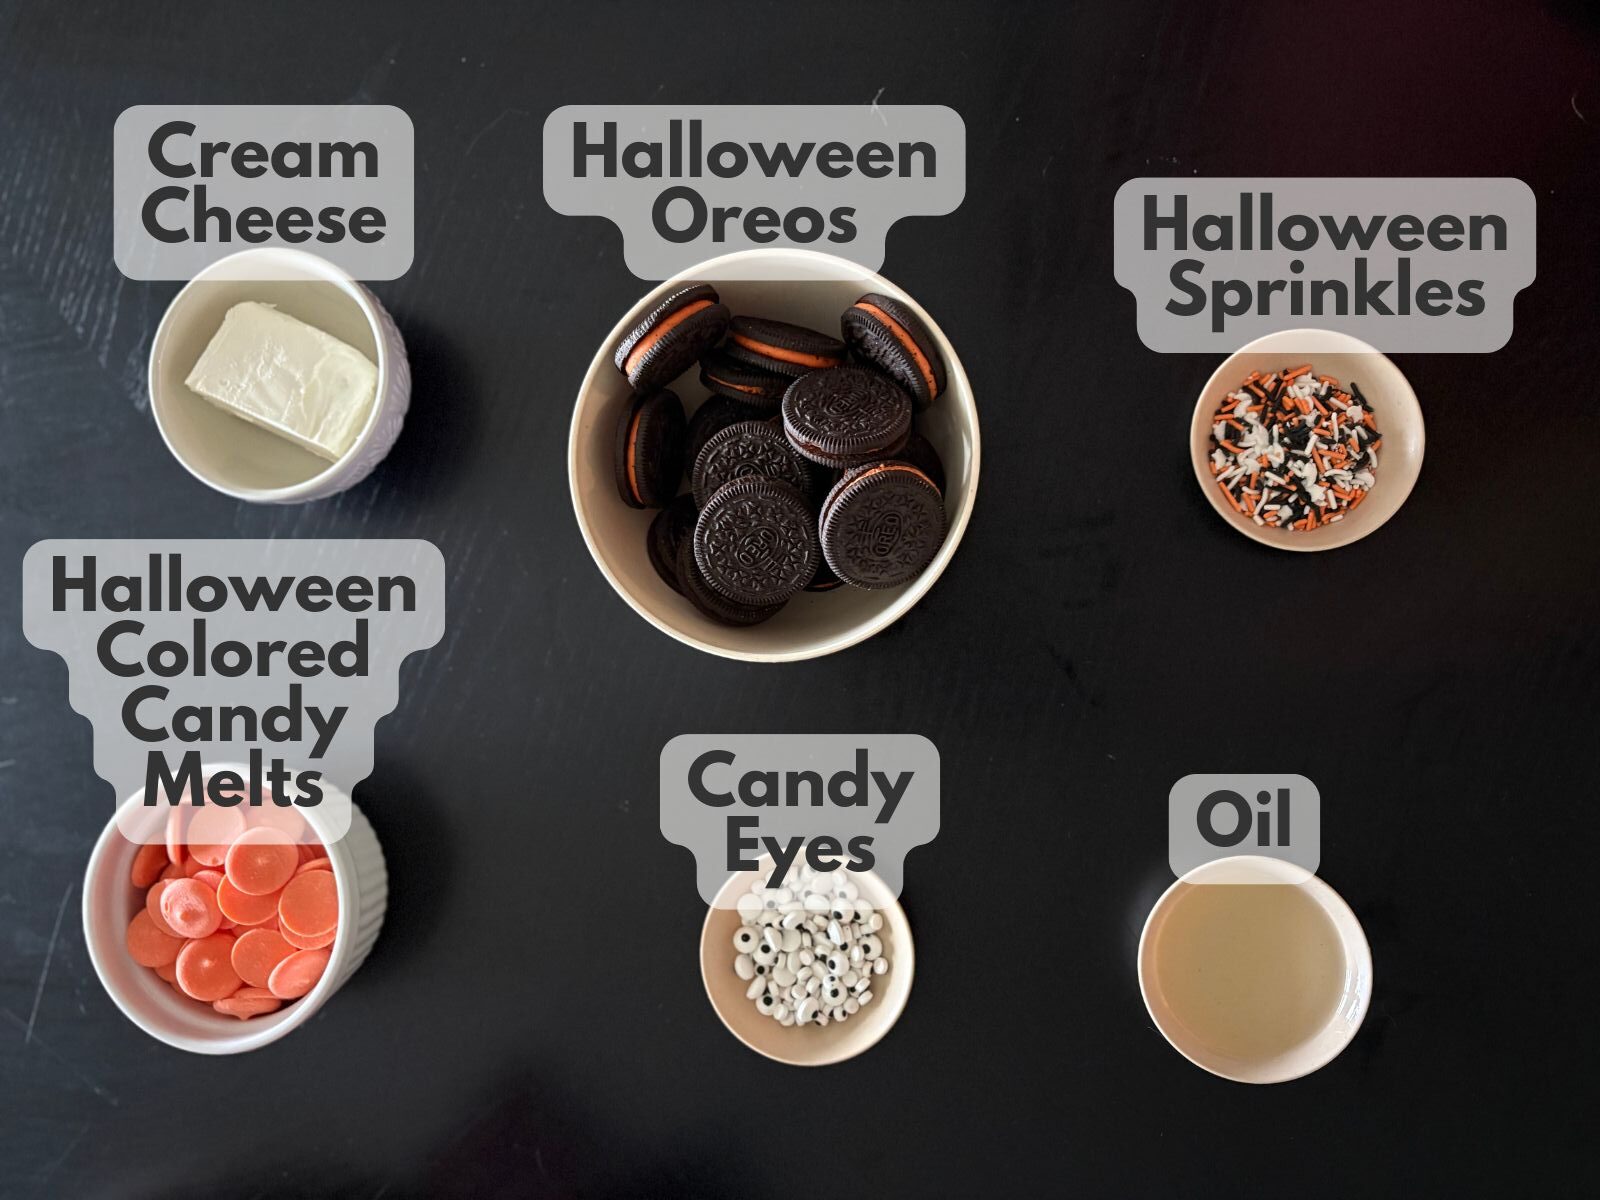
- 18 Halloween Oreos (or regular Double Stuf Oreos)
- 2 ounces cream cheese; softened to room temperature
- 12 ounces candy melts in Halloween colors (orange, green, purple, black, etc)
- 2 to 3 teaspoons neutral oil (vegetable, canola, or melted coconut oil)
- Candy eyeballs (various sizes if possible)
- Halloween sprinkles (optional, for extra texture and color)
How to Make Monster Halloween Oreo Balls
1. Line a baking sheet or large plate with parchment paper or wax paper. This will keep the Oreo balls from sticking and make cleanup easy.
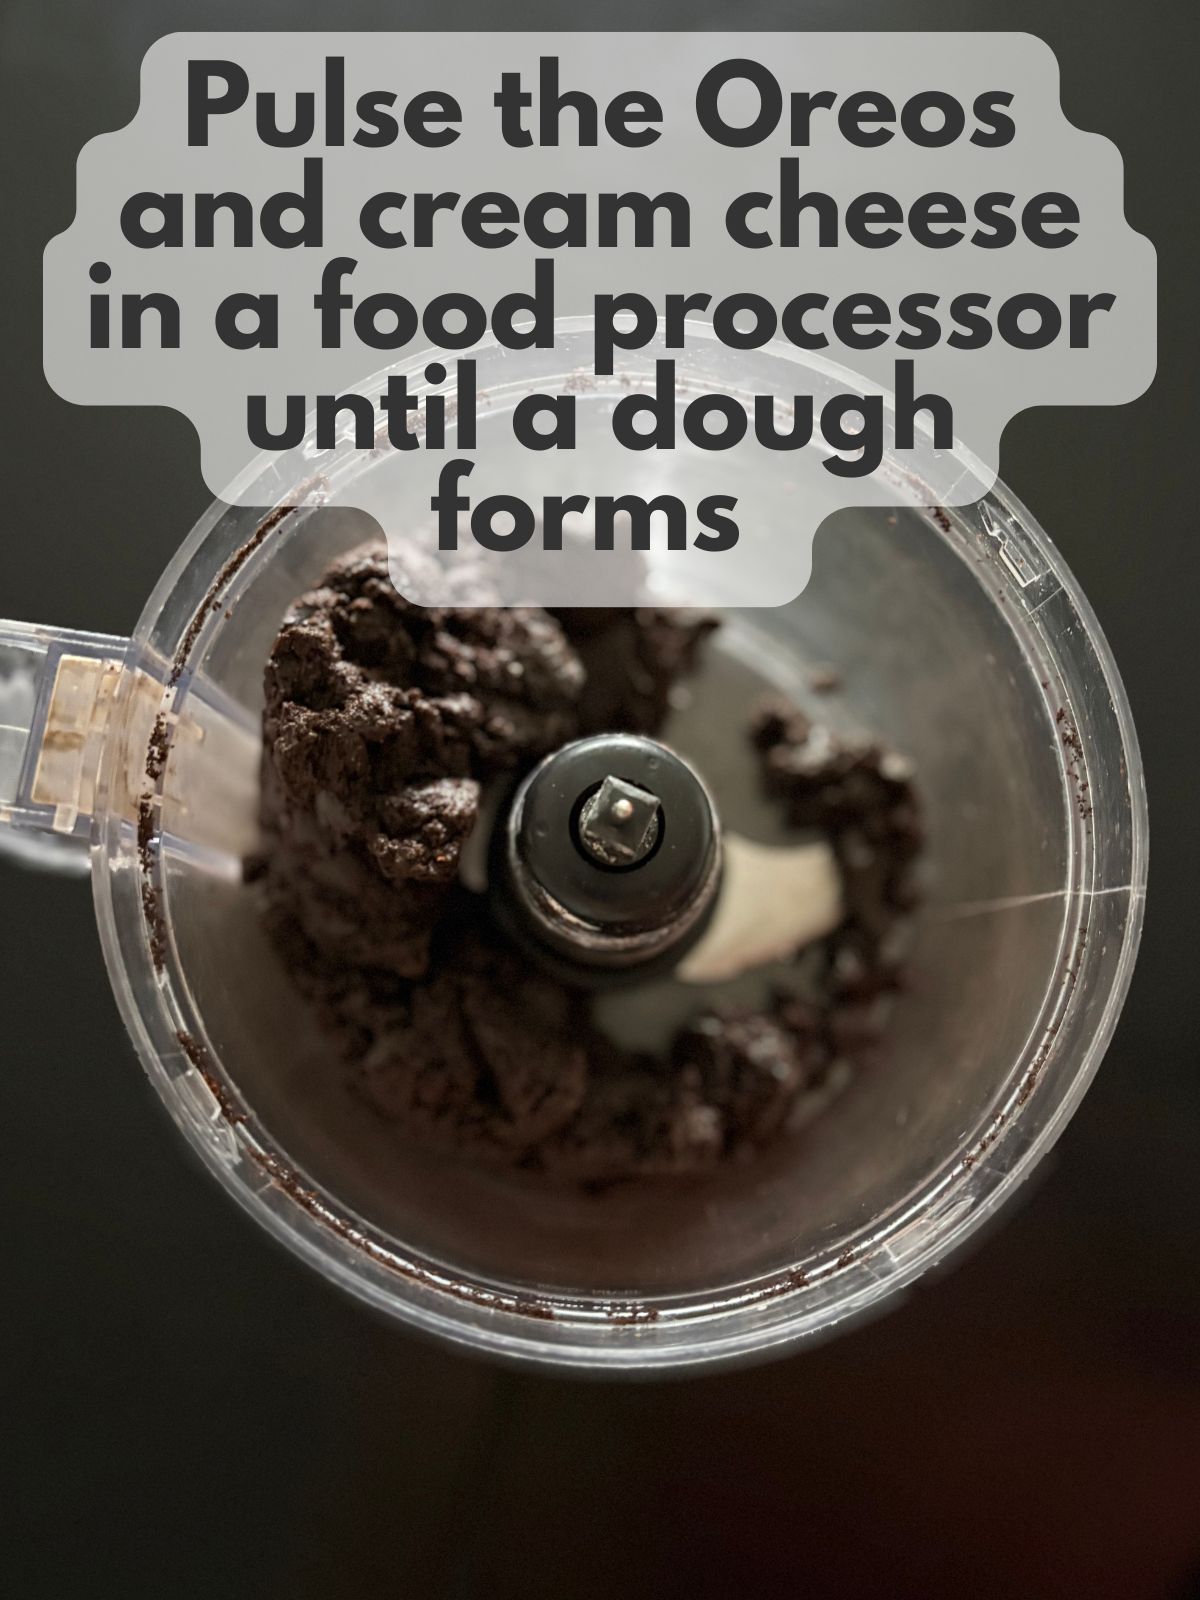
2. Add the Halloween Oreos and softened cream cheese to a food processor. Pulse until the mixture turns into a thick, sticky dough and no big cookie pieces remain. Scrape down the sides if needed.
If you do not have a food processor, you can crush Oreos in a zip-top bag with a rolling pin and then mix with cream cheese in a bowl until well combined.
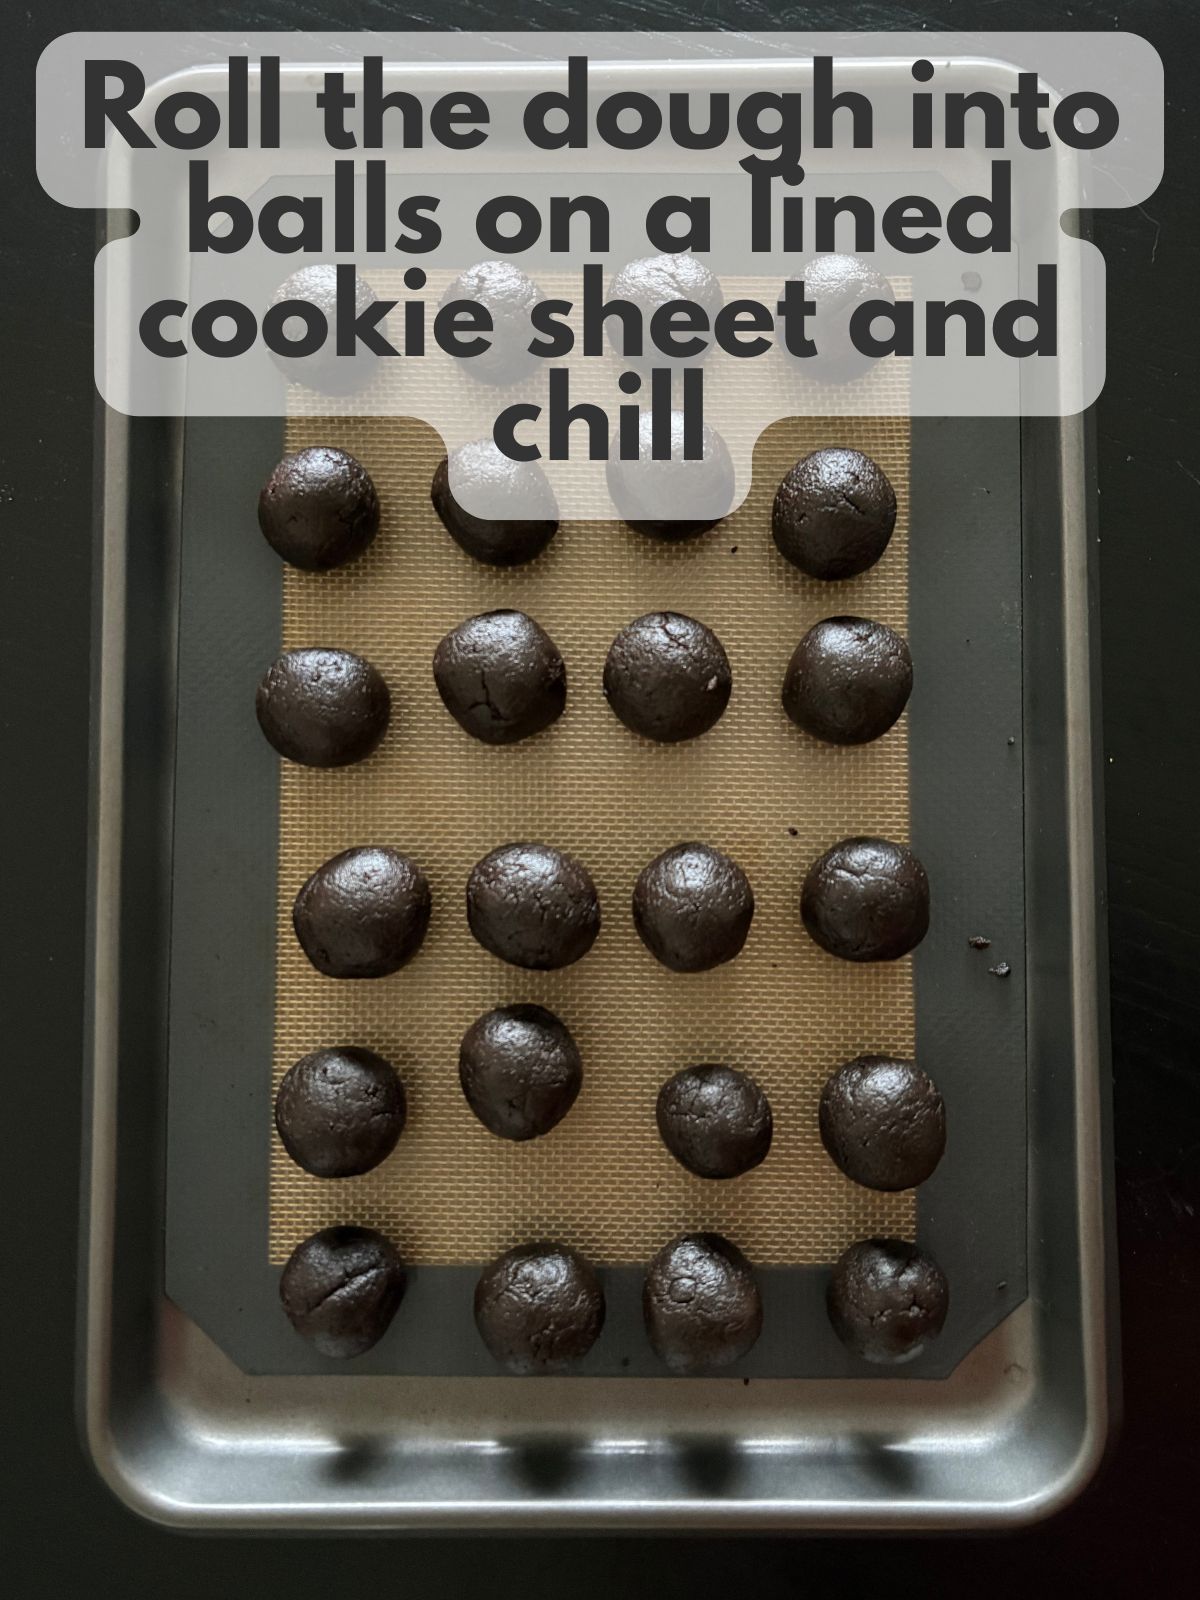
3. Roll the dough between your palms to form smooth balls. Place the balls on your lined baking sheet, spacing them slightly apart.
4. Place the tray in the refrigerator for 20 to 30 minutes until the Oreo balls are firm to the touch. If you are in a rush, you can chill them in the freezer for about 10 to 15 minutes instead.
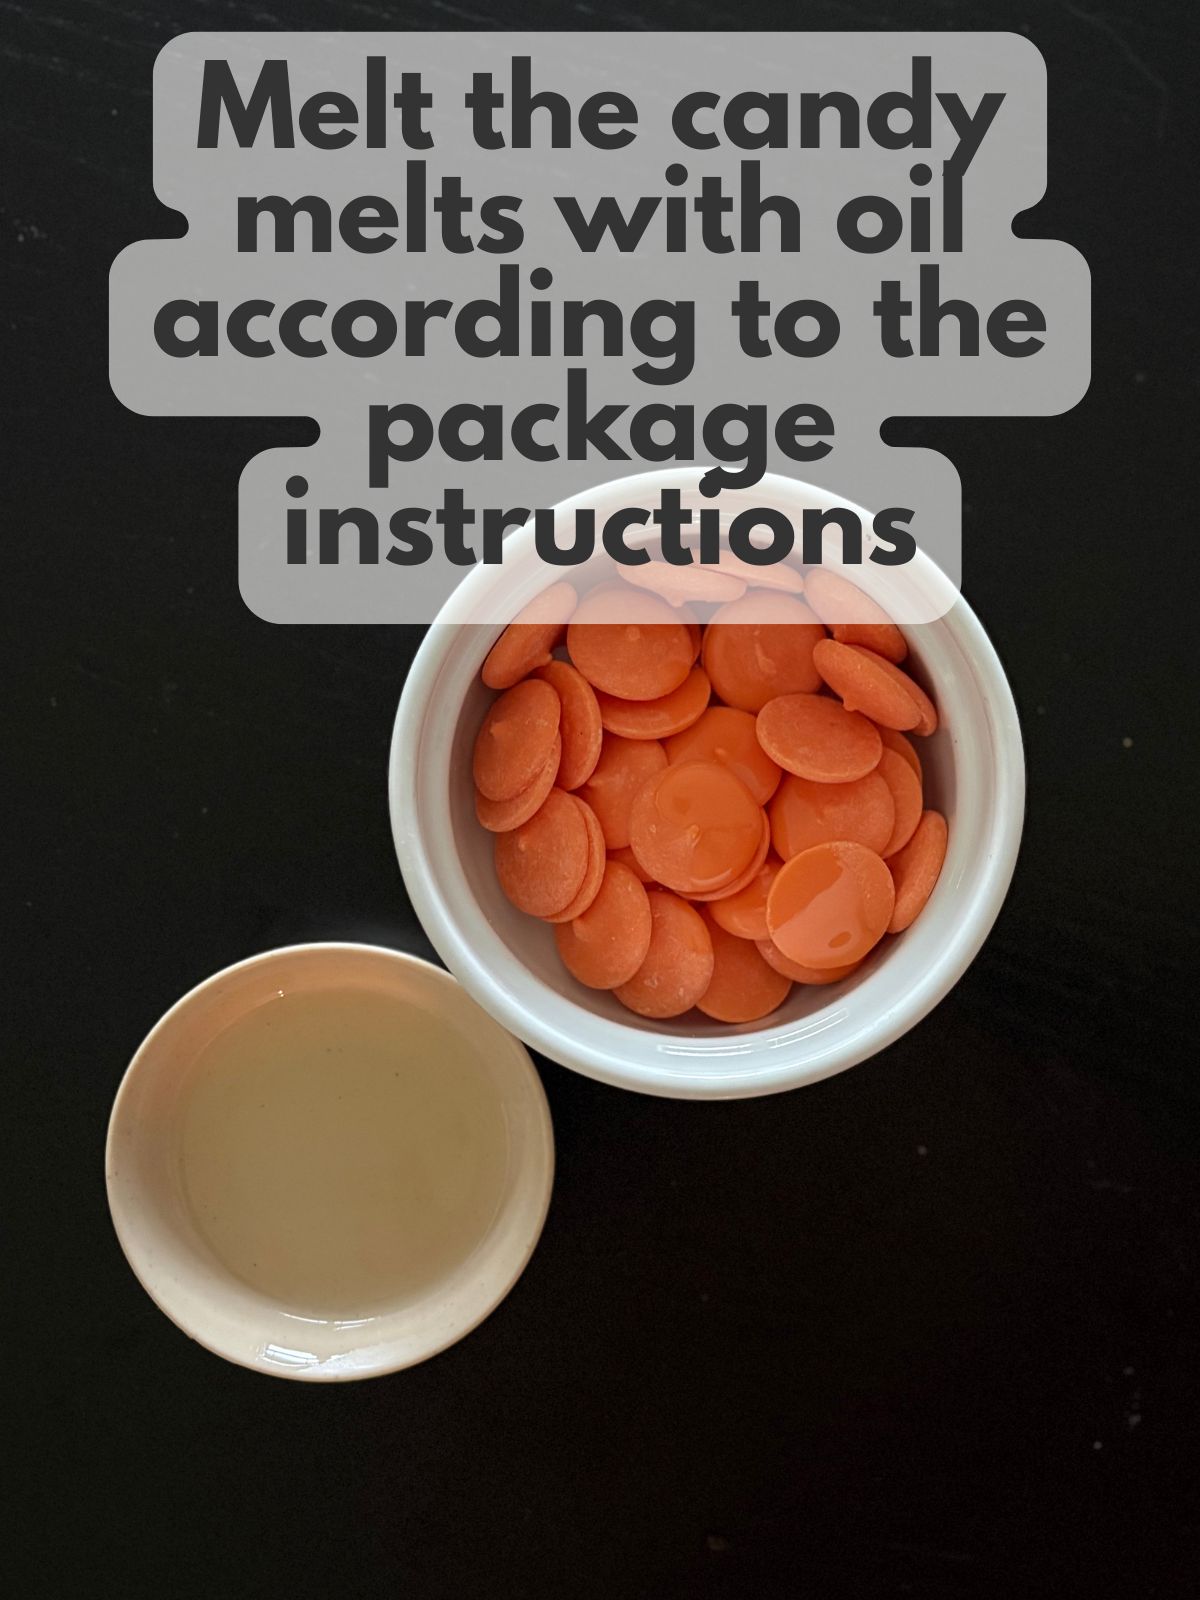
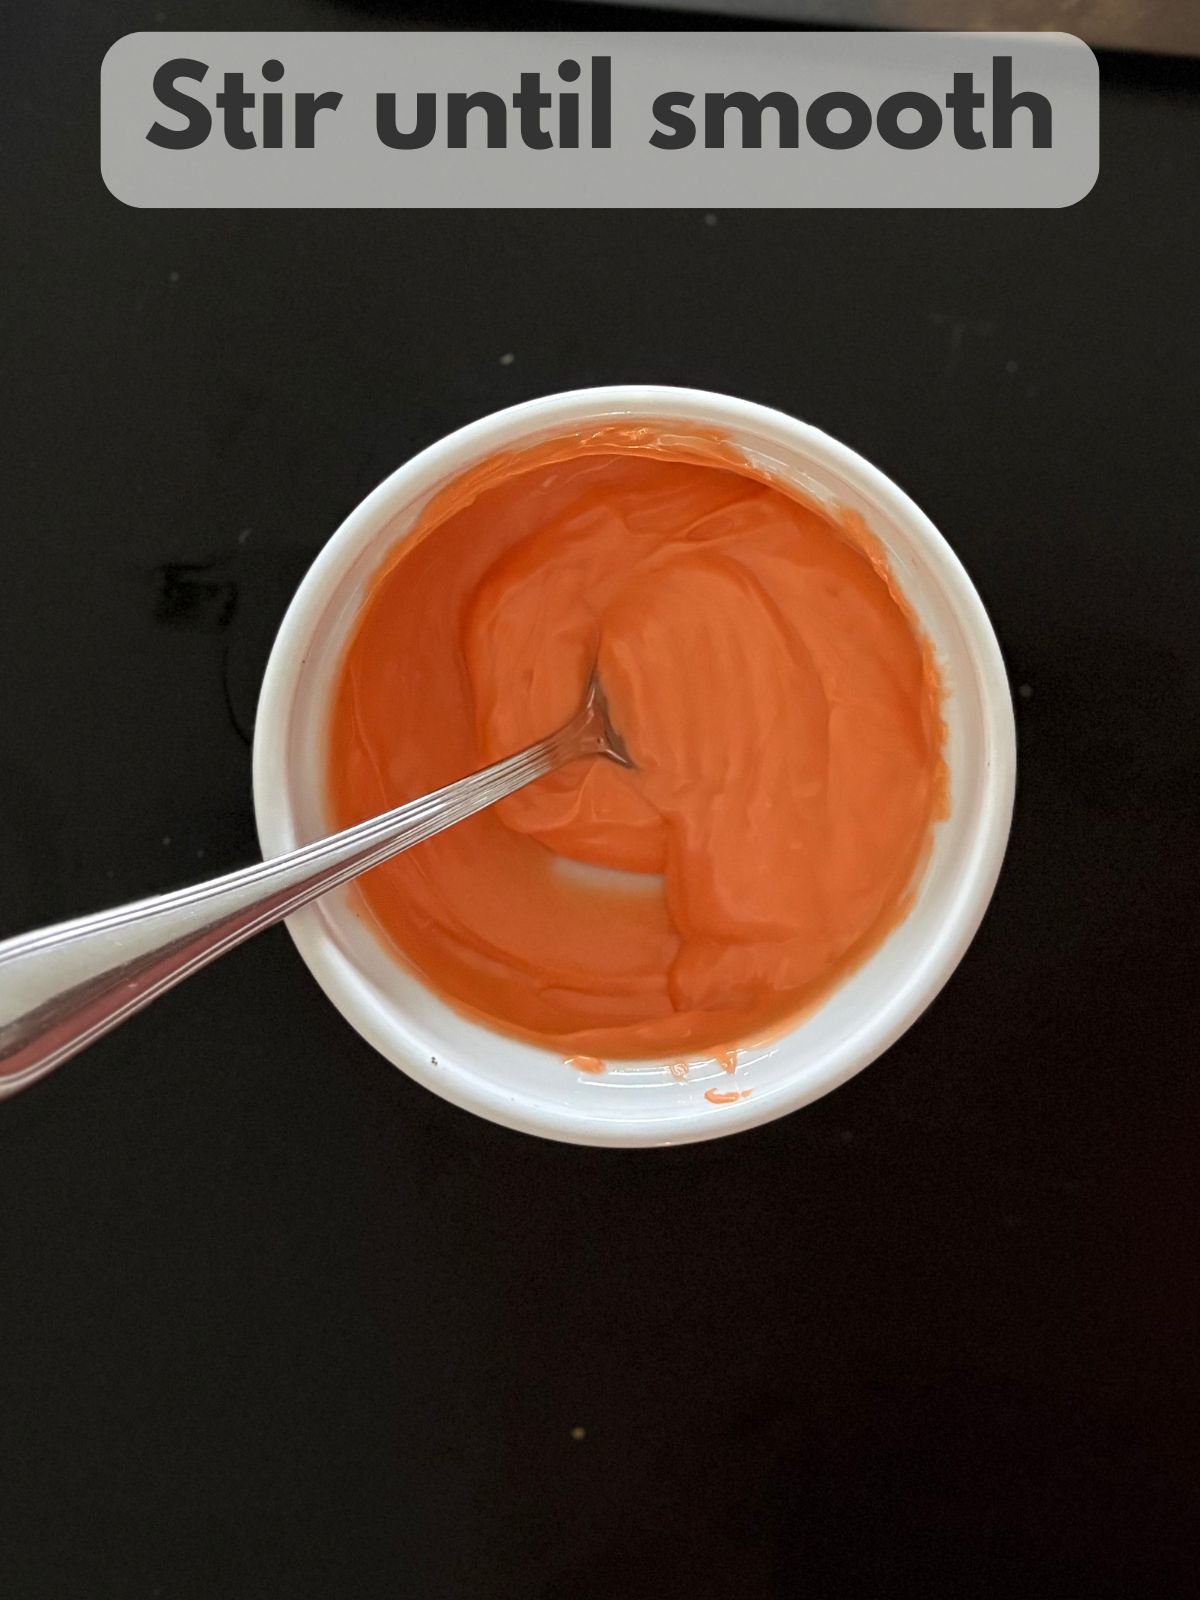
5. Add your Halloween-colored candy melts to a microwave-safe bowl with a bit of oil. Melt according to the package instructions. Stir until everything is smooth.
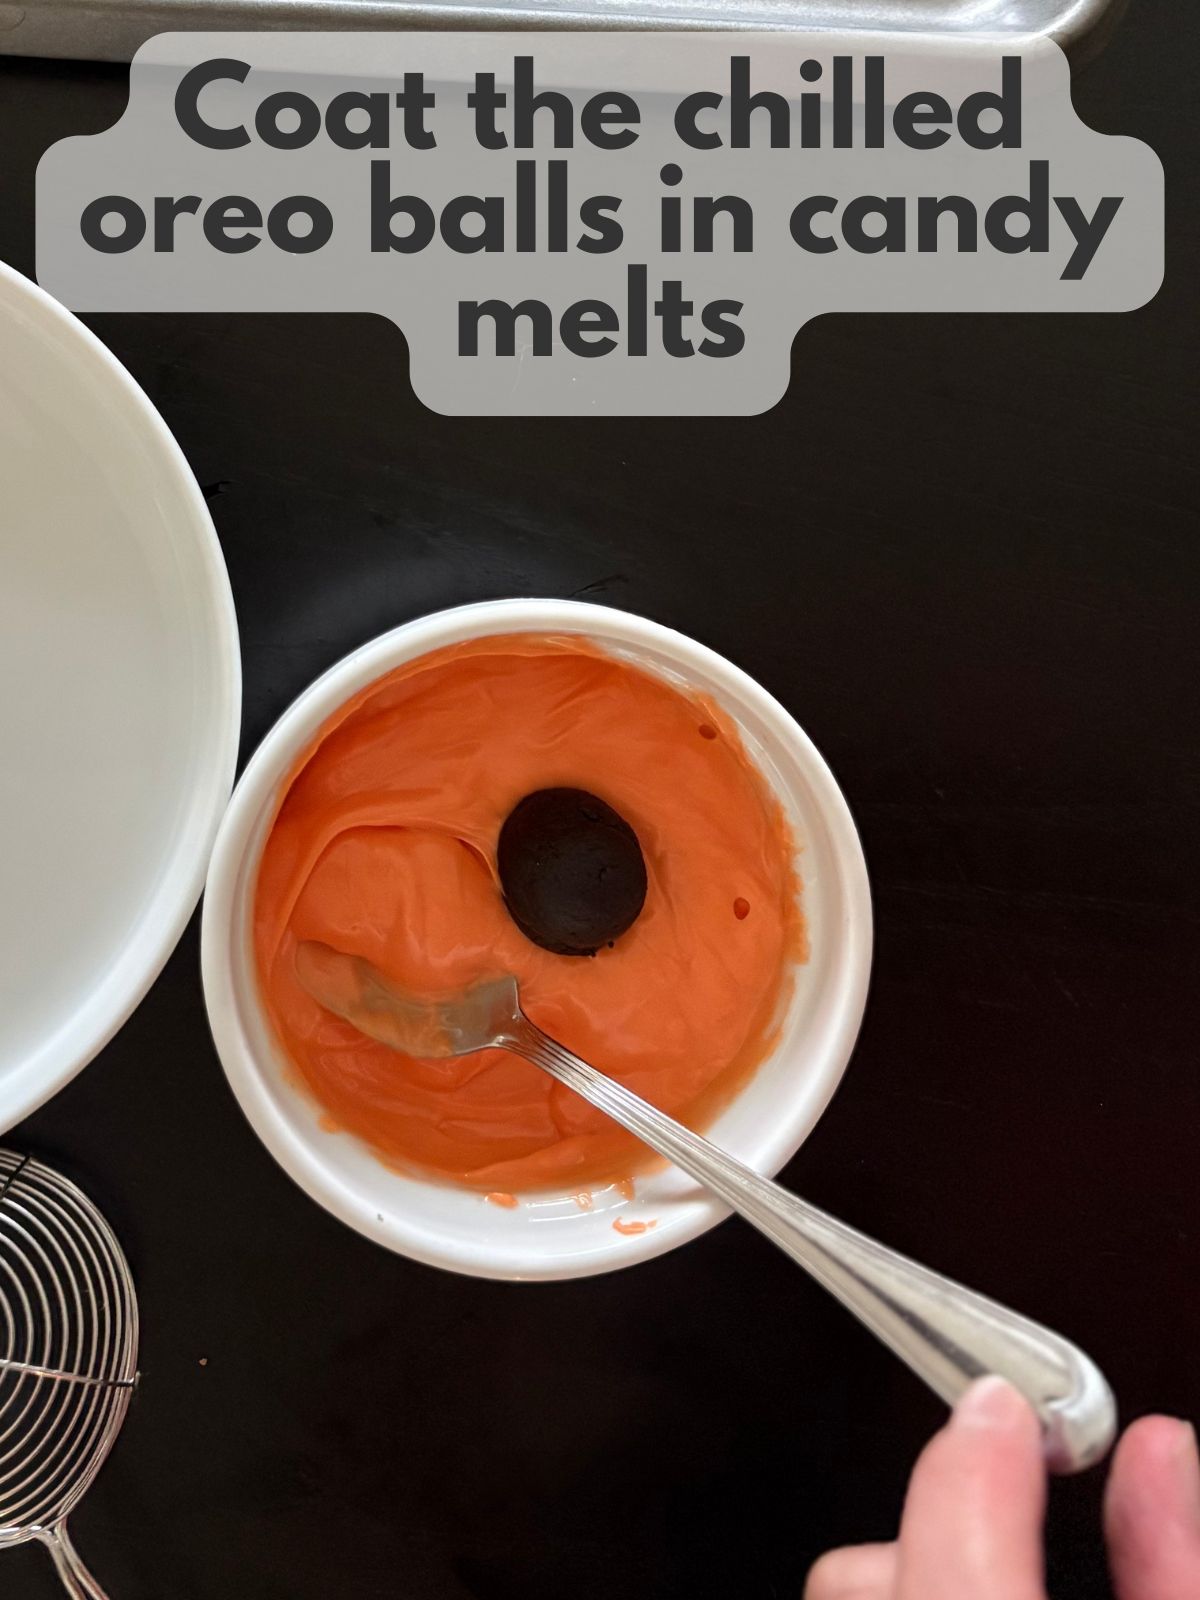
6. Work with a few chilled Oreo balls at a time, keeping the rest in the fridge. Drop one Oreo ball into the melted candy. Use a fork to gently turn it and coat completely. Lift it out with the fork, tap the fork on the side of the bowl so excess coating drips off, then slide the coated ball back onto parchment paper.
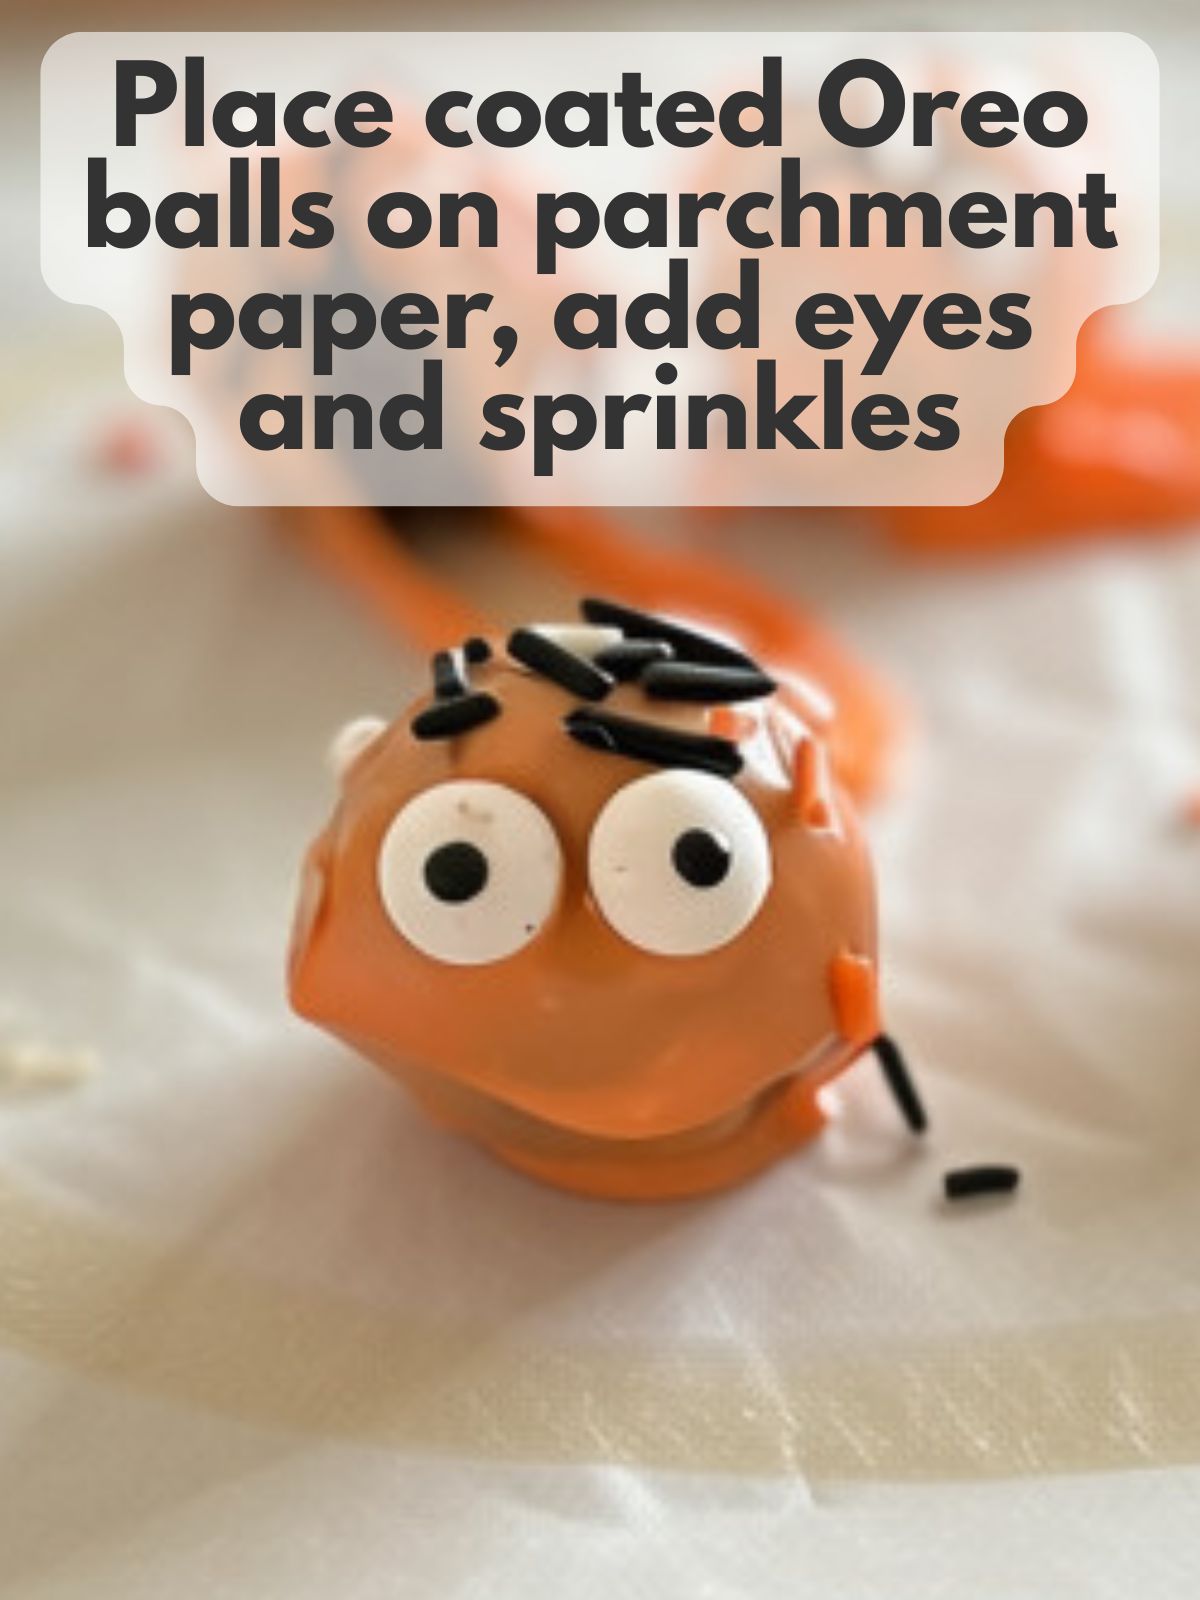
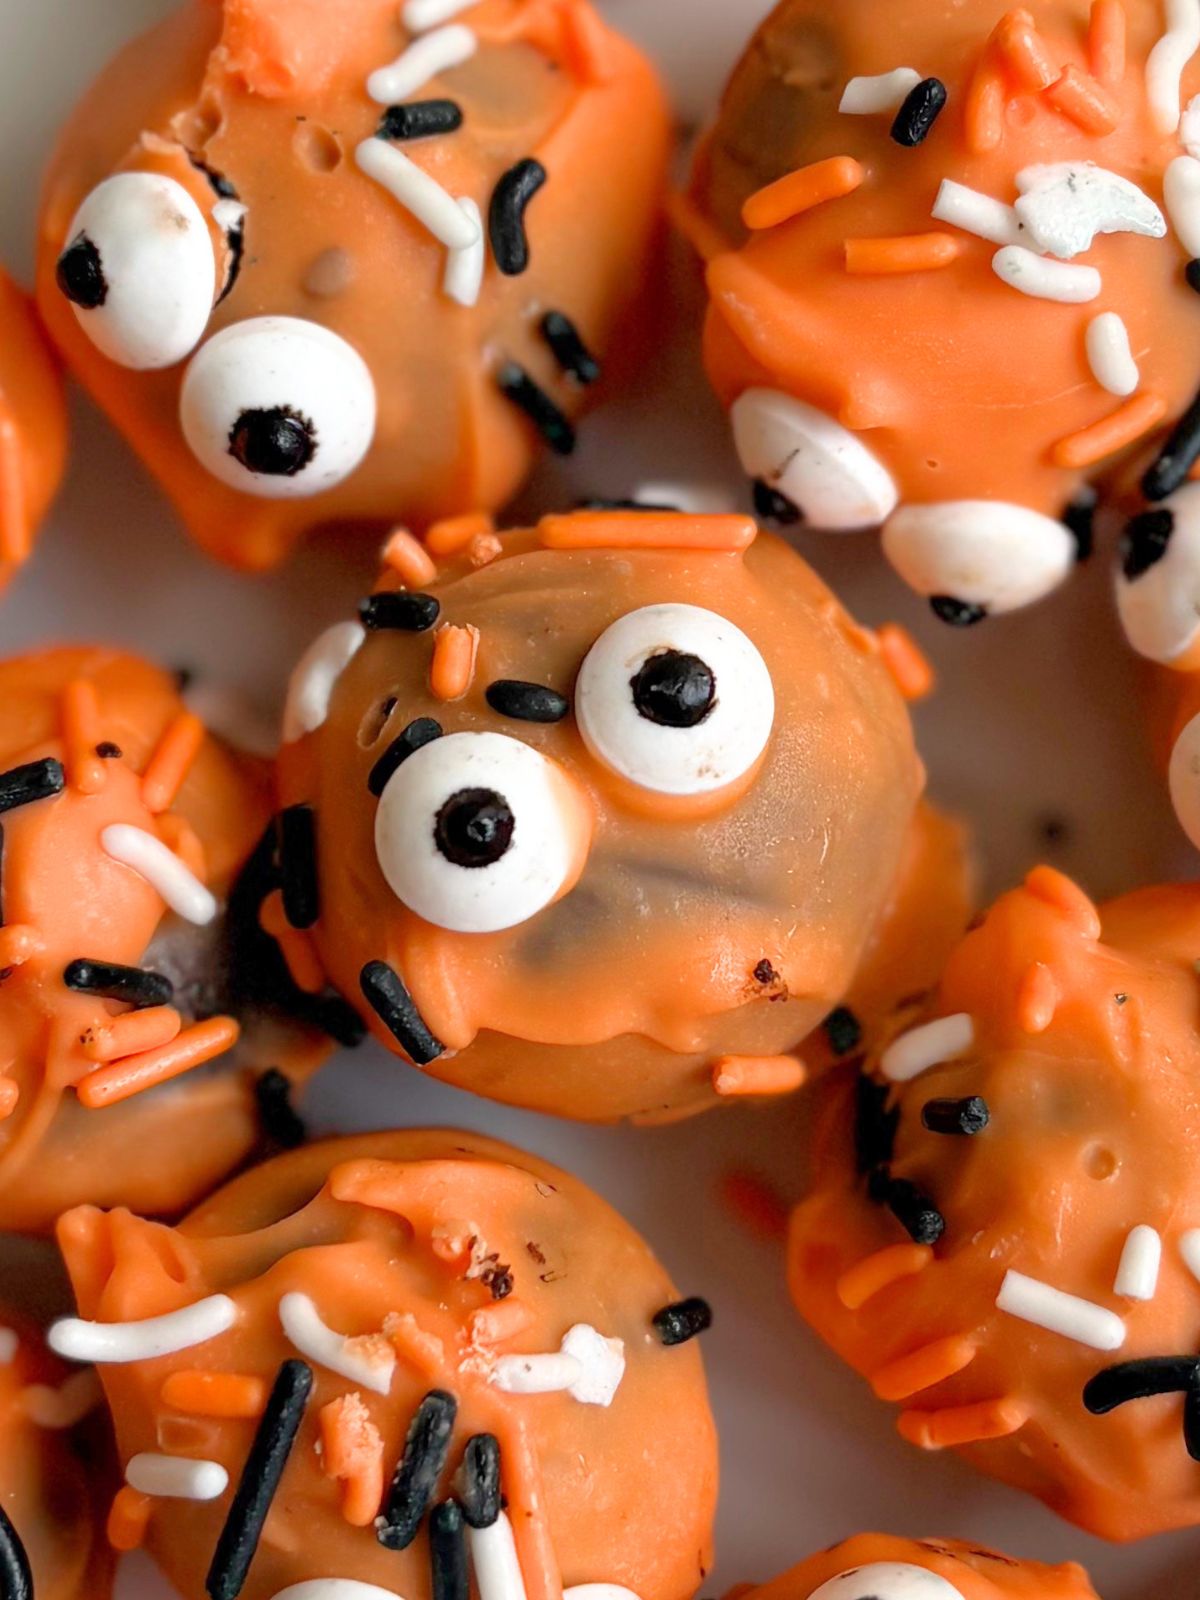
7. While the candy coating is still wet, press candy eyeballs onto the Oreo balls. Add one eye for a cyclops monster or three or more for extra spooky fun.
Sprinkle Halloween sprinkles over the top for more color and texture.
8. Repeat with all remaining Oreo balls, switching candy melt colors as desired for a mix of orange, green, and purple monsters.
9. Allow the Halloween oreo balls to sit at room temperature until the candy coating is completely set and firm. If you need them ready quickly, place the tray in the fridge for 10 to 15 minutes, but sometimes going into sudden cold can cause the coating to crack.
10. Store leftovers in an airtight container in the refrigerator for up to 4 to 5 days.
Pro Tips
- Be careful if you live in a humid environment. The black dye for the pupils in the eye candies loves to run the minute you take these into a hot, humid environment. If you live in a warm climate and need to transport these to a party, I would recommend using a cooler.
- Don’t skimp on the oil. If the coating feels thick or clumpy, I stir in a little more oil, about ½ teaspoon at a time. Smooth, thin coating makes dipping faster and prettier.
- Decorate in batches. Work in small batches because the coating sets quickly. Dip 3 to 4 Oreo balls, then add eyes and sprinkles right away before moving on to the next batch.
- Use parchment paper for drying. Stick your wet Oreo balls on a sheet of parchment paper to dry. You can even place them on another cookie sheet lined with parchment paper. If you use a plate or some other smooth surface, the Oreo balls might stick and be hard to get off.
- Make ahead for parties. These no bake Halloween treats are perfect for making the day before. You can store them in the fridge overnight, then arrange them on a platter just before guests arrive.
FAQs
How long do Monster Halloween Oreo Balls last?
You can keep them in an airtight container in the fridge for up to 4 to 5 days. For the best texture, I let them sit at room temperature for about 10 minutes before serving.
Can I freeze these Oreo balls?
Yes. I freeze the undipped Oreo balls on a tray until solid, then transfer them to a freezer bag for up to 2 months. When I am ready, I thaw them in the fridge, then dip and decorate. You can also freeze them fully dipped, just know condensation may form as they thaw, and the pupils in the eyes may run.
Do I have to use a food processor?
No. If you do not have one, you can crush the Oreos in a zip-top bag with a rolling pin until finely ground, then mix with softened cream cheese in a bowl. It takes a bit more elbow grease, but it still works.
Can I use chocolate instead of candy melts?
You can swap in white chocolate, melt it with some some oil and then color with oil-based or candy colors. For bright Halloween colors, candy melts are easier since they already come in fun shades.
What if I cannot find candy eyeballs?
You can use mini chocolate chips for eyes, or pipe tiny white dots with melted white chocolate and add a mini chocolate chip in the center. You can even skip the eyes entirely and just use sprinkles.
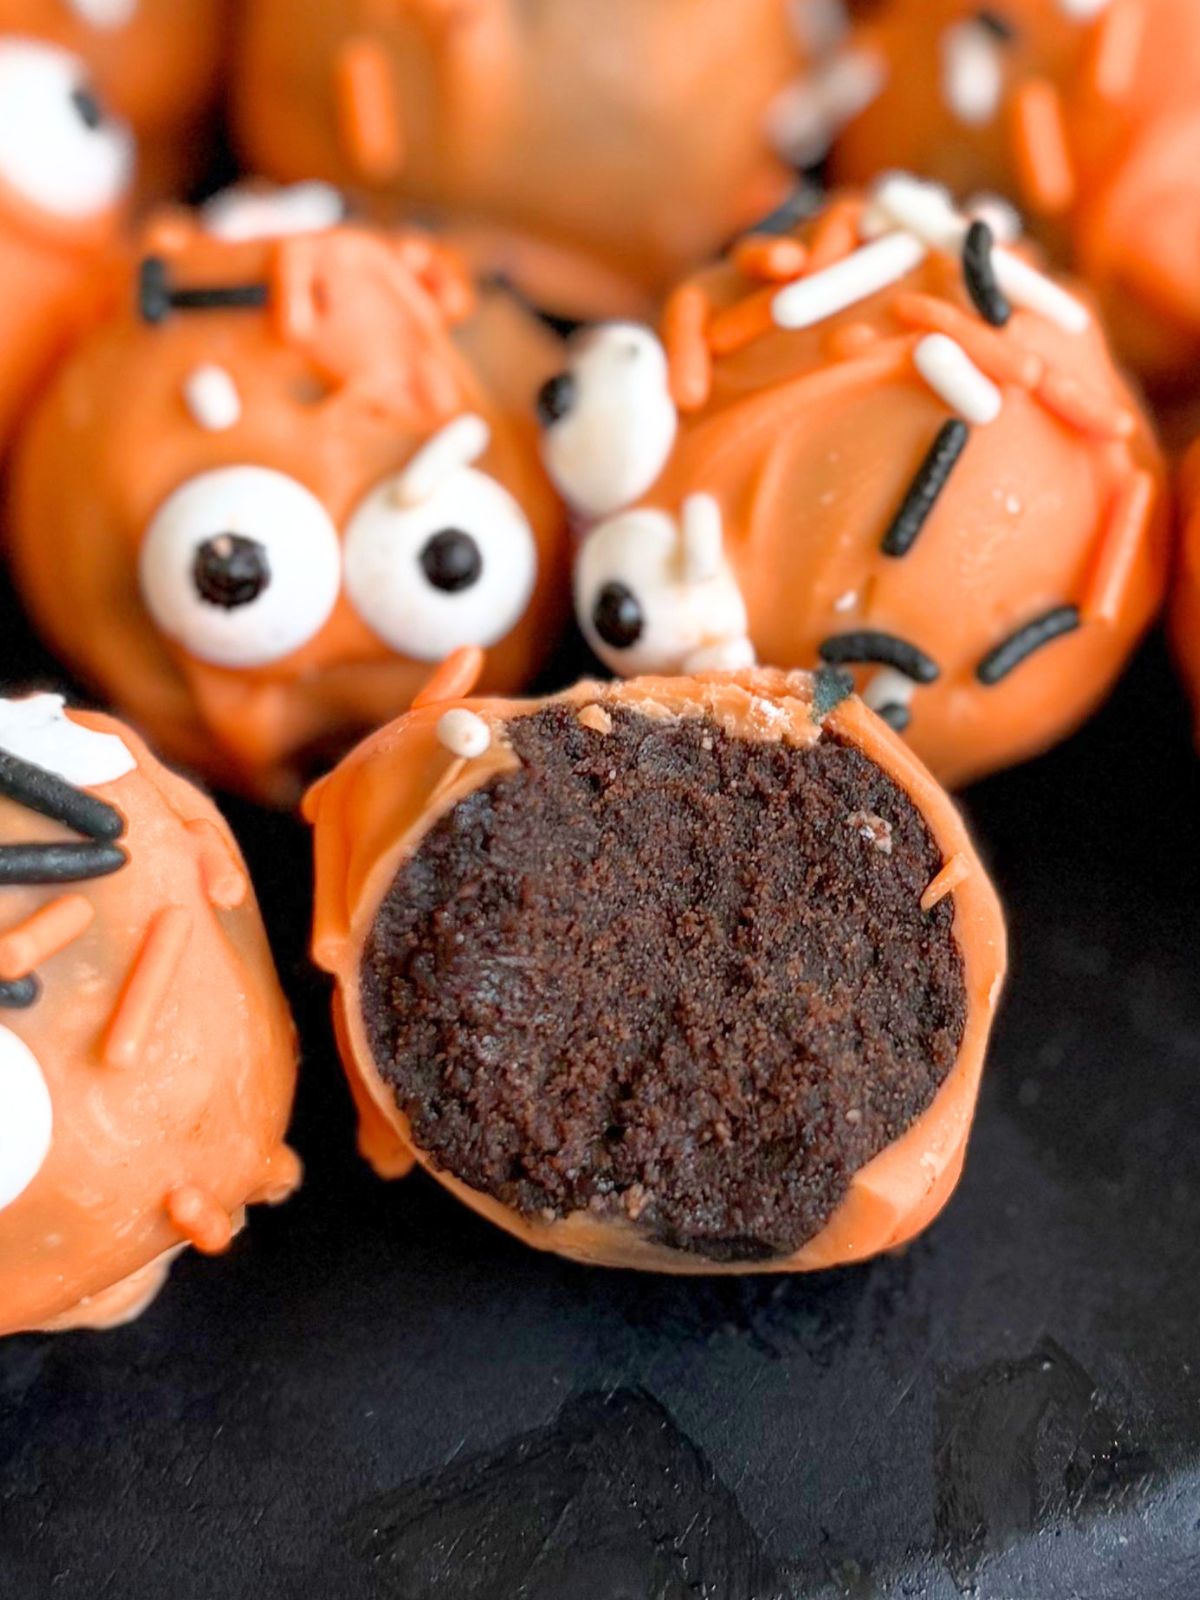
I love how these Monster Halloween Oreo Balls turn simple pantry ingredients into the cutest no bake Halloween treats. They are colorful, spooky, and party ready, yet so fast to make that you can easily fit them into a busy week. Whether you need a last-minute treat for a Halloween potluck or a fun activity for a movie night, these Halloween oreo balls are one of those easy Halloween desserts to come back to every year.
Monster Halloween Oreo Balls

Ingredients
- 18 Halloween Oreos or regular Double Stuf Oreos
- 2 oz cream cheese softened to room temperature
- 12 oz candy melts in Halloween colors orange, green, purple, black, etc
- 2 to 3 tsp neutral oil vegetable, canola, or melted coconut oil
- Candy eyeballs various sizes if possible
- Halloween sprinkles optional, for extra texture and color
Instructions
- Line a baking sheet or large plate with parchment paper or wax paper. This will keep the Oreo balls from sticking and make cleanup easy.
- Add the Halloween Oreos and softened cream cheese to a food processor. Pulse until the mixture turns into a thick, sticky dough and no big cookie pieces remain. Scrape down the sides if needed.If you do not have a food processor, you can crush Oreos in a zip-top bag with a rolling pin and then mix with cream cheese in a bowl until well combined.
- Roll the dough between your palms to form smooth balls. Place the balls on your lined baking sheet, spacing them slightly apart.
- Place the tray in the refrigerator for 20 to 30 minutes until the Oreo balls are firm to the touch. If you are in a rush, you can chill them in the freezer for about 10 to 15 minutes instead.
- Add your Halloween-colored candy melts to a microwave-safe bowl with a bit of oil. Melt according to the package instructions. Stir until everything is smooth.
- Work with a few chilled Oreo balls at a time, keeping the rest in the fridge. Drop one Oreo ball into the melted candy. Use a fork to gently turn it and coat completely. Lift it out with the fork, tap the fork on the side of the bowl so excess coating drips off, then slide the coated ball back onto parchment paper.
- While the candy coating is still wet, press candy eyeballs onto the Oreo balls. Add one eye for a cyclops monster or three or more for extra spooky fun.
- Sprinkle Halloween sprinkles over the top for more color and texture.
- Repeat with all remaining Oreo balls, switching candy melt colors as desired for a mix of orange, green, and purple monsters.
- Allow the Halloween oreo balls to sit at room temperature until the candy coating is completely set and firm. If you need them ready quickly, place the tray in the fridge for 10 to 15 minutes, but sometimes going into sudden cold can cause the coating to crack.
- Store leftovers in an airtight container in the refrigerator for up to 4 to 5 days.