
Easy Ornament Sugar Cookies with Royal Icing
If you love the look of a tray of decorated Christmas cookies, these ornament sugar cookies are a fun place to start. You can use the same buttery cutout dough for the whole batch and switch up the royal icing colors as you go. They’re a great treat to make with kids or for parties, and one batch will definitely feed a crowd!
Jump to Recipe

Ingredients for Ornament Sugar Cookies
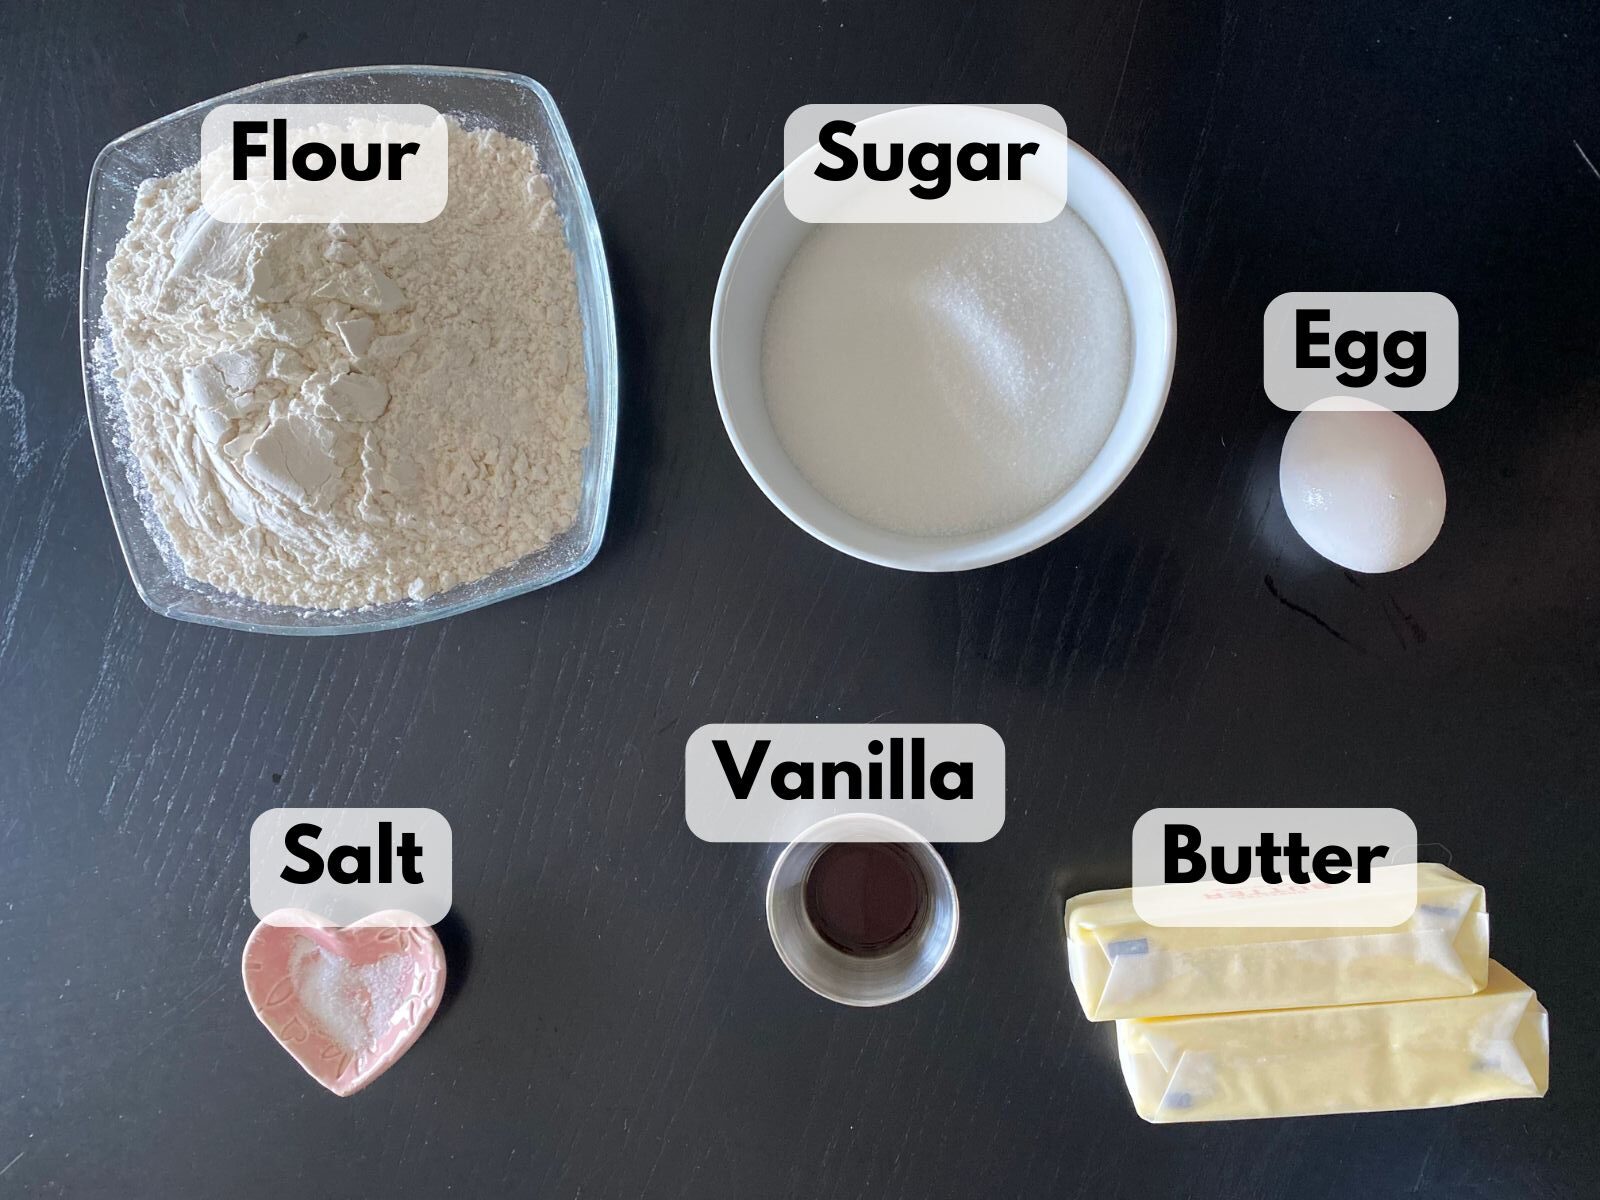
For the sugar cookies
- 1 cup unsalted butter, softened
- 1 cup granulated sugar
- 1 large egg
- 1 teaspoon vanilla extract
- 3 cups all-purpose flour
- ½ teaspoon salt
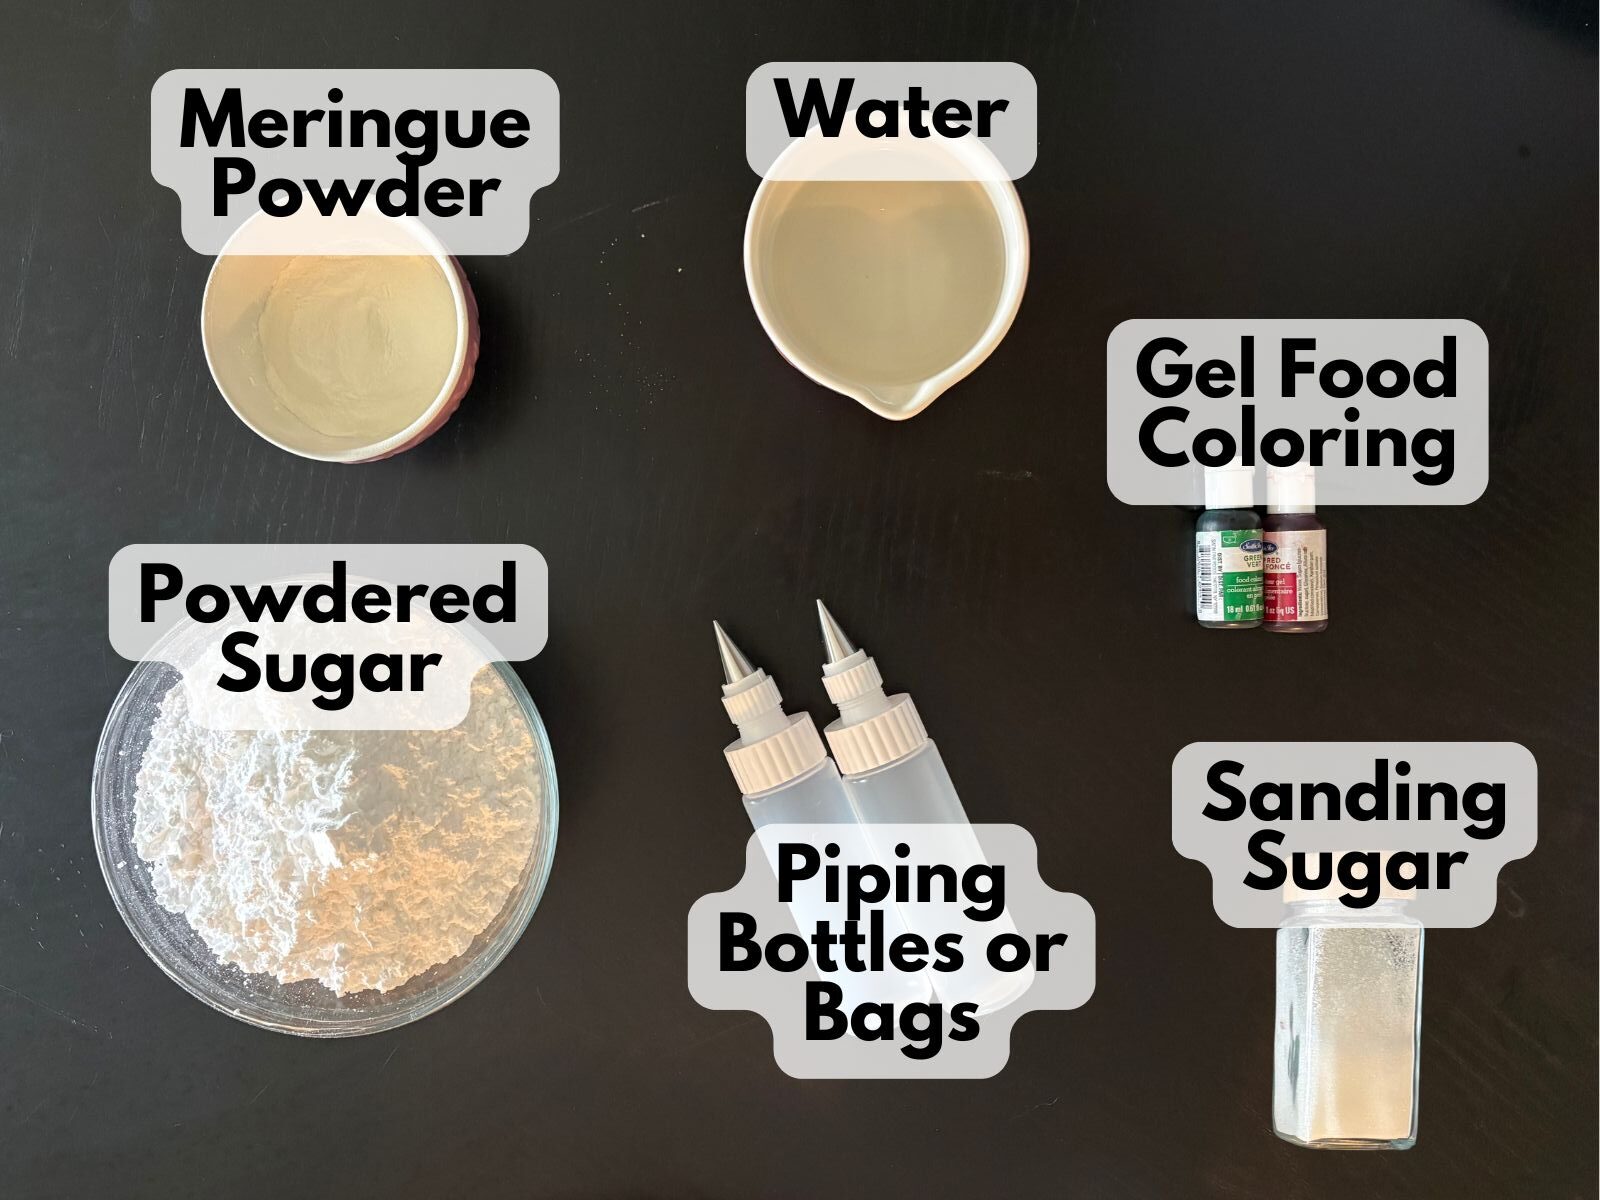
For the royal icing
- 4 cups powdered sugar
- 3 tablespoons meringue powder
- 9–10 tablespoons water, plus more as needed
I use Sally’s royal icing recipe.
For decorating
- Food coloring in your choice of colors
- White sanding sugar, optional
Helpful tools
- Ornament-shaped cookie cutter
- Piping bags or small icing bottles with small round tips
- Toothpick or scribe tool
How to Make Ornament Sugar Cookies
1. Make the dough
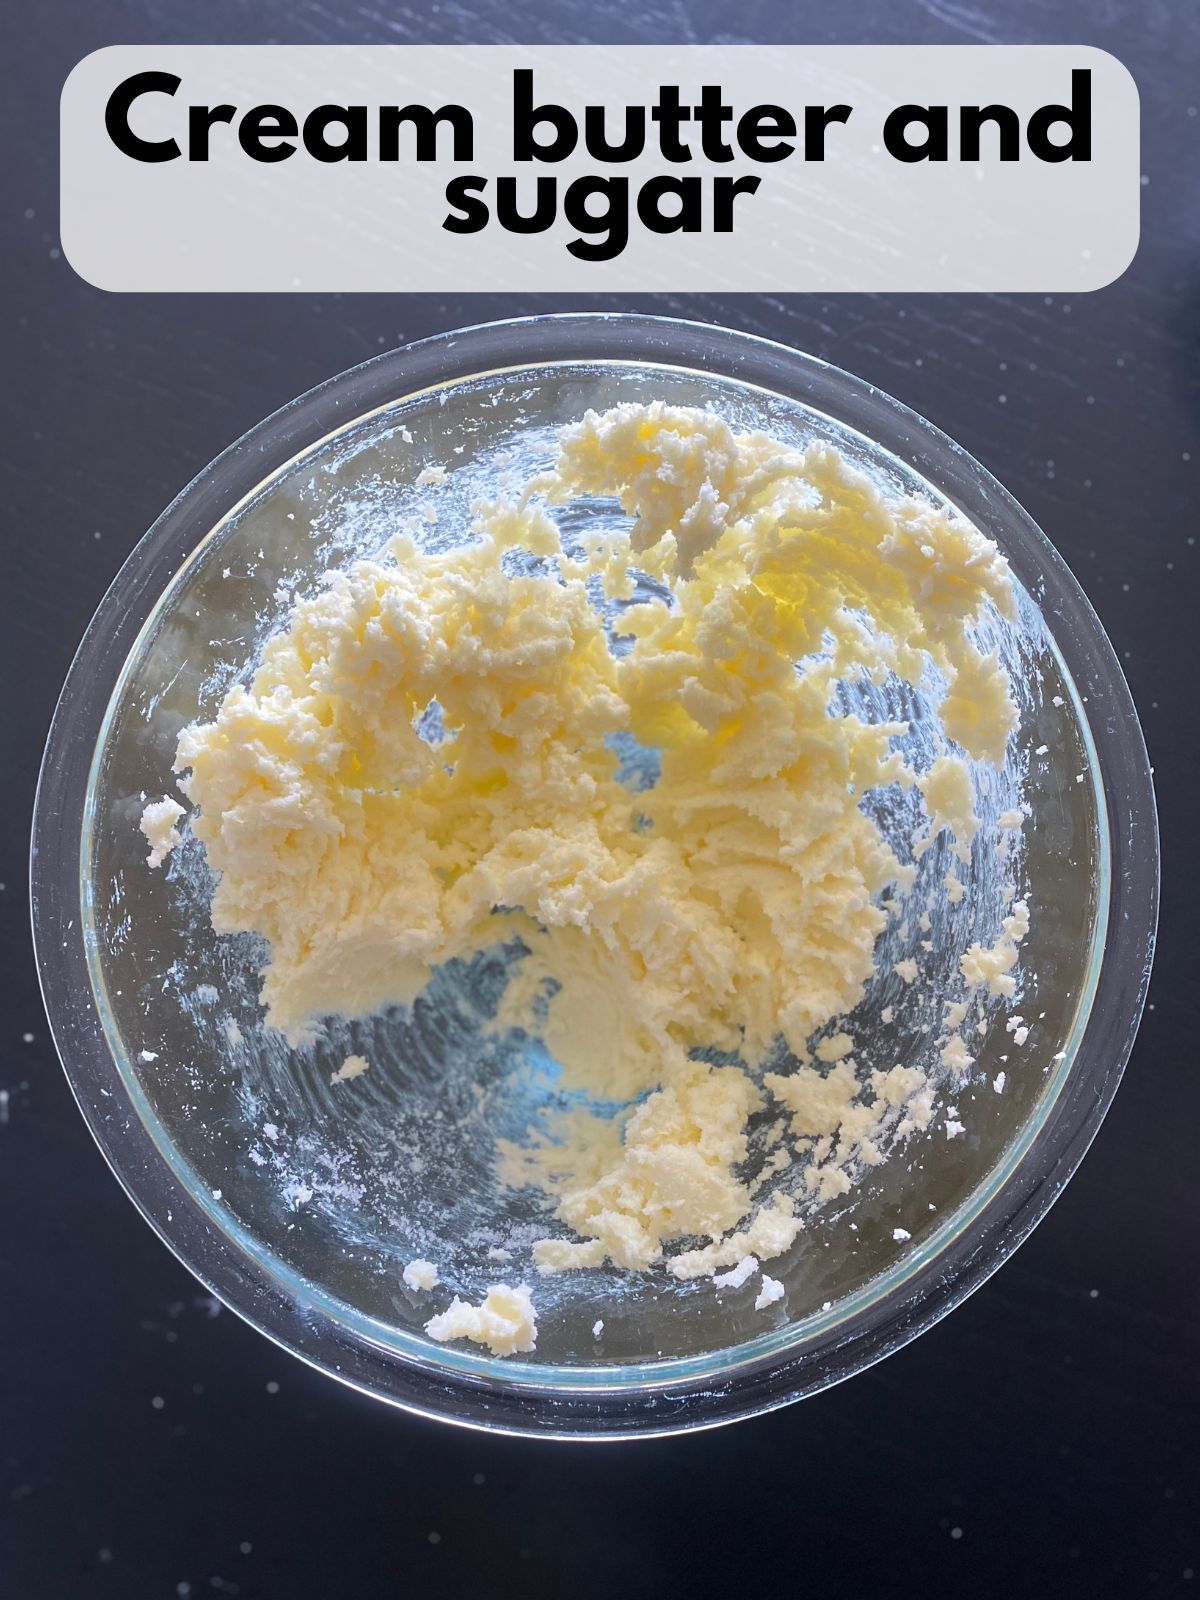
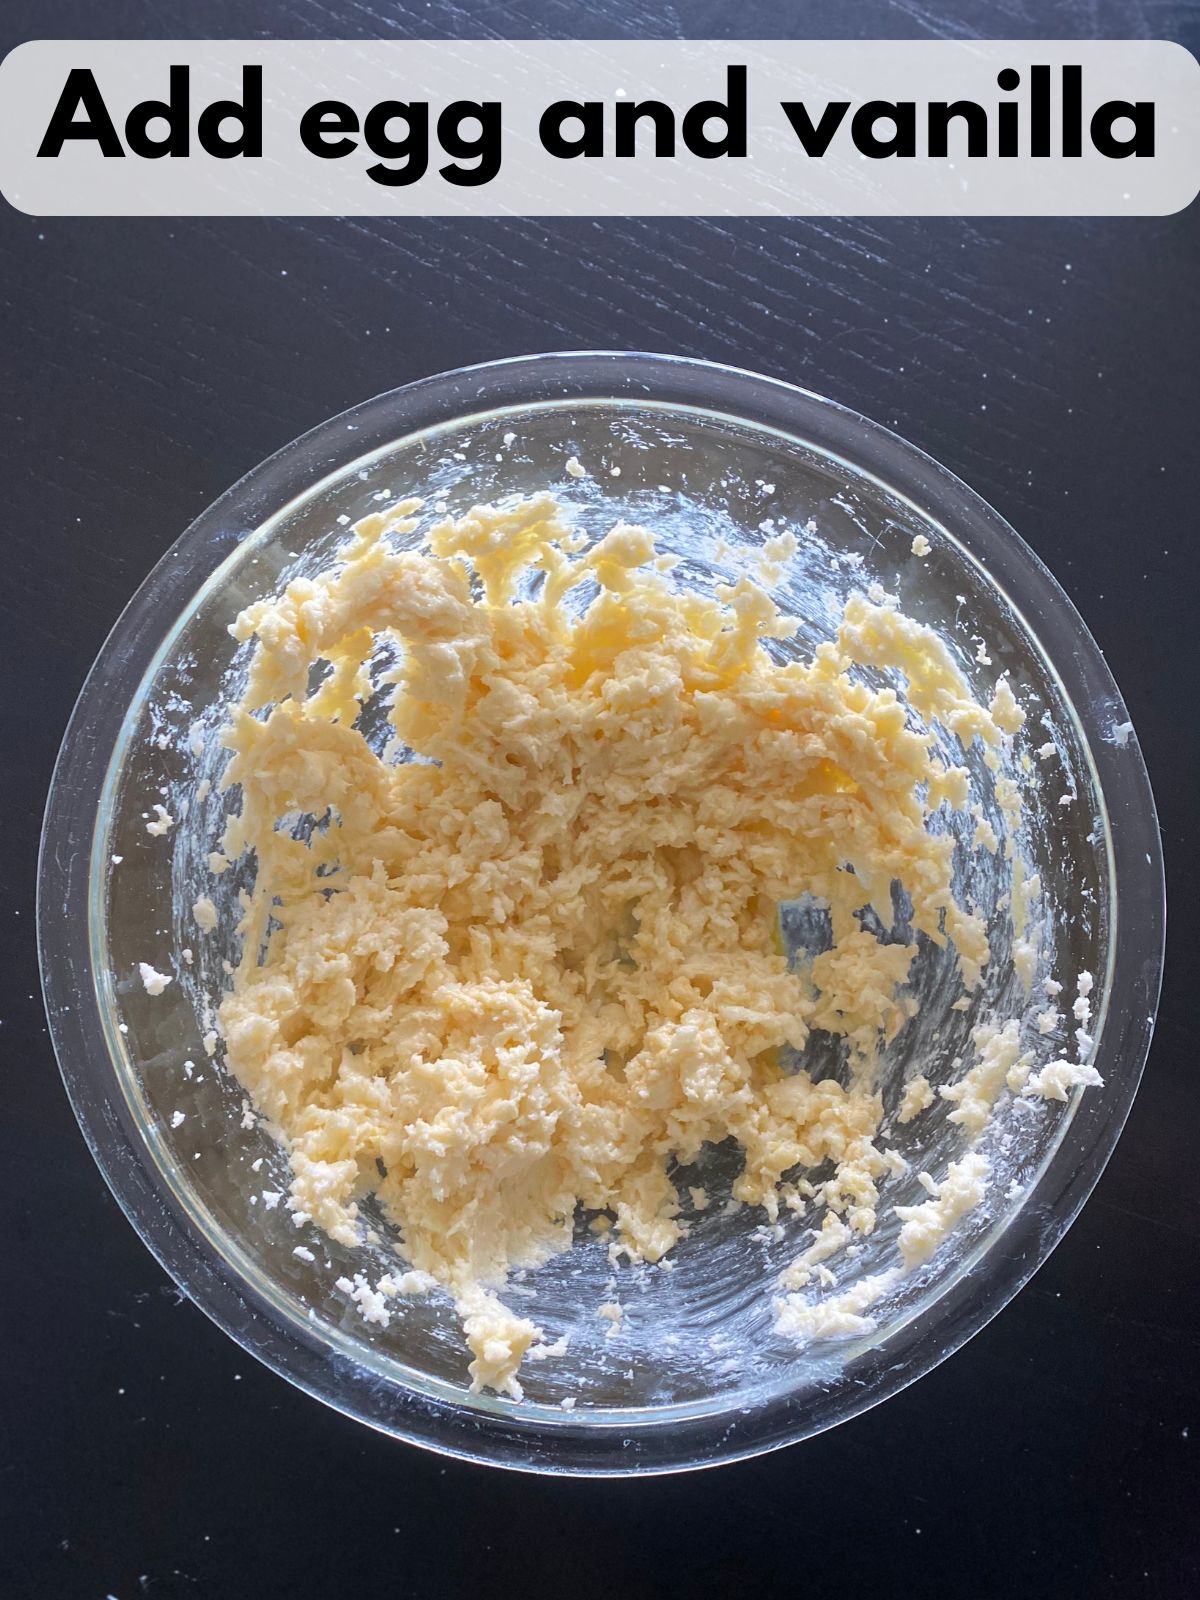
Cream the butter and sugar until light and fluffy. Add the egg and vanilla and mix well.
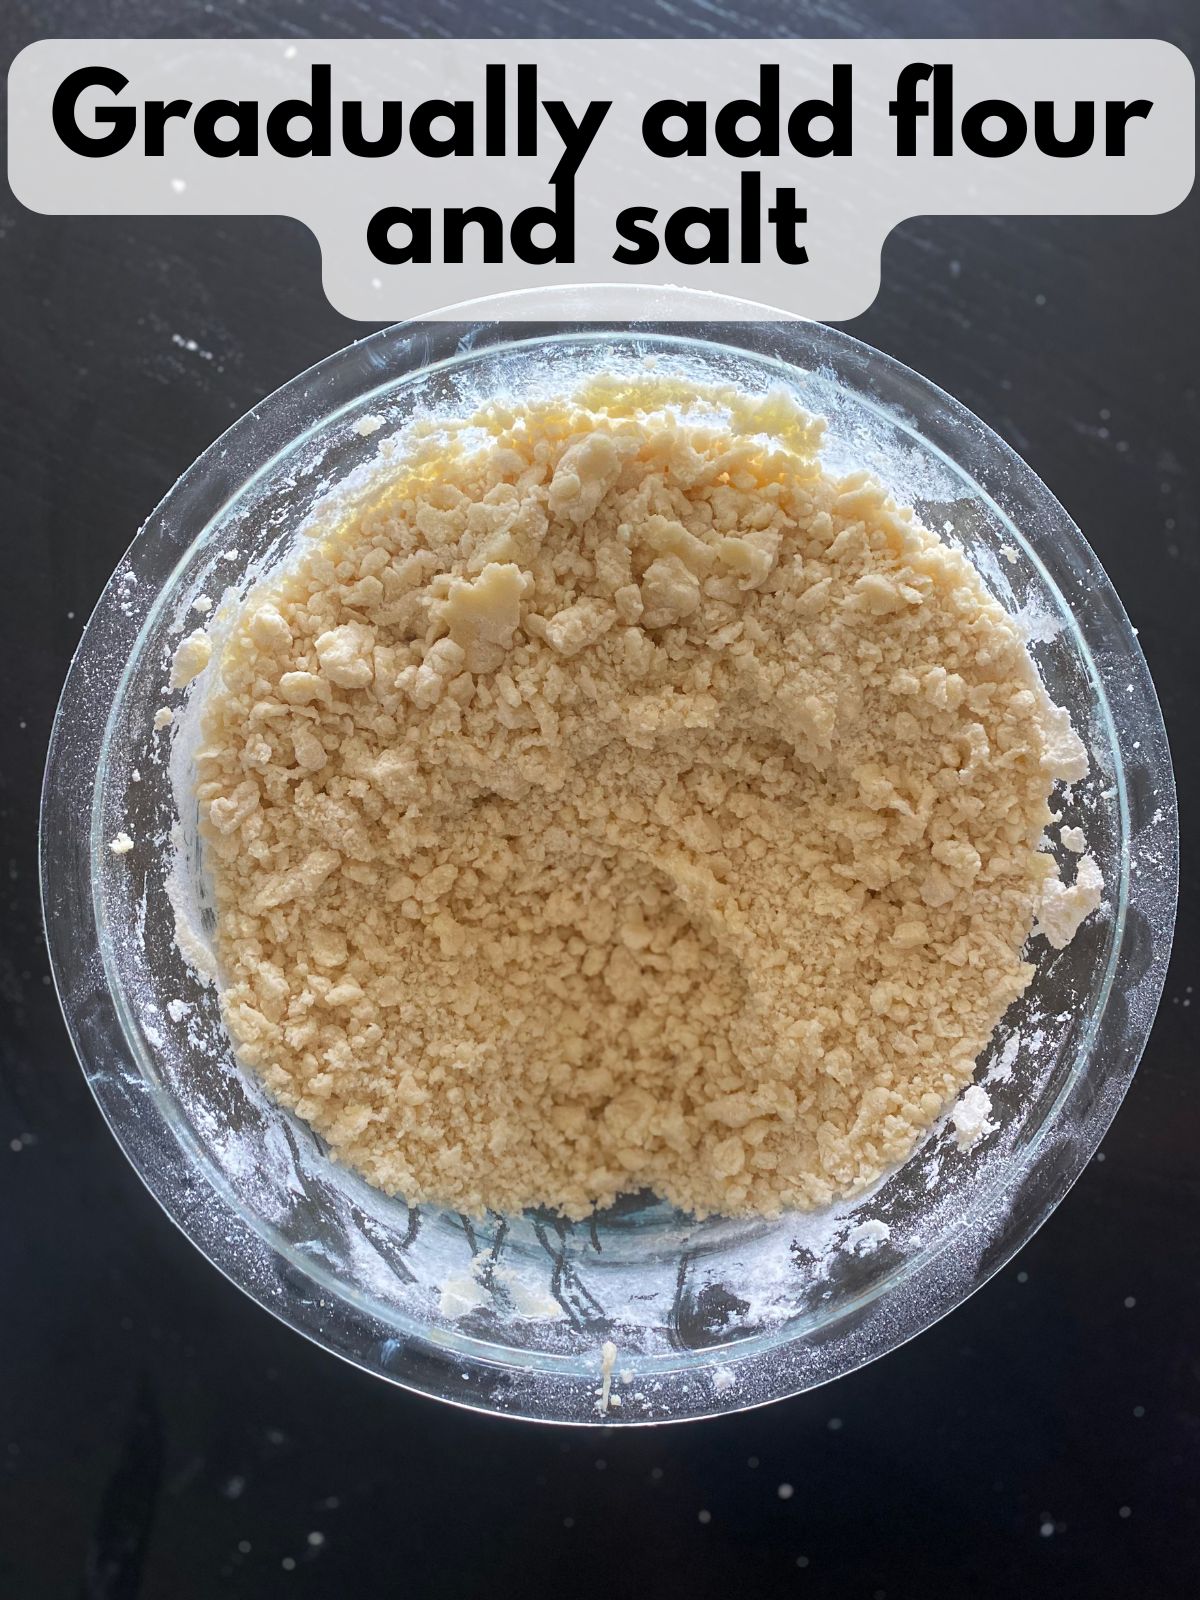
In a separate bowl, whisk together the flour and salt. Gradually add the dry ingredients to the wet ingredients and mix just until a soft dough forms.
2. Chill and roll
Divide the dough in half, flatten each portion into a disk, and wrap in plastic wrap. Chill for at least 1 hour.
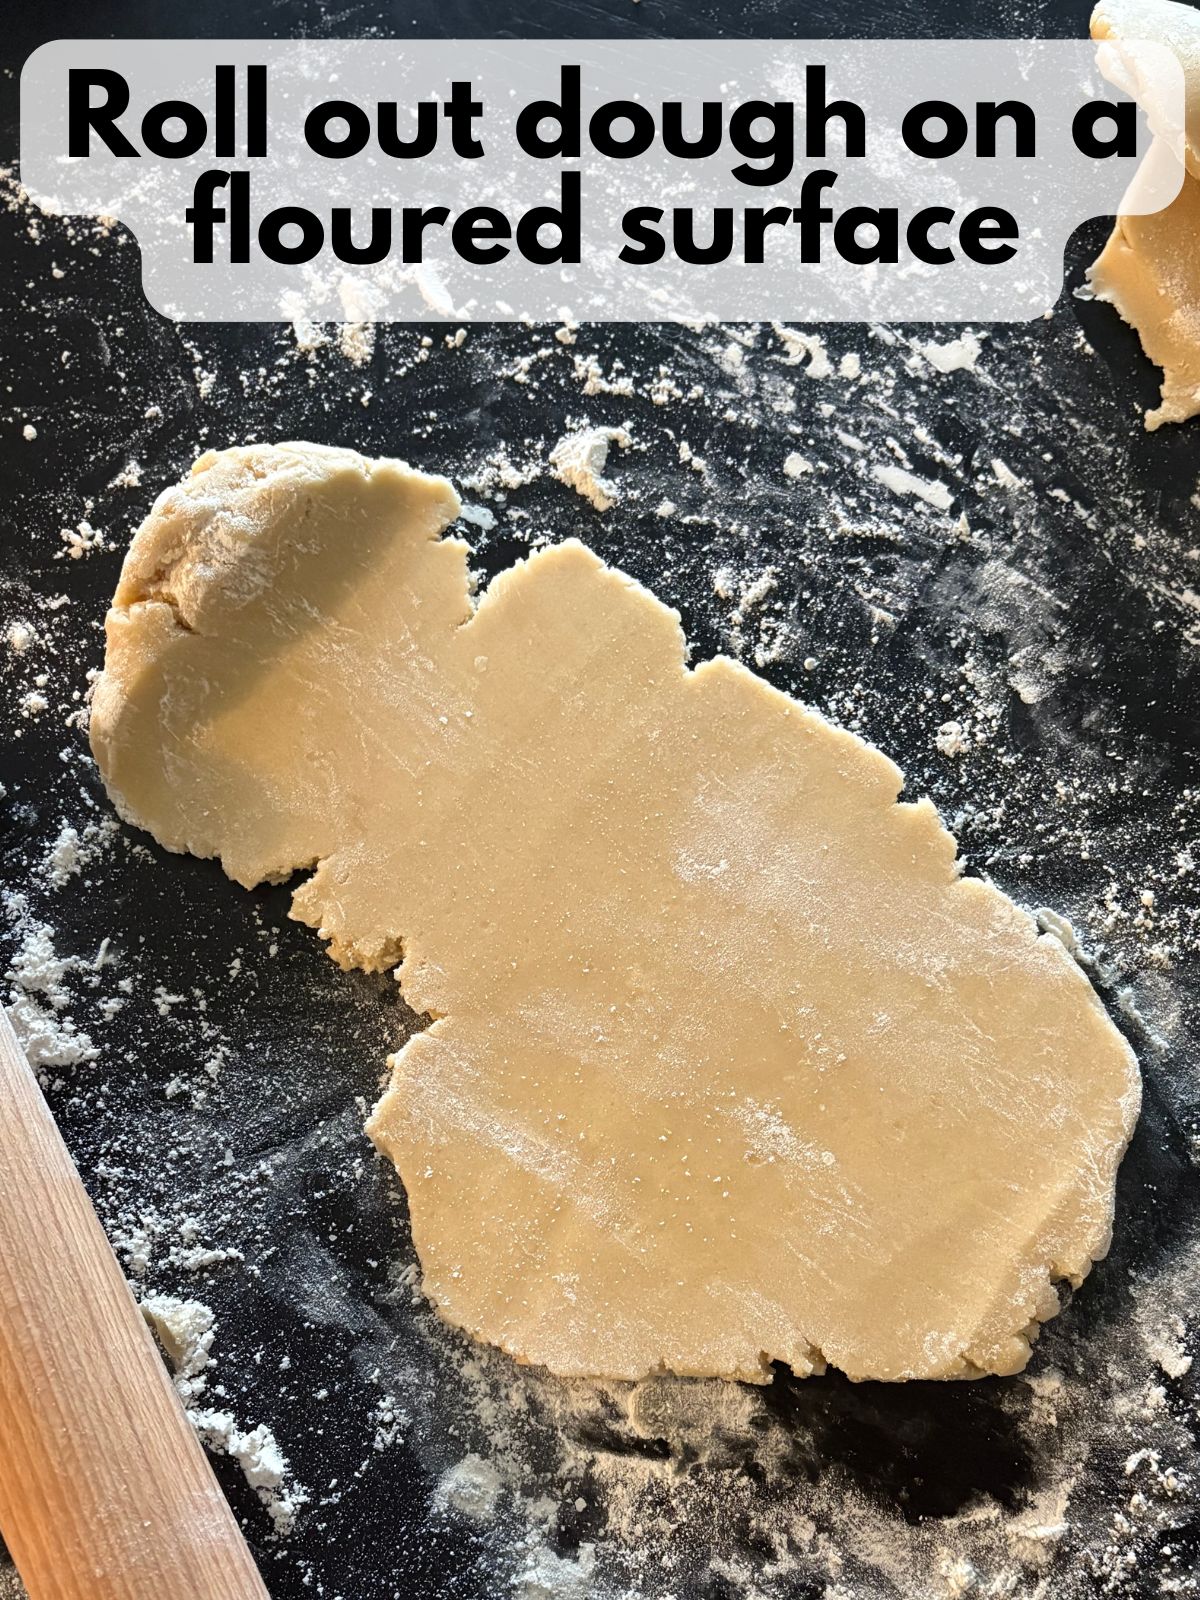
Roll the dough on a lightly floured surface to about ¼ inch thick. I roll it to ⅜ inch if kids are helping because the thicker cookies are sturdier.
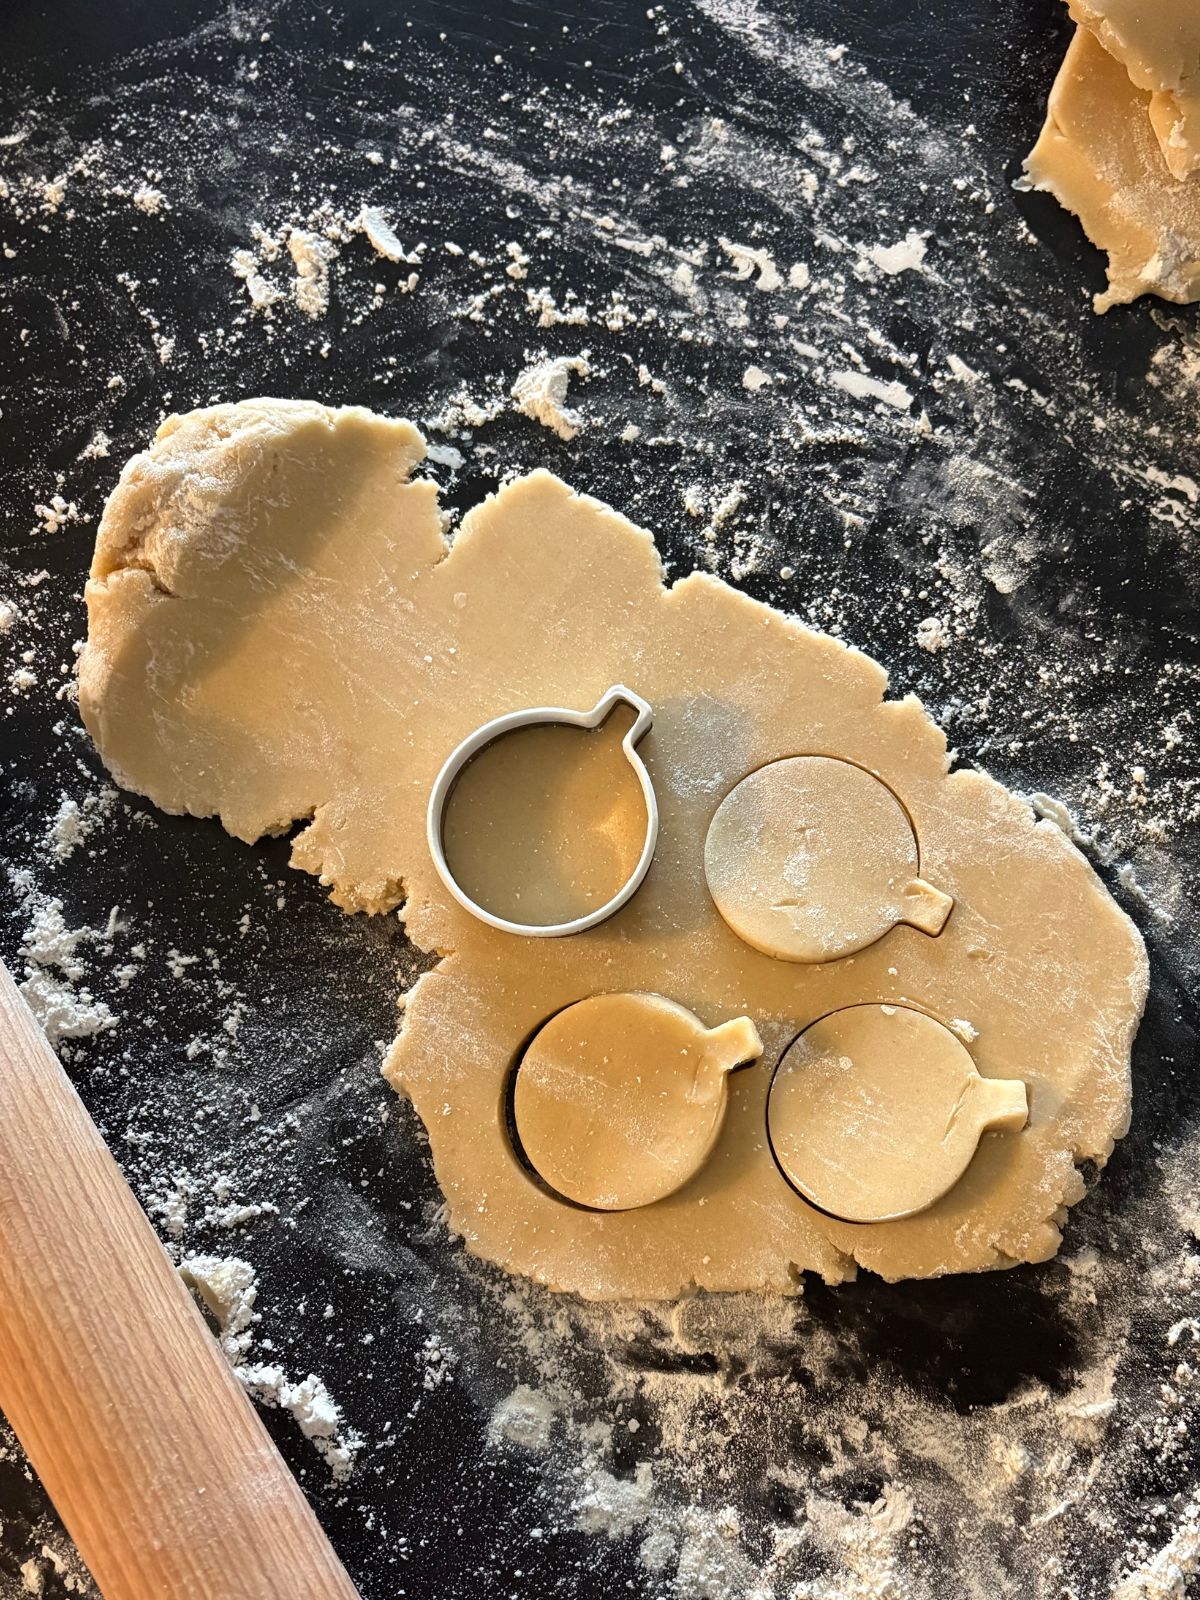
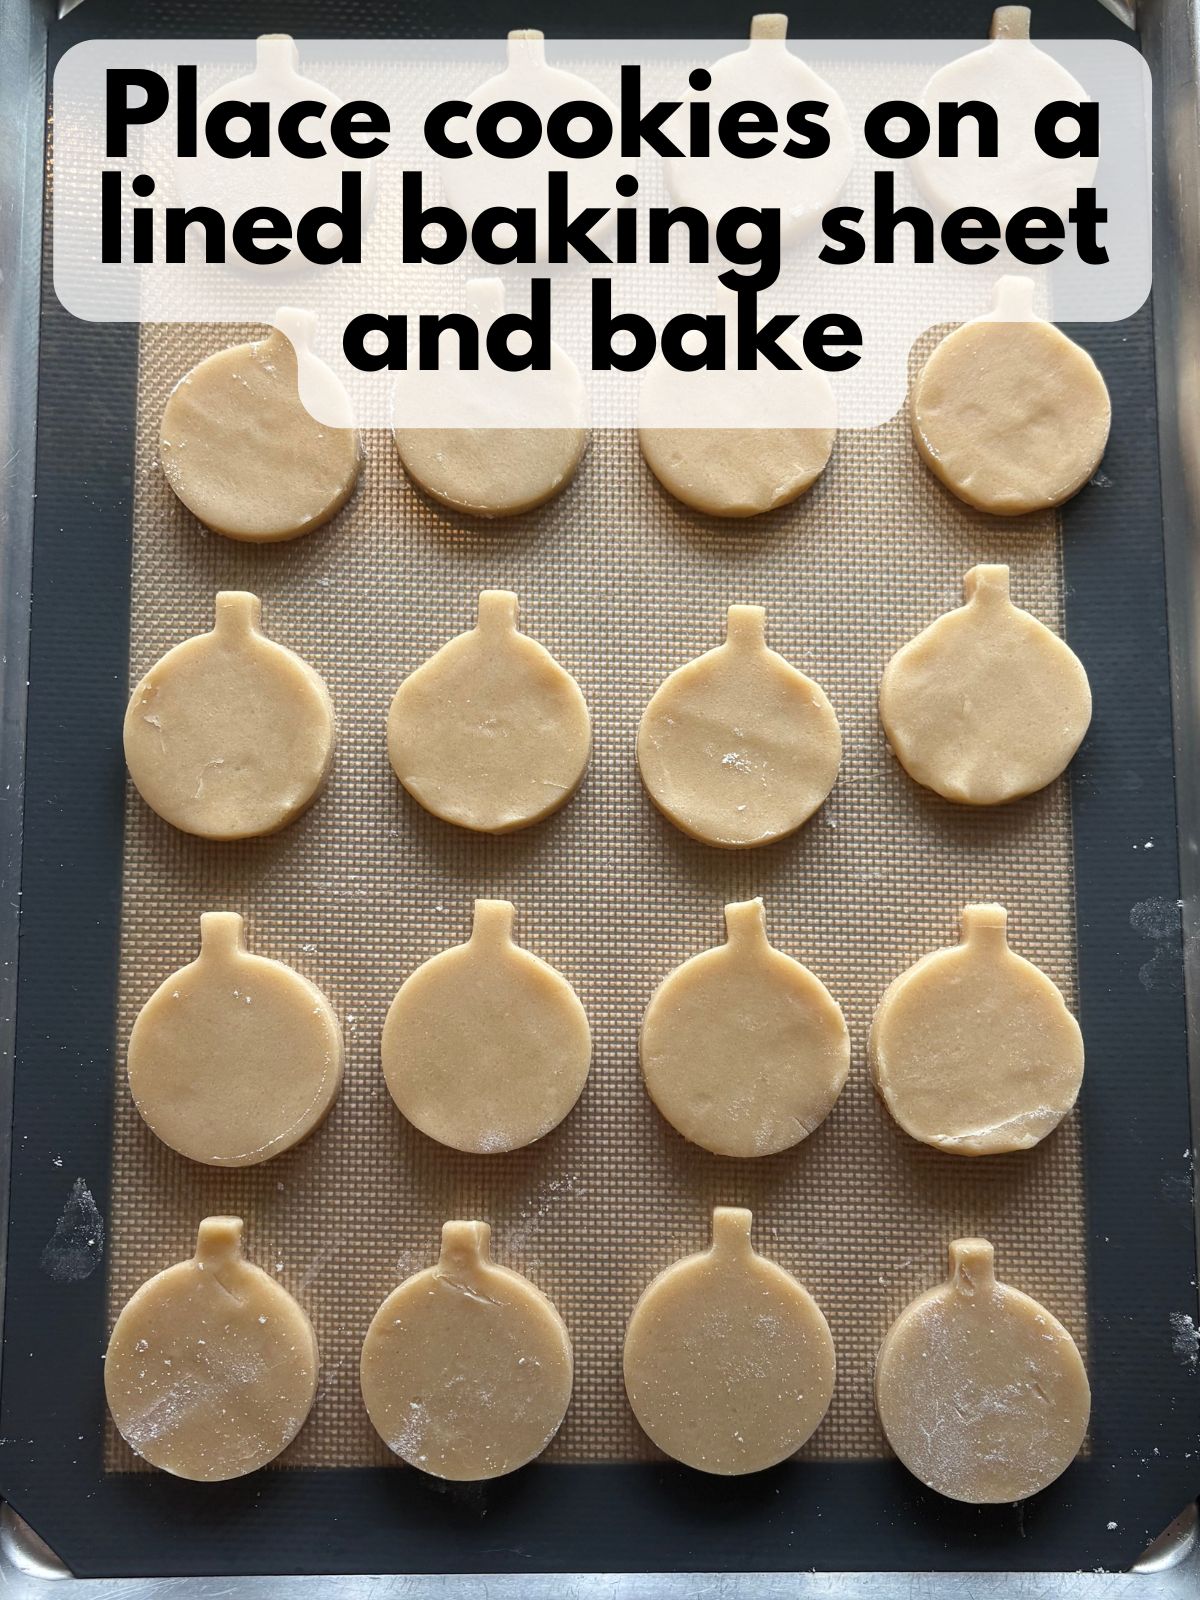
Cut out the ornaments and transfer them to a parchment-lined baking sheet. If the dough gets too soft to lift cleanly, return it to the fridge briefly.

3. Bake
Preheat the oven to 350°F (175°C). Bake for 8–10 minutes, until the edges are just beginning to turn lightly golden. Let the cookies rest on the baking sheet for a few minutes, then transfer them to a wire rack to cool completely.
4. Make and tint the royal icing
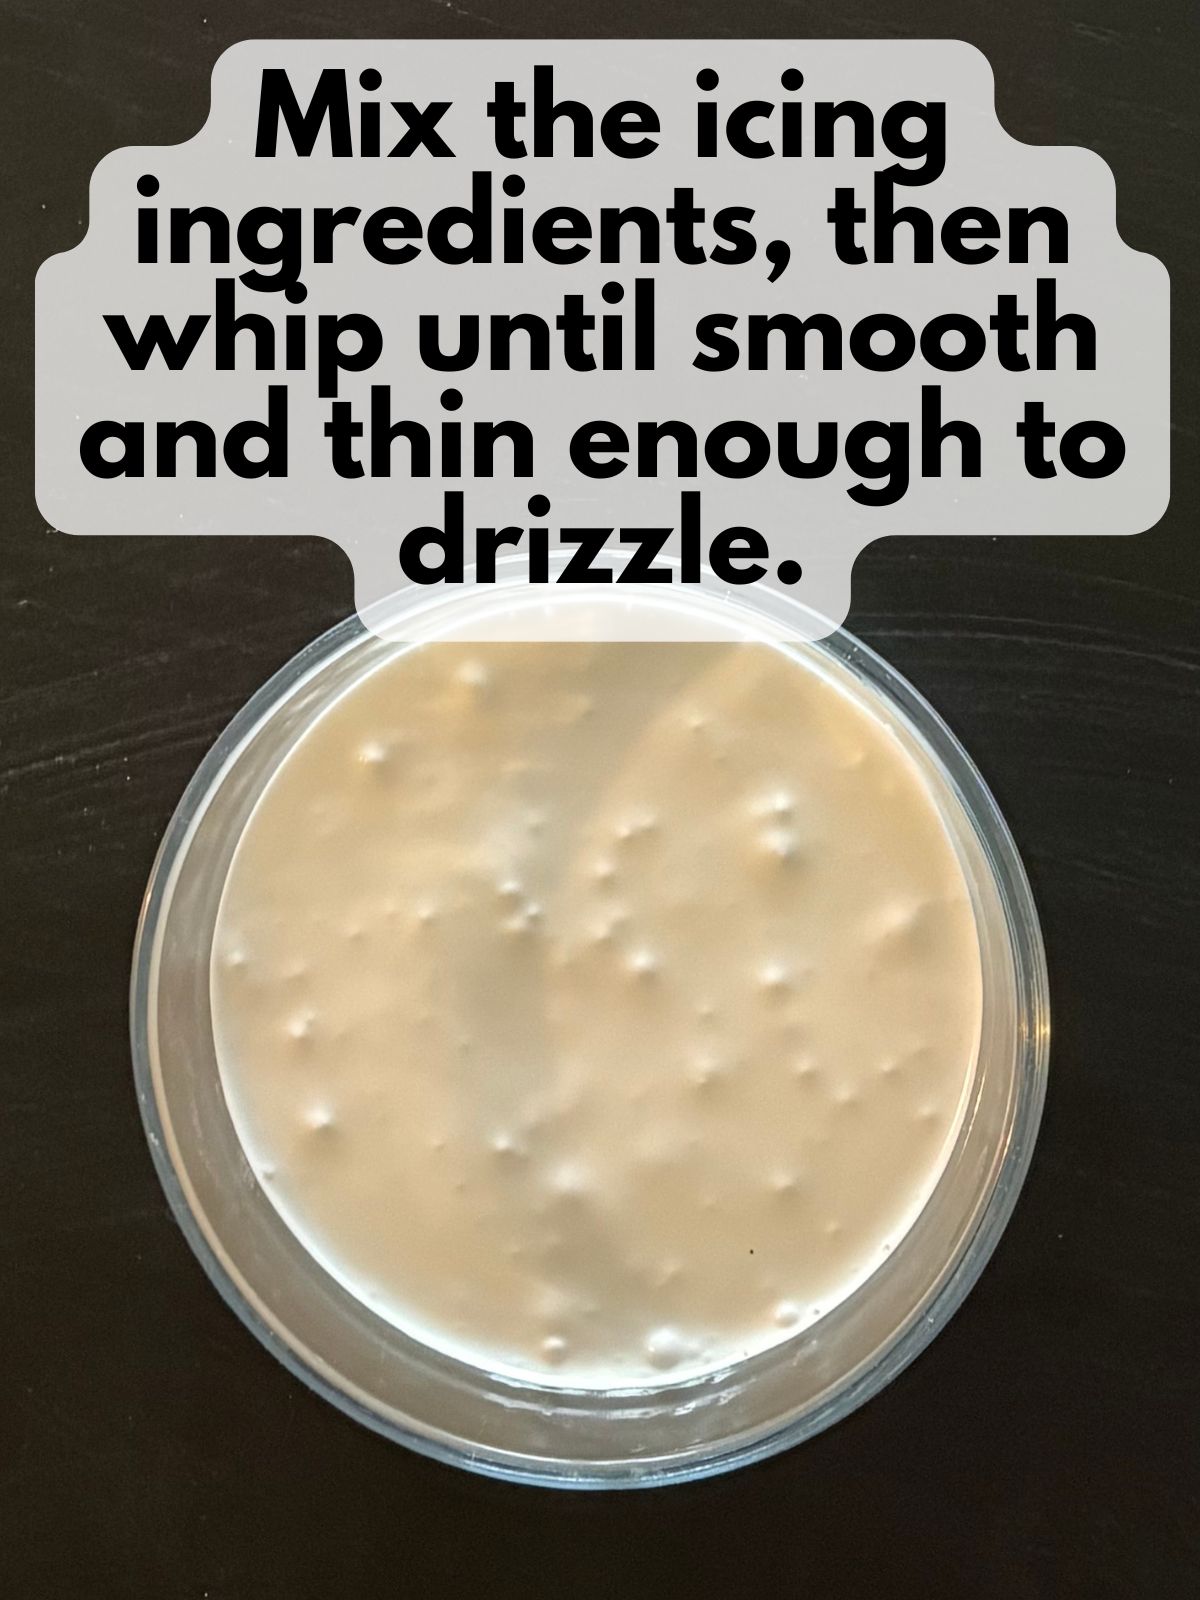
Sift the powdered sugar and meringue powder into a large bowl. Add 9 tablespoons of water and beat with a mixer fitted with a whisk attachment for about 1½–2 minutes.
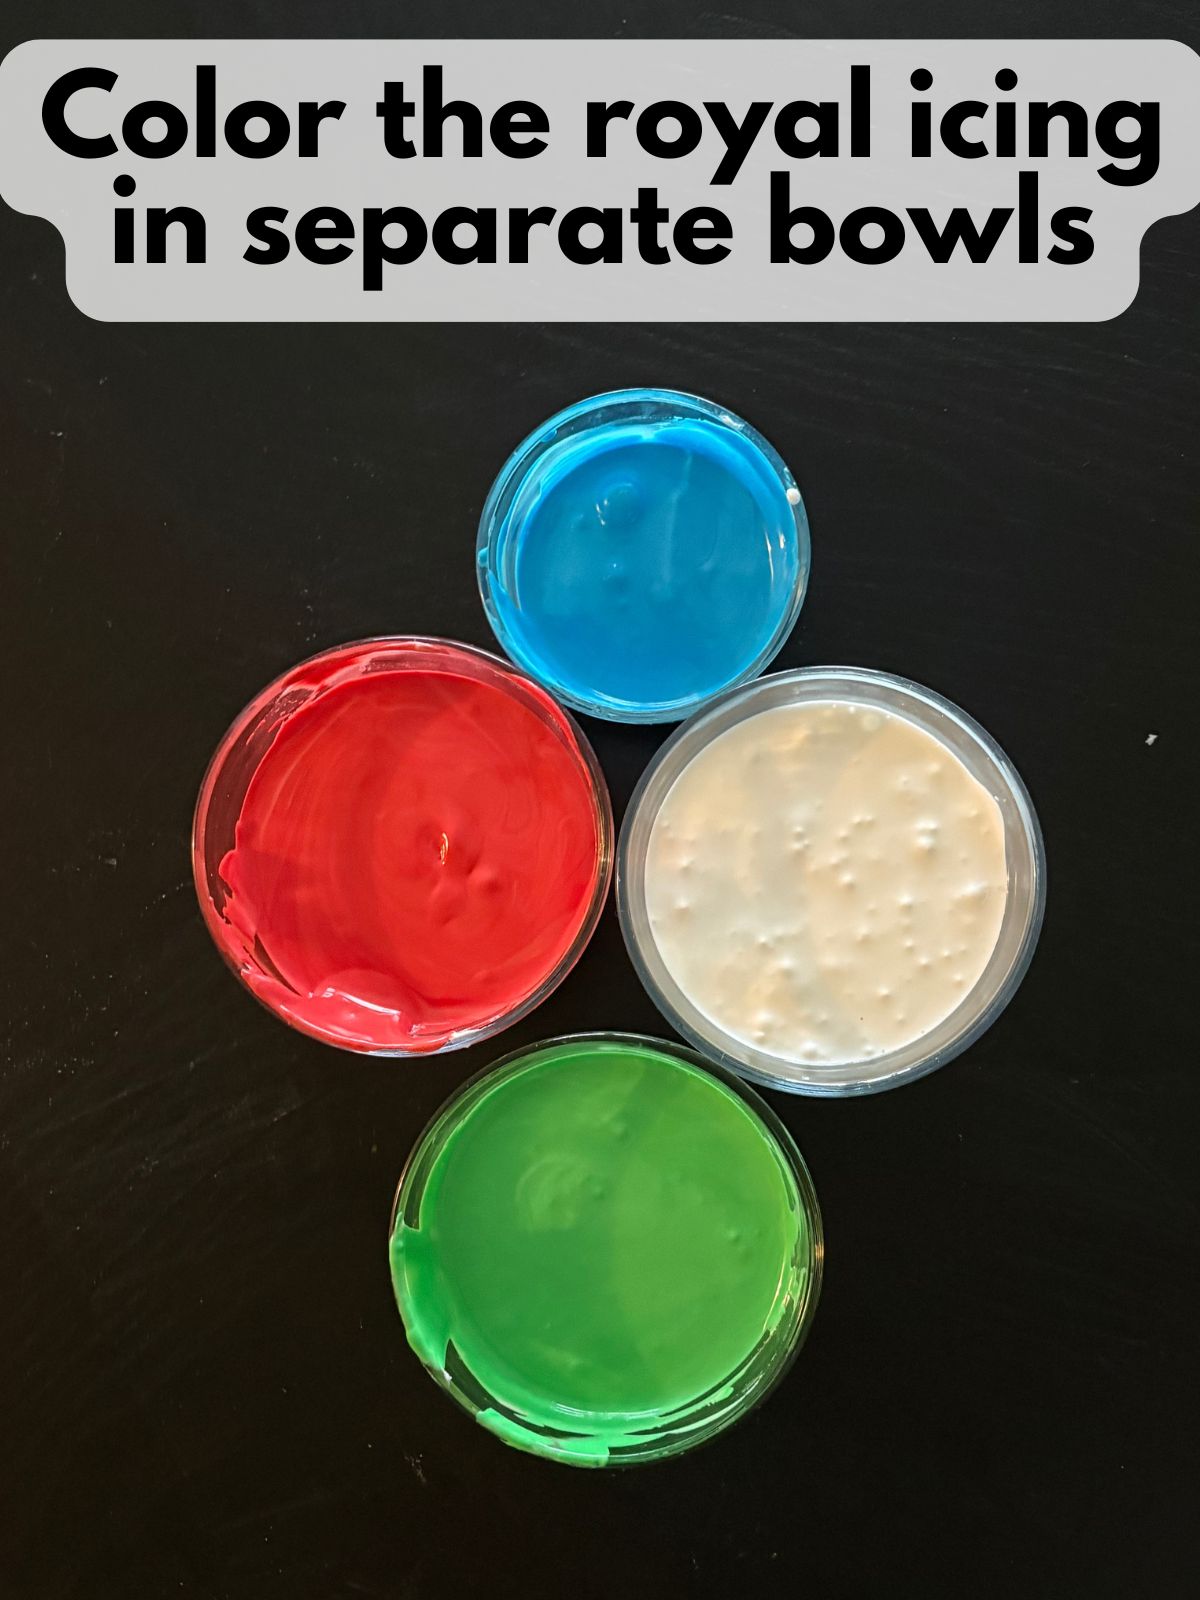
Lift the whisk to check the consistency. The icing should drizzle back into the bowl and smooth into the surface within about 5–10 seconds. Add more water a little at a time as needed. Divide the icing among bowls and tint each portion a different color.
5. Ice the ornament cookies
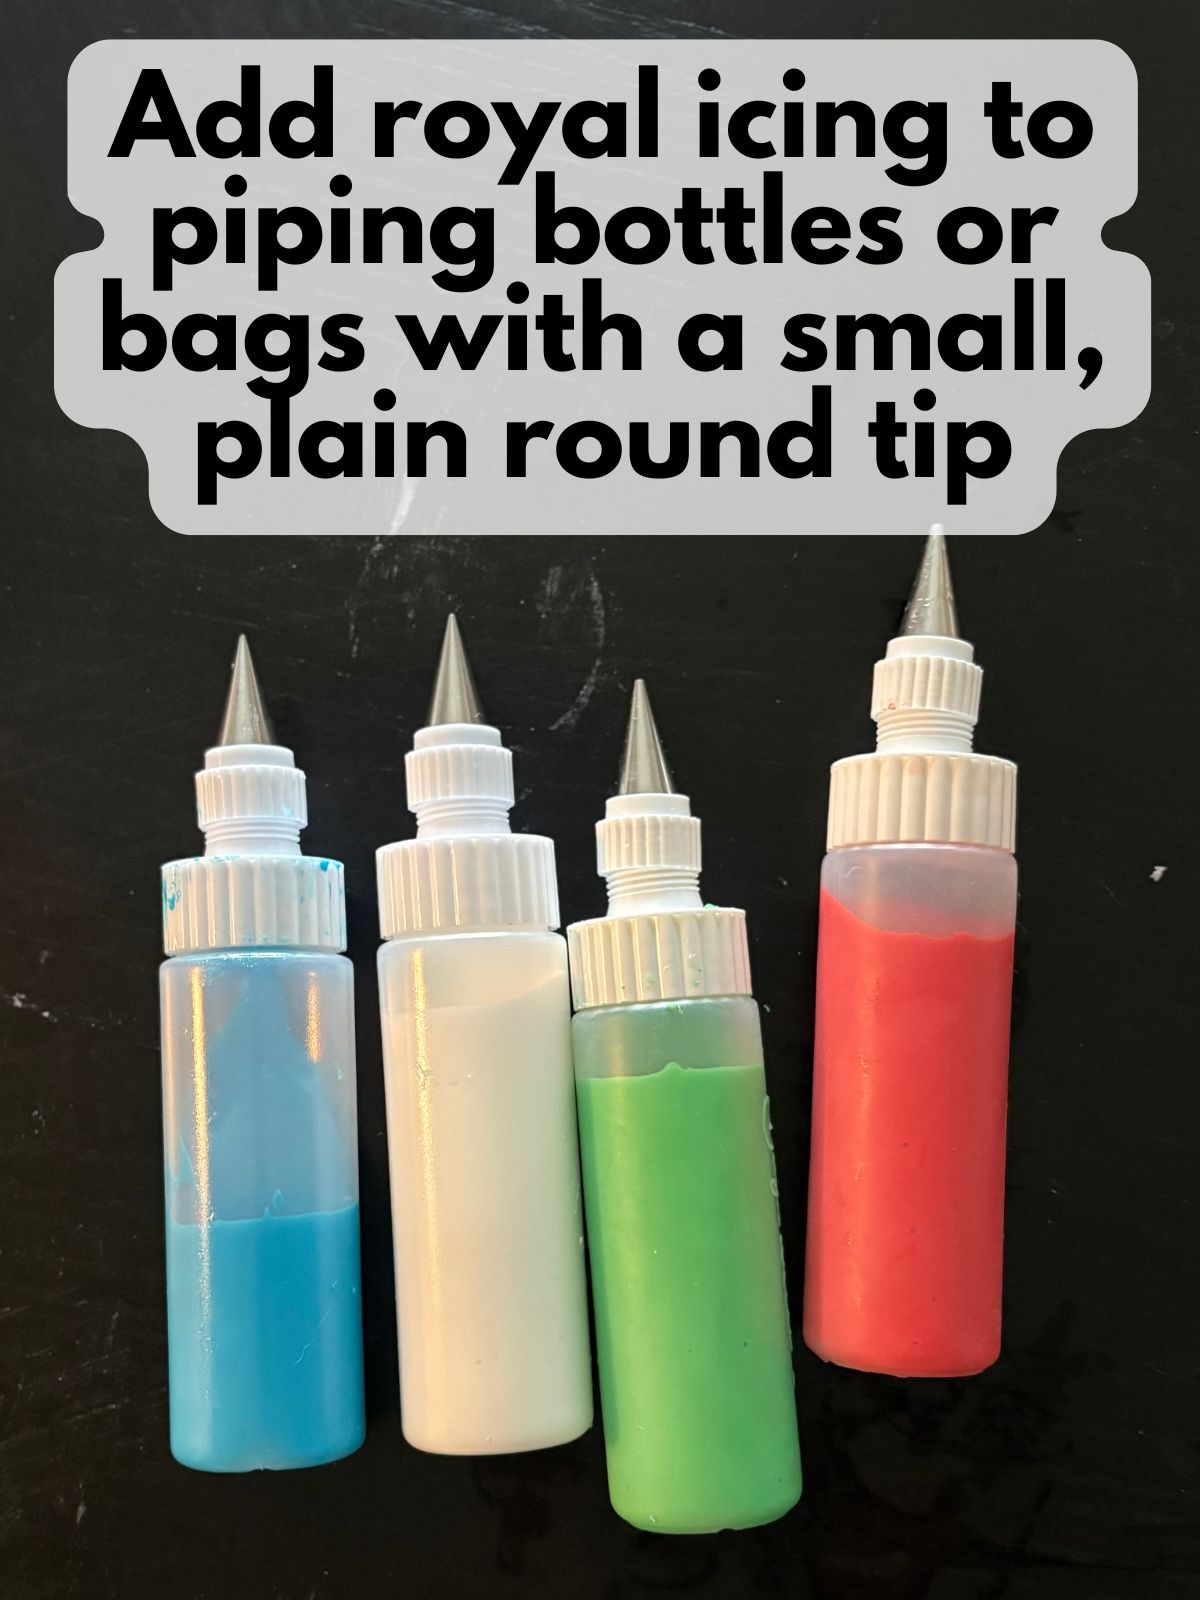
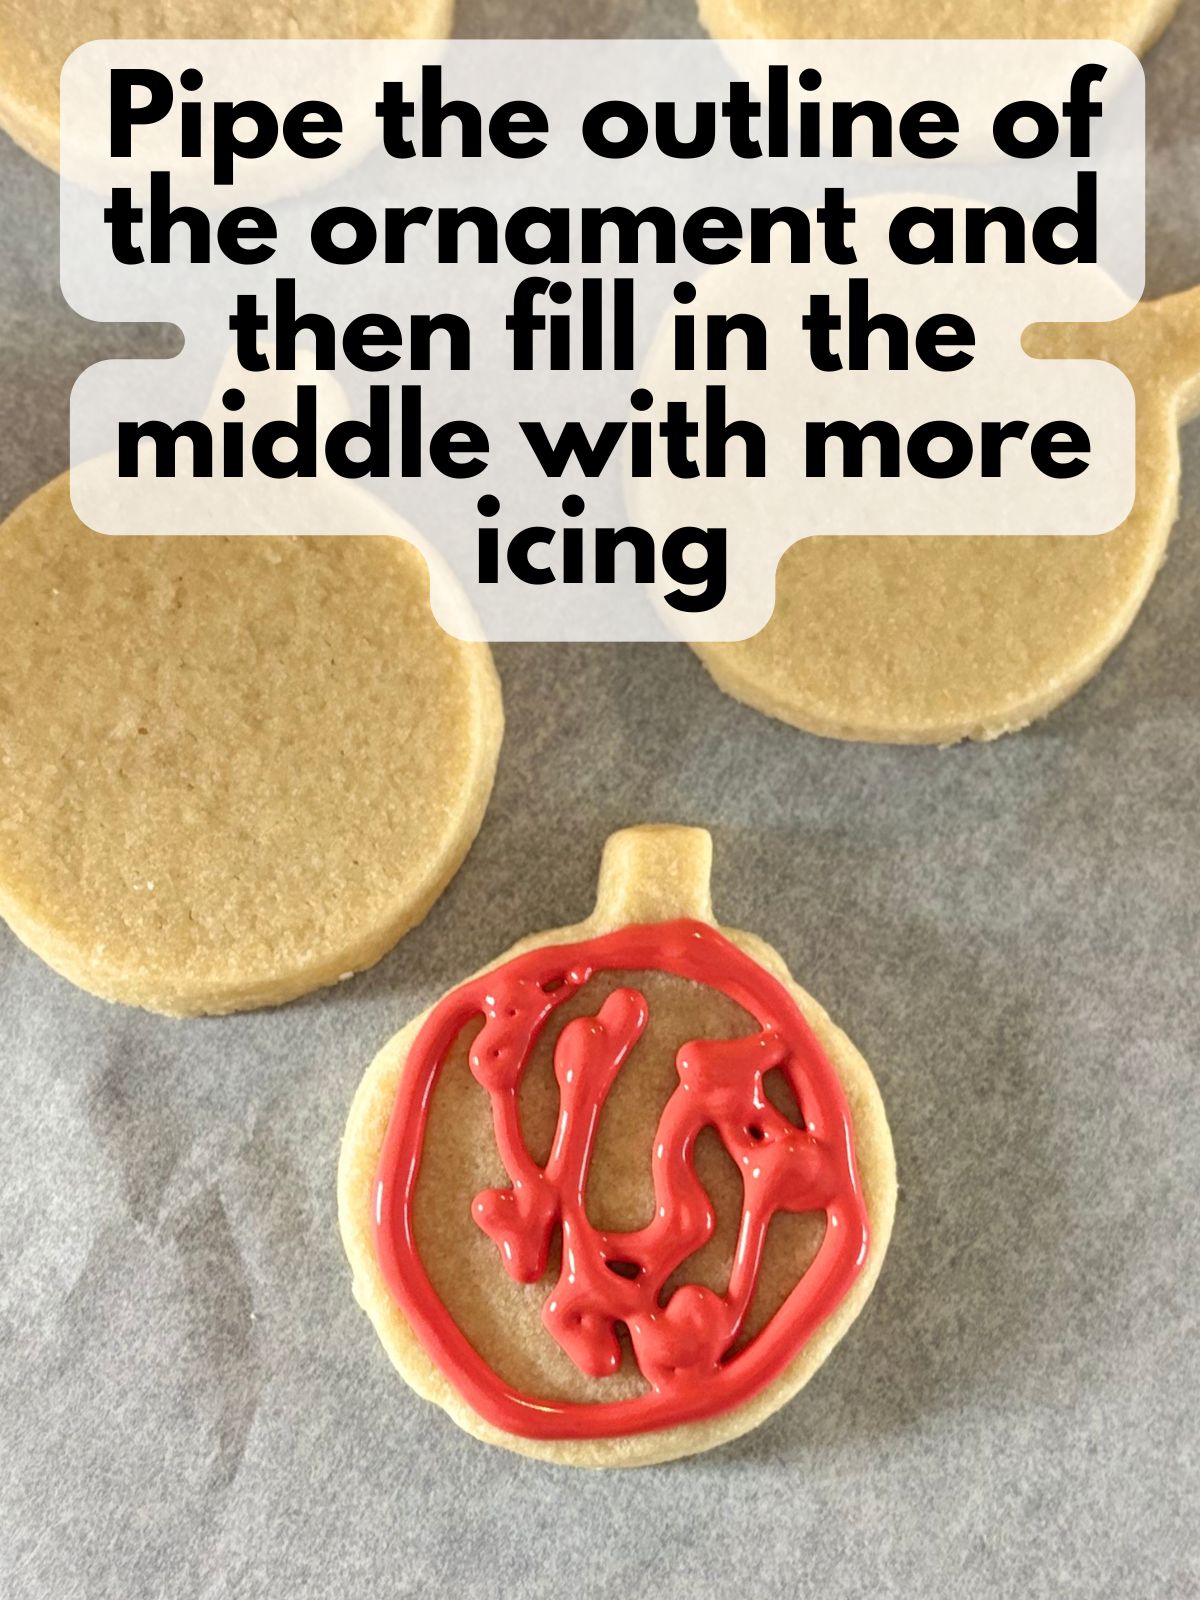
Transfer the icing to piping bags or icing bottles fitted with small round tips. Outline just the round part of each ornament, piping across where it meets the little top. Fill the outline with more icing and leave the top bare. Use a toothpick or scribe tool to fill small gaps and pop any air bubbles.
6. Add sanding sugar and let the cookies dry
If you’re using white sanding sugar, sprinkle it over the icing while it’s still wet. Work over a rimmed tray or a sheet of parchment to catch the excess.
Let the cookies dry uncovered for at least 6–8 hours or overnight before stacking or packaging. Thick icing or humid conditions may require more time.


Pro Tips for Pretty Ornament Cookies
- Lift the cutouts with a thin spatula. Slide it under the whole cookie so the little ornament top stays supported as you move it to the baking sheet.
- Keep extra icing covered. If you’re working with several colors, cover the bowls you aren’t using so the icing doesn’t form a crust while you decorate.
- Decorate one or two cookies at a time if you’re adding sugar. Sprinkle it on as soon as you finish filling each ornament so it sticks evenly.
- Give the icing plenty of time to set. The surface can feel dry while the icing underneath is still soft. If you’re packing the cookies as gifts, give them overnight to dry and check that the icing is firm before stacking.

FAQs
Can I make the dough ahead of time?
Yes! Keep the wrapped dough in the refrigerator for up to 2 days, or freeze it for later. If the chilled dough is too firm to roll, let it sit at room temperature briefly until it’s workable.
How many cookies does this recipe make?
Plan on about three dozen cookies. The exact yield depends on the size of your ornament cutter and how thick you roll the dough.
Will one batch of royal icing be enough?
One batch should be enough to decorate the cookies. How much you use depends on the size of your ornaments and how thickly you apply the icing.
Can I skip the sanding sugar?
Yes! The colored royal icing gives the cookies a finished look on its own. If you want a little sparkle, sprinkle white sanding sugar over the icing while it’s still wet.
How long does royal icing take to dry?
Allow at least 6–8 hours or overnight before stacking or packaging. Drying time varies with icing thickness and humidity, so check that the icing is fully firm first.
How should I store decorated cookies?
Once the icing has dried completely, store the cookies in an airtight container at room temperature for up to a week. Separate the layers with parchment paper.

A few icing colors are all you need to make a tray of these ornament sugar cookies look festive. If you’re decorating with kids, let everyone pick a color for their ornaments and sprinkle on a little sanding sugar if they want. Once the icing is set, tuck a few into a cookie box for a neighbor or add them to your Christmas dessert tray.

Ornament Sugar Cookies

Equipment
- Piping bottles or bags with small round tips optional, but helpful
- Ornament-shaped cookie cutter
- toothpicks
- parchment paper optional, but nice for easy cleanup
Ingredients
For the sugar cookies
- 1 cup unsalted butter softened
- 1 cup granulated sugar
- 1 large egg
- 1 tsp vanilla extract
- 3 cups all-purpose flour
- ½ tsp salt
For the royal icing
- 4 cups powdered sugar
- 3 Tbsp meringue powder
- 9–10 Tbsp water plus more as needed
For decorating
- Food coloring in your choice of colors
- White sanding sugar optional
Instructions
Make the dough
- Cream the butter and sugar until light and fluffy. Add the egg and vanilla and mix well.
- In a separate bowl, whisk together the flour and salt. Gradually add the dry ingredients to the wet ingredients and mix just until a soft dough forms.
Chill and roll
- Divide the dough in half, flatten each portion into a disk, and wrap in plastic wrap. Chill for at least 1 hour.
- Roll the dough on a lightly floured surface to about ¼ inch thick. I roll it to ⅜ inch if kids are helping because the thicker cookies are sturdier.
- Cut out the ornaments and transfer them to a parchment-lined baking sheet. If the dough gets too soft to lift cleanly, return it to the fridge briefly.
Bake
- Preheat the oven to 350°F (175°C). Bake for 8–10 minutes, until the edges are just beginning to turn lightly golden. Let the cookies rest on the baking sheet for a few minutes, then transfer them to a wire rack to cool completely.
Make and tint the royal icing
- Sift the powdered sugar and meringue powder into a large bowl. Add 9 tablespoons of water and beat with a mixer fitted with a whisk attachment for about 1½–2 minutes.
- Lift the whisk to check the consistency. The icing should drizzle back into the bowl and smooth into the surface within about 5–10 seconds. Add more water a little at a time as needed. Divide the icing among bowls and tint each portion a different color.
Ice the ornament cookies
- Transfer the icing to piping bags or icing bottles fitted with small round tips. Outline just the round part of each ornament, piping across where it meets the little top. Fill the outline with more icing and leave the top bare. Use a toothpick or scribe tool to fill small gaps and pop any air bubbles.
- Add sanding sugar and let the cookies dry
- If you’re using white sanding sugar, sprinkle it over the icing while it’s still wet. Work over a rimmed tray or a sheet of parchment to catch the excess.
- Let the cookies dry uncovered for at least 6–8 hours or overnight before stacking or packaging. Thick icing or humid conditions may require more time.