
4 Cute and Easy Christmas Sugar Cookie Designs with Royal Icing
Want to decorate Christmas sugar cookies without making a separate batch for every shape? One buttery cutout dough and one batch of royal icing are all you need to make Christmas trees, snowflakes, mittens, and ornaments. A little sanding sugar or a few sprinkles can make each design look special, even if you’re new to royal icing.
These cookies are fun to set out at a Christmas cookie decorating party, tuck into holiday cookie boxes, or make with your kids on a quiet afternoon. If you’re short on time, bake the cookies the day before and save the decorating for later.

Start with One Easy Sugar Cookie Dough
All four designs start with the same buttery cutout sugar cookie dough. Chilling it before you roll and cut helps the cookies hold their shape, especially around the narrow points of the snowflakes.
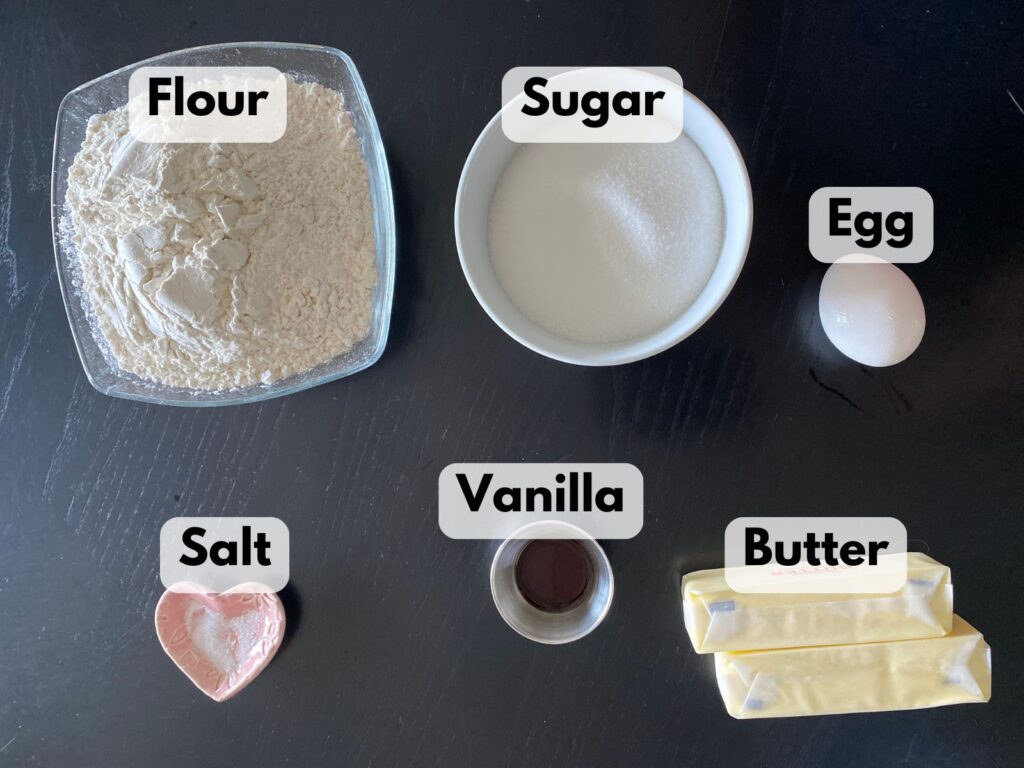
Cutout sugar cookie dough ingredients
- 1 cup unsalted butter, softened
- 1 cup granulated sugar
- 1 large egg
- 1 teaspoon vanilla extract
- 3 cups all-purpose flour
- ½ teaspoon salt
Cream the butter and sugar, then mix in the egg and vanilla. Stir in the flour and salt until the dough comes together. Chill for at least 1 hour, then roll out the dough and cut it into trees, snowflakes, mittens, and ornaments. Bake at 350°F for 8 to 10 minutes and let the cookies cool completely before decorating. See the full recipe here.
Use One Batch of Royal Icing for All Four Designs
Make one batch of royal icing and divide it into bowls for the colors you want to use. Set aside some white icing first so you have enough for the snowflakes and any details you want to add to the other cookies.
Royal icing ingredients and decorating supplies
- 4 cups powdered sugar
- 3 tablespoons meringue powder
- 9 to 10 tablespoons water, plus more as needed
- Gel food coloring in green and any colors you like for the mittens and ornaments
- White or blue sanding sugar and small holiday sprinkles, optional
- Piping bags or squeeze bottles with small round openings, optional but helpful
I use this royal icing recipe here.
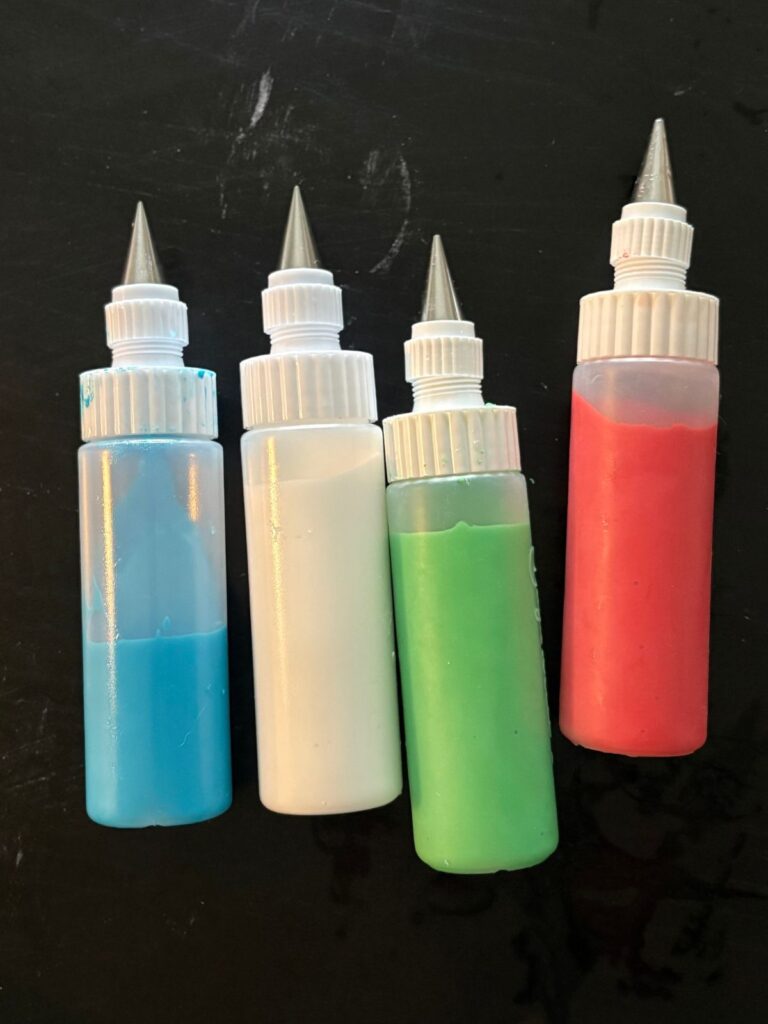
4 Easy Christmas Sugar Cookie Designs
Christmas Tree Sugar Cookies

Outline and flood the tree with green royal icing. Add small round sprinkles while the icing is wet to make little ornaments. If you’d like to add a garland, let the green icing set, then pipe a simple zigzag across the tree with white icing.
See the Christmas tree sugar cookie tutorial.
Snowflake Sugar Cookies

Outline and flood each snowflake with white royal icing. Use a toothpick to guide the icing into the narrow points, then sprinkle on white or blue sanding sugar while the icing is wet. The sparkle gives you a pretty finish with just one layer of icing.
See the snowflake sugar cookie tutorial.
Mitten Sugar Cookies

Outline and flood the mitten with your favorite icing color. Once the base has set, pipe a few short lines across the wrist for a knit cuff. You can leave the rest simple or add a few white dots to make it look like a cozy winter mitten.
See the mitten sugar cookie tutorial.
Ornament Sugar Cookies
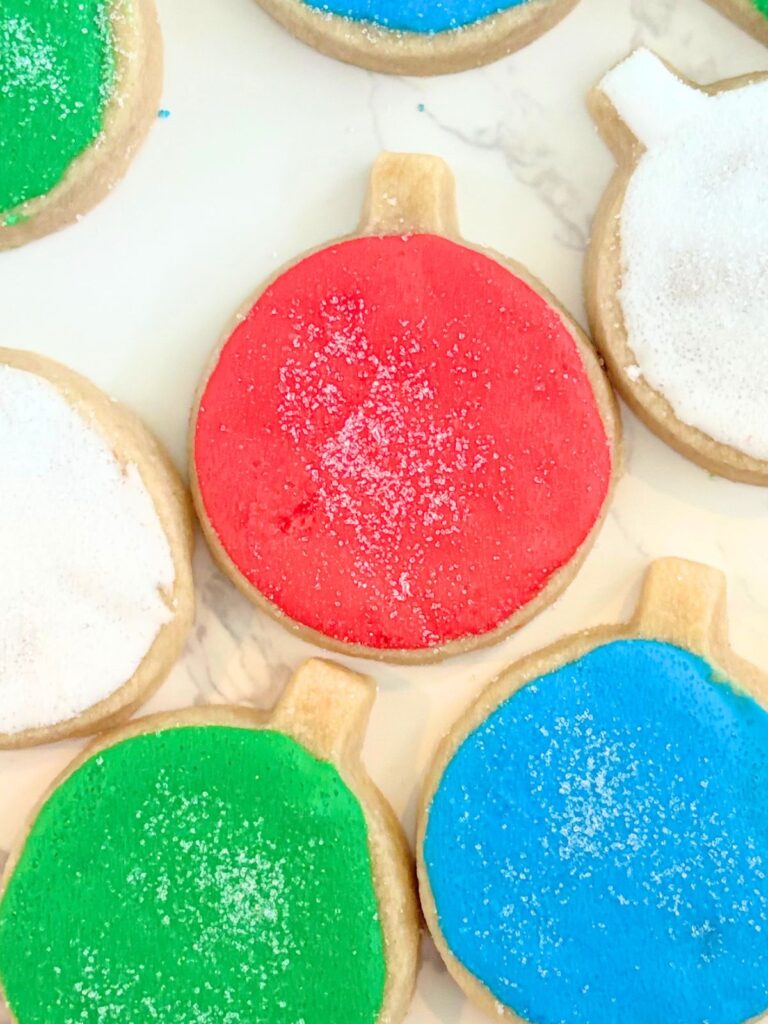
Outline and flood just the round part of the ornament with royal icing, leaving the little cap at the top as bare cookie. Use a few different icing colors to give your tray some variety. If you want a sparkly finish, sprinkle on a little white sanding sugar while the icing is still wet.
Pro Tips for Decorating Christmas Sugar Cookies
- Bake the cookies ahead. If you’re decorating with kids or setting up for a party, bake the cookies the day before. You can also make the royal icing ahead and cover it tightly with plastic wrap. Give it a quick stir before using it.
- Roll the dough a little thicker for small hands. I like to use the 5/16-inch setting on my rolling pin instead of ¼ inch. The thicker cookies are easier for little helpers to pick up and decorate.
- Set out parchment paper before you start. It catches drips and loose sanding sugar, which makes cleanup a lot easier.
- Use gel food coloring. A little goes a long way, and it gives you bright Christmas colors without adding much liquid to the icing.
- Give the icing time to dry. Let the base layer set before piping details. Leave the finished cookies uncovered for at least 6 to 8 hours or overnight before stacking or packing them. The surface can feel dry while the icing underneath is still soft.

If you’re decorating with kids, set out a few colors of icing and let them pick their favorite shape. Trees with sprinkle ornaments and sparkly snowflakes are easy places to start. If you’re filling a cookie tray, make a few of each design so you get a mix of colors and shapes from the same batch.