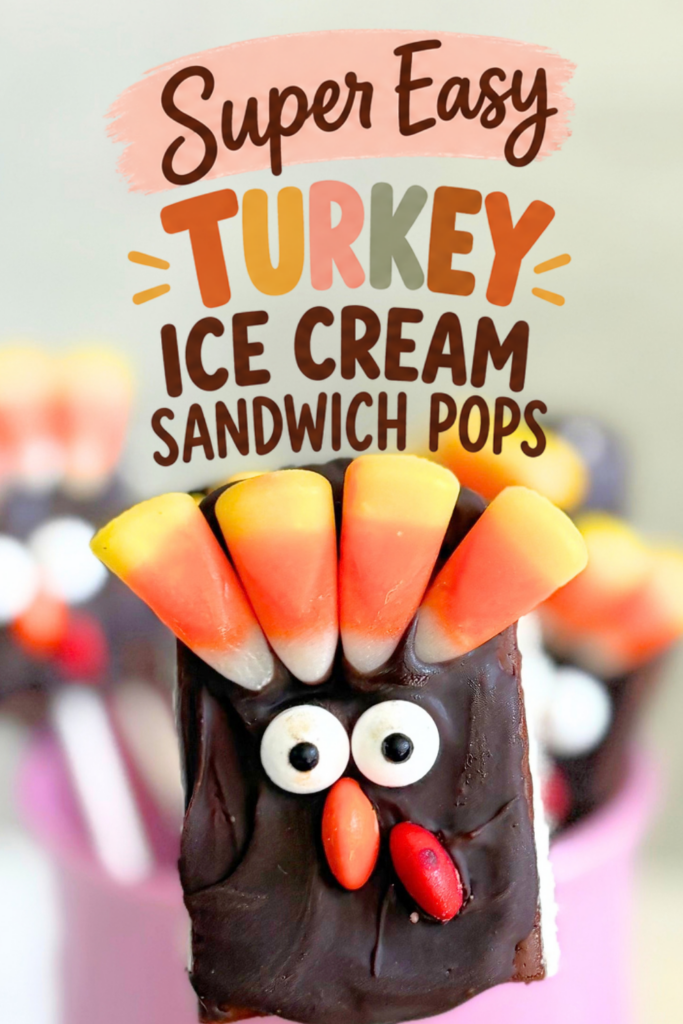
Cute Turkey Ice Cream Sandwich Pops
These Turkey Ice Cream Sandwich Pops are a fast, no‑bake treat that look so adorable for Thanksgiving. These are playful, colorful, and perfect when you want Thanksgiving treats for kids that feel special but are secretly easy. With store‑bought ice cream sandwiches and a handful of candy, you can turn dessert into a crafty activity and fill your table with the cutest little turkey faces.
Jump to Recipe
Ingredients for Turkey Ice Cream Sandwich Pops
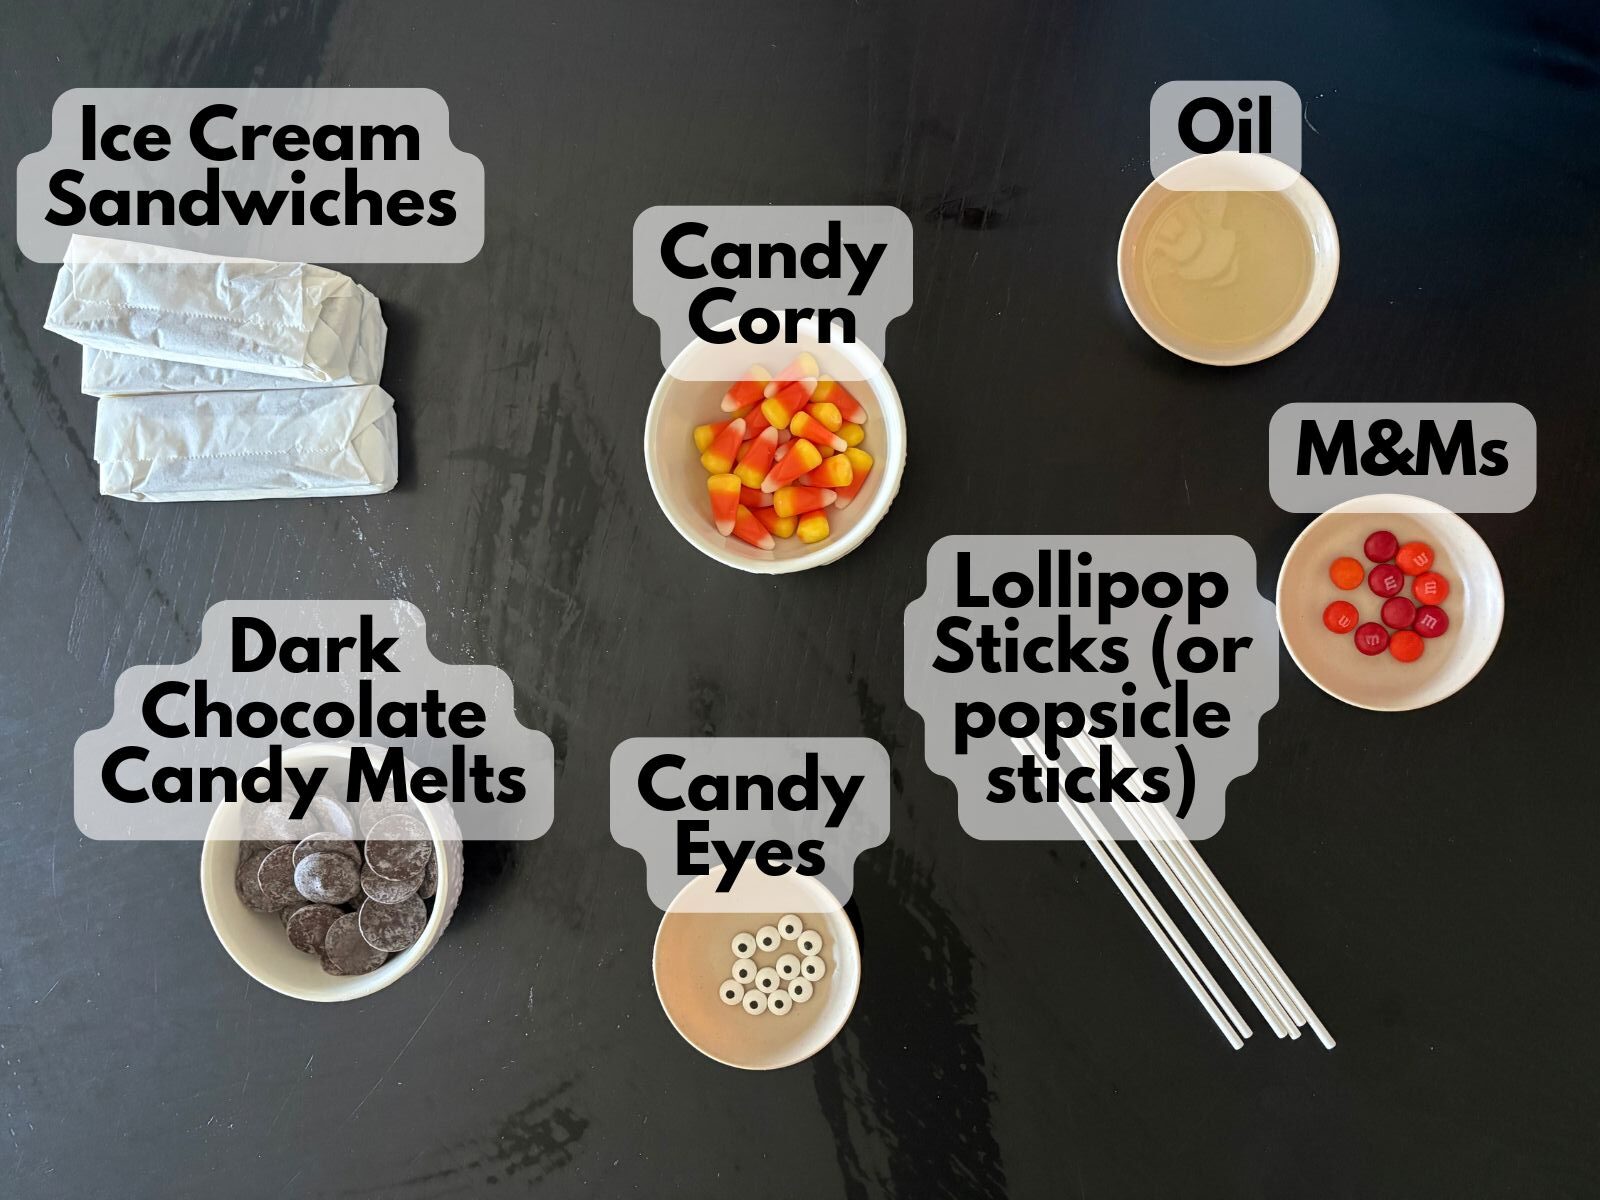
- 3 rectangular ice cream sandwiches
- 12 ounces chocolate candy melts
- 1–2 teaspoons vegetable oil, if needed, for thinning the chocolate
- 30 pieces candy corn
- 12 small candy eyes
- 3 orange M&Ms, plus extras in case they break
- 3 red M&Ms, plus extras in case they break
- 6 wooden popsicle sticks or lollipop sticks
How to Make Turkey Ice Cream Sandwich Pops
1. Prepare the freezer tray: Make sure a baking sheet or freezer-safe tray fits inside your freezer. Line it with parchment paper and place it in the freezer to chill.
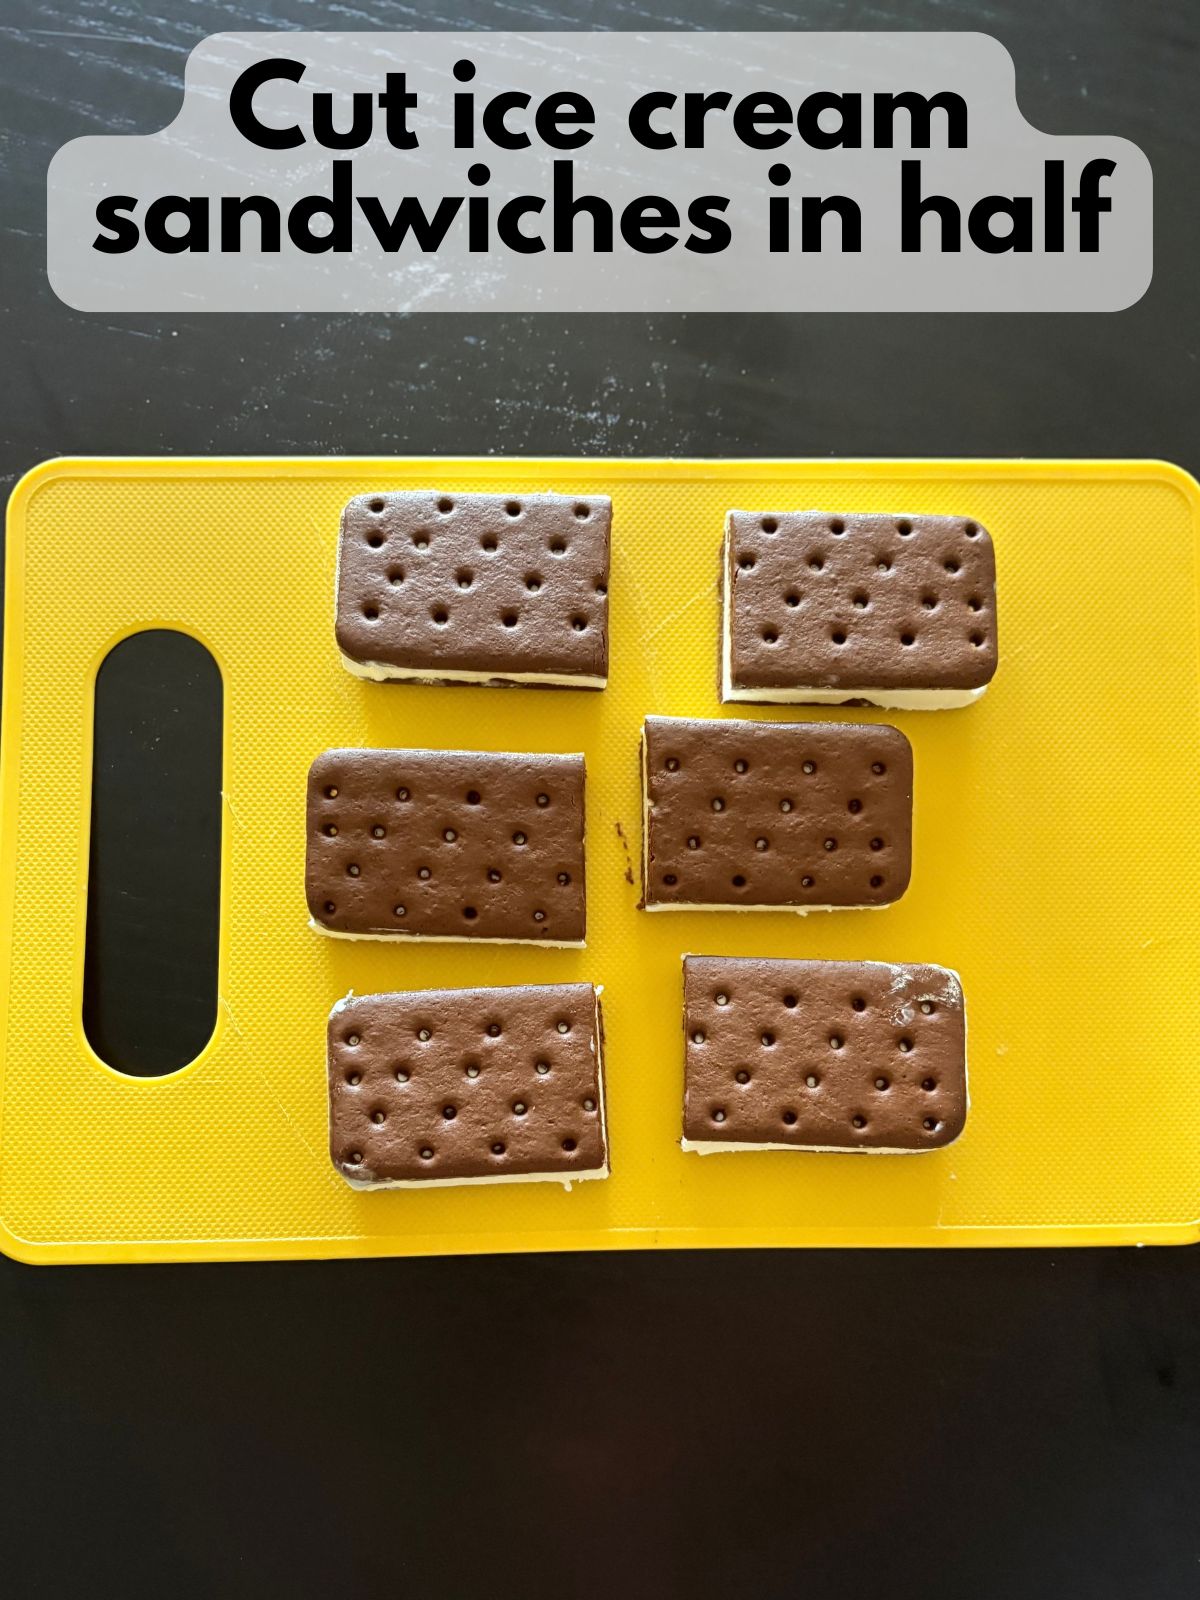
2. Cut the ice cream sandwiches: Working quickly, cut each frozen ice cream sandwich in half crosswise to create six smaller rectangles.
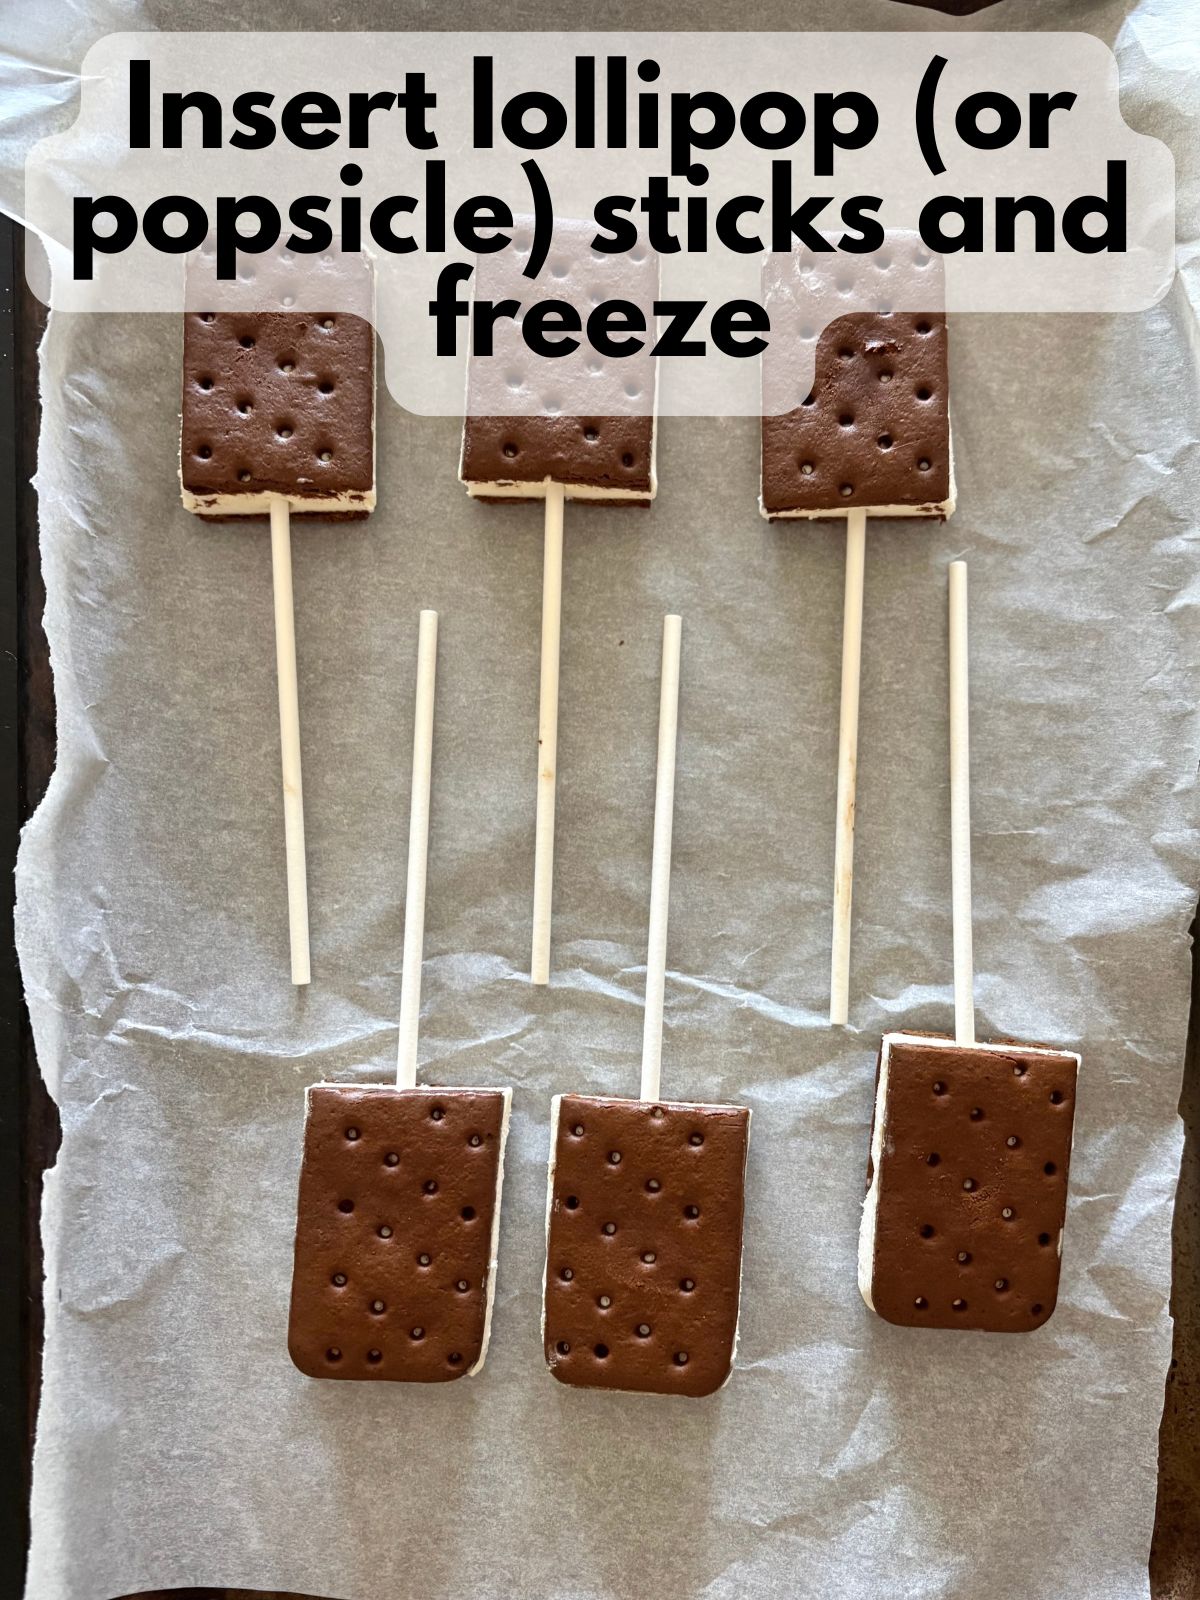
3. Insert the sticks: Carefully insert a wooden popsicle stick into the cut side of each ice cream sandwich, pushing it into the ice cream center without piercing the top. Transfer each pop to the parchment-lined tray in the freezer.
4. Pre-freeze the pops: Freeze the pops for at least 30 minutes, or until completely firm. This helps the sticks stay in place.
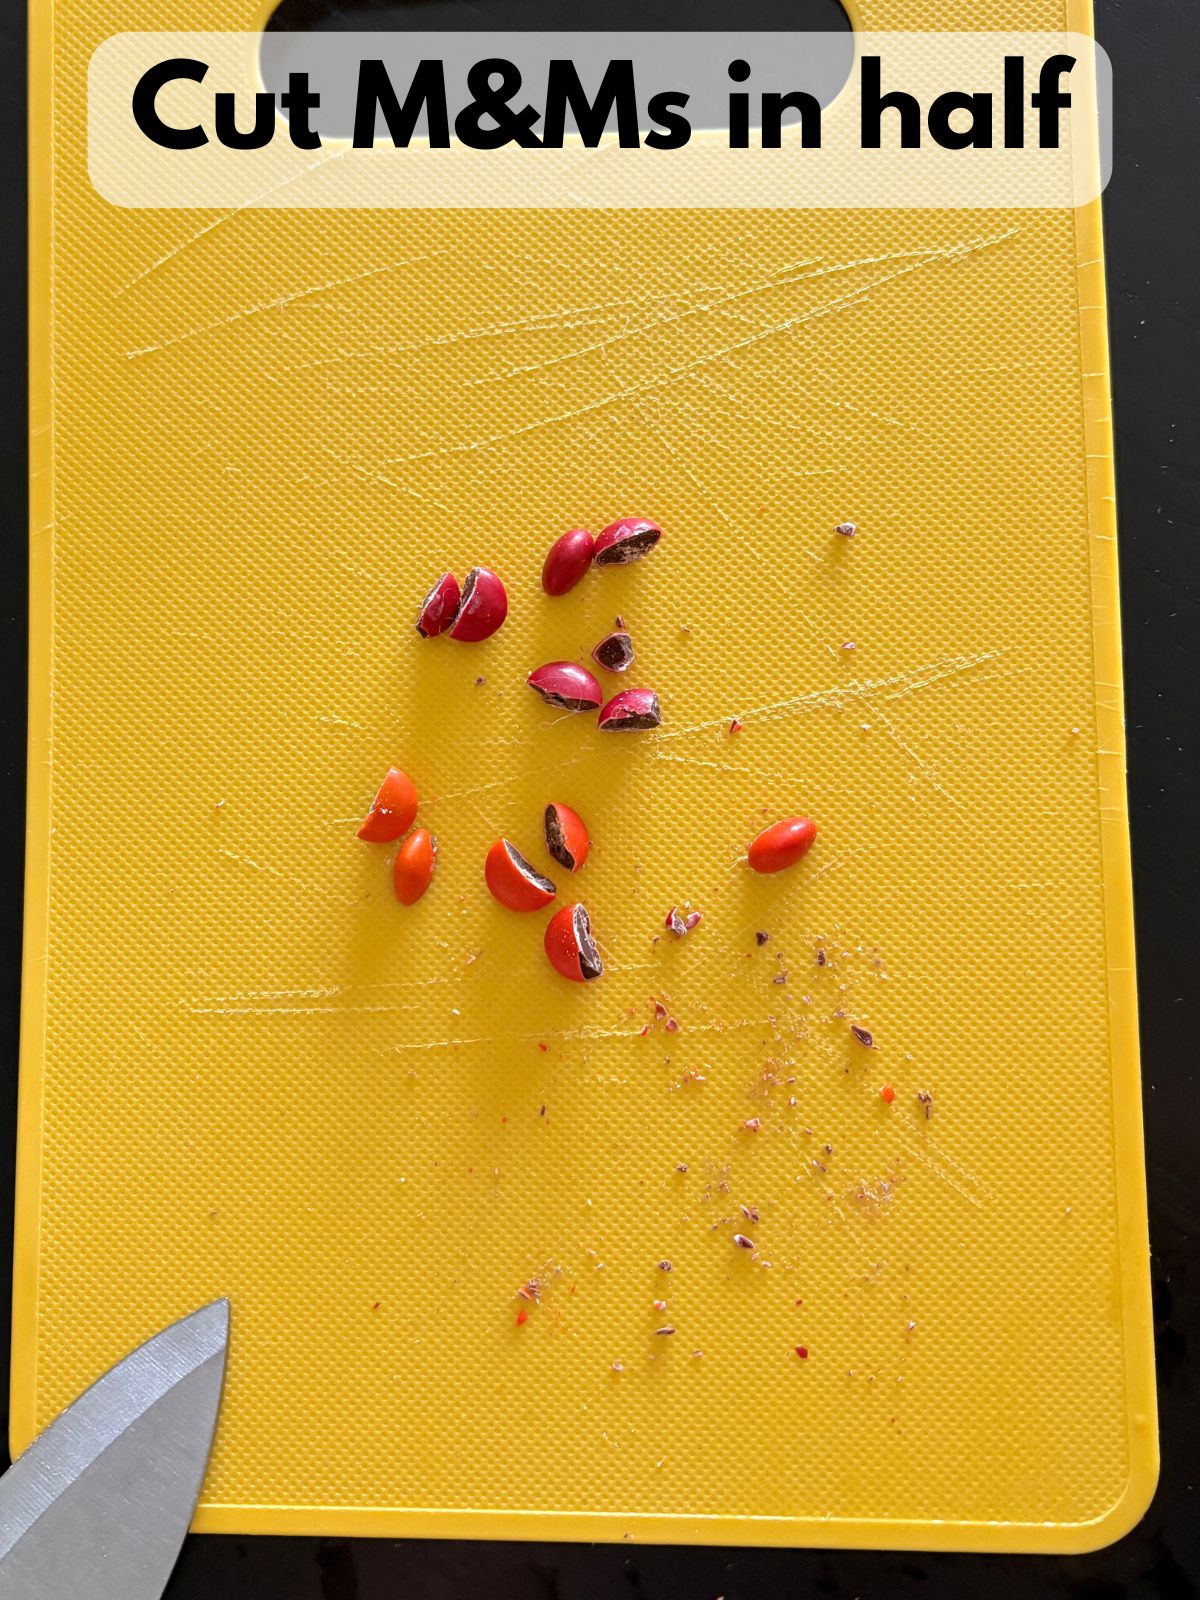
5. Prepare the face decorations: Carefully cut the orange and red M&Ms in half using a sharp knife. The orange halves will be the beaks, and the red halves will be the wattles. Have a few extra M&Ms available because some may crack while being cut.
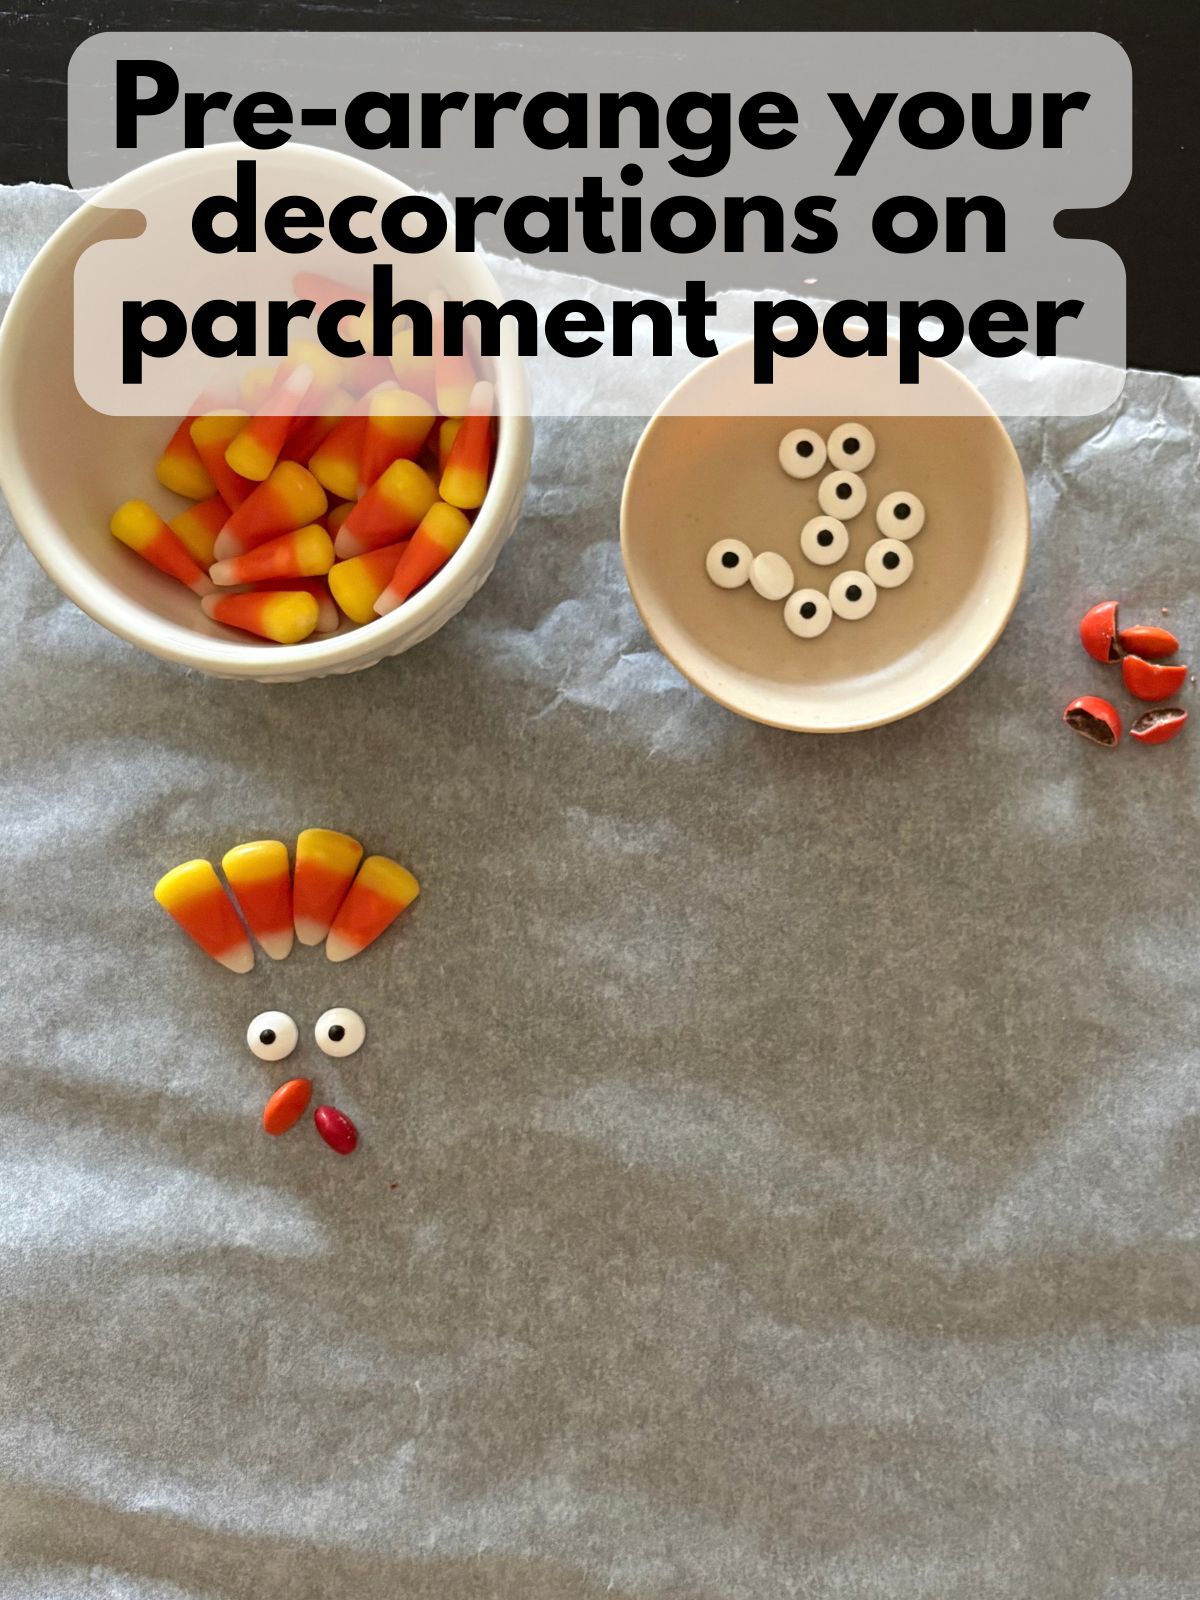
6. Arrange each set of decorations: For each turkey, group together four to five pieces of candy corn (you’ll have to figure out how many fit ahead of time), two candy eyes, one orange M&M half, and one red M&M half. Preparing everything in advance is important because the chocolate will set quickly on the frozen pops. Try to put your decorating station near the freezer so you can stick everything back in right away.
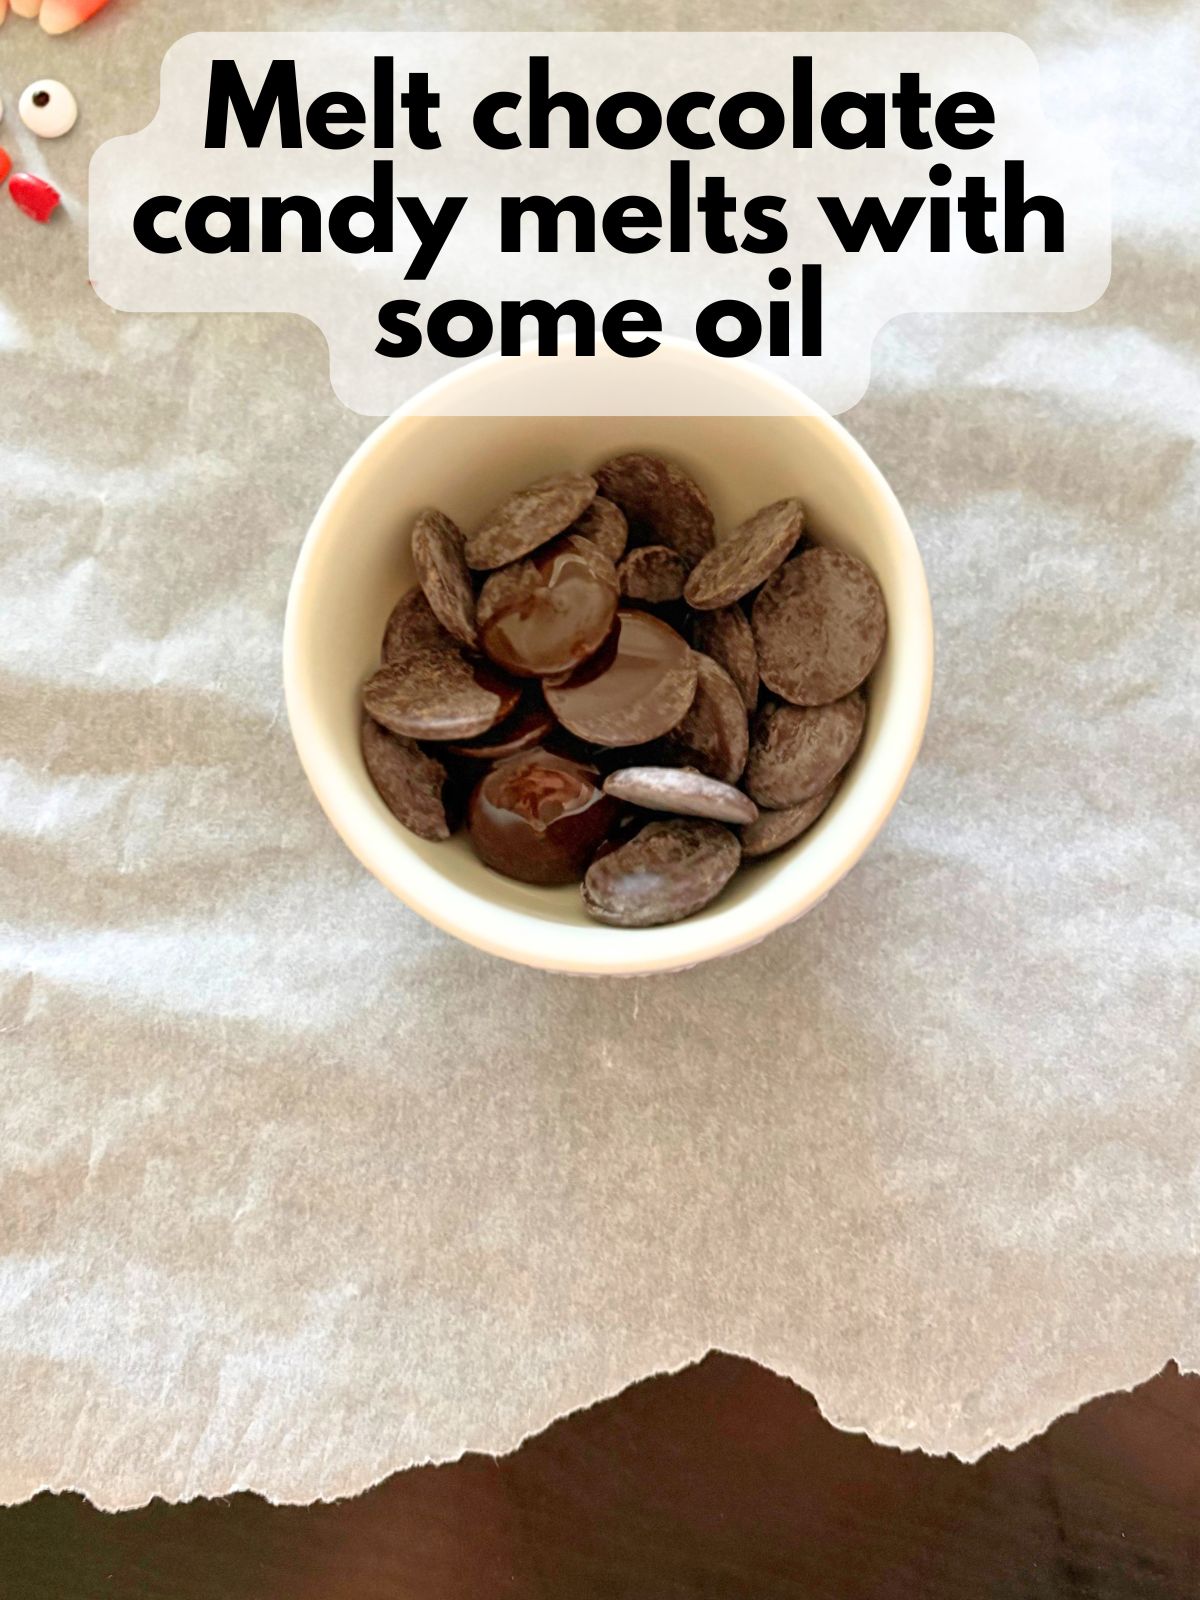
7. Melt the chocolate: Place the chocolate candy melts in a microwave-safe bowl or dipping container. Microwave in 20-second intervals, stirring thoroughly after each interval, until smooth. If the coating is too thick for dipping, stir in vegetable oil ½ teaspoon at a time. Allow the coating to cool slightly so it is still fluid but not hot enough to melt the ice cream.
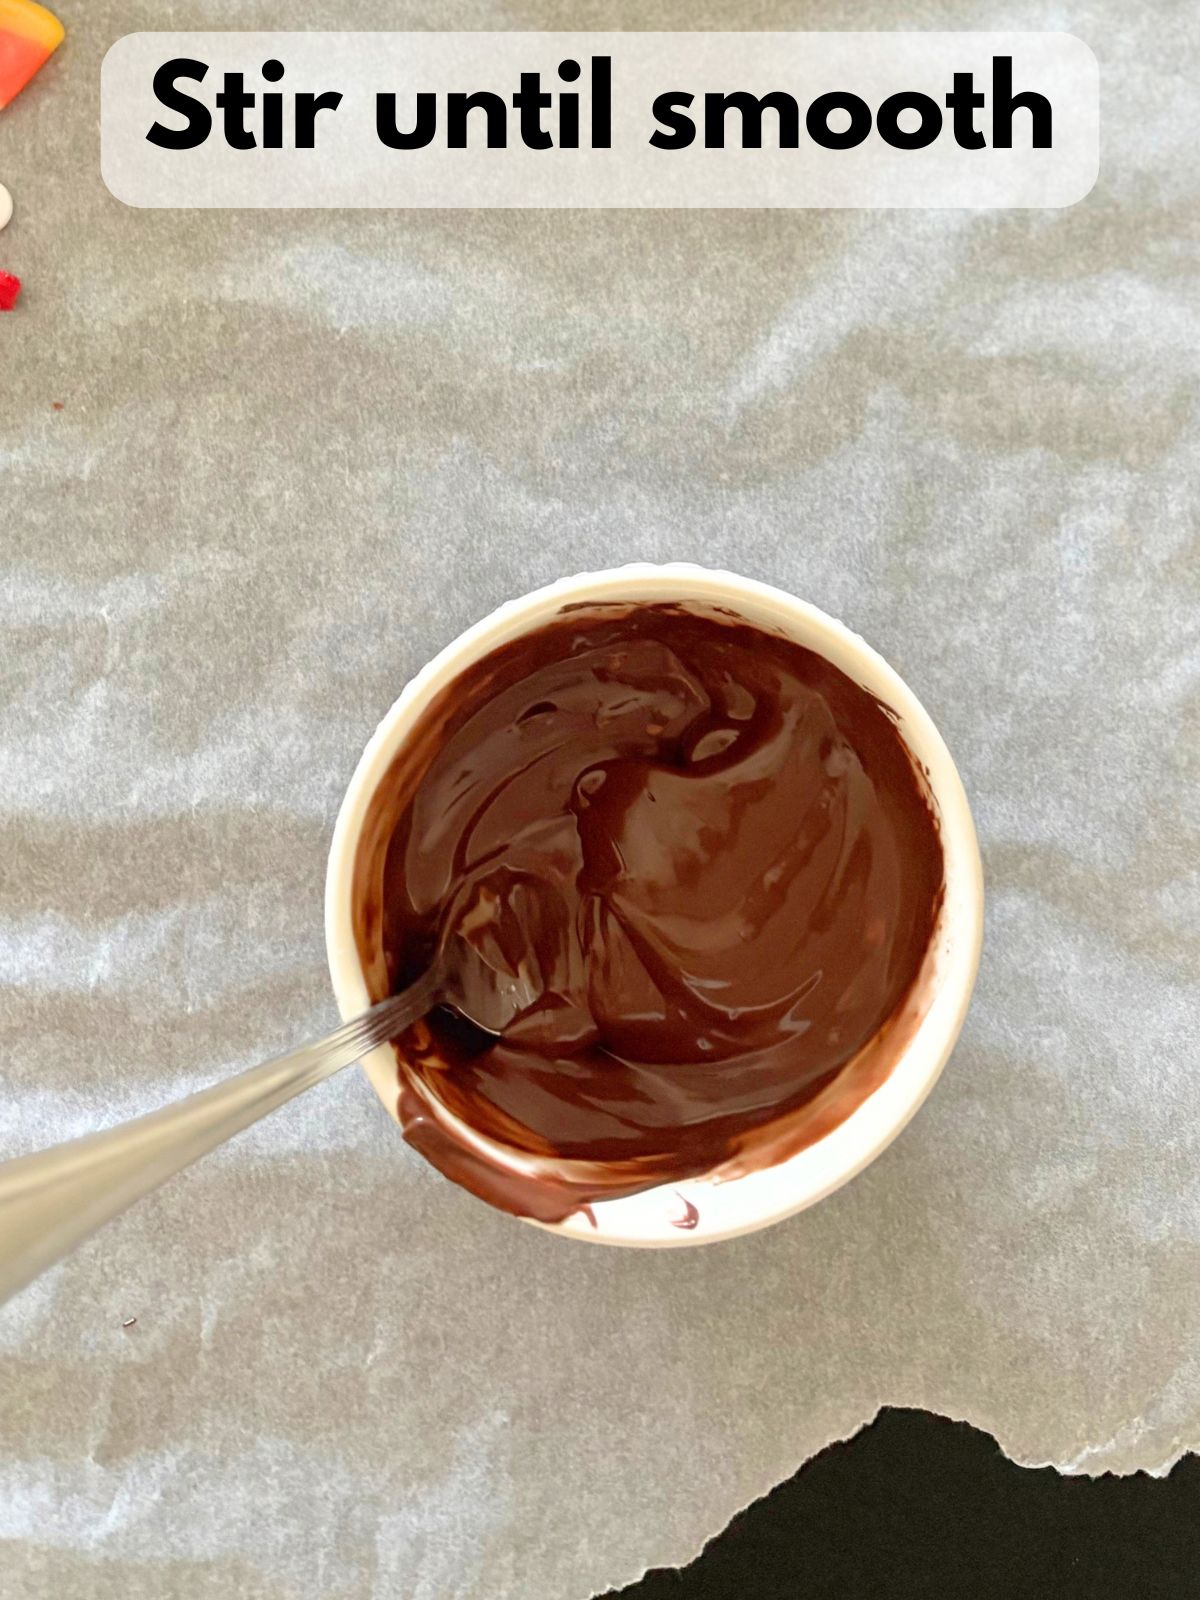
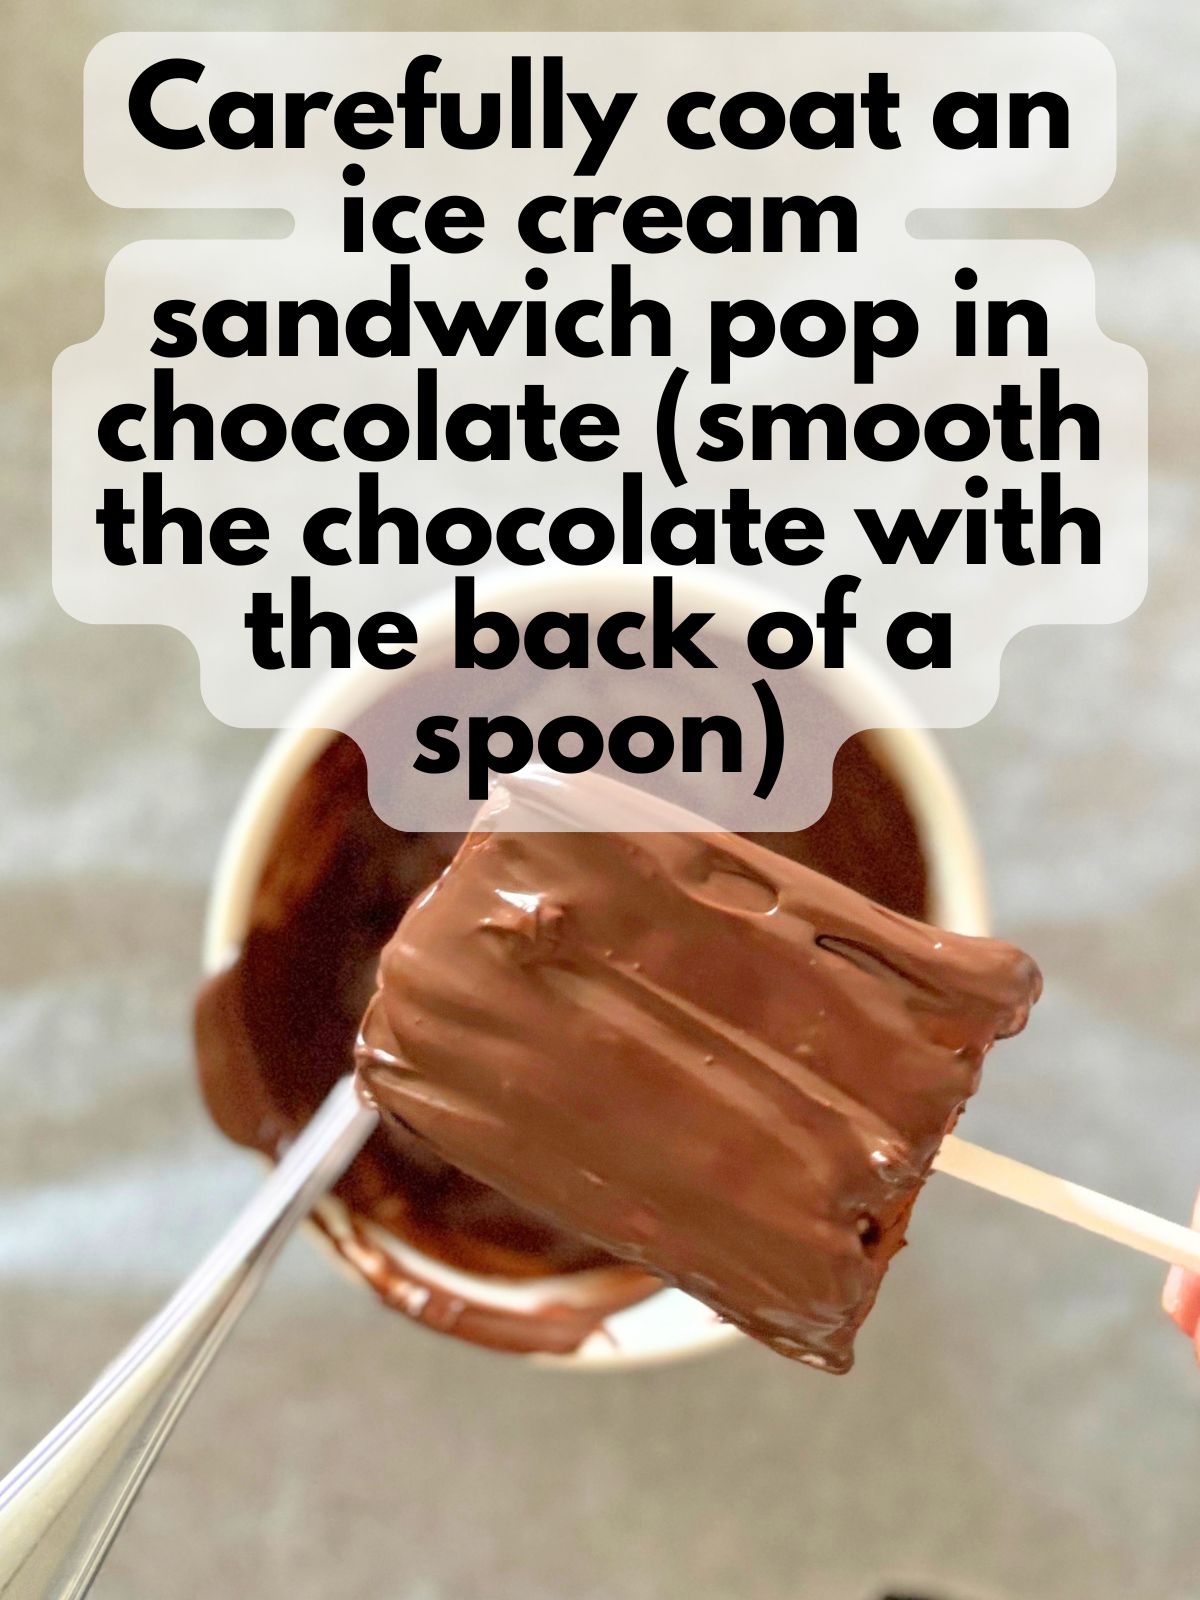
8. Coat one pop: Remove only one ice cream pop from the freezer. Dip it into the melted chocolate, using a spoon to cover any exposed areas. Allow the excess chocolate to drip back into the container.
9. Add the candy corn feathers: Immediately place the coated pop face-up on the parchment-lined decorating station. Arrange five pieces of candy corn in a fan across the upper front of the pop. Position the narrow white tips toward the center of the turkey and the wider yellow ends pointing outward.
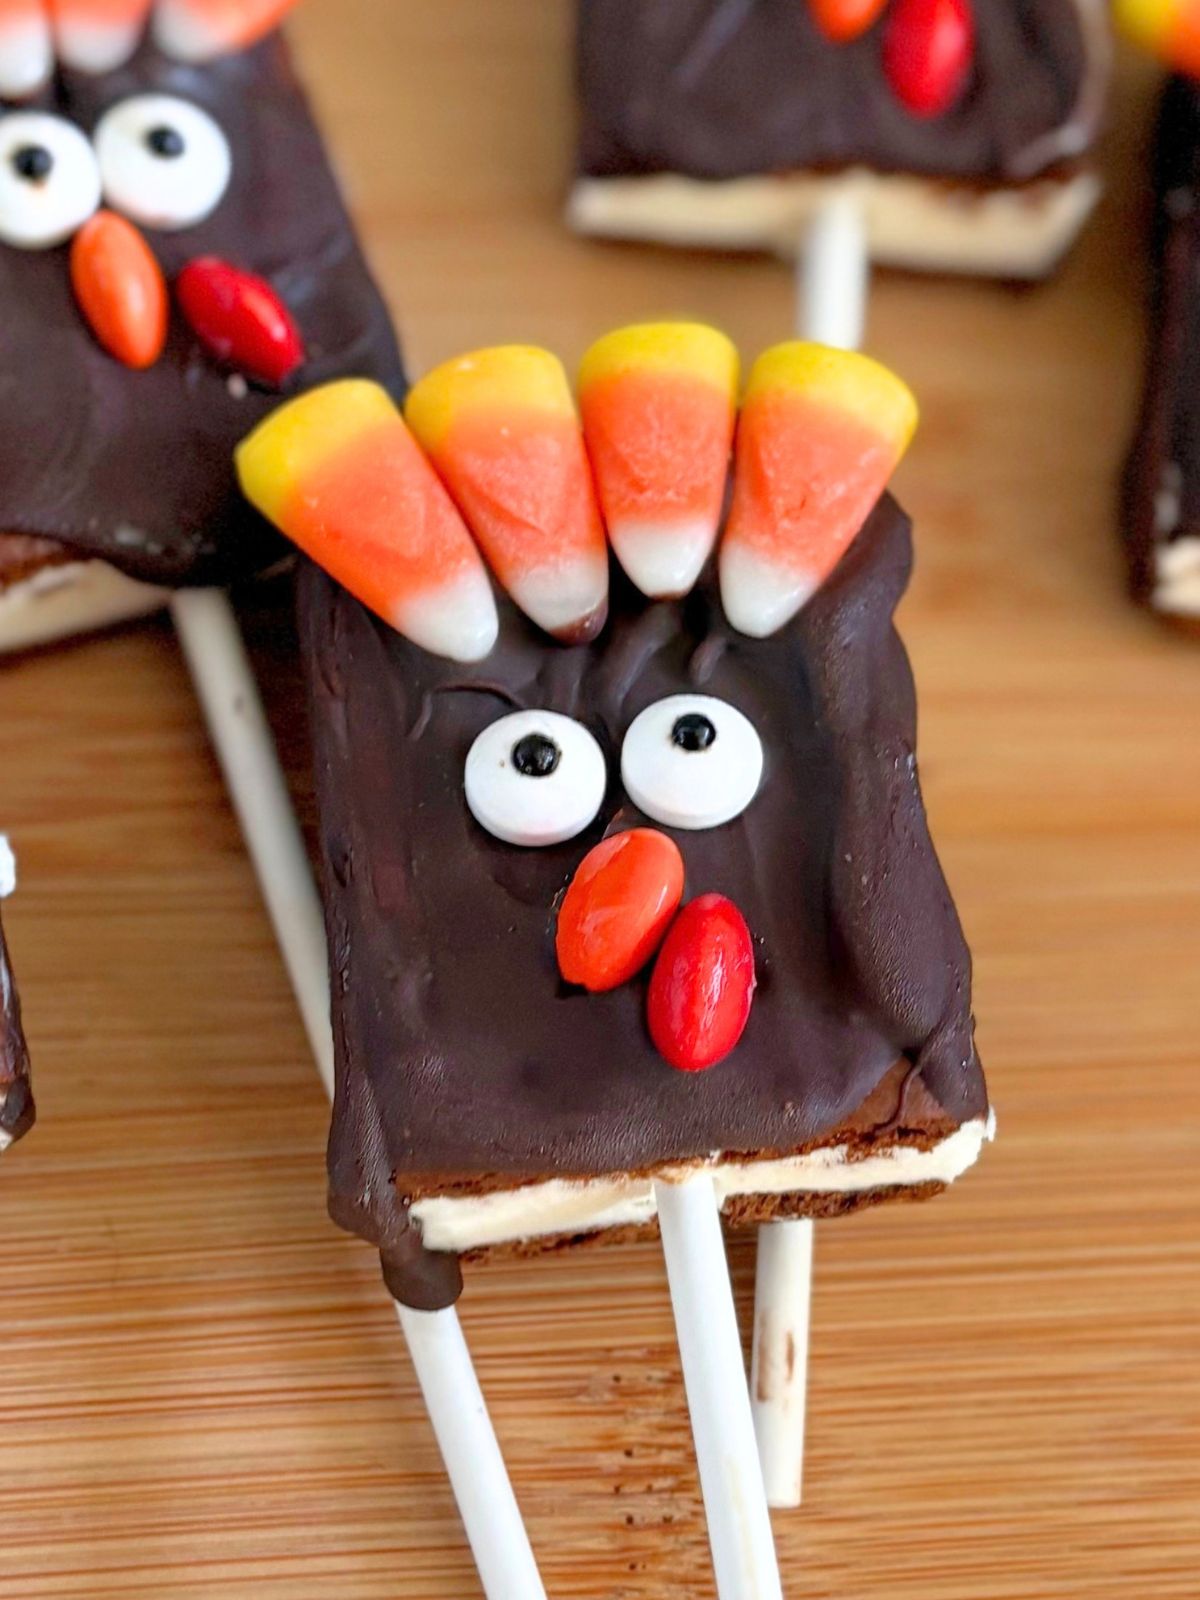
10. Create the face: While the coating is still wet, add two candy eyes beneath the feathers. Add one orange M&M half for the beak and one red M&M half slightly below and beside it for the wattle.
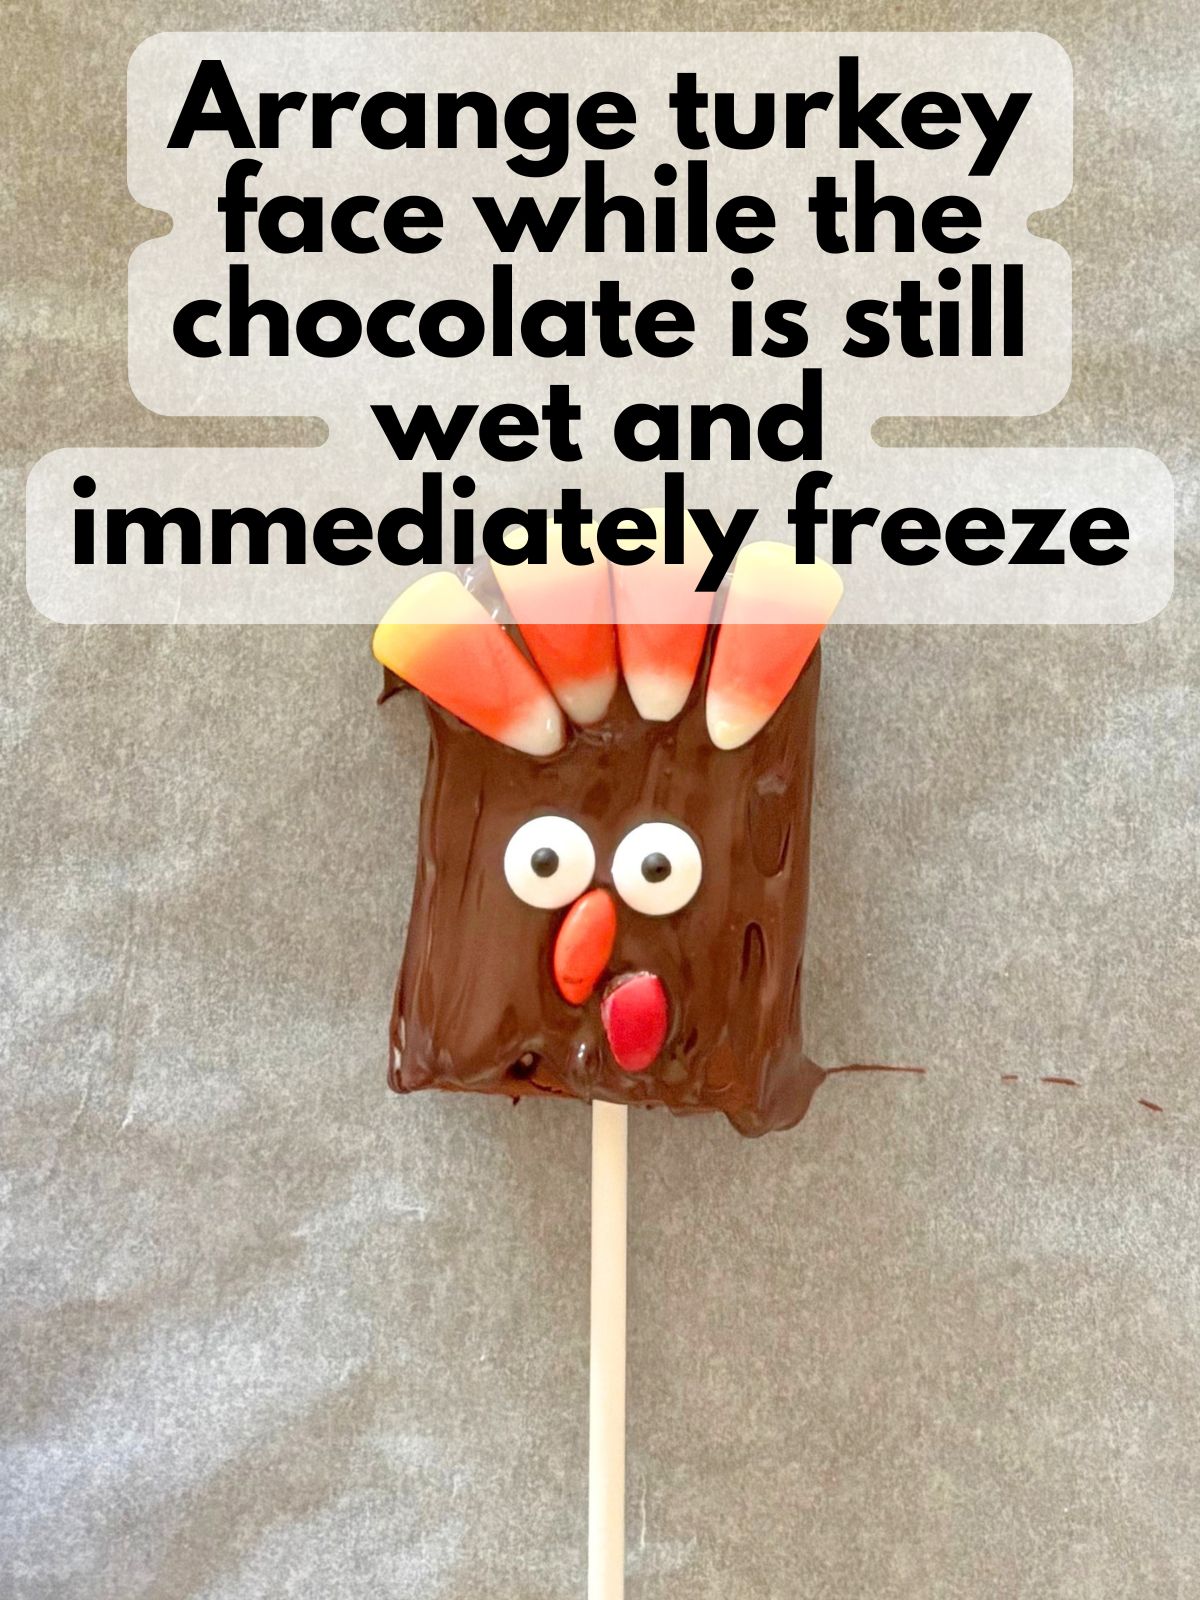
11. Return the pop to the freezer: Immediately transfer the completed pop to the cold parchment-lined baking sheet in the freezer. Keep the freezer tray inside the freezer rather than removing the entire tray while you work.
12. Repeat: Coat and decorate the remaining pops individually, leaving all unfinished and completed pops in the freezer while you work on each one. Reheat the chocolate briefly if it begins to thicken.
13. Freeze until firm: Once all six pops are decorated, freeze them for at least 30 minutes or until the chocolate and decorations are completely secure. After decorations are set, you can store them in an air tight container or wrap them in plastic wrap to help them stay fresh.
Pro Tips
- Take out only one ice cream sandwich pop at a time. Keeping everything else frozen helps prevent melting and sliding candy.
- Don’t skip pre-chilling the ice cream pops. The pre-chilling really helps the popsicle sticks stay in place while you decorate.
- Use a sharp knife for the M&Ms. I gently rock the knife straight down through each M&M instead of sawing. This helps make cleaner cuts and fewer broken pieces.
- Thin the chocolate slowly. A little oil goes a long way. I add ½ teaspoon at a time until the chocolate flows like warm syrup. If it is too thin, it will run off and not coat well.
- Parchment paper is your friend. Decorate your ice cream pops on top of parchment paper. It’ll keep the backs of your turkeys smooth and it makes clean up easier.
- Make ahead. I like to make these the day before a gathering. Once they are fully frozen, you can transfer them to an airtight container or wrap the tray tightly so they do not pick up freezer smells.
FAQs
How far in advance can I make Turkey Ice Cream Sandwich Pops?
You can make them 1 to 2 days ahead. As long as they are stored in an airtight container in the freezer, they stay fresh and cute.
Can I use different flavors of ice cream sandwiches?
Yes. Vanilla, chocolate, or even cookies and cream all work. I try avoid sandwiches with big mix‑ins that might crumble when I cut them.
What if I cannot find chocolate candy melts?
You can use chocolate chips or chopped chocolate with vegetable oil. You might need more vegetable oil than you would with the candy melts, but you can melt chocolate chips similarly.
What if the chocolate sets before I finish my turkey face?
That’s totally fine, you can use little dots of melted chocolate like glue and attach the rest of your turkey’s face with that.
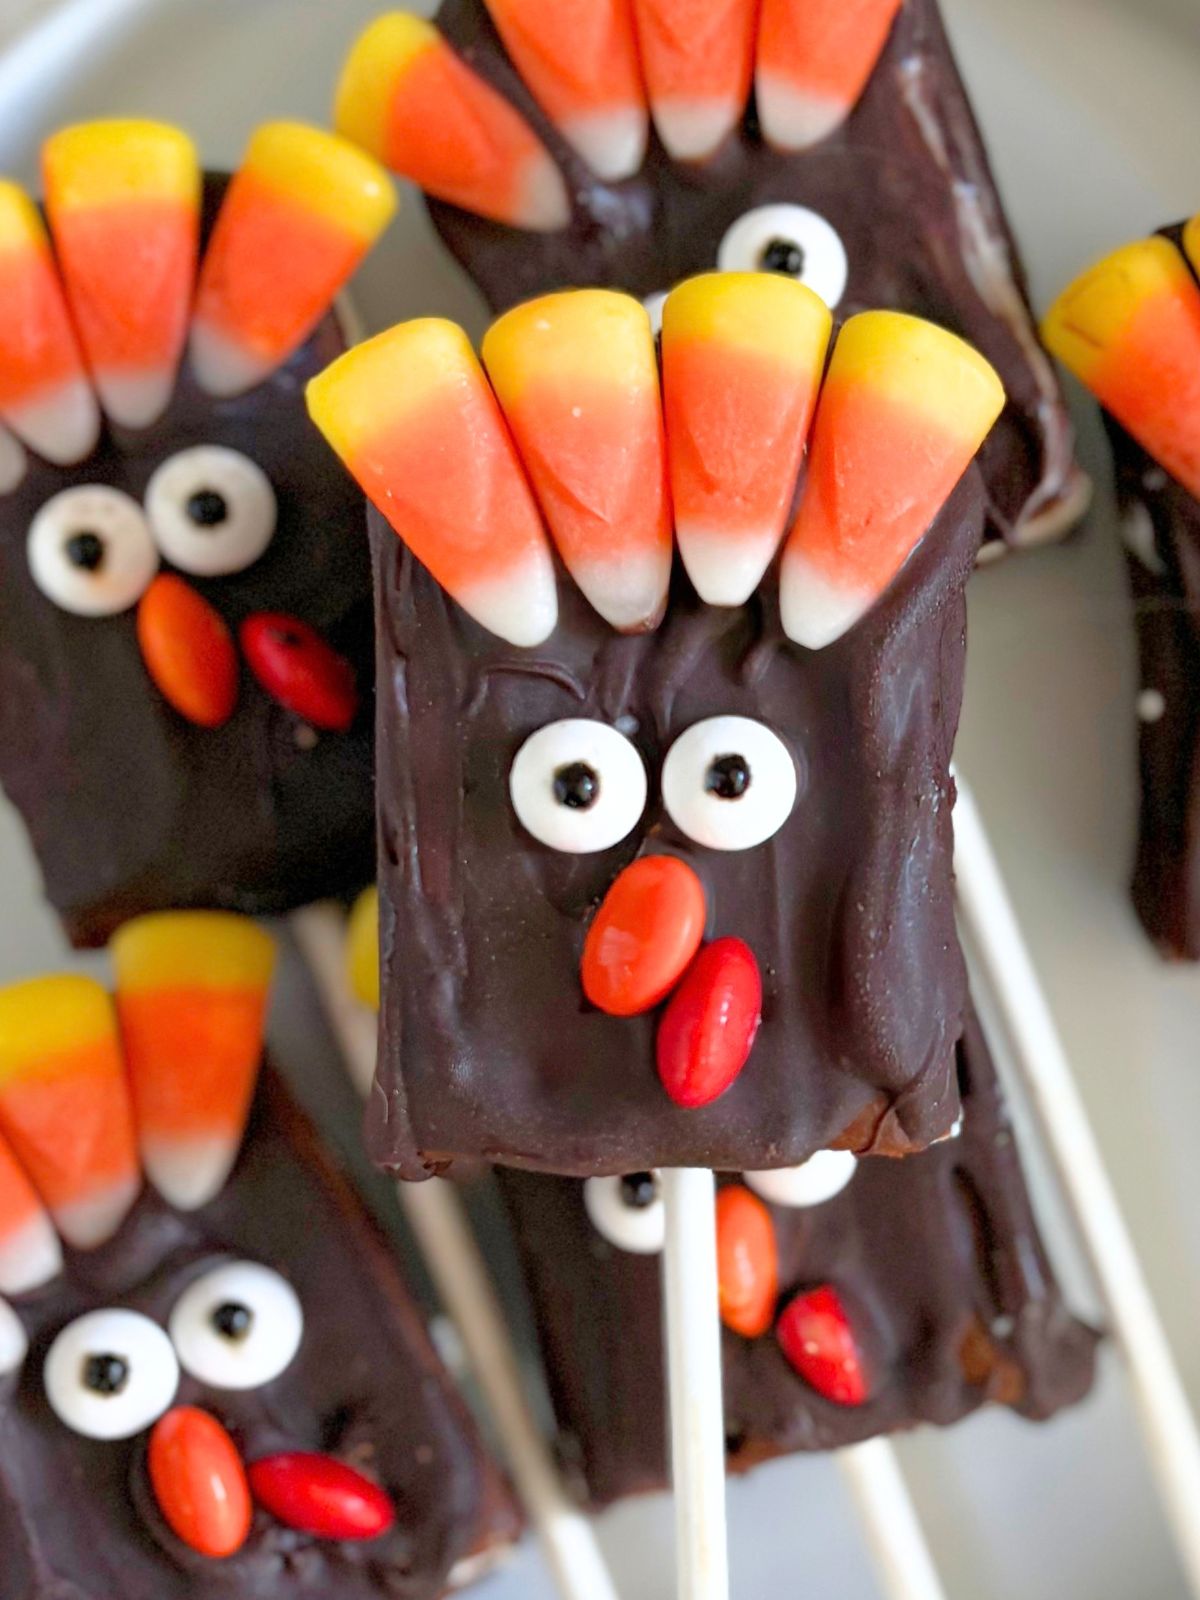
Turkey Ice Cream Sandwich Pops are my go‑to when I want a playful twist on classic turkey desserts for kids that take almost no effort. With simple grocery store ingredients and a little assembly time, you get a tray of cheerful turkey faces that look perfect on any Thanksgiving dessert table. Whether you are hosting dinner, bringing a treat to a Friendsgiving, or planning cute Thanksgiving desserts for a classroom party, these icy turkey pops are guaranteed to make everyone smile.
Save this recipe for the next time you need something easy, adorable, and stress‑free. Your freezer does most of the work and you get all the compliments.
Turkey Ice Cream Sandwich Pops

Equipment
- 6 Popsicle sticks or lollipop sticks
- 1 freezer-safe tray lined with parchment paper
- additional parchment paper
Ingredients
- 3 rectangular ice cream sandwiches
- 12 oz chocolate candy melts
- 1-2 tsp vegetable oil if needed, for thinning the chocolate
- 30 pieces candy corn approximately, depending on the width of your ice cream sandwiches
- 12 small candy eyes
- 3 orange M&Ms plus extras in case they break
- 3 red M&Ms plus extras in case they break
Instructions
- Make sure a baking sheet or freezer-safe tray fits inside your freezer. Line it with parchment paper and place it in the freezer to chill.
- Working quickly, cut each frozen ice cream sandwich in half crosswise to create six smaller rectangles.
- Carefully insert a wooden popsicle stick into the cut side of each ice cream sandwich, pushing it into the ice cream center without piercing the top. Transfer each pop to the parchment-lined tray in the freezer.
- Freeze the pops for at least 30 minutes, or until completely firm. This helps the sticks stay in place.
- Carefully cut the orange and red M&Ms in half using a sharp knife. The orange halves will be the beaks, and the red halves will be the wattles. Have a few extra M&Ms available because some may crack while being cut.
- For each turkey, group together four to five pieces of candy corn (you’ll have to figure out how many fit ahead of time), two candy eyes, one orange M&M half, and one red M&M half. Preparing everything in advance is important because the chocolate will set quickly on the frozen pops. Try to put your decorating station near the freezer so you can stick everything back in right away.
- Place the chocolate candy melts in a microwave-safe bowl or dipping container. Microwave in 20-second intervals, stirring thoroughly after each interval, until smooth. If the coating is too thick for dipping, stir in vegetable oil ½ teaspoon at a time. Allow the coating to cool slightly so it is still fluid but not hot enough to melt the ice cream.
- Remove only one ice cream pop from the freezer. Dip it into the melted chocolate, using a spoon to cover any exposed areas. Allow the excess chocolate to drip back into the container.
- Immediately place the coated pop face-up on the parchment-lined decorating station. Arrange five pieces of candy corn in a fan across the upper front of the pop. Position the narrow white tips toward the center of the turkey and the wider yellow ends pointing outward.
- While the coating is still wet, add two candy eyes beneath the feathers. Add one orange M&M half for the beak and one red M&M half slightly below and beside it for the wattle.
- Immediately transfer the completed pop to the cold parchment-lined baking sheet in the freezer. Keep the freezer tray inside the freezer rather than removing the entire tray while you work.
- Coat and decorate the remaining pops individually, leaving all unfinished and completed pops in the freezer while you work on each one. Reheat the chocolate briefly if it begins to thicken.
- Once all six pops are decorated, freeze them for at least 30 minutes or until the chocolate and decorations are completely secure. After decorations are set, you can store them in an air tight container or wrap them in plastic wrap to help them stay fresh.