Easy Mini Apple Pies
You will love this recipe for mini apple pies if you want something cozy and homemade, but your schedule is packed. These little cuties are fast, low effort, and look like they came from a boutique bakery. You get all the flavor of classic apple pie, but in individual apple pies that bake quickly, cool quickly, and are perfect for sharing, lunch boxes, and last minute get togethers.
I created these mini apple hand pies for those days when I want a fall treat without peeling a single apple. We are taking shortcuts with refrigerated pie crust and canned apple pie filling, then turning everything into the prettiest mini desserts.
Jump to Recipe

Ingredients for Mini Apple Pies
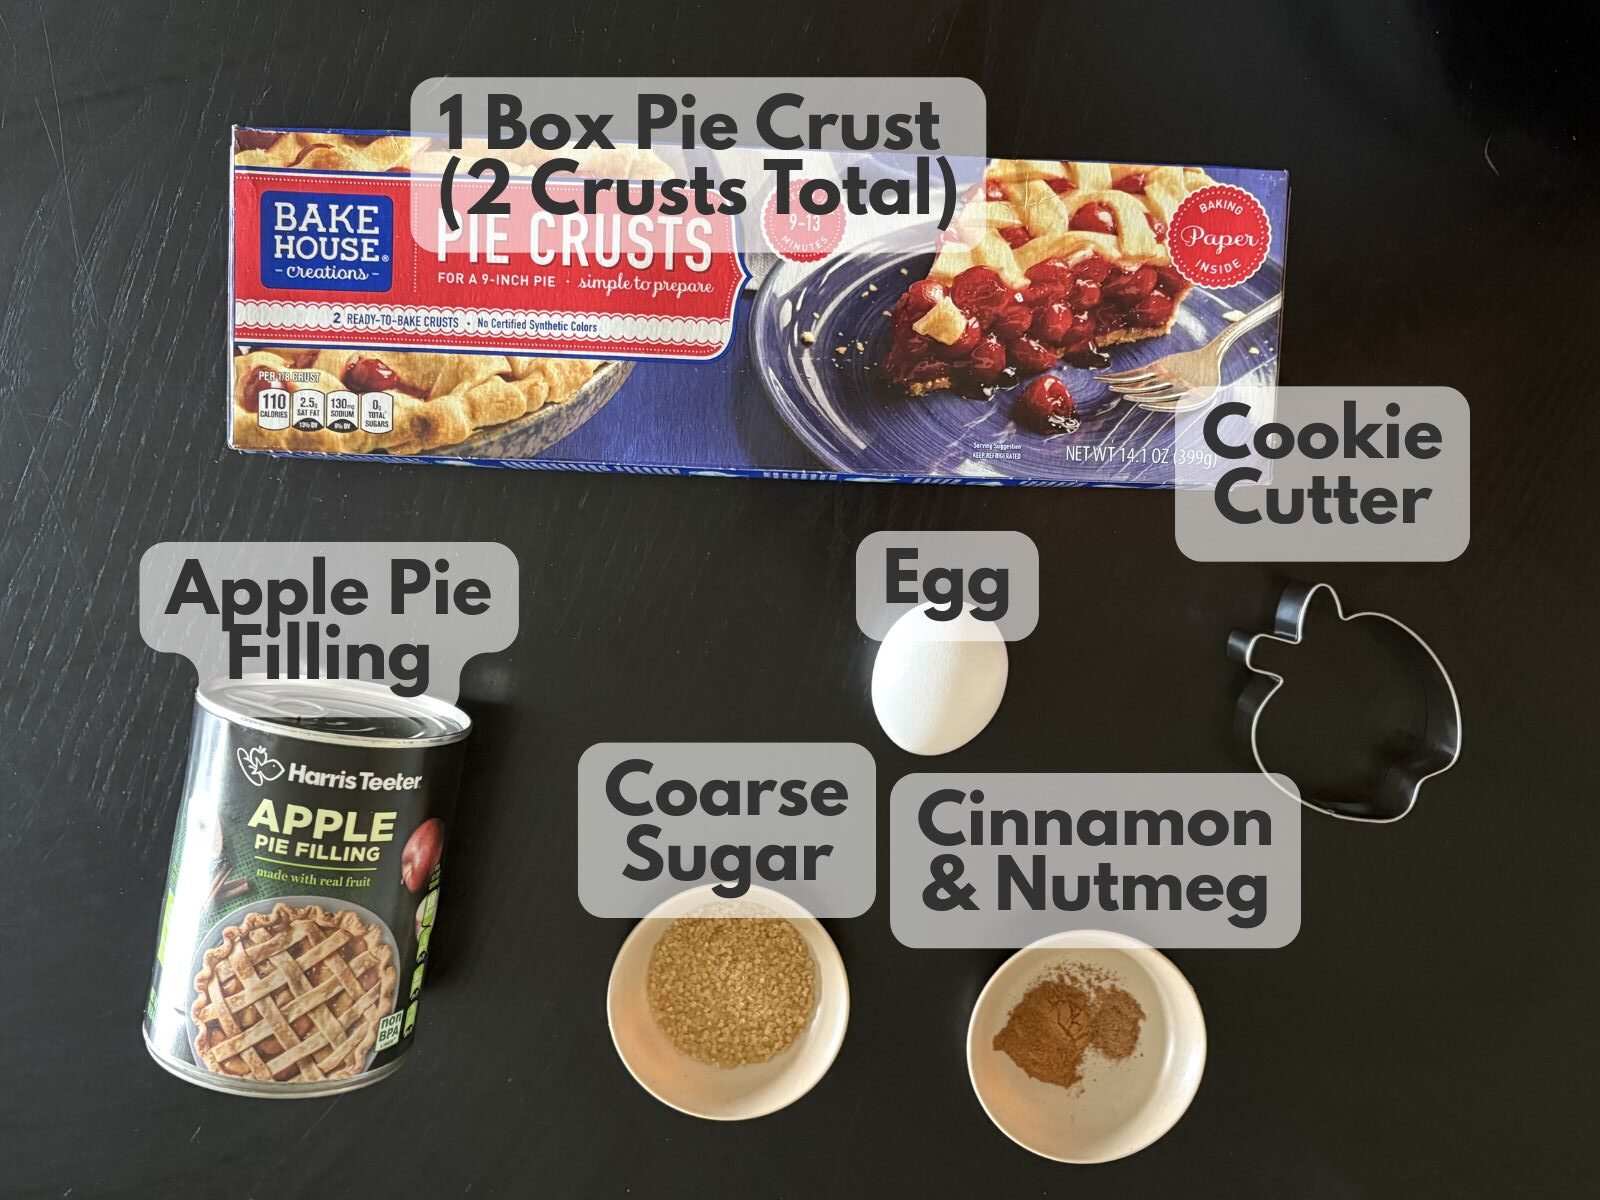
- 1 box refrigerated pie crusts (2 crusts total), softened according to package directions
- 1 can apple pie filling (about 20 to 21 ounces)
- 1/2 teaspoon ground cinnamon, optional
- 1/8 teaspoon ground nutmeg, optional
- 1 large egg
- 1 tablespoon water
- Coarse sugar or regular granulated sugar, optional for topping
- 1 apple cookie cutter or a circle cookie cutter
How to Make Mini Apple Pies
1. Preheat the oven to 400°F. Line a baking sheet with parchment paper.
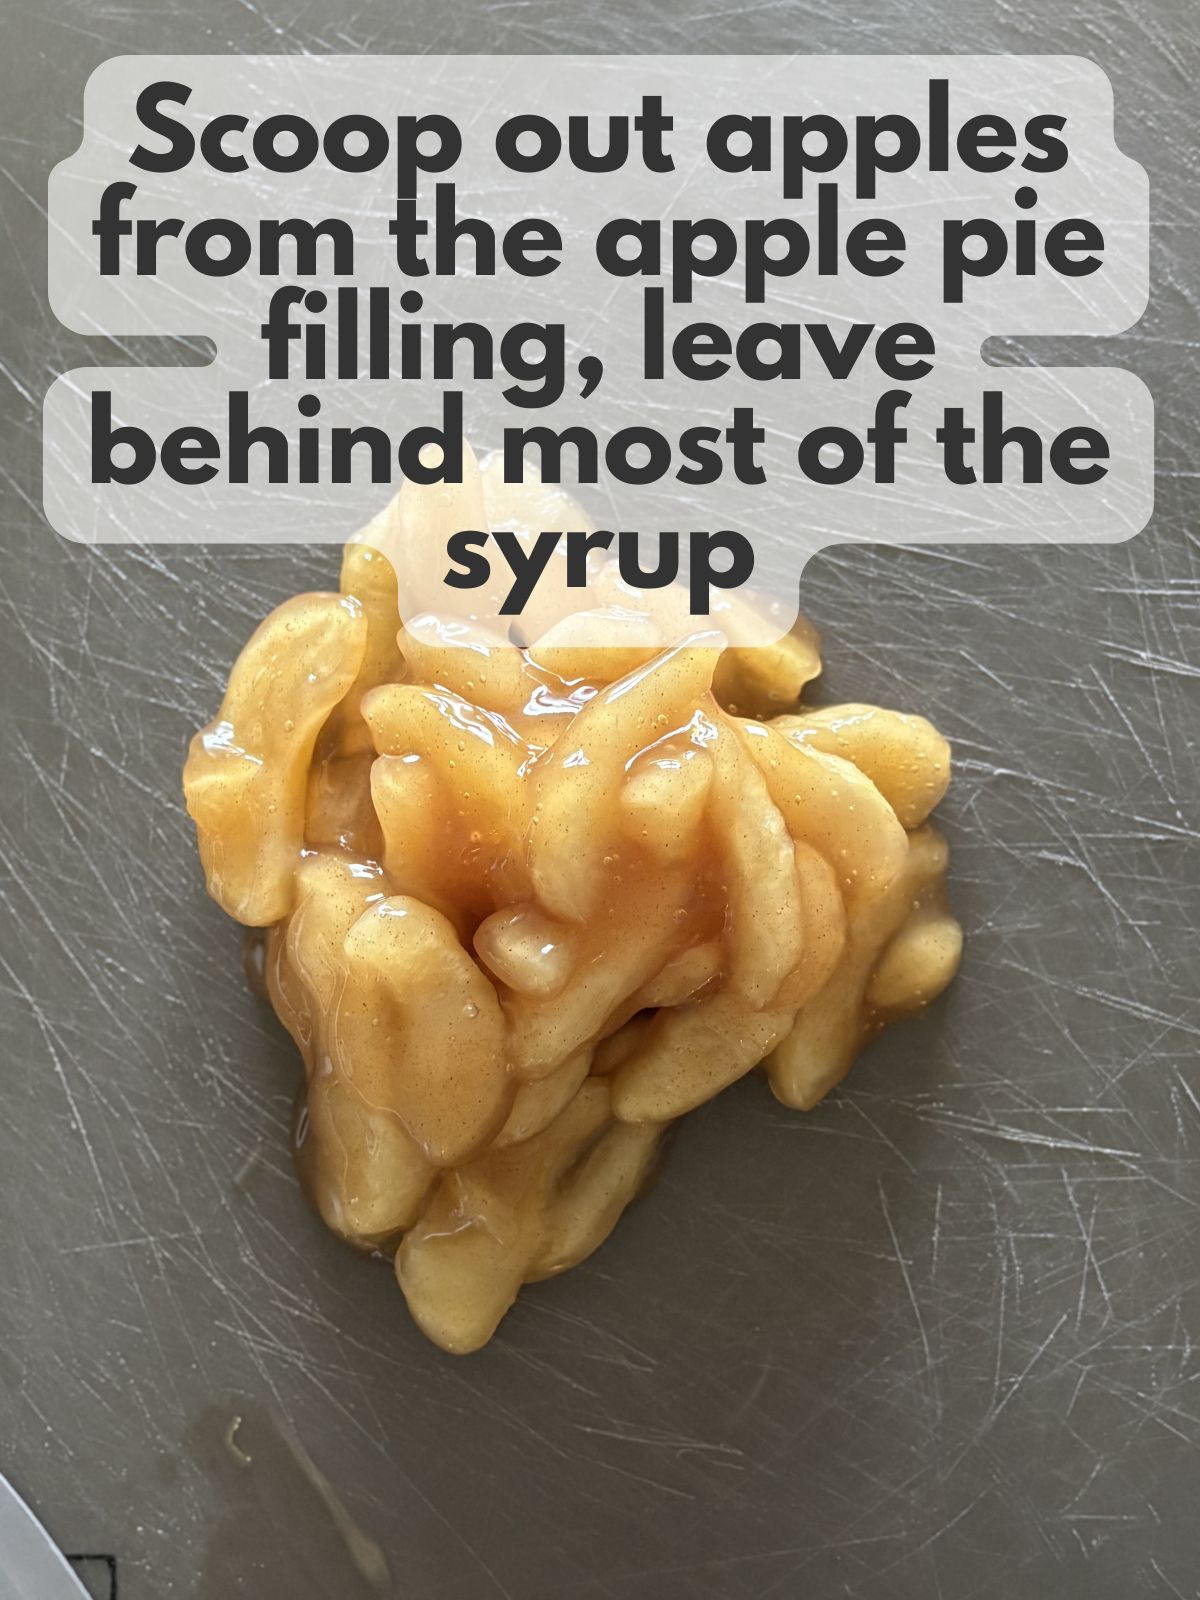
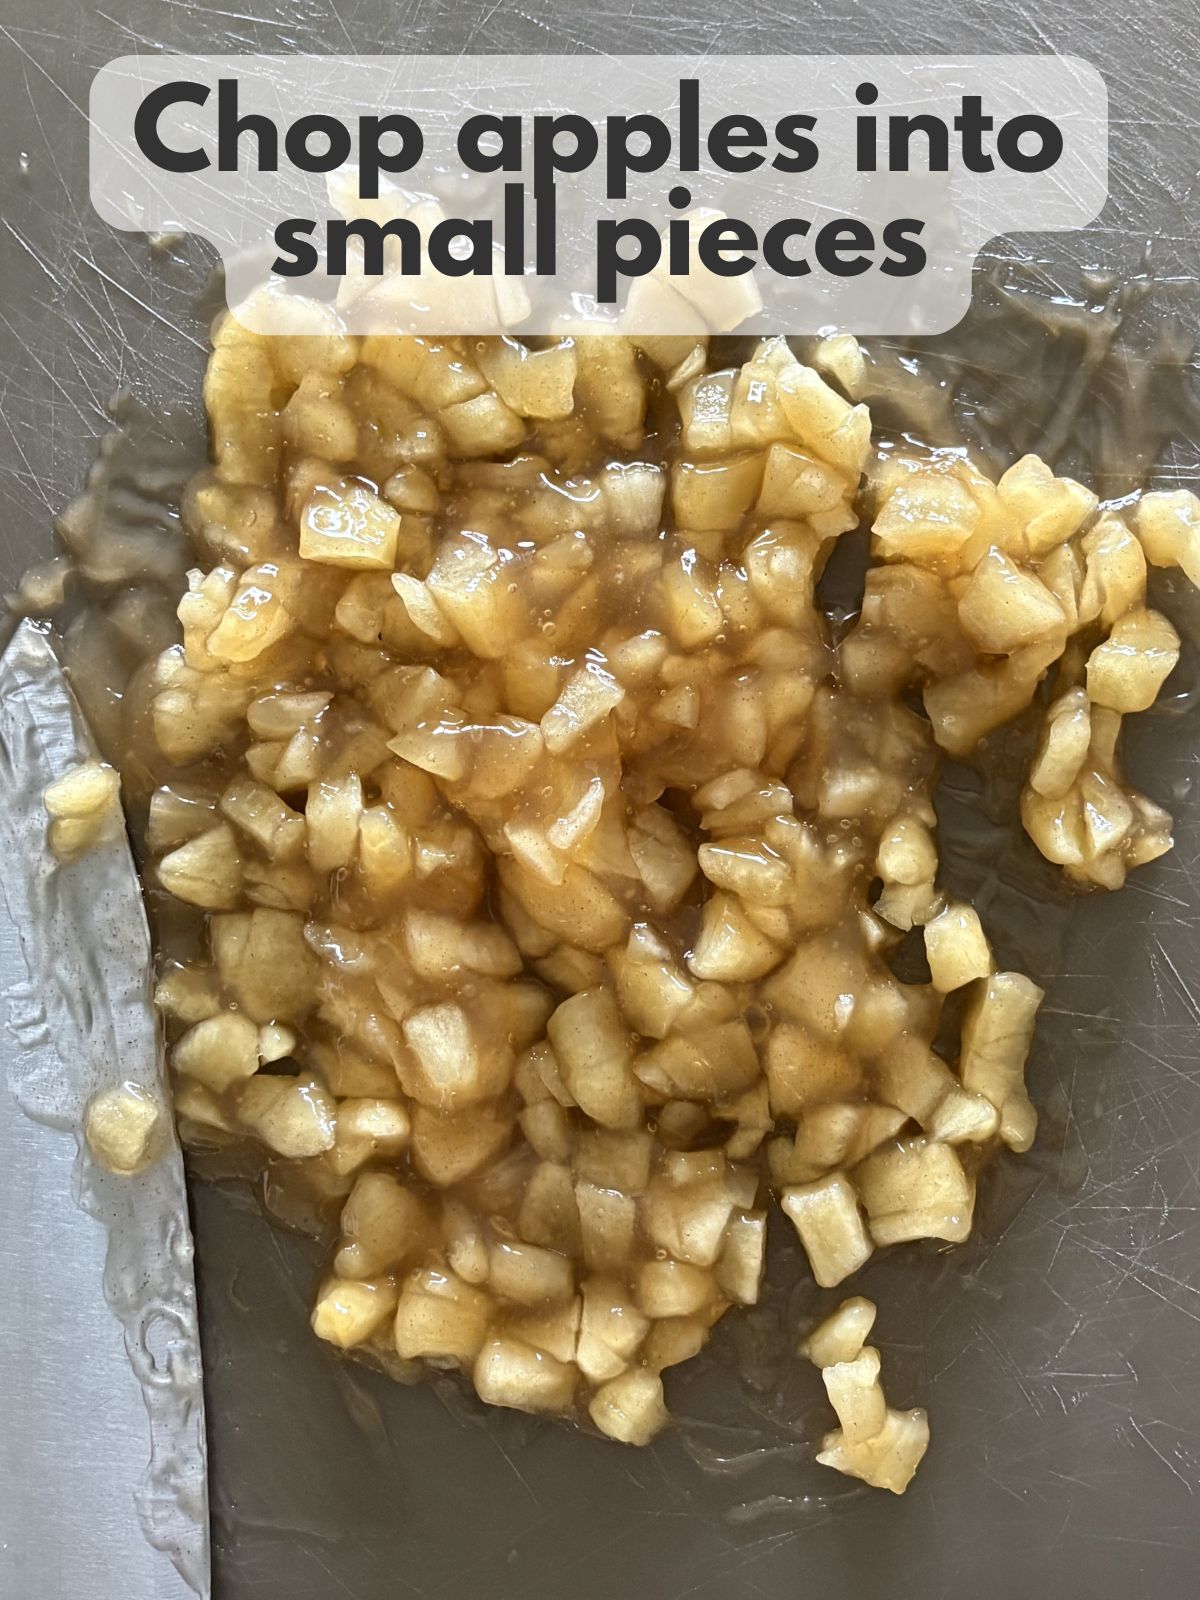
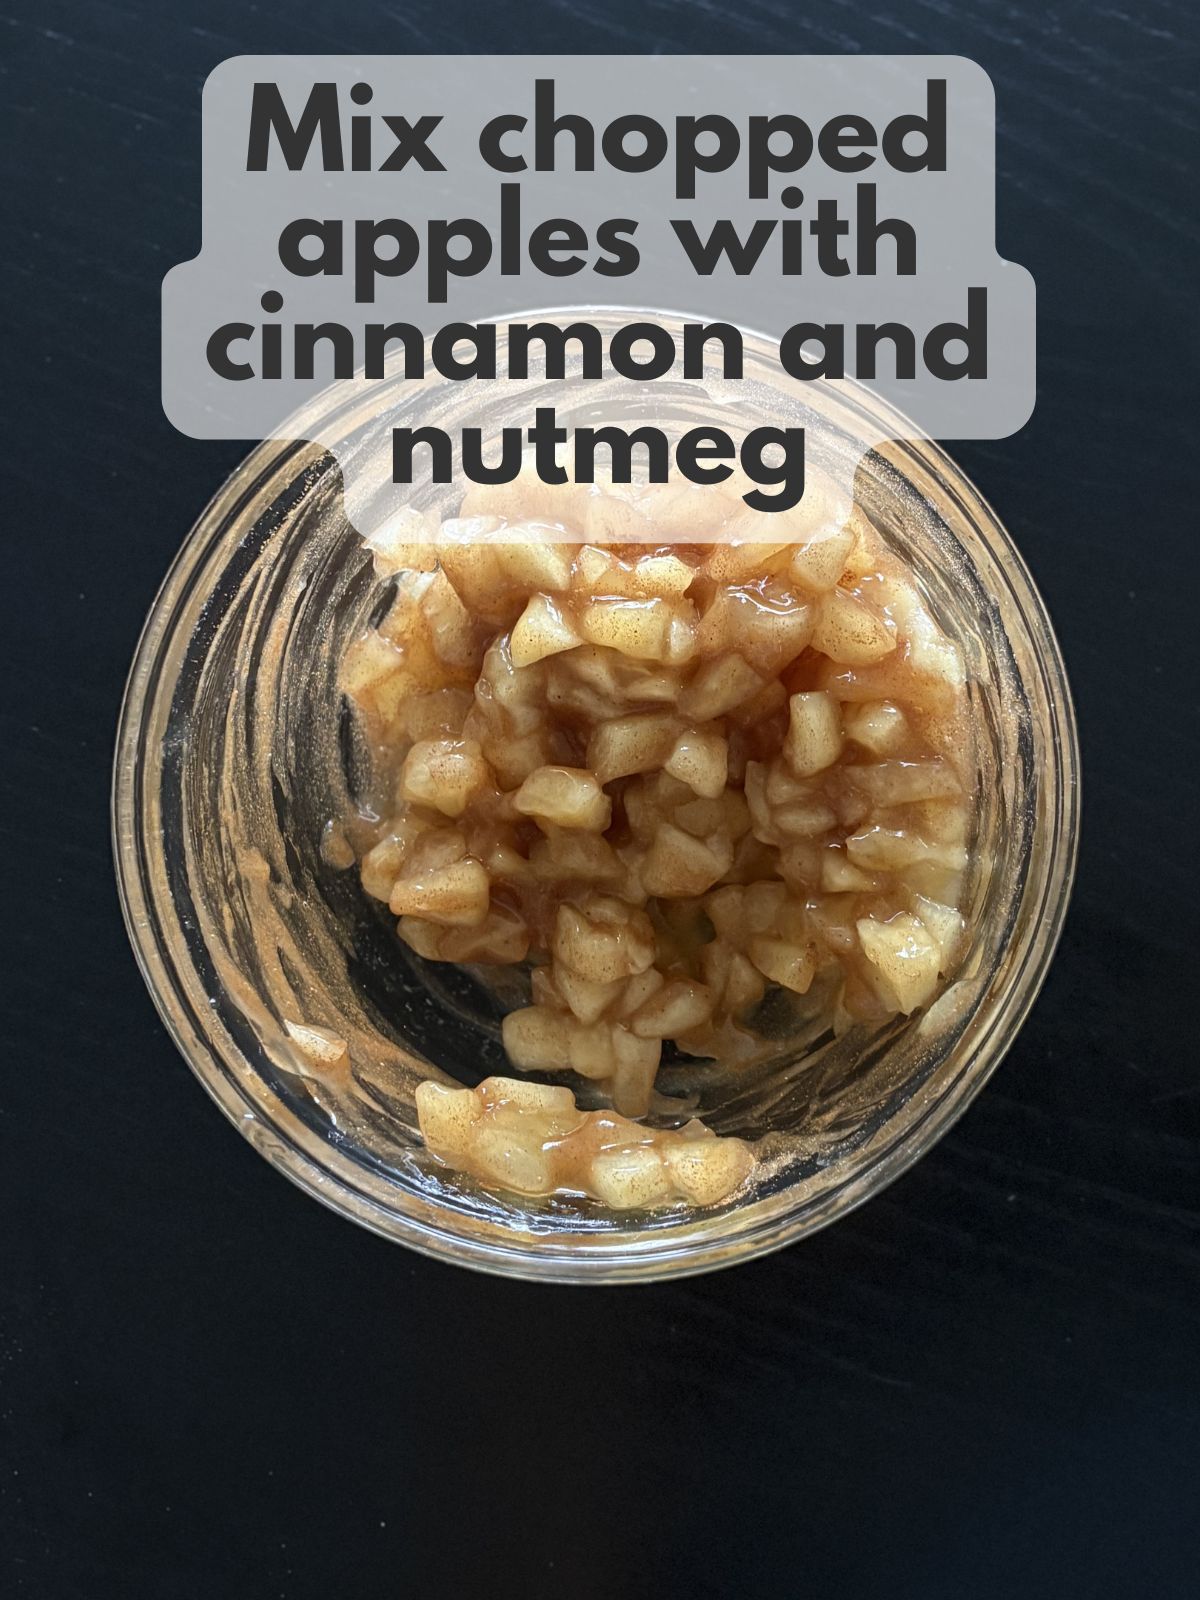
2. Spoon the apple pie filling onto a cutting board, using mostly the apple pieces and leaving behind some of the extra syrup. Chop the apples into small pieces. Stir in cinnamon and nutmeg, if using.
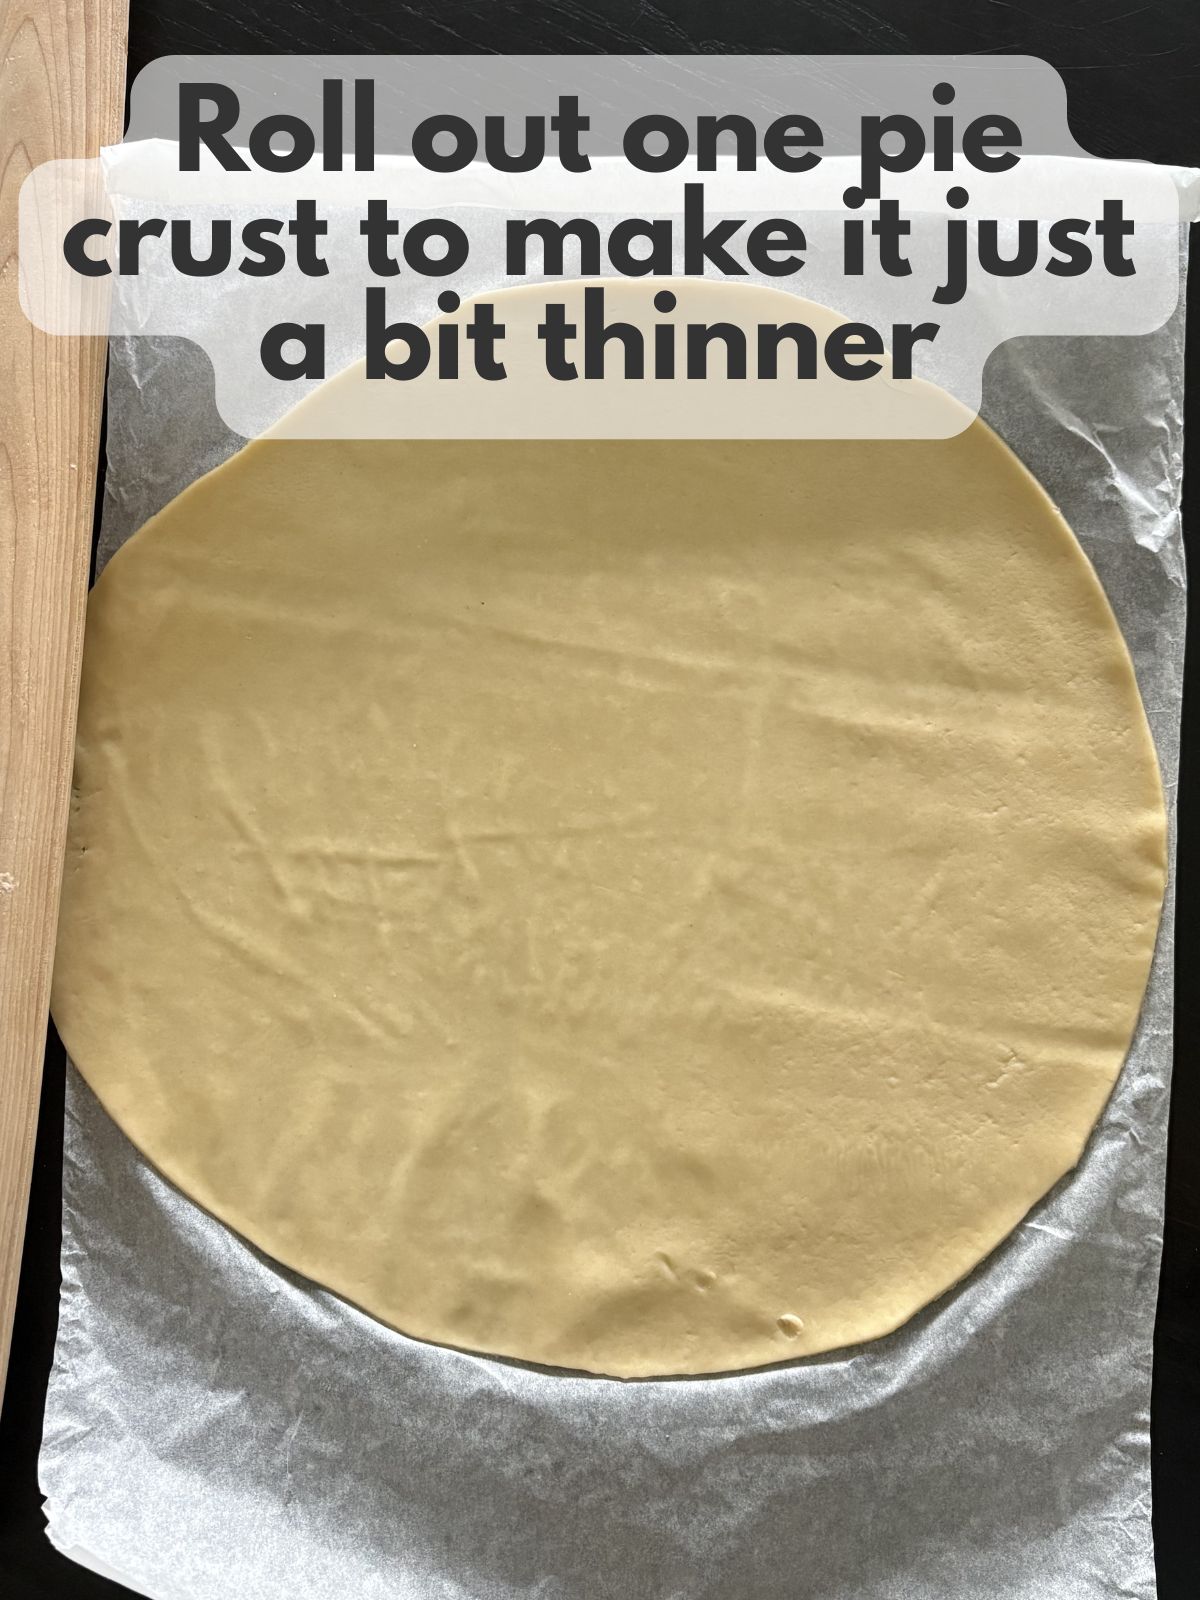
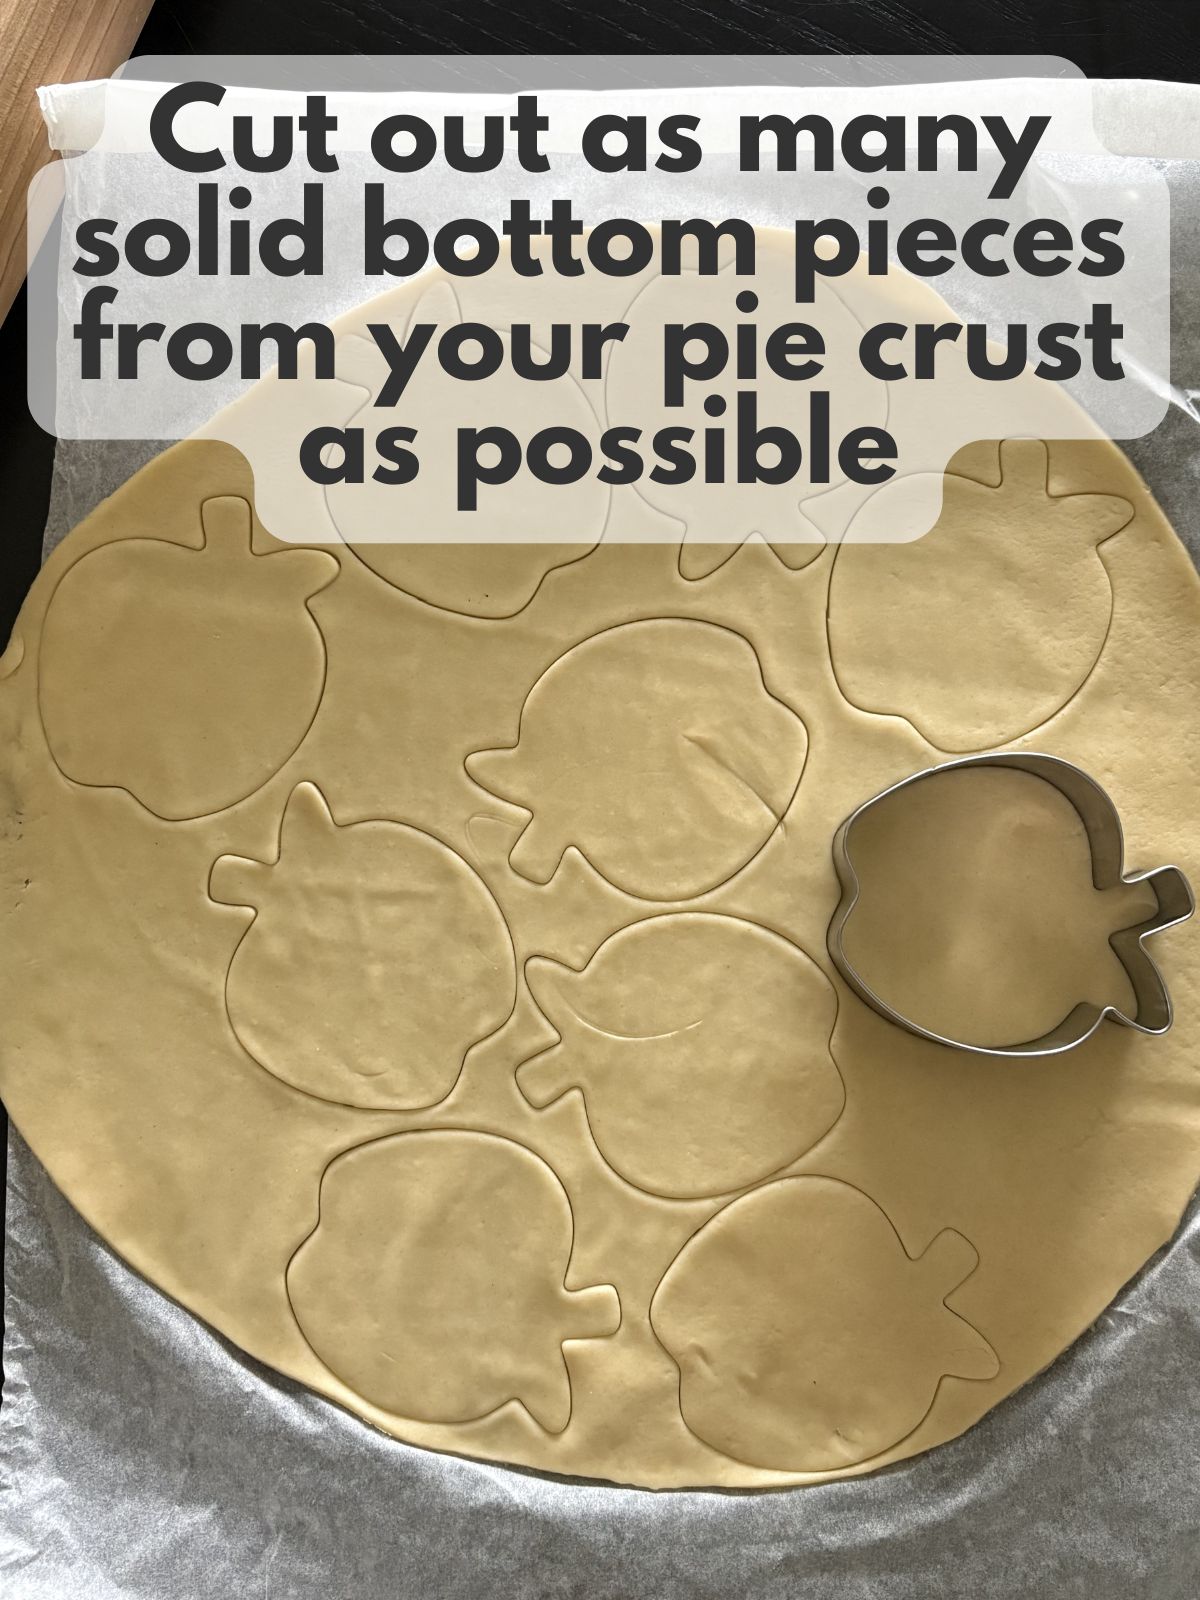
3. Unroll the pie crusts on a lightly floured surface or parchment paper. Roll out one of the crusts just a bit so you can get a little more out of it. Use a 3 to 4-inch round or apple-shaped cutter to cut the bottom crust pieces from one pie crust. Place them on the prepared baking sheet.
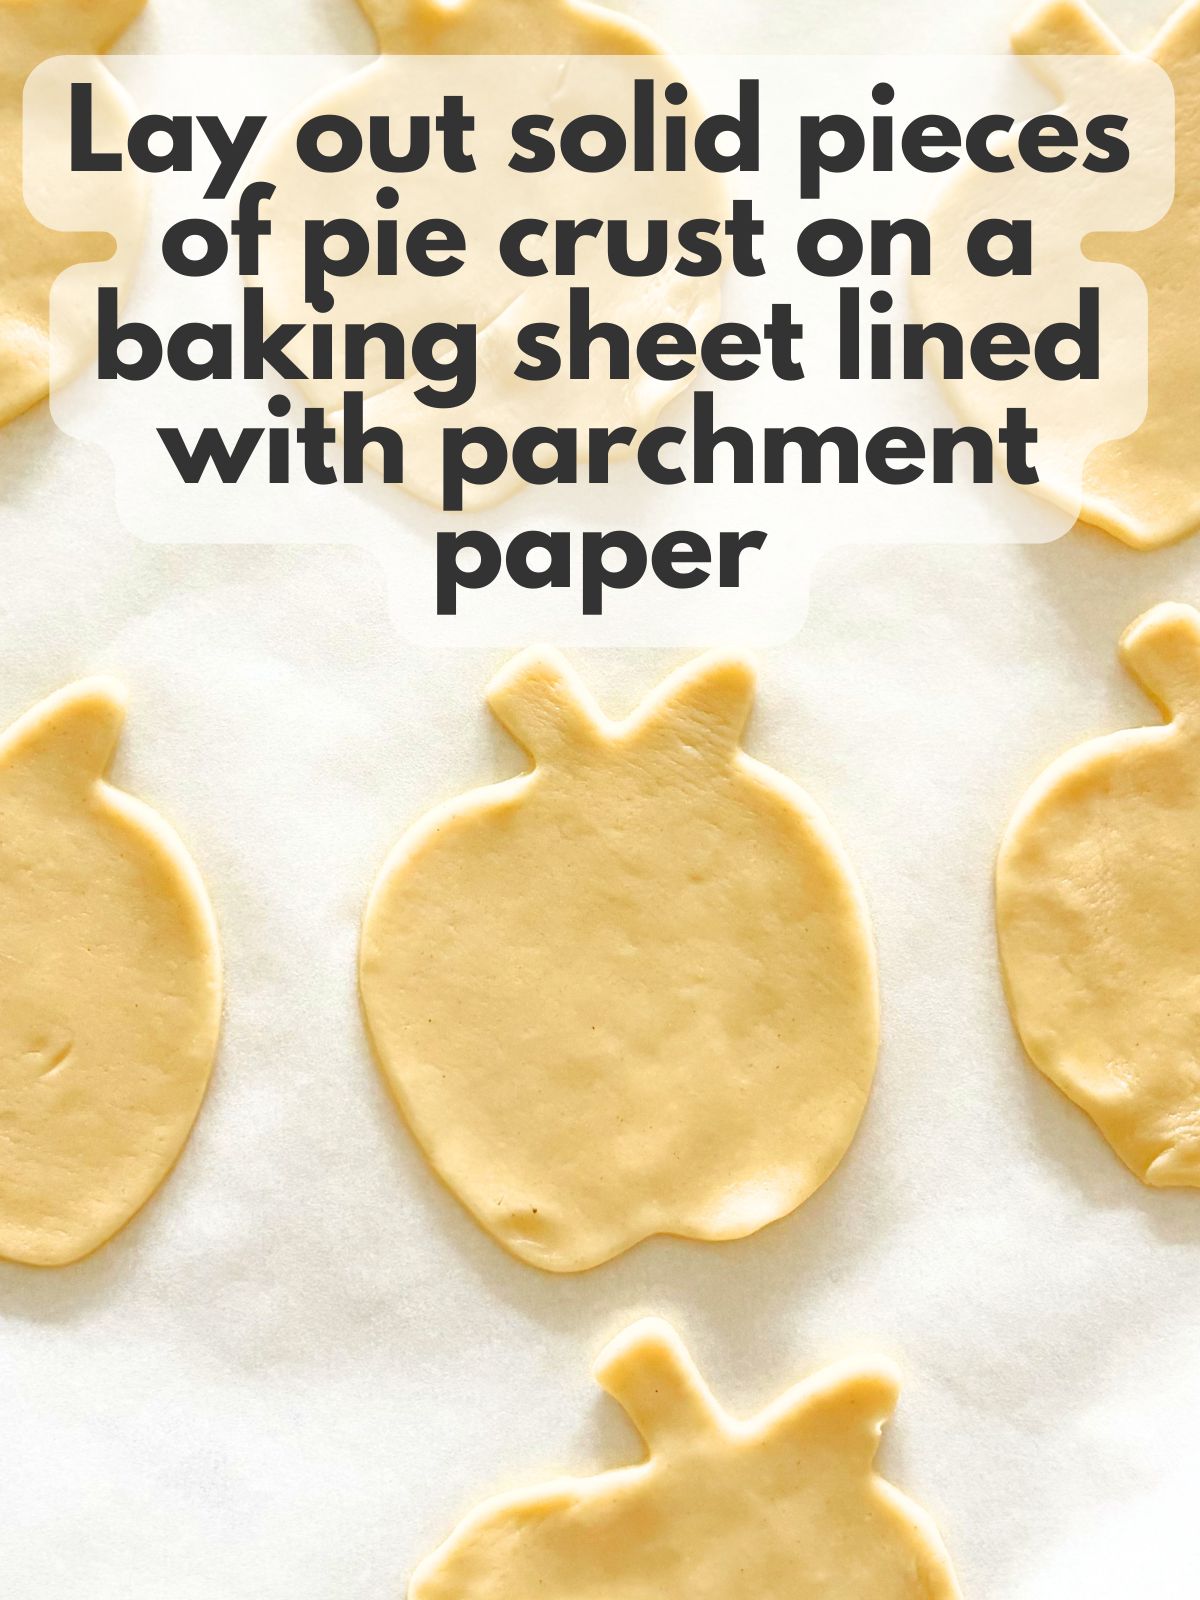
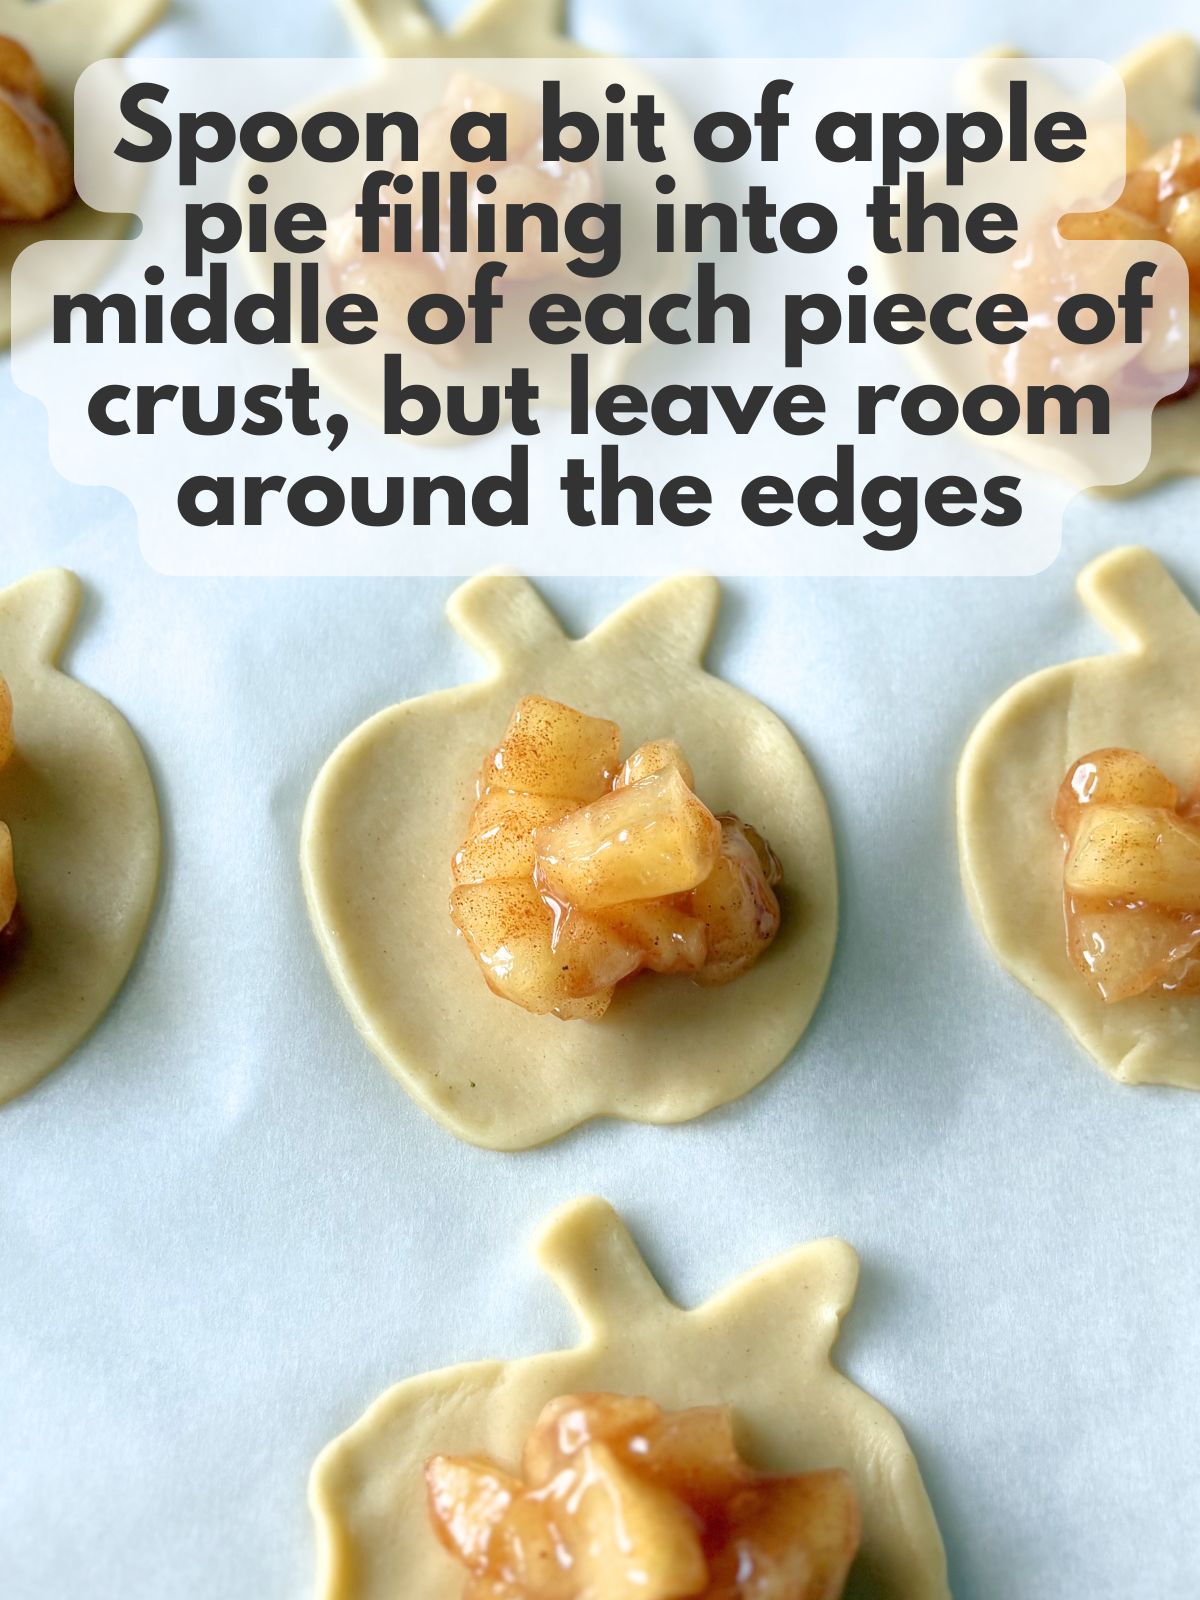
4. Spoon about 1 tablespoon of chopped apple filling into the center of each crust, leaving a small border around the edges.
5. Cut the second pie crust, plus any scraps, into thin strips about 1/4 to 1/2 inch wide. Arrange 3 strips in one direction over each mini pie, then add 2 to 3 strips in the opposite direction to create a simple lattice look.
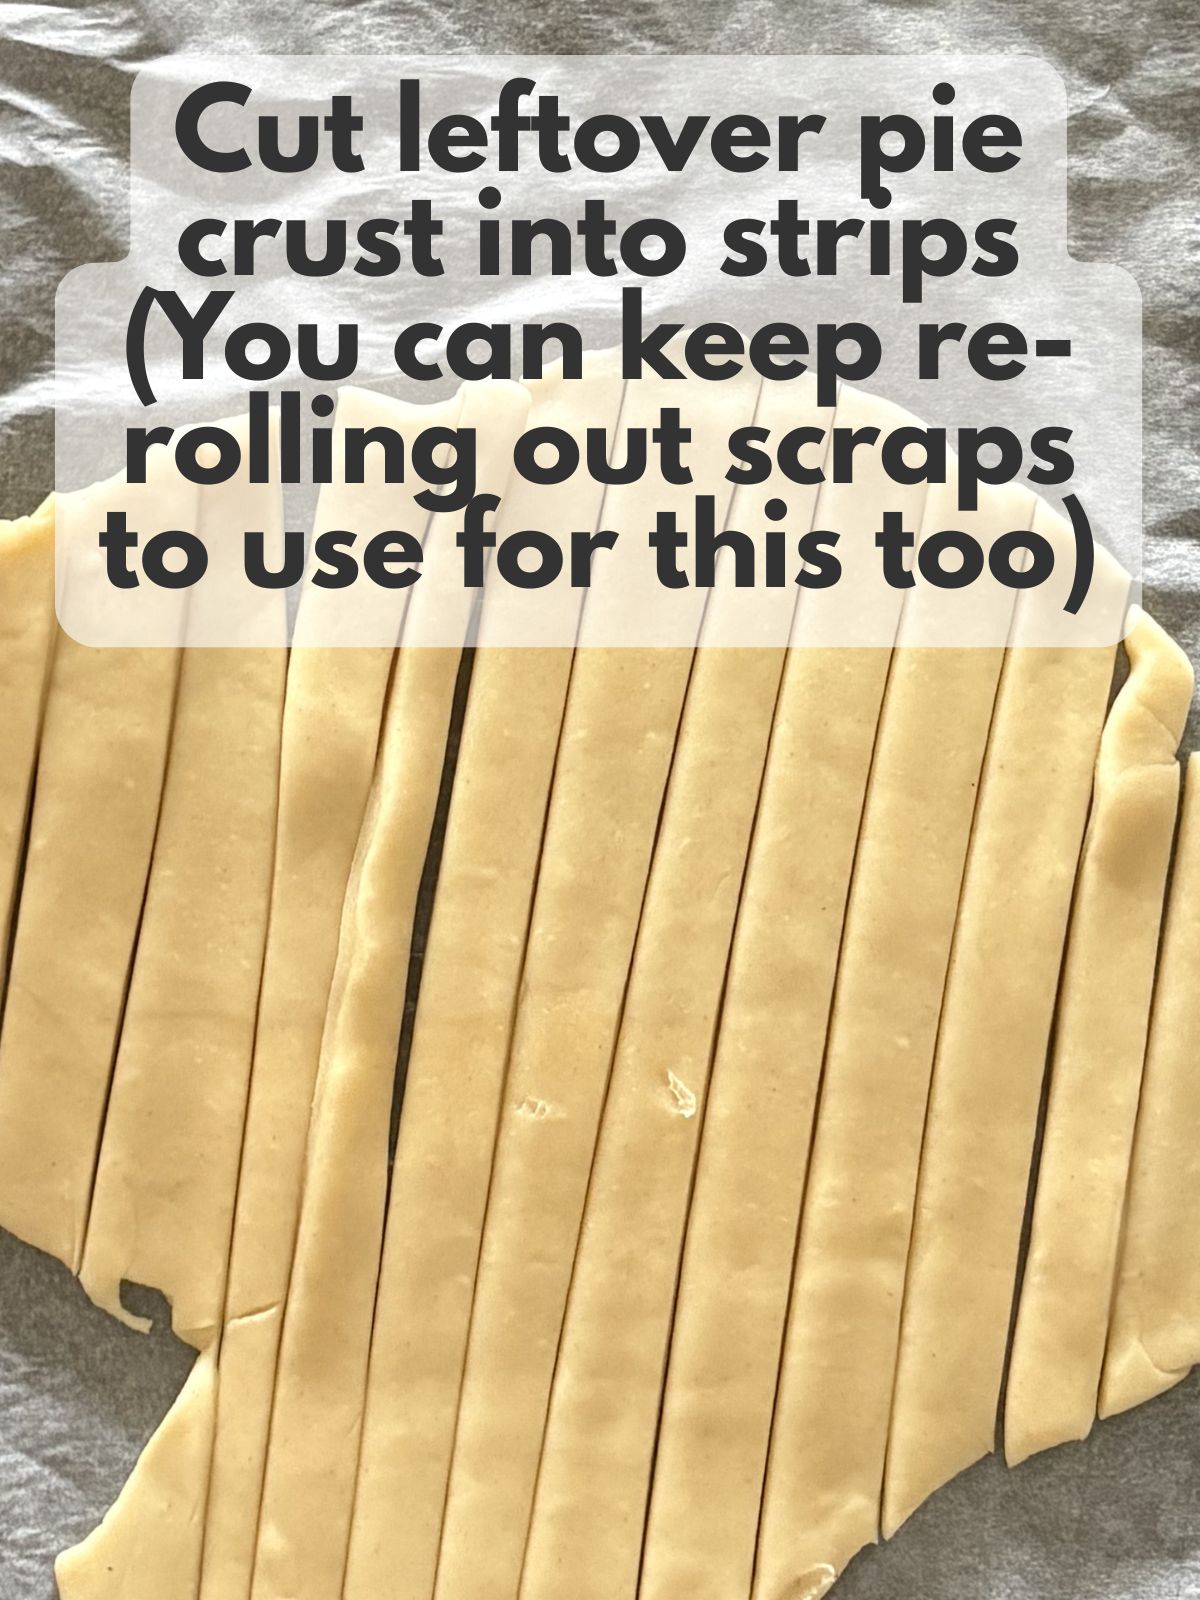
6. Gently press the ends of the lattice strips into the bottom crust. Press around the edges with your fingers or a fork, then trim any long strip ends if needed.


7. Whisk together the egg and water. Brush the tops and edges of the mini apple pies with egg wash, then sprinkle with sugar if desired.
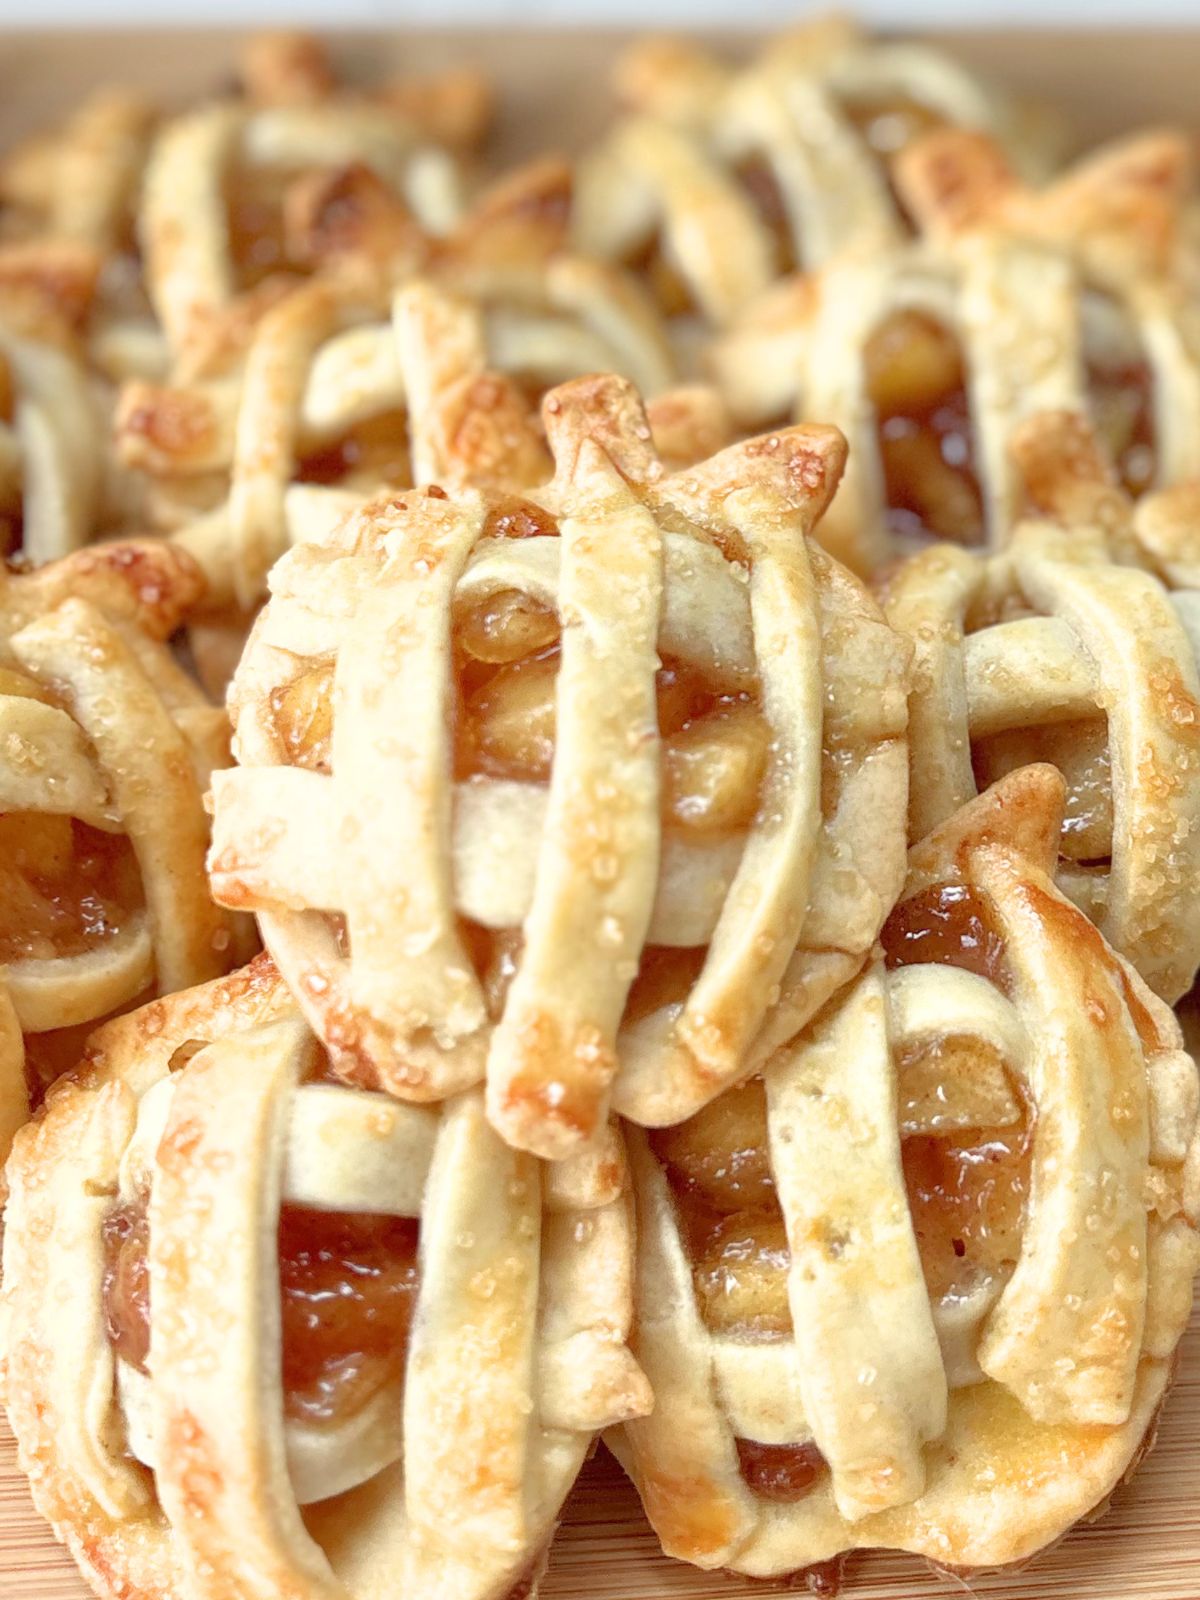
8. Bake for 14 to 18 minutes, or until the crust is golden brown and the filling is bubbling around the edges.
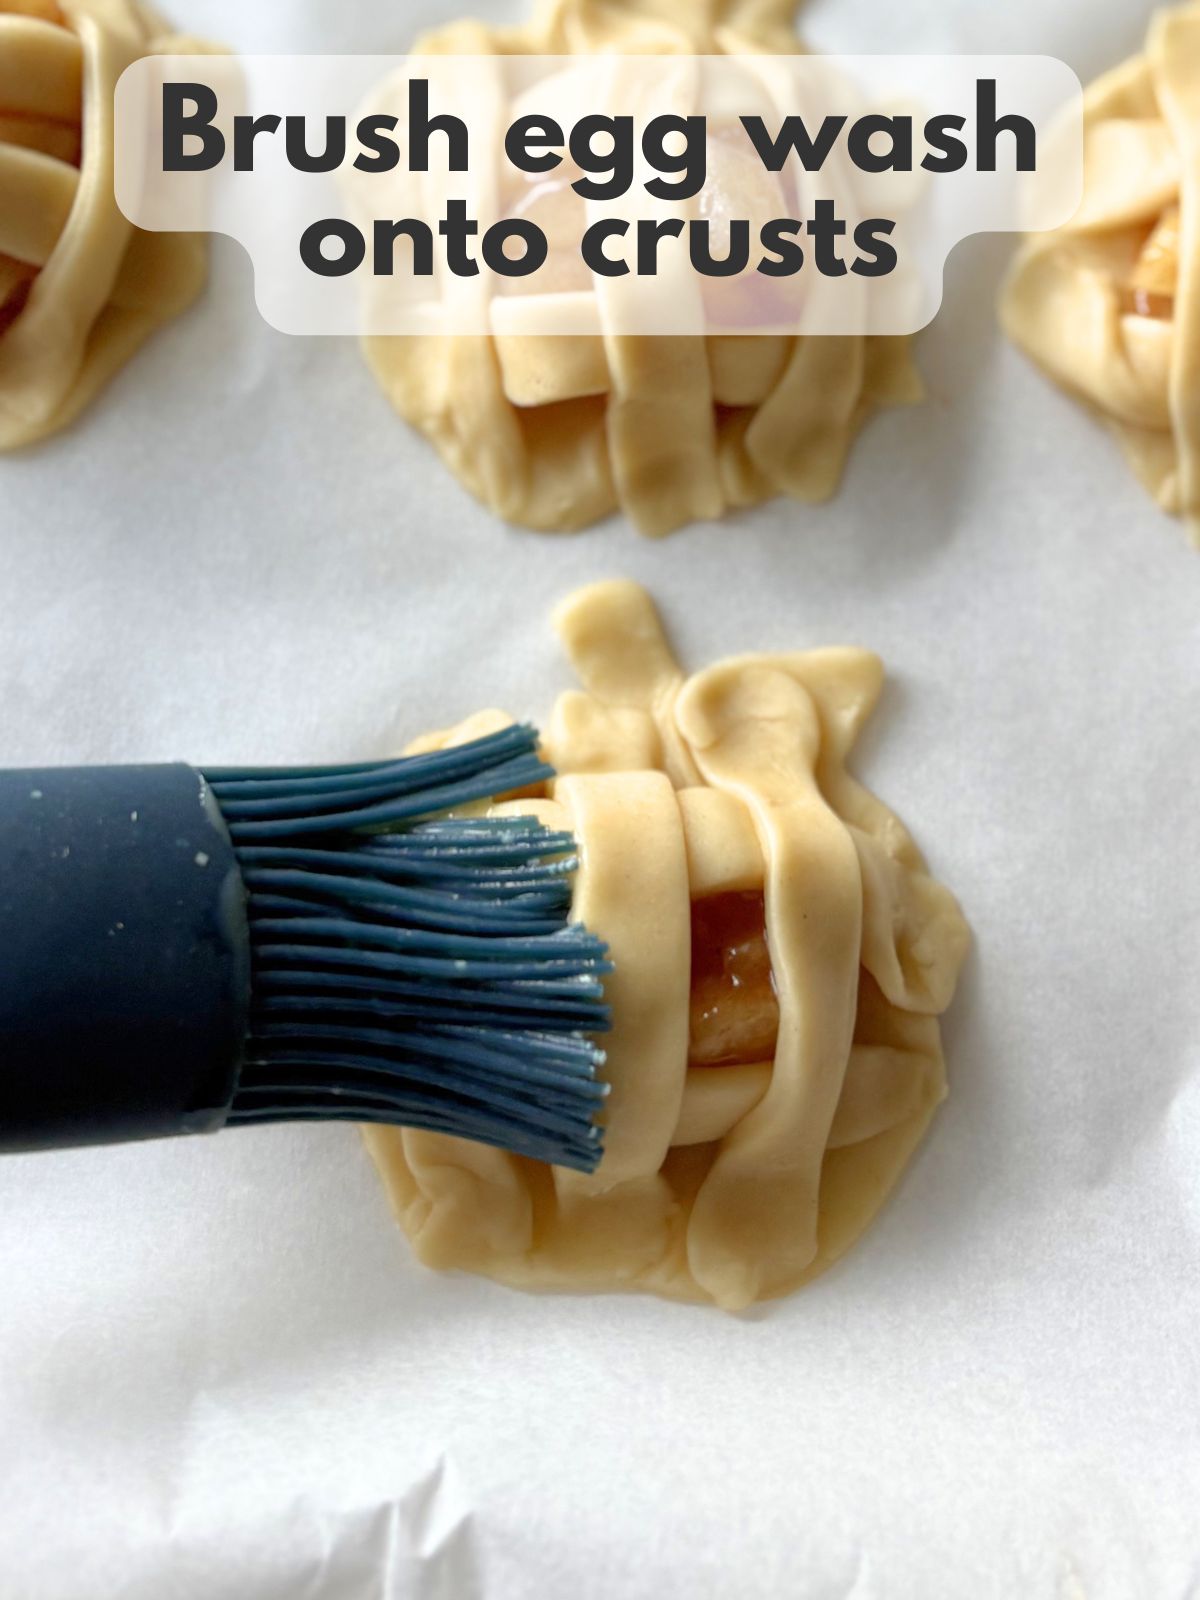
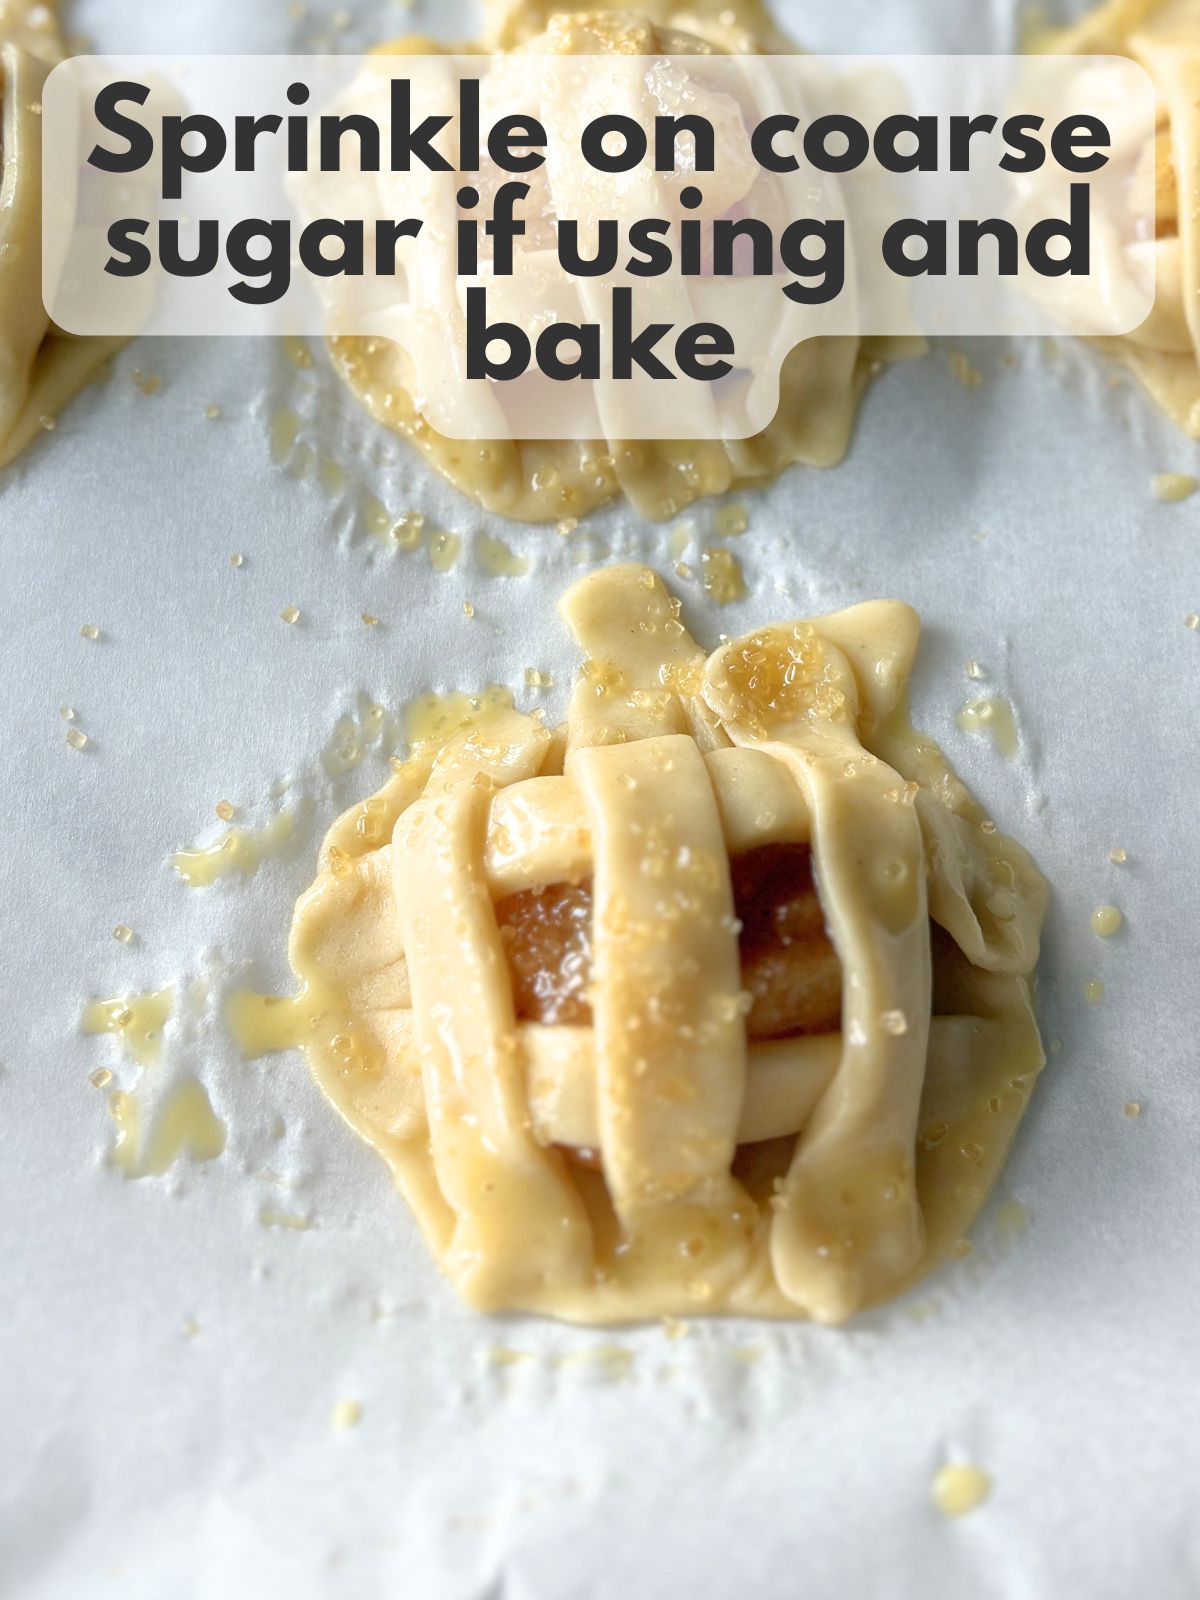
9. Let the mini apple pies cool on the baking sheet for about 10 minutes before serving. Transfer to a wire rack if cooling completely.
Pro Tips
- Use the pie crust wisely. I needed way more for the lattice top crust than I thought I did! I would recommend only cutting out maybe 9-10 bottom circles and using the rest of the crust for lattice work. The good news is: whatever scraps you have, you can just re-roll and cut either more circles or more lattice, depending on what you need.
- Keep the crust cool. If the pie crust gets too soft while you work, pop the cut pieces or assembled pies into the fridge for 5 to 10 minutes. Cooler dough keeps its shape and gives you flakier layers.
- Cut the filling smaller than you think it should be. The smaller those apple chunks are, the easier it will be to assemble everything.
- Drain off some of the extra filling liquid. Canned apple pie filling usually has a lot of syrupy liquid. Removing some of it helps keep your mini pies from getting soggy.
- Easy glaze option. Skip the sugar topping and, once cooled, drizzle with a quick glaze made from powdered sugar and a little milk or cream for a bakery style finish.
- Freeze for later. Assemble the pies, freeze them flat on a baking sheet, then transfer to a freezer bag. Bake from frozen at 375 to 400°F, adding a few extra minutes and watching for golden edges and bubbling filling.
- Cut small vent holes if you skip the lattice. Want simple mini apple hand pies without lattice strips? Top each pie with a full round of crust and crimp the edges. Use a sharp knife to cut 2 to 3 small slits on top so steam can escape before you bake.
FAQs
Can I use homemade apple pie filling instead of canned?
Yes. Use about 2 to 2 1/2 cups of your favorite apple pie filling. Just make sure it is not too runny or the pies may leak.
Do these mini apple pies need to be refrigerated?
They can sit at room temperature for about 1 day. For longer storage, place them in an airtight container in the fridge for up to 3 to 4 days. Reheat in the oven or toaster oven to crisp them back up.
How do I reheat leftover mini apple hand pies?
Bake in a 350°F oven or toaster oven for 4 to 6 minutes until warm and slightly crisp. You can microwave for 10 to 15 seconds, but the crust will be softer.
Can I make them ahead of time?
Yes. Assemble the pies, cover the baking sheet, and chill for up to 24 hours. When you are ready to bake, brush with fresh egg wash and add sugar, then bake as directed.
What other fillings work for this recipe?
Cherry, blueberry, or peach pie filling all work beautifully. Follow the same steps for mini hand pies with different flavors.
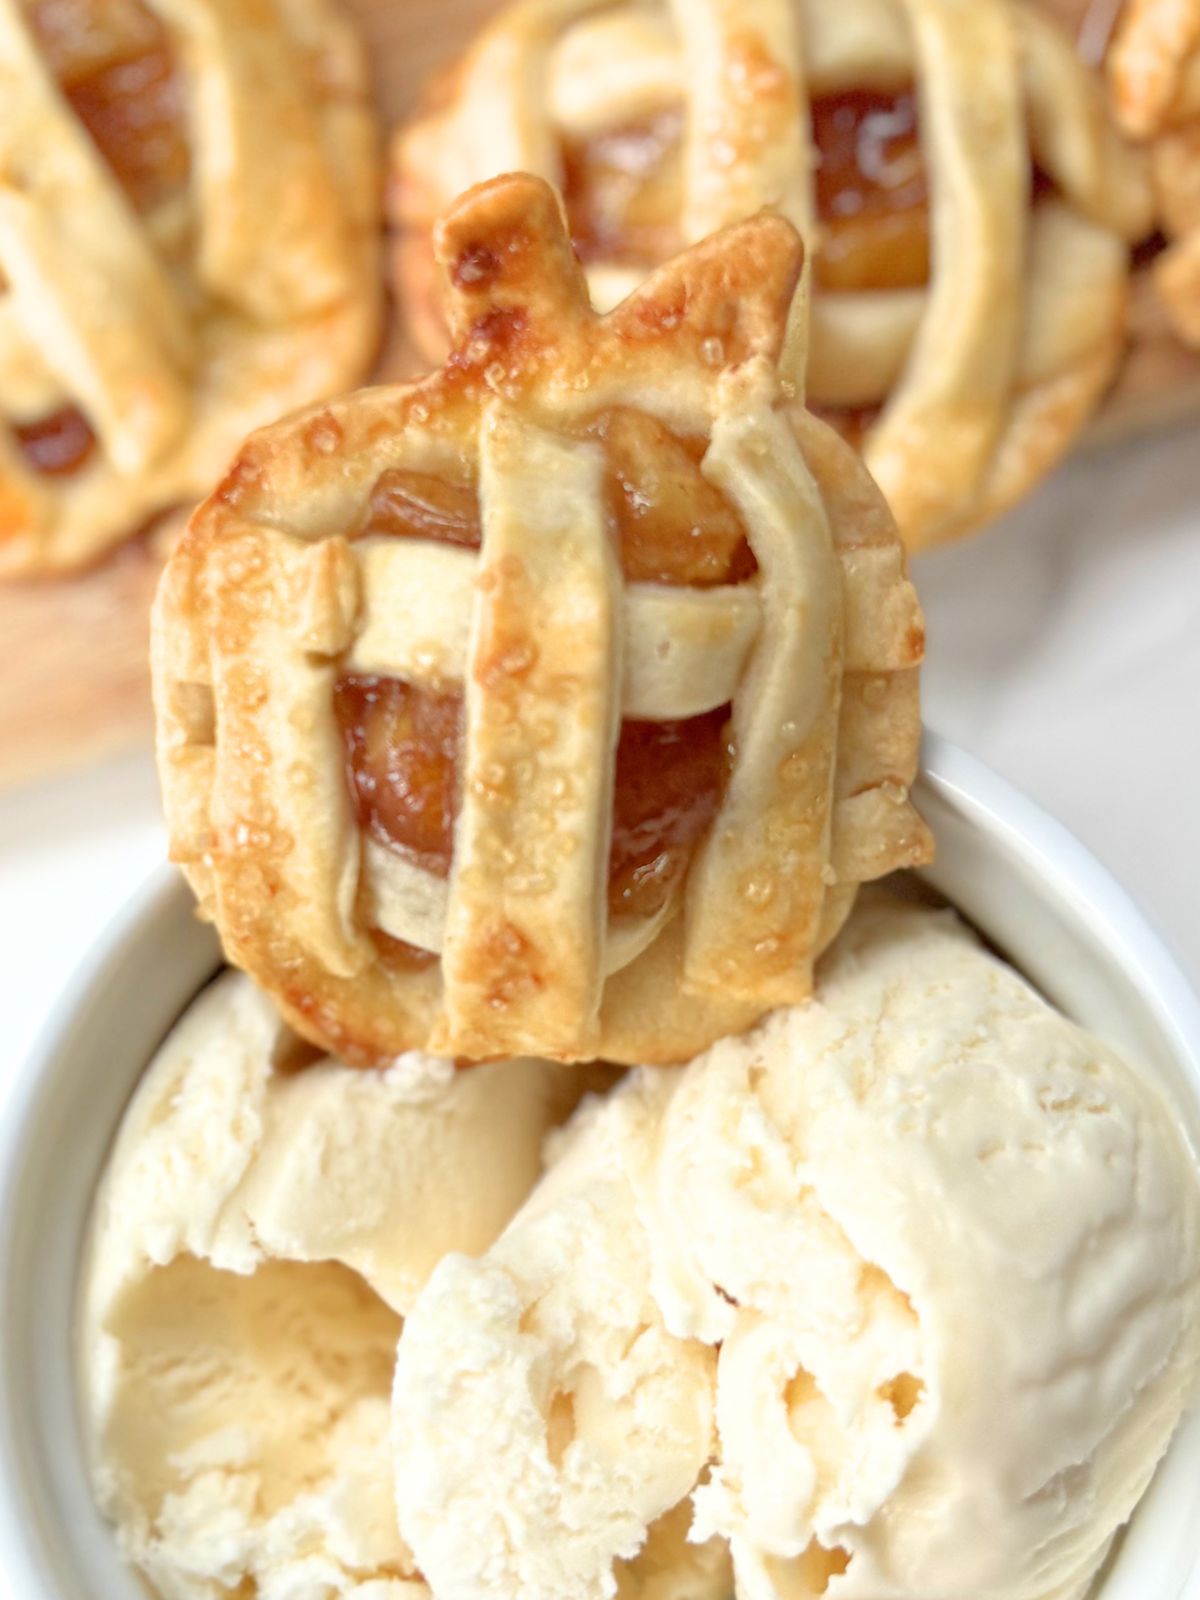
These mini apple pies give you all the cozy flavors of classic apple pie in a quick, cute format that fits perfectly into a busy schedule. I love serving them for fall parties, Friendsgiving, or just an easy weeknight dessert when I want something sweet without a lot of effort. With simple ingredients, a fast bake time, and a pretty lattice top, these individual apple pies feel special but are actually super easy.
Next time you have a box of refrigerated pie crust and a can of apple filling sitting in your pantry, turn them into a batch of mini apple hand pies and watch them disappear.
Mini Apple Pies

Equipment
- 1 3-4 inch round or apple-shapped cookie cutter
Ingredients
- 1 box refrigerated pie crusts 2 crusts total, softened according to package directions
- 1 can apple pie filling about 20 to 21 ounces
- 1/2 tsp ground cinnamon optional
- 1/8 tsp ground nutmeg optional
- 1 large egg
- 1 Tbsp water
- Coarse sugar or regular granulated sugar optional for topping
Instructions
- Preheat the oven to 400°F. Line a baking sheet with parchment paper.
- Spoon the apple pie filling onto a cutting board, using mostly the apple pieces and leaving behind some of the extra syrup. Chop the apples into small pieces. Stir in cinnamon and nutmeg, if using.
- Unroll the pie crusts on a lightly floured surface or parchment paper. Roll out one of the crusts just a bit so you can get a little more out of it. Use a 3 to 4-inch round or apple-shaped cutter to cut the bottom crust pieces from one pie crust. Place them on the prepared baking sheet.
- Spoon about 1 tablespoon of chopped apple filling into the center of each crust, leaving a small border around the edges.
- Cut the second pie crust, plus any scraps, into thin strips about 1/4 to 1/2 inch wide. Arrange 3 strips in one direction over each mini pie, then add 2 to 3 strips in the opposite direction to create a simple lattice look.
- Gently press the ends of the lattice strips into the bottom crust. Press around the edges with your fingers or a fork, then trim any long strip ends if needed.
- Whisk together the egg and water. Brush the tops and edges of the mini apple pies with egg wash, then sprinkle with sugar if desired.
- Bake for 14 to 18 minutes, or until the crust is golden brown and the filling is bubbling around the edges.
- Let the mini apple pies cool on the baking sheet for about 10 minutes before serving. Transfer to a wire rack if cooling completely.