
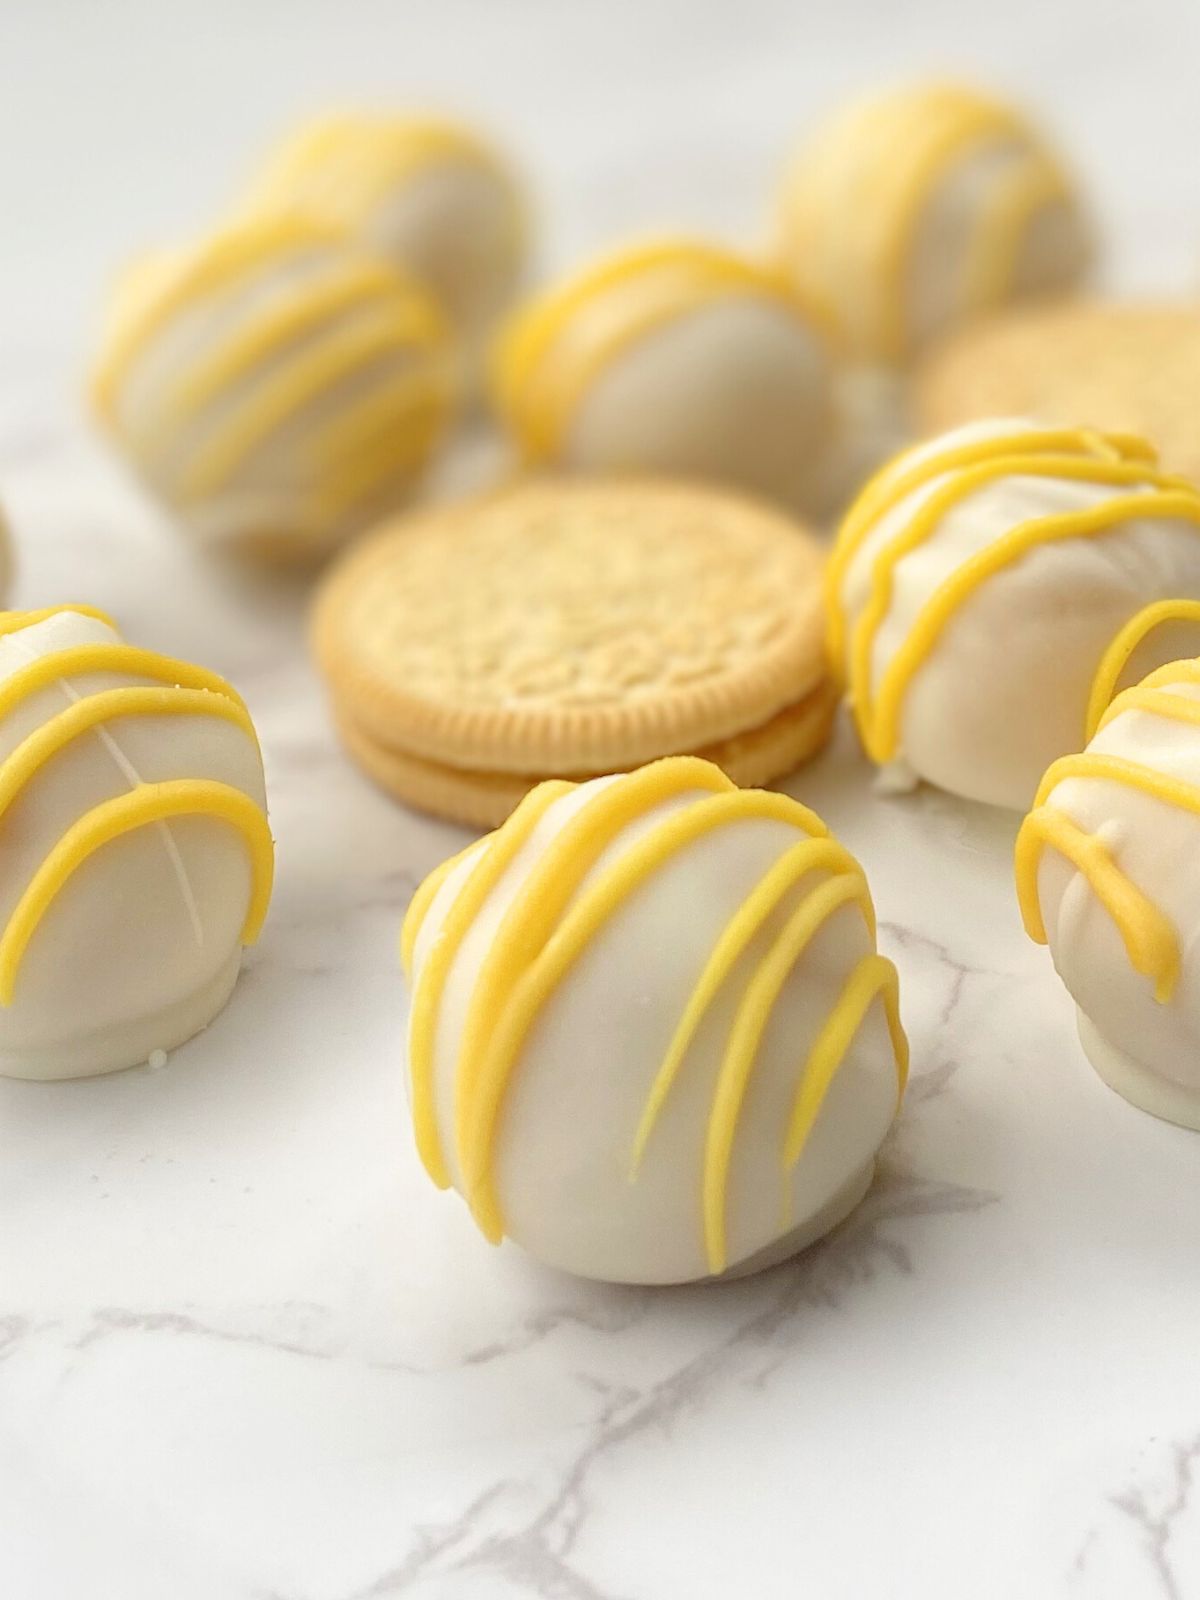
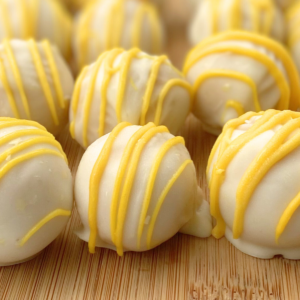
If you love no-bake desserts that look fancy but take almost zero effort, these Lemon Oreo Balls are going to be your new go-to. They’re creamy, bright, and citrusy (without being too tart), and they come together in minutes with few ingredients you can grab at any grocery store. I also love that they’re fast desserts you can make ahead for parties or holidays.
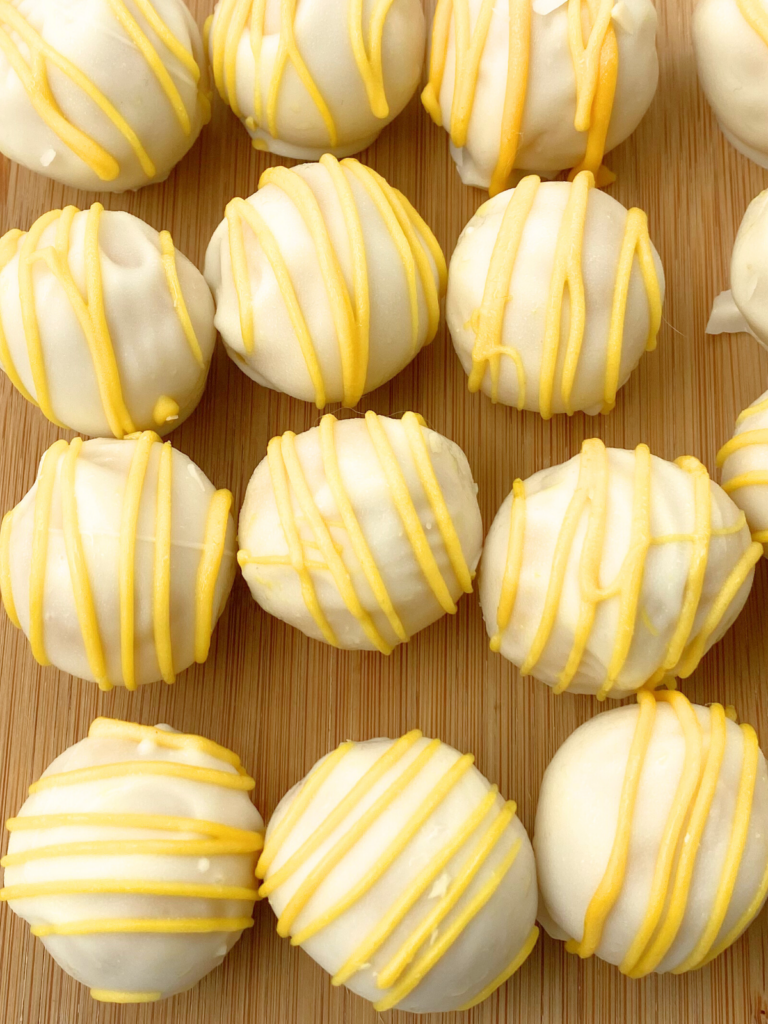
These little bites taste like a burst of sunshine and they’re great for any occasion
Jump to Recipe
Ingredients for Lemon Oreo Balls
You only need few ingredients for these no-bake desserts, and you can keep them super simple or dress them up.
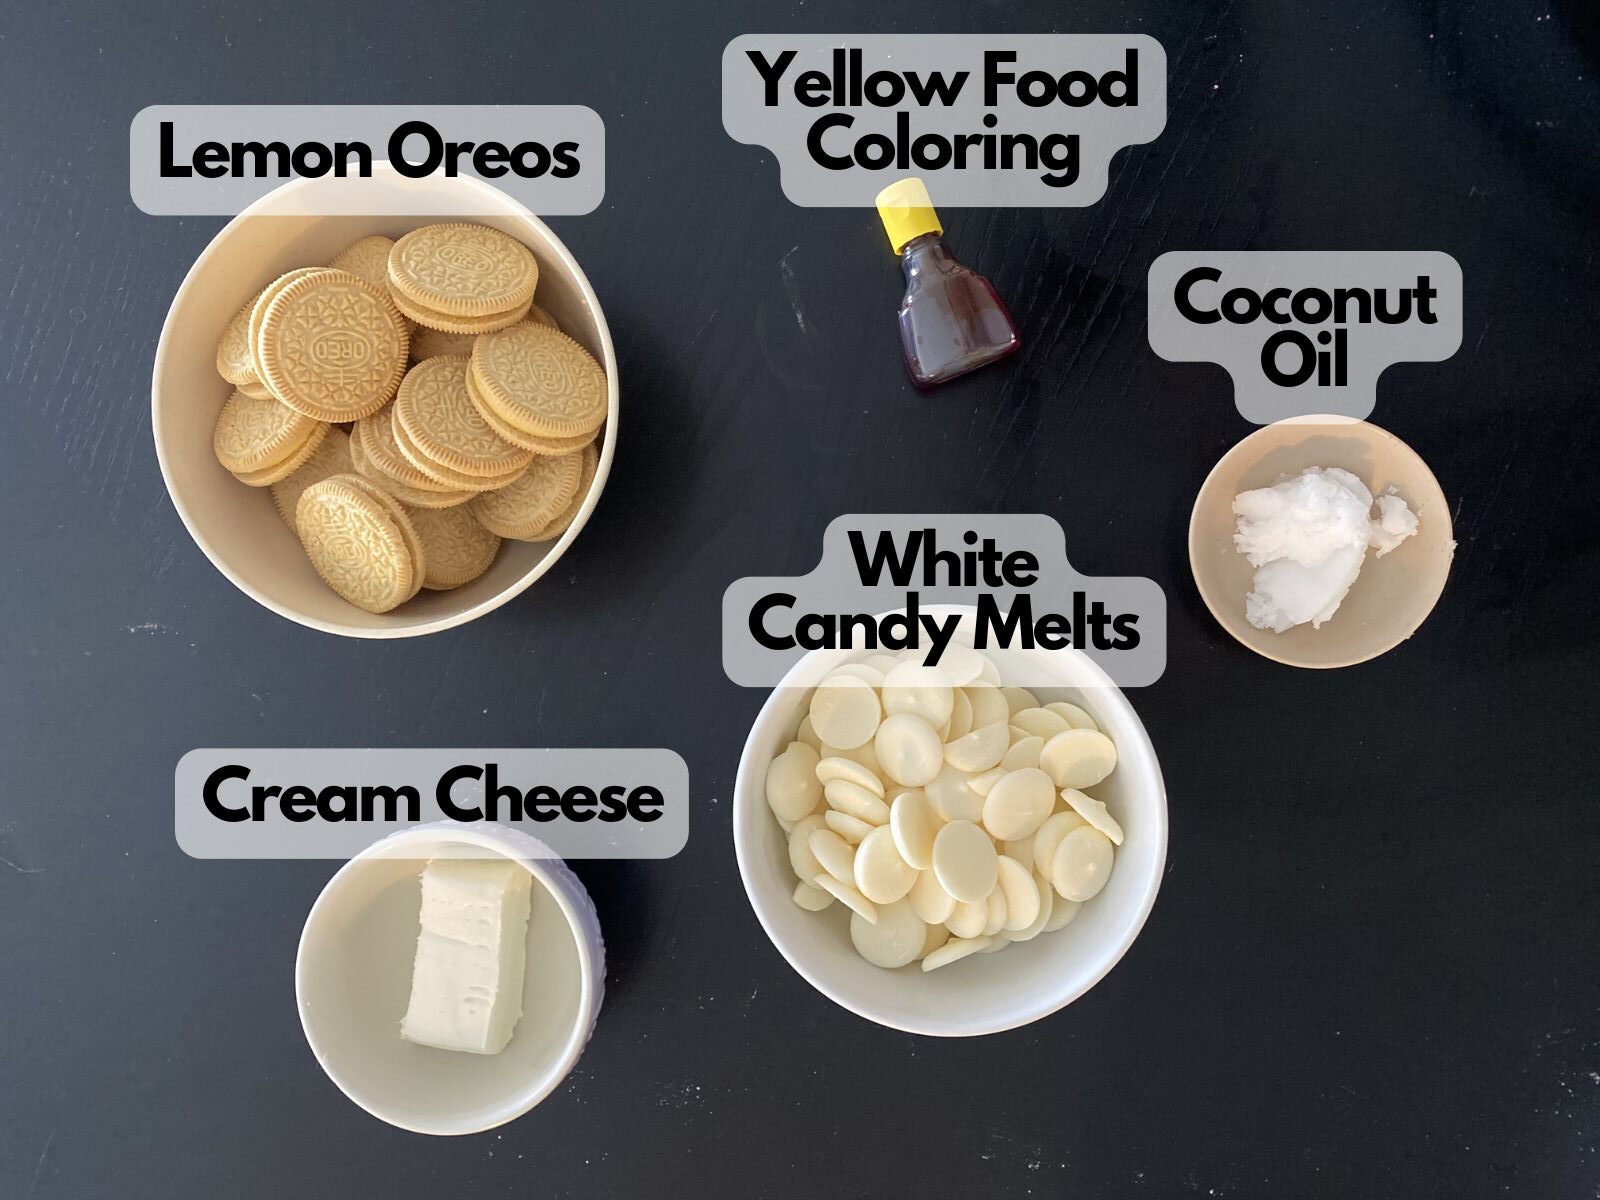
- 18 Lemon Oreo cookies (Make sure they’re the regular lemon and not the thin!)
- 2 ounces of cream cheese (at room temperature)
- White melting candies
- Yellow food coloring (or yellow melting candies if you can find them)
- Coconut oil
How to Make Lemon Oreo Balls
1. Begin by preparing a baking sheet lined with parchment paper to place the truffles on after shaping.
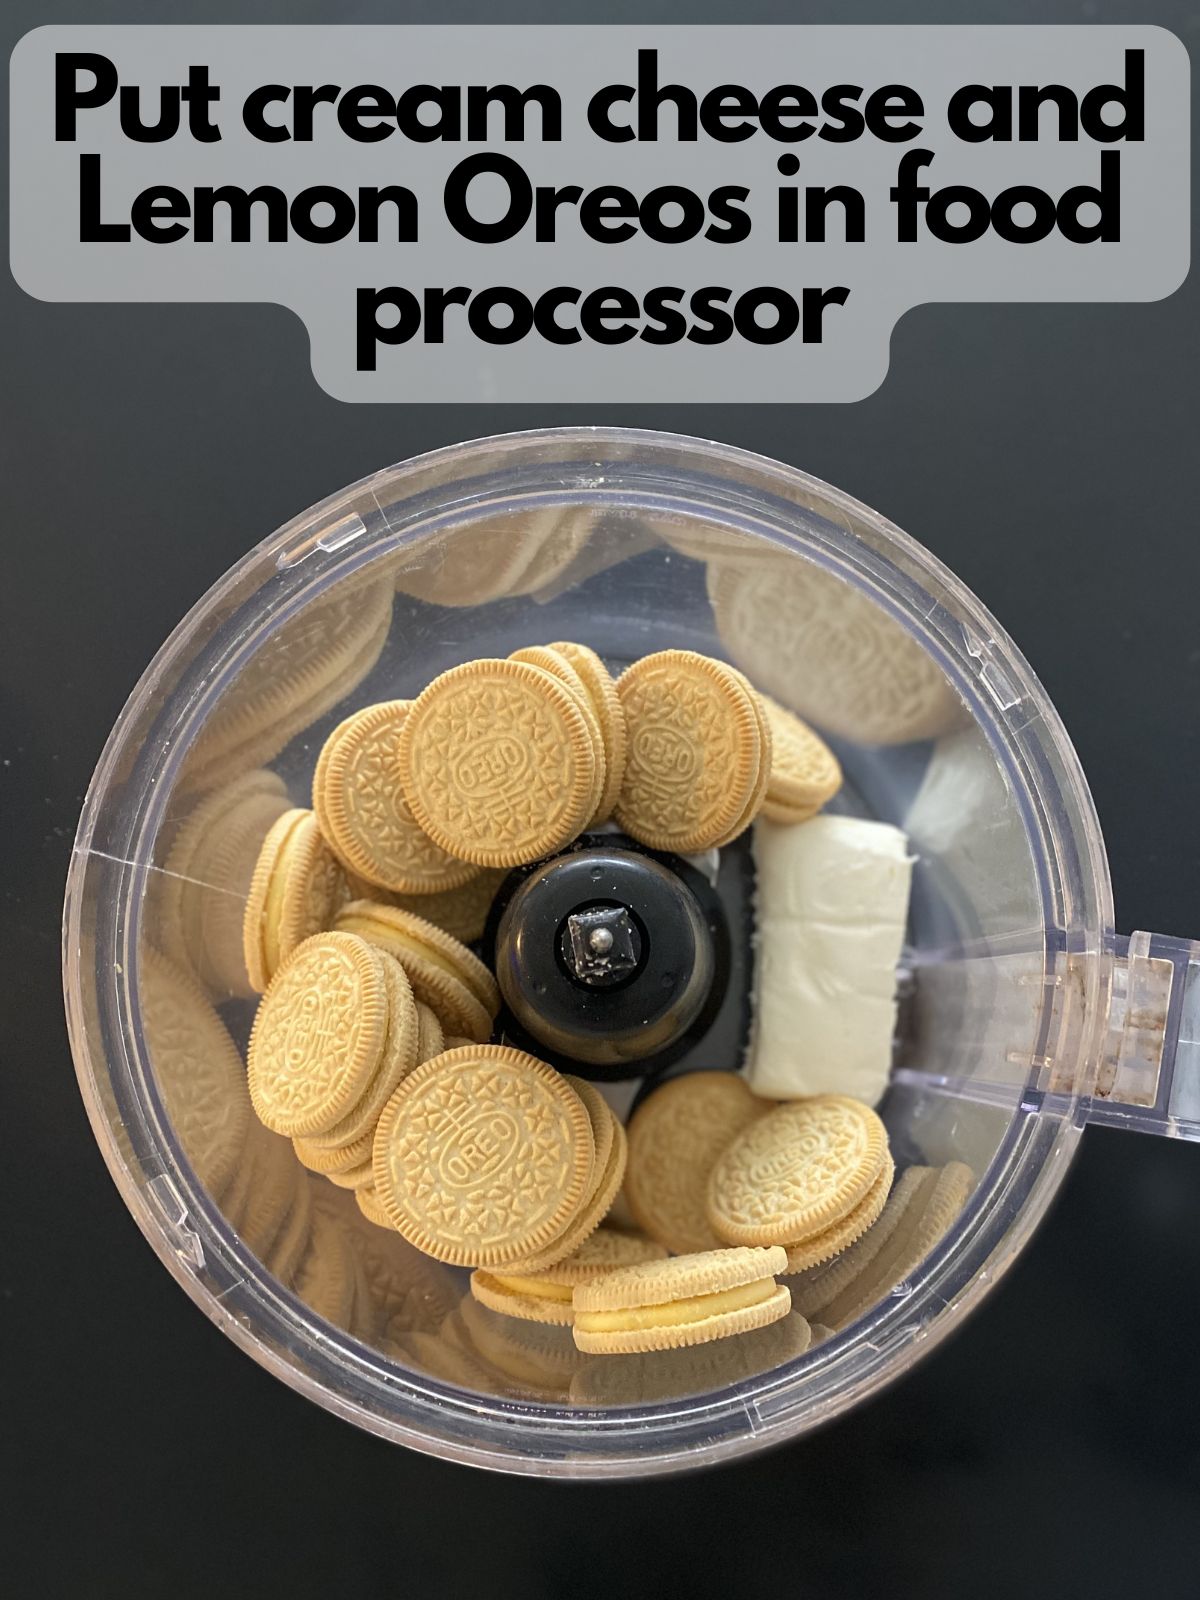
2. In a food processor, place your cream cheese and then pile the Oreos on top. You want the cream cheese closest to the blades so that it gets mixed in well.
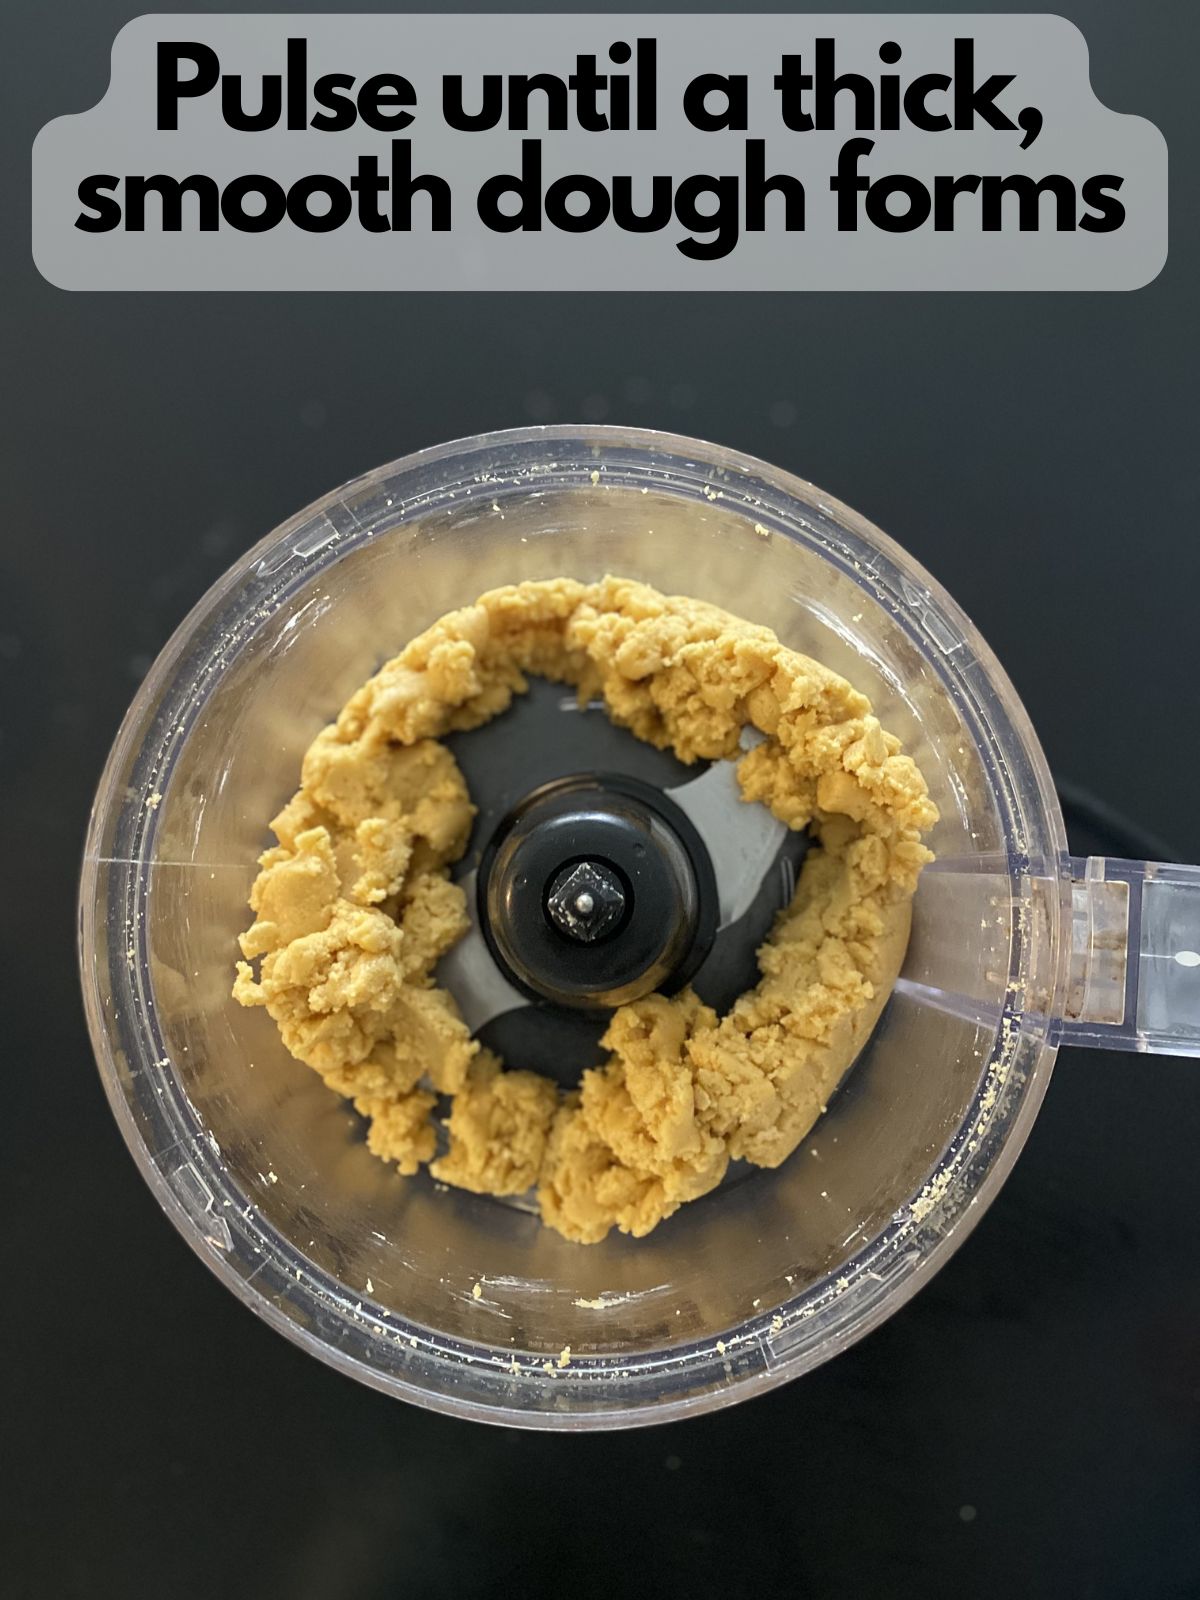
3. Pulse your Oreos and cream cheese until you have a dough. You want something that’s about the texture of Play Dough, honestly, If yours seems a little dry or crumbly, add in a little more cream cheese until you get that dough texture.
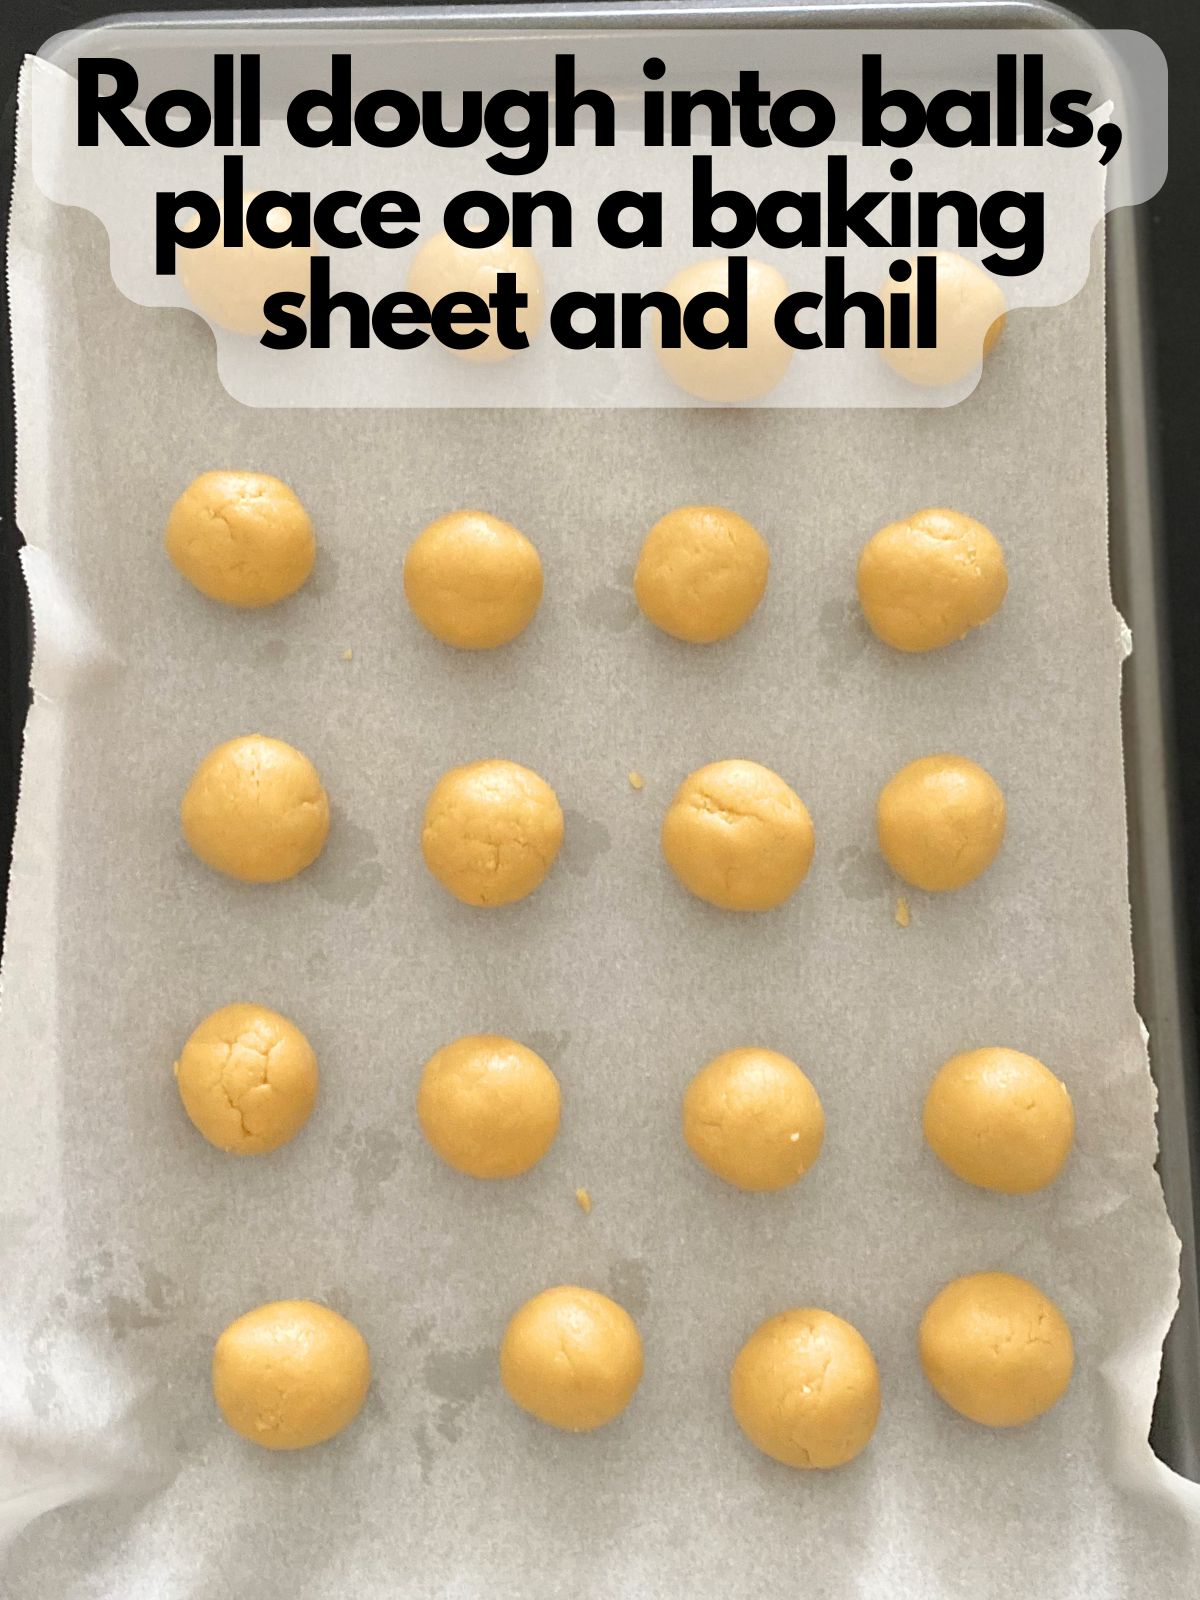
4. Roll your dough into balls and chill in the fridge for 30 minutes or the freezer for 15 minutes. You can decide on the size and shape of your truffles. I got about 24 out of mine, but it really all depends on just how big you make your lemon Oreo balls.
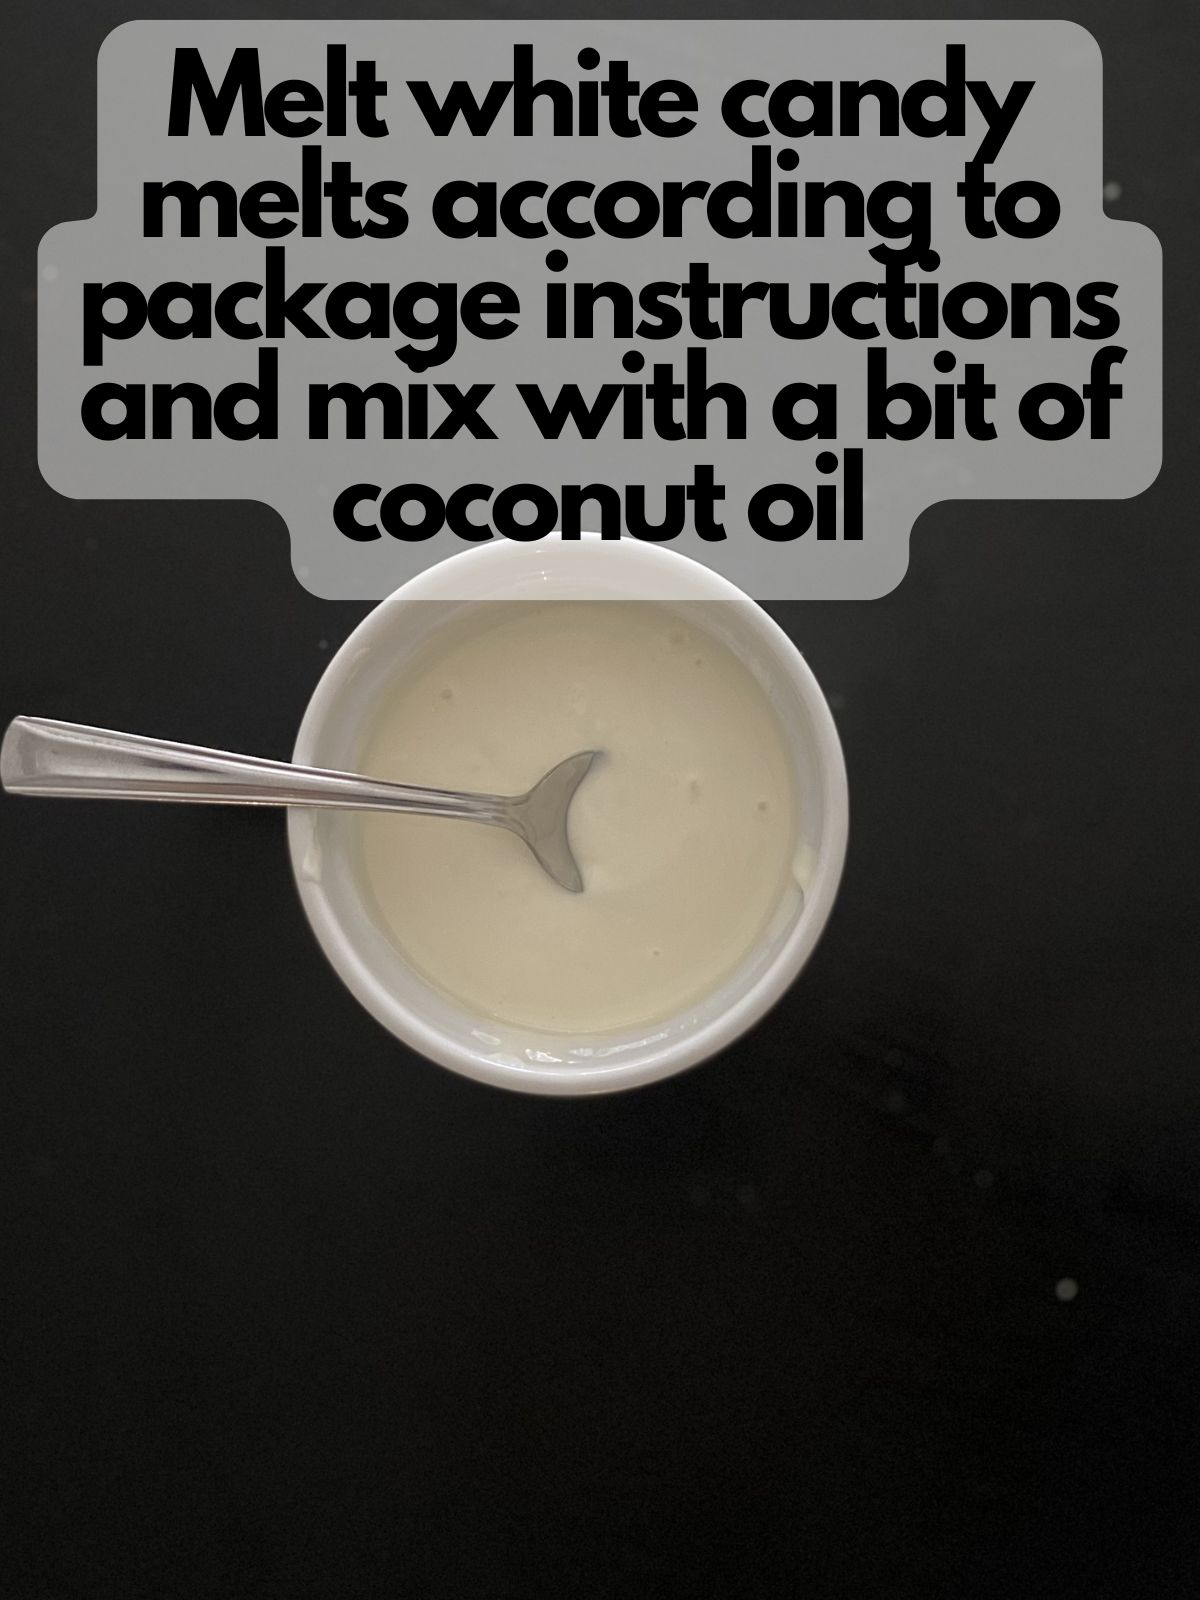
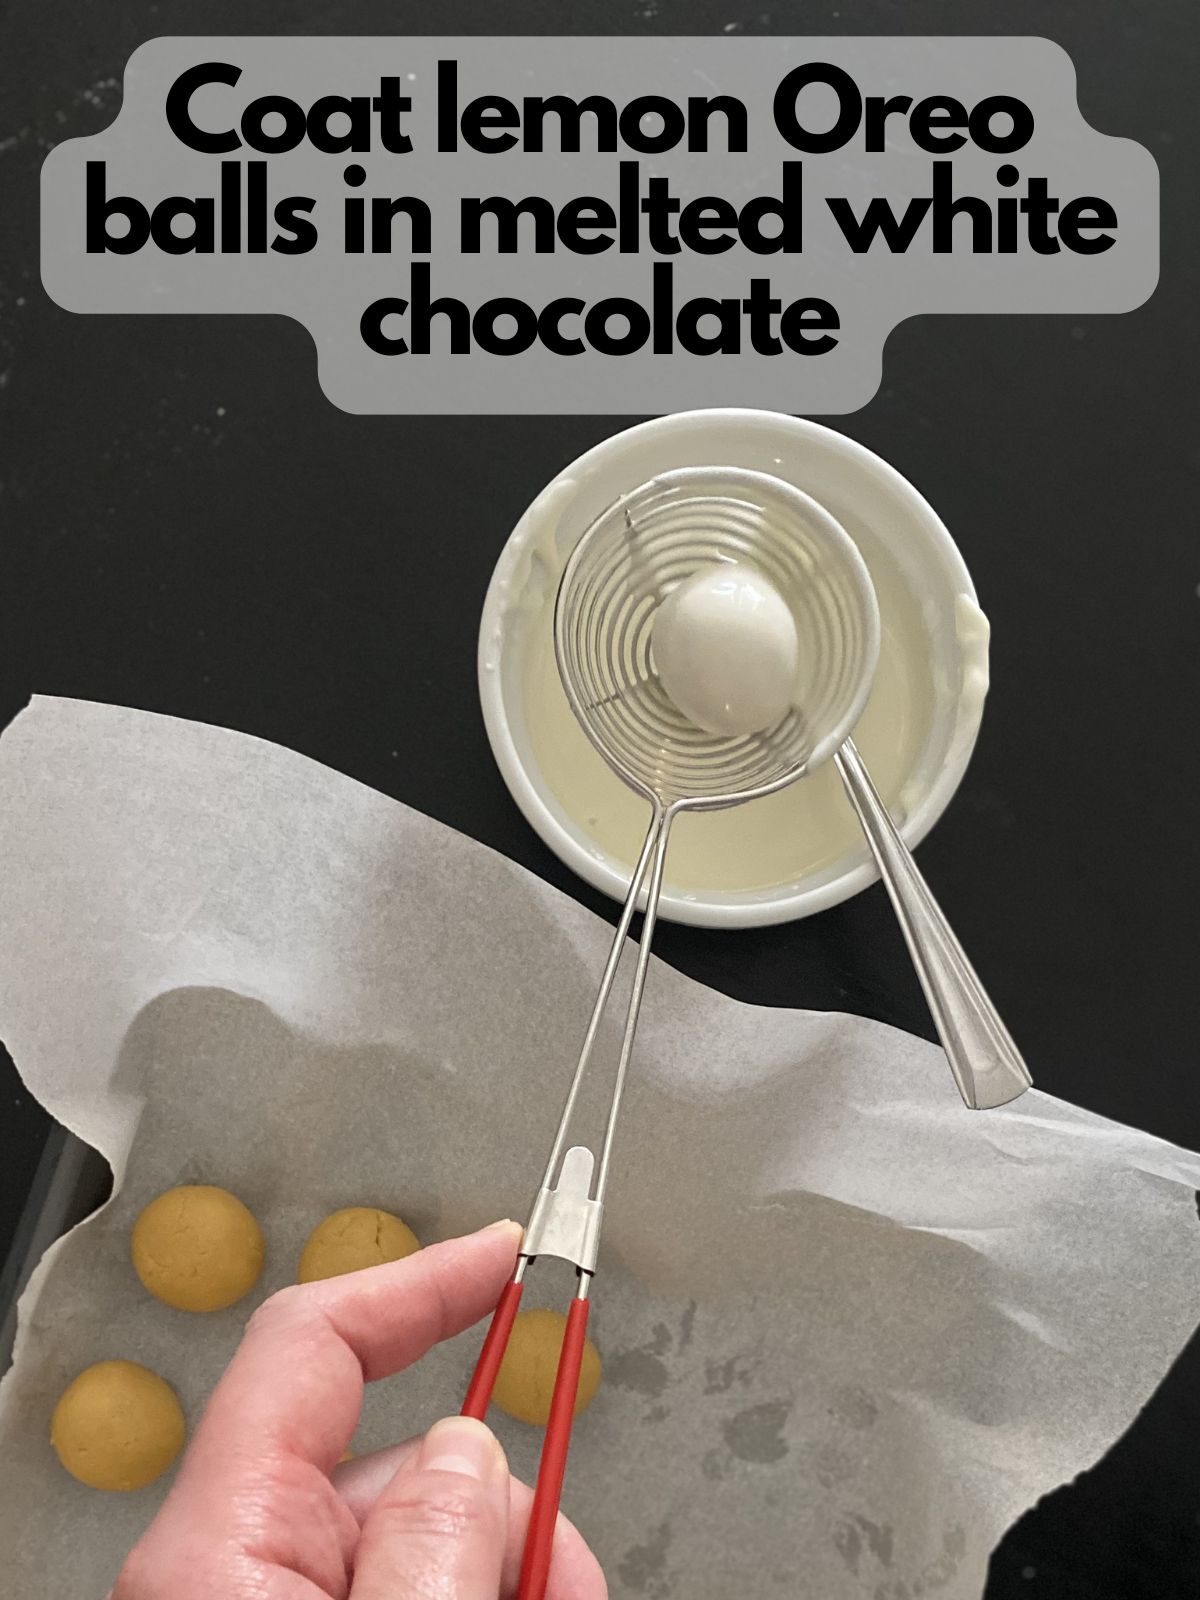
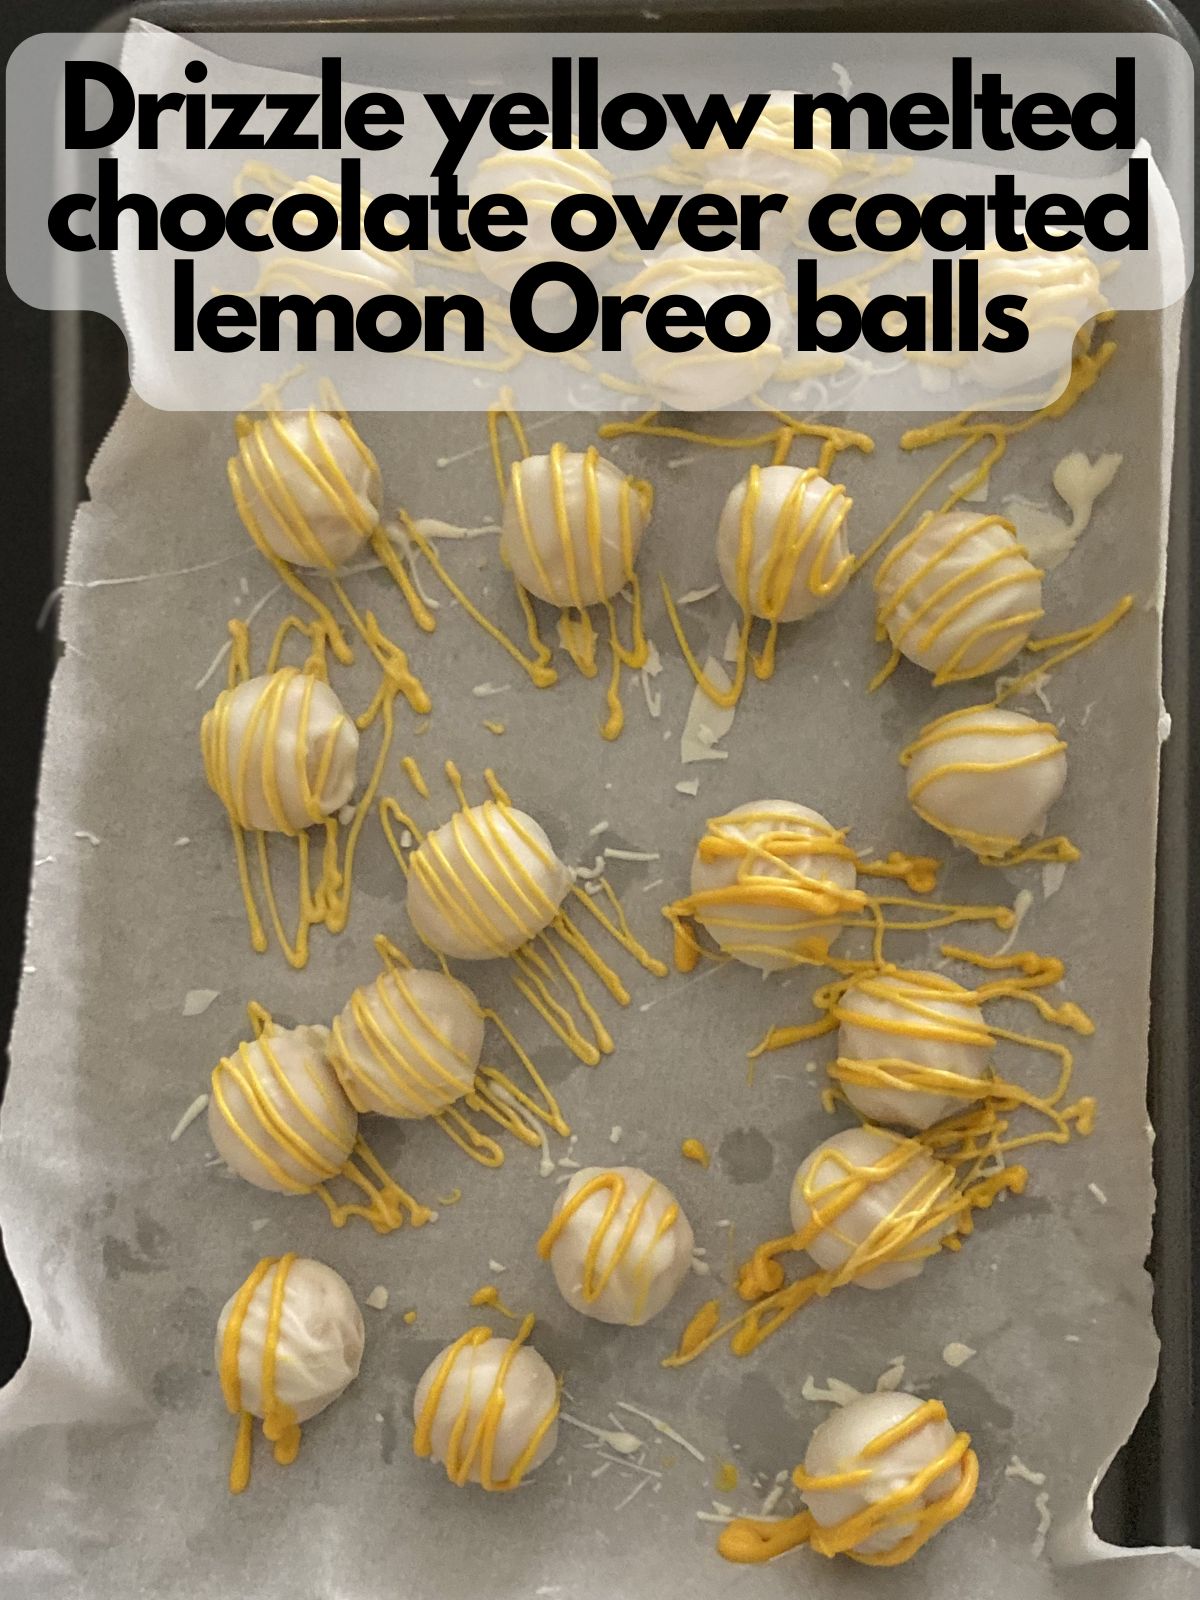
5. Melt your melting candies according to the package instructions. Using a spoon, coat your lemon Oreo balls entirely in chocolate, and then place back on the cookie sheet to set.
6. Once you coat your Lemon Oreo balls in chocolate and set them down to set, you may see a little puddle of melted chocolate hardening around the base of your Oreo balls. Once the chocolate sets, you can gently break off the excess chocolate with your fingers.
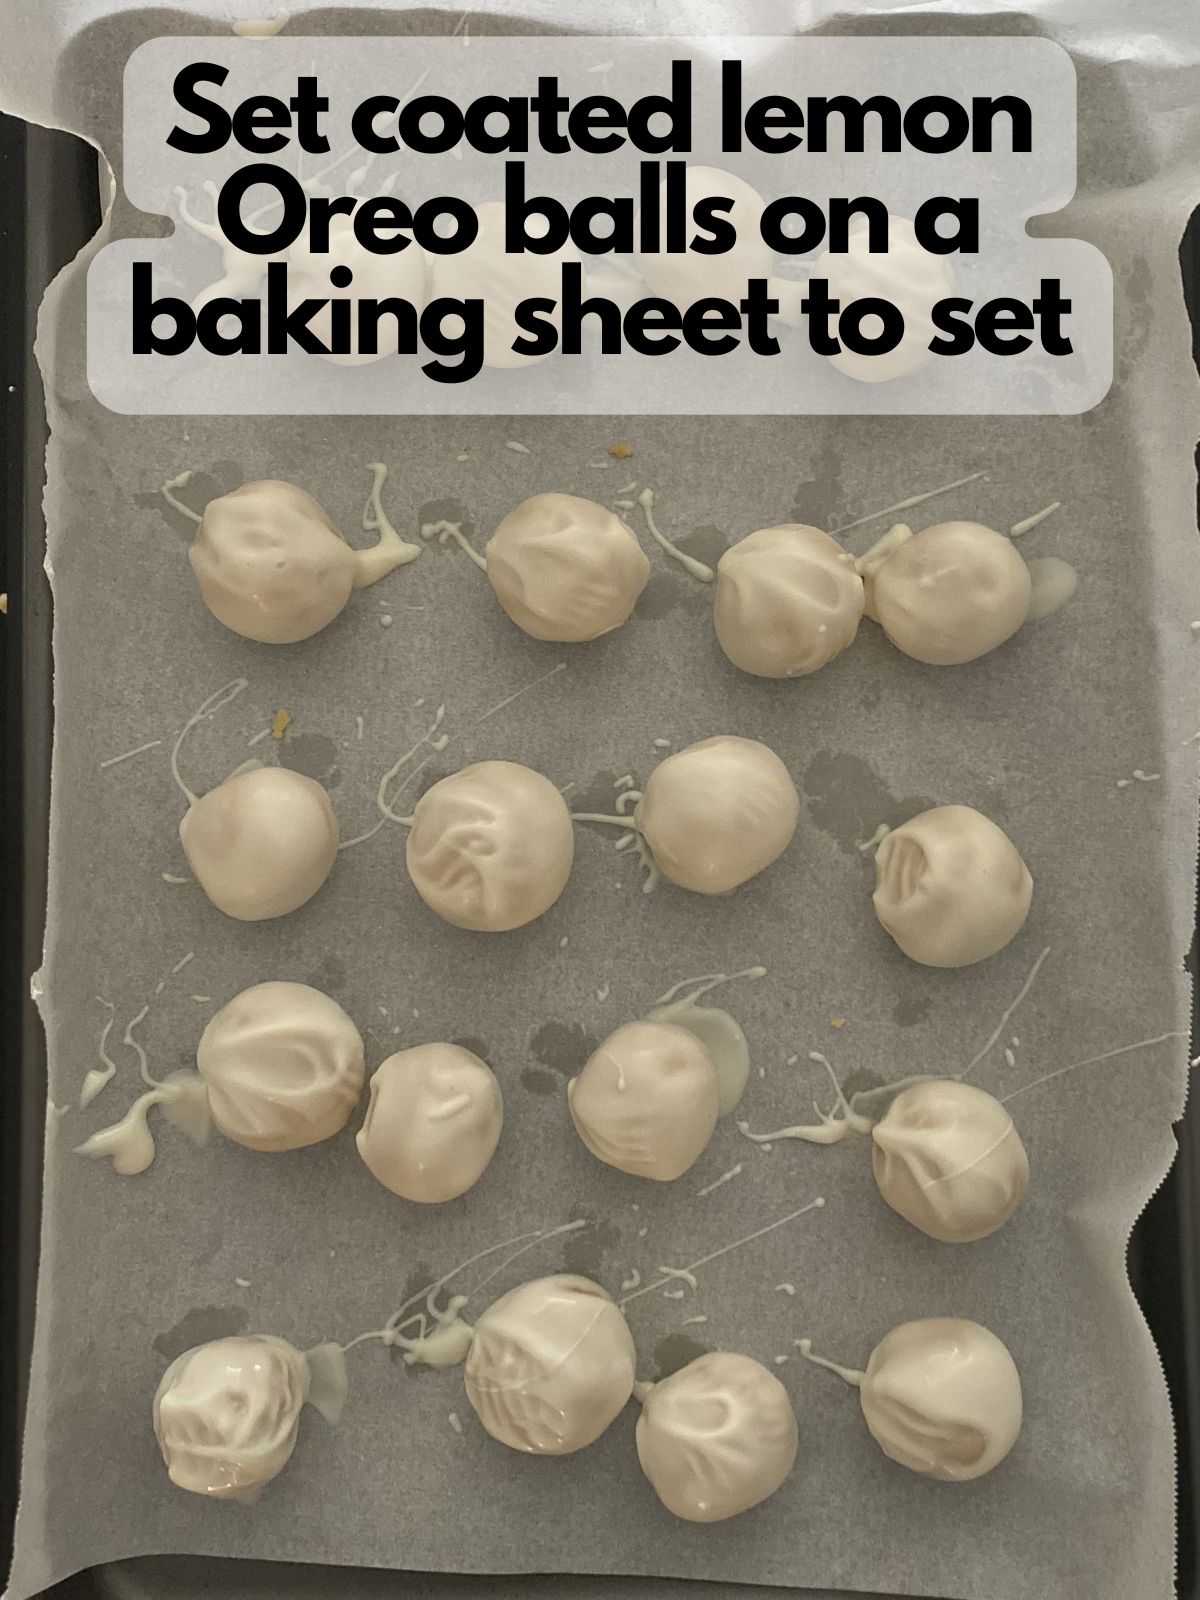
7. If you want to decorate your lemon Oreo balls with something like edible glitter or sprinkles, make sure to do that while the chocolate on the outside is still wet!
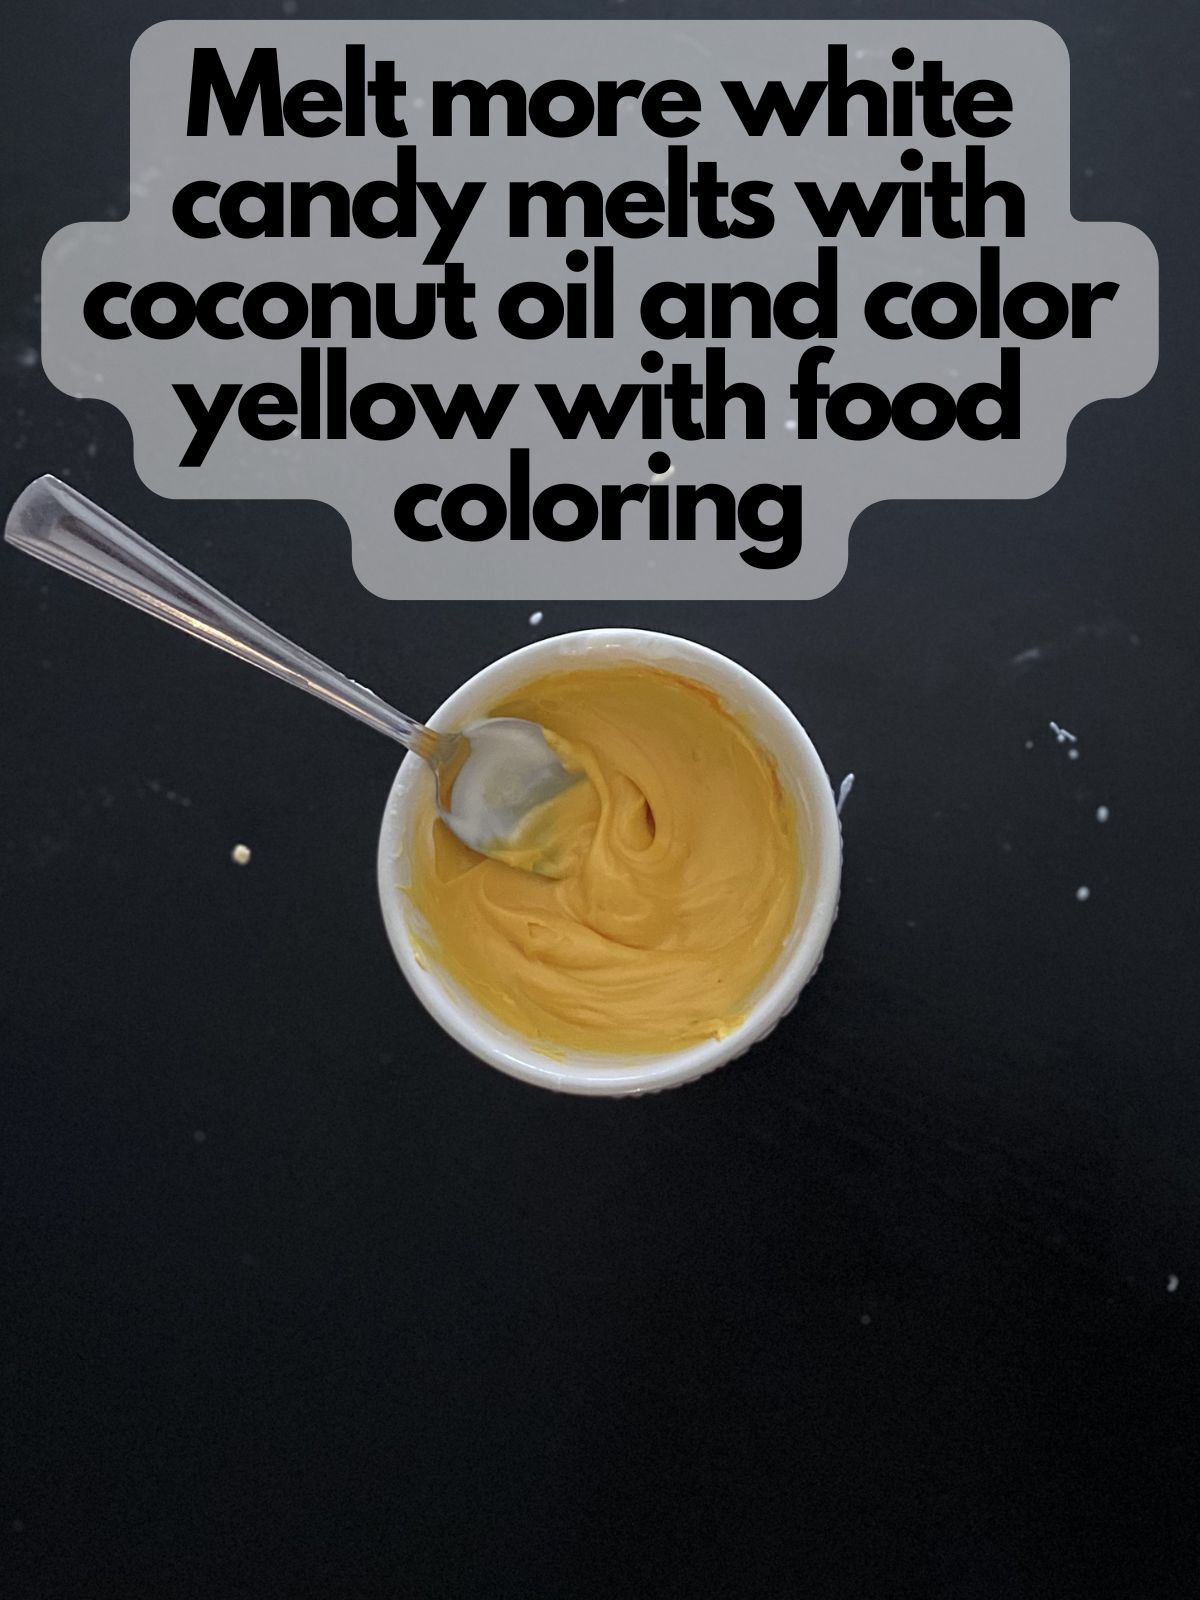
I melted some white chocolate melts and added a bit extra coconut oil and some yellow food coloring. You definitely want the extra oil for a drizzle so that it actually drizzles easily.
8. Once your Lemon Oreo Truffles have firmed up, they are ready to serve. Enjoy their delightful combination of lemony zing and sweet indulgence! Store in the fridge or freezer to keep fresh.
Pro Tips
- Don’t overheat white chocolate. Melt your candy melts according to the package instructions. Most of them require being microwaved at 50% power, so make sure you check. Stir often so it stays smooth and definitely add some coconut (or vegetable) oil to make the melting candies easier to work with.
- Make them extra pretty. A quick yellow drizzle is definitely the most effective way to decorate these and hide any imperfections you may have in your white coating. If you don’t have yellow food coloring or yellow melting candies, you can use sprinkles, too, but put them on while the white chocolate is still wet.
- Be careful with your yellow drizzle. In order to make your drizzle truly drizzle-able, you might have to add more coconut oil than you would think necessary. Also, to make a pretty, even drizzle, I use a small icing bottle with a plain round tip.
- Perfect make-ahead option. These are ideal fast desserts because you can prep them the day before (or even 2 days before), store them in an airtight container in the fridge, and just plate them when you’re ready.
FAQs
Can I use Golden Oreos instead of Lemon Oreos?
Yes! You can use 18 Golden Oreos with a teaspoon of lemon zest. Before you coat your Oreo balls and everything, give the dough a little taste test. If the lemon flavor isn’t strong enough, try adding in ¼ teaspoon of lemon extract and really, really mix again in a food processor to get that lemon flavor spread out.
How do I store Lemon Oreo Balls?
Store them in an airtight container in the fridge for up to 1 week. Since these are no-bake desserts made with cream cheese, they should stay chilled for food safety purposes.
Can I freeze Oreo balls?
Sure thing! Freeze them in a single layer until solid, then transfer to a freezer bag or container. They’ll keep for up to 2 months. Thaw in the fridge overnight.
How do I keep the coating smooth?
Chilling the balls first is helpful. Also, make sure you melt your white candy melts according to the package instructions. For the drizzle, add even more coconut oil to make sure your drizzle actually drizzles over the Oreo balls.

These Lemon Oreo Balls are the kind of treat I make when I need something cute, sweet, and impressive without turning on the oven. With just few ingredients, a quick chill, and a dip in white chocolate, you’ve got one of the easiest no-bake desserts to add to any dessert table. If you’re collecting fast desserts for spring parties, baby showers, or holiday trays, this one deserves a permanent spot on your list.
Lemon Oreo Truffles
Ingredients
- 18 Lemon Oreos The regular kind, not the thin ones
- 2 oz cream cheese softened
- 12 oz Melting chocolate/candy
- 1 tsp coconut oil optional, approximately
Instructions
- Line a cookie sheet with parchment paper
- Place your cream cheese and Lemon Oreos in a food processor
- Pulse until you get a dough with a thick, Play-Dough-like consistency. If you don't get that, add a little more cream cheese a teaspoon at a time
- Shape your dough into balls or whatever shape you like
- Chill your Lemon Oreo balls in the fridge for 30 minutes or the freezer for 15 minutes
- Melt your melting chocolate according to the package instructions.
- Dip your Lemon Oreo Balls into the melted chocolate to coat them. If you see that the chocolate is thick and a lot of excess chocolate is sticking to your Oreo balls, add in a little bit of coconut oil.
- Place your coated Lemon Oreo balls back on your cookie sheet. If you are decorating them with edible glitter or sprinkles, put those on before the chocolate sets. Otherwise, decorate as you wish and enjoy!