
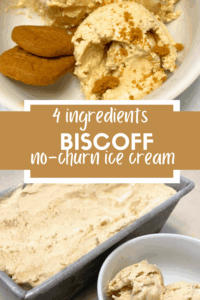
 If you’re looking for a fall dessert that feels cozy but is still incredibly easy, this no-churn Biscoff ice cream is it. With warm spiced cookie butter folded into a creamy base, it tastes like fall in a bowl. Best of all, it requires no ice cream maker, making it one of the easiest fall themed desserts you can whip up at home. This recipe is the perfect addition to your list of no bake fall desserts when you want something special without the hassle.
Ingredients for No-Churn Biscoff Ice Cream
This easy ice cream recipe requires no ice cream maker, making it perfect for a quick dessert or a fun activity with the kids. This is all you’ll need to make your very own, homemade cookie butter ice cream:
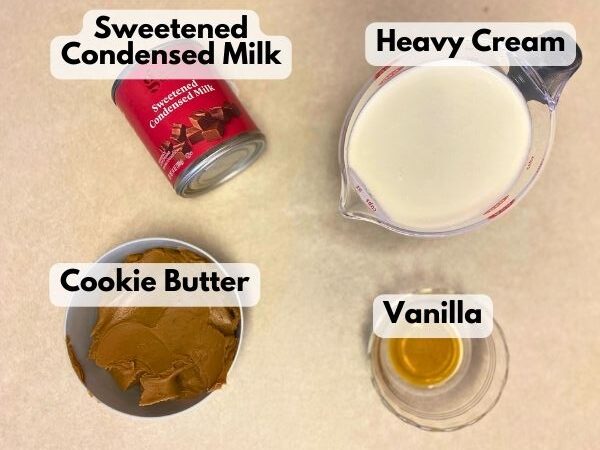
– 2 cups heavy whipping cream, chilled
– 1 can (14 oz) sweetened condensed milk
– 1 cup Biscoff cookie butter (Smooth or crunchy work. I used Trader Joe’s smooth Speculoos butter))
– 1 tsp vanilla
– 1/2 cup crushed speculoos cookies or other cookie of your choice (optional for added texture and flavor)
– ¾ cup extra cookie butter (optional, for an added cookie butter swirl)
Video on How to Make Biscoff Ice Cream
How to Make Bisocff Ice Cream
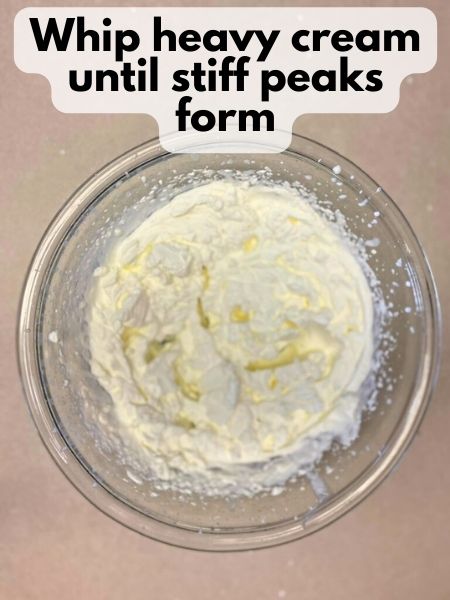
Whip the Heavy Cream:
- In a large mixing bowl, whip the chilled heavy whipping cream using an electric mixer or a whisk until stiff peaks form. This will take about 3-5 minutes.
- Be careful not to over-whip; you want the cream to be thick and fluffy, not grainy.
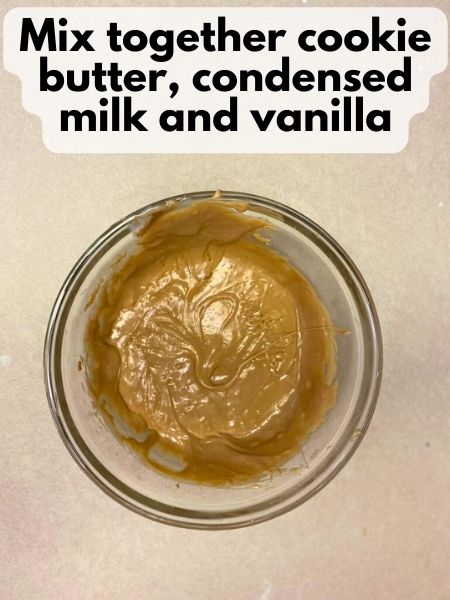
Combine Sweetened Condensed Milk and Cookie Butter:
- In another bowl, combine the sweetened condensed milk, cookie butter and vanilla. Mix until smooth and well combined. To make this part a little easier, you can soften your cookie butter in the microwave for about 10 seconds, but I don’t think it’s strictly necessary.
- If you’re using crunchy cookie butter and want some texture in your ice cream, you can leave some larger bits of cookie butter.
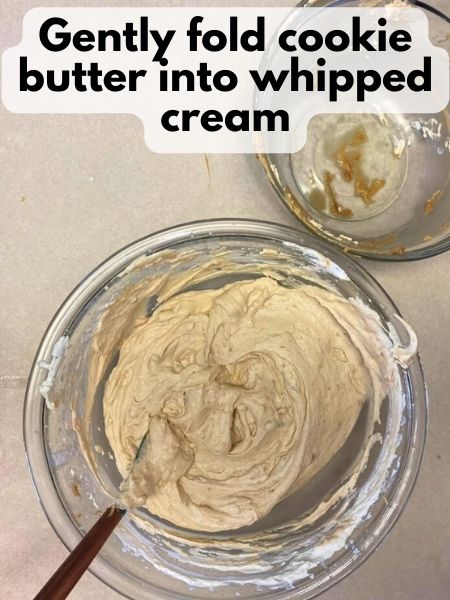
Fold Together:
- Gently fold the whipped cream into the sweetened condensed milk and cookie butter mixture until well combined.
- If you’re adding crushed speculoos cookies or other cookies, fold them into the mixture at this point. If you want an extra cookie butter swirl, gently heat your extra cookie butter in the microwave (Maybe 20 seconds), then drizzle it into your ice cream mixture and gently swirl with a butter knife.
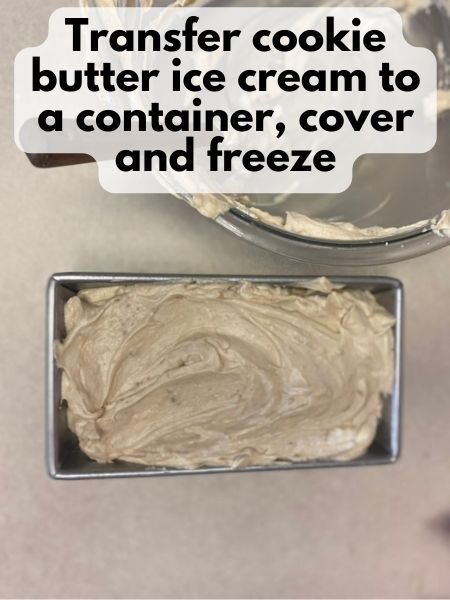
Freeze:
- Transfer the mixture into a freezer-safe container or a loaf pan.
- Smooth the top with a spatula or the back of a spoon.
- Cover the container with plastic wrap or a lid.
- Place the ice cream in the freezer and let it set for at least 6 hours, or preferably overnight.
- The longer you let it freeze, the firmer it will become.
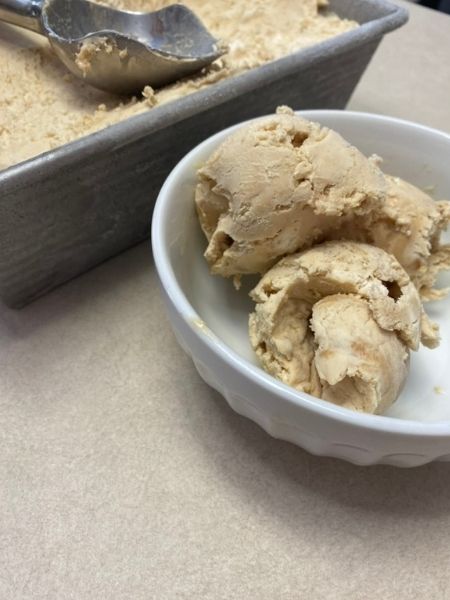
Serve and Enjoy:
- When you’re ready to serve, let the ice cream sit at room temperature for a few minutes to soften slightly.
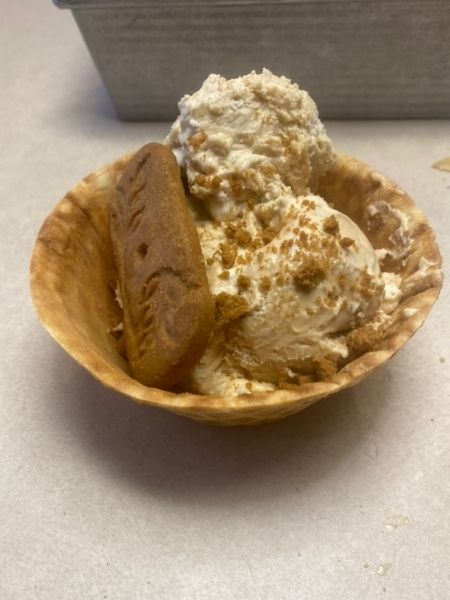
- Scoop into bowls or cones and enjoy your homemade Cookie Butter Flavored Ice Cream!
For those of you who love a bit of texture or maybe an extra pop of flavor in your summer treats and sweet snacks, feel free to go wild with optional mix-ins or toppings. Chopped cookies, a sprinkle of cinnamon, or even swirls of chocolate can transform your homemade ice cream into a personalized treat, refreshing among dessert recipes.
Pro Tips
Making your own no-churn ice cream, especially with the unique and utterly irresistible flavor of Biscoff, not only brings joy to the process but guarantees a creamy dessert that’s both a personal achievement and a crowd-pleaser. Here are a few tips to make sure everything goes smoothly.
- Ensure Everything is Cold: Start with your ingredients and utensils being as cold as possible. If you can, pop your mixing bowl and beaters in the freezer for about 30 minutes before you begin to whip your heavy cream. If you forget (like I always do!), at least make sure your whipping cream is cold and fresh out of the fridge.
- Sweetness Balance: Cookie butter is inherently sweet, so taste as you go. You can adjust the sweetness of your homemade ice cream by adding a bit more heavy cream or a pinch of salt if it feels too sweet.
- Storage Solutions: Store your homemade sweets in an airtight container with a secure lid. I like to reuse a container that (I think?) soup came in at one point. You can use a loaf pan, too, but if you do, I recommend covering it with plastic wrap and then wrapping a rubber band around the container to hold the plastic wrap down.
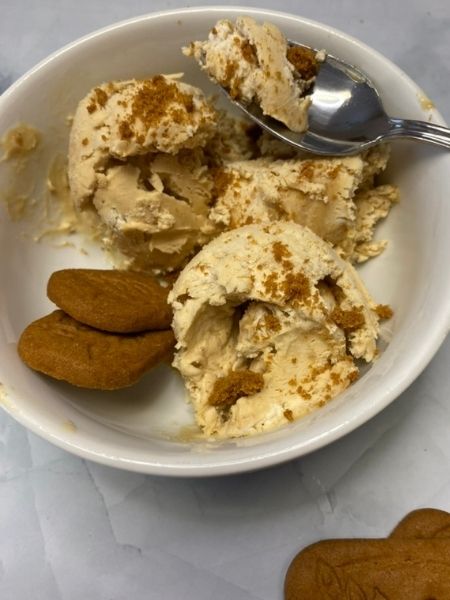
- Serving Suggestions: For the best texture, let your ice cream sit at room temperature for a few minutes before scooping. Serve it with a sprinkle of crushed cookies on top for that extra Biscoff fun.
- Variation Ventures: Don’t be afraid to experiment with your ice cream making. Mixing in chunks of your favorite chocolate or swirls of caramel can elevate your no-churn ice cream to a new level of decadence. You can also try my cookie butter ice cream pie with this recipe
FAQs
- Can I really make homemade ice cream without a maker? Absolutely! The beauty of no-churn ice cream recipes is their simplicity. You won’t need any fancy equipment, just a freezer, a mixing bowl, and a little elbow grease. The reason this recipe works without an ice cream maker is the high sugar content (sorry other moms!). I would recommend following the recipe as written to get the best results, even though the mother in me really wishes there was a way to cut down on that sugar.
- How long will this last? I would say this will last quite a while in your freezer if you store it in an air tight freezer container! Really, the better you store it, the longer it will last. If you store it in a good container with a lid, it should last you probably months. My biggest concern would be how many times you defrost the ice cream and for how long it sits out while you are eating it. The more times you take it out of the freezer and let it defrost a bit, the texture of the ice cream is going to get more dense, and then it will be kind of hard and icy the next time you take it out. So, I would say make storing it well a priority and try to avoid letting it defrost too, too many times and for too long.
- Where can I buy cookie butter, or how do I make it? Cookie butter is available in many supermarkets, typically near the peanut butter and jelly. The main brand I see in grocery stores in the Lotus biscoff butter. I like to buy mine at Trader Joe’s, where it’s still usually with the peanut butter and jellies.
- Any suggestions for customizing my no-churn cookie butter ice cream? The sky’s the limit! Consider mixing in chunks of your favorite cookies or swirls of caramel for an extra flavor punch. No-churn ice cream is fantastically versatile, so feel free to get creative with mix-ins and toppings to craft your perfect summer treat or unique ice cream flavor.
This no-churn cookie butter ice cream one of my favorite, unique fall themed desserts. With just a few ingredients and zero baking, you’ll have a cozy, spiced treat that’s perfect for sharing—or keeping all to yourself.
If you liked this cookie butter ice cream, check out:
Salted Caramel Cookie Butter Truffles
Easy Cookie Butter Truffles
Cookie Butter Biscotti

Cookie Butter Ice Cream
Ingredients
- 2 cups heavy whipping cream
- 1 cup cookie butter smooth or chunky
- 14 oz sweetened condensed milk
- 1 tsp vanilla
Instructions
- In a large mixing bowl, whip your heavy whipping cream until stiff peaks form (3-5 minutes usually)
- In a separate bowl, mix together the cookie butter, condensed milk and vanilla until it is a smooth, consistent mixture. You can warm up your cookie butter for 10-20 seconds in the microwave to help with this, but you don't have to.
- Carefully fold the cookie butter mixture into your whipped cream until everything is combined well and smooth.
- For extra add-ins, you can fold in some Speculoos cookie crumbs or some more cookie butter (soften the cookie butter in the microwave for a few seconds first)
- Place your cookie butter ice cream mixture in a freezer container with a lid, or cover a loaf pan with some plastic wrap. Let sit in the fridge for around 6 hours to ensure it's frozen completely.
- Let your cookie butter ice cream sit at room temperature for a couple minutes before scooping and serving.