Last updated on August 29th, 2024 at 09:06 pm
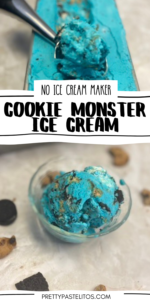 Hey there, ice cream lovers! If you’re a fan of cookies and ice cream (I mean, who isn’t?), then you’re in for a treat. Today, I’m sharing my absolute favorite recipe for No-Churn Cookie Monster Ice Cream! This vibrant, fun, and oh-so-delicious dessert is perfect for anyone who adores the lovable blue monster from Sesame Street, or just anyone looking for an easy ice cream recipe. The best part? You don’t even need an ice cream maker! So, let’s get our cookie fix in the most delicious way possible. Ready to dive into this sweet, blue goodness? Let’s go!
Jump to Recipe
Ingredients for No-Churn Easy Cookie Monster Ice Cream
Here’s everything you’ll need to whip up this delightful dessert:
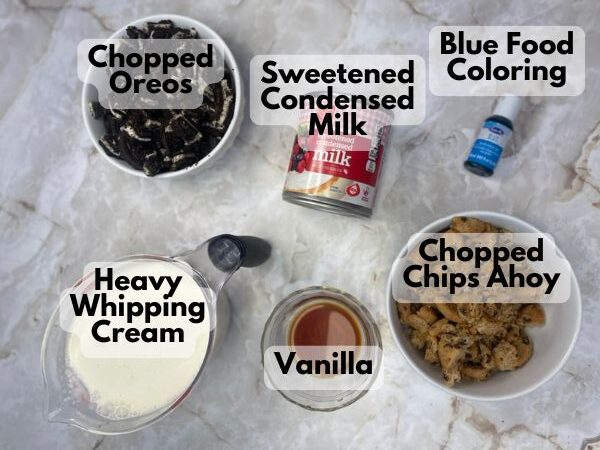
- 2 cups heavy whipping cream: This is the base that makes our ice cream rich and creamy.
- 1 can (14 oz) sweetened condensed milk: Adds the perfect amount of sweetness and keeps the ice cream soft.
- 2 teaspoons vanilla extract: For that classic ice cream flavor.
- Blue food coloring: This is what gives our ice cream that iconic Cookie Monster color.
- 12 Chips Ahoy cookies, roughly chopped (or more!)
- 12 Oreos, roughly chopped (or more!)
- Optional: Extra cookies for topping: Because more cookies = more fun!
Video – How to Make Cookie Monster Ice Cream without an Ice Cream Maker
How to Make Easy Cookie Monster Ice Cream
Now that we’ve got our ingredients, let’s get to the fun part—making the ice cream!
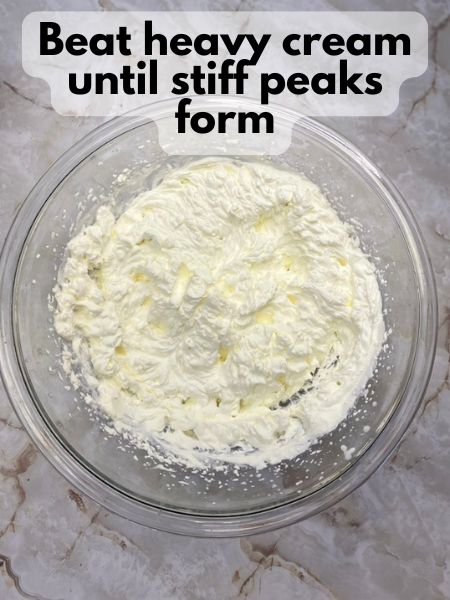
1. Whip the Cream: Start by pouring your heavy whipping cream into a large mixing bowl. Using a hand mixer (or a stand mixer if you prefer), whip the cream until stiff peaks form. This usually takes about 3-5 minutes. You’ll know it’s ready when the cream holds its shape when you lift the beaters.
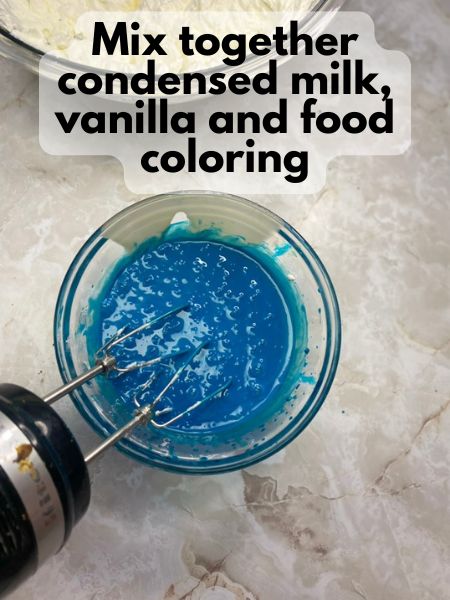
2. Get Cookie Monster Blue: Add a few drops of blue food coloring to your sweetened condensed milk and vanilla. I would suggest using food coloring from the baking section of a craft store (I got mine at Michael’s) if you can find it. Regular food coloring tends to need a lot to get a rich color.
Also, you’ll want to make your blue darker than what you will actually want in the end, because you will be diluting this color in all of your whipped cream.
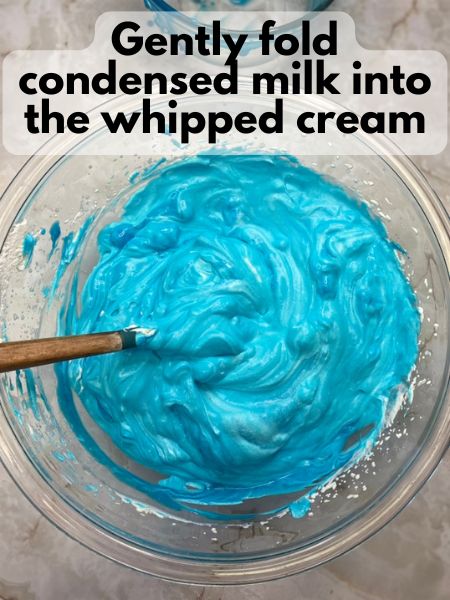
3. Mix in the Sweetened Condensed Milk and Vanilla: Gently fold in the sweetened condensed milk and vanilla extract into the whipped cream. Make sure to do this slowly to keep all that lovely air in the mixture—this is what makes your ice cream so light and fluffy!
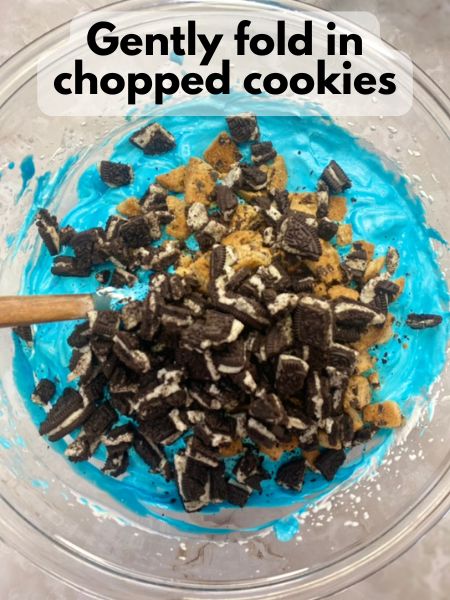
4. Add the Cookies: Time to get those cookies involved! Gently fold in the crushed chocolate chip cookies and Oreos, making sure they’re evenly distributed throughout the ice cream base.
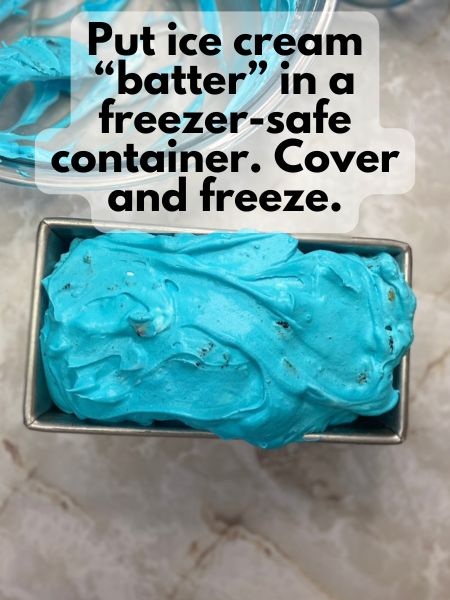
5. Freeze: Pour the mixture into a loaf pan or any freezer-safe container. Cover the container with plastic wrap or a lid and pop it in the freezer. Let it freeze for at least 4-6 hours, or until it’s firm.
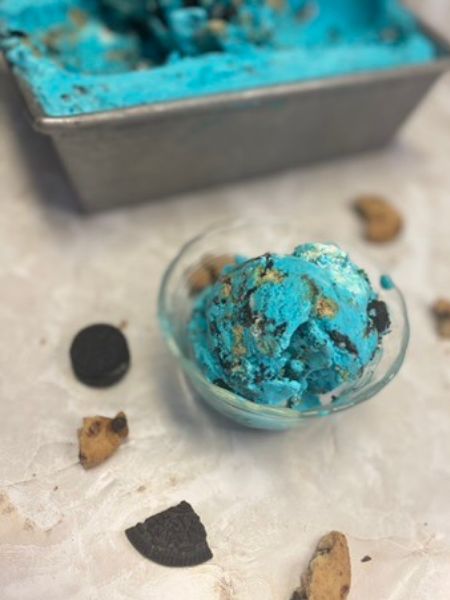
6. Enjoy!: Once your ice cream is frozen and ready, scoop it into bowls or cones, and enjoy every delicious, cookie-filled bite!
Pro Tips for No-Churn Cookie Monster Ice Cream
- Chop the Cookies Just Right: This is totally up to personal preference, of course! I like to leave some bigger chunks of cookies in the ice cream for extra texture and crunch, so I just roughly chopped my cookies with a knife. However, if you prefer a smoother ice cream, you can crush your cookies a bit more so you don’t have as many big chunks. I would not recommend you crush your cookies into a fine powder if you’re going for a more “classic” cookie monster look.
- Get Creative with Add-Ins: Want to take it up a notch? Try adding a swirl of cookie butter or hot fudge before freezing for an extra layer of flavor. Really, the sky is the limit! Especially when you can make this homemade ice cream in no time at all and you don’t even need an ice cream machine.
- Storage Tip: If you have leftovers (though I doubt you will!), store your ice cream in an airtight container with a lid to keep it fresh. It should last in the freezer for up to 4 weeks if sealed properly. Of course, I can’t say for sure because ours barely lasted a week!
- Get the “good” food coloring: I know I mentioned this above, but it’s worth mentioning again! Regular food coloring that you can typically by in the grocery store will probably require a lot of drops to get the blue color you want here. I like to buy my dessert decorating food colorings from the cake section in Michael’s if I can. They have a very rich color, so you really only need a few drops to actually get the color on the bottle.
FAQs
Q: Can I use a different type of cookie?
A: Absolutely! While chocolate chip cookies and Oreos are the classic combo for Cookie Monster ice cream, feel free to get creative. You can try using peanut butter cookies, M&Ms cookies, or even chocolate wafer cookies for a fun twist.
Q: How long does it take to freeze?
A: Your ice cream should be ready in about 4-6 hours, but for the best results, I recommend waiting at least 6 hours. Overnight is probably even better, but I know I couldn’t wait that long, so I won’t judge!
Q: Can I make this ice cream with a different kind of milk?
A: At this time, I would not recommend this. The reason this recipe works without an ice cream maker is (unfortunately!) the high sugar content. The sweetened condensed milk will ensure that your whipped cream mixture won’t freeze into a hard, solid block. However, I do intend to do some experimenting with this in the future! If I can ever find a way to make this kind of ice cream with less sugar, I will definitely update here.
Q: What if I don’t have blue food coloring?
A: No worries! Your ice cream will taste just as delicious without the blue coloring. It might not have that “classic” Cookie Monster look—but who says ice cream can’t break the rules? Especially easy and delicious homemade ice cream.
Q: How long does this last?
A: Theoretically, your ice cream could last forever in the freezer. However, this kind of no-churn ice cream may get kind of hard over time. I would say to store it in an air-tight container with a lid if possible, and it should last 3-4 weeks. I had mine in the freezer for about a week and a half just in a loaf pan covered with aluminum foil, and it got a little hard, but was still perfectly delicious in my opinion!
And there you have it—your very own No-Churn Cookie Monster Ice Cream! I hope you enjoy making and eating this as much as I do. It’s a hit with kids and adults alike, and it’s sure to bring out the inner cookie monster in everyone. Happy scooping! 🍦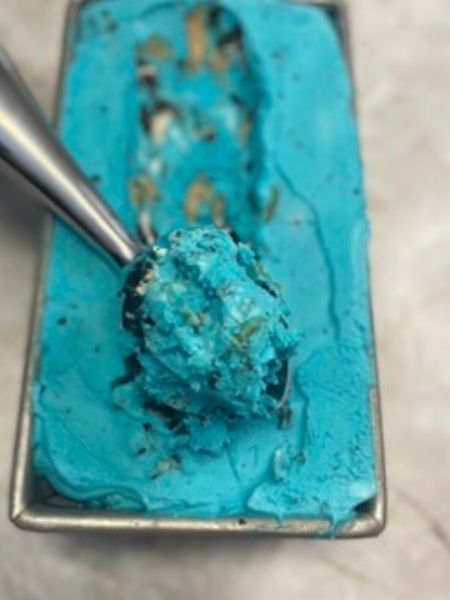
If You Liked This Easy Cookie Monster Ice Cream, Check Out:
No Churn Matcha Ice Cream
No Churn Cookie Butter Ice Cream
Brownie Sundae Ice Cream Cake
Strawberry Crunch Oreo Pie

Cookie Monster Ice Cream
Equipment
- 1 Electric or stand mixer
Ingredients
- 2 cups heavy whipping cream
- 1 can sweetened condensed milk 14 oz.
- 2 tsp vanilla
- 12 Oreos roughly chopped. You can also add more!
- 12 Chips Ahoy roughly chopped. You can also add more!
- Dark Blue Food Coloring
Instructions
- Whip your heavy whipping cream until stiff peaks form. This usually takes about 3-5 minutes. You’ll know it’s ready when the cream holds its shape when you lift the beaters.
- Mix together condensed milk, vanilla and a few drops of blue food coloring. Note that you'll want your blue here to be darker than what you want your end product to be, because the color will get diluted when you mix in the whipped cream.
- Gently fold the condensed milk into the whipped cream, trying not to deflate the whipped cream as you go. Slow and steady is good here.
- Gently fold in your chopped cookies.
- Put your ice cream "batter" in a freezer-safe bowl and cover. Freeze for 4-6 hours or until firm.

