Last updated on December 26th, 2024 at 09:40 pm
 Valentine’s Day is the perfect excuse to bake something sweet, and these Red Velvet Brownies are a match made in dessert heaven! With the rich, chocolatey flavor of brownies and the vibrant charm of red velvet cake, this recipe combines the best of both worlds. The secret? A clever mix of brownie mix and cake mix, making these treats incredibly easy to whip up and utterly irresistible. Whether you’re celebrating with your special someone or treating yourself to a little love, these festive brownies are the ultimate way to sweeten the day.
Jump to Recipe
Ingredients for Valentine’s Day Red Velvet Brownies
One of the best things about this recipe is its simplicity. You only need a handful of ingredients—most of which you probably already have in your kitchen. Here’s what you’ll need:
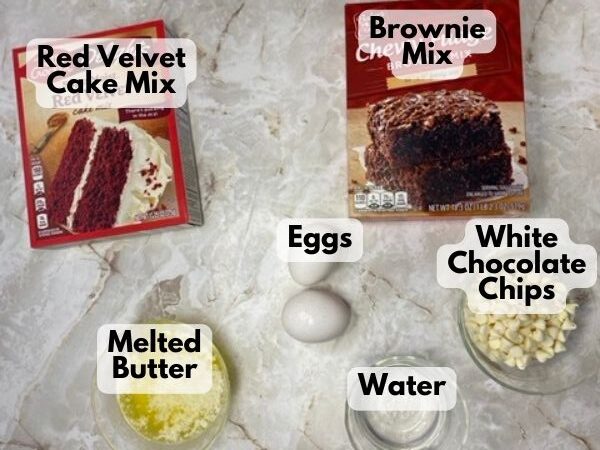
- 1 box of brownie mix (use a standard 18-20 oz box)
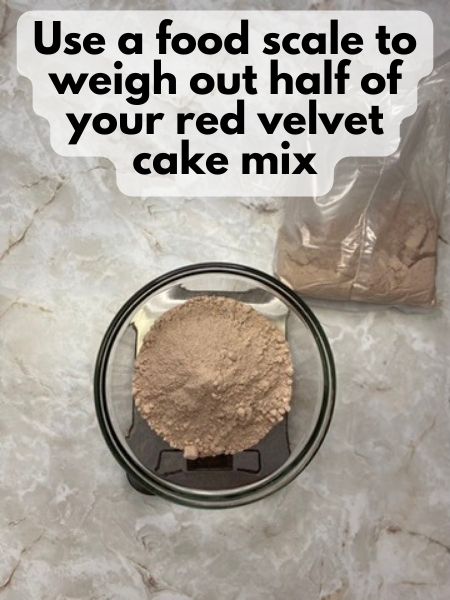
- 1/2 box of red velvet cake mix (You can use a food scale to know how much half is, or just estimate!)
- 2 large eggs
- 1/2 cup melted butter (or vegetable oil)
- 1/4 cup water
- 3/4 cup white chocolate chips (optional, for extra gooeyness)
These ingredients are simple, but when combined, they transform into a red velvet dessert that’s anything but ordinary!
How to Make Red Velvet Brownies
Ready to bake? Let’s dive into the steps for creating these heavenly red velvet brownies.
1. Preheat your oven to 350°F (175°C) and grease a 9×13-inch baking pan or line it with parchment paper.
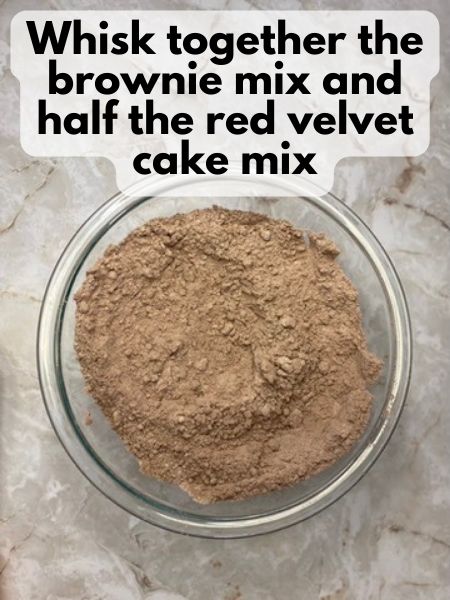
2. Mix the brownie mix and half the red velvet cake mix in a large bowl. Pro tip: I would use a food scale if you have one to get exactly half of your cake mix.
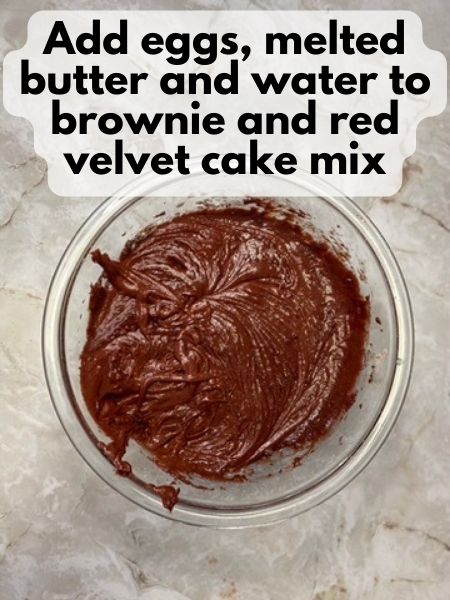
3. Add the eggs, melted butter, and water to the mix. Stir until just combined. The batter should be thick but spreadable.
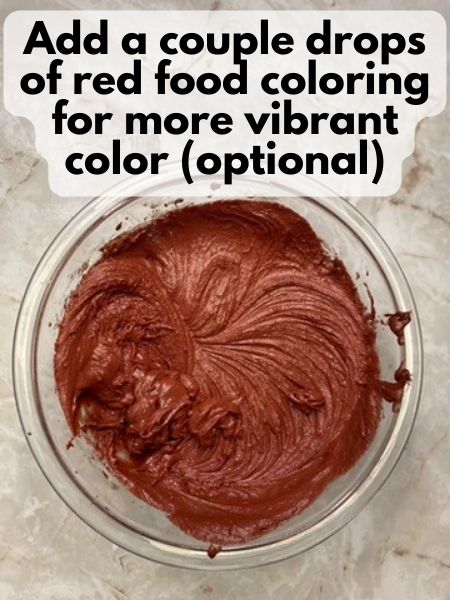
4. Add a couple drops of red food coloring to make the red color more vibrant. This is, of course, optional, but nice for presentation.
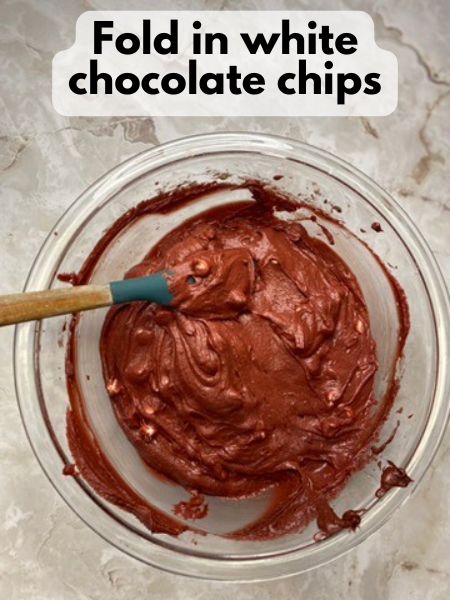
5. Fold in the white chocolate chips if using.
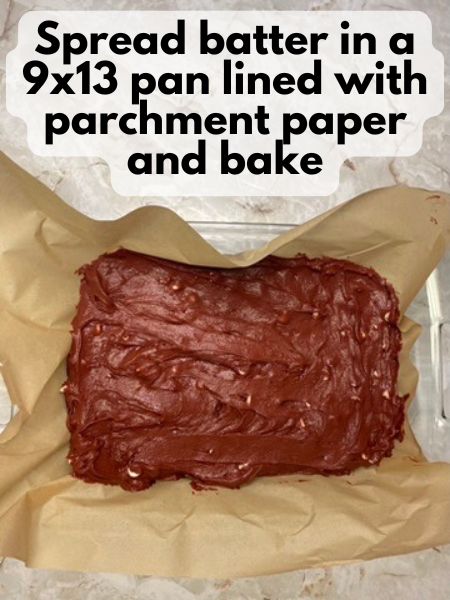
6. Spread the batter evenly into the prepared baking pan.
7. Bake for 25-30 minutes or until a toothpick inserted in the center comes out with a few moist crumbs.
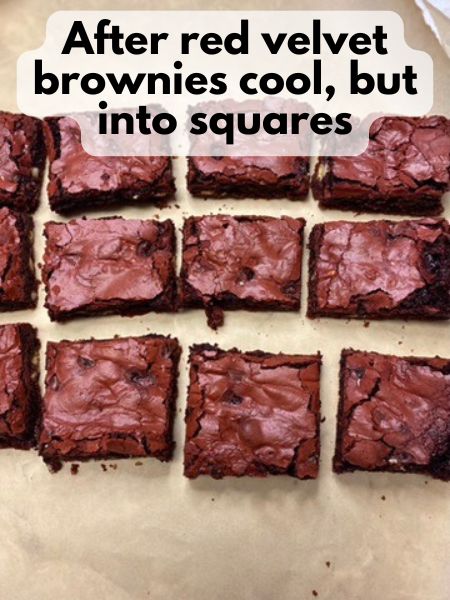
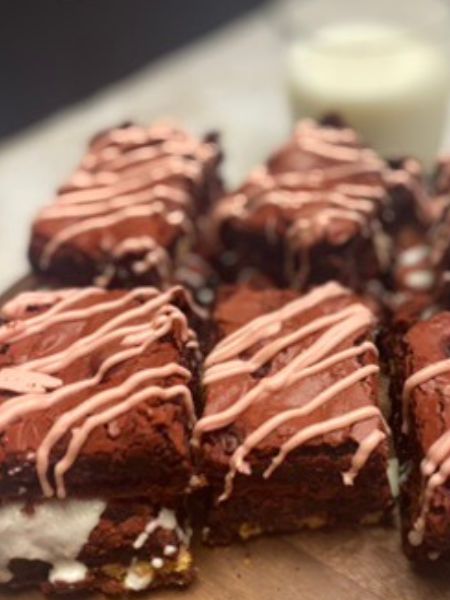
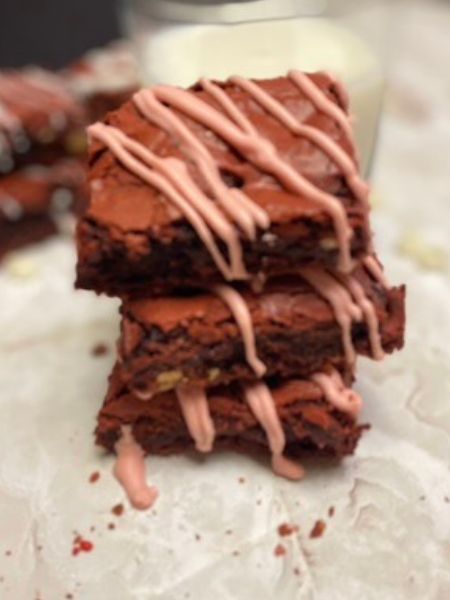
8. Cool completely before cutting into squares for the best texture. Melt some pink melting chocolate with a bit of coconut oil and drizzle melted white chocolate over the top for extra sweetness. Or add a dusting of powdered sugar for a pretty finish.
Pro Tips for this Red Velvet Brownies Recipe
To ensure your brownies turn out perfect every time, here are a few insider tips:
- Use parchment paper: This makes removing the brownies from the pan a breeze and keeps cleanup minimal.
- Customize your toppings: Add crushed nuts, white chocolate chips, or sprinkles for a festive flair. A note: heavy toppings sprinkled on top of your batter before baking will sink into your red velvet brownies during baking. I tried to sprinkle on some extra white chocolate chips for a pretty effect on my first batch, and then discovered that none of those white chocolate chips were visible at all after baking.
- Check for doneness early: Start testing the brownies at 23 minutes just to be safe. The center should be slightly underbaked for that gooey texture as they’ll firm up while cooling.
- Chill for neat slicing: If you want perfectly square pieces, refrigerate the brownies for 30 minutes before cutting.
- Use a food scale: In order to actually get half of your red velvet cake mix into these red velvet brownies, I would recommend using a food scale to know you got exactly half. The total weight of your cake mix should be somewhere on the box, so you know how much to weigh for half of it.
- Use the “good” food coloring. If you don’t like food coloring (or just don’t have any on hand), you can totally skip adding extra food coloring. If you want a really rich, vibrant red color, I would use the dark red food coloring that you can typically get in the baking section of a craft store. I know I got mine at Michael’s. When you use a more quality food coloring, you really only need a drop or two to get the color you want. The food coloring that you get in grocery stores always (to me, at least) seems more diluted and requires more drops.
FAQs
Q: Can I make these brownies ahead of time?
A: Absolutely! Red velvet brownies store well. Wrap them tightly and keep them at room temperature for up to 3 days in an airtight container, or refrigerate for up to a week.
Q: What’s the secret to fudgy brownies?
A: The key is the ratio of fat to flour. Using melted butter (or oil) and eggs, as this recipe does, helps achieve that signature fudgy texture. Avoid overbaking for the best results.
Q: Can I double this recipe?
A: Sure! Simply double the ingredients and use two 9×13-inch pans. So, that would be two brownie mixes and just one red velvet cake mix. I would bake them in two batches, however. Some ovens and baked goods have really (like really!) varying baking times for how crowded the oven actually is.
Q: How can I make these brownies even more festive?
A: Sprinkle red and green sprinkles on top for Christmas, or add heart-shaped candies for Valentine’s Day. The red velvet color makes them perfect for themed celebrations!
Q: Can I skip the white chocolate chips?
A: Of course! They’re optional, but they do add a lovely gooeyness. You can also replace them with regular chocolate chips or leave them out entirely.
There you have it—a red velvet brownies recipe that’s as easy as it is delicious. By using a box of red velvet cake mix and a boxed brownie mix, you can create a decadent dessert that’s perfect for any occasion. These brownies with cake mix are ideal for everything from holiday gatherings to a cozy night at home. Next time you’re craving red velvet desserts, skip the bakery and whip up a batch of these easy red velvet brownies instead.
Happy baking, and don’t forget to share your creations—I’d love to see how you make this recipe your own!
If You Liked These Valentine’s Day Red Velvet Brownies, Check Out:
Brownies with Whipped Caramel Ganache
Vegan Red Velvet Cupcakes
Red Velvet Cake Pops

Valentine's Day Red Velvet Brownies
Ingredients
- 1 box brownie mix usually 18-20 oz
- 1/2 box red velvet cake mix you can use a food scale to measure exactly half, or just esimate
- 2 eggs
- 1/2 cup melted butter or vegetable oil
- 1/4 cup water
- 3/4 cup white chocolate chips optional, for extra gooeyness
Instructions
- Preheat your oven to 350°F (175°C) and grease a 9x13-inch baking pan or line it with parchment paper.
- Mix the brownie mix and half the red velvet cake mix in a large bowl. Pro tip: I would use a food scale if you have one to get exactly half of your cake mix.
- Add the eggs, melted butter, and water to the mix. Stir until just combined. The batter should be thick but spreadable.
- Optional: Add a couple drops of red food coloring for extra vibrant red color (See note below)
- Fold in the white chocolate chips if using.
- Spread the batter evenly into the prepared baking pan.
- Bake for 25-30 minutes or until a toothpick inserted in the center comes out with a few moist crumbs.
- Cool completely before cutting into squares for the best texture.
- Optional: Melt some pink melting chocolate with a bit of coconut oil and drizzle over the top of your cooled red velvet brownies

