Last updated on January 6th, 2025 at 10:16 pm
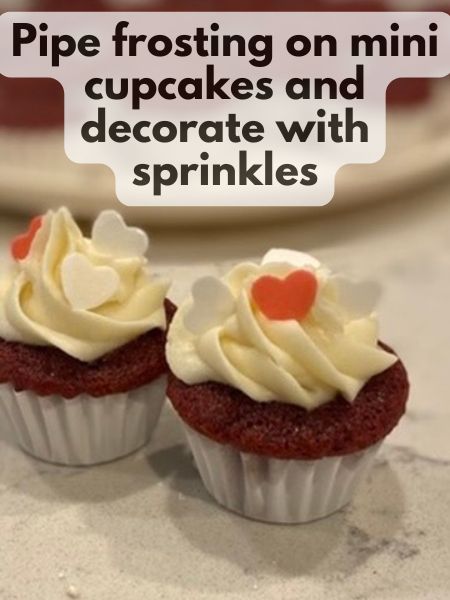
 Valentine’s Day is the perfect excuse to bake something sweet and adorable, and what’s more festive than mini red velvet cupcakes? These tiny treats are packed with all the classic red velvet flavor—just the right balance of chocolatey richness and velvety smoothness—wrapped up in a bite-sized package. I love how easy they are to share, whether you’re celebrating with your significant other, family, or a group of friends. Plus, their vibrant red hue and soft, cream cheese frosting make them feel so special for the holiday. Let’s make something irresistibly cute for Cupid’s big day!
Jump to Recipe
Ingredients for Mini Red Velvet Cupcakes
Before we get started, let’s talk about what makes these cupcakes so special. The magic lies in the perfect balance of cocoa, vanilla, buttermilk, and vinegar (Yes, vinegar) which gives red velvet its signature flavor (and color!). Here’s what you’ll need:
For the Cupcakes:
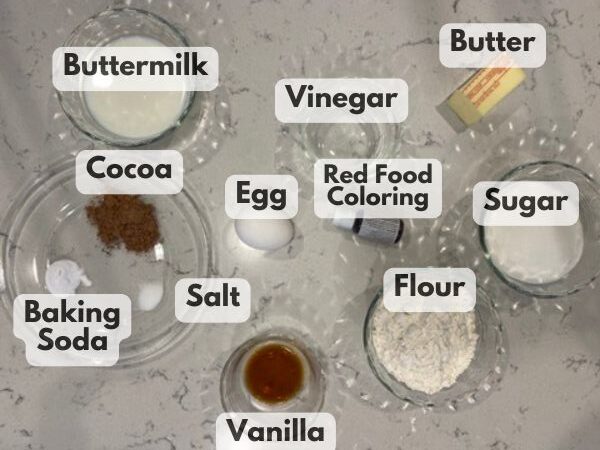
- 1 cup all-purpose flour
- 1 tablespoon unsweetened cocoa powder
- ½ teaspoon baking soda
- ¼ teaspoon salt
- ½ cup buttermilk, room temperature (Or ½ cup milk and ½ tablespoon of vinegar mixed together)
- 1 teaspoon white vinegar
- ½ teaspoon vanilla extract
- Red food coloring (liquid or gel. Check out the pro tips below for what I do)
- ½ cup unsalted butter, softened
- ¾ cup granulated sugar
- 1 large egg, room temperature
For the Cream Cheese Frosting:
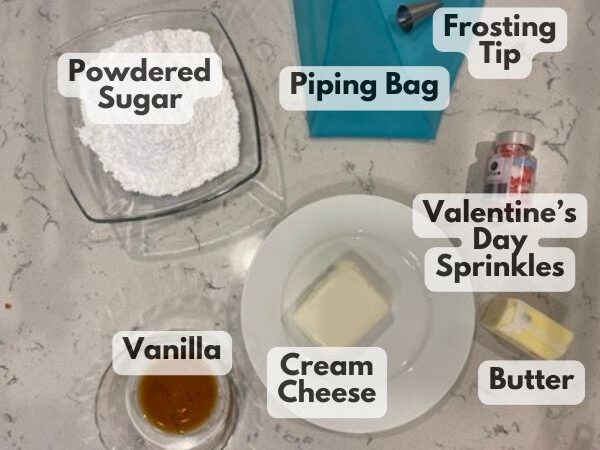
- 4 oz cream cheese, softened
- ¼ cup (half a stick) unsalted butter, softened
- 2 cups powdered sugar
- 1 teaspoon vanilla extract
- Valentine’s Day Themed Sprinkles
- 1-3 teaspoons milk, optional to adjust for texture
These ingredients come together to create mini red velvet cupcakes that are irresistibly fluffy and flavorful. Don’t have buttermilk? A quick mix of milk and vinegar works just as well!
How to Make Simple Red Velvet Cupcakes
Now for the fun part—baking! This recipe is designed to be as straightforward as possible, so hopefully you find it simple! I don’t normally make my red velvet homemade, but I thought this was pretty easy!
1. Preheat the Oven: First things first, preheat your oven to 350°F. Line a mini cupcake pan with liners.
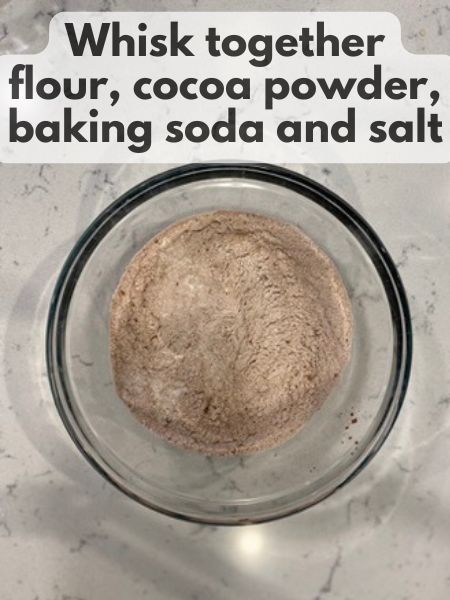
2. Mix the Dry Ingredients: In a medium bowl, whisk together the flour, cocoa powder, baking soda, and salt. This ensures that the dry ingredients are evenly distributed.
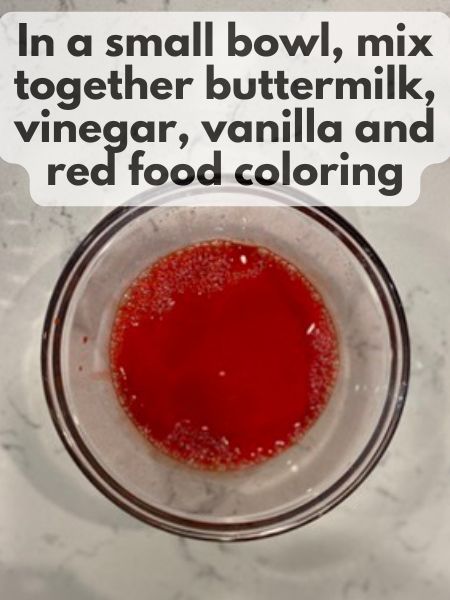
3. Combine the Wet Ingredients: In a small bowl or measuring cup, mix the buttermilk, vinegar, vanilla extract, and red food coloring. This mixture gives red velvet cupcakes their vibrant hue and tender crumb. Note: The red color will get diluted when you add these ingredients to the others, so aim for enough red food coloring to give you a pretty bright, vibrant red.
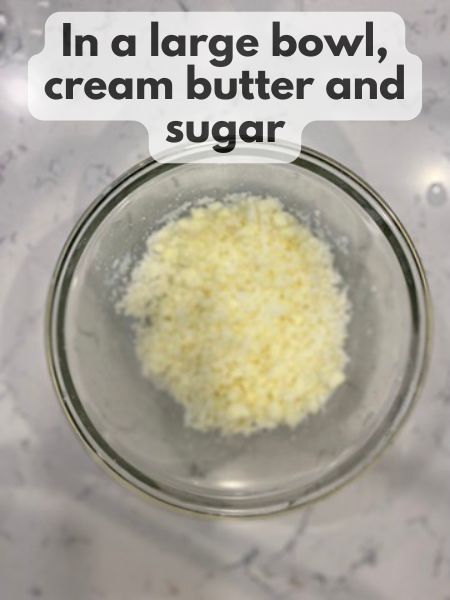
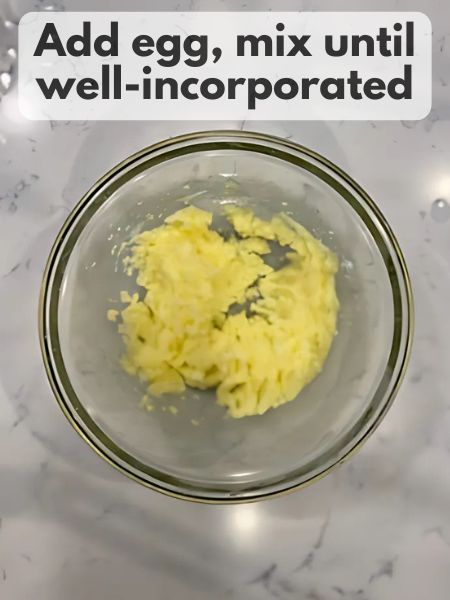
4. Cream Butter and Sugar: In a large bowl, beat the softened butter and sugar using a hand or stand mixer until light and fluffy (about 2 minutes). Add the egg and mix until fully incorporated. This step is key for moist red velvet cupcakes.
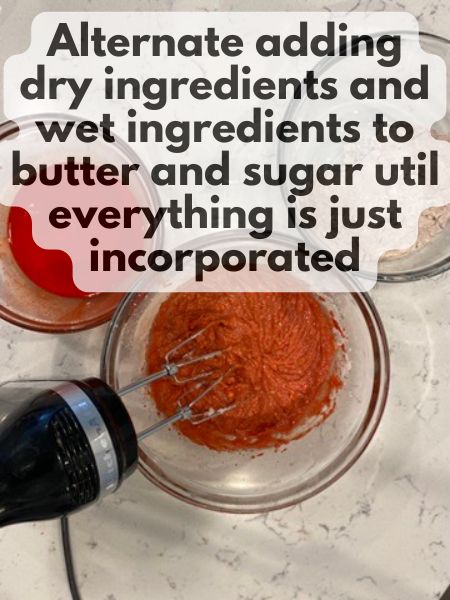
5. Alternate Dry and Wet Ingredients: Gradually add the dry ingredients to the butter mixture in three additions, alternating with the buttermilk mixture. Begin and end with the dry ingredients, mixing just until combined. Overmixing can lead to dense cupcakes, and we want these to stay light and airy.
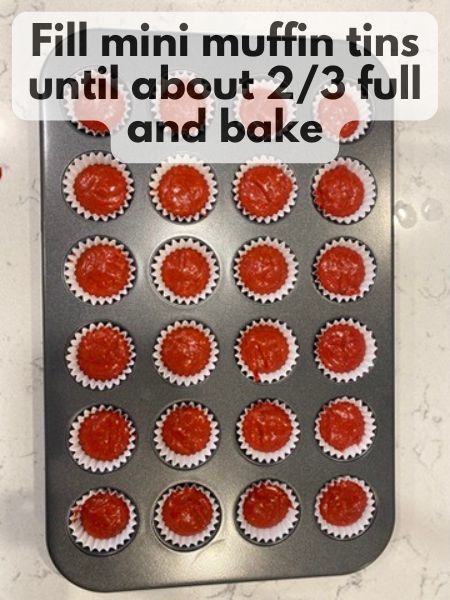
6. Fill and Bake: Spoon the batter into the cupcake liners, filling each about 2/3 – 3/4 full. Bake for 12–15 minutes, or until a toothpick inserted into the center comes out clean. Let the cupcakes cool in the pan for 5 minutes before transferring them to a wire rack to cool completely.
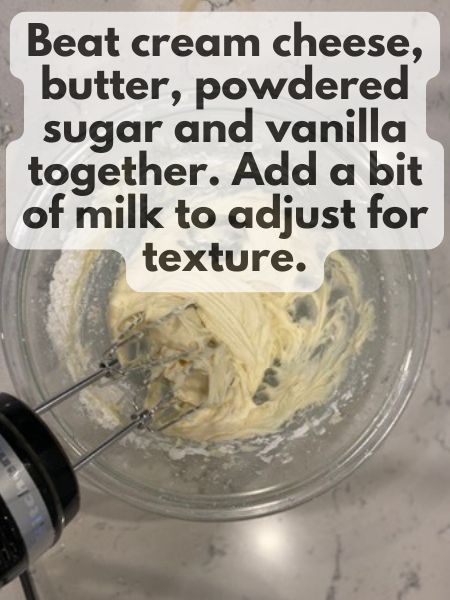
7. Make the Cream Cheese Frosting: After the cupcakes have cooled, beat the softened cream cheese and butter together until smooth and creamy. Gradually add the powdered sugar, then mix in the vanilla extract. Beat until fluffy and irresistible. Note: Cream cheese frosting can get too runny very quickly. If you feel like your frosting is too thick to pipe and decorate, you can add just a tinge of milk, but go very slowly adding the smallest bit at a time (like maybe ½ teaspoon)
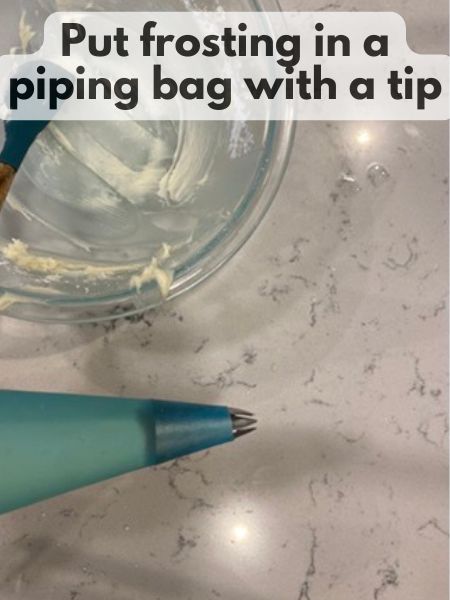
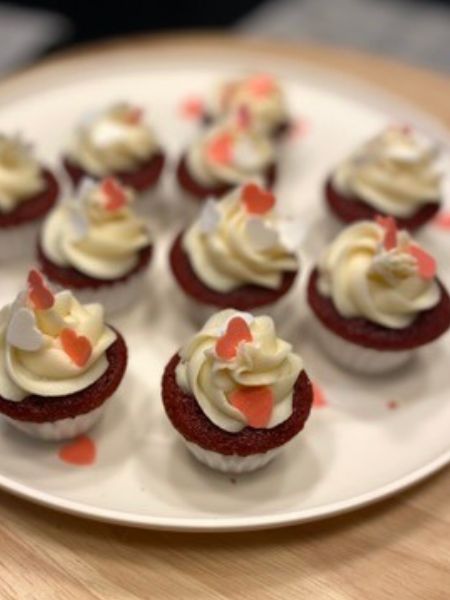
8. Frost and Decorate: Transfer the frosting to a piping bag with a star tip (I like the Wilton 1M tip) and swirl it onto each cupcake. Add a sprinkle of red velvet crumbs or festive Valentine’s Day decorations to make them truly special. And just like that, your easy red velvet cupcakes are ready to impress!
Pro Tips for Easy Red Velvet Cupcakes
Want to take your mini red velvet cupcakes to the next level? Here are some tips to help you bake like a pro:
- Room Temperature Ingredients: Using room temperature butter, eggs, and buttermilk helps the batter come together smoothly. This ensures a consistent texture in your cupcakes.
- Don’t Skip the Vinegar: The vinegar might seem odd, but it’s important for the chemical reaction that makes red velvet cupcakes tender and moist. Trust me, it’s worth it!
- Use “The Good” Food Coloring: For vibrant cupcakes without altering the batter’s consistency, opt for what I call “the good” food coloring. I always buy my food coloring at Michael’s in the baking section. You could probably get away with some red gel food coloring, or even regular red, food coloring from the grocery store. However, whenever I try to use grocery store food coloring, I feel like I end up using way more food coloring than I want to. I get the deep red coloring at Michael’s and only use a couple drops (maybe up to a half teaspoon?) to get the color I want.
- Slowly Add Your Color: Speaking of color, I would recommend slowly adding a bit of food coloring at a time when mixing your ingredients. You can always add more color, but you can’t take it back if you add too much right away.
- Chill the Frosting: If your frosting is too soft to pipe, pop it in the fridge for 10–15 minutes. This makes it easier to create those beautiful swirls.
FAQs
- Can I make these cupcakes without buttermilk? For sure! I hardly ever go to the store to buy actual buttermilk. If you don’t have buttermilk on hand, mix ½ cup of regular milk with ½ tablespoon of white vinegar or lemon juice. Let it sit for 5 minutes before using.
- How do I store mini red velvet cupcakes? Store frosted cupcakes in an airtight container in the refrigerator for up to 3 days. Bring them to room temperature before serving for the best flavor and texture.
- Can I freeze these cupcakes? Absolutely! Freeze unfrosted cupcakes in an airtight container for up to 2 months. Thaw them overnight in the fridge and frost fresh before serving.
- What makes red velvet cupcakes different from chocolate cupcakes? Red velvet cupcakes are milder in chocolate flavor, with a tangy taste from the buttermilk and vinegar. The cocoa is subtle, and the cream cheese frosting adds a sweet contrast.
- Can I double this recipe? Sure! This recipe can easily be doubled if you’re baking for a crowd. Just make sure you’ve got enough mini cupcake pans on hand. Also, this recipe makes about 32 mini cupcakes written as is. A lot of mini cupcake recipes make only 24, so this one gives you a little more bang for your buck.
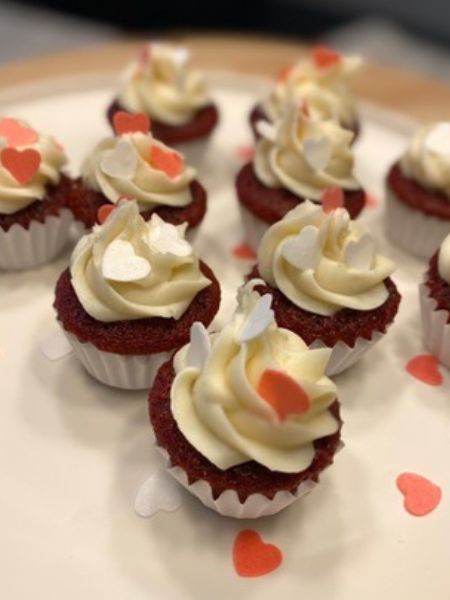
There you have it—mini red velvet cupcakes that are as easy to make as they are delicious to eat. These make such a cute Valentine’s Day treat for bake sales or for just sharing with friends.. With their stunning appearance and melt-in-your-mouth texture, they’ll make you look like a pro baker, even if you’re just getting started. Happy baking!

Valentine's Day Mini Red Velvet Cupcakes
Equipment
- 3 mixing bowls or 2 bowls and one large liquid measuring cup
- electric mixer
- measuring cups
- measuring spoons
Ingredients
Mini Red Velvet Cupcakes
- 1 cup flour
- 1 Tbsp unsweetened cocoa powder
- 1/2 tsp baking soda
- 1/4 tsp salt
- 1/2 cup buttermilk at room temperature or 1/2 cup milk mixed with 1/2 tablespoon of vinegar
- 1 tsp white vinegar
- 1/2 tsp vanilla
- red food coloring Adjust your amount until you get your desired color. See note below.
- 1/2 cup unsalted butter softened
- 3/4 cup granulated sugar
- 1 egg at room temperature
Cream Cheese Frosting
- 4 oz cream cheese softened
- 1/4 cup unsalted butter softened
- 2 cups powdered sugar
- 1 tsp vanilla
- 1-3 tsp milk optional, to adjust the texture of your frosting
Instructions
Make Mini Red Velvet Cupcakes
- First things first, preheat your oven to 350°F. Line a mini cupcake pan with liners.
- In a medium bowl, whisk together the flour, cocoa powder, baking soda, and salt. This ensures that the dry ingredients are evenly distributed.
- In a small bowl or measuring cup, mix the buttermilk, vinegar, vanilla extract, and red food coloring. This mixture gives red velvet cupcakes their vibrant hue and tender crumb.**See note below about food coloring
- In a large bowl, beat the softened butter and sugar using a hand or stand mixer until light and fluffy (about 2 minutes). Add the egg and mix until fully incorporated. This step is key for moist red velvet cupcakes.
- Spoon the batter into the cupcake liners, filling each about ¾ full. Bake for 12–15 minutes, or until a toothpick inserted into the center comes out clean. Let the cupcakes cool in the pan for 5 minutes before transferring them to a wire rack to cool completely. (You might need multiple batches for this recipe, as it makes a little over 24 mini cupcakes and most mini cupcake pans bake 24 at a time)
Make Cream Cheese Frosting
- After the cupcakes have cooled, beat the softened cream cheese and butter together until smooth and creamy. Gradually add the powdered sugar, then mix in the vanilla extract. Beat until fluffy and irresistible.
- If you feel like your frosting is too thick to pipe and decorate, you can add just a tinge of milk, but go very slowly adding the smallest bit at a time (like maybe ½ teaspoon)
- Transfer the frosting to a piping bag with a star tip (I like the Wilton 1M tip) and swirl it onto each cupcake. Add a sprinkle of red velvet crumbs or festive Valentine’s Day decorations to make them truly special.
Notes

