
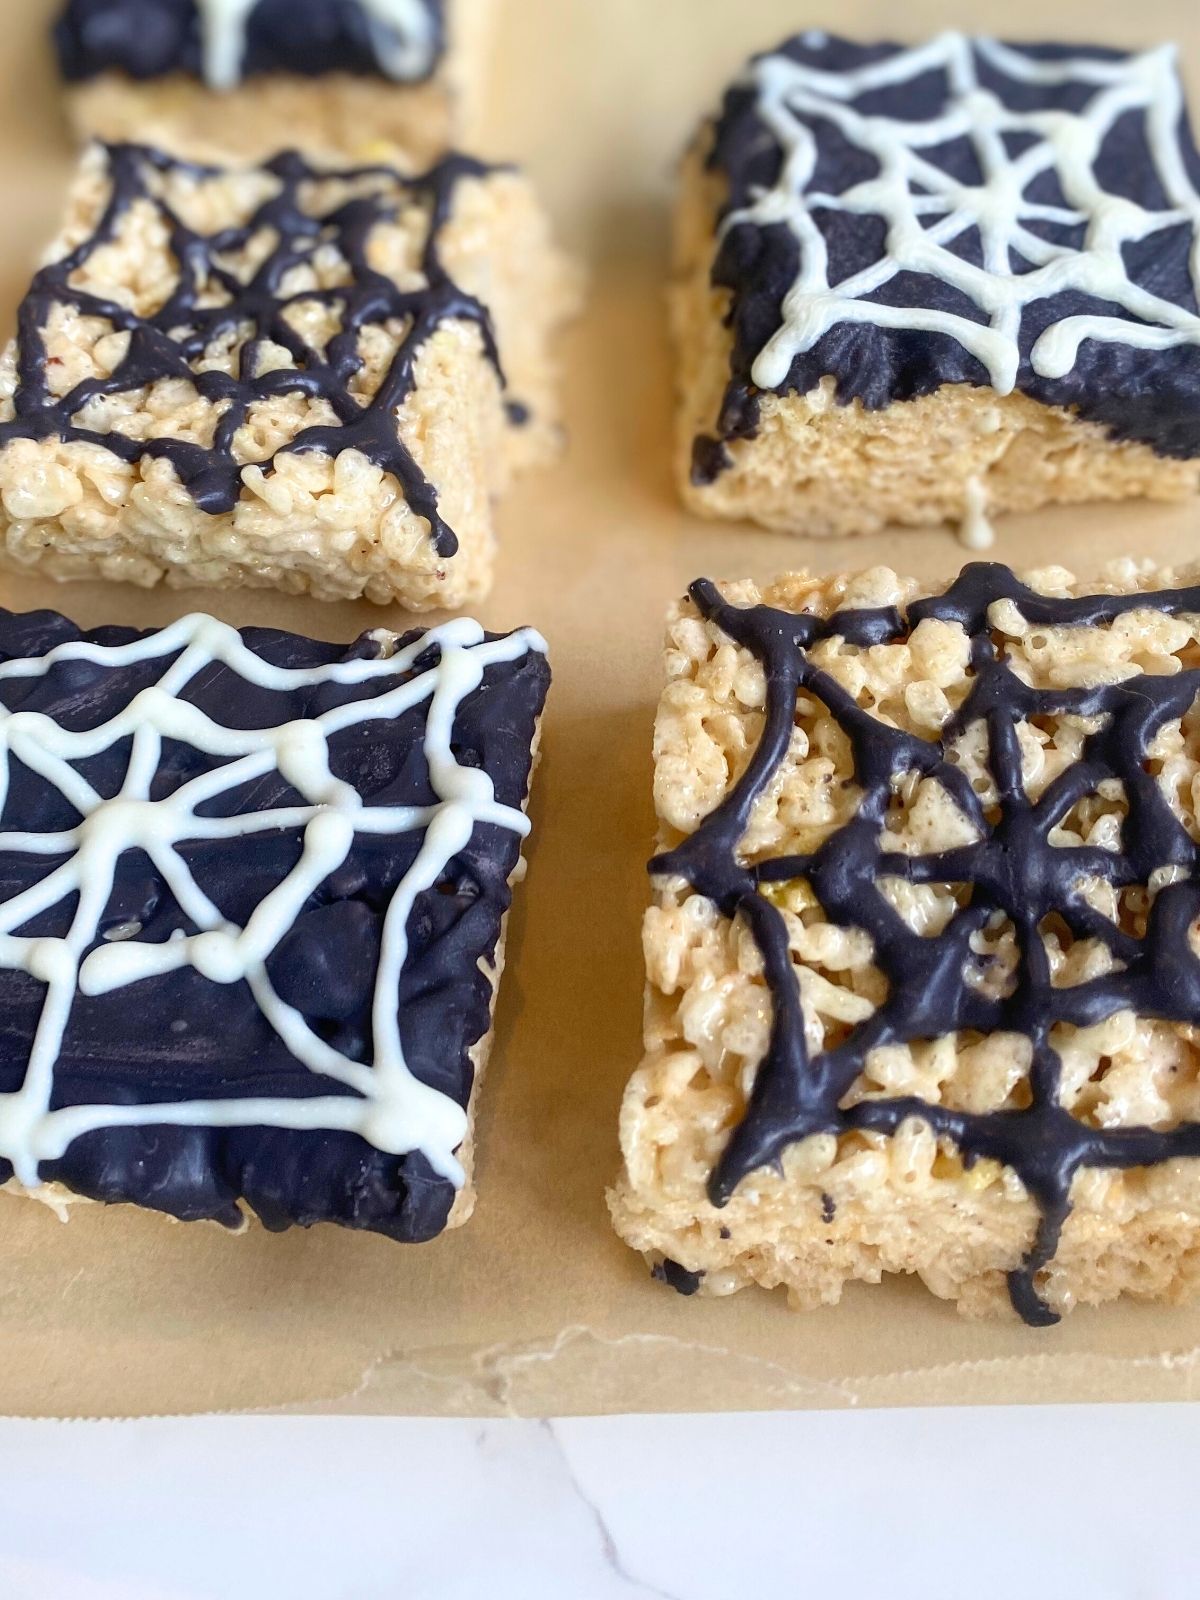
These Spiderweb Rice Krispie Treats are spooky, sweet, and surprisingly simple to make. They start with soft and chewy brown butter Rice Krispie Treats, then get topped with swirls of melted chocolate to create a webbed effect. Add a mini chocolate spider on top and you’ve got a seriously cute Halloween dessert that’s ready in under 30 minutes!
If you’re looking for easy Halloween desserts that are festive but low effort, these no bake desserts are perfect. They’re fun to decorate, great for parties, and totally customizable based on what you have on hand.
Jump to Recipe
Ingredients for Spiderweb Rice Krispie Treats
With only 8 ingredients, you can have these easy Halloween treats ready in no time.

For the brown butter Rice Krispie Treats:
- 4 tablespoons unsalted butter
- 1 (10-ounce) bag mini marshmallows
- 5 cups Rice Krispies cereal
- ¼ teaspoon salt
- 1 teaspoon vanilla extract
For decorating:
- 1 cup black candy melts or semisweet/dark chocolate chips
- ¼ cup white chocolate chips
- 1–2 teaspoons coconut oil (optional, for smoother melting)
- Optional: candy spiders
- Small icing bottle (or piping bag with a small round tip)
How to Make Spiderweb Rice Krispie Treats
Step 1: Make the brown butter Rice Krispie Treats
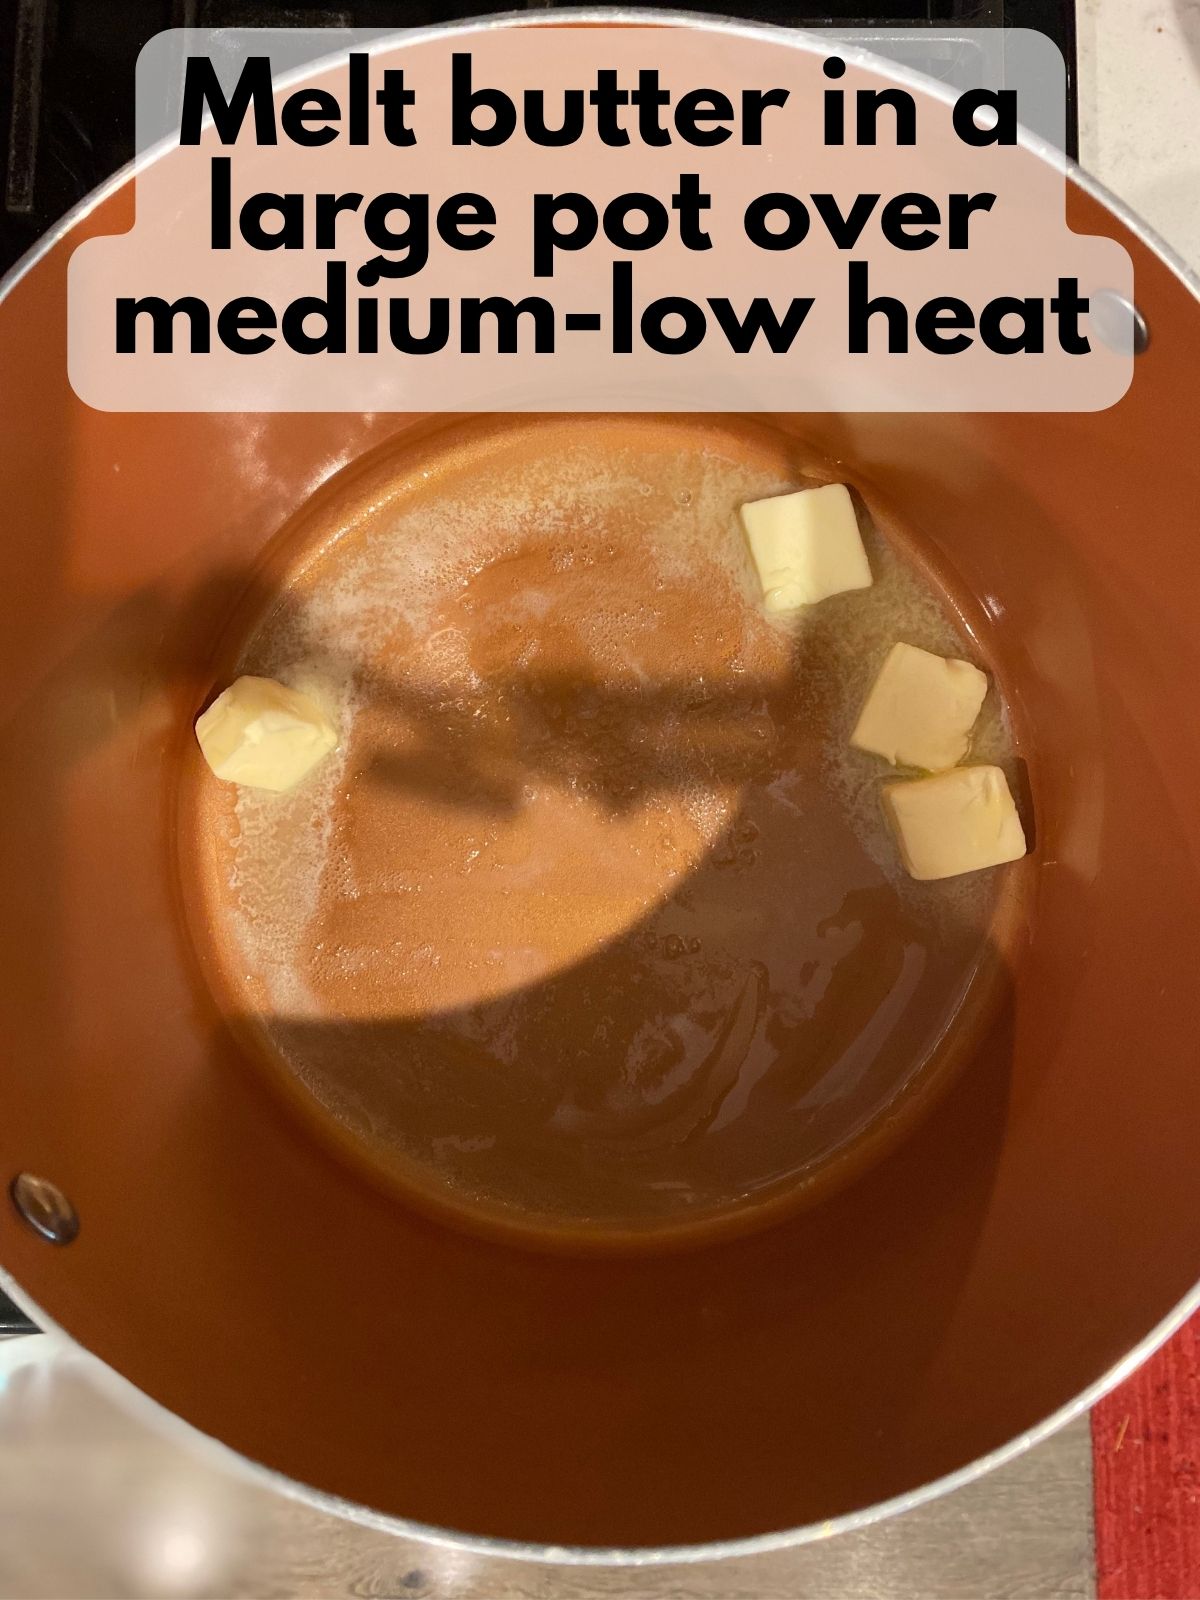
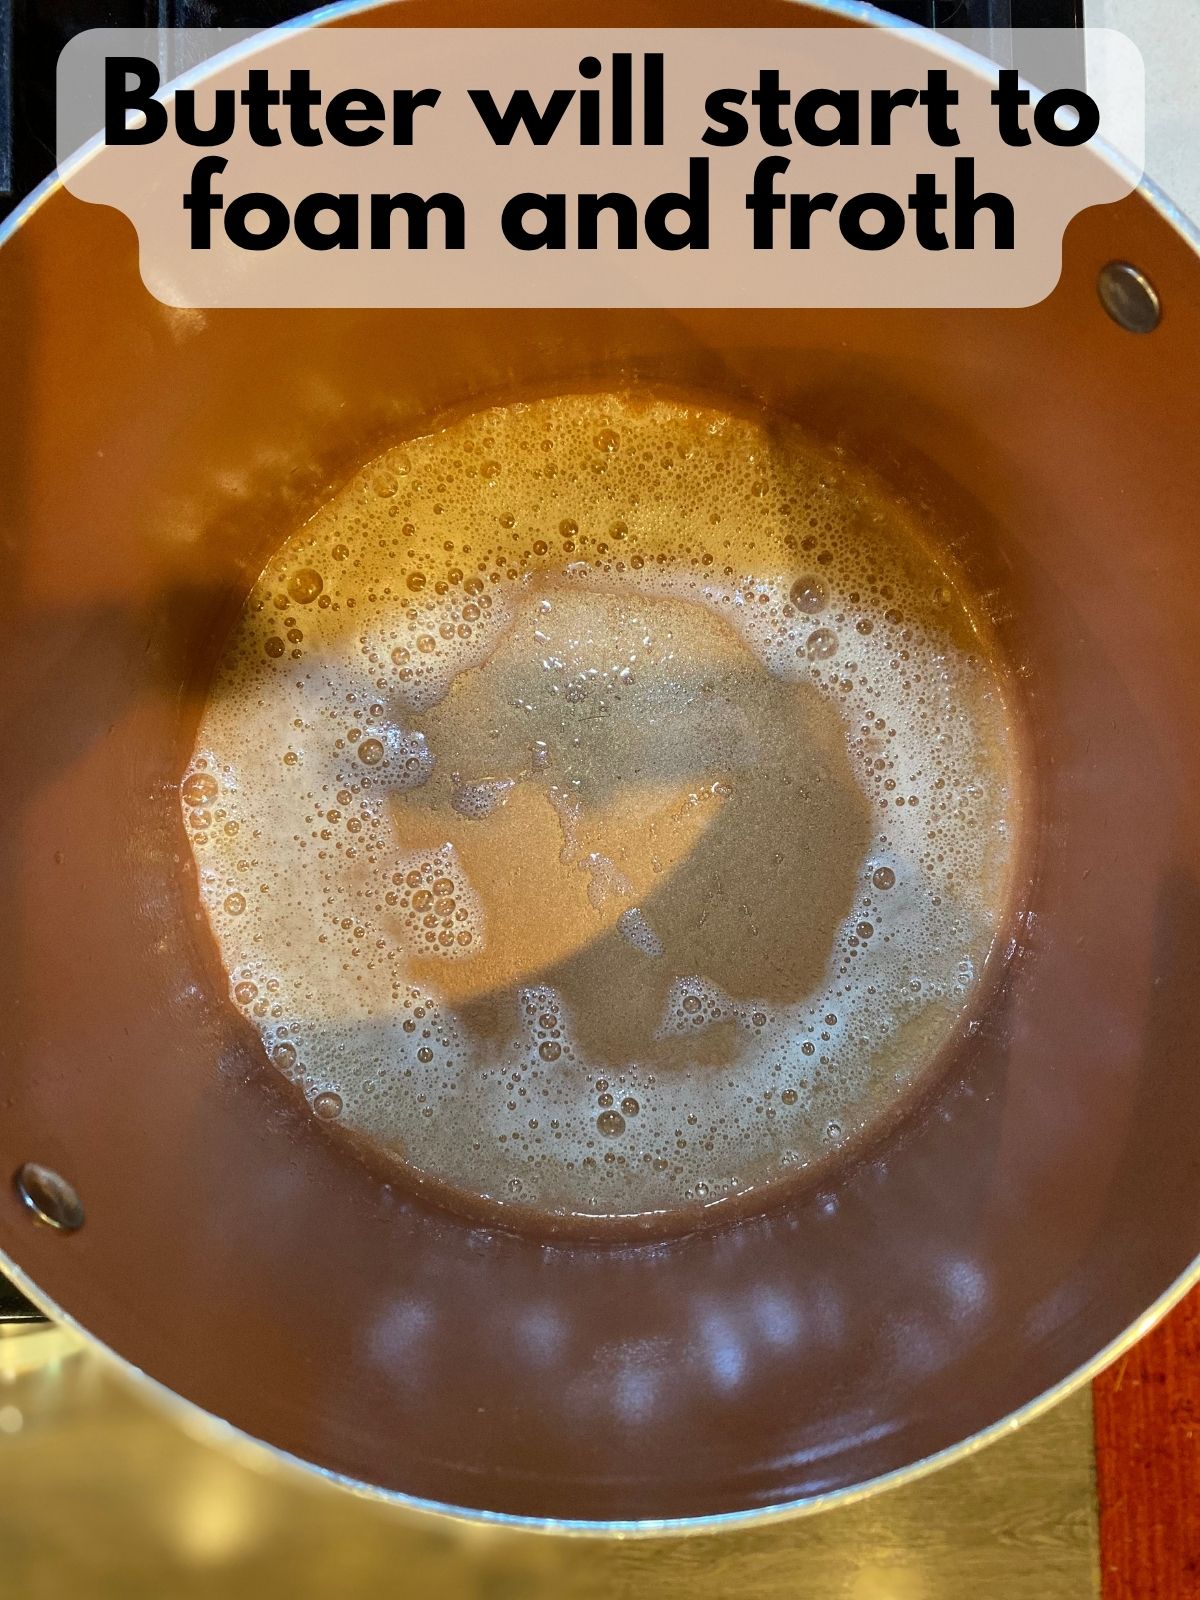
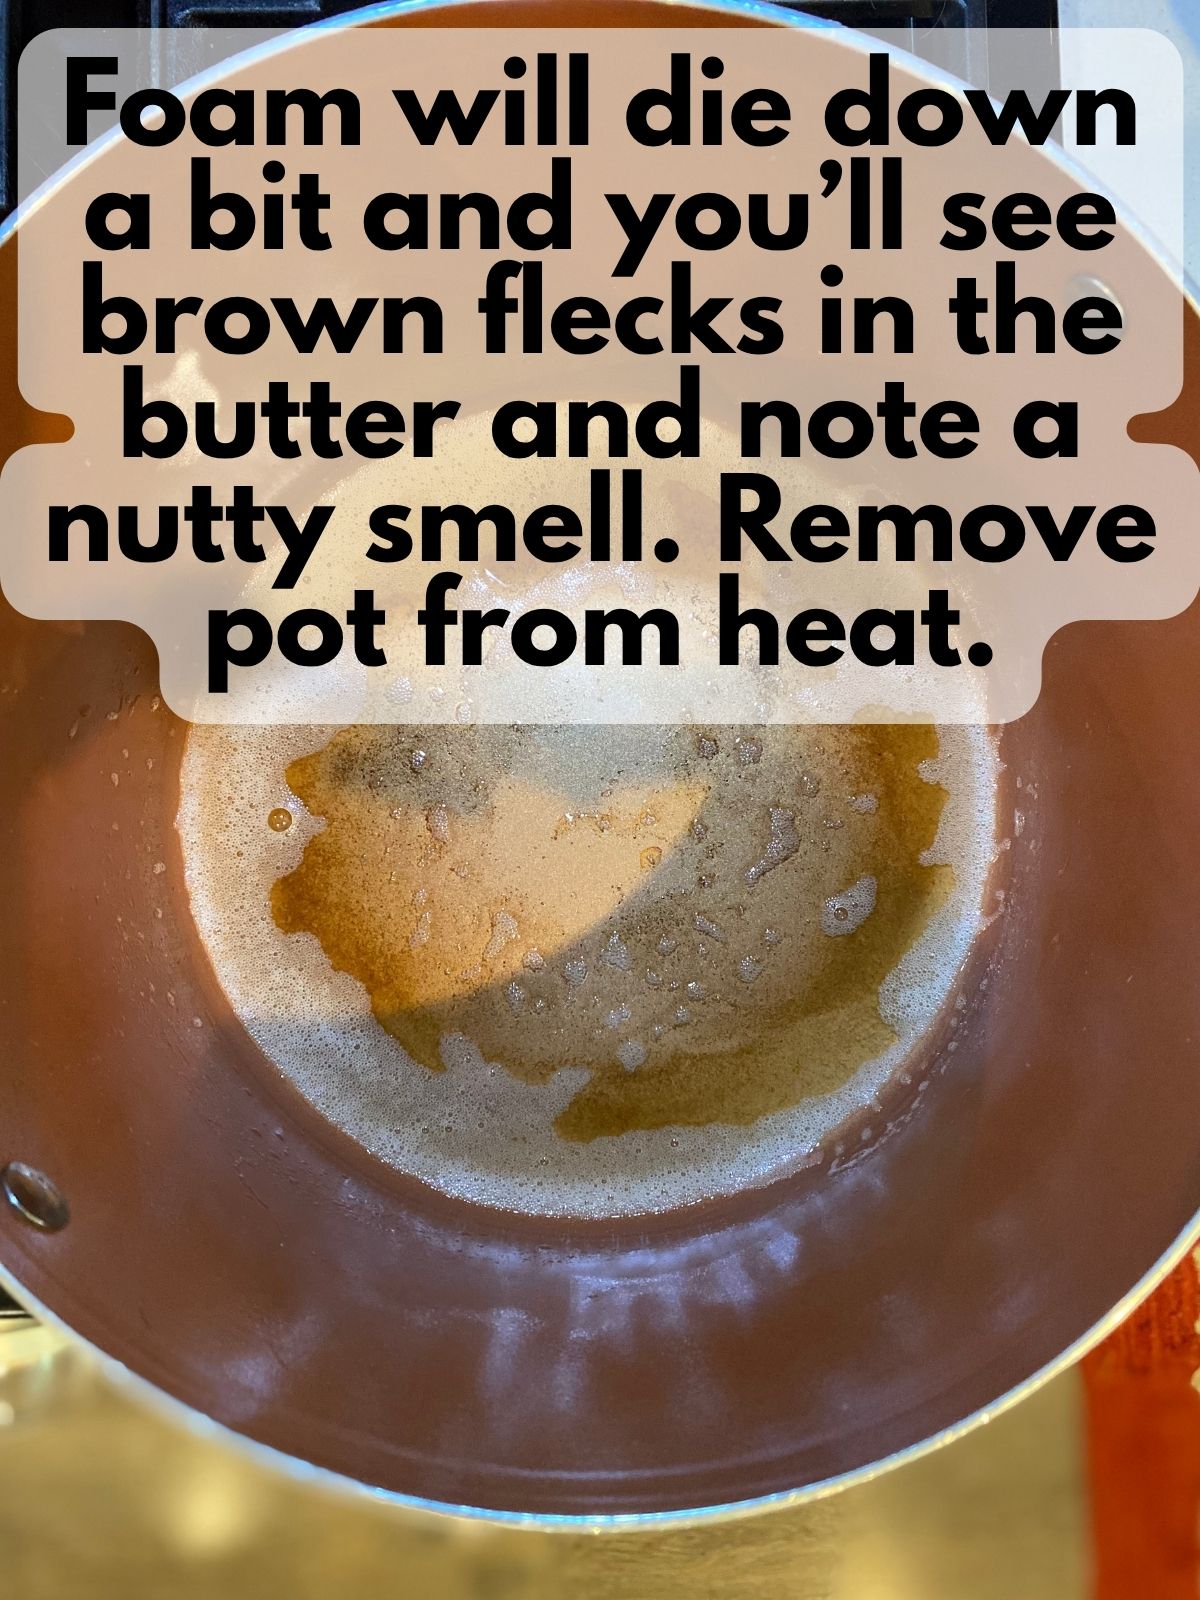
In a large pot, melt the butter over medium heat. Stir frequently until it foams and turns golden brown with a nutty aroma (about 5–7 minutes).
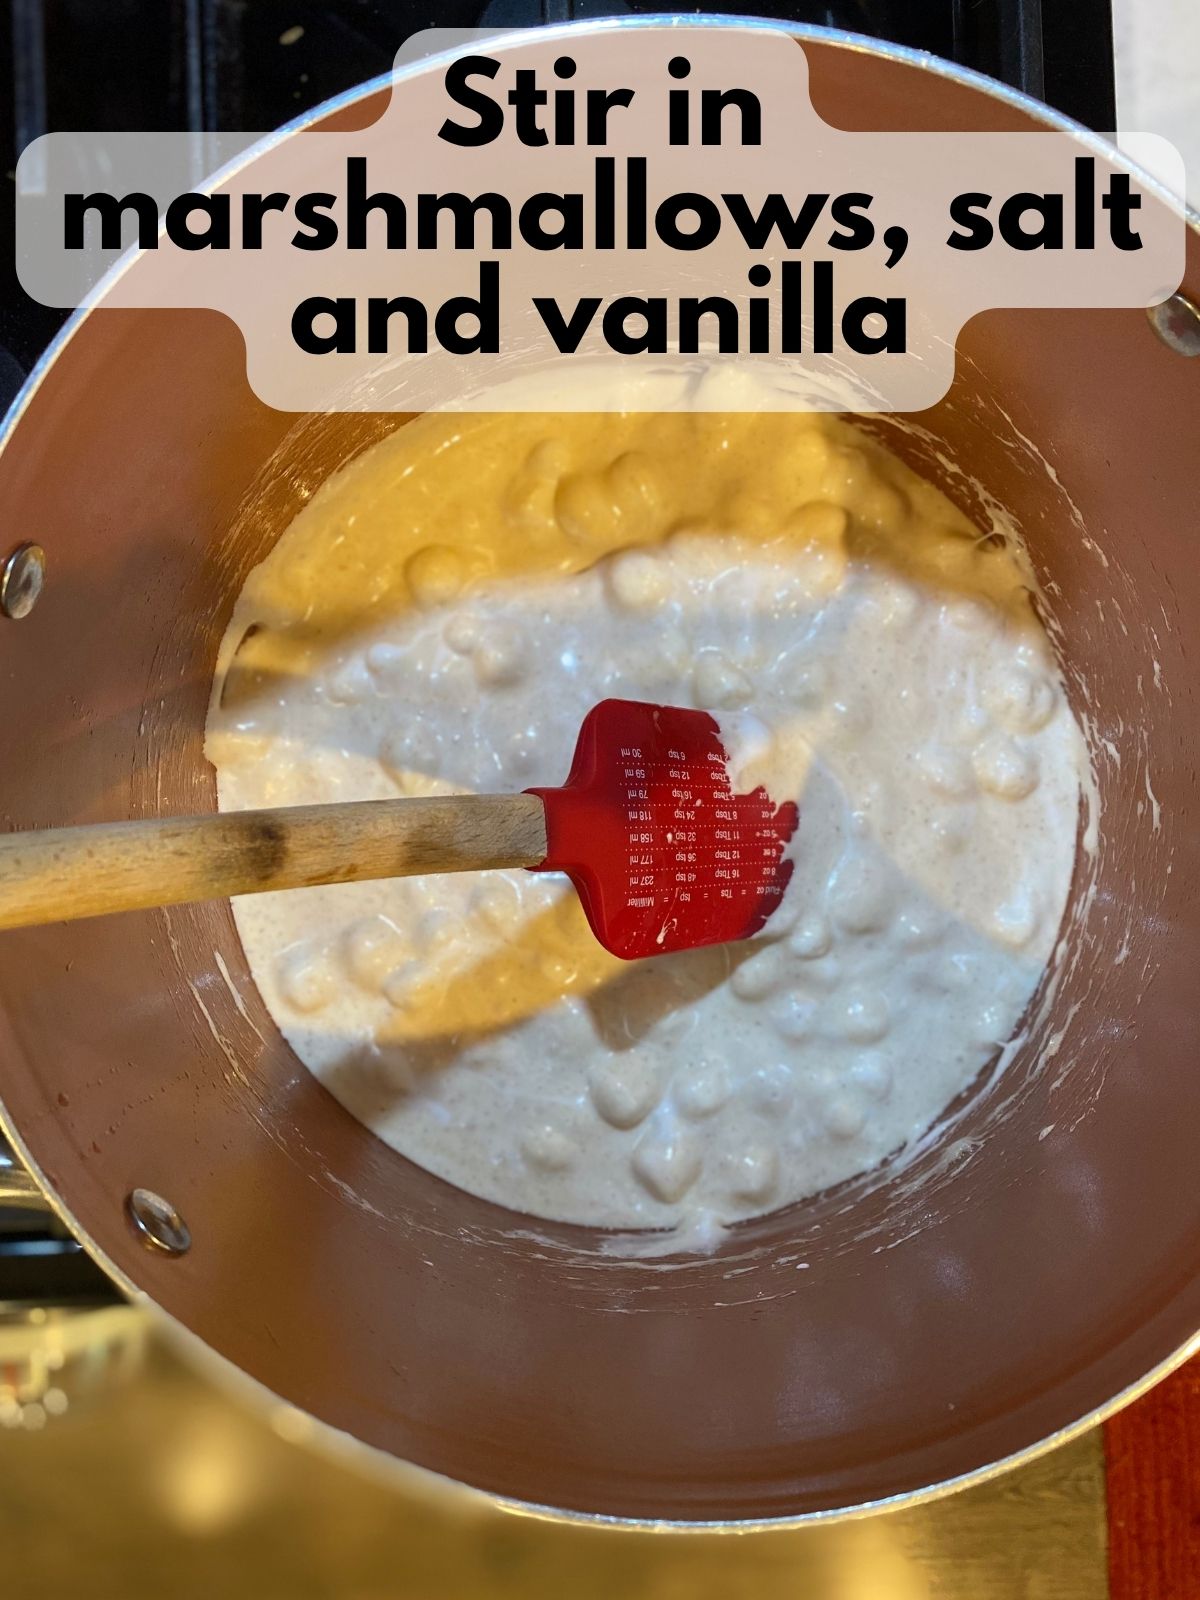
Reduce the heat to low, then stir in the mini marshmallows and salt until fully melted and smooth.
Remove from heat and stir in the vanilla.
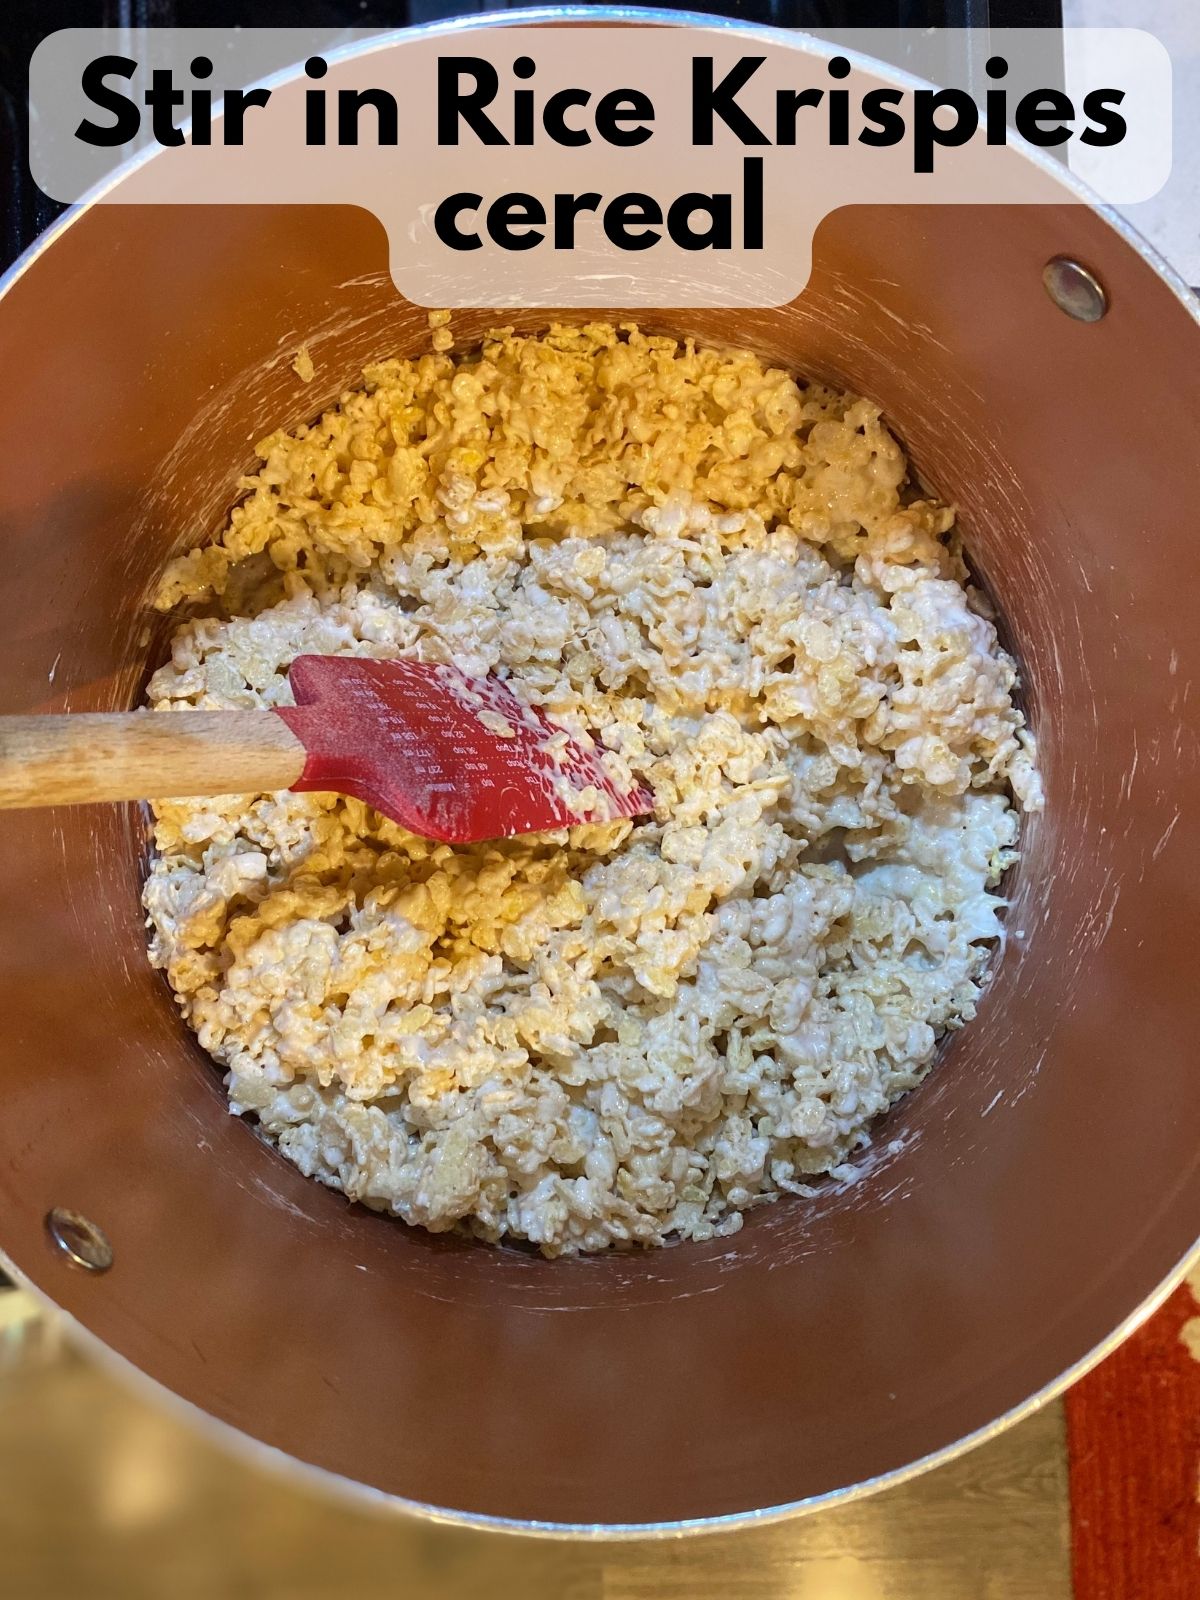
Add the Rice Krispies cereal and stir until well coated.
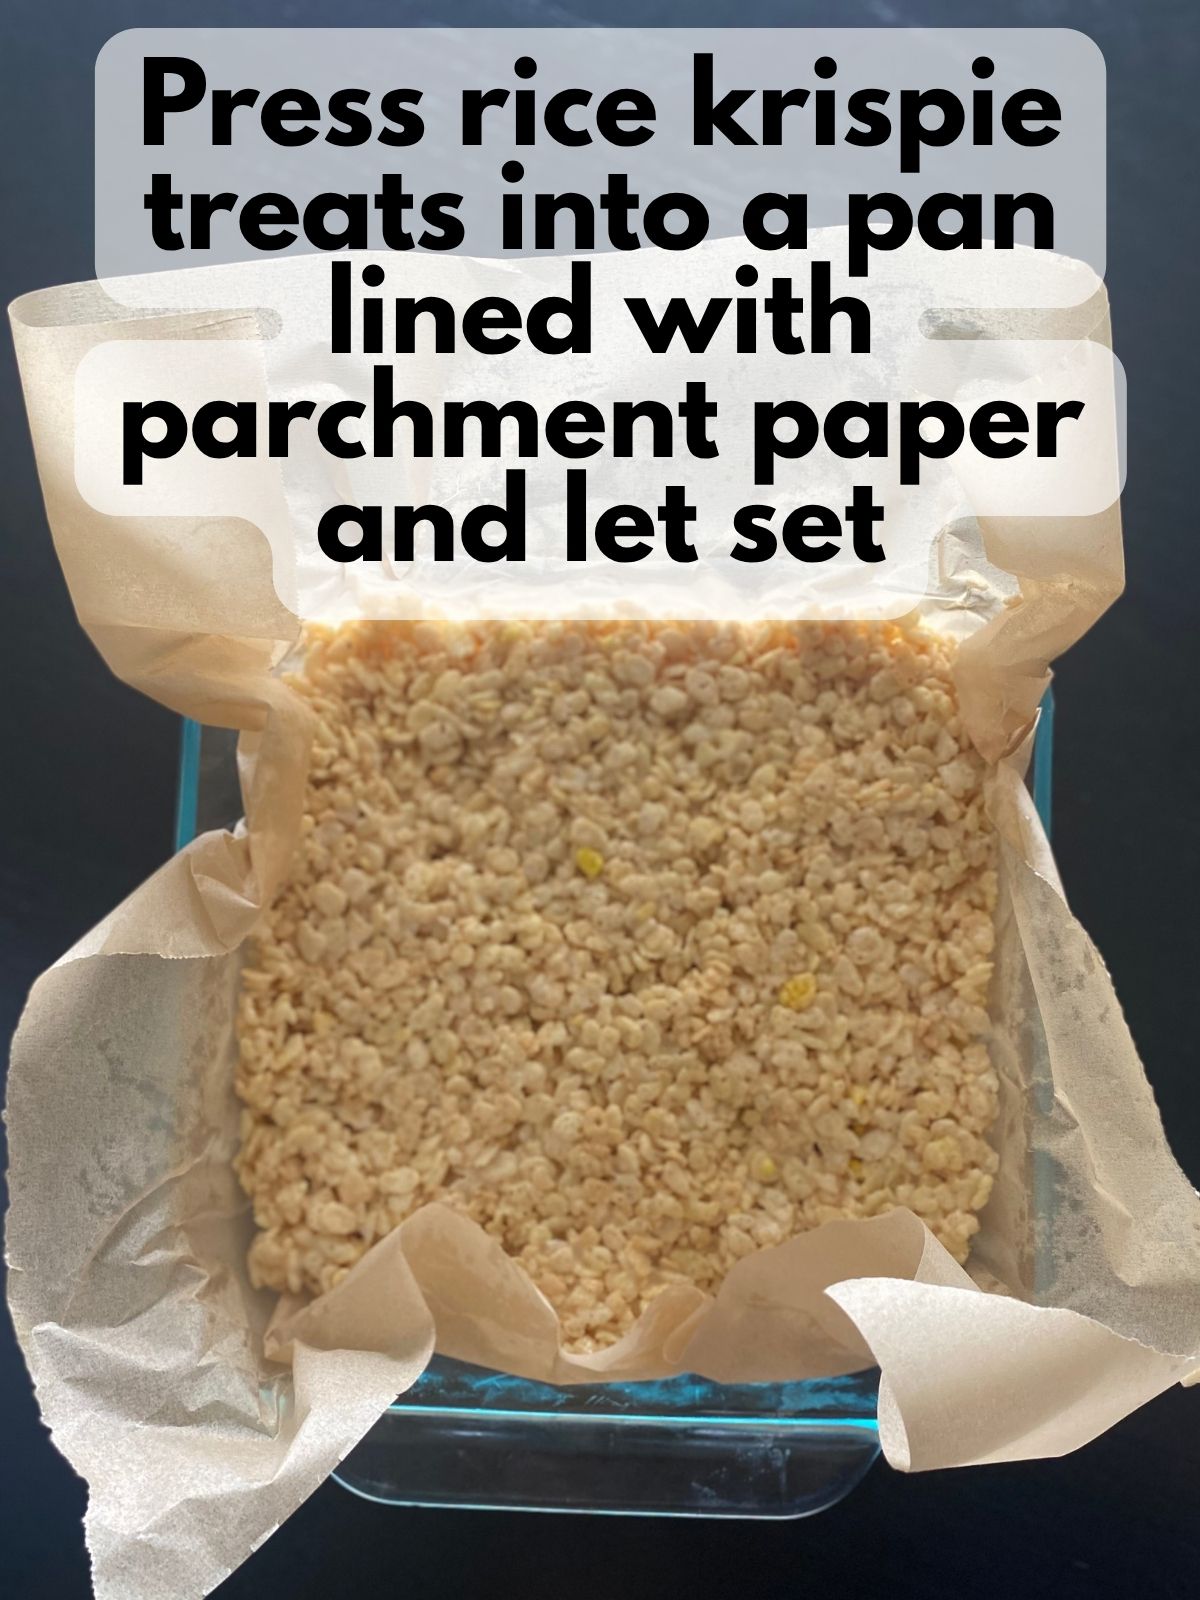
Press the mixture into a parchment-lined 8×8-inch pan, using a clean piece of parchment between your hand and the treats to gently press and smooth them into an even layer.
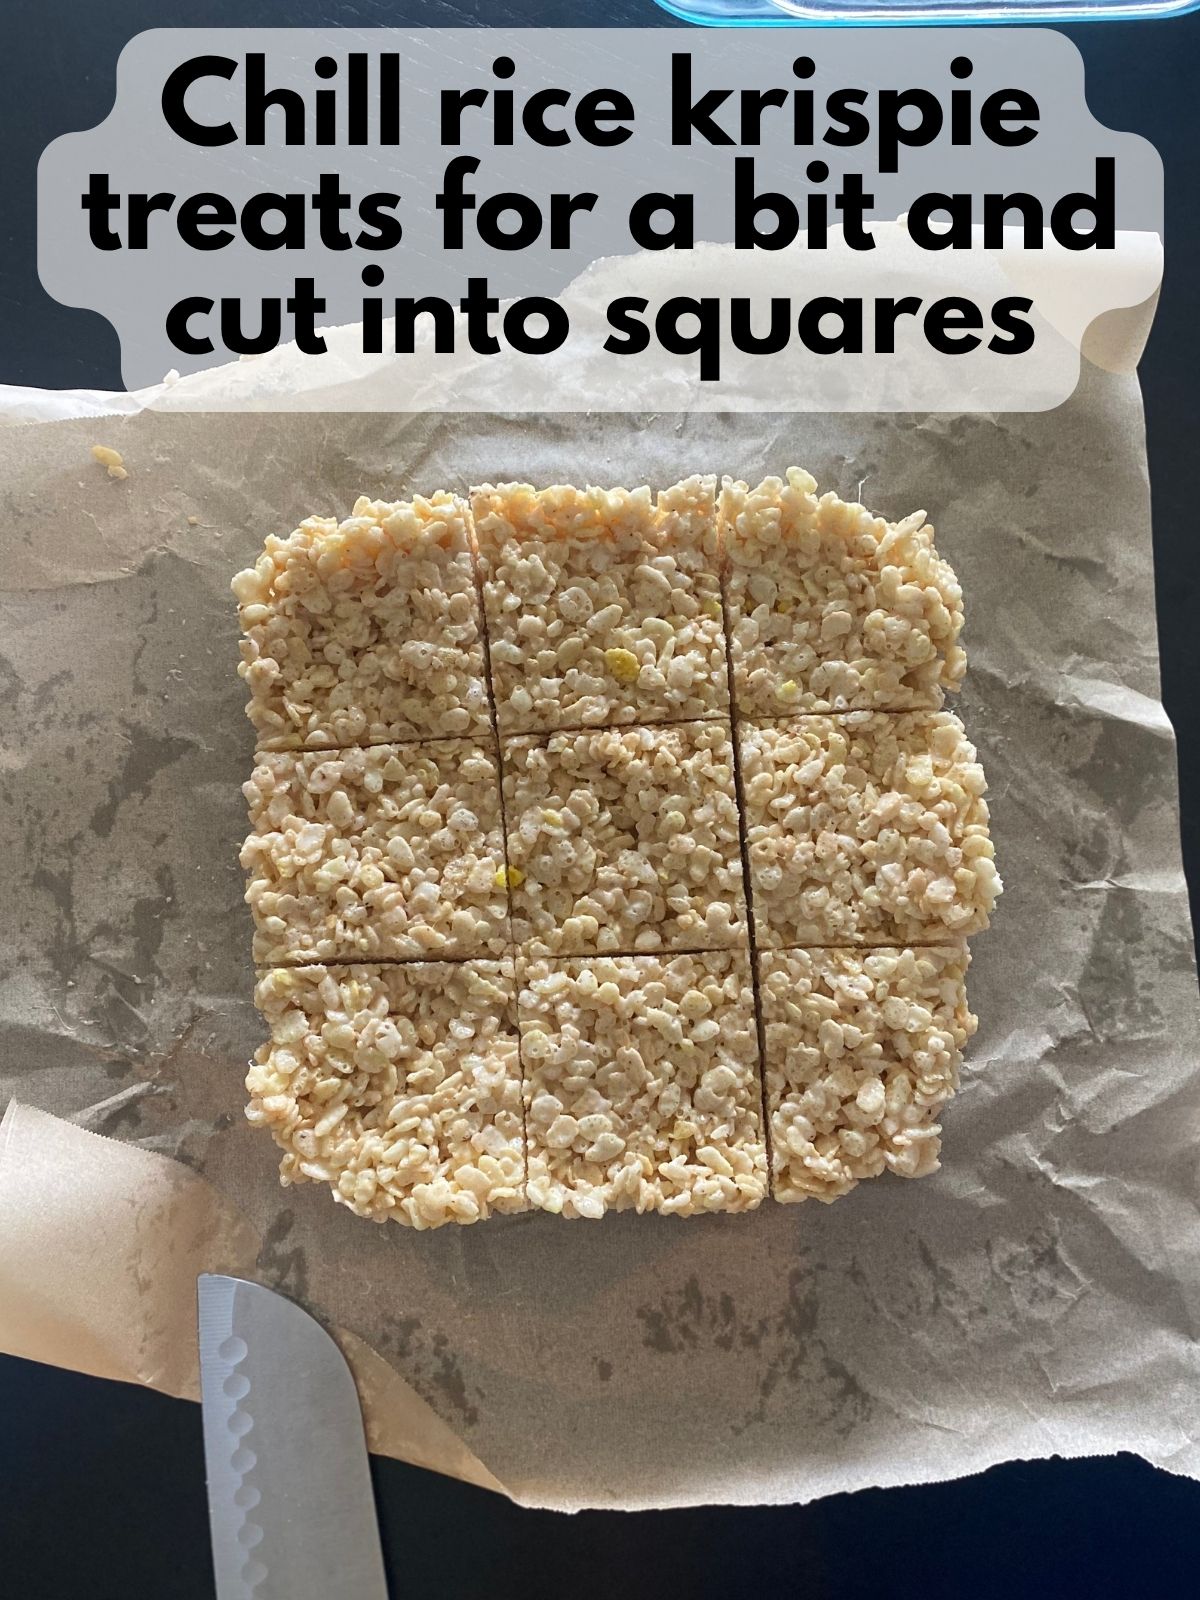
Let cool completely, then cut into squares—these are the perfect shape for decorating spiderwebs.
Step 2: Melt the chocolate
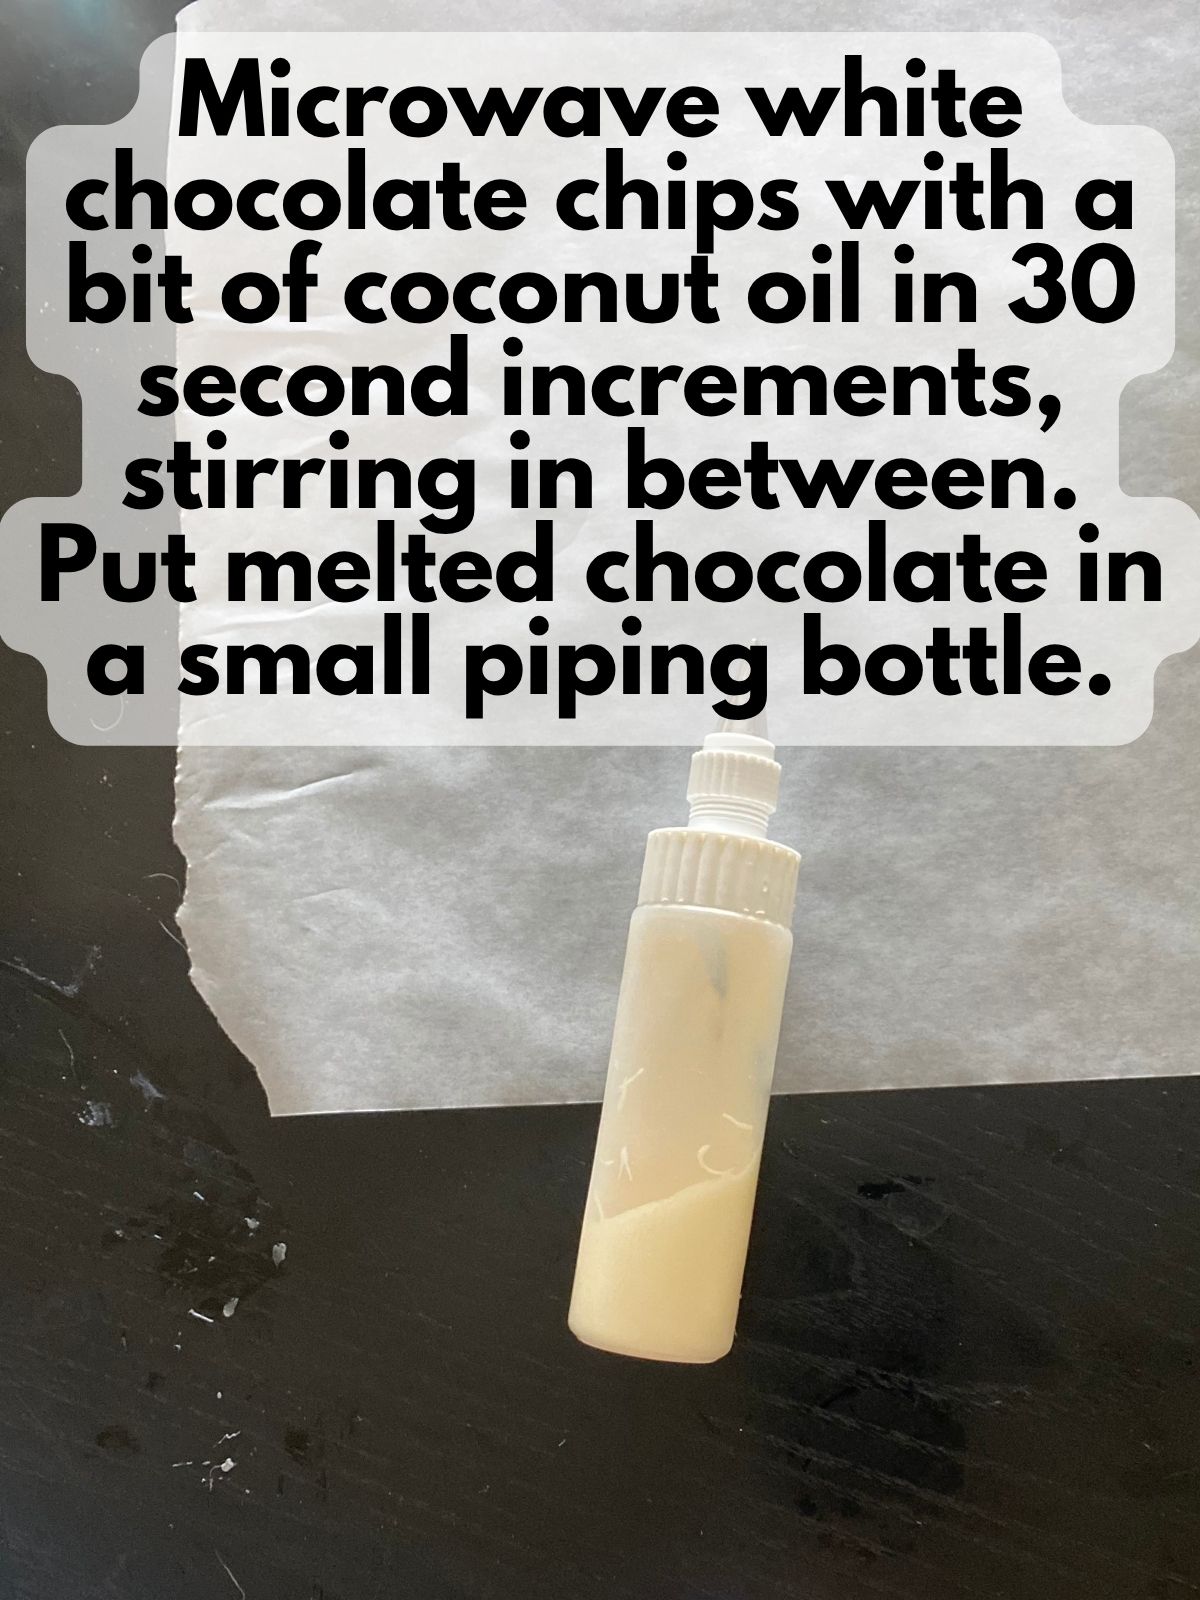
In separate microwave-safe bowls, melt the black candy melts or chocolate chips and the white chocolate chips, each with a bit of coconut oil. Microwave in 30-second intervals, stirring after each round, until smooth.
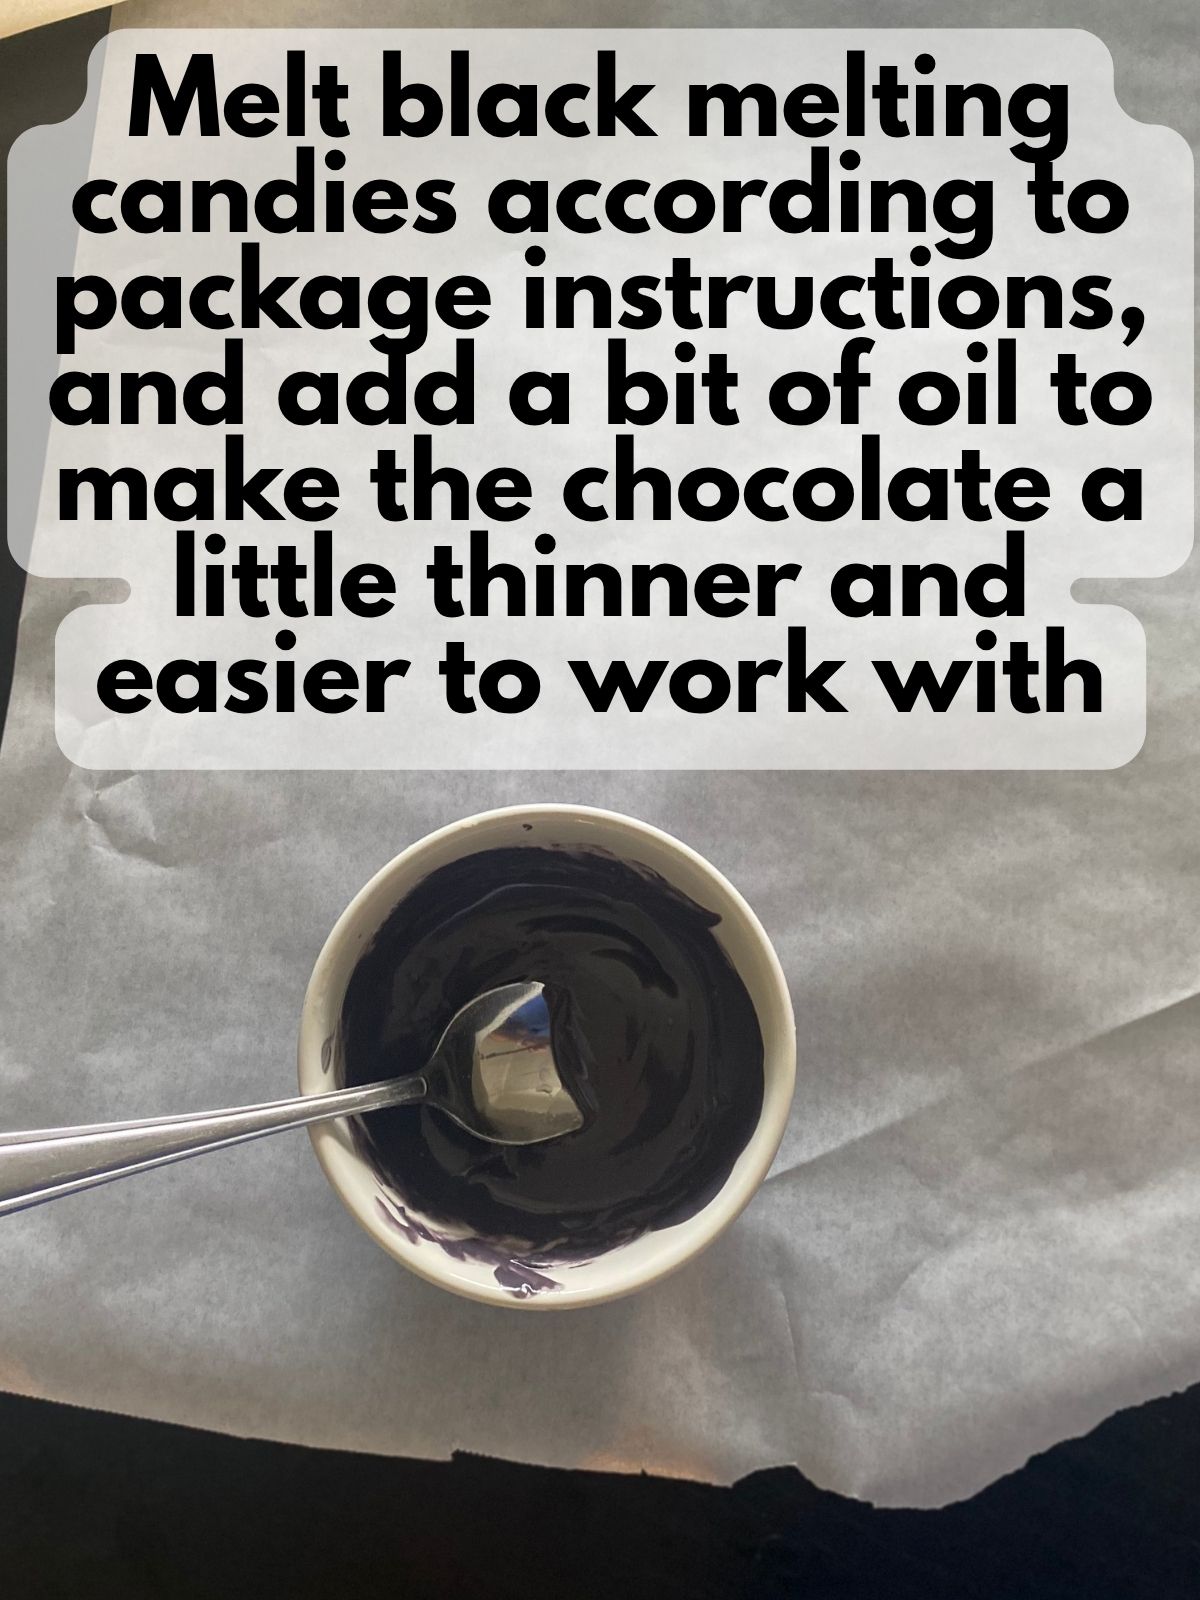
Make sure you follow the package instructions if using candy melts. If using white chocolate chips for decorating, melt them slowly and stir well to avoid burning or seizing.
Step 3: Decorate with spiderwebs
Choose your method based on the look and feel you’re going for:
Option 1: Dipped + Piped Webs (Best Visual Finish)
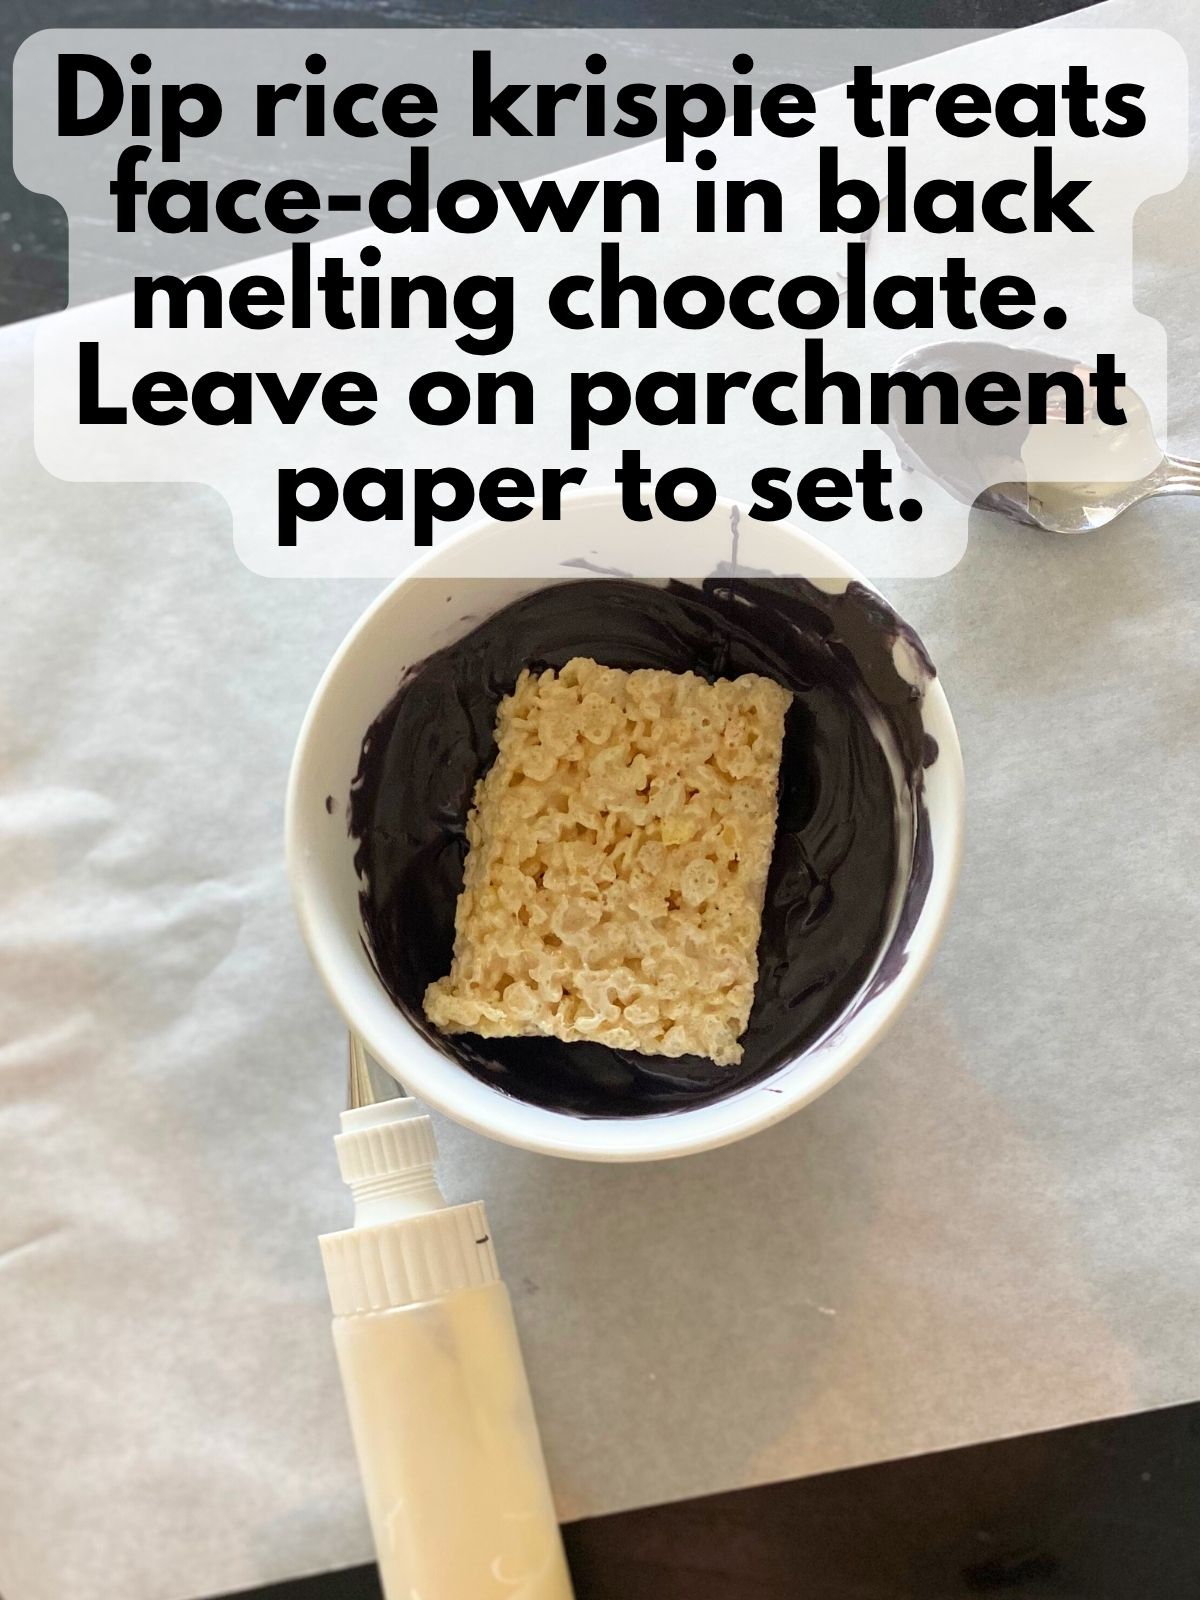
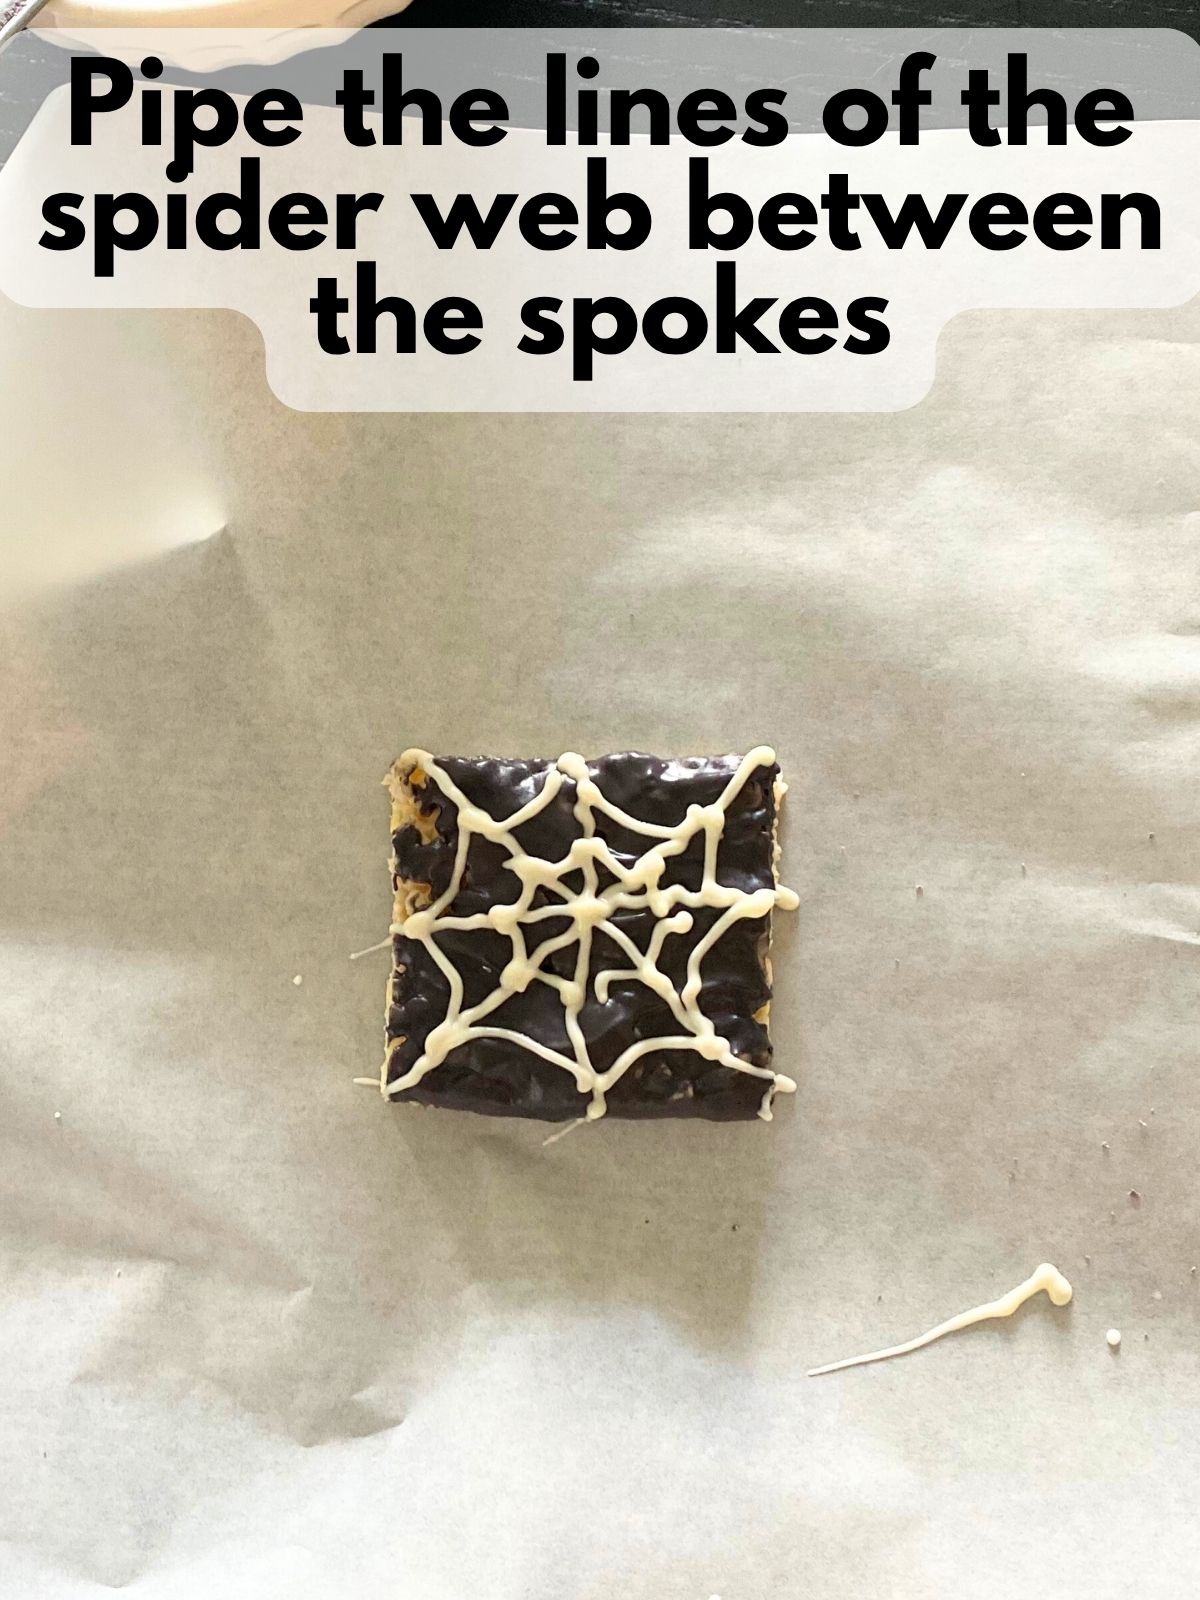
Dip the face of each Rice Krispie square into the melted black candy melts or chocolate, then place on parchment to set. Once the coating is mostly, use a piping bottle or bag fitted with a small, round tip filled with melted white chocolate to draw a spiderweb design on top.
Option 2: Piped Webs Only (Quick and Easy)
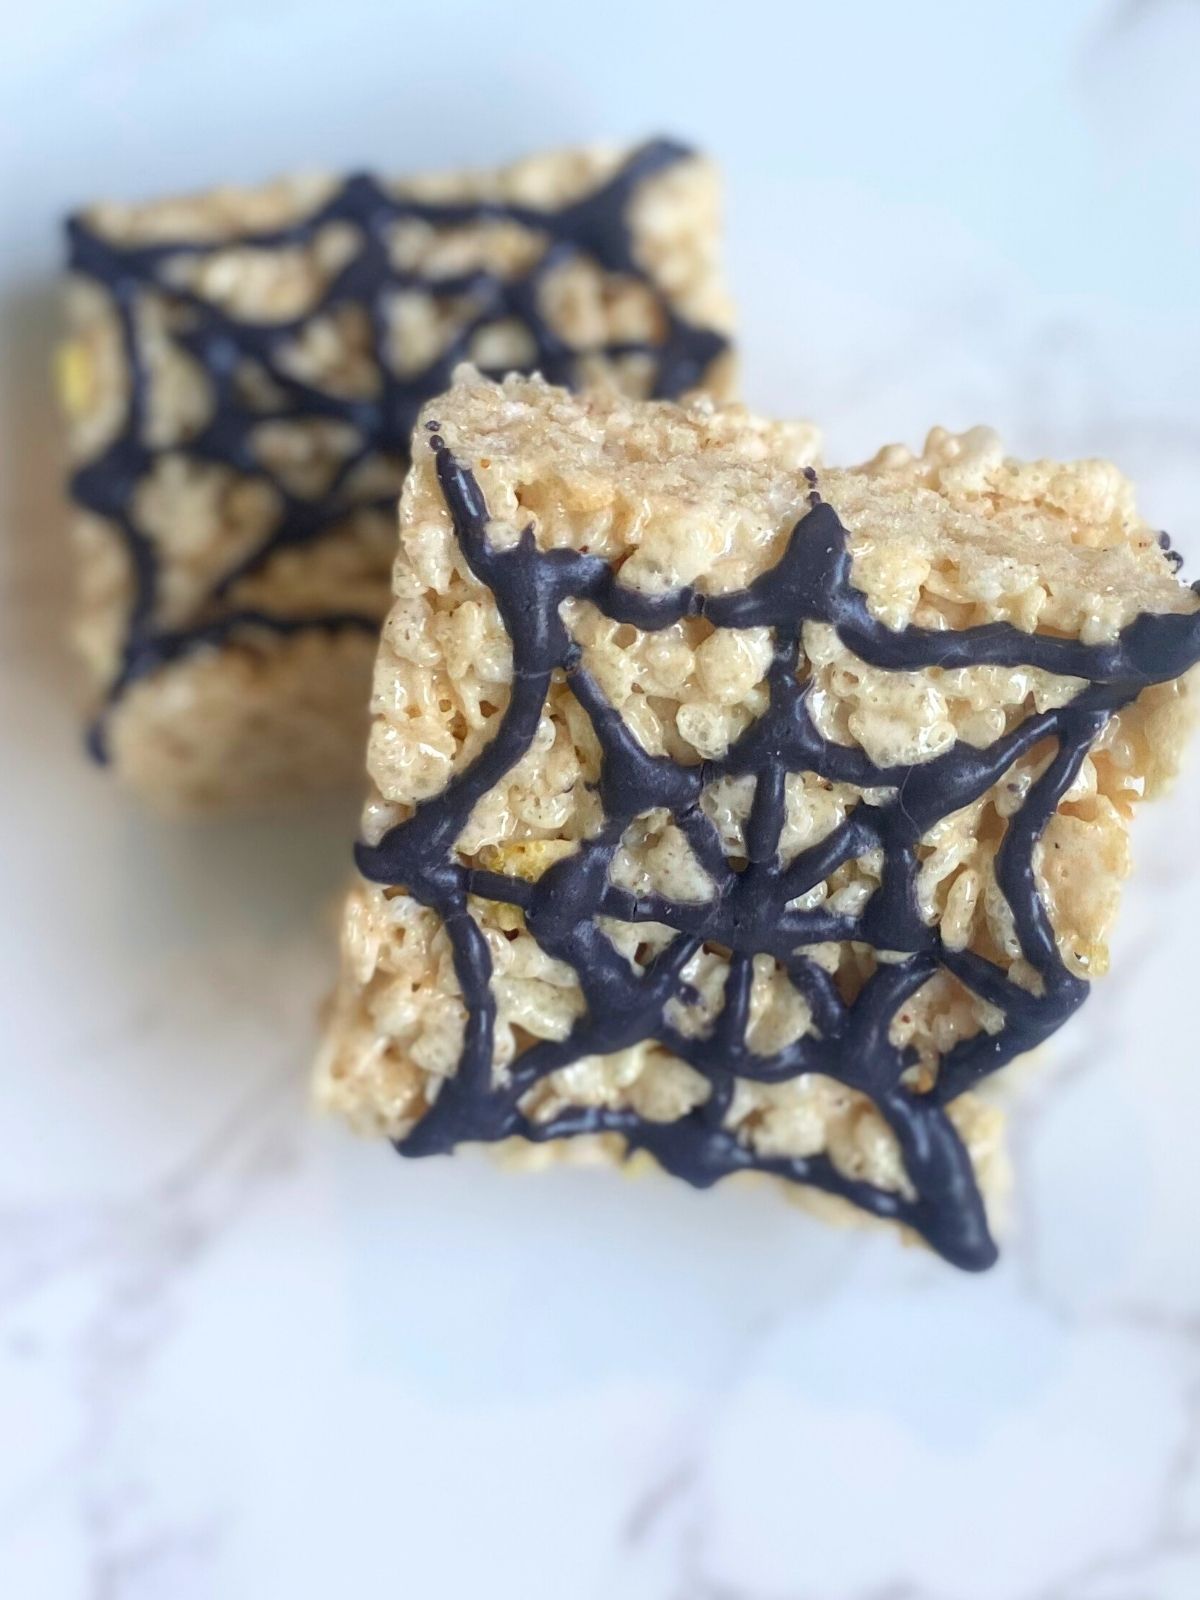
Skip the dipping step and pipe your spiderwebs directly onto each Rice Krispie square using black candy melts or melted chocolate.
How to draw the webs:
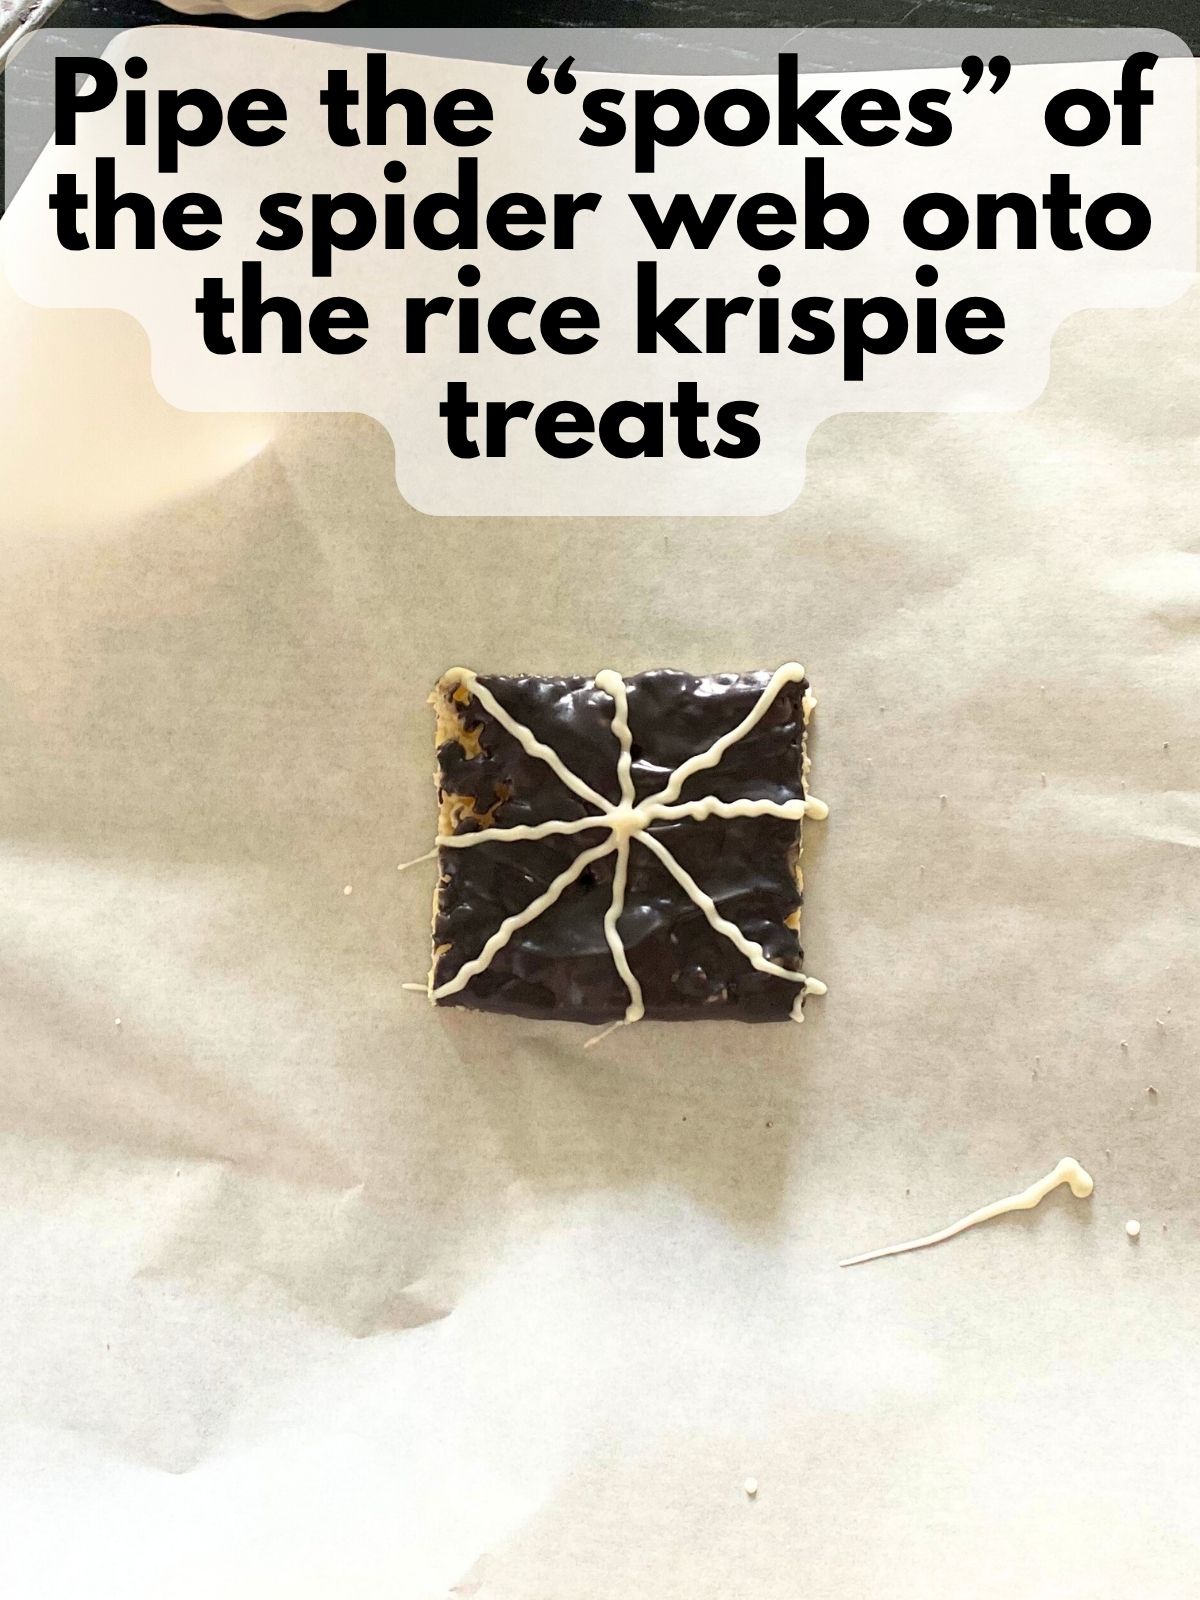
Start by drawing straight lines radiating out from a center point (like spokes of a wheel). Then go back and add two curved lines connecting the spokes—start from the outer edges and work your way in. The curved lines should gently “droop” between each spoke to form the web. That’s it!
Pro Tips for Spiderweb Rice Krispie Treats
- Use greased parchment paper to press and smooth rice krispie treats. A smooth top and uniform shape make it much easier to decorate with spiderwebs.
- Thicker treats = easier decorating. Using an 8×8 pan gives you a good thickness for clean cuts and enough surface area to draw the webs.
- Melt the chocolate with coconut oil. This helps the chocolate stay smooth and pipeable, especially for details like curved web lines.
- Draw spokes first. For the cleanest web design, start with 8 straight lines radiating from a center point. Then draw 1–2 curved lines between them to finish the look.
- Let the coating set slightly before piping. If you’re using the dipped method, let the surface set for a minute or two before piping the web on top—this helps keep the lines sharp.

FAQs
Can I use store-bought Rice Krispie Treats for this?
You can, but I recommend homemade for this one. Store-bought treats are often thinner and firmer, which makes them harder to cut into perfect squares (the ideal shape for this) and more difficult to decorate with smooth, clean web lines.
What kind of chocolate works best for decorating?
You can use black candy melts, semisweet chocolate chips, or dark chocolate chips. Just melt them with a little coconut oil to get a smooth consistency. For the webs, white chocolate chips work well—but they can be a bit tricky, so melt them slowly and stir frequently to avoid seizing.
Do I need a piping bag or bottle?
A piping bottle (sometimes called small icing bottles) gives the most control for small details like web lines. You can also use a zip-top bag, but be sure to snip a super tiny corner—much smaller than you think—so the chocolate comes out in a fine line. A piping bag will work too, but I’ve found bottles are easier to handle for this kind of decorating.
How should I store these treats?
Store them in an airtight container at room temperature for up to 3 days. If your kitchen is warm or you’re in a humid climate, it’s totally fine to store them in the fridge—but be aware that condensation can form when you take them out. To reduce this, let the container sit at room temperature with the lid on so they come to temp gradually.
Can I make these ahead of time for a Halloween party?
Absolutely! These no bake desserts hold up well for a couple of days. Just wait until the chocolate is fully set before stacking or packaging, and use parchment paper between layers if needed.

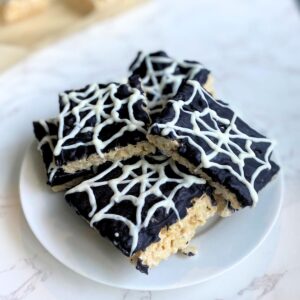
These Spiderweb Rice Krispie Treats are such a fun way to add something spooky and sweet to your Halloween dessert table.
Whether you go for the dipped-and-decorated version or keep it simple with piped webs, these Halloween-themed treats are perfect for parties, dessert platters, or just a cozy October night when you want to make something cute and festive.
Spider Web Rice Krispie Treats
Equipment
- 1 small icing bottle or piping bag with a small round tip optional, but very helpful
- 1 large saucepan
- 1 8x8 Baking Dish
Ingredients
- 4 Tbsp unsalted butter
- 1 10-ounce bag of mini marshmallows
- 5 cups Rice Krispies Cereal
- 1/4 tsp salt
- 1 tsp vanilla
- 1 cup black candy melts or chocolate chips approximately
- 1/4 cup white chocolate chips approximately
- 1-2 tsp coconut oil approximately
Instructions
Make Brown Butter Rice Krispie Treats
- In a large pot, melt the butter over medium heat. Stir frequently until it foams and turns golden brown with a nutty aroma (about 5–7 minutes).
- Reduce the heat to low, then stir in the mini marshmallows and salt until fully melted and smooth.
- Remove from heat and stir in the vanilla.
- Add the Rice Krispies cereal and stir until well coated.
- Press the mixture into a parchment-lined 8x8-inch pan, using a clean piece of parchment between your hand and the treats to gently press and smooth them into an even layer.
- Let cool completely, then cut into squares
Decorate Rice Krispie Treats
- Melt your black candy melts according to the package instructions with an extra teaspoon or so of coconut oil to make them easier to work with. If you wish to pipe on white spider webs on top of your black chocolate, microwave some white chocolate chips with coconut oil in 20-30 second increments, stirring in between until everything is nice and smooth.
- Choose your method based on the look and feel you’re going for:
- Option 1: Dipped + Piped Webs (Best Visual Finish)Dip the face of each Rice Krispie square into the melted black candy melts or chocolate, then place on parchment to set. Once the coating is mostly, use a piping bottle or bag fitted with a small, round tip filled with melted white chocolate to draw a spiderweb design on top.
- Option 2: Piped Webs Only (Quick and Easy)Skip the dipping step and pipe your spiderwebs directly onto each Rice Krispie square using black candy melts or melted chocolate. (No need for white chocolate if you choose this option!)
- How to draw the webs: Start by drawing straight lines radiating out from a center point (like spokes of a wheel). Then go back and add two curved lines connecting the spokes—start from the outer edges and work your way in. The curved lines should gently “droop” between each spoke to form the web