Last updated on December 27th, 2023 at 12:58 am
 Hey there, baking enthusiasts! If you’re anything like me, you’ve probably tried a bunch of different sugar, cutout cookie recipes and never really found the right one. They’re always either too complicated, too time-consuming, or they end up hard and crunchy. I love me some soft, frosted sugar cookies! Luckily for you, I have found the easiest cutout sugar cookie recipe, and today we’re going to frost our cookies with browned butter maple frosting. These soft sugar cookies are a treat that will be perfect for any occasion!
How do I Brown Butter?
But wait, what is browned butter, you ask?
Browned butter is really just regular butter that has been heated until the milk solids turn golden brown, giving it a nutty flavor. Trust me; this little trick is like a magic wand for your baked goods! I have lots of other browned butter recipes because I love using it in baking so much!
Here’s how you can easily brown butter at home:
Choose the Right Pan:
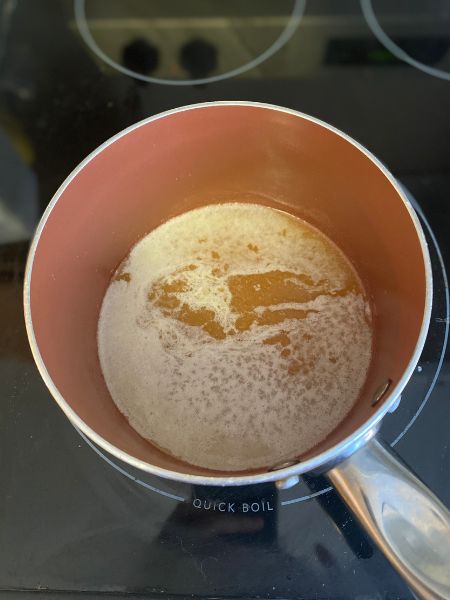
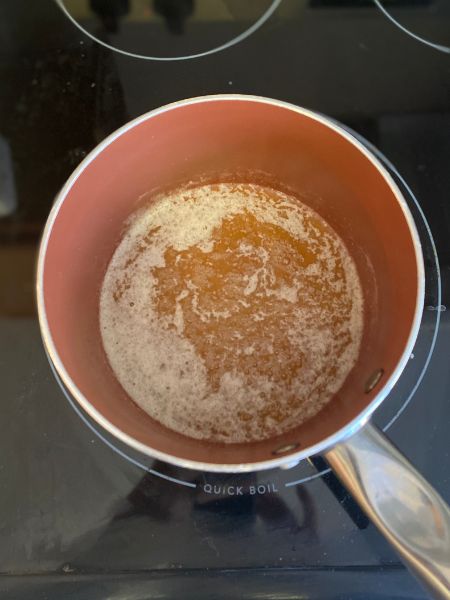
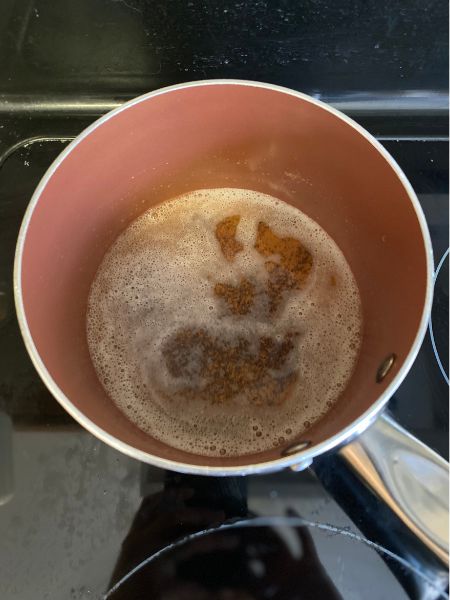
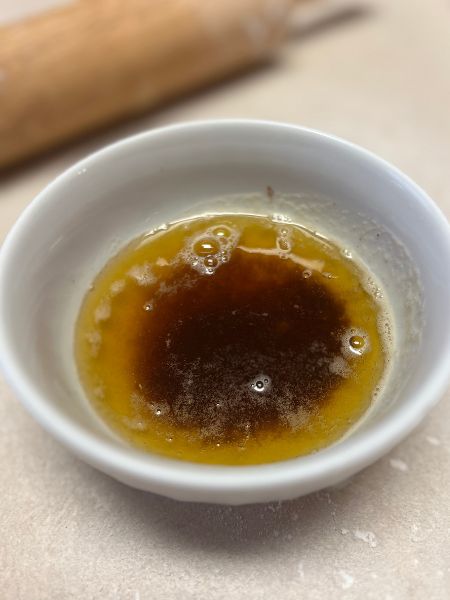
Opt for a light-colored pan so you can easily monitor the color change of the butter. A heavy-bottomed saucepan works well. So… As you can see from my pictures… I don’t own a light-colored pan! It’s a little trickier for me to tell when my browned butter is done, which is why I would recommend a light-colored pan if you have one.
Low and Slow:
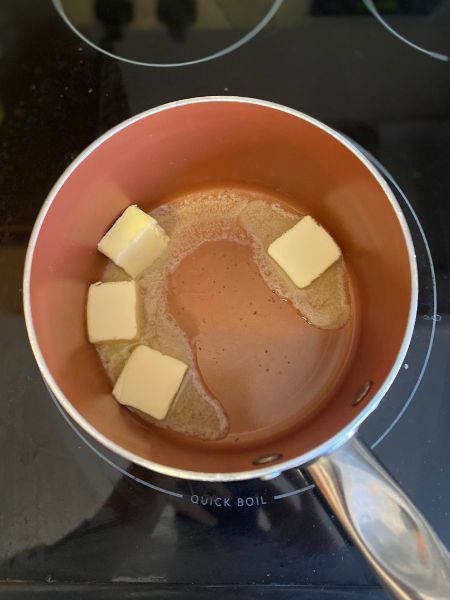
Place your butter in the pan over low to medium heat. This process requires a bit of patience, so resist the temptation to crank up the heat. You can cut your butter into small chunks so it melts faster and more evenly.
Swirl and Watch:
As the butter melts, gently swirl the pan to ensure even heating. Keep a close eye on it; you’re looking for a golden-brown hue with small browned bits at the bottom.
Froth and Then More Froth:
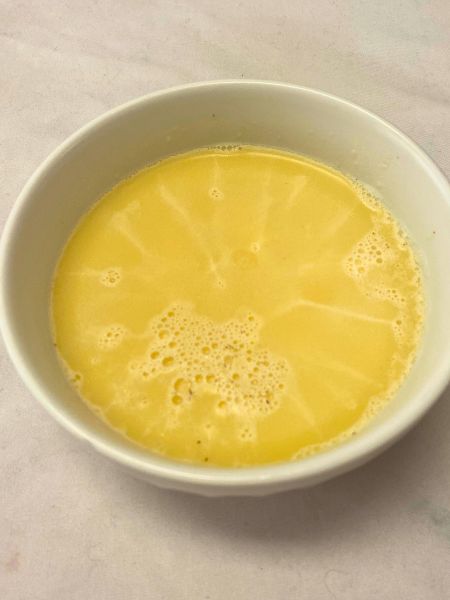
Your butter will start to foam and froth in the pan, making little bubbles. Keep stirring! Then, you’ll see the froth kind of subside, and you might see little flecks of solidified milk fat floating around. Keep stirring! Finally, the froth will come back again, but perhaps a little less than before. This is how you know it’s pretty much done!
It’s Done:
Very (I mean very!) soon after the second round of froth comes about, you’ll be able to see dark specks at the bottom of your pan. You’ll have to push aside the froth to be able to see them, and this is why it’s good to have a light-colored pan! Immediately remove your pot from the heat, and let it cool.
For this recipe, after your browned butter has cooled for a bit, you’re going to want to stick it in a microwave-safe container in the fridge. Because we’re using it to make frosting, we need that butter to cool and be solid again before we can use it!
Pro Tips for Making Soft, Fluffy Cut-Out Cookies
Before we jump into the delicious details of our sugar cut-out cookies, let’s go through some pro tips that will ensure your cookies come out as soft and fluffy.
Chilled Dough Keeps its Shape:
After preparing the cookie dough, don’t forget to chill it in the refrigerator for at least an hour or two. Yes, I get it! You don’t have an hour to wait because any minute now your kids are going to be bugging you for something! If you really can’t wait an hour to chill your dough, you have a couple options:
- Roll out your dough on a cookie sheet lined with parchment paper. It doesn’t have to be perfect or pretty, just decently flat and spread out. Pop your cookie sheet in the freezer for 30 minutes. It will still be chilled, but faster!
- Make your dough a day ahead of time. This is what I do typically. The dough only takes about 5-10 minutes to whip up, so I just make it a day ahead of time and let it chill in my fridge overnight.
- Accept that you can have round cookies, which is totally fine! The reason we chill the dough is because it helps the cookies keep their shape while they bake. If you just need cookies fast, roll them out, make them circles and bake! You’ll also want to watch your cookies closely while baking, and maybe take a minute off your baking time. Stash your bowl of dough in the fridge in between batches, too.
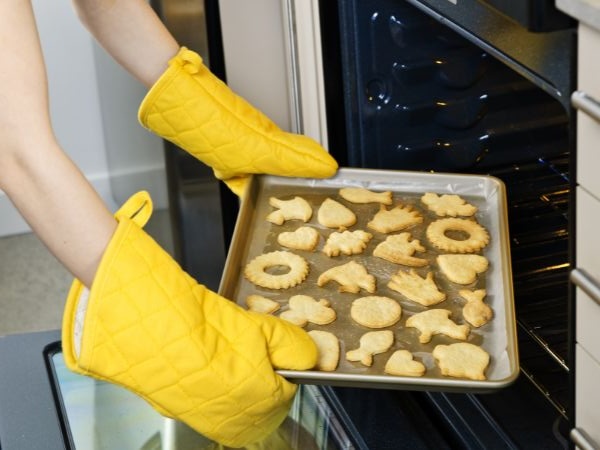
Don’t Overwork Your Dough:
This goes along with keeping the dough chilled. If you roll out your dough, mess it up, crumple it up in your hands and roll it out again, your dough will loose its chill. Try to avoid re-rolling out your dough more than a three to four times. If you need to, you can stick it back in the fridge to chill again, too!
Temperature Matters:
Use room temperature cookie sheets. Definitely do not pull one batch out of the oven and immediately put the next batch on that hot cookie sheet! If I’m in a hurry, I’ll stick my cookie sheets in the freezer to cool them down before putting the next batch on them.
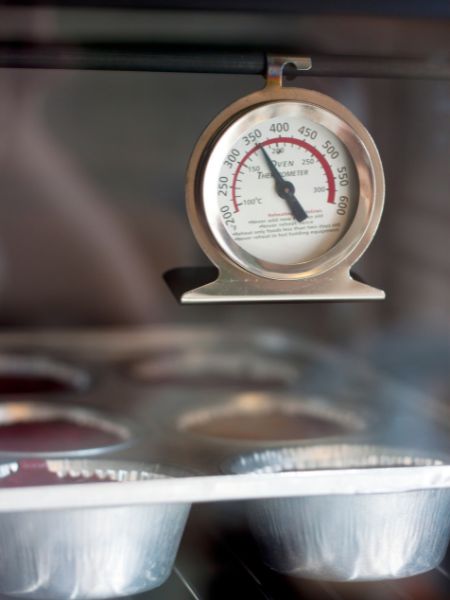
Also please note, depending on your oven, you may find that your second and third batches bake either slightly faster than the first or slightly slower. Sometimes I find that my first batch takes close to 10 minutes, but by the time I’m on my third batch, they only need 8. Also, the opposite can be true! This time around, I found that I was opening my oven too much and the later batches took longer because the heat escaped. In general, I always bake my cookies for the minimum time listed in a recipe, and then add a minute at a time if it seems they’re not done.
Now that we’ve armed ourselves with these pro tips, let’s embark on the journey of creating soft, fluffy cut-out cookies that will have everyone begging for your secret recipe.
How to Make Soft, Fluffy Cut-Out Cookies with Browned Butter Maple Frosting
Ingredients:
For the cookies:
– 1 cup butter, softened
– 1 cup granulated sugar
– 1 large egg
– 1 teaspoon vanilla extract
– 3 cups all-purpose flour
– 1/2 teaspoon baking powder
– 1/2 teaspoon salt
For the frosting:
– 1/2 cup (1 stick) browned butter, chilled in the fridge until solid
– 2 cups powdered sugar
– 2 tablespoons pure maple syrup
– 1 teaspoon vanilla extract
– 1-2 tablespoons of milk (for texture)
Instructions:
Prepare the Cookie Dough:
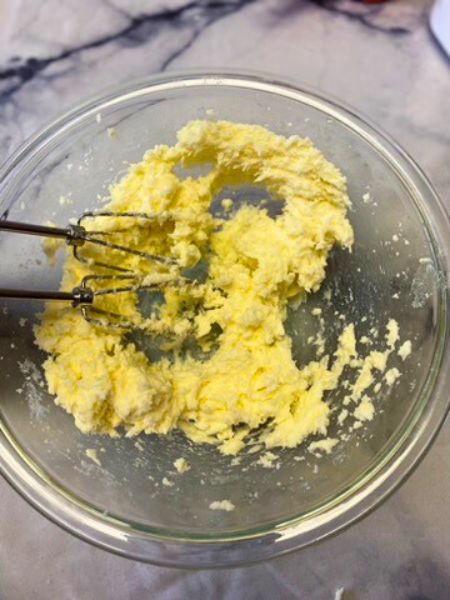
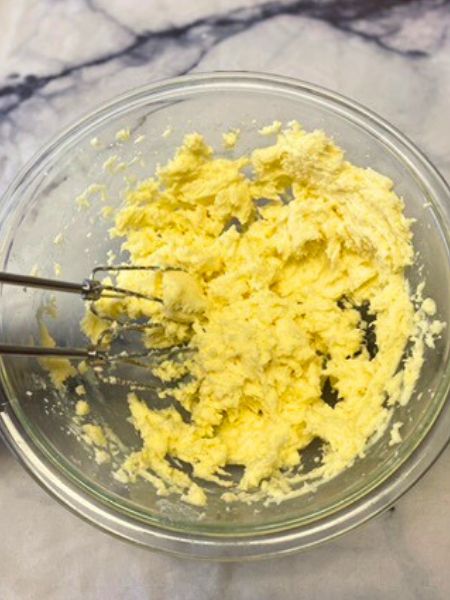
– In a large bowl, cream together the butter and sugar until light and fluffy.
– Add the egg and vanilla extract, mixing until well combined.
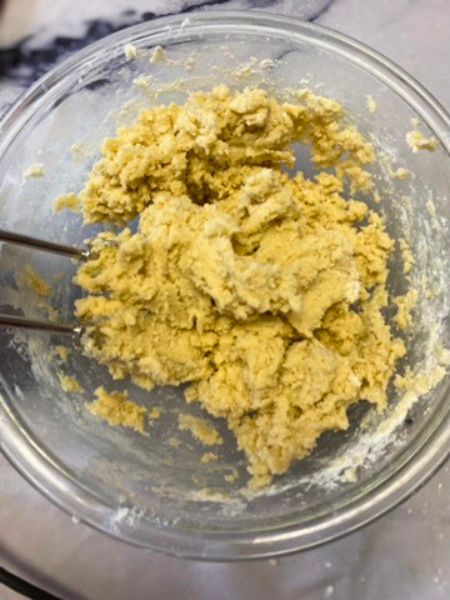
– Add 1 cup of flour
– Add baking powder and salt with second cup of flour
– Add 3rd cup of flour
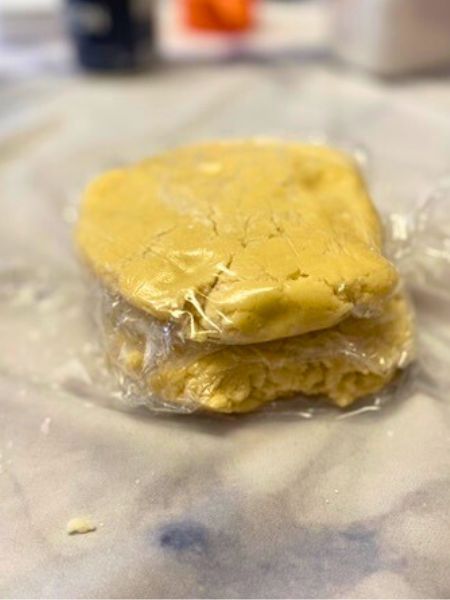
– Divide the dough in half, form each half into a disc, wrap in plastic wrap, and chill in the refrigerator for at least an hour.
Brown the Butter for the Frosting:
-Brown butter per the instructions above
-Allow butter to cool slightly
-Put butter in heat safe container and let chill in the fridge until it’s solid again. This part is important! Make sure your butter is truly solid before trying to make frosting with it
Roll and Cut Out the Cookies:
– Preheat your oven to 350°F (175°C) and line baking sheets with parchment paper.
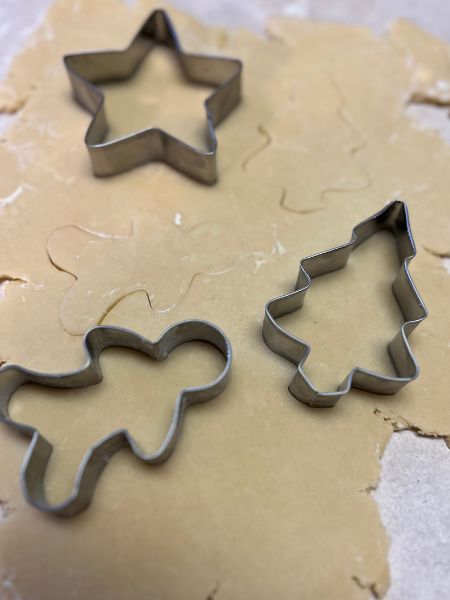
– On a lightly floured surface, roll out the chilled dough to about 1/4 inch thickness. To be honest, I err on the side of thick cookies if I want them to be soft and fluffy. Just make sure all your cookie are about the same thickness, because the thickness affects how long they need to bake, and you don’t want to burn half a batch waiting for the other half to finish.
– Cut out your desired shapes using floured cookie cutters and place them on the prepared baking sheets.
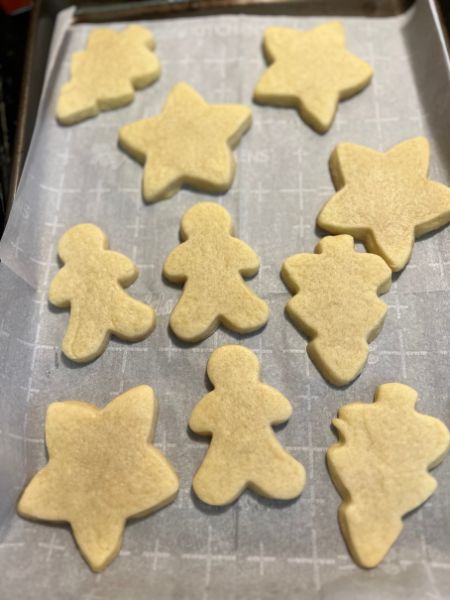
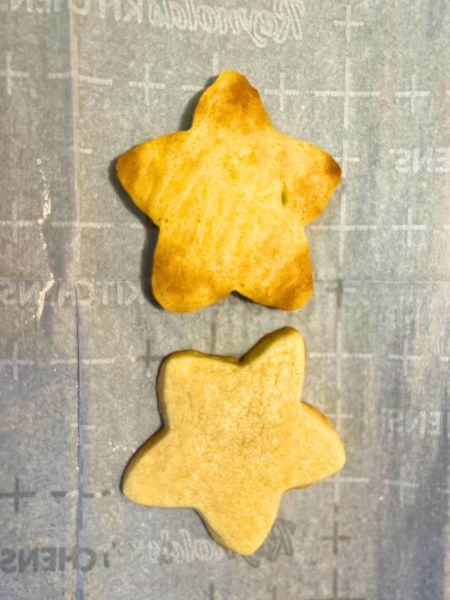
– Bake for 8-10 minutes or until the bottoms are just starting to brown.If you look carefully at your cookies, you’ll see a little golden outline on the bottom. Let them cool on the baking sheets until they are cool enough to touch and firm enough to transfer to a plate.
Whip Up the Browned Butter Maple Frosting:
– Once your browned butter is solid again, place it in a large mixing bowl. You can microwave it for around 5 seconds to loosen it from its original container. Also, try to use a rubber spatula to scrape out every last bit of browned butter goodness.
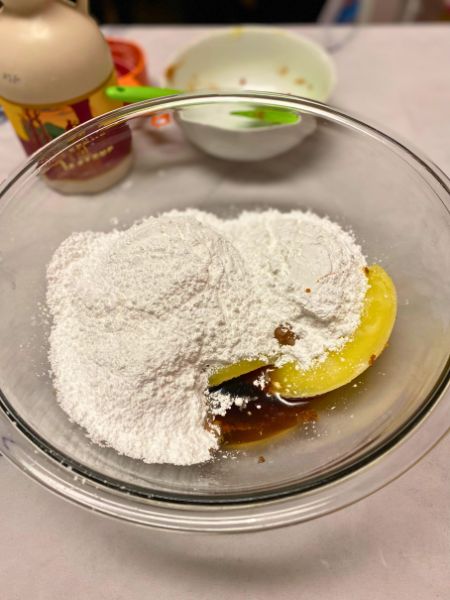
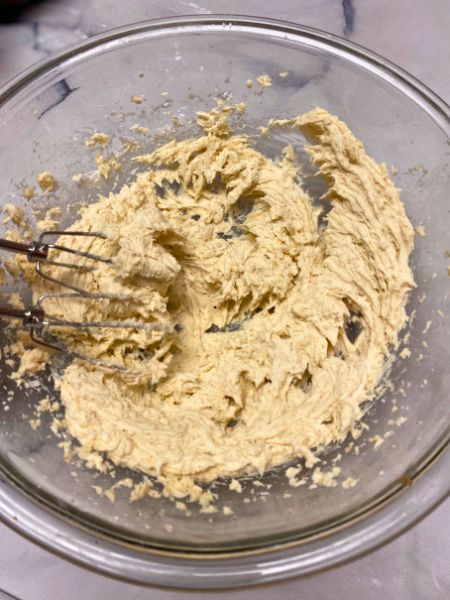
– Add the powdered sugar, maple syrup, vanilla extract, and a tablespoon of milk to the browned butter. Beat until smooth and fluffy. If you think the mixture is too thick, add a little more milk.
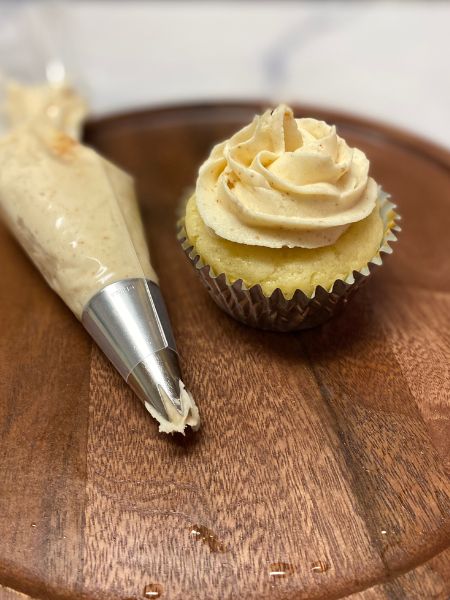
– Once the cookies are completely cooled, frost them with the browned butter maple frosting
Decorate and Enjoy:
– Spread your frosting on your cookies, decorate with sprinkles, chopped nuts or whatever else you like.
– Personally, I just went with a flat layer of icing with a couple simple decorations.
– Allow the frosting to set before storing the cookies in an airtight container.
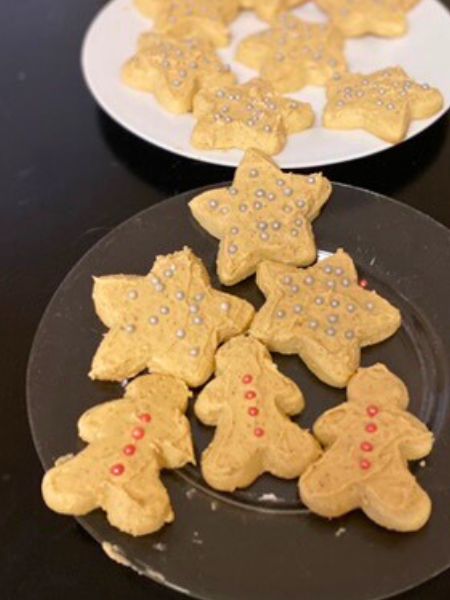
There you have it – a mouthwatering recipe for soft, fluffy sugar cut-out cookies with a decadent browned butter maple frosting. Go ahead, roll up your sleeves, and let the sweet aroma of browned butter and maple syrup fill your kitchen. Happy baking!
Soft, Fluffy Sugar Cutout Cookies with Browned Butter Maple Frosting
Ingredients
Soft Sugar Cookies
- 1 cup butter softened
- 1 cup granulated sugar
- 1 egg
- 1 tsp vanilla
- 3 cups flour
- 1/2 tsp baking powder
- 1/2 tsp salt
Browned Butter Maple Frosting
- 1/2 cup browned butter chilled in the fridge until solid again
- 2 cups powdered sugar
- 2 Tbsp maple syrup
- 1 tsp vanilla
- 1-2 Tbsp milk for texture
Instructions
Make Cookie Dough
- In a large bowl, cream the butter and sugar until light and fluffy.
- Add the egg and vanilla. Keep mixing until well-combined.
- Add 1 cup of flour. Then, add another cup of flour with the baking powder and salt. Finally, mix in the third cup of flour until everything is well-combined.
- Divide your dough in half, and form each half into a disc. Wrap each disc in plastic wrap and chill in the fridge for at least one hour.
Brown Butter
- Cut your butter into chunks, place the chunks in a saucepan over medium-low heat on the stove.
- Stir the butter frequently while on the stove. The butter will start to foam and froth. Then, the froth will subside a bit, and you might be able to see solidified milk fat chunks floating around. Finally, the froth will come back a little bit.
- Gently move the froth on top of your butter to the side with a spoon. It is done when you can see brown flecks at the bottom and smell a nutty aroma.
- Remove browned butter from the heat immediately. Allow to cool a bit in the pan. Then, transfer the browned butter to a heat safe container and let it chill to at least room temperature.
Roll Out and Bake Cookies
- Preheat your oven to 350°F and line some cookie sheets with parchment paper.
- After your cookie dough has chilled, lightly flour a clean, flat surface.
- Roll out your cookie dough to about 1/4 inch thick. I like to go at least a 1/4 inch thick, erring on the side of thickness to get nice, fluffy cookies.
- Place your cookies on a cookie sheet lined with parchment paper. These cookies will not expand much, so you do not have to leave a lot of space between them.
- Bake the cookies 8-10 minutes at 350°F, or until the bottoms are starting to turn golden brown (While the tops may still be rather white). Allow the cookies to cool on the cookie sheet until cool enough to touch.
- Allow to cool completely before frosting
Make Browned Butter Maple Frosting and Decorate
- Once your browned butter has cooled, it is ready to use for frosting.
- Add browned butter, powdered sugar, maple syrup, vanilla and a tablespoon of milk to a large mixing bowl. Beat until smooth. If your frosting seems too thick, add another tablespoon of milk.Pro tip: Add a little more milk to get kind of a watery frosting. Then, you can put the frosting in a shallow bowl and gently dip your cookies in the frosting face down. After you gently lift your cookies out, you'll have a nice, even coat of frosting covering the front of your cookies.
- After your cookies are frosted, decorate them as you please with sprinkles, etc. Or, just enjoy plain.

