
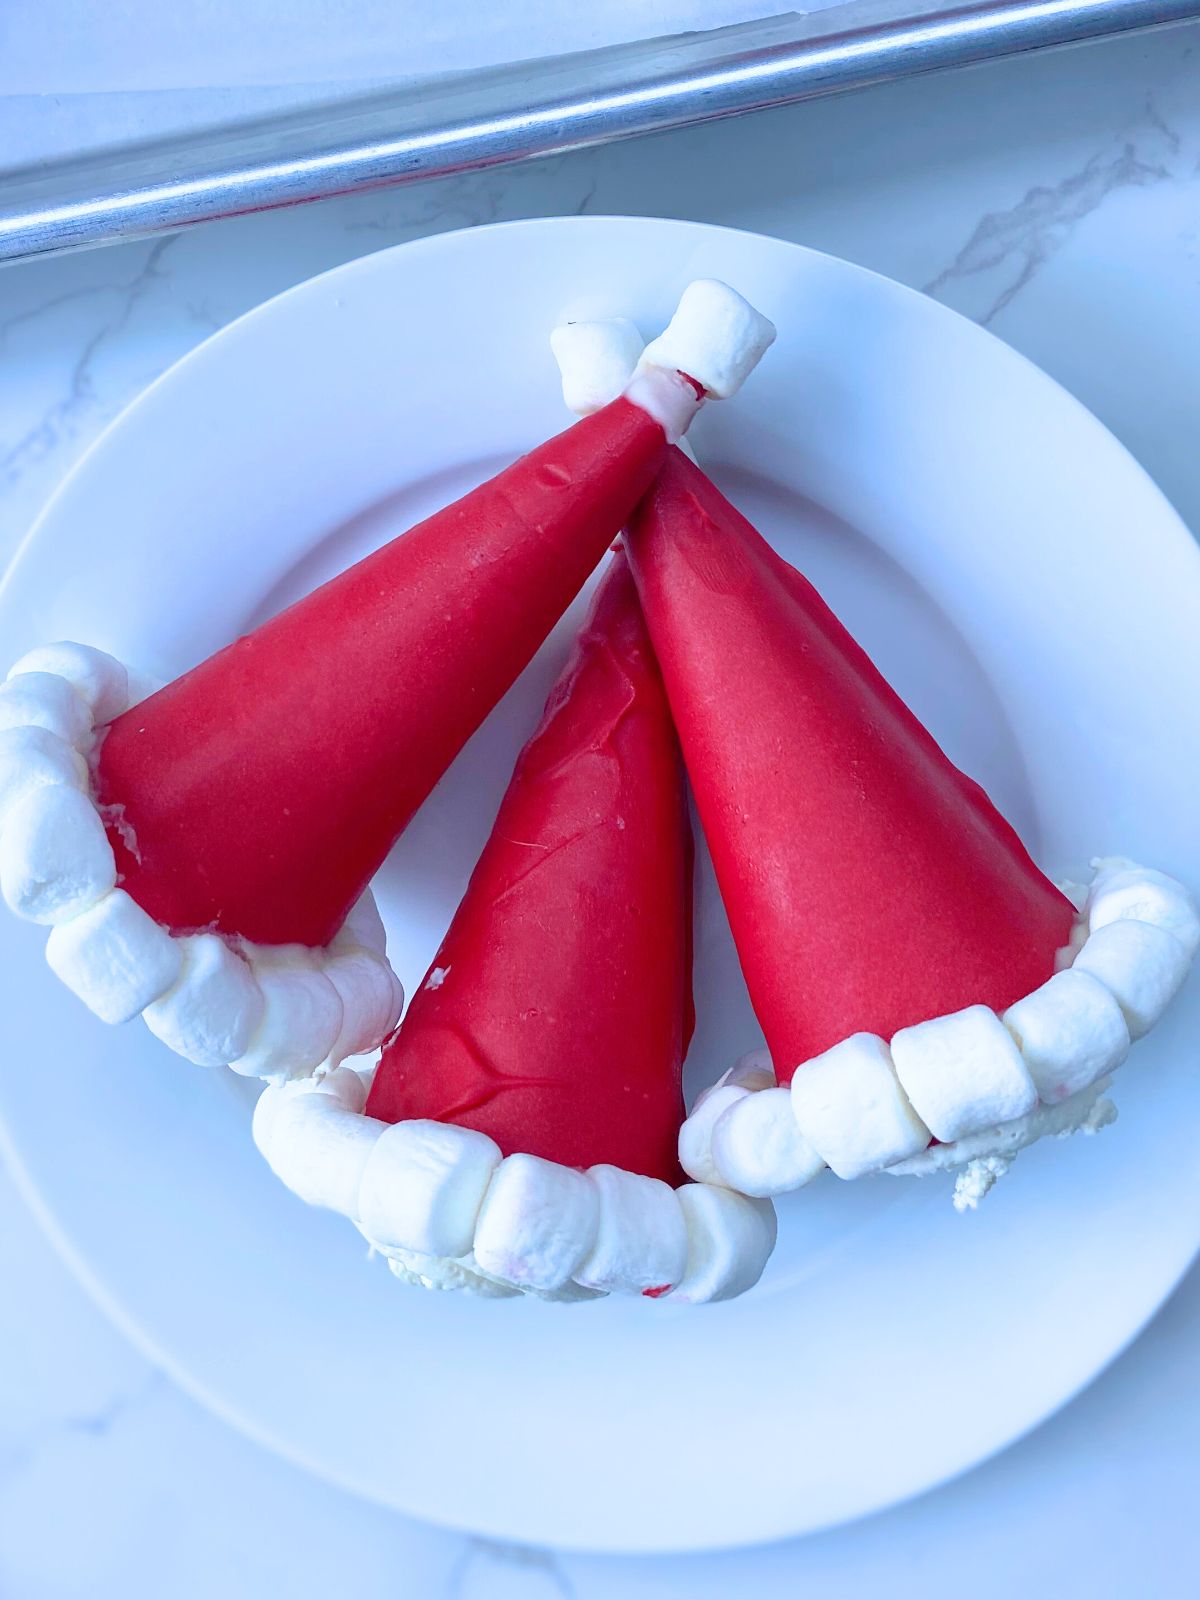
If you’re looking for fun Christmas desserts that don’t require turning on the oven, these Santa Hat Cheesecake Cones are the cutest Christmas no bake treats you’ll make all season. They’re festive, creamy, and so simple to put together—no baking, no fuss, and so much charm. Between the bright red candy coating, fluffy marshmallow trim, and fresh strawberries, these cones look straight off a holiday dessert table. They’re a total hit at parties or as a make-ahead easy Christmas dessert for family movie night.
Jump to Recipe
Ingredients for Santa Hat Cheesecake Cones
Here’s what you’ll need:
For the Cones:
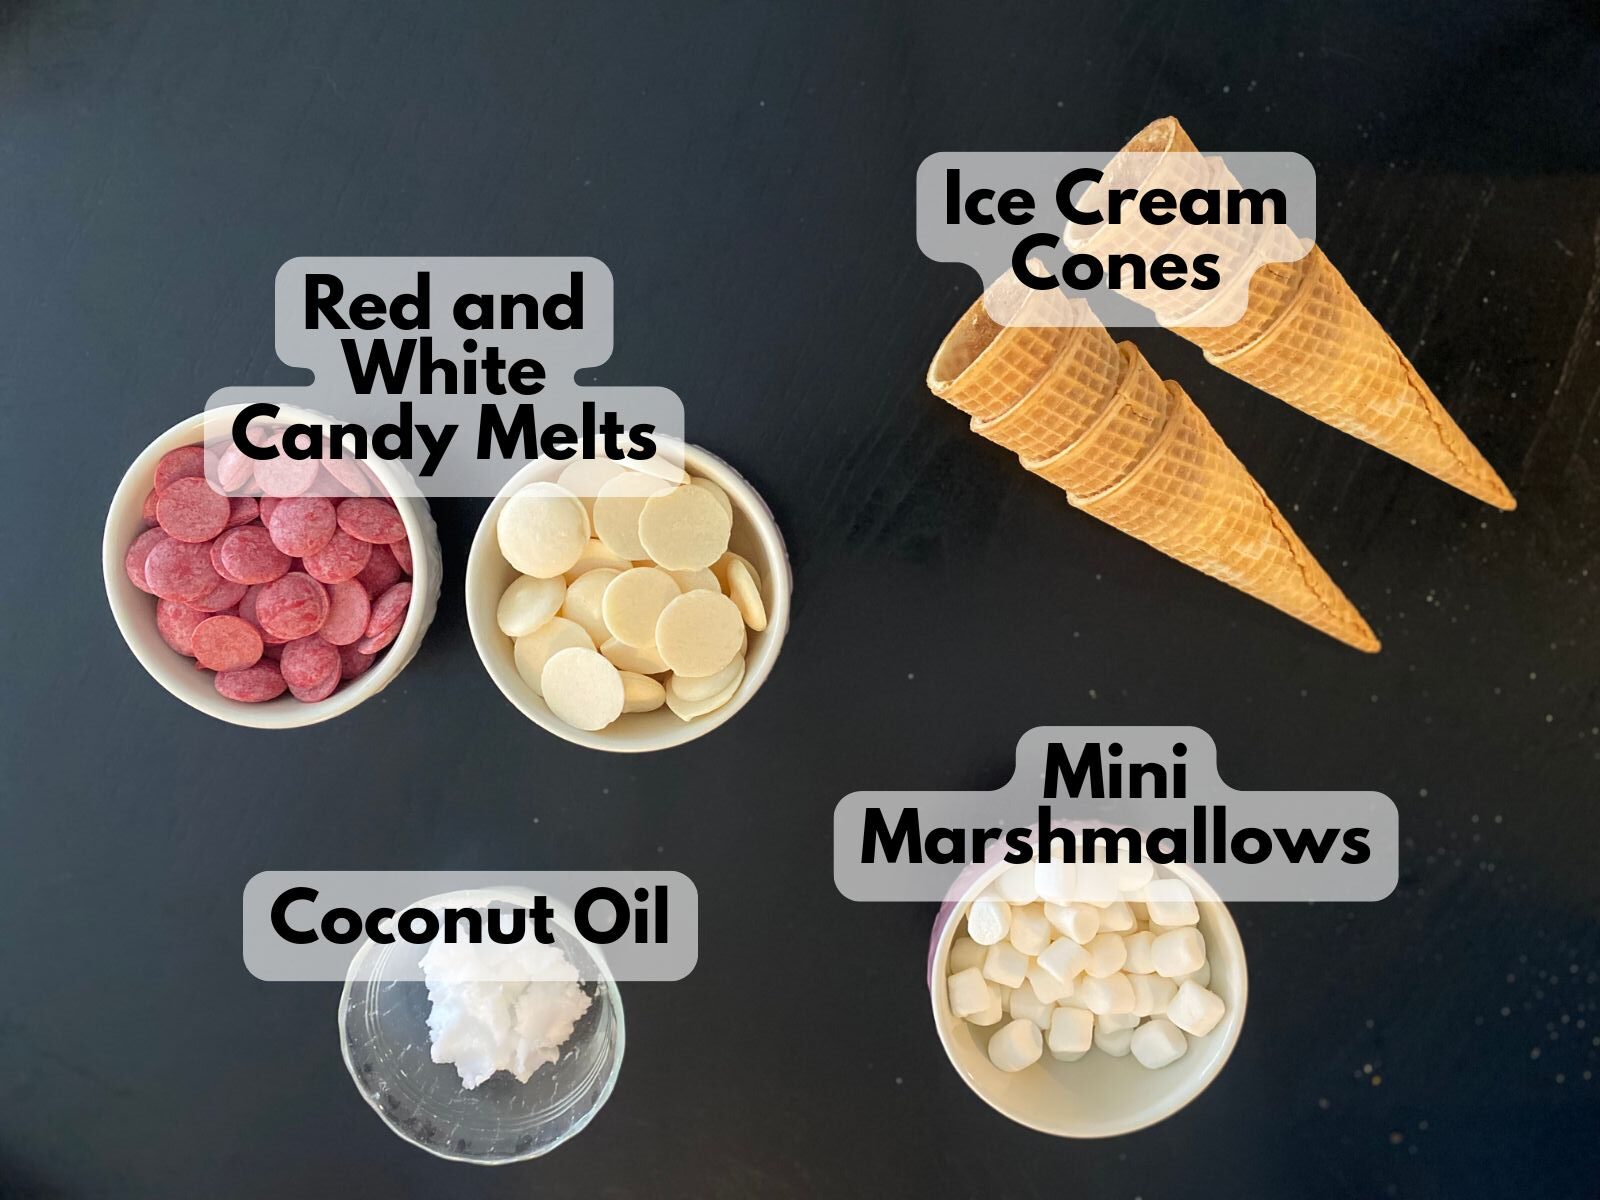
- 8-10 ice cream cones (any type works! Try to get one that is cone-shaped and will sit flat like a cone for easier decorating)
- 1 cup red melting candies (like Wilton red melts)
- 1/2 cup white melting candies
- 1-2 tablespoons coconut oil
- 1-2 cups mini marshmallows
For the Filling:
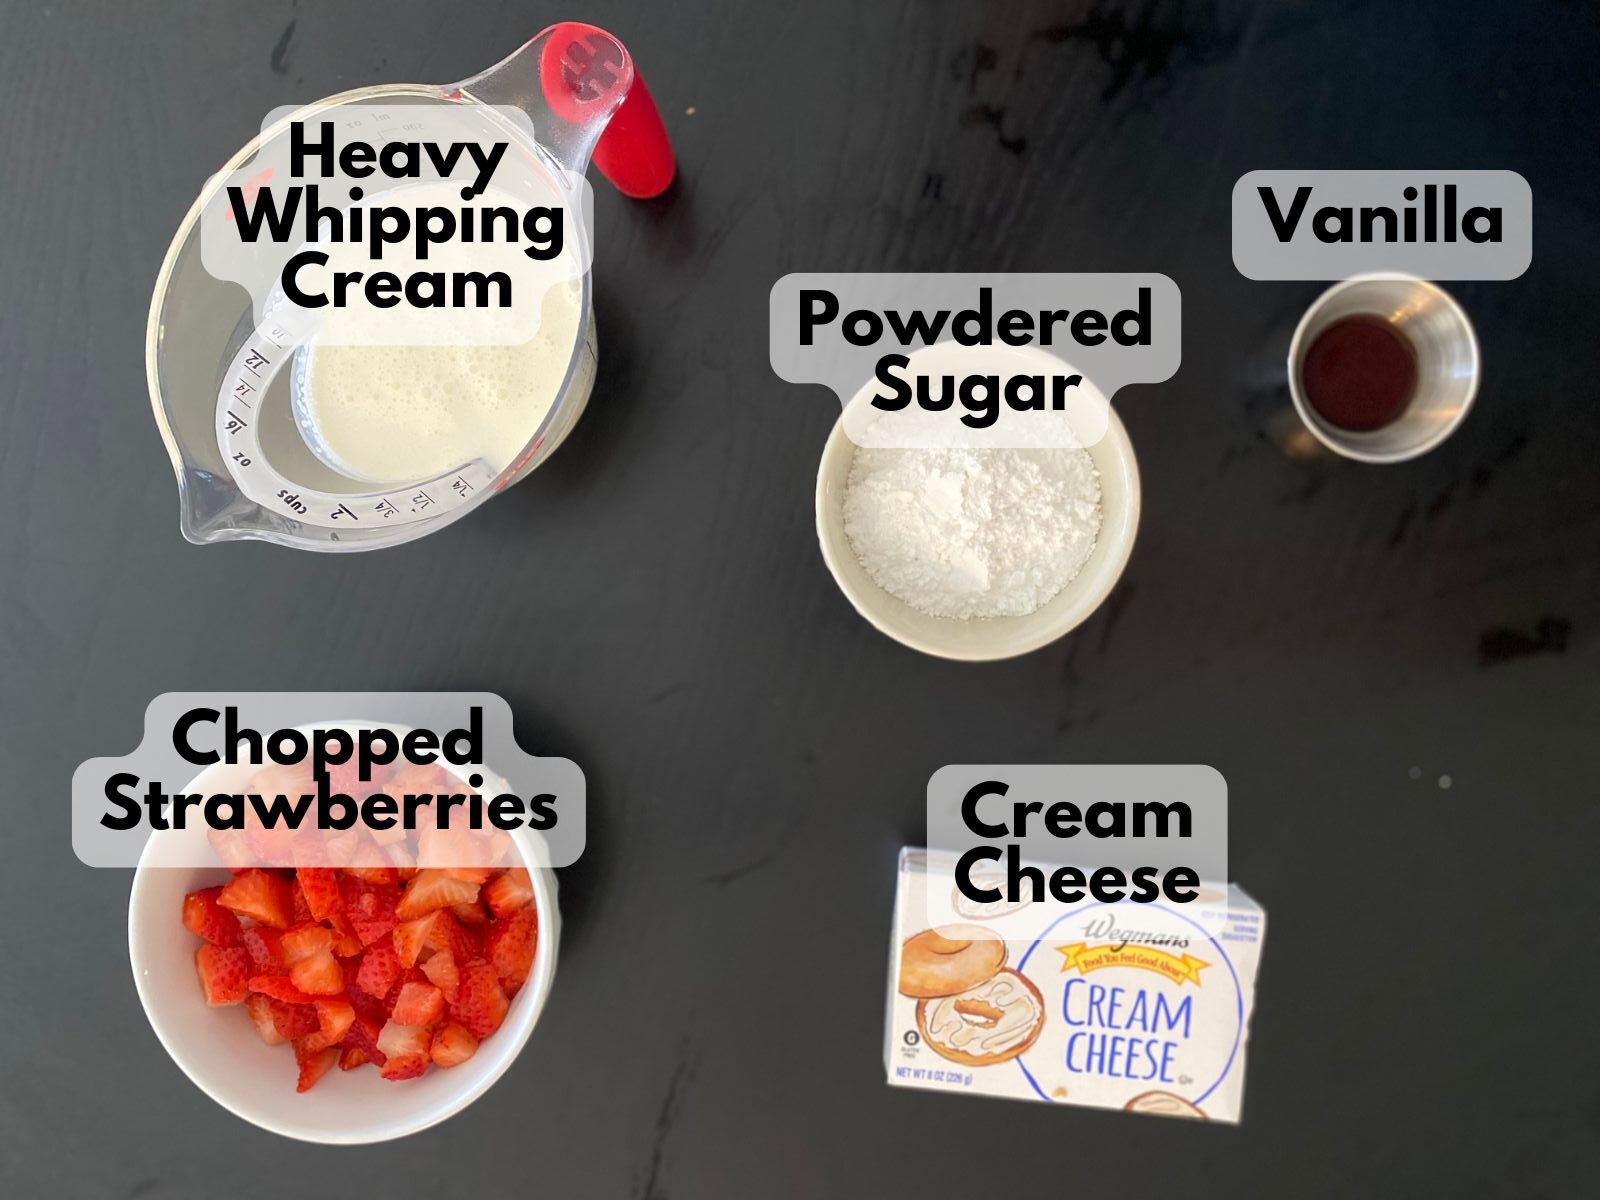
- 8 oz cream cheese, softened
- 1/4 cup powdered sugar
- 1 tsp vanilla extract
- 1 cup heavy whipping cream
- 1 cup chopped strawberries, approximately
How to Make Santa Hat Cheesecake Cones
These Christmas no bake treats come together in just a few easy steps:
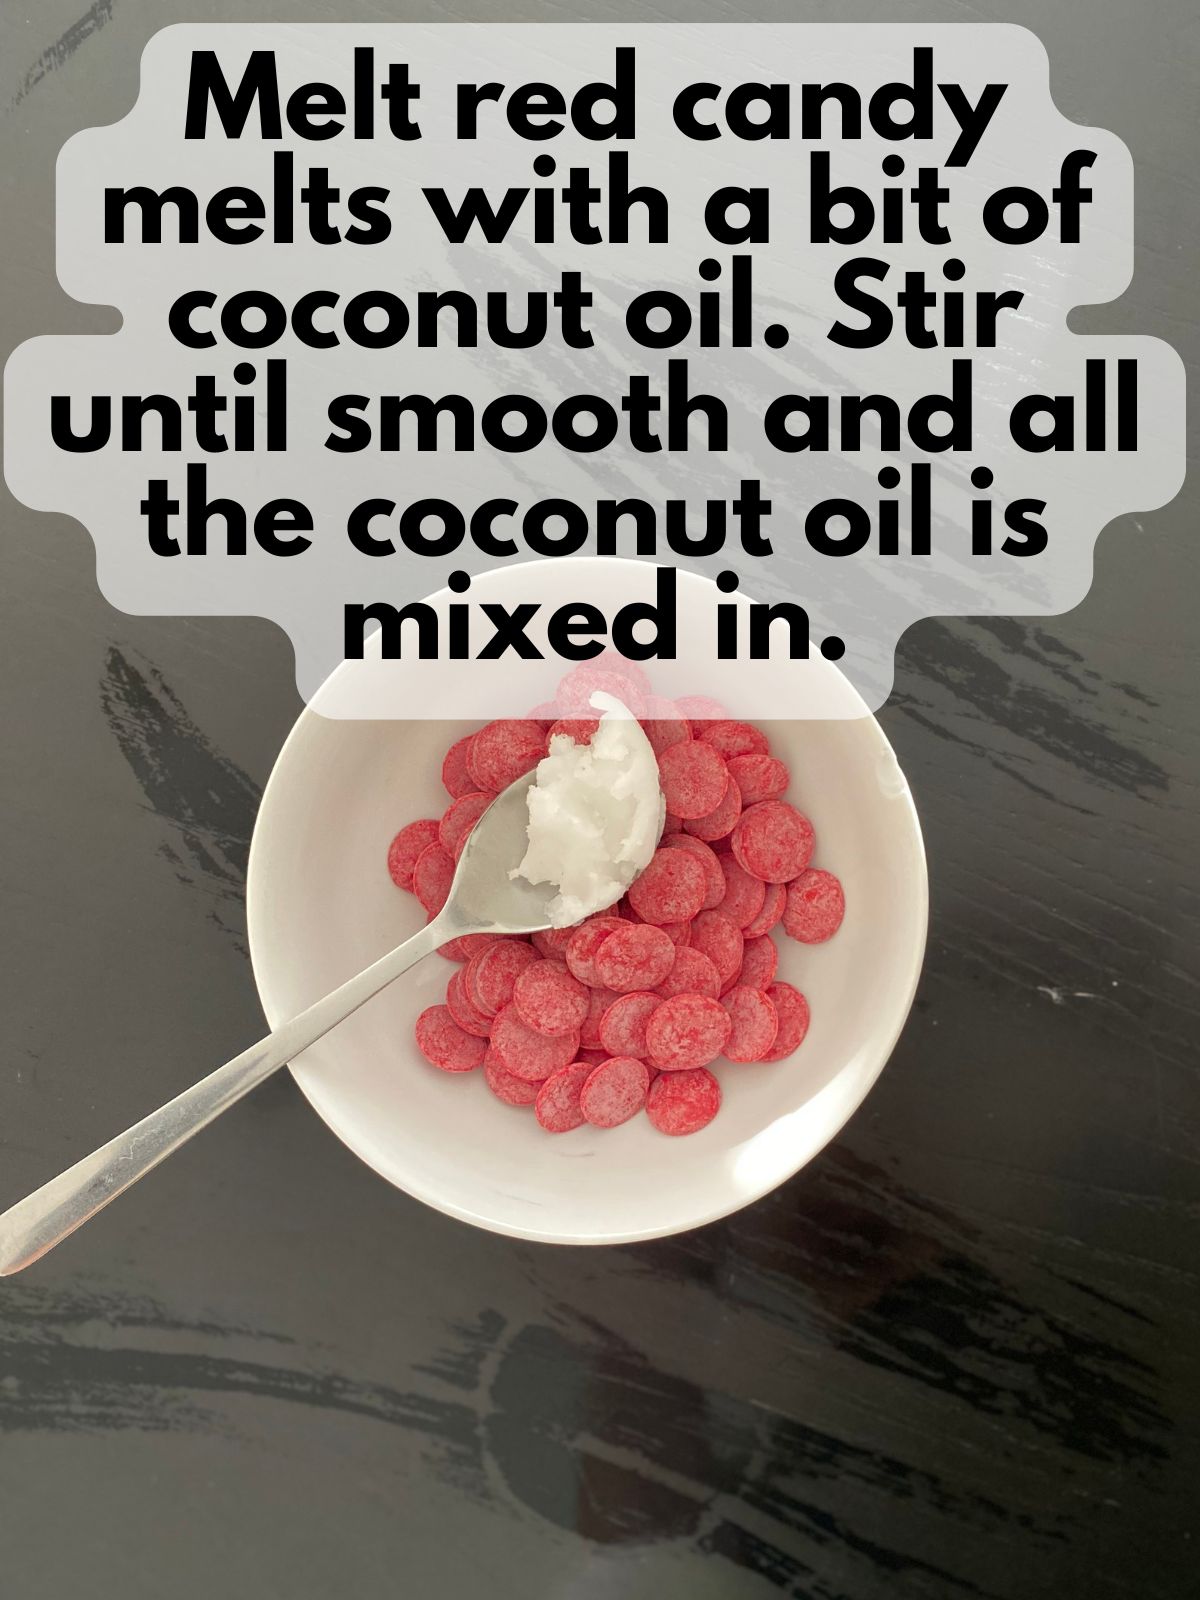
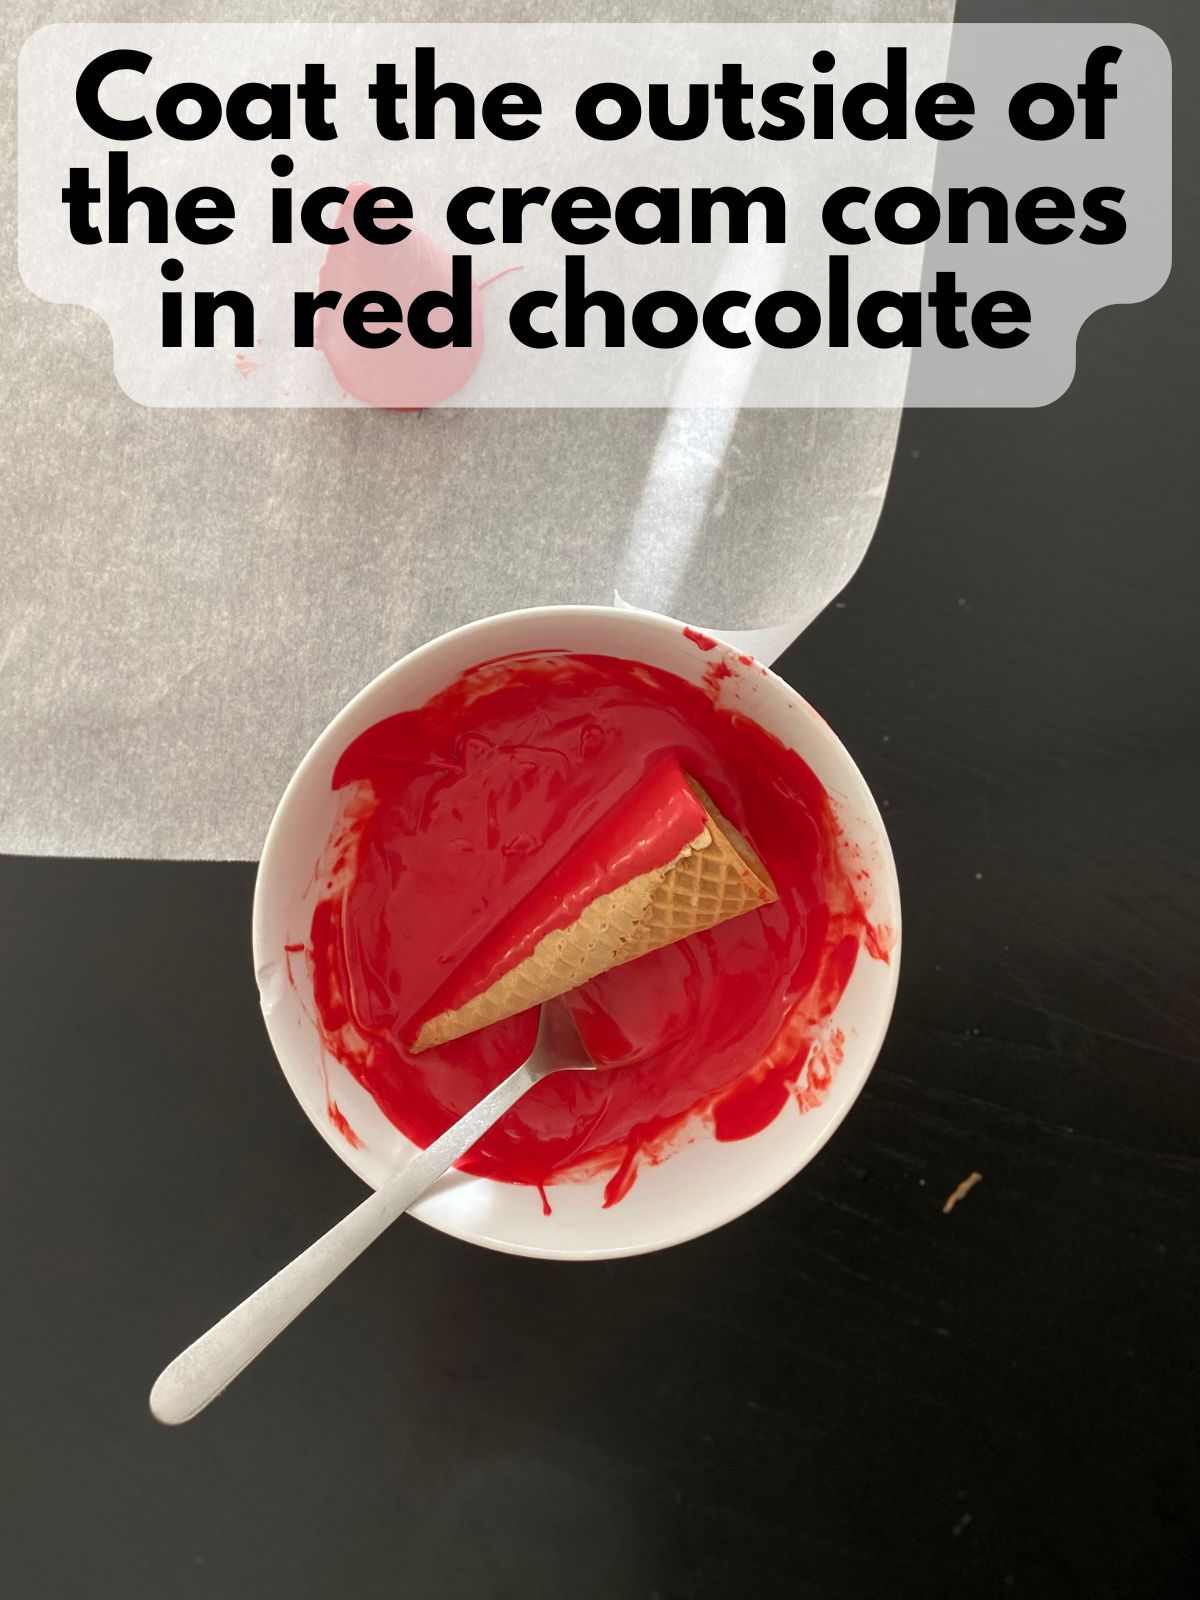
1. Prepare the cones
Melt your red candy melts according to the package directions with some coconut oil. Really mix in the coconut oil until everything’s smooth. The coconut oil helps make the candy melts easier to work with.
Dip each cone into the melted candy, coating it completely. Let any excess drip off, then place on parchment paper to set.
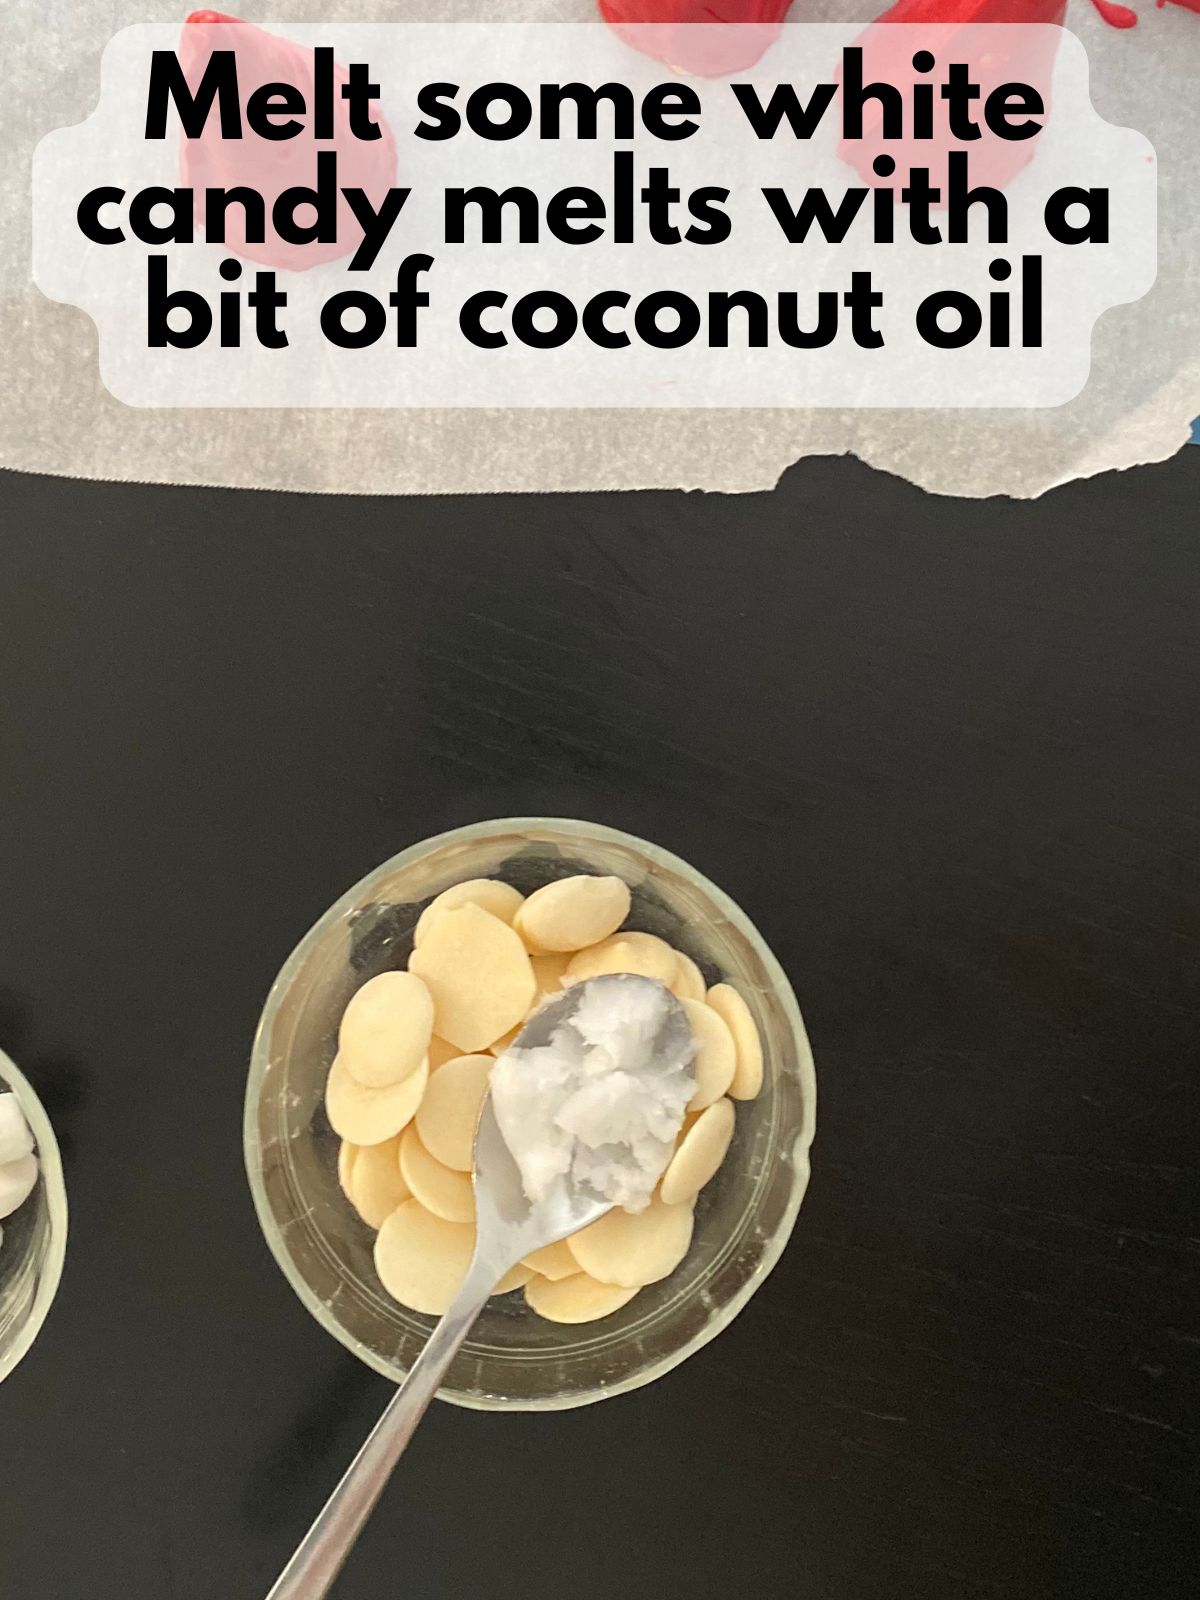
2. Melt some white chocolate to use as “glue.”
Melt your white chocolate candy melts according to the package directions and add some coconut oil Stir until smooth.
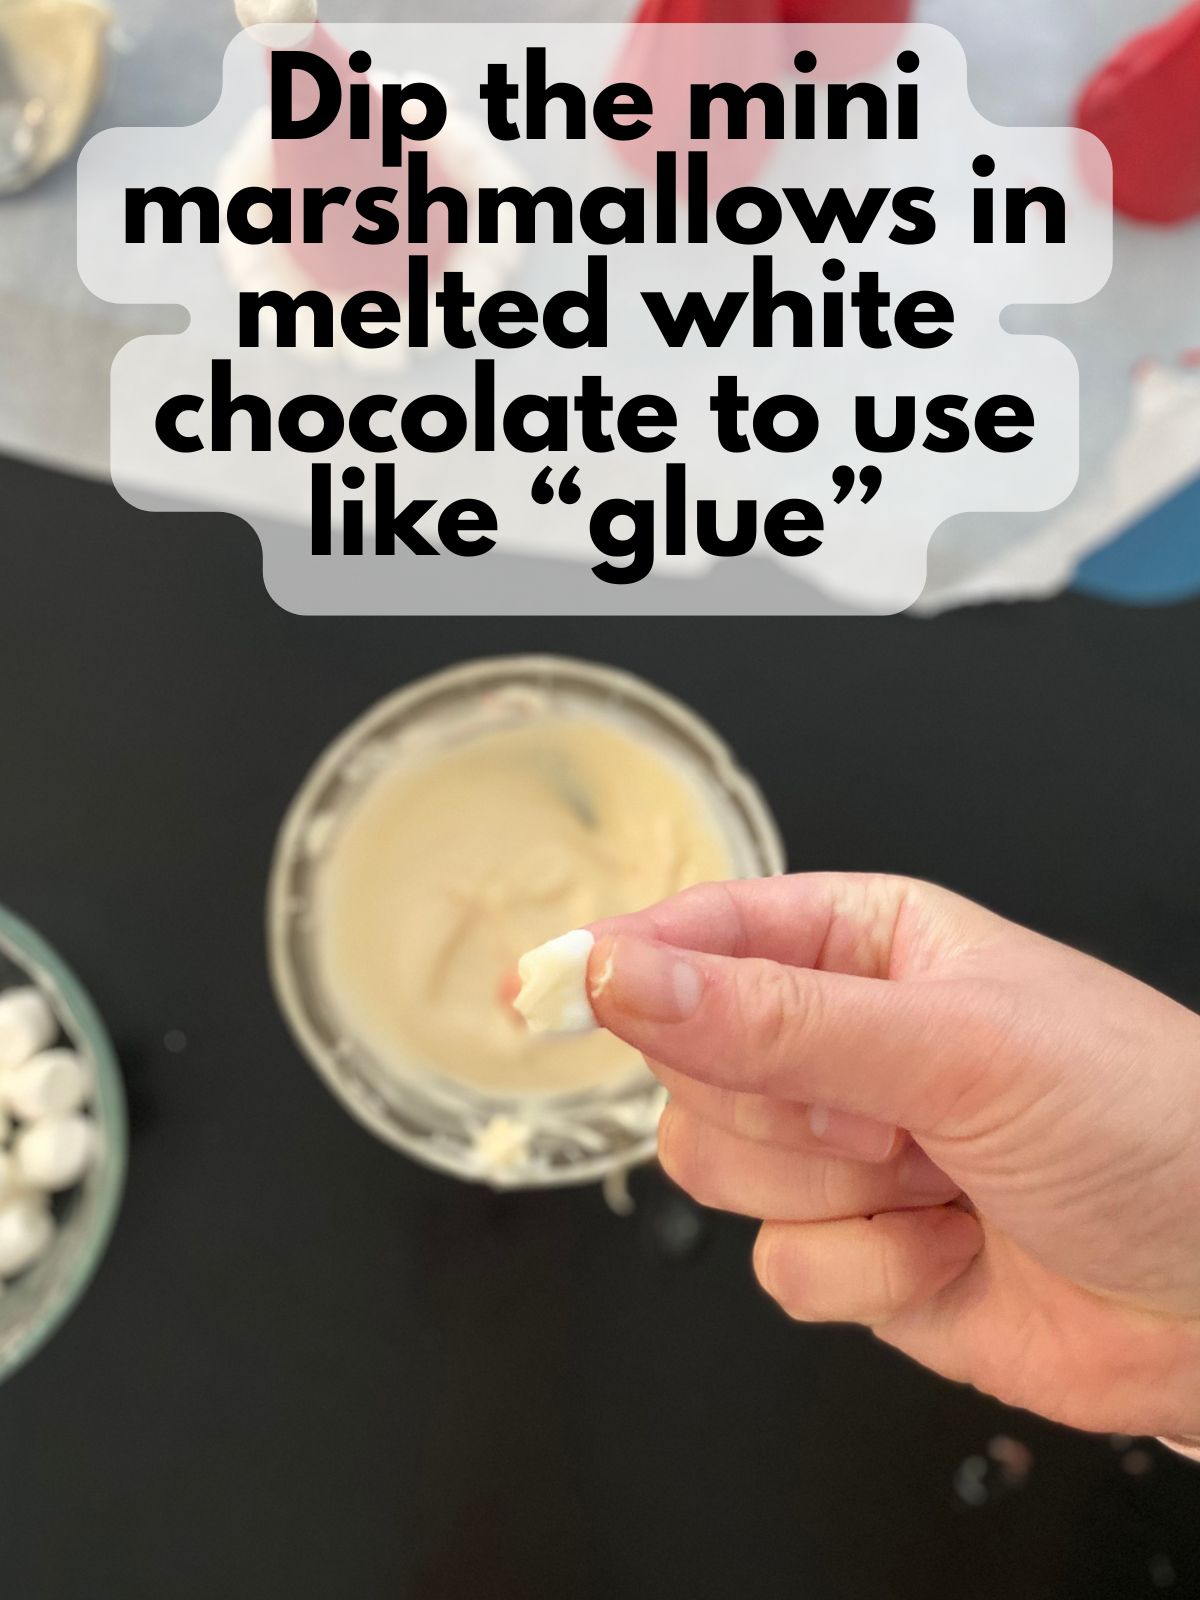
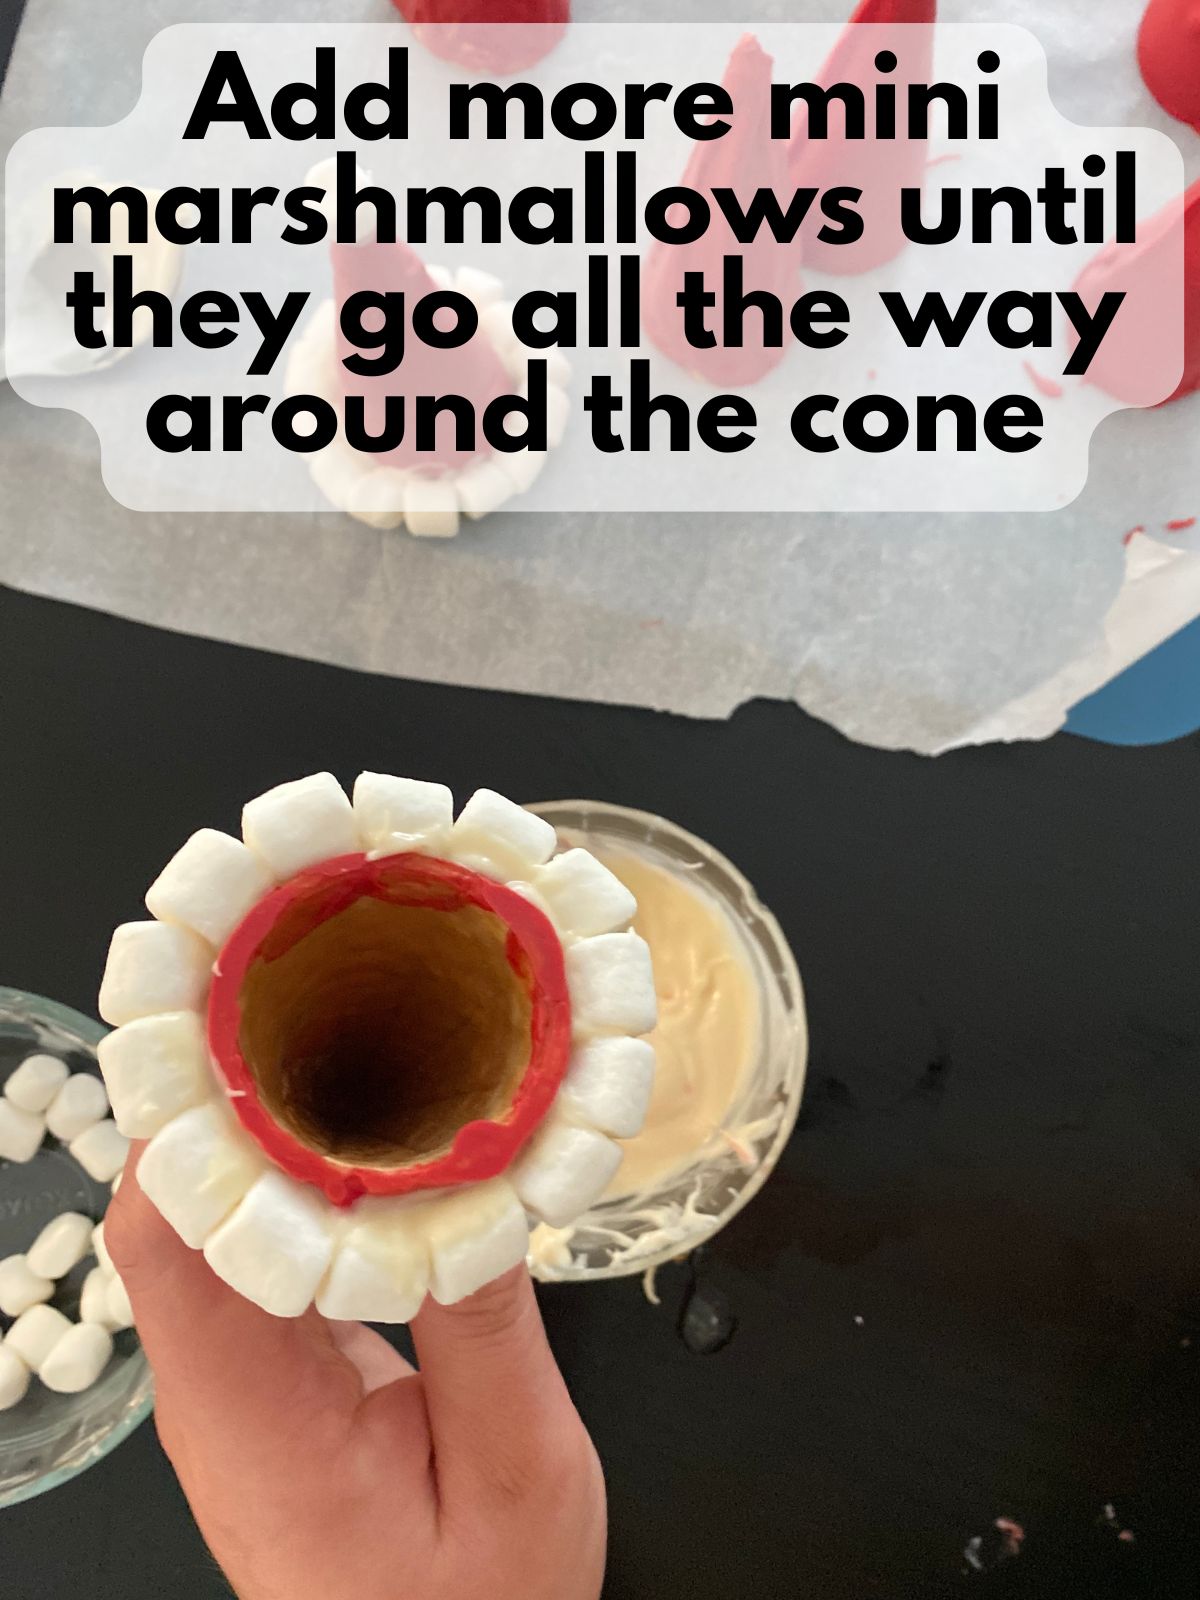
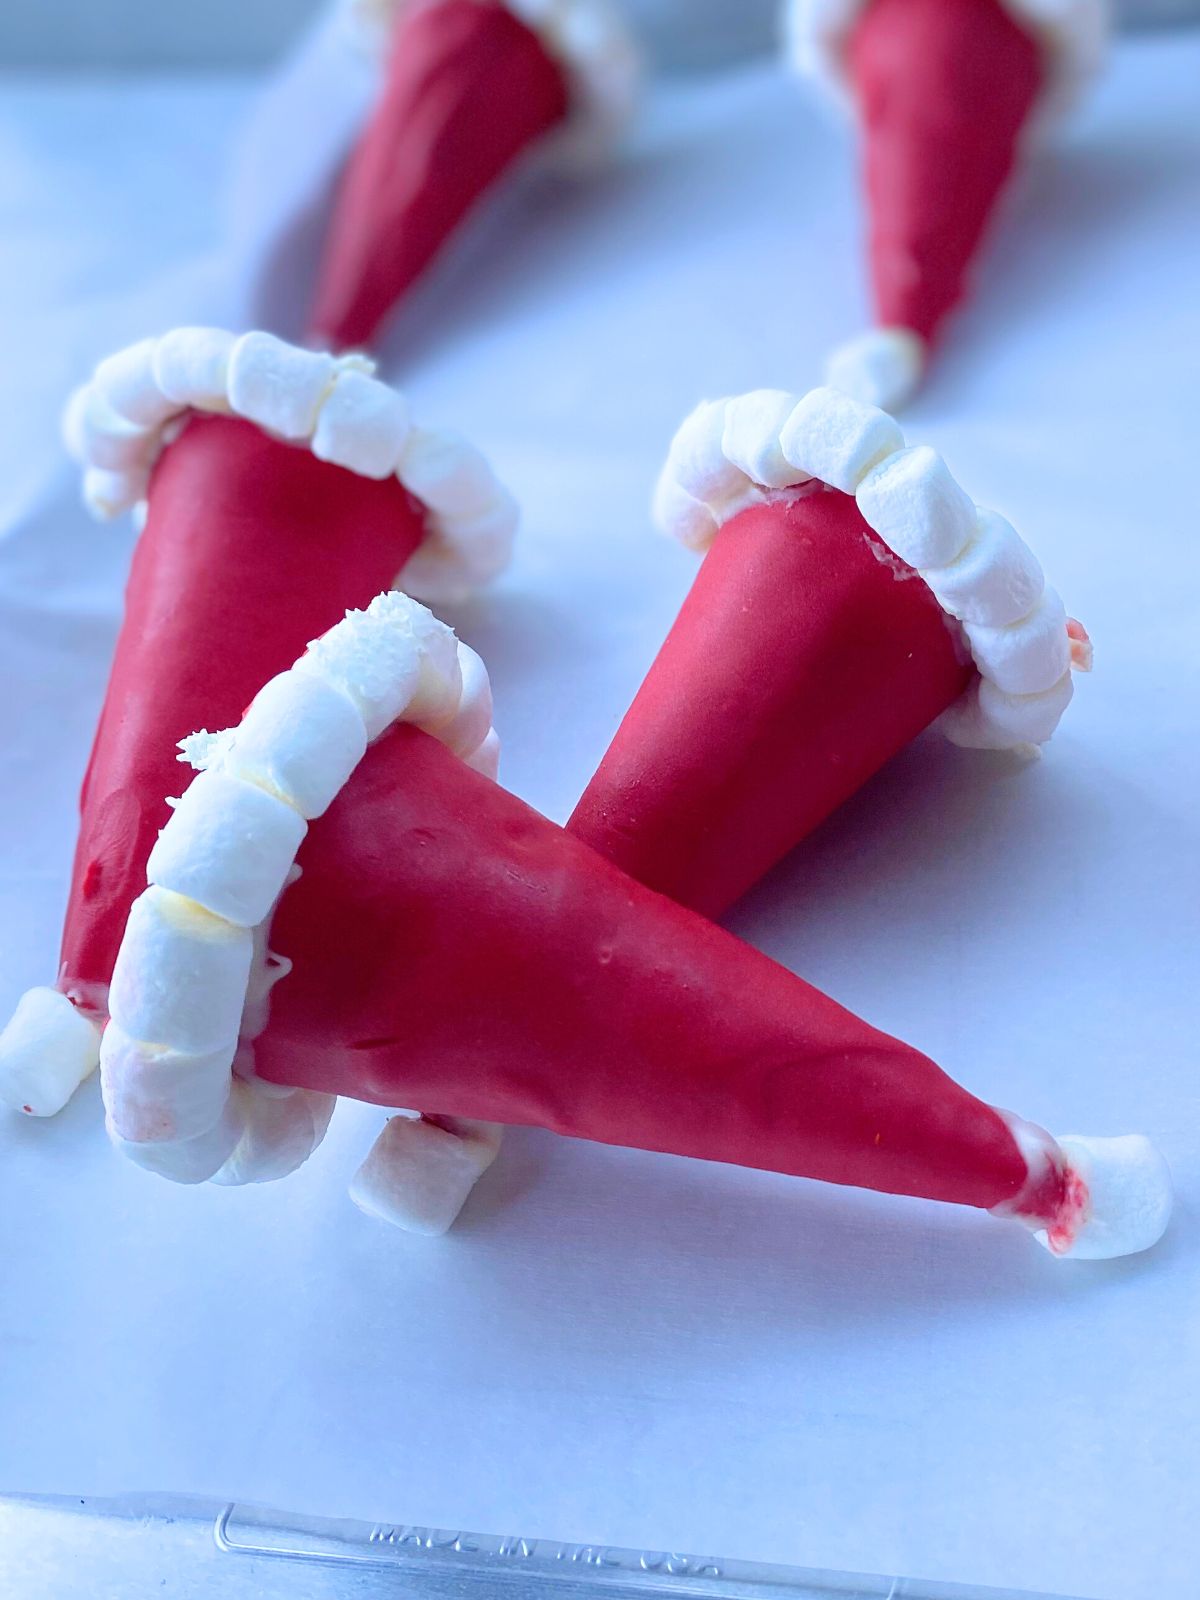
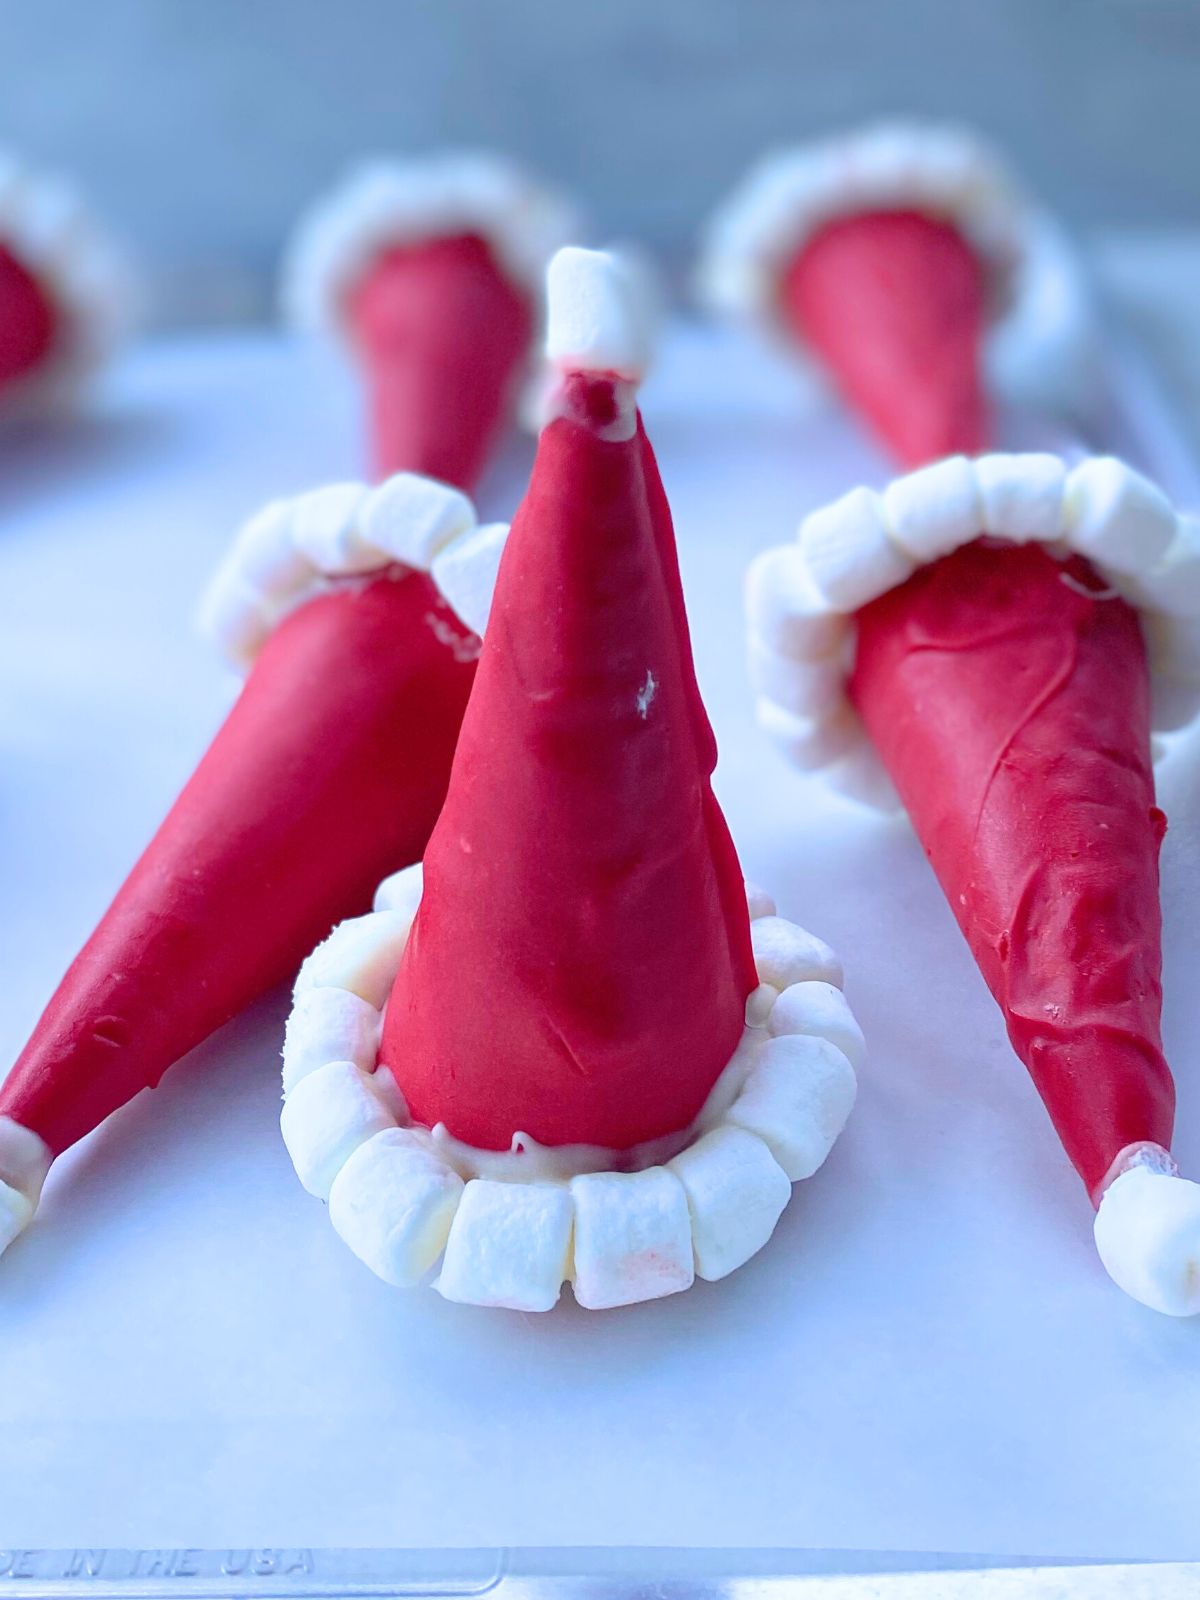
3. Add the marshmallow “trim”
Dip the mini marshmallows in the melted white chocolate and press them around the rim of each cone to form the white “fur” of Santa’s hat.
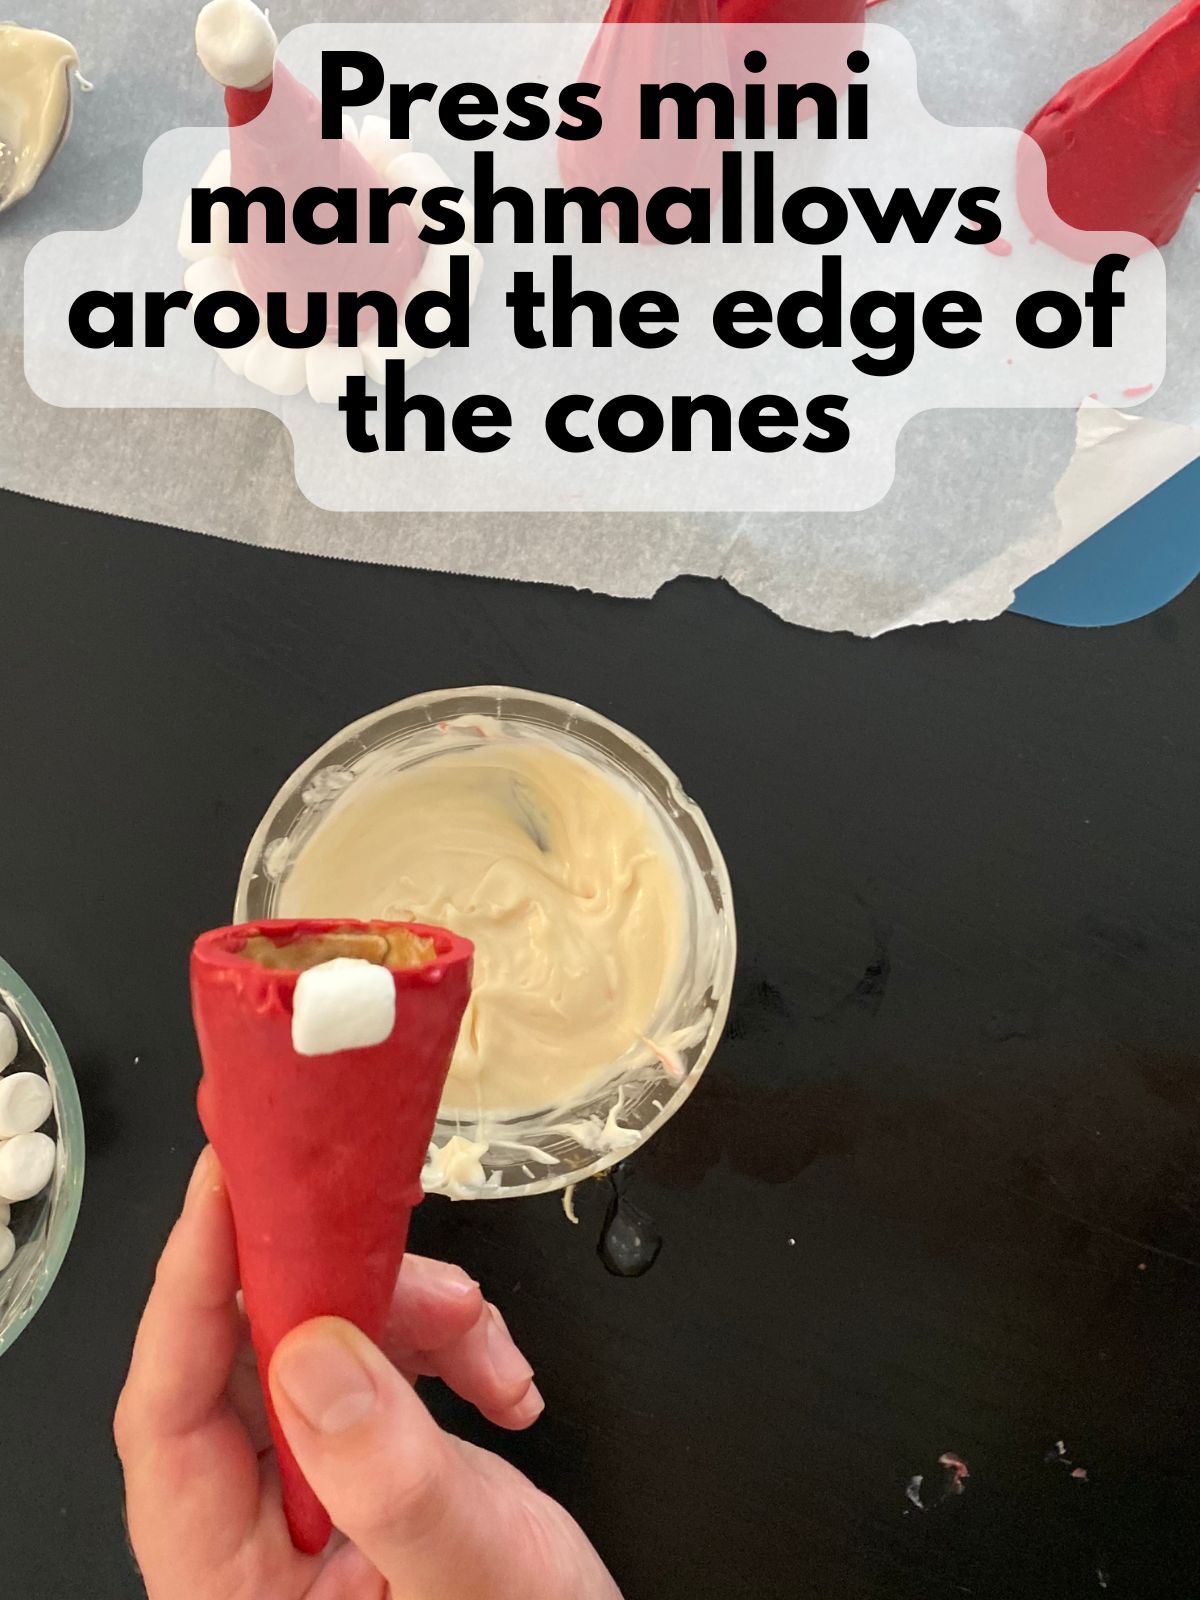
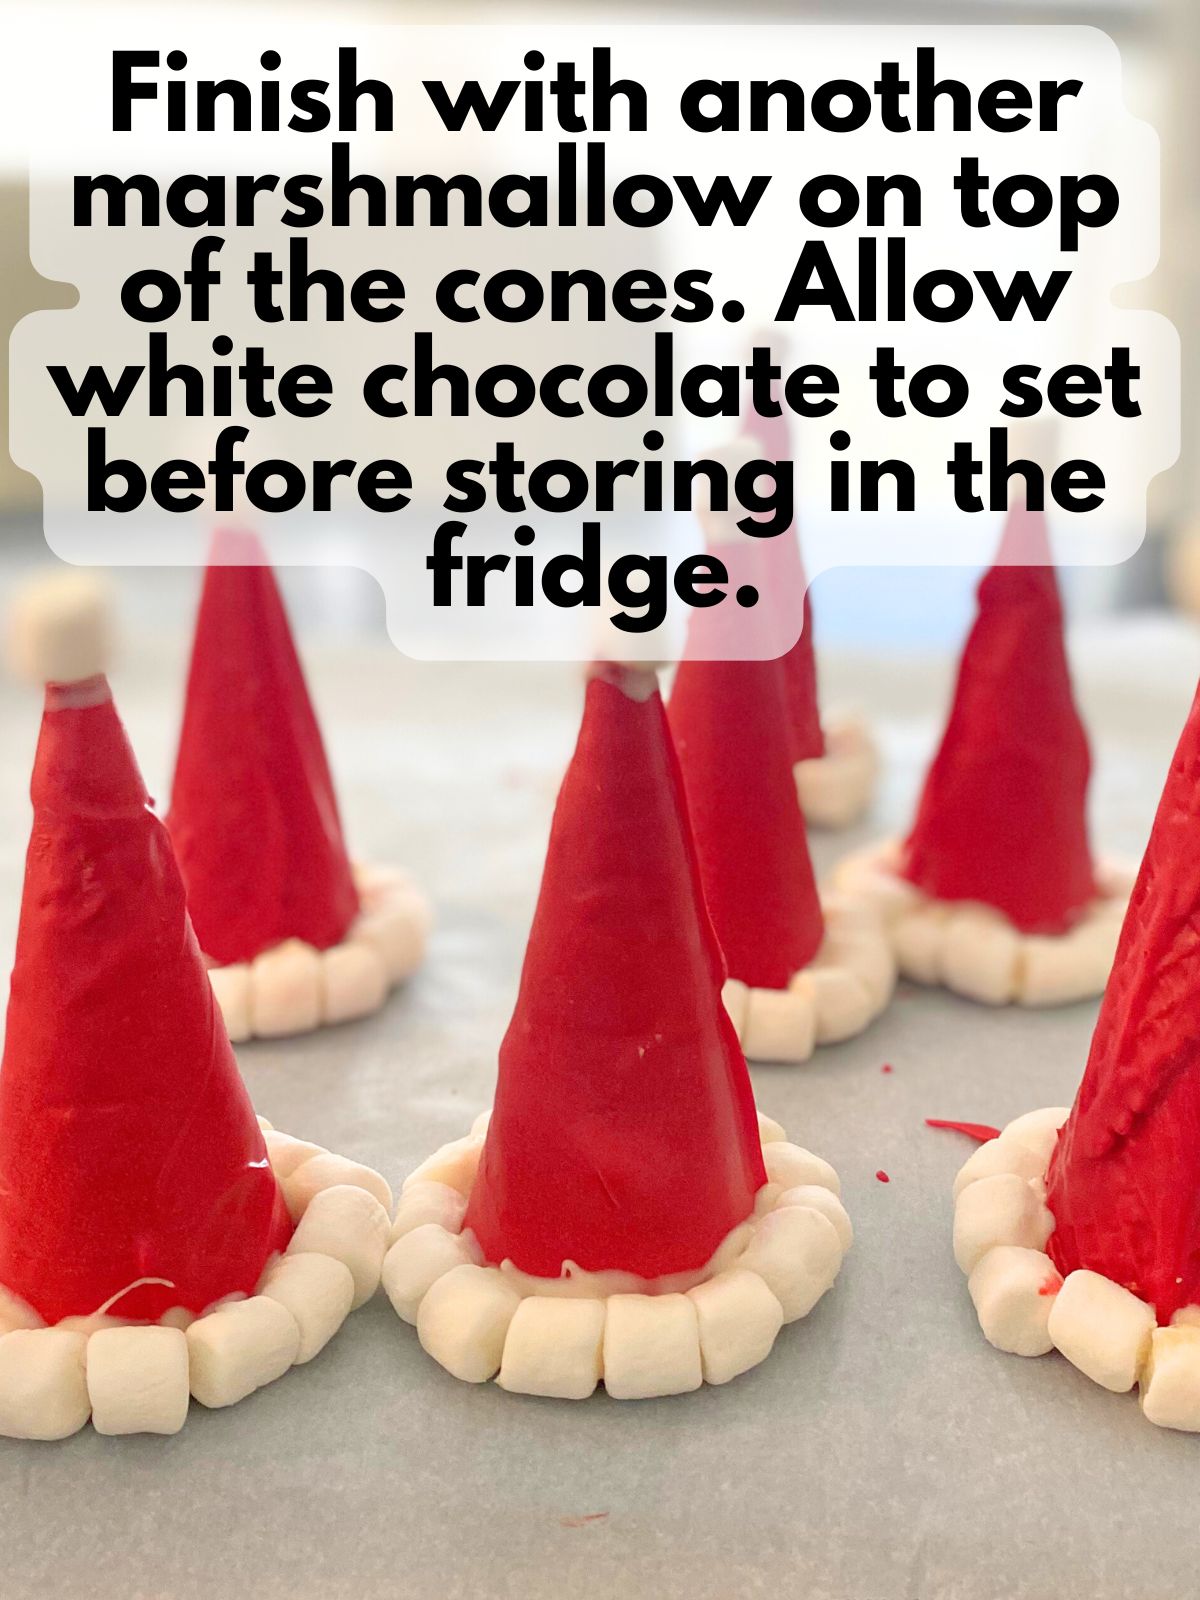
4. Add the top marshmallow
Place one marshmallow on the tip of each cone using more melted white chocolate like glue. This creates the fluffy pom-pom at the top of the hat.
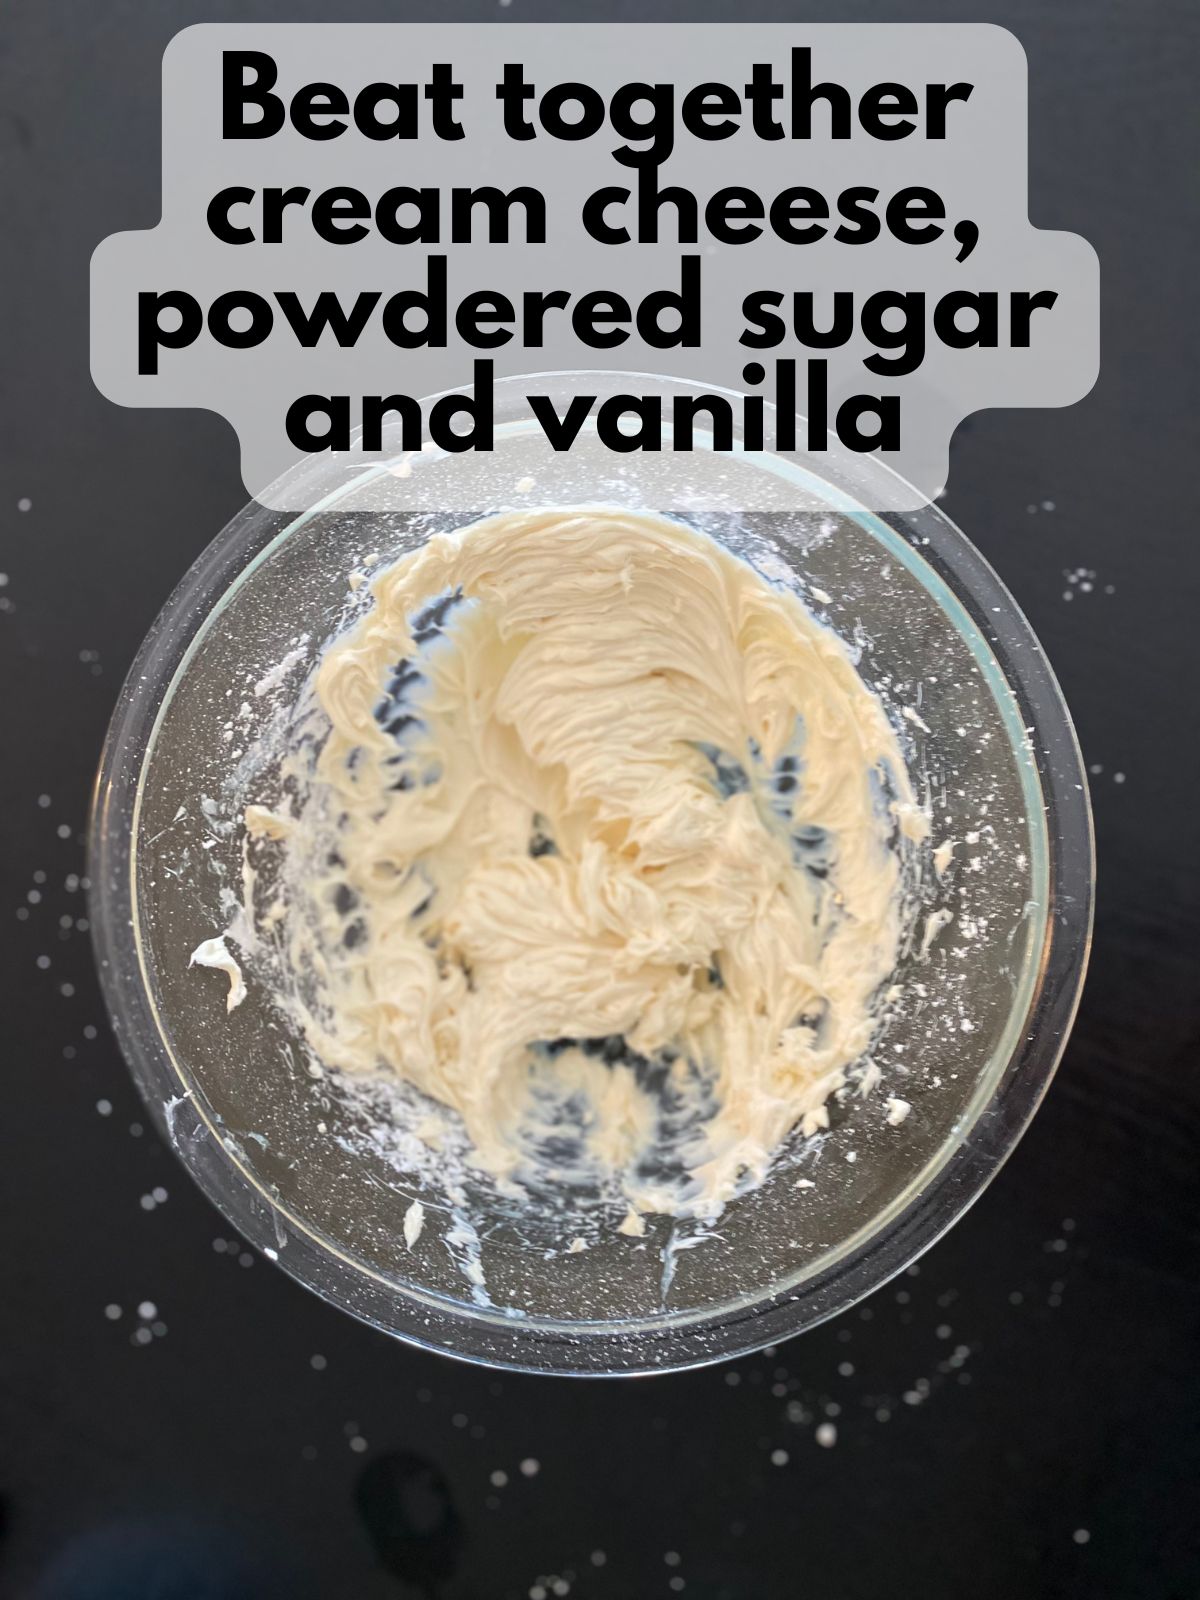
5. Make the cheesecake filling
In a medium bowl, beat together the cream cheese, powdered sugar, and vanilla until smooth.
Beat the heavy whipping cream until stiff peaks form.
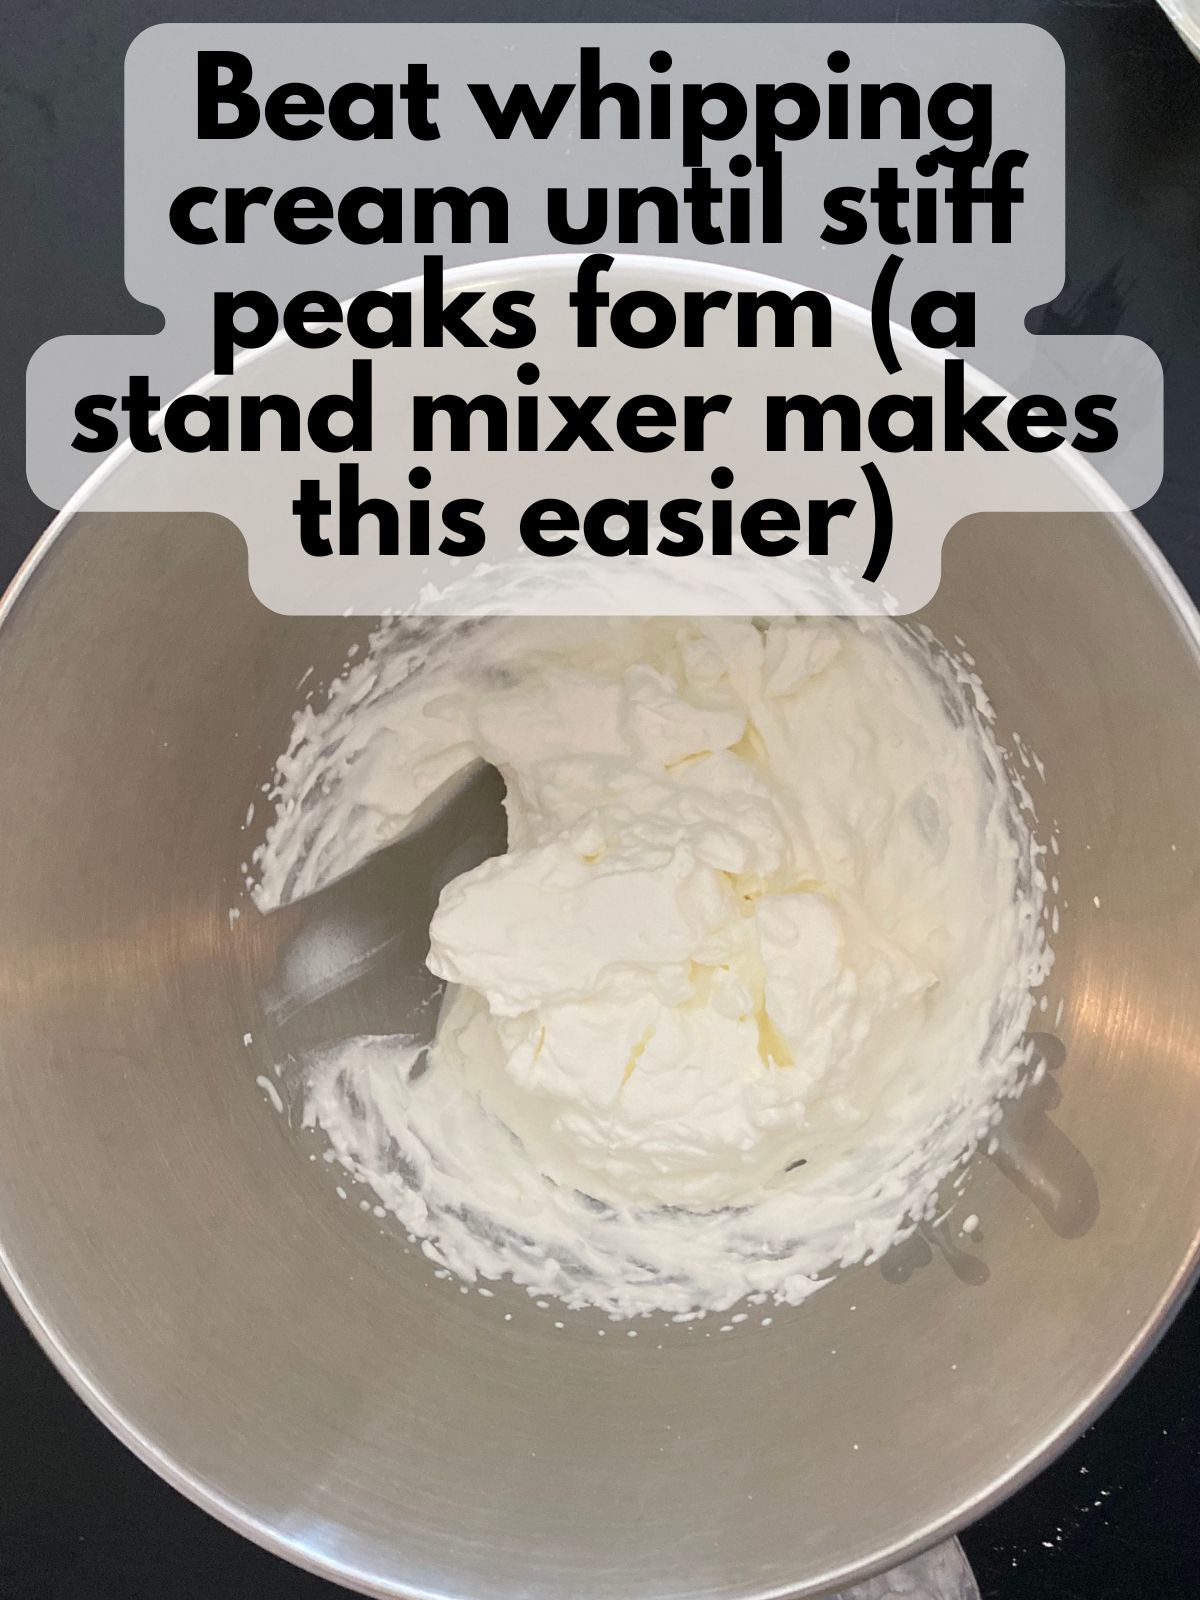
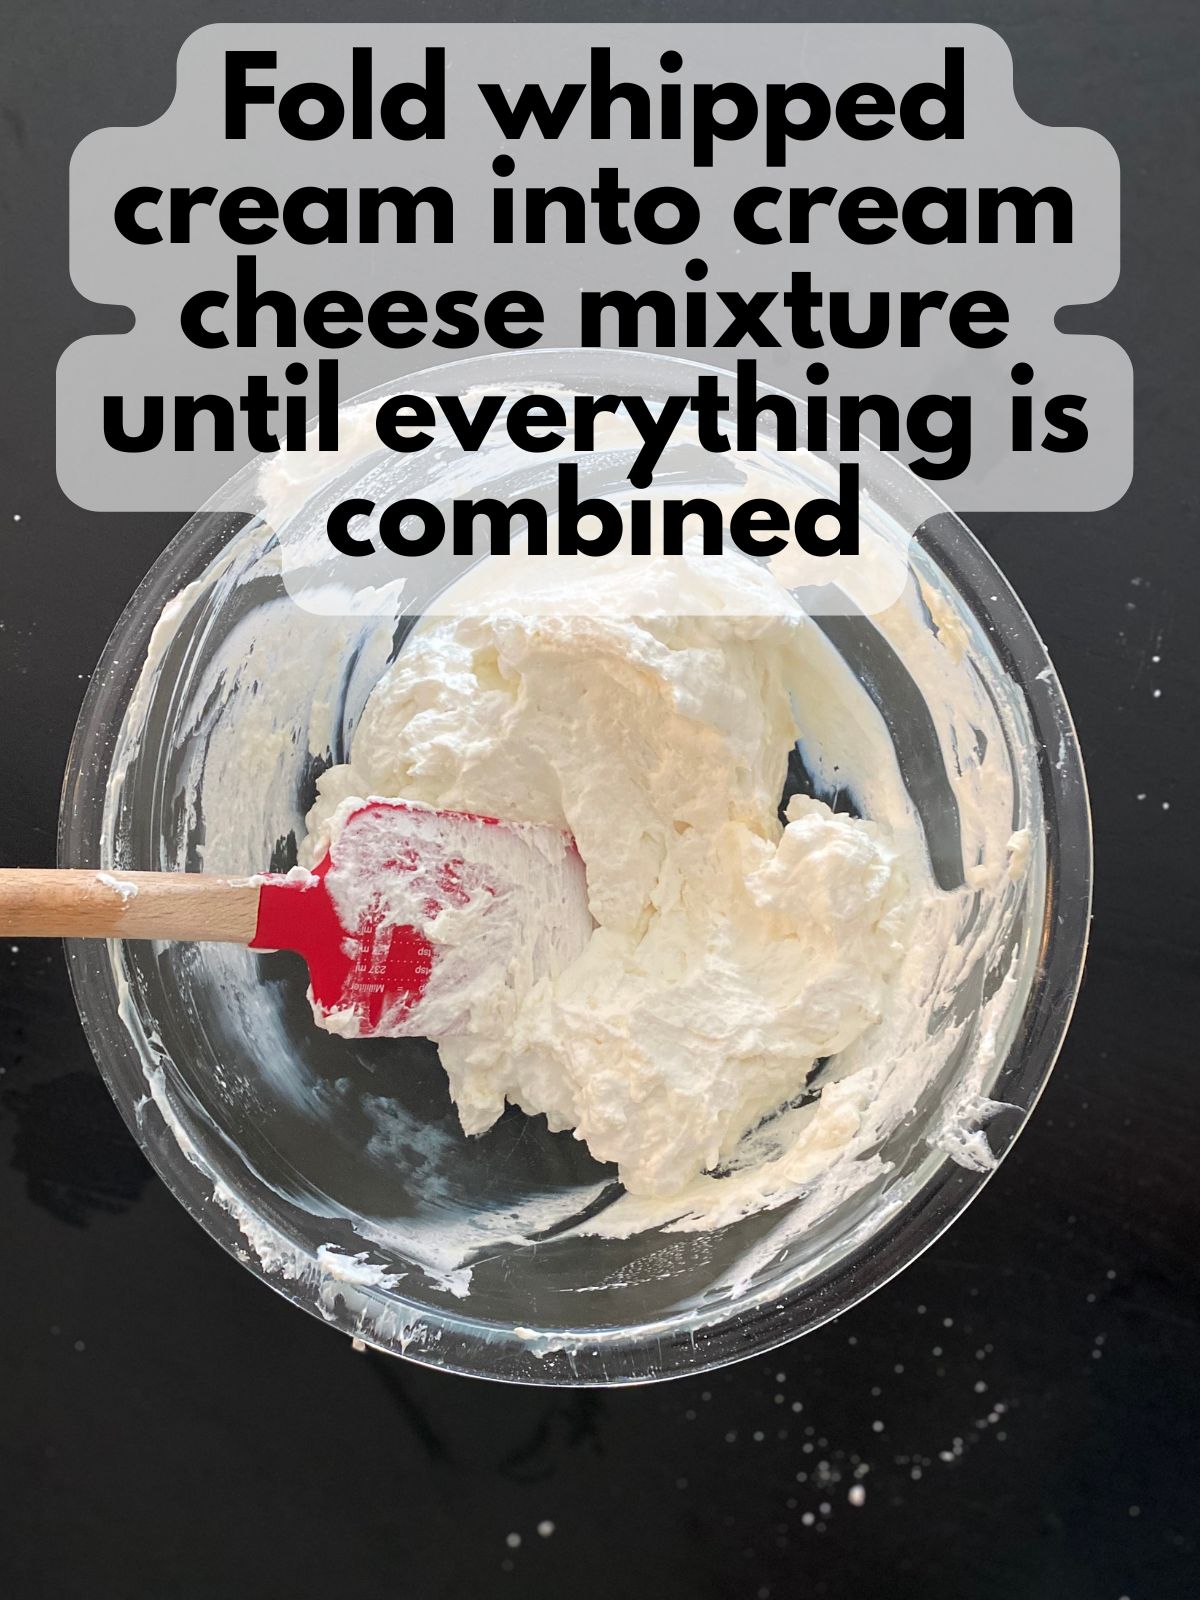
Gently fold in the whipped cream into the cream cheese mixture until combined.
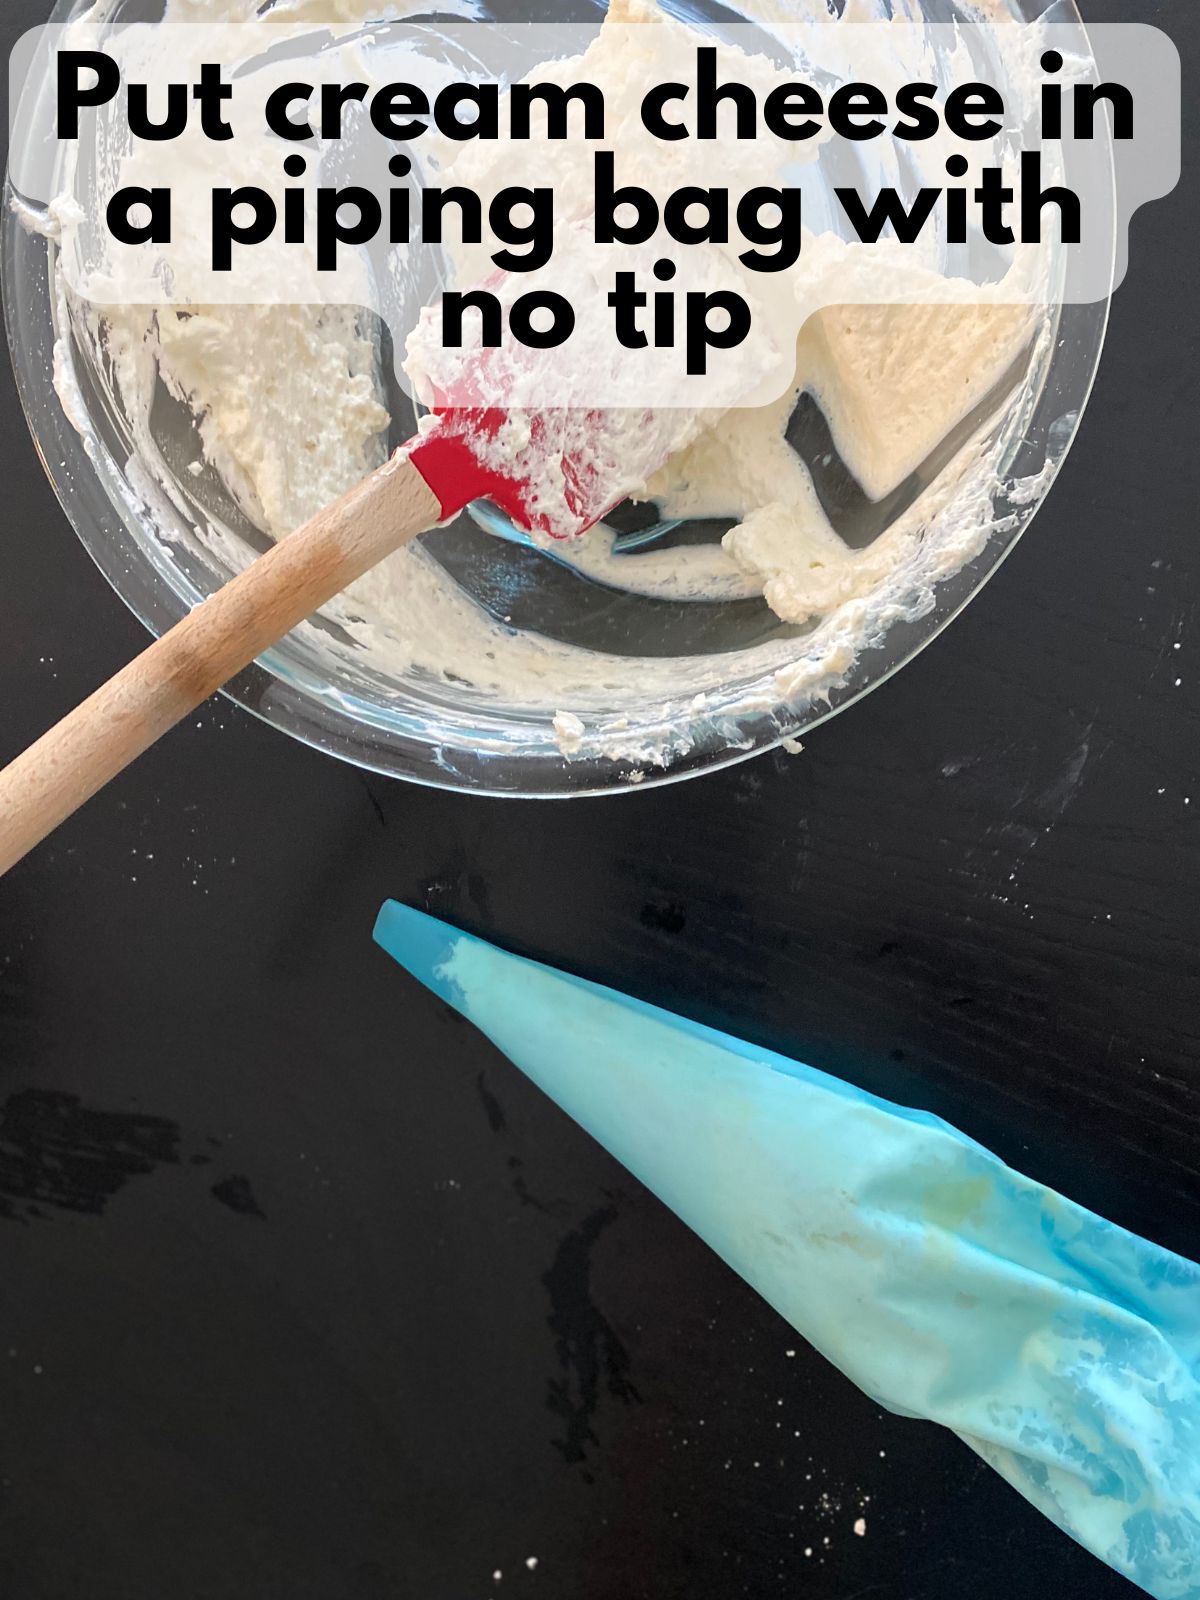
Put cheesecake filling in a piping bag with no tip to make filling the cones easy
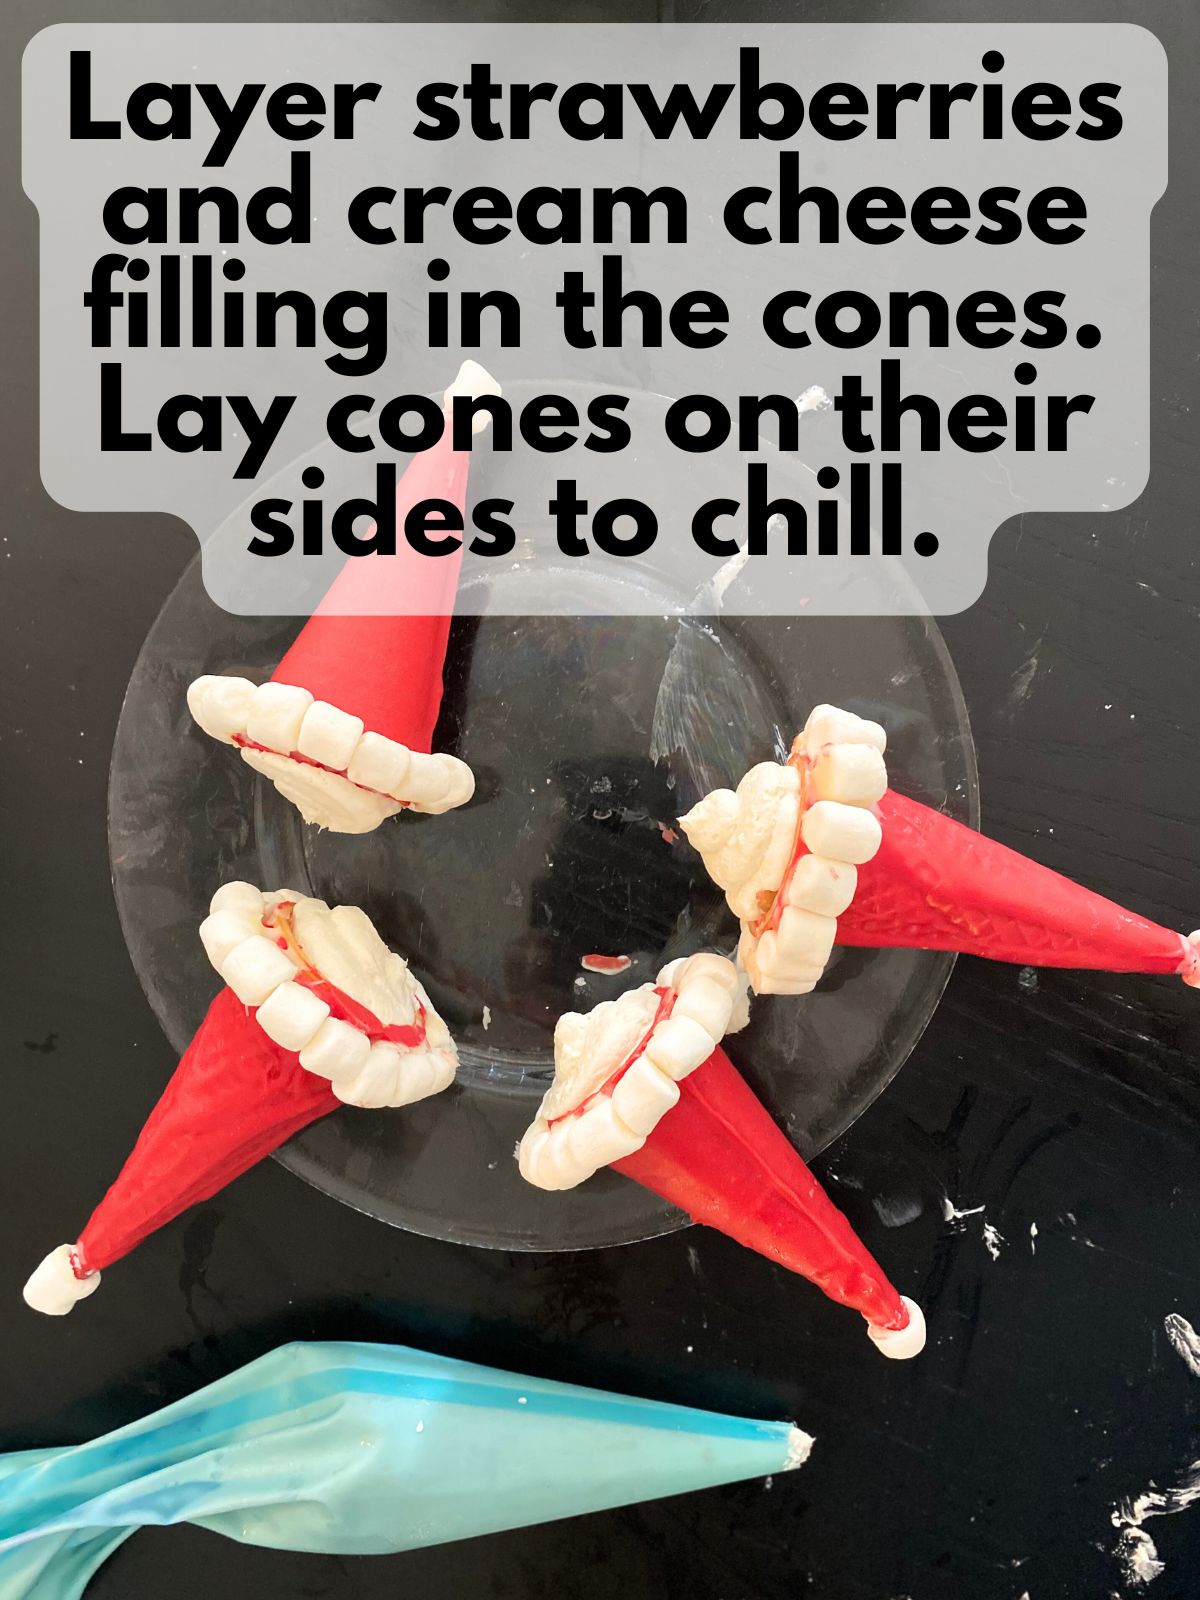
6. Assemble the cones
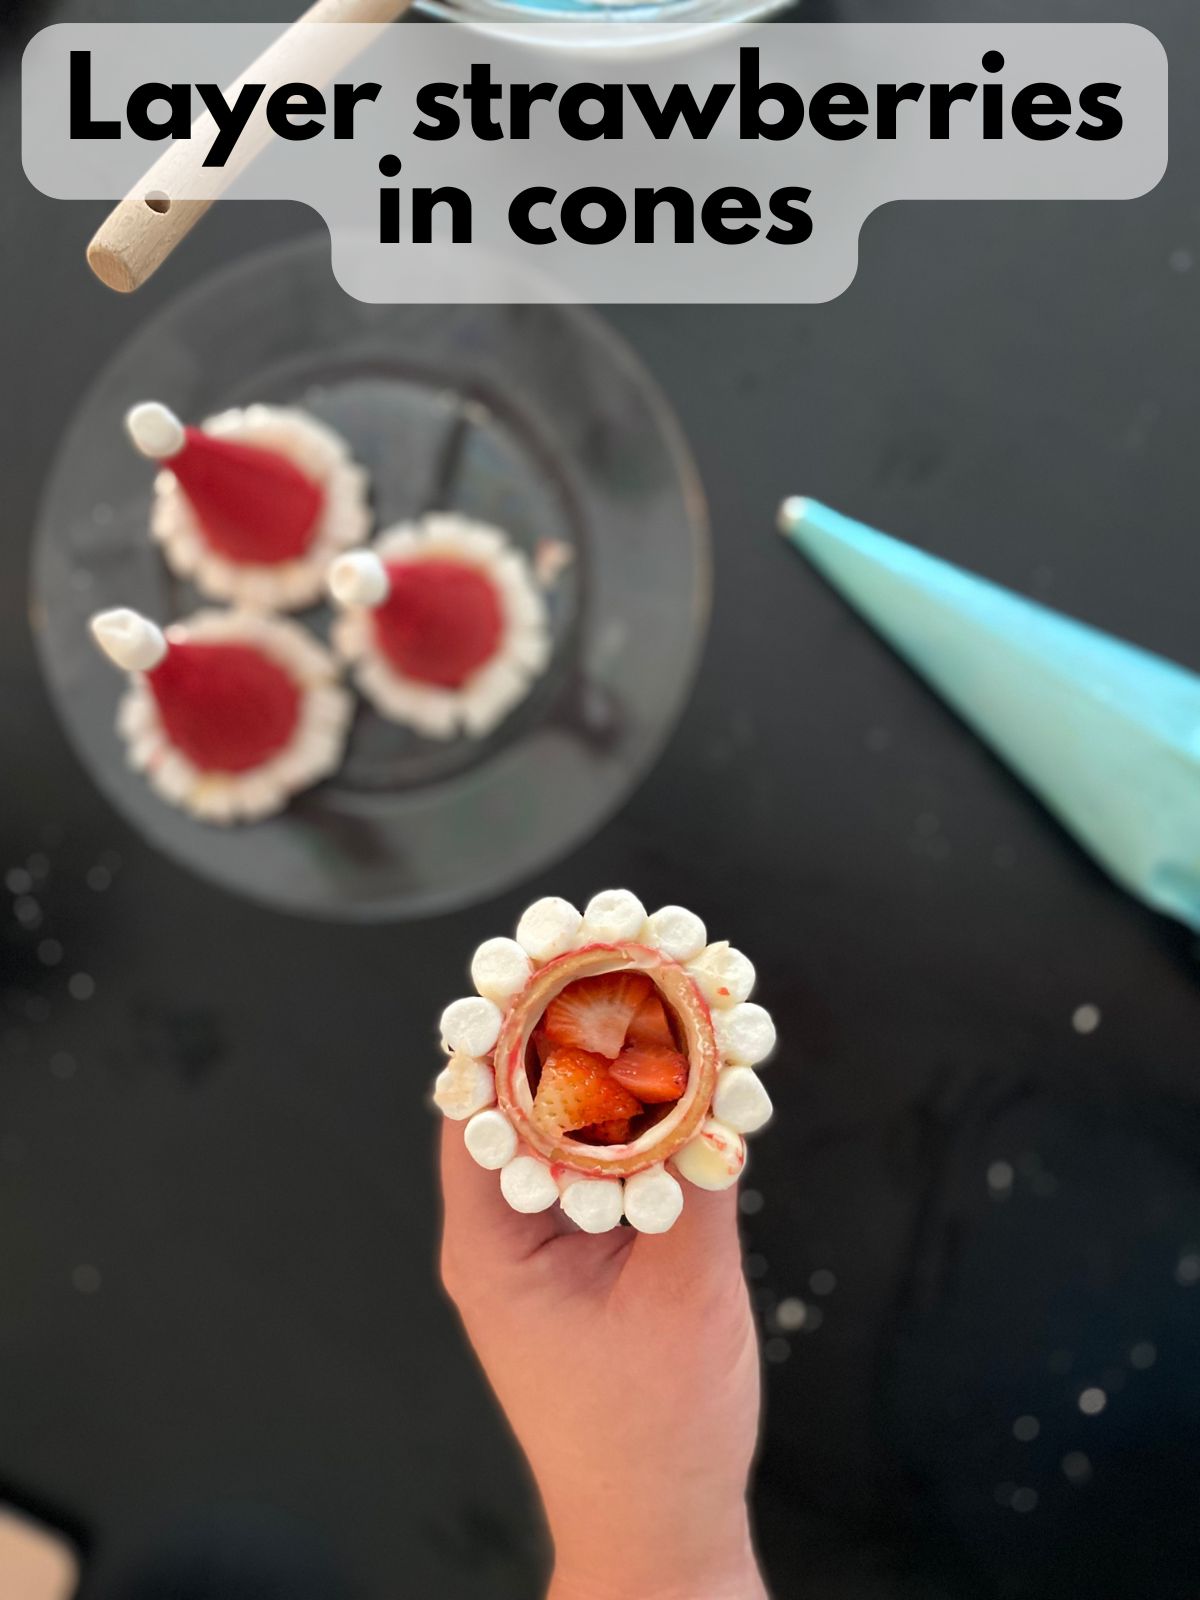
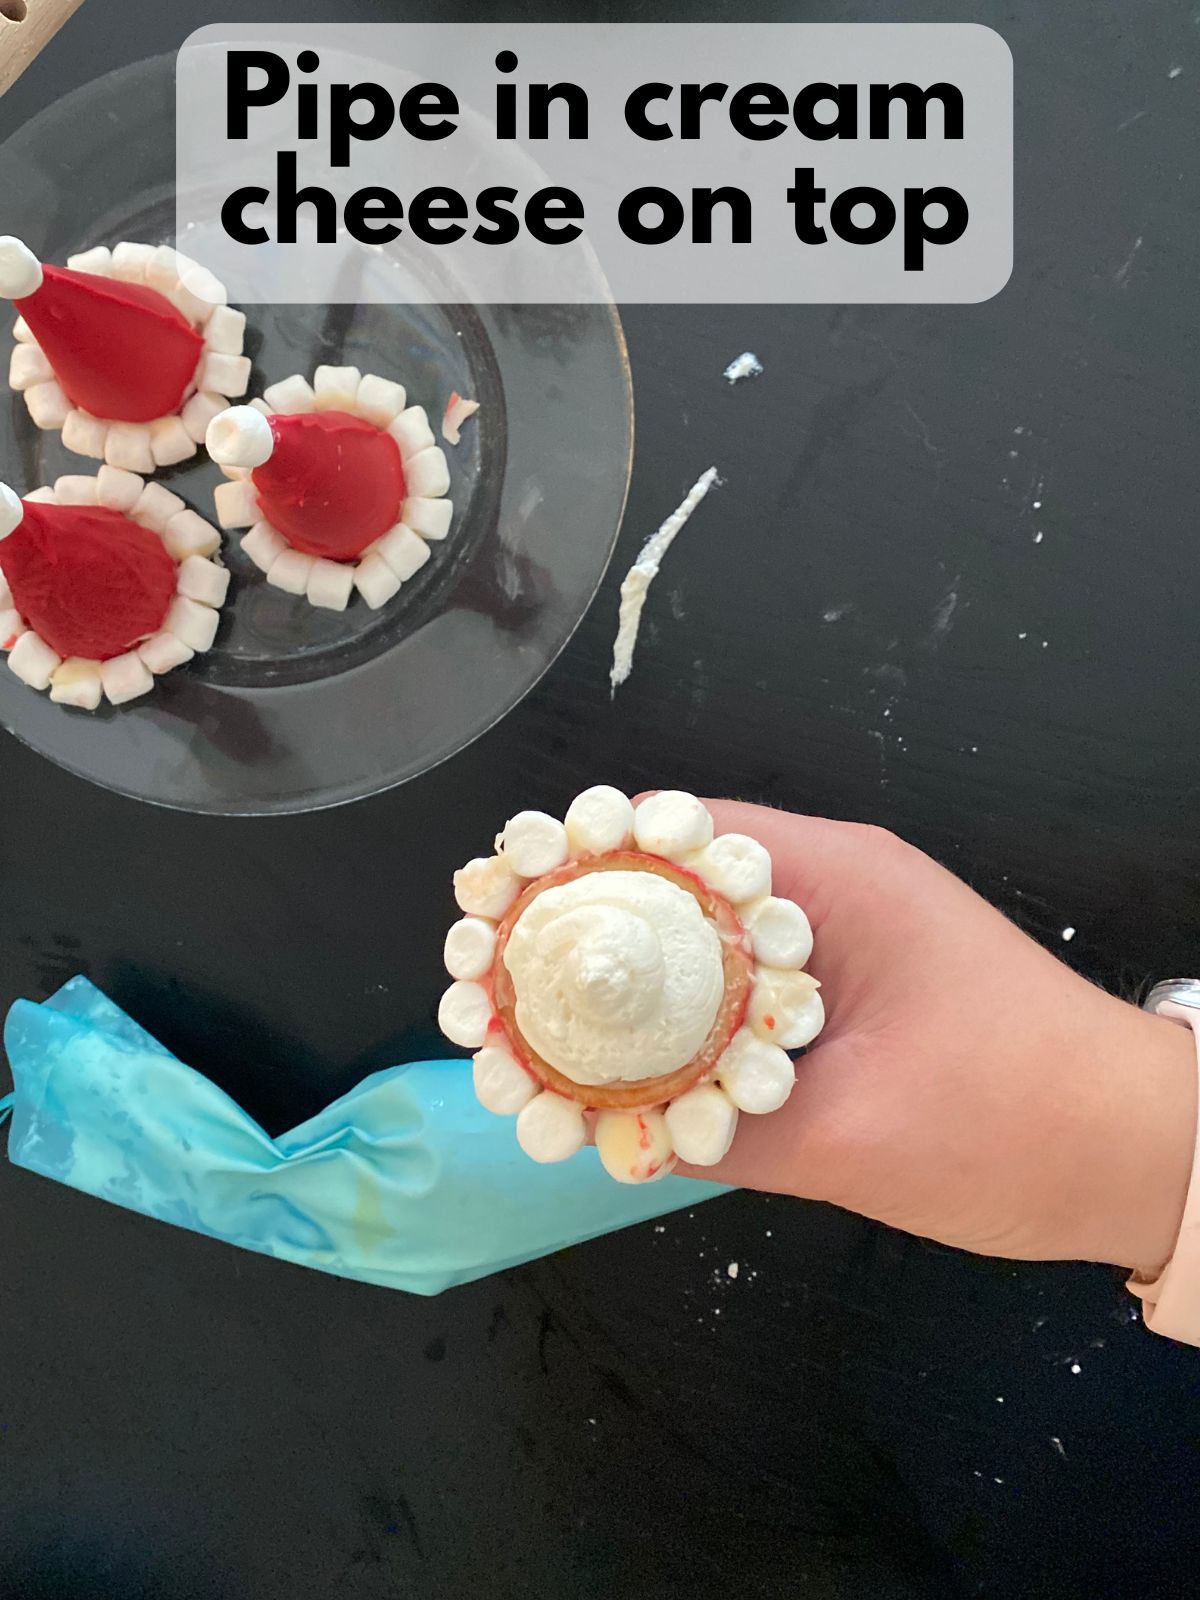
Spoon or pipe the cheesecake filling into each cooled cone with some chopped strawberries. You can make as many layers as you want. You can also mix the strawberries in with the cheesecake filling and just spoon everything into the cones.
7. Chill before serving
Refrigerate the cones (lay them gently on their side for best results) for at least 30 minutes before serving so the filling can set slightly.
Pro Tips for the Best Santa Hat Cheesecake Cones
- Keep everything cool. Candy melts do tend to… well… melt quite easily. If you plan on serving these at a party, I would recommend keeping them in the fridge until you’re absolutely ready to serve.
- If you’re prepping ahead, fill the cones right before serving to keep them crisp. You can make the cones a day or two in advance if you store them in the fridge.
- You can use mini sugar cones for bite-sized versions, which are so fun for dessert platters.
- Try a peppermint or white chocolate version by using different candy melt colors or flavored chips.
- Store leftover cones in the fridge for up to 2 days (though they’re best fresh).
FAQs
Can I use white chocolate instead of red melting candies?
Yes, you can definitely use white chocolate and add red food coloring. If using white chocolate chips, don’t skip the coconut oil (or you can use vegetable oil, too). If you microwave just white chocolate chips alone, they’ll probably burn in your microwave rather than melt.
Can I make these ahead of time?
Yes! You can make the cones and cheesecake filling a day ahead. Just keep everything chilled and fill the cones day-of to prevent sogginess.
Do I need a mixer for the filling?
A hand mixer makes it faster and smoother, but you can also mix it by hand if the cream cheese is very soft.
Can I use Cool Whip instead of whipped cream?
Oh, definitely! I would say about one container of Cool Whip should be enough for this recipe, but maybe start small and sample the flavor as you keep adding more.
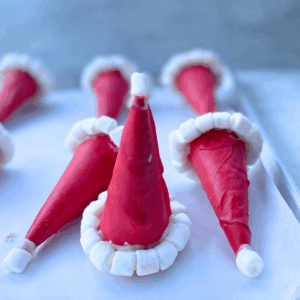
These Santa Hat Cheesecake Cones are everything I love about easy Christmas desserts! There’s no baking and they’re super cute! Whether you’re making them with kids or for a grown-up dessert table, these cones are guaranteed to be the cutest fun Christmas dessert of the season.
Santa Hat Cheesecake Cones
Ingredients
For the Santa Hat Cones
- 8-10 ice cream cones Any type works! Try to get one that is cone-shaped and will sit flat like a cone for easier decorating
- 1 cup red candy melts like Wilton, or I usually get mine at Michael's
- 1/4 cup white candy melts
- 1-2 Tbsp coconut oil to make the melting candies easier to work with
- 1-2 cups mini marshmallows
For the Cheesecake Filling
- 8 oz cream cheese softened
- 1/4 cup powdered sugar
- 1 tsp vanilla
- 1 cup heavy whipping cream
- 1 cup chopped strawberries approximately
Instructions
Prepare the Cones
- Melt your red candy melts according to the package directions with some coconut oil. Really mix in the coconut oil until everything’s smooth. The coconut oil helps make the candy melts easier to work with.
- Dip each cone into the melted candy, coating it completely. Let any excess drip off, then place on parchment paper to set.
- Allow the red candy to set fully before moving on.
- Melt your white chocolate candy melts according to the package directions and add some coconut oil Stir until smooth. This will be the "glue" to stick on your marshmallows.
- Dip the mini marshmallows in the melted white chocolate and press them around the rim of each cone to form the white “fur” of Santa’s hat.
- Place one marshmallow on the tip of each cone using more melted white chocolate like glue. This creates the fluffy pom-pom at the top of the hat.
- Allow to set before adding the filling. You can transfer the hats to the fridge so they set faster.
Make the Cheesecake Filling
- In a medium bowl, beat together the cream cheese, powdered sugar, and vanilla until smooth.
- Beat the heavy whipping cream until stiff peaks form.
- Gently fold in the whipped cream into the cream cheese mixture until combined.
- Put cheesecake filling in a piping bag with no tip to make filling the cones easy.
Assemble
- Spoon or pipe the cheesecake filling into each cooled cone with some chopped strawberries. You can make as many layers as you want. You can also mix the strawberries in with the cheesecake filling and just spoon everything into the cones.
- Refrigerate the cones (lay them gently on their side for best results) for at least 30 minutes before serving so the filling can set slightly.