
If you’re looking for fun no bake desserts that take almost zero effort but feel extra special, these M&M Oreo Rice Krispie treats are about to be your new favorite. They’re made with brown butter for a rich, irresistible flavor, and packed with chopped Oreos and colorful M&Ms for the ultimate cookies-and-cream crunch. This is one of my favorite simple desserts when I need something delicious that I can pull together in minutes, especially on busy weeknights or before a party.
These are truly fast easy desserts! Just one pot, one pan, no oven, and no fancy tools. They’re kid-friendly, crowd-pleasing, and taste even better the next day (if they last that long!).
Jump to Recipe

Ingredients for M&M Oreo Rice Krispie Treats
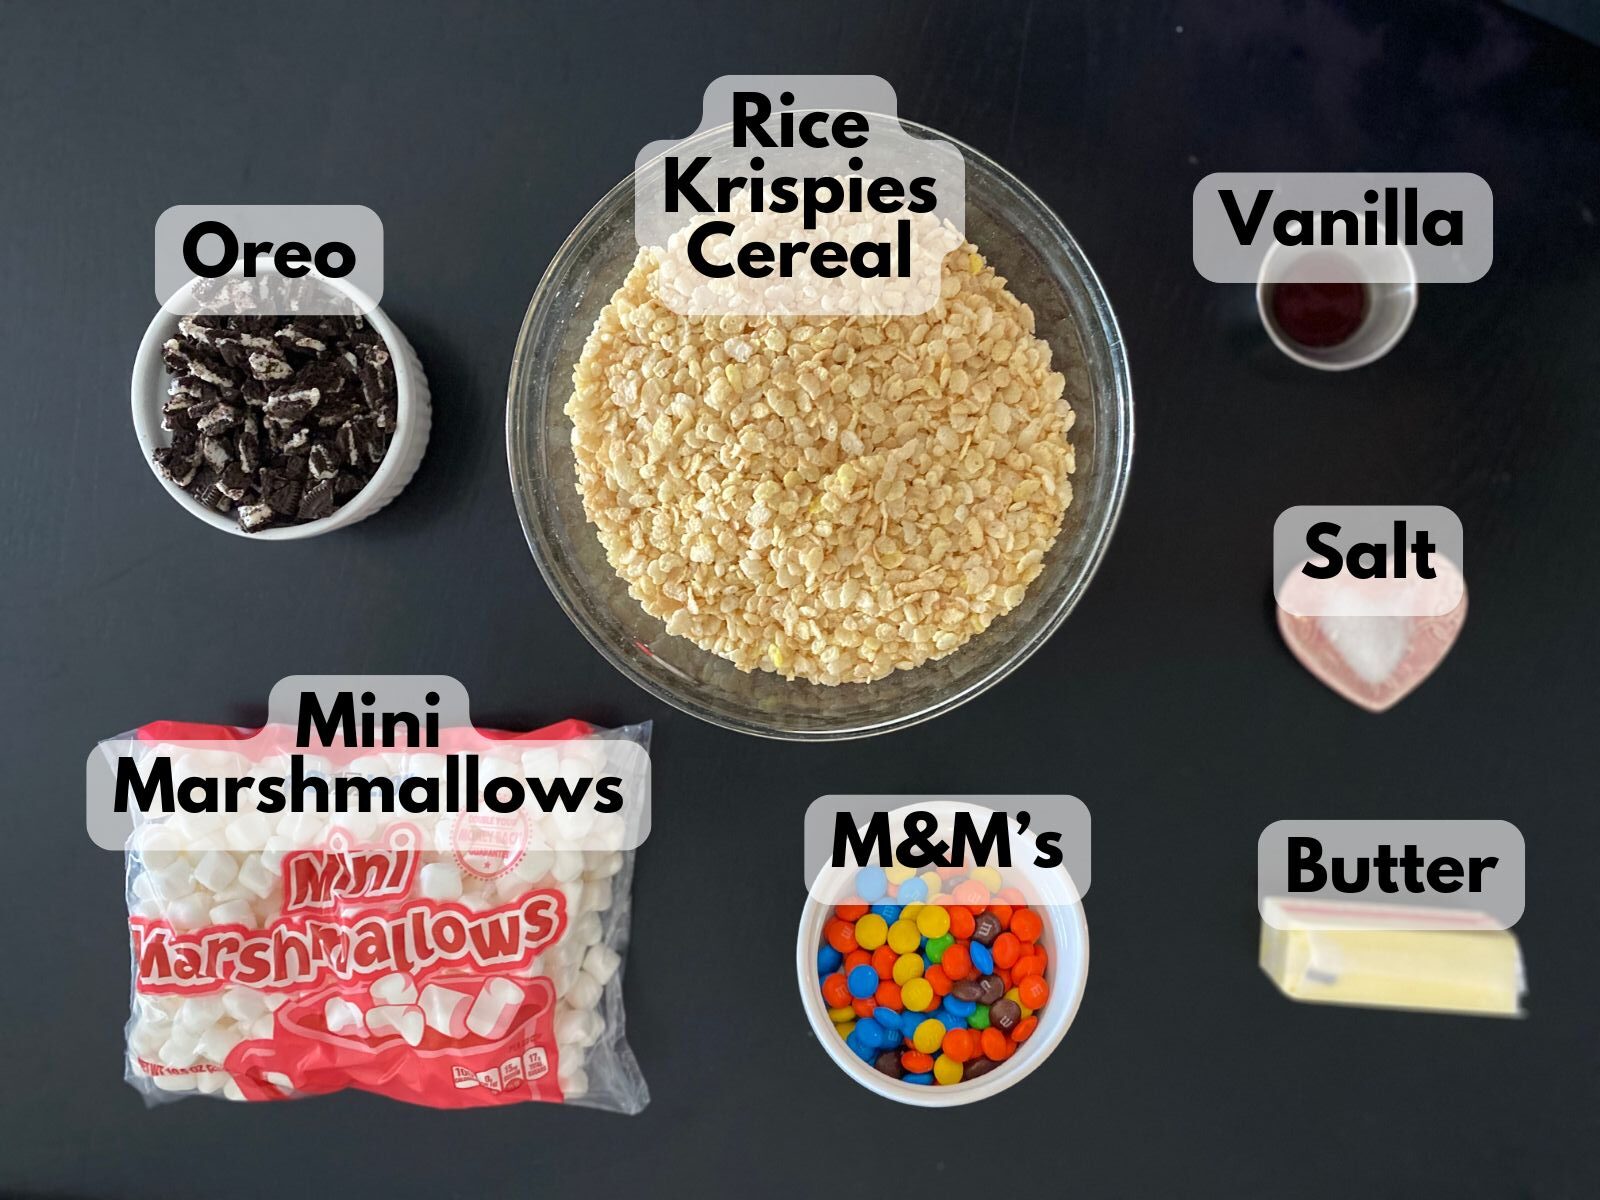
- 4 tablespoons unsalted butter
- 1 10 oz bag mini marshmallows
- 5 cups Rice Krispies cereal
- 6 Oreos, roughly chopped (about 1/2 cup pieces)
- 3/4 cup M&Ms (Plus a few extra to press on top)
- 1 teaspoon vanilla extract
- Pinch of salt (optional)
How to Make M&M Oreo Rice Krispie Treats
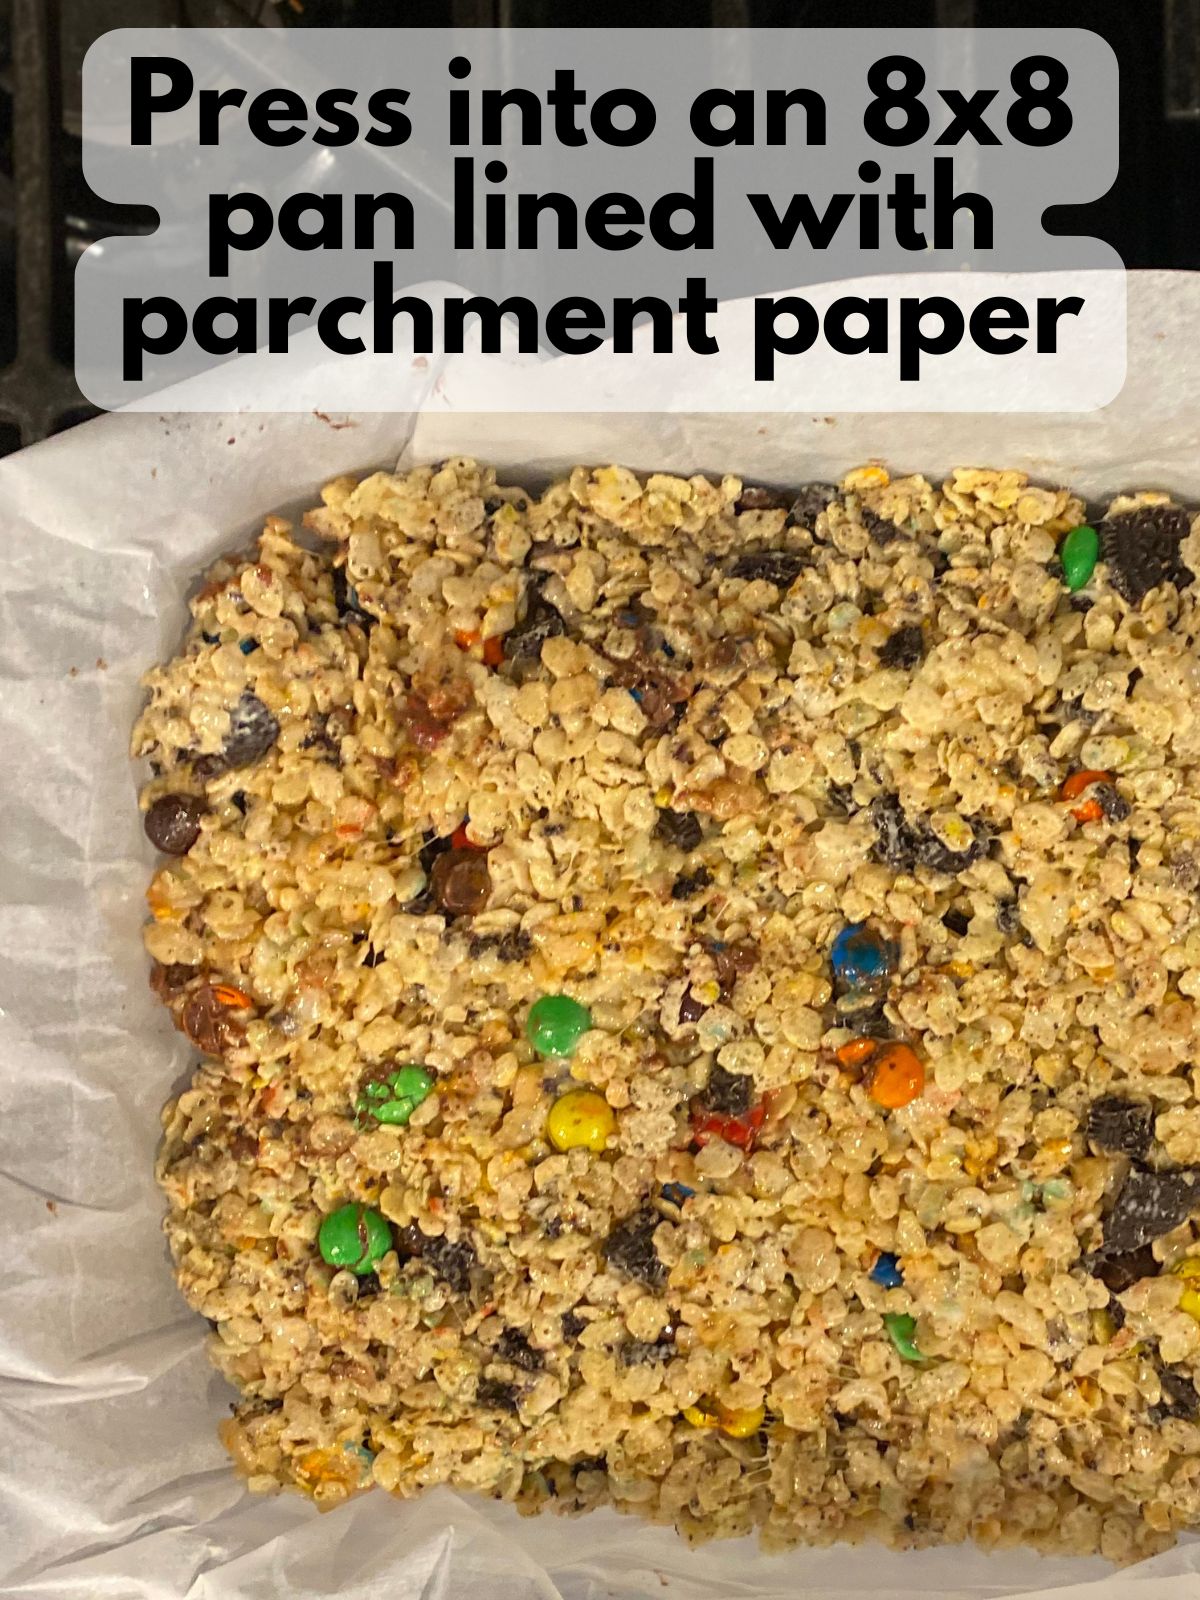
1. Prep the pan: Line an 8×8 in pan with parchment paper.
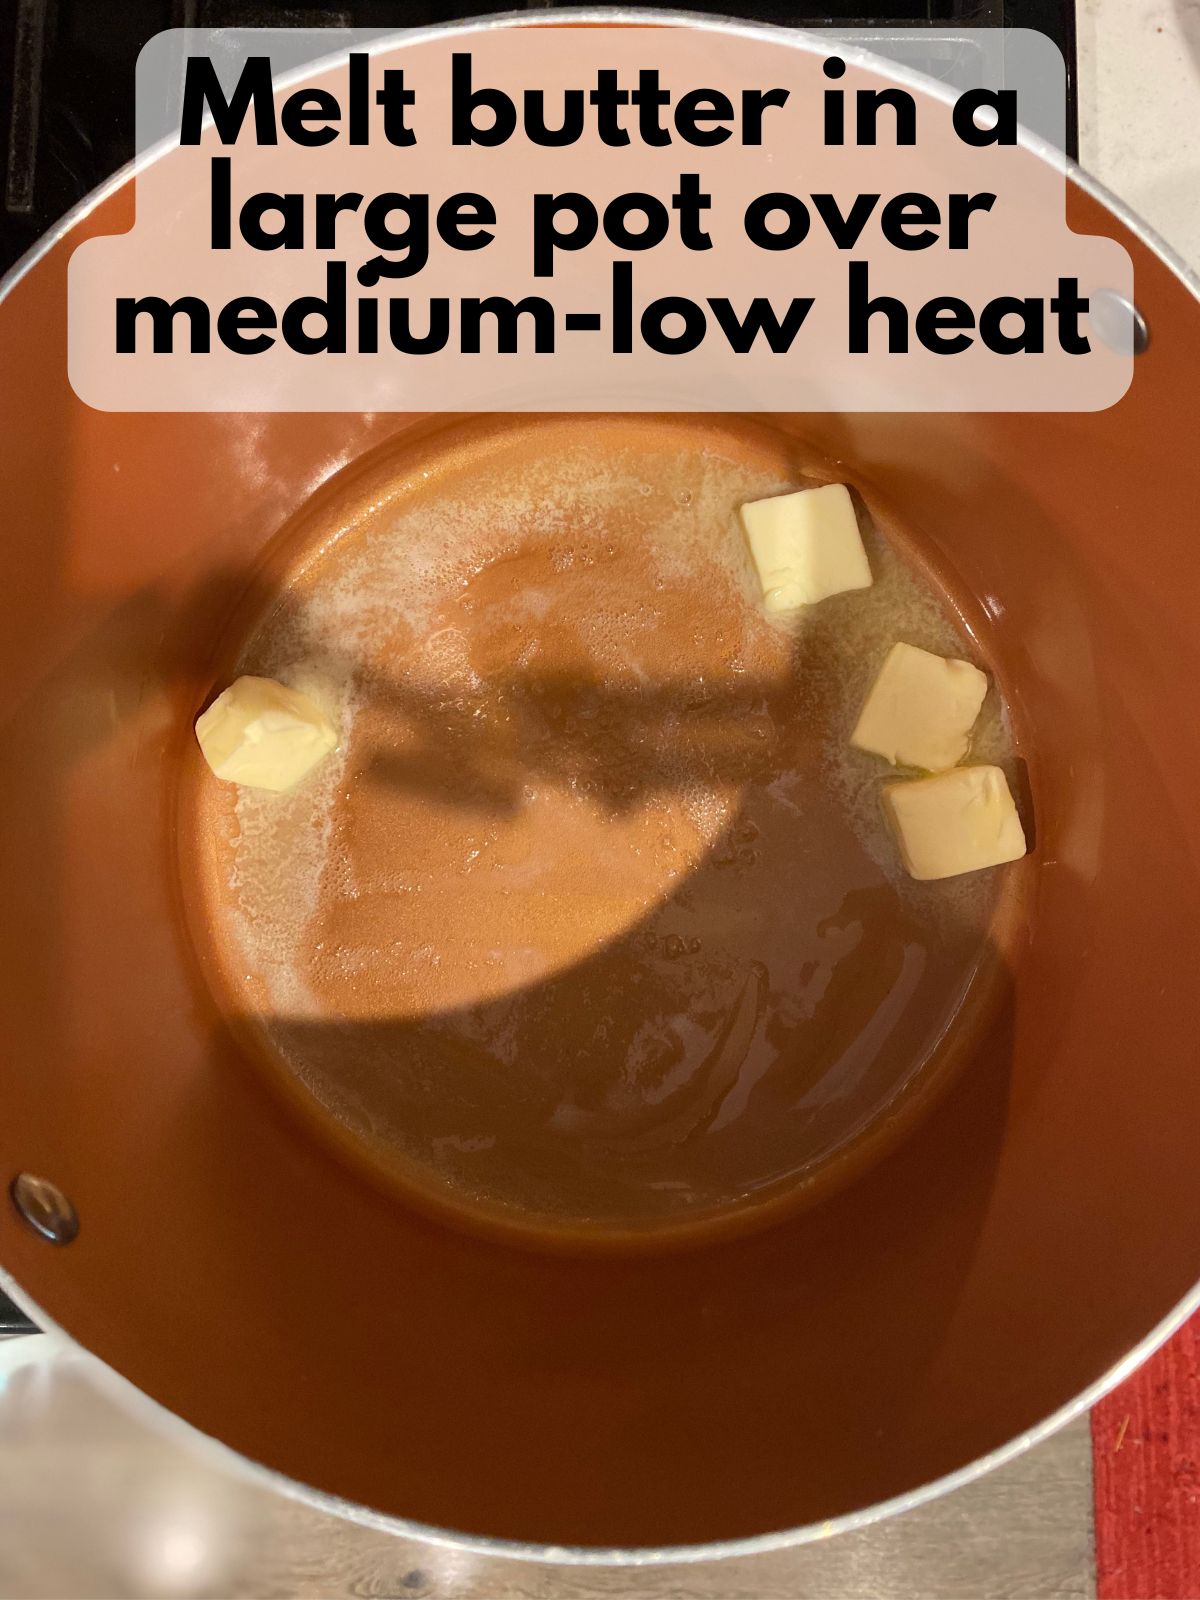
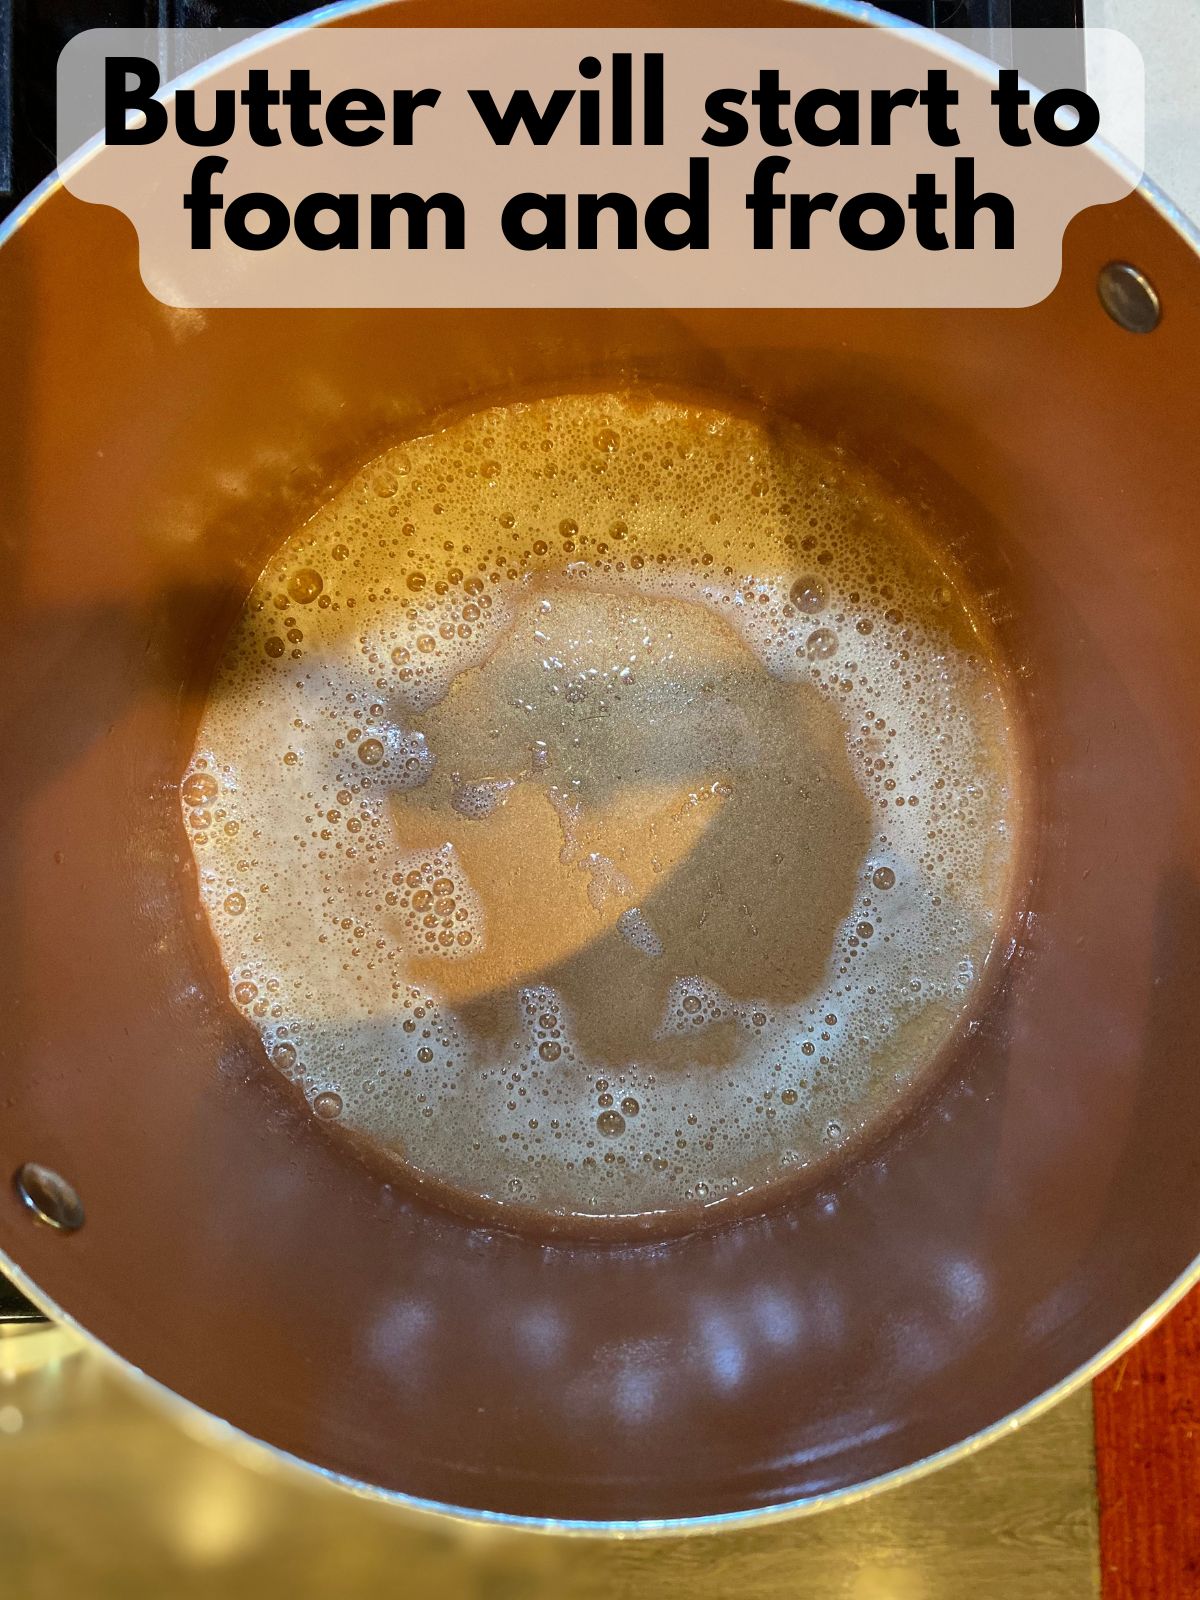
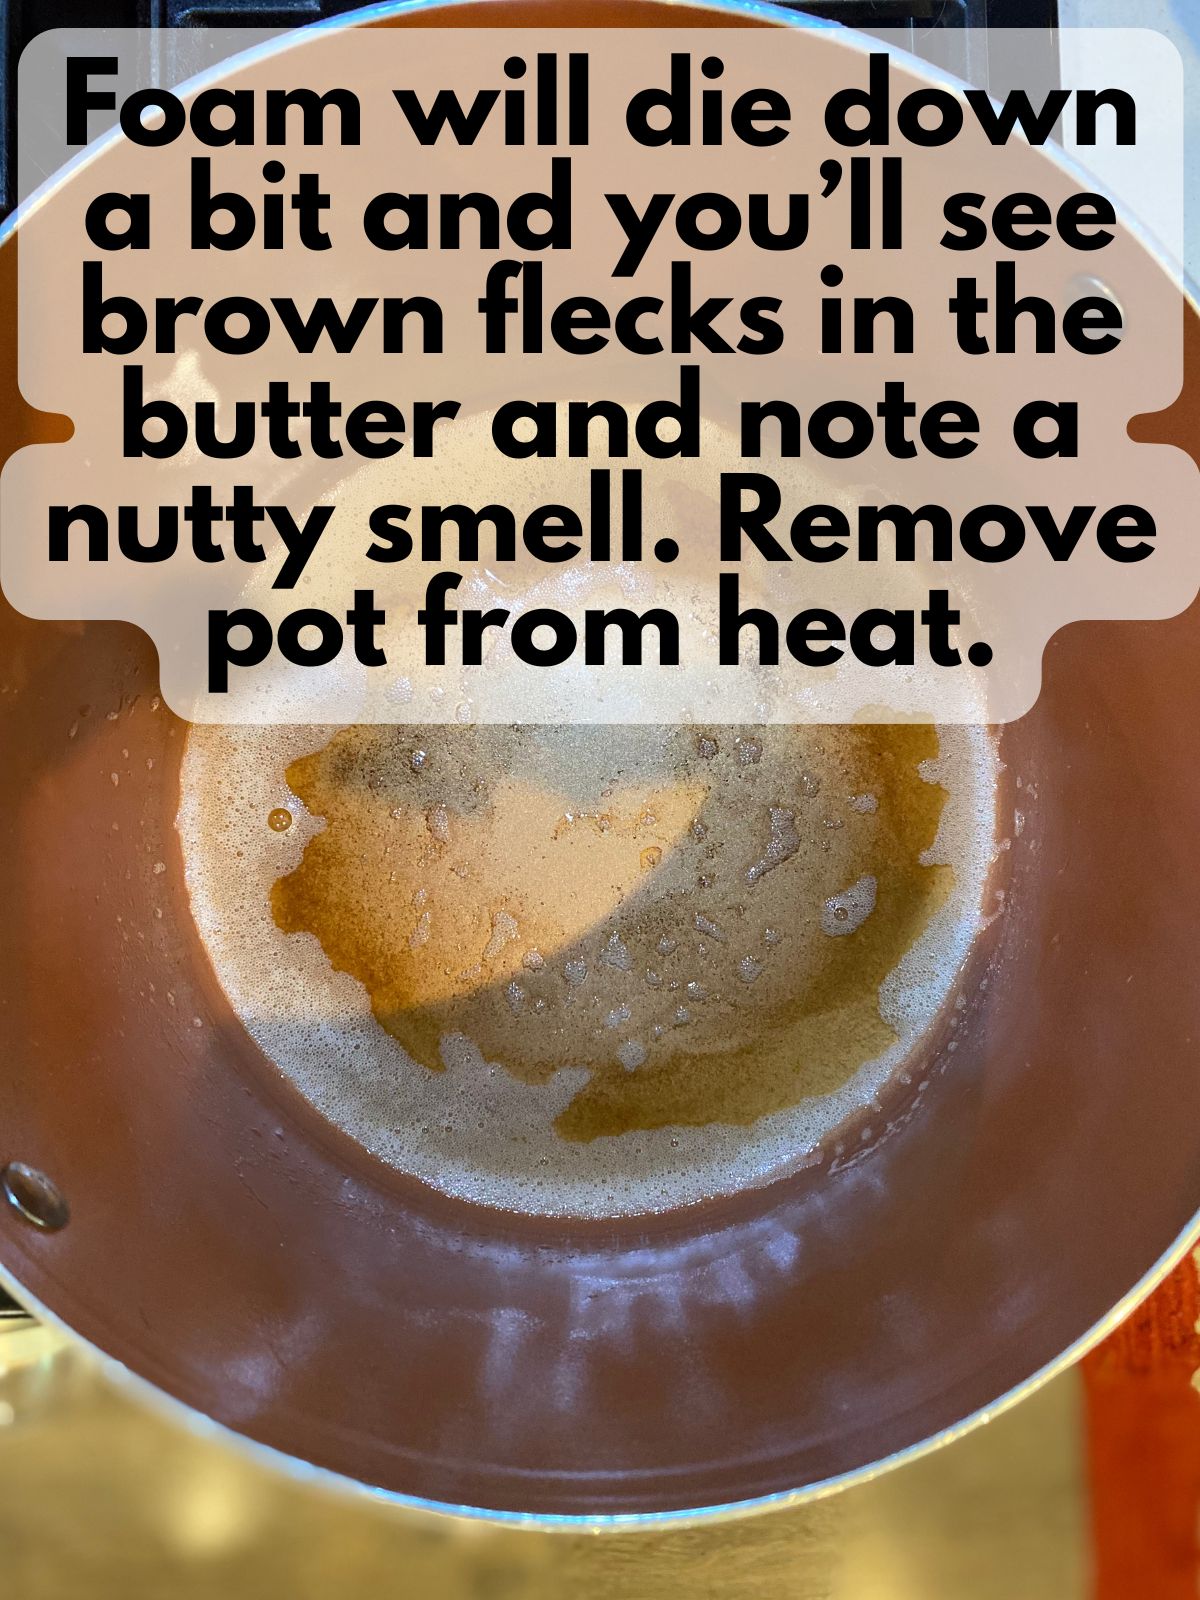
2.Brown the butter: In a large pot, melt the butter over medium heat. Continue cooking, stirring often, until the butter foams and froths. Finally, the foam will die down just a bit and small brown flecks form in the bottom of the pod. You do still have to move away some of the bubbles to see the brown flecks, and you’ll also smell a kind of nutty aroma. That’s when it’s done browning.
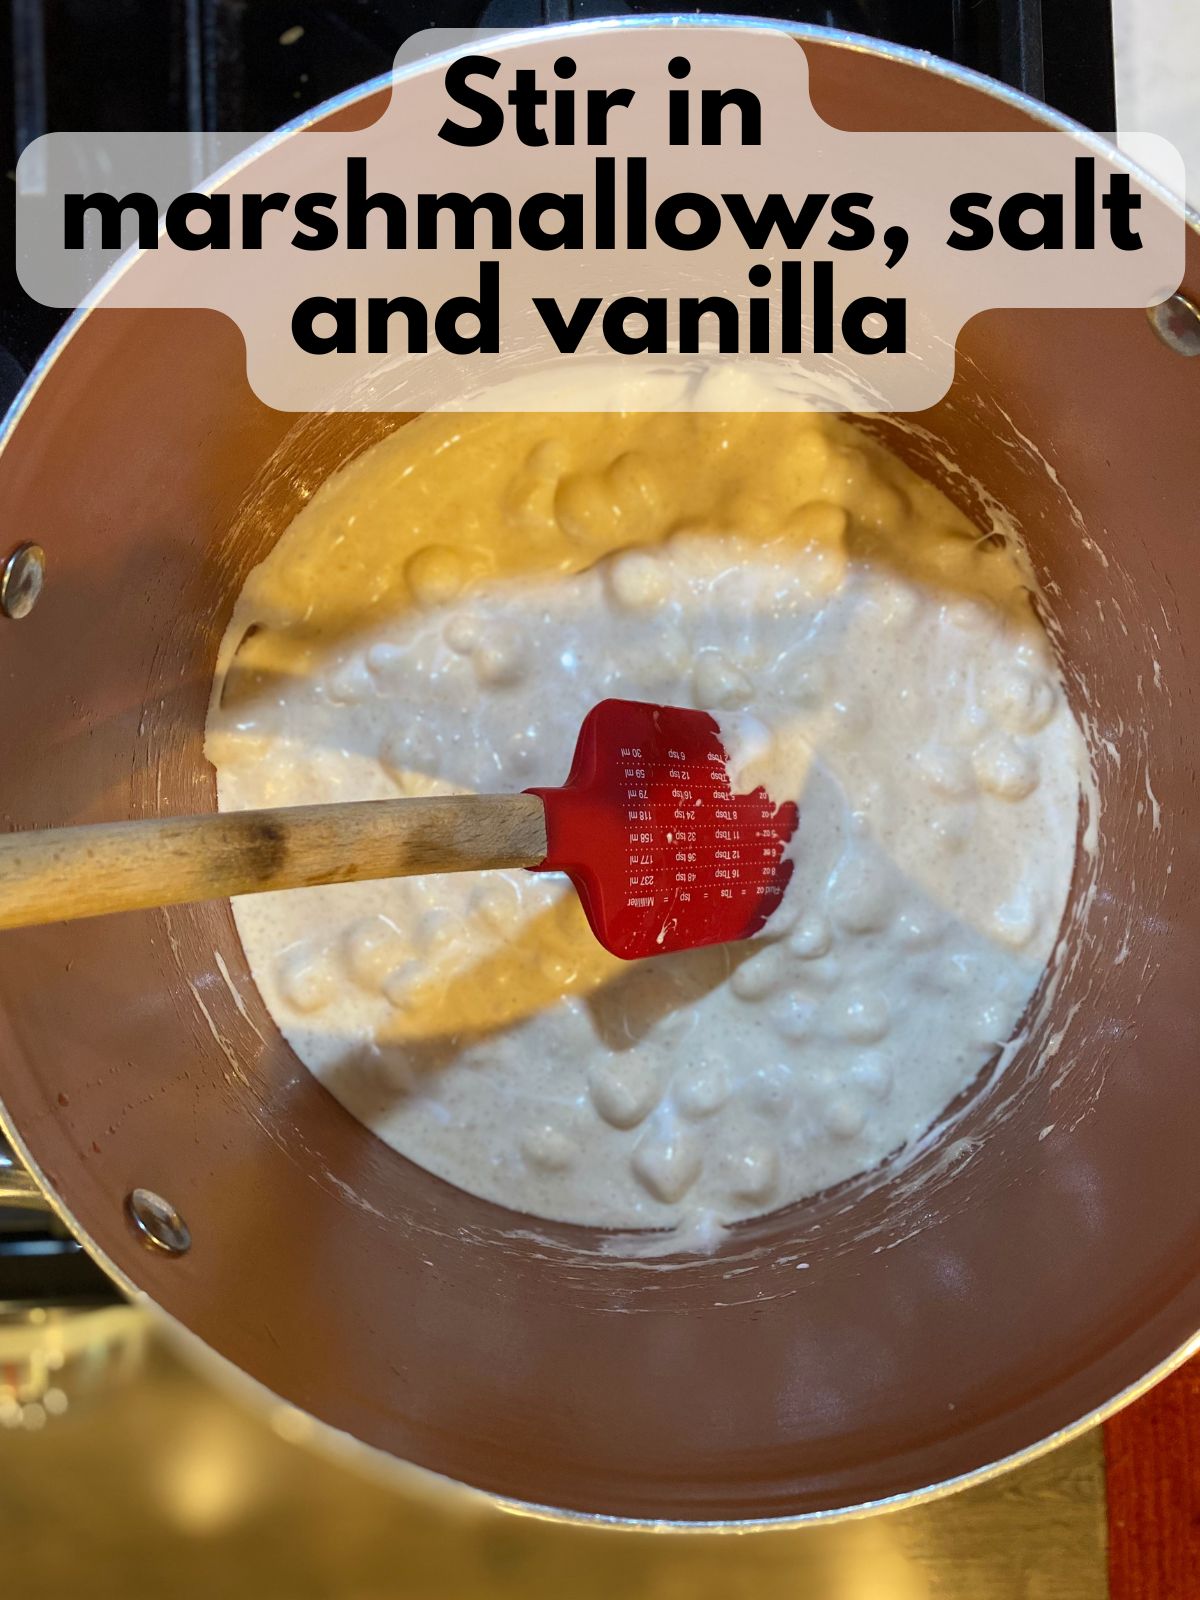
Melt the marshmallows: Lower the heat and stir in the marshmallows. Stir until melted and smooth.
Add flavor: Remove the pot from the heat, then mix in the vanilla and salt if using.
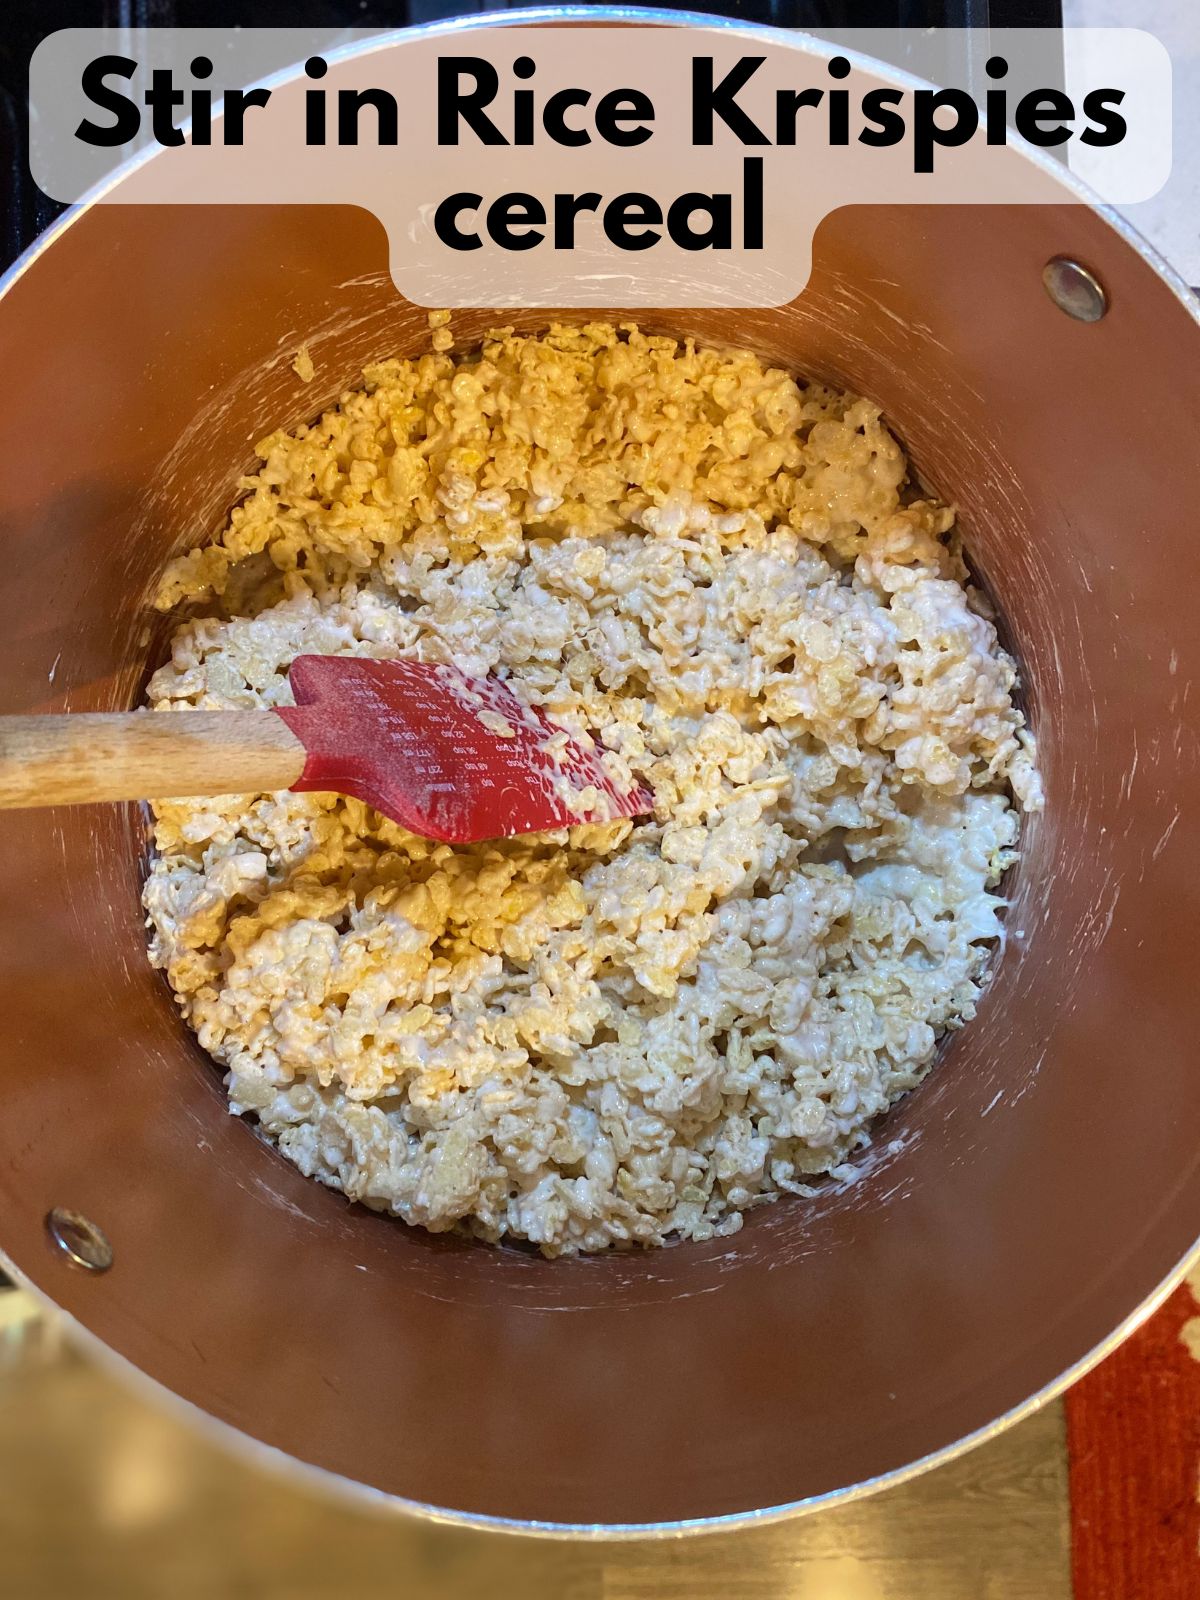
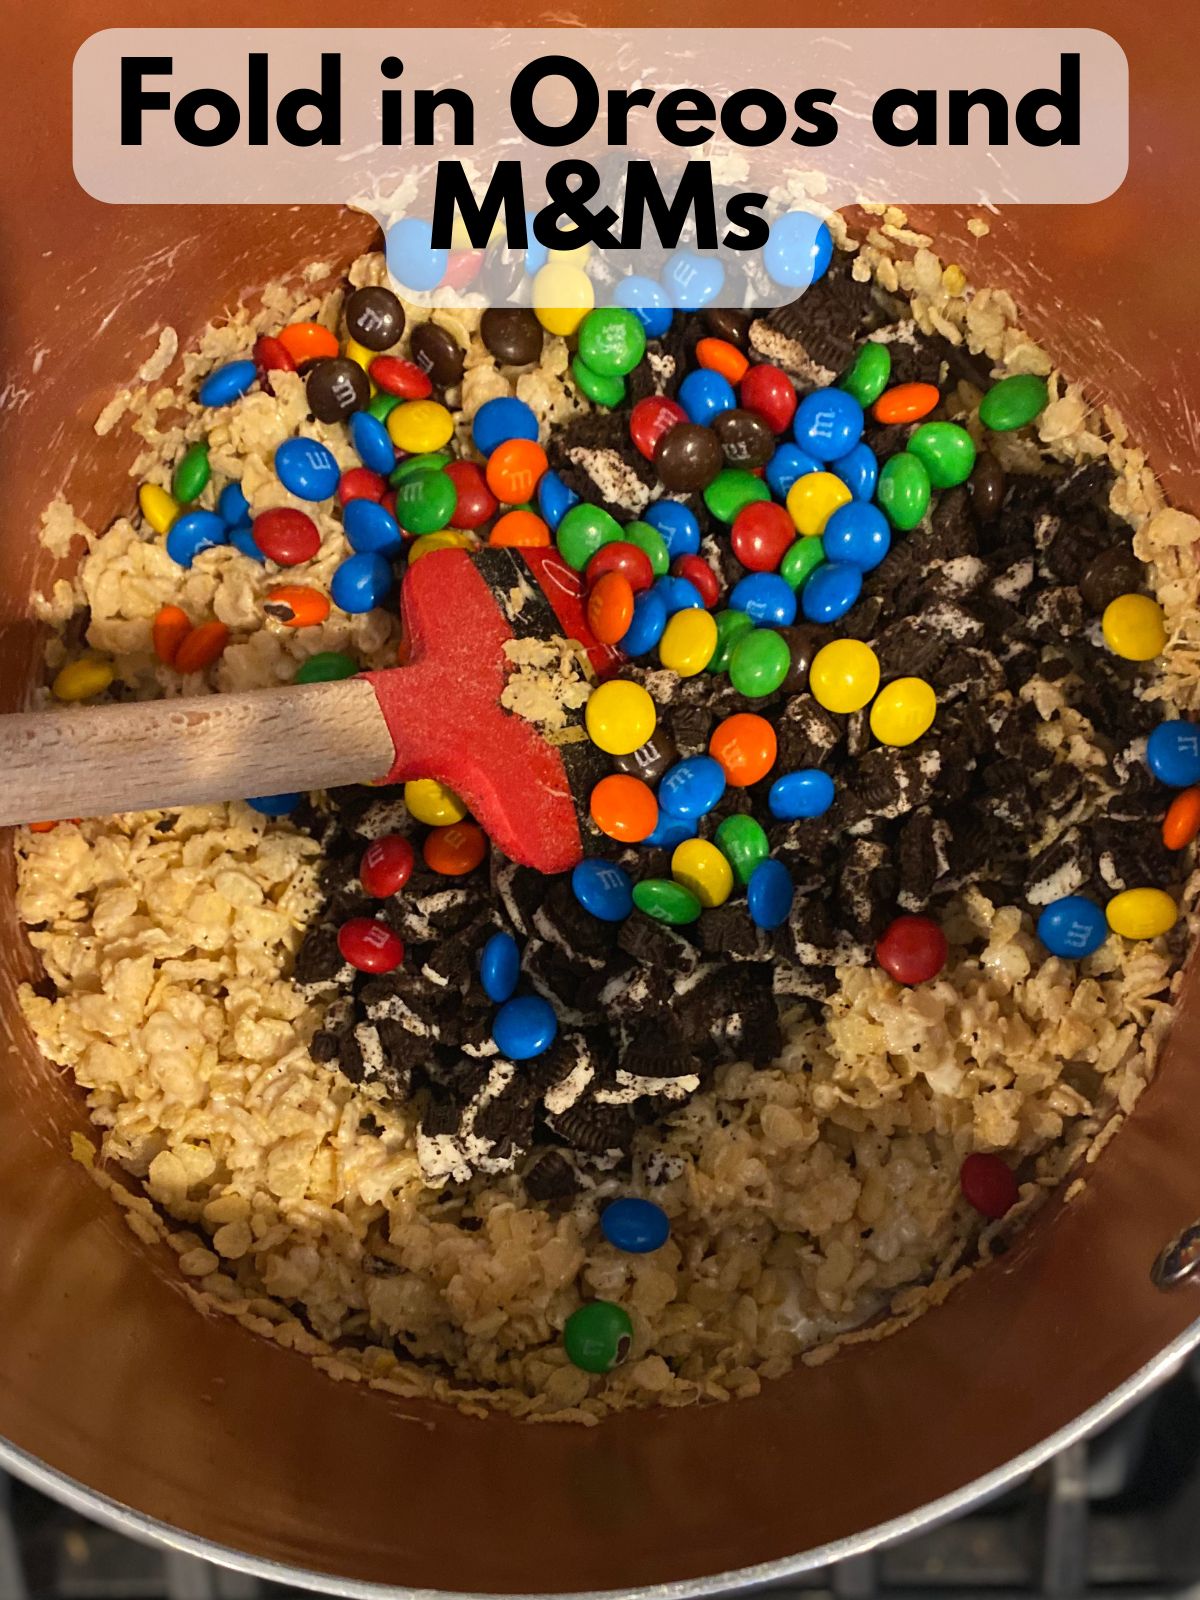
Combine: Stir in the Rice Krispies until they are mostly coated. Gently fold in the chopped Oreos and M&Ms. If you find that things are hardening too quickly, you can turn your burner back on low heat while you fold things in.
Press into pan: Spread the mixture into the prepared pan and gently press down with a greased piece of parchment paper. Do not compact too firmly; you want light, chewy bars.
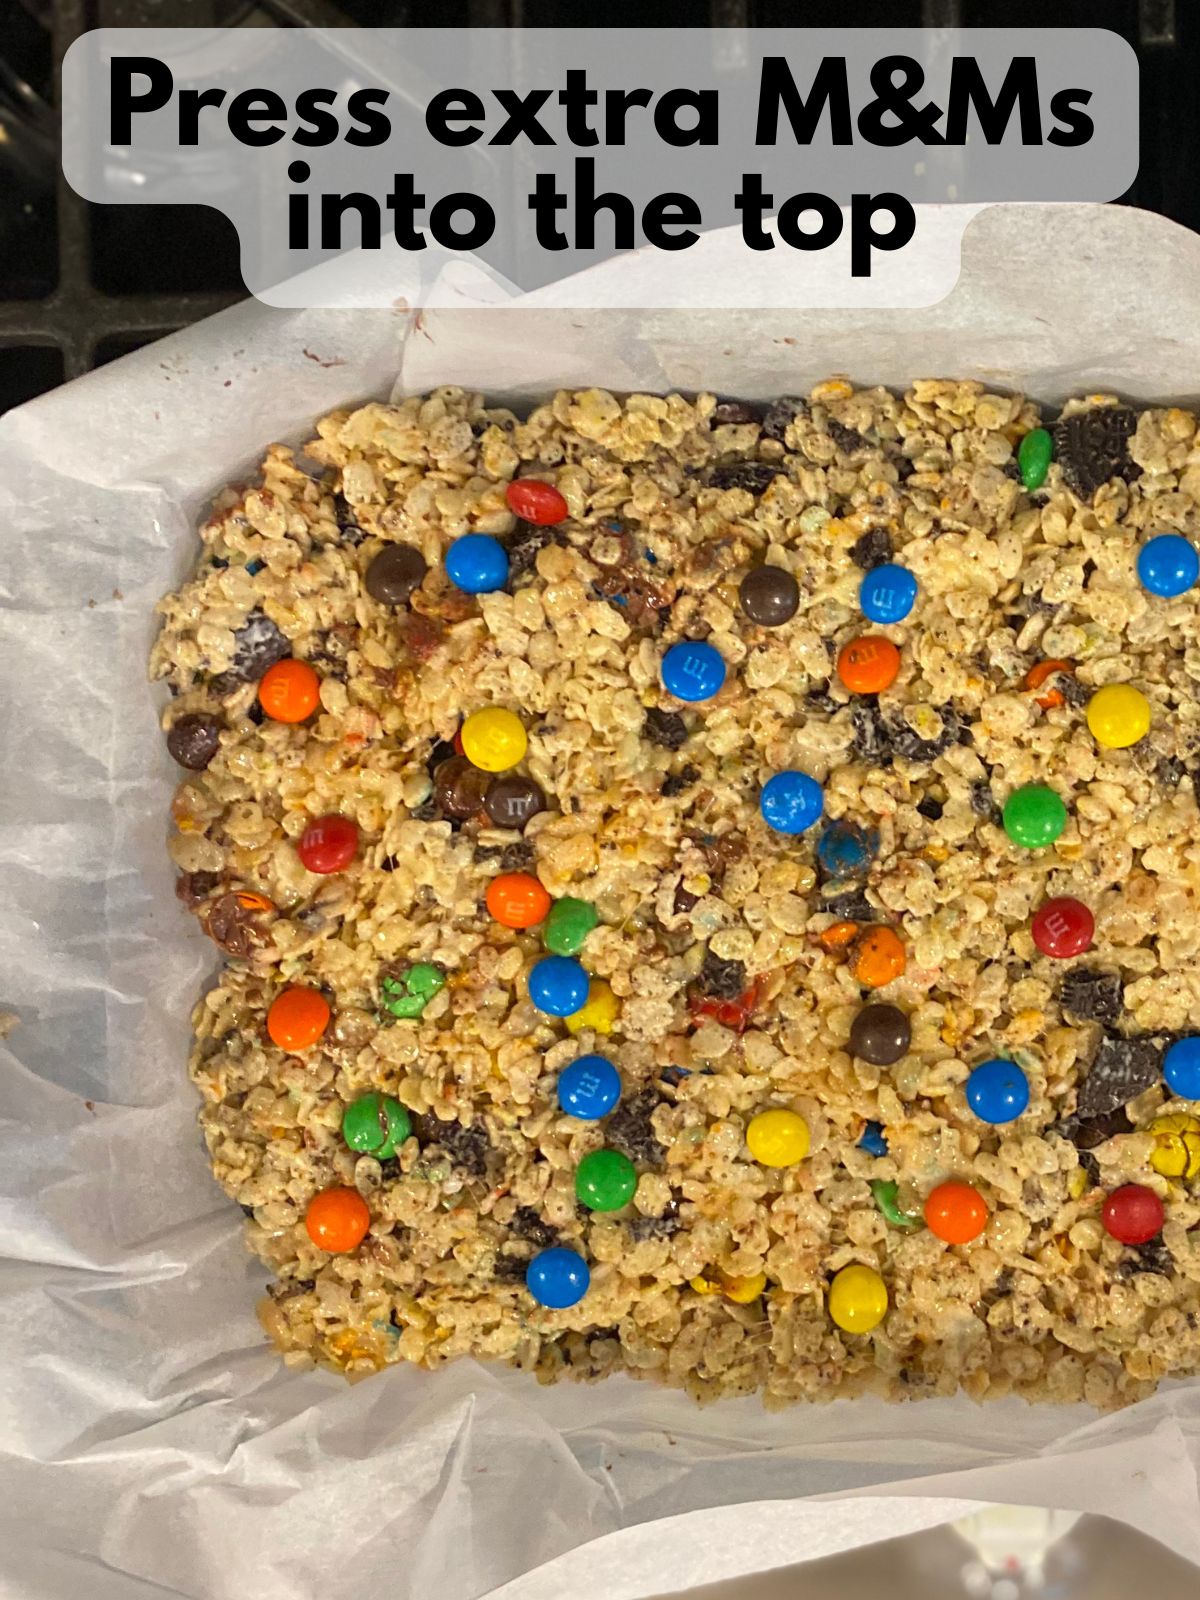
Finish and cool: Press a few extra M&Ms and/or Oreo crumbs on top for a colorful finish if desired. Let cool for 30 to 45 minutes before cutting into bars.
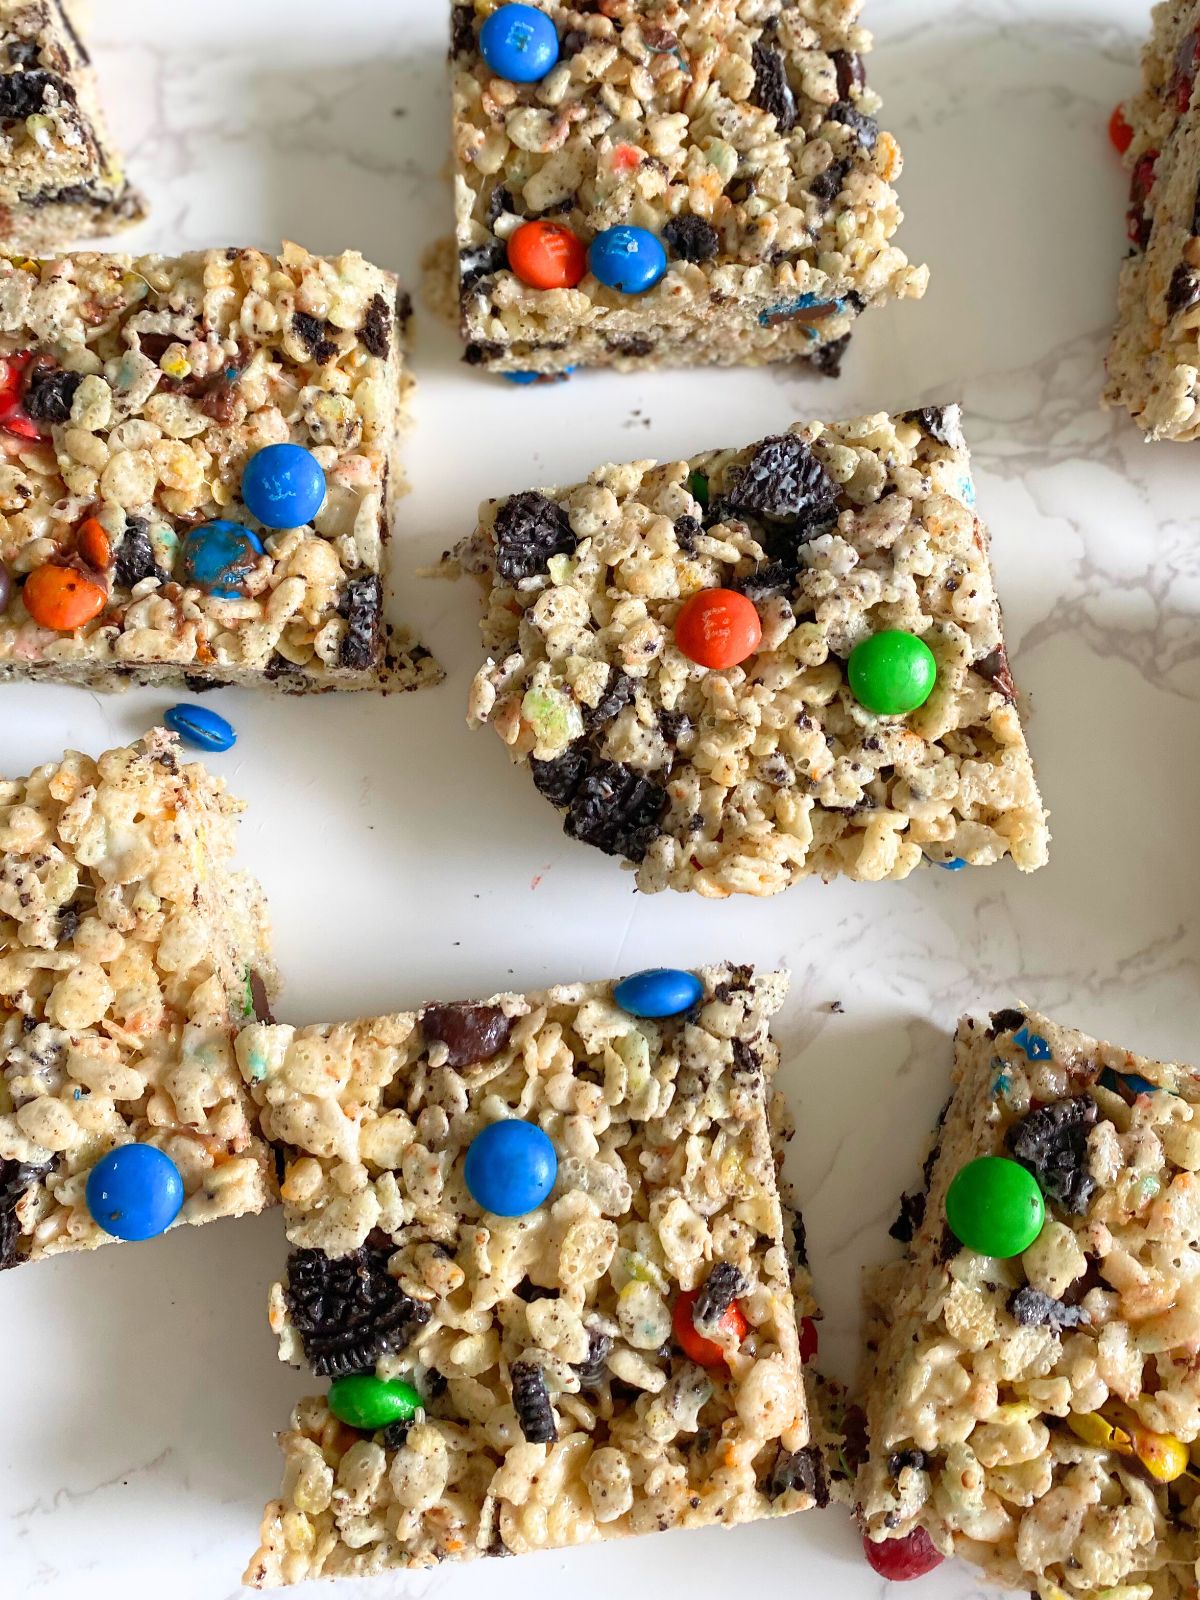
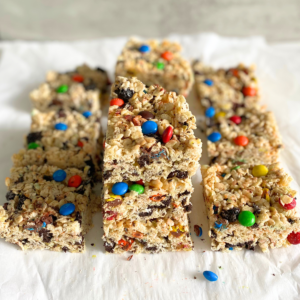
Yield: about 9 to 12 bars, depending on how large you cut them.
These come together so quickly, they easily fit into the category of fast easy desserts—perfect for last-minute gatherings or when you need a no bake dessert you can rely on every time.
Pro Tips
- Use fresh marshmallows. Stale or dry marshmallows won’t melt as smoothly and can make the treats firm instead of soft and chewy.
- Don’t skip the brown butter! It takes an extra 3–4 minutes but really ups the flavor for these rice krispie treats. I promise, once you switch to homemade brown butter rice krispie treats (for practically no extra effort), you’ll never want to switch back to normal rice krispie treats.
- Press your treats gently. Packing the mixture down too firmly into your pan will make the treats hard. A light hand keeps them perfectly soft and chewy.
- Don’t skip the extra M&Ms on top. They really add a fun, pretty splash of color. All of your M&Ms will most likely get buried into the middle of your rice krispie treats, so just a few M&Ms on top looks super cute and takes seconds to add.
- Cool completely before slicing. I would wait at least 30 minutes to an hour to slice these delicious no bake treats. If you slide them too soon, they won’t stay in a definitive bar shape and will kind of turn into a pile of mush. If you’re really impatient, you can pop them in the fridge for a bit so they kind of harden up and then slice them. Overall, though, I would store them in an airtight container at room temperature.
FAQs
Can I make these ahead of time?
Yes! These treats stay soft for 2–3 days when stored in an airtight container, making them a great option for make-ahead no bake desserts.
Can I use different cookies or candies?
Absolutely. You can swap the Oreos for Golden Oreos, Chips Ahoy, or anything else you like really. Any mix-in that pairs well with marshmallows works. For candies, I would just say to be careful you don’t choose a candy that’s too melt-y or gooey, because it might mess up your texture and you could end up with bars that are kind of mush and runny.
What if I don’t want to brown the butter?
You can totally skip the browning step and just melt the butter normally, but the flavor won’t be as rich. Browning the butter really takes these from just plain, fast easy desserts to treats with a bakery-style flavor.
Do I need to refrigerate the treats?
No refrigeration needed. Just store them at room temperature in an airtight container and they’ll be perfect. Cold Rice Krispie treats tend to get hard.
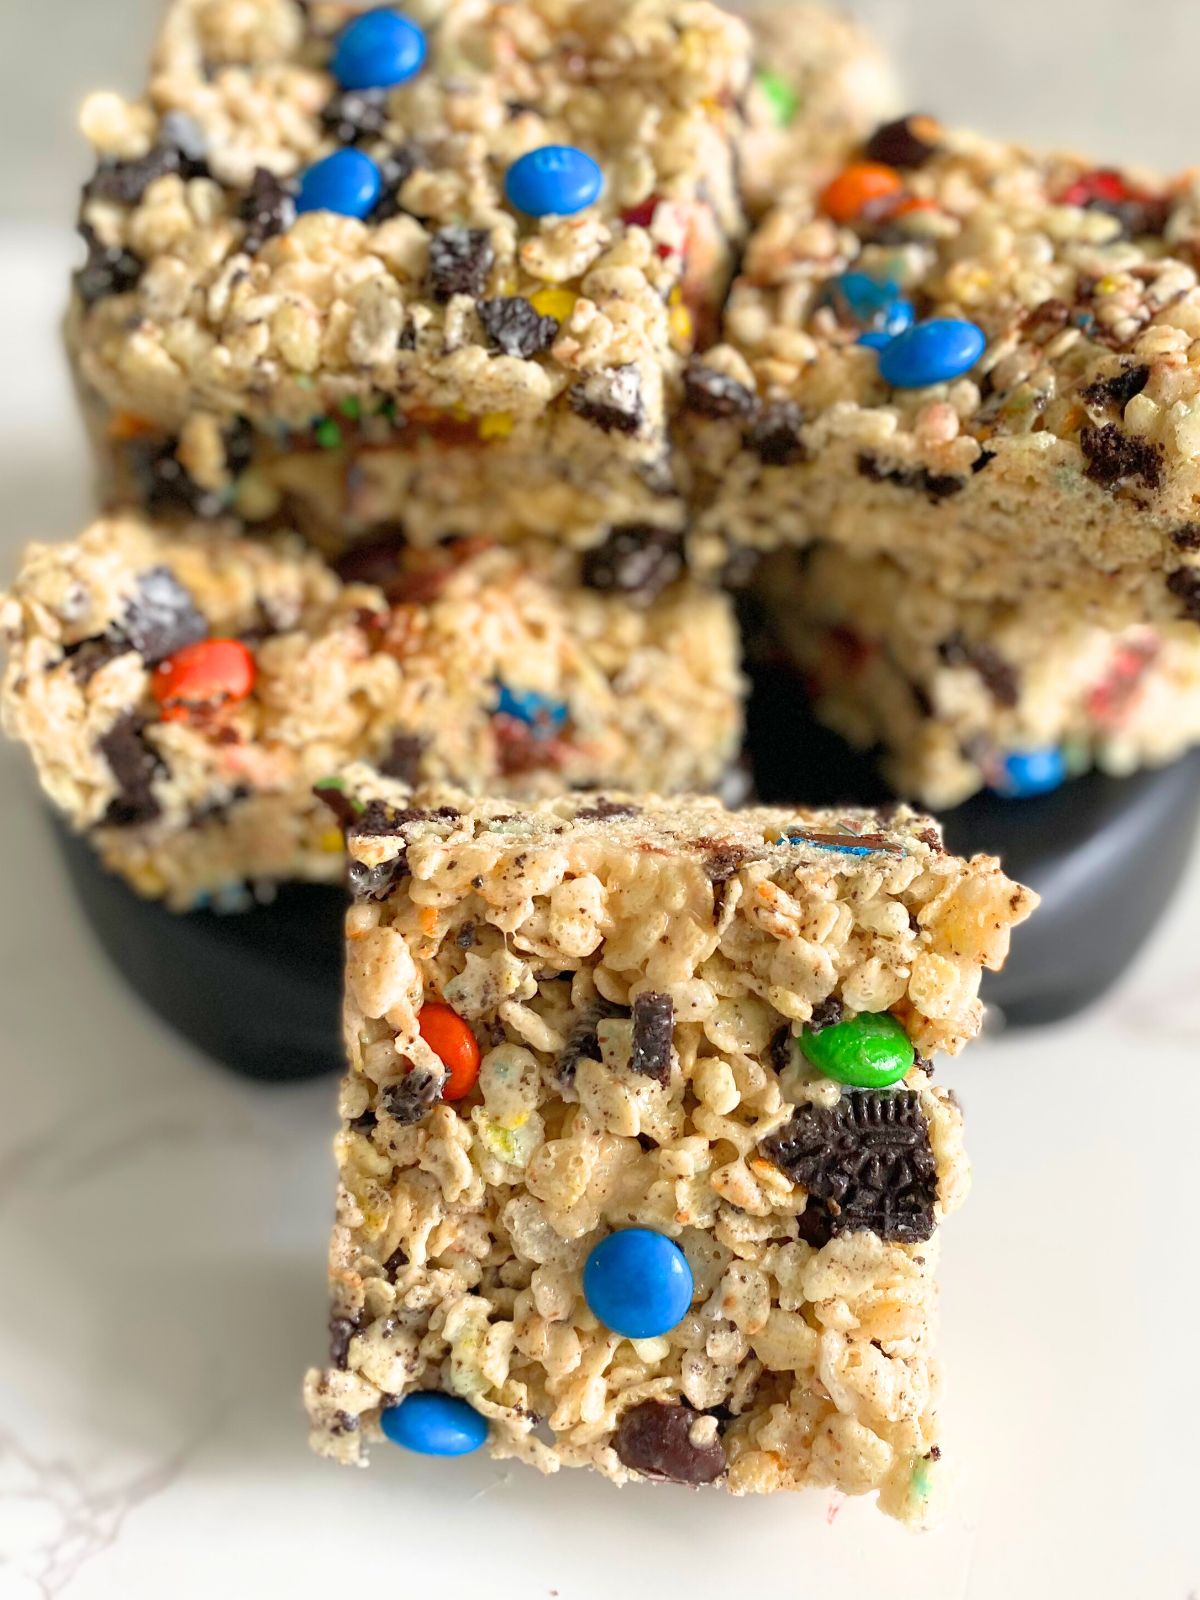
These M&M Oreo Rice Krispie treats prove that simple desserts can still feel fun and colorful. With the brown butter base, crunchy Oreos, and bursts of chocolate from the M&Ms, every bite tastes like a party. They’re the kind of fast easy desserts you can make anytime! They’re perfect for after school, before a get-together, or whenever you want a no bake dessert that makes everyone smile. Keep this recipe on hand because once you make them, you’ll be asked for them again and again!
M&M Oreo Rice Krispie Treats
Ingredients
- 4 Tbsp unsalted butter
- 10 oz mini marshmallows usually 1 bag
- 5 cups Rice Krispies cereal
- 6 Oreos, roughly chopped about 1/2 cup of pieces
- 3/4 cups M&Ms plus a few extra to press on top
- t tsp vanilla
- 1 pinch salt optional
Instructions
- Line an 8×8 in pan with parchment paper.
- In a large pot, melt the butter over medium heat. Continue cooking, stirring often, until the butter foams and froths.
- Finally, the foam will die down just a bit and small brown flecks form in the bottom of the pod. You do still have to move away some of the bubbles to see the brown flecks, and you’ll also smell a kind of nutty aroma. That’s when it’s done browning.
- Lower the heat and stir in the marshmallows. Stir until melted and smooth.
- Remove the pot from the heat, then mix in the vanilla and salt if using.
- Stir in the Rice Krispies until they are mostly coated.
- Gently fold in the chopped Oreos and M&Ms. If you find that things are hardening too quickly, you can turn your burner back on low heat while you fold things in.
- Spread the mixture into the prepared pan and gently press down with a greased piece of parchment paper (If you use your hands, it gets pretty sticky). Do not compact too firmly; you want light, chewy bars.
- Press a few extra M&Ms and/or Oreo crumbs on top for a colorful finish if desired. Let cool for 30 to 45 minutes before cutting into bars.