
 If you’re looking for Halloween themed desserts that are both cute and customizable, these witch’s hat sugar cookies are just the thing! With crisp, buttery sugar cookie dough and a swirl of royal icing in classic Halloween colors, they’re a festive and fun treat for spooky parties or cookie decorating nights with friends.
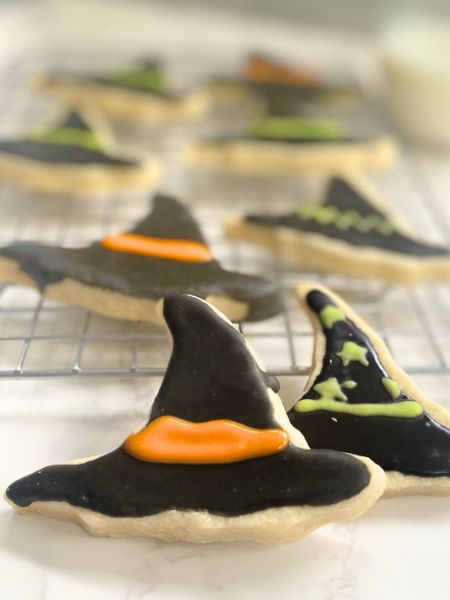
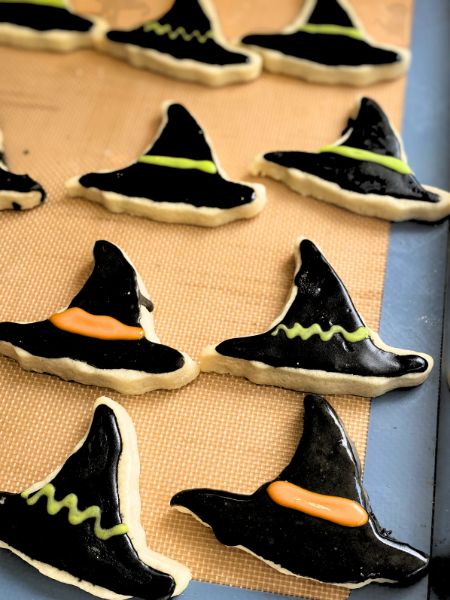
You can go bold with purple, orange, or green details—or keep it simple with black and gold. However you decorate them, these easy Halloween party desserts are sure to steal the show.
Jump to Recipe
Ingredients for Witch’s Hat Sugar Cookies
These cookies use the same cutout sugar cookie dough and royal icing base as my other Halloween sugar cookies—so if you’re planning to make bats, cats, or pumpkins too, you can do it all from one batch of dough and icing. (I’ll link to the full list once it’s live!)
For the sugar cookies:
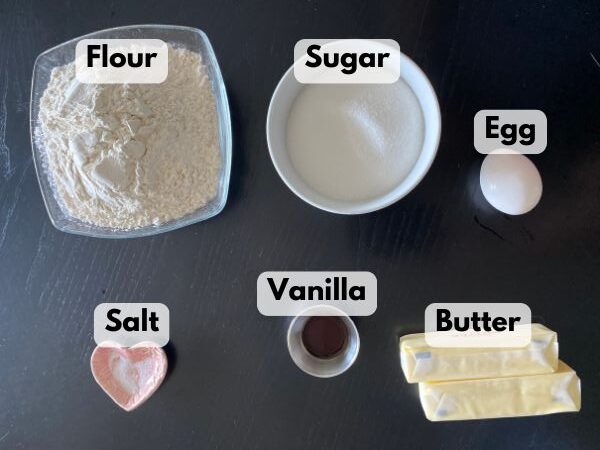
- 1 cup unsalted butter, softened
- 1 cup granulated sugar
- 1 large egg
- 1 teaspoon vanilla extract
- 3 cups all-purpose flour
- ½ teaspoon salt
For the royal icing (I use this recipe for royal icing):
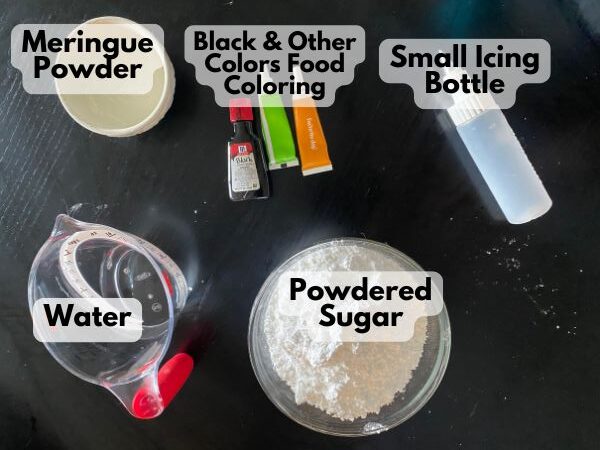
- 4 cups powdered sugar
- 3 tablespoons meringue powder
- 6 tablespoons water (plus more as needed for thinning)
- Black, purple, orange, and/or green gel food coloring
- Optional: yellow gel coloring or gold sprinkles for the buckle
For decorating:
- Piping bags or icing bottles
- Toothpick or scribe tool
- Optional: edible gold paint, sprinkles, or edible glitter
How to Make Witch’s Hat Halloween Sugar Cookies
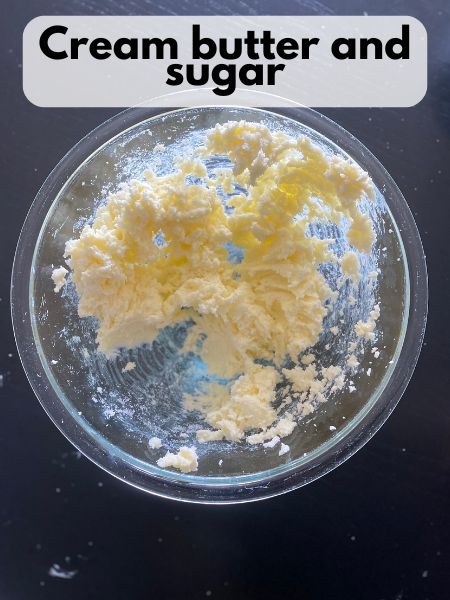
Step 1: Make the dough.
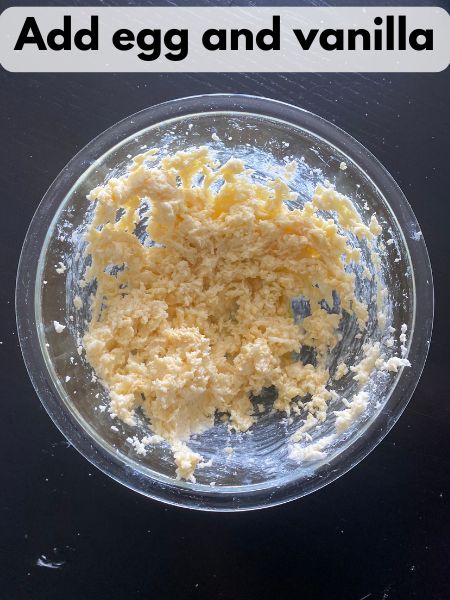
Cream the butter and sugar in a large bowl until light and fluffy. Add the egg and vanilla and mix until smooth. In a separate bowl, whisk together the flour and salt, then gradually add it to the wet ingredients. Mix until a soft dough forms.

Step 2: Chill and roll.
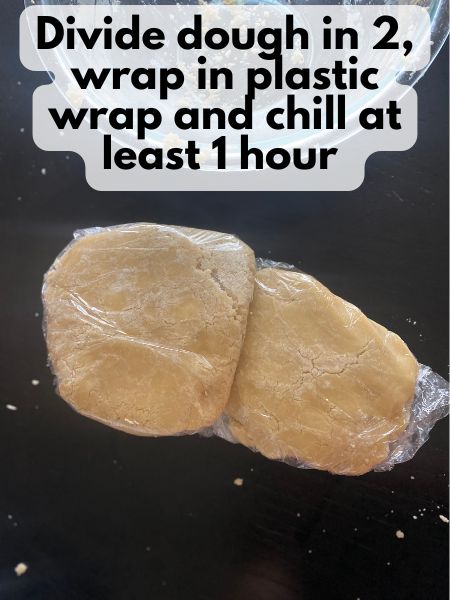
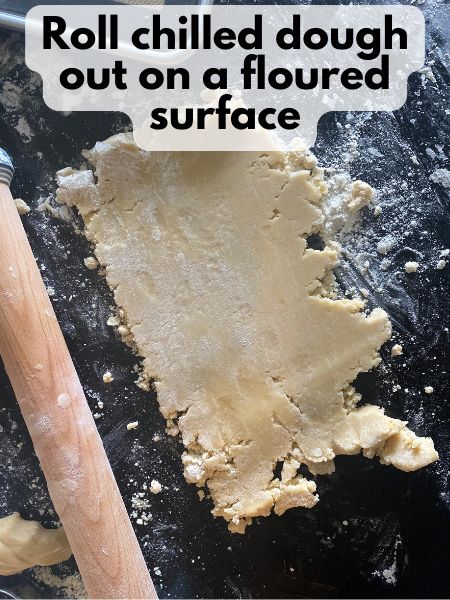
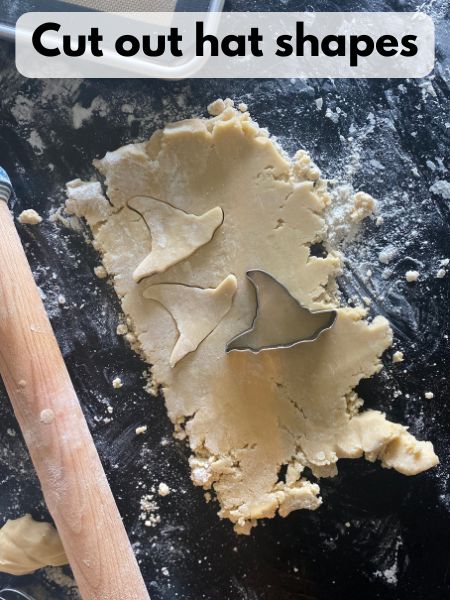
Divide the dough in half, wrap in plastic, and chill for at least 1 hour. Once chilled, roll out on a lightly floured surface to about ¼ inch thick. Use a witch’s hat cookie cutter to cut out shapes and transfer them to a parchment-lined baking sheet.
Step 3: Bake.
Preheat your oven to 350°F (175°C). Bake for 8–10 minutes, or until the edges are just starting to turn golden. Cool completely before decorating.

Step 4: Make the royal icing.
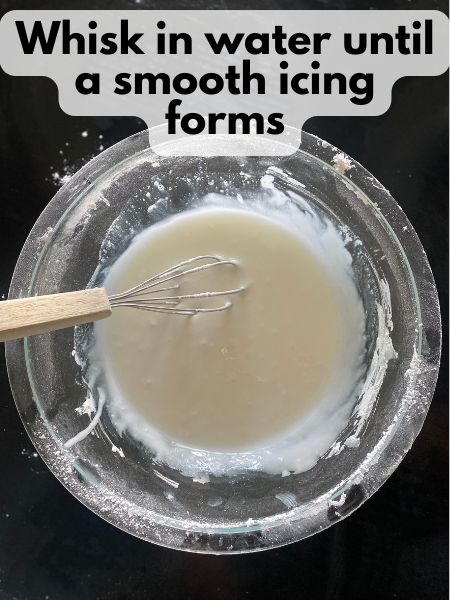
Whisk together the powdered sugar, meringue powder, and water until smooth and slightly thickened. Divide the icing into bowls and tint with black for the hat, and accent colors like purple, orange, or green for the hatbands. Optional: tint a small amount yellow or use gold sprinkles for a buckle.
Step 5: Decorate the cookies
You have two options for icing these cookies—both work great!
Option 1: The Easy Way (Dipping)
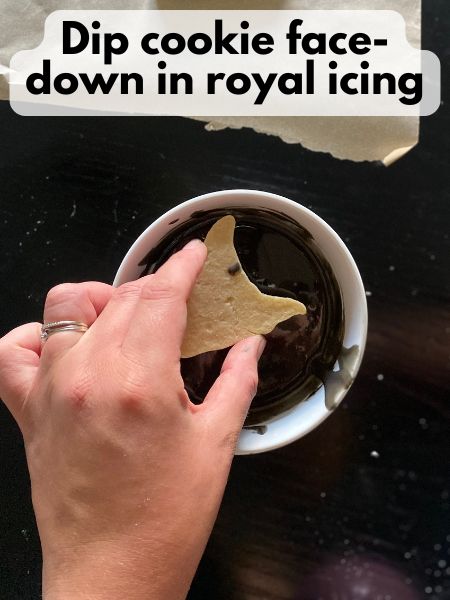
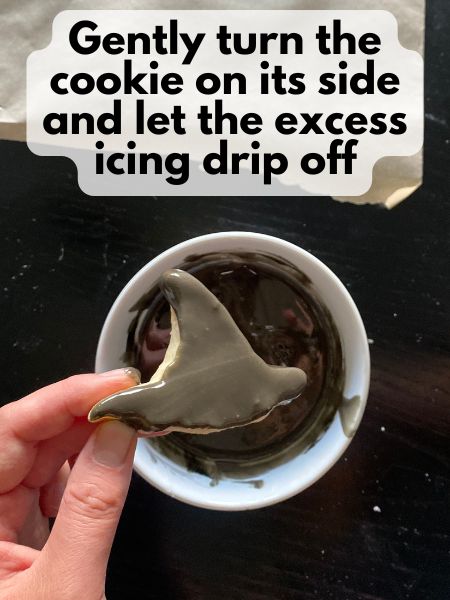
Dip each cookie face-down into the black icing. Lift it out, let the excess drip off, then flip and gently shake or tap to level the surface. Use a toothpick or scribe tool to pop any bubbles. This method is fast and great for batch decorating, though a bit messier.
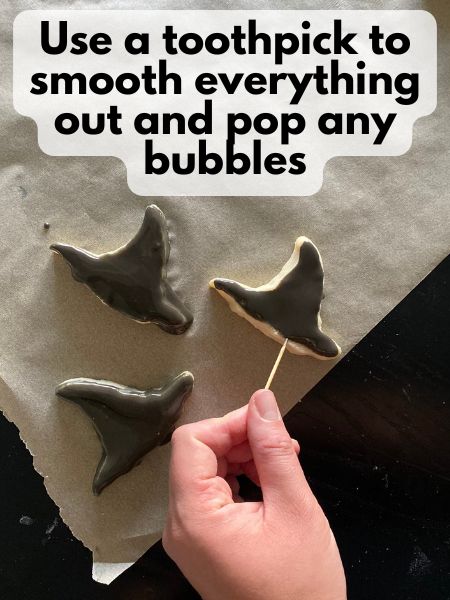
Transfer the black icing to a piping bag or bottle with a small (like the one that looks too small to be true) tip and outline each bat, then flood the center with more icing. Use a toothpick to help fill in gaps and pop any air bubbles.

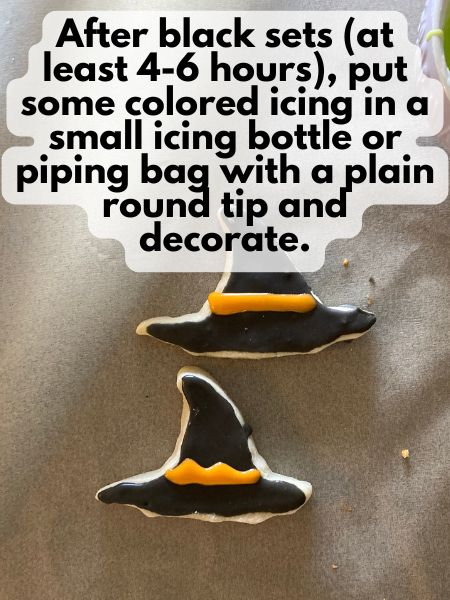
Once the base is dry (at least 4 hours), pipe a band of colored icing (purple, orange, or green) across the brim. Or get as creative as you want with your hats!
Let the fully decorated cookies dry for several more hours until the icing is completely set before stacking or serving.
Pro Tips for Decorating Witch’s Hat Cookies
- Use gel food coloring for vibrant, saturated Halloween colors—especially when working with black, purple, and orange.
- Let the black icing dry completely before adding the band or buckle—this helps prevent colors from bleeding into each other.
- Bright colors like orange and purple are prone to bleeding, so don’t rush the layering. Waiting at least 4 hours (or overnight) gives the best results.
- Get creative! Add edible glitter, metallic sprinkles, or different buckle shapes to give each hat its own personality.
- Pick 1–2 accent colors and use them across different cookie shapes for a cohesive Halloween set.
- For piping: Use a medium round tip or dip the cookies for the black base. For fine details like bands and buckles, use the tip that looks too small—it’ll probably be just right.
FAQs
Can I make the dough ahead of time?
Yes—prepare the dough up to 2 days ahead and refrigerate tightly wrapped. It also freezes well for up to 3 months.
How long does the icing take to dry?
Allow 6–8 hours or overnight at room temperature before stacking or packaging. You can speed this up with a fan or by placing the cookies near a dehumidifier.
What if I don’t have a witch’s hat cookie cutter?
You can freehand the shape using a sharp knife, or use a triangle cookie cutter and add a brim with icing to mimic a hat shape.
How many cookies does this make?
It depends on the size of your witch’s hat cookie cutter, but I got about 30 cookies from one batch. Larger cutters will yield fewer cookies, and smaller ones will make more.
Will one batch of royal icing be enough?
Yes, one batch should be plenty for decorating all the cookies—just be sure to set aside enough for your accent colors before tinting the base icing black. You don’t need a ton of icing for the bands or buckles.

These witch’s hat Halloween sugar cookies are festive, flavorful, and so much fun to decorate. Whether you’re hosting a Halloween party or baking just for fun, they’re an easy way to bring some magical flair to your dessert table.
Want more spooky inspiration? I’ll be linking all my Halloween cookie designs in a special roundup post soon—so stay tuned!

Halloween Decorated Witch's Hat Sugar Cookies
Equipment
- piping bag with a small round tip or a small icing bottle with a small round tip optional, but helpful
- Sifter optional, but helpful
- hat-shaped cookie cutter
Ingredients
Cutout Cookie Base
- 1 cup unsalted butter softened
- 1 cup granulated sugar
- 1 egg
- 1 tsp vanilla
- 3 cups flour
- 1/2 tsp salt
Royal Icing and Decorating
- 4 cups powdered sugar
- 3 tsp meringue powder
- 9-10 Tbsp water
- black get food coloring and other colors for accents
Instructions
Bake Witch's Hat Cutout Cookies
- Cream the butter and sugar in a large bowl until light and fluffy.
- Add the egg and vanilla and mix until smooth.
- In a separate bowl, whisk together the flour and salt, then gradually add it to the wet ingredients. Mix until a soft dough forms.
- Divide the dough in half, flatten into disks, and wrap in plastic wrap. Chill for at least an hour (definitely don't skip the chilling!).
- Once chilled, roll out the dough on a lightly floured surface to about ¼ inch thick.
- Use a hat-shaped cookie cutter to cut out shapes and place them on a parchment-lined baking sheet.
- Preheat your oven to 350°F (175°C). Bake the cookies for 8–10 minutes, or until the edges are just beginning to turn lightly golden. Let cool completely before decorating.
Decorate Hat Cookies
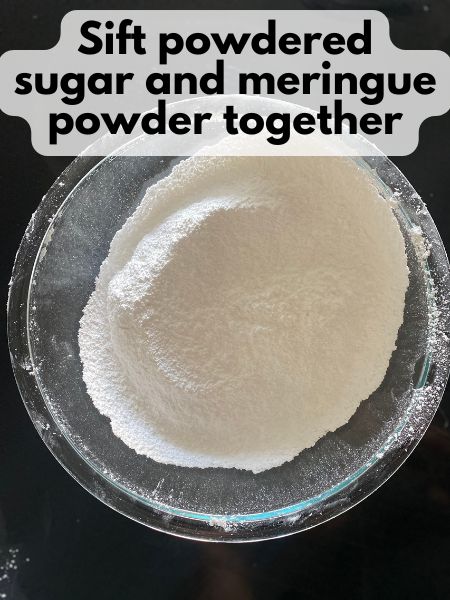
- In a bowl, sift together together the powdered sugar, meringue powder. Then, add water until the icing is smooth and slightly thickened but still fluid. (You’re aiming for a consistency that coats the back of a spoon and slowly runs off—not too thick, not too runny.)
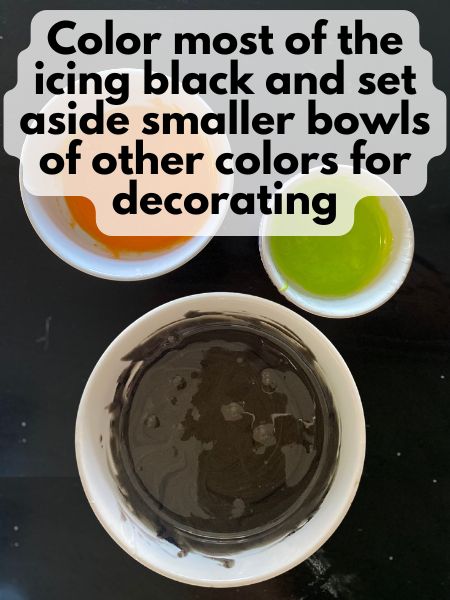
- Divide your icing into however many colors you want. You'll need most of it for the black base and then smaller amounts for any accents and decorations.
- Color your icing (You can cover and set aside the colors other than black for now).
- Decorate the cat cookies.You have two options for icing these cookies—both work great!
- Option 1: The Easy Way (Dipping)Dip each cookie face-down into the black icing. Lift it out, let the excess drip off, then flip and gently shake or tap to level the surface. Use a toothpick or scribe tool to pop any bubbles. This method is fast and great for batch decorating, though a bit messier.
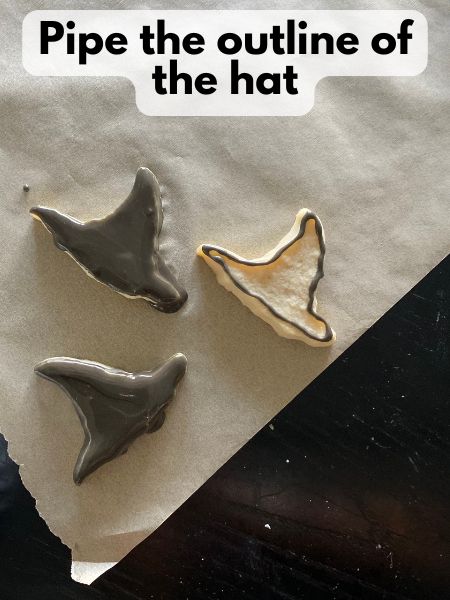
- Option 2: The Pretty Way (Piping)Transfer the black icing to a piping bag or bottle with a small (like the one that looks too small to be true) tip and outline each hat, then flood the center with more icing. Use a toothpick to help fill in gaps and pop any air bubbles.
- Wait for the black icing to mostly dry (about 4 hours) before using your colored icing to add any other decorations. Then, let the cookies fully dry another 6 hours to make sure all of the icing is set.