
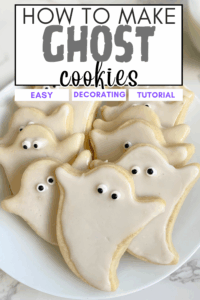
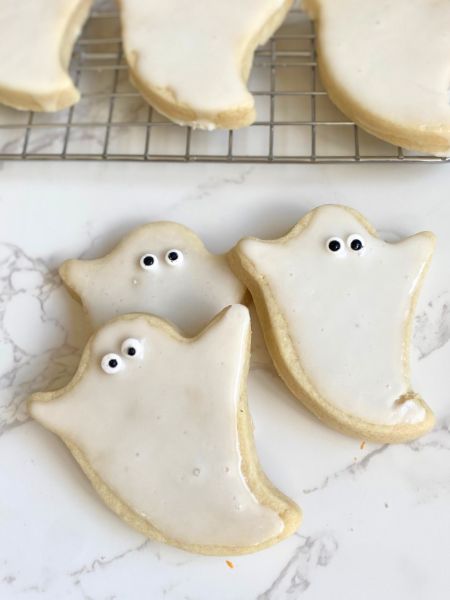
 Looking for a not-so-spooky Halloween dessert that’s still festive and fun? These ghost Halloween sugar cookies are a sweet and simple way to celebrate the season. With a classic cutout sugar cookie base and smooth white royal icing, these little ghosts come to life with just a few candy eyes and a friendly shape.
They’re a great option for easy Halloween desserts—adorable for party platters, trick-or-treat night, or a casual decorating afternoon with kids.
Let’s get baking!
Jump to Recipe
Ingredients for Ghost Sugar Cookies
These cookies use the same sugar cookie dough and royal icing base as my other Halloween sugar cookies—so you can prep one batch of dough and decorate several shapes at once, like bats, cats, pumpkins, or witch hats. (I’ll link to the full list once it’s ready!)
For the sugar cookies:
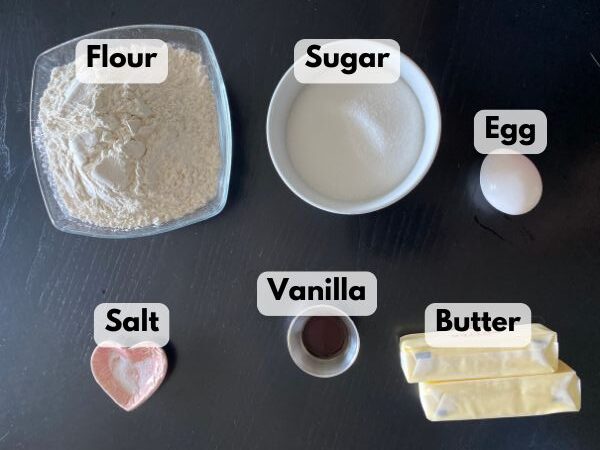
- 1 cup unsalted butter, softened
- 1 cup granulated sugar
- 1 large egg
- 1 teaspoon vanilla extract
- 3 cups all-purpose flour
- ½ teaspoon salt
For the royal icing:
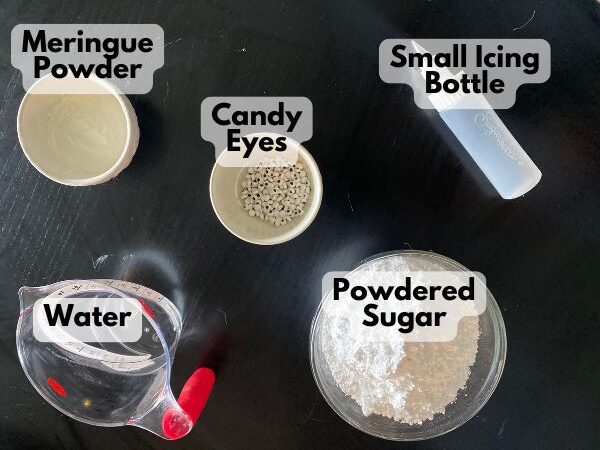
- 4 cups powdered sugar
- 3 tablespoons meringue powder
- 6 tablespoons water (plus more as needed)
- Optional: black gel food coloring for facial features
For decorating:
- Candy eyes
- Piping bag or small icing bottle with a fine tip
- Toothpick or scribe tool
How to Make Ghost Halloween Sugar Cookies
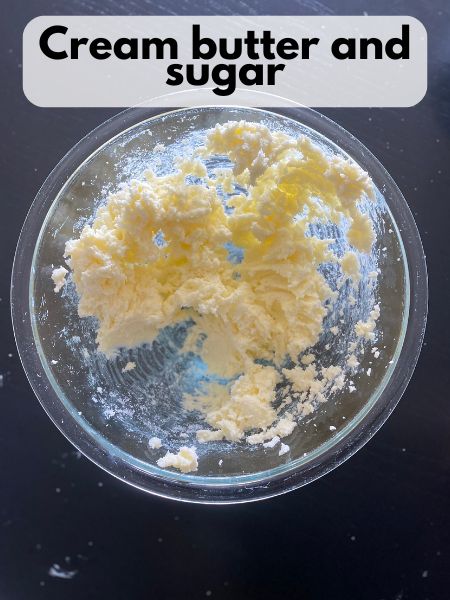
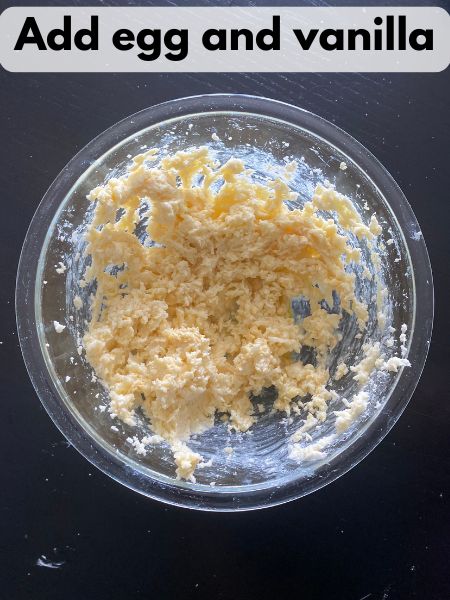
Step 1: Make the dough.
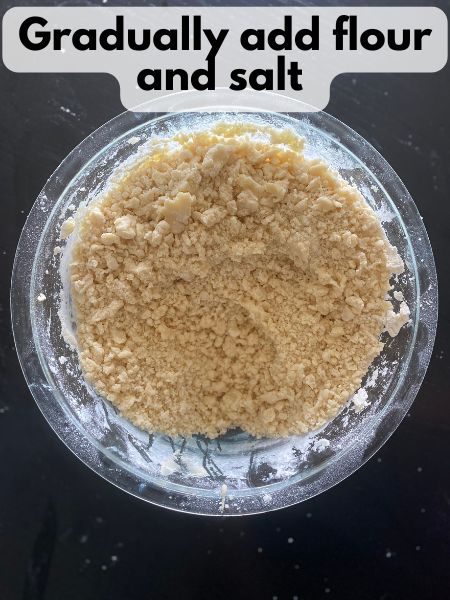
Cream the butter and sugar until light and fluffy. Add the egg and vanilla and mix well. In a separate bowl, whisk together flour and salt, then slowly add to the wet ingredients. Mix until combined and a soft dough forms.
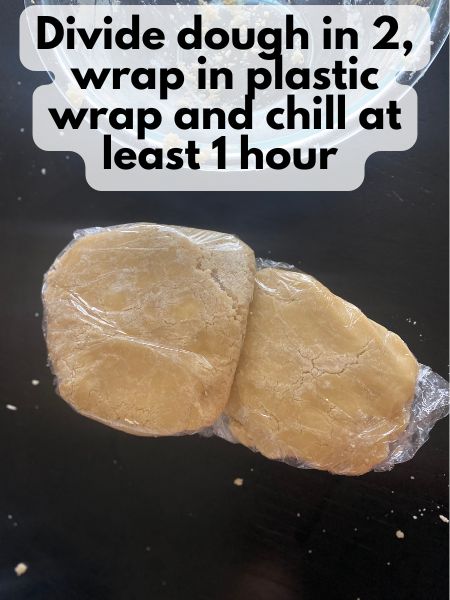
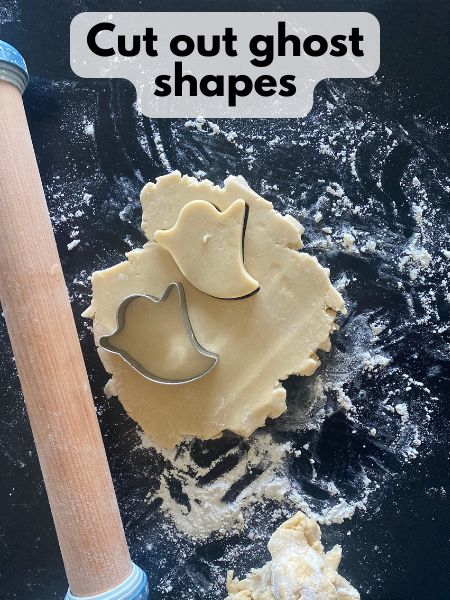
Step 2: Chill and roll.
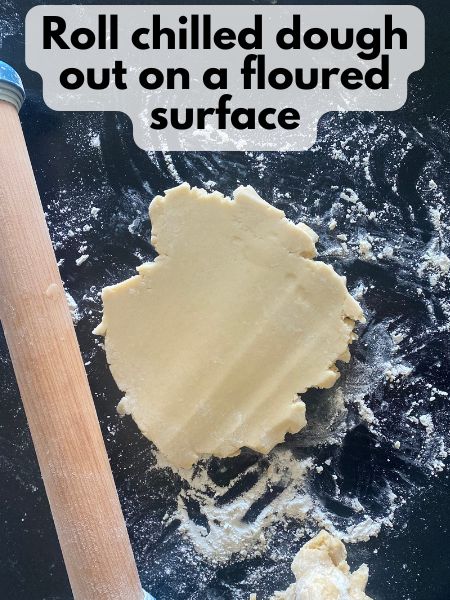
Split the dough in half and wrap each piece in plastic wrap. Chill for at least 1 hour. Roll the dough to about ¼ inch thick and cut out ghost shapes using a cookie cutter. Place on a parchment-lined baking sheet.
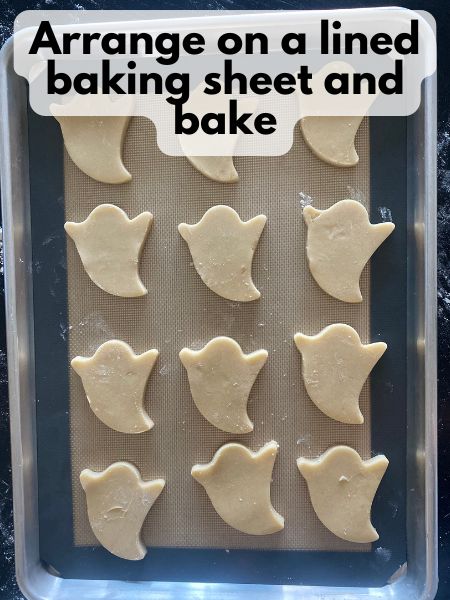
Step 3: Bake.
Preheat your oven to 350°F (175°C). Bake for 8–10 minutes or until the edges are just starting to turn golden. Let cookies cool completely before decorating.
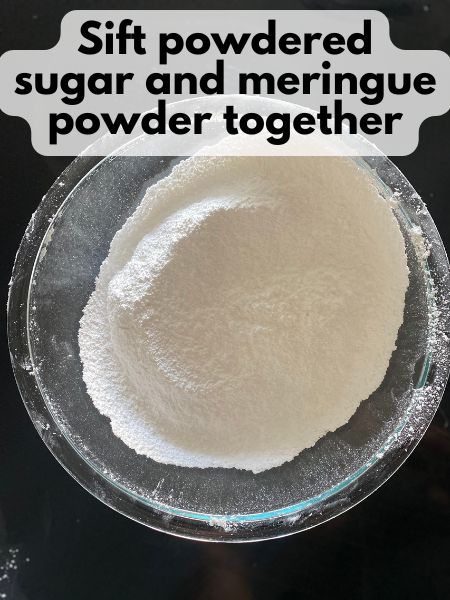
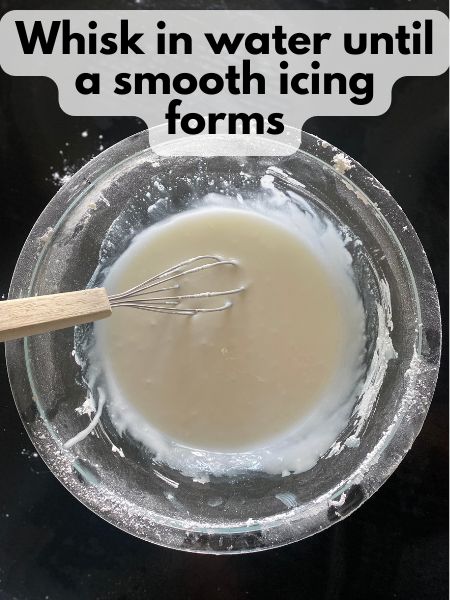
Step 4: Make the royal icing.
In a large bowl, sift together powdered sugar and meringue powder. Then, add water until smooth and slightly thickened but still fluid. Use as-is for white icing. If desired, set aside a small amount and tint it black for tiny mouths or details.
Step 5: Decorate the ghost cookies.
You have two options for icing these cookies—both work great!
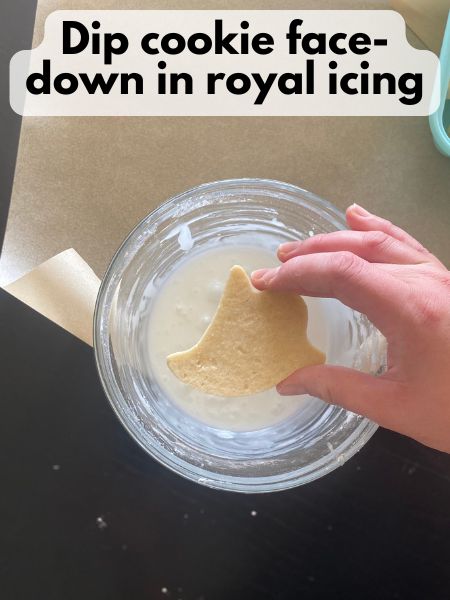
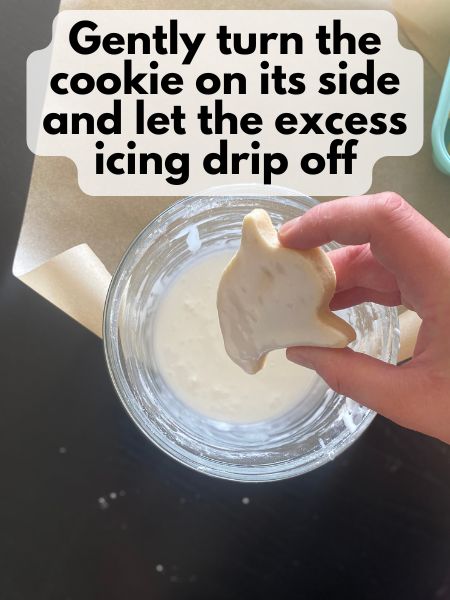
Option 1: The Easy Way (Dipping)
Dip each cookie face-down into the royal icing. Lift it out, let the excess drip off, then flip and gently shake or tap to level the surface. Use a toothpick or scribe tool to pop any bubbles. This method is fast and great for batch decorating, though a bit messier.
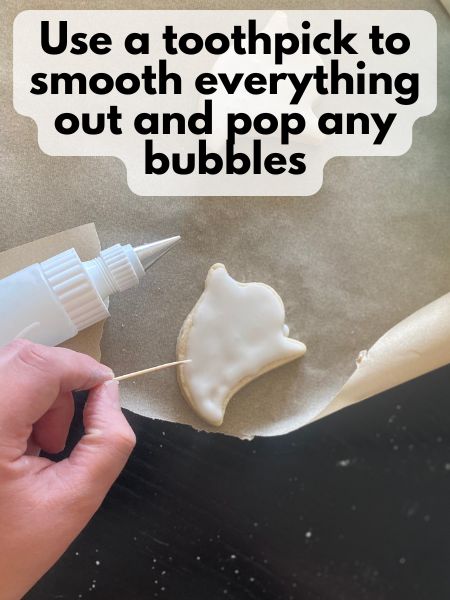
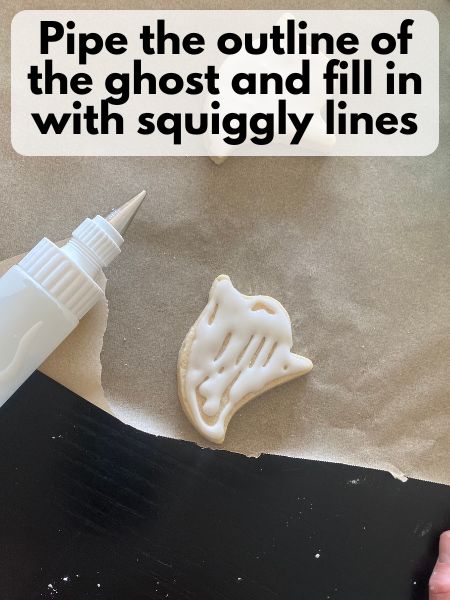
Option 2: The Pretty Way (Piping)
Transfer the royal icing to a piping bag or bottle with a small, round tip and outline each ghost, then flood the center with more icing. Use a toothpick to help fill in gaps and pop any air bubbles.
While the icing is still wet, add two candy eyes to each ghost. (Optional: once dry, add small facial expressions with black icing or edible marker.)
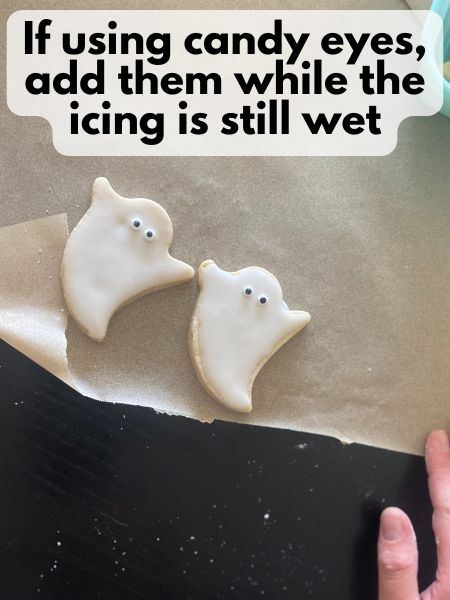
Optional: once dry, add small facial expressions with black icing or edible marker.
Let cookies dry completely (6–8 hours or overnight) before stacking or packaging.
Pro Tips for Decorating Ghost Cookies
- Use gel food coloring if adding black icing for eyes—it gives bold color without thinning.
- White icing is naturally opaque, so no coloring needed!
- Dipping is great for speed, but piping gives more control if you want super clean edges.
- Work on parchment paper to contain any icing mess and avoid staining counters.
- Pop air bubbles right away using a toothpick or scribe tool to prevent craters.
- Simple is spooky! Just candy eyes and white icing are all you need for a classic ghost look.
FAQs
Can I make the dough ahead of time?
Yes! Chill it in the fridge for up to 2 days, or freeze it to use later.
How many cookies does this make?
That depends on your ghost cookie cutter. I got about 30 medium-sized ghosts from one batch.
Will one batch of royal icing be enough?
Yes—white is the main color here, and you won’t need much if you’re only adding small accents like mouths or expressions.
What if I don’t have candy eyes?
You can leave them off, use mini chocolate chips, or just draw eyes with black icing or a food-safe marker after the white icing dries.
How long does royal icing take to dry?
Give them at least 6 to 8 hours to dry completely before packaging or stacking.
How should I store decorated cookies?
Store them in an airtight container at room temperature for up to a week. Separate layers with parchment if stacking.
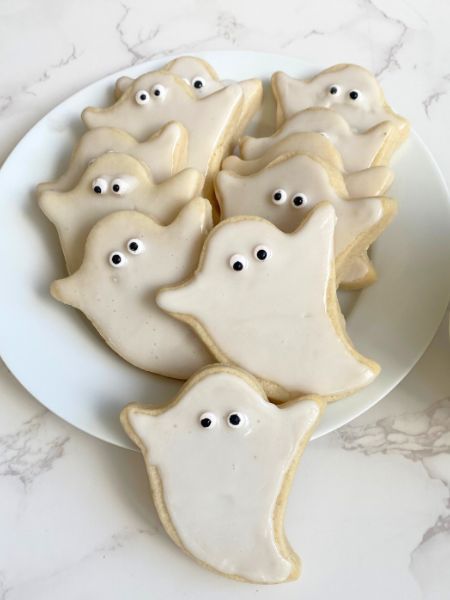
These ghost sugar cookies are as cute as they are easy—and perfect for a Halloween dessert tray or cookie decorating party. You only need a few ingredients and a little time to bring them to life!
Check back soon for my full Halloween cookie roundup, with even more fun shapes and decorating ideas.

Cute Ghost Decorated Sugar Cookies
Equipment
- ghost-shaped cookie cutter
- piping bag or piping bottle with small round tip optional, but helpful
- Sifter optional, but helpful
Ingredients
Cutout Cookie Base
- 1 cup unsalted butter softened
- 1 cup granulated sugar
- 1 egg
- 1 tsp vanilla
- 3 cups flour
- 1/2 tsp salt
Royal Icing
- 4 cups powdered sugar
- 3 Tbsp meringue powder
- 9-10 Tbsp water
- candy eyes optional
- black gel food coloring optional
Instructions
Bake Ghost Sugar Cookies
- Cream the butter and sugar in a large bowl until light and fluffy.
- Add the egg and vanilla and mix until smooth.
- In a separate bowl, whisk together the flour and salt, then gradually add it to the wet ingredients. Mix until a soft dough forms.
- Divide the dough in half, flatten into disks, and wrap in plastic wrap. Chill for at least an hour (definitely don't skip the chilling!).
- Once chilled, roll out the dough on a lightly floured surface to about ¼ inch thick.
- Use a ghost-shaped cookie cutter to cut out shapes and place them on a parchment-lined baking sheet.
- Preheat your oven to 350°F (175°C). Bake the cookies for 8–10 minutes, or until the edges are just beginning to turn lightly golden. Let cool completely before decorating.
Make Royal Icing and Decorate
- In a large bowl, sift together the powdered sugar, meringue powder. Then, add water until the icing is smooth and slightly thickened but still fluid. You’re aiming for a consistency that coats the back of a spoon and slowly runs off—not too thick, not too runny.
- You have two options for icing these cookies—both work great!
- Option 1: The Easy Way (Dipping): Dip each cookie face-down into the black icing. Lift it out, let the excess drip off, then flip and gently shake or tap to level the surface. Use a toothpick or scribe tool to pop any bubbles. This method is fast and great for batch decorating, though a bit messier.
- Option 2: The Pretty Way (Piping)Transfer the black icing to a piping bag or bottle with a small (like the one that looks too small to be true) tip and outline each cat, then flood the center with more icing.
- Whichever method you choose, use a toothpick to help fill in gaps and pop any air bubbles that form on the surface of your icing
- While the icing is still wet, add candy eyes if using. Or wait until white layer sets (at least 4 hours) and then color some royal icing black and pipe faces onto your cookies.
- Allow 6-8 hours for royal icing to fully set.