
Last updated on July 26th, 2025 at 01:12 pm
Want to create the cutest Halloween sugar cookies without a lot of stress? This easy Halloween sugar cookie decorating guide walks you through five classic shapes—cats, bats, ghosts, witch hats, and pumpkins—using one simple dough and one batch of royal icing.
Whether you’re prepping for a Halloween party or planning an afternoon of decorating with your kids, these Halloween themed desserts are a fun way to get festive and delicious treats.
Let’s talk cookie dough, icing, and how to bring each spooky shape to life!

Start with One Easy Sugar Cookie Dough
All of the cookies in this list use the same classic cutout sugar cookie recipe. It’s buttery, soft (but sturdy), and holds its shape beautifully—no puffing or spreading!
Cutout Sugar Cookie Dough Ingredients:
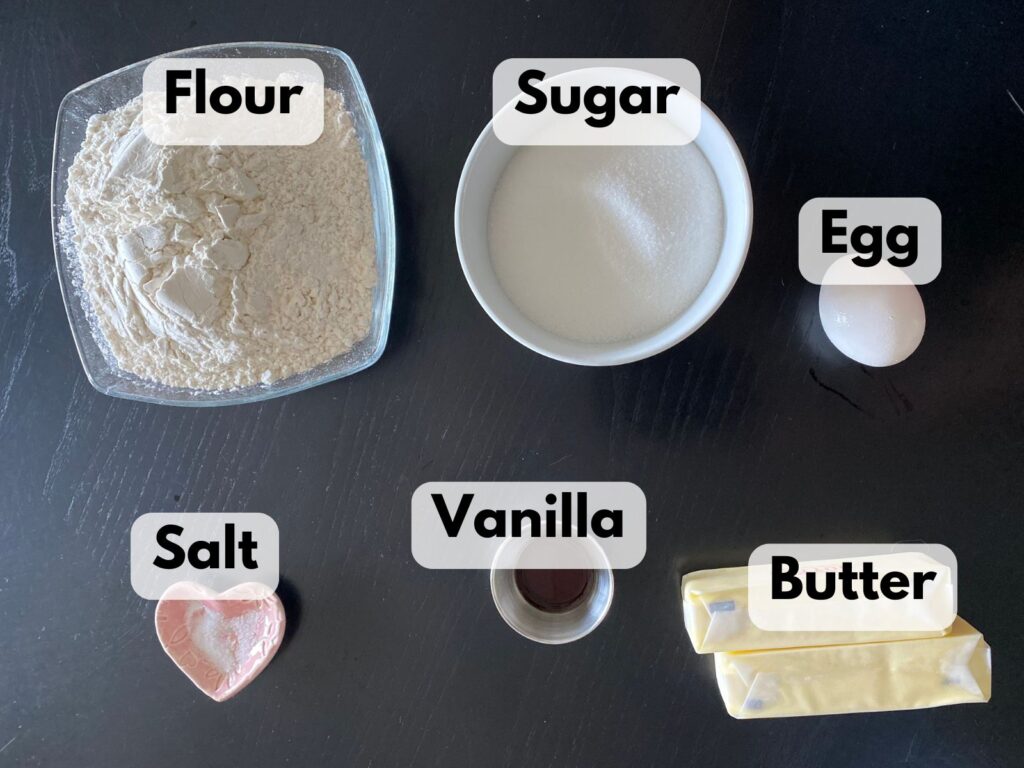
- 1 cup unsalted butter, softened
- 1 cup granulated sugar
- 1 large egg
- 1 teaspoon vanilla extract
- 3 cups all-purpose flour
- ½ teaspoon salt
Just cream the butter and sugar, mix in the egg and vanilla, then stir in the dry ingredients. Chill the dough for at least an hour before rolling and cutting your shapes. Bake at 350°F for 8–10 minutes and cool completely before decorating.
👉 Full recipe and instructions here
Use One Batch of Royal Icing for All Five Designs
This easy royal icing sets beautifully for decorating, and one batch is usually enough to cover all your cookies—just divide and color it as needed.
Royal Icing Ingredients (I use this recipe):
- 4 cups powdered sugar
- 3 tablespoons meringue powder
- 9-10 tablespoons water (plus more as needed)
- Gel food coloring (Most likely black, orange, green and maybe purple)
- Piping bag or bottle with a small, round tip (optional, but helpful)
- Candy eyes (optional for some of the cookies)
Whisk until smooth and fluid, adding more water a teaspoon at a time if needed. Color portions with gel food coloring to match your designs. You can pipe or dip—whatever works best for your decorating style!
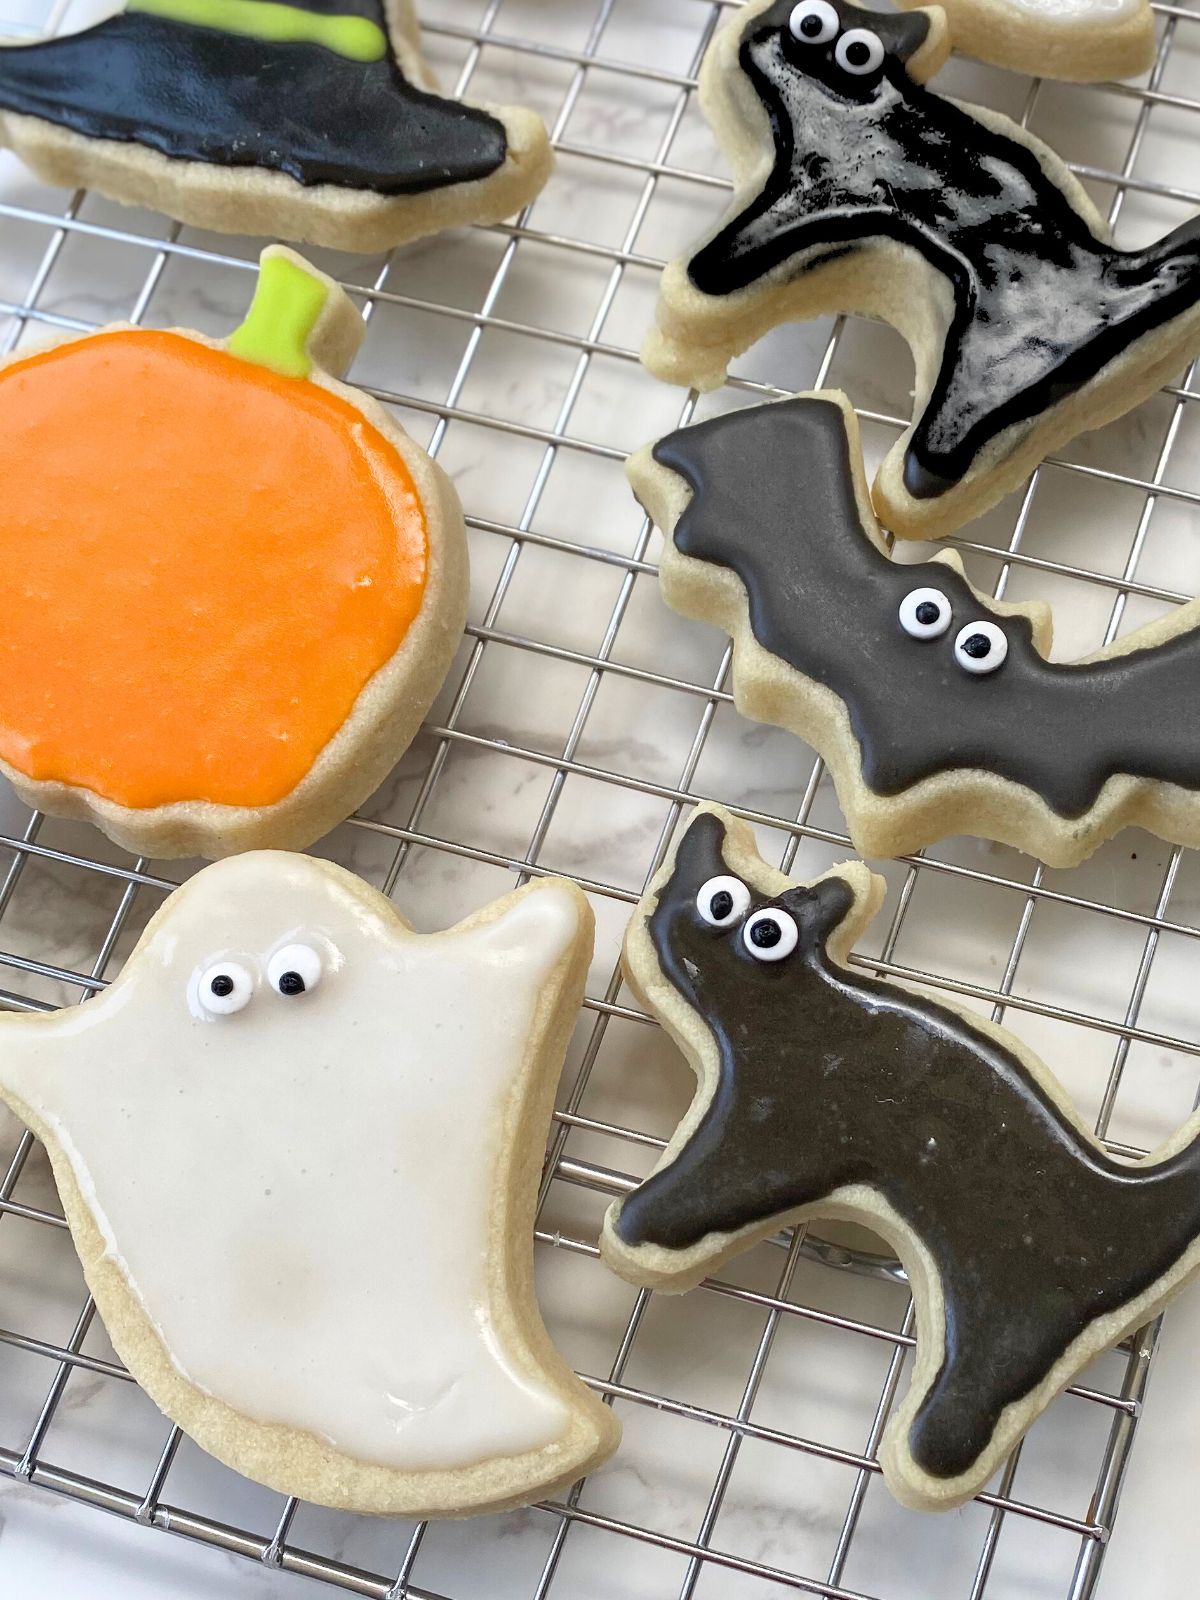
5 Easy Halloween Sugar Cookie Designs
You can decorate all of these shapes in one sitting, especially if you prep the dough and icing ahead of time. Below are quick how-tos for each cookie design, with links to full tutorials and tips.
🐈⬛ Cat Cookies
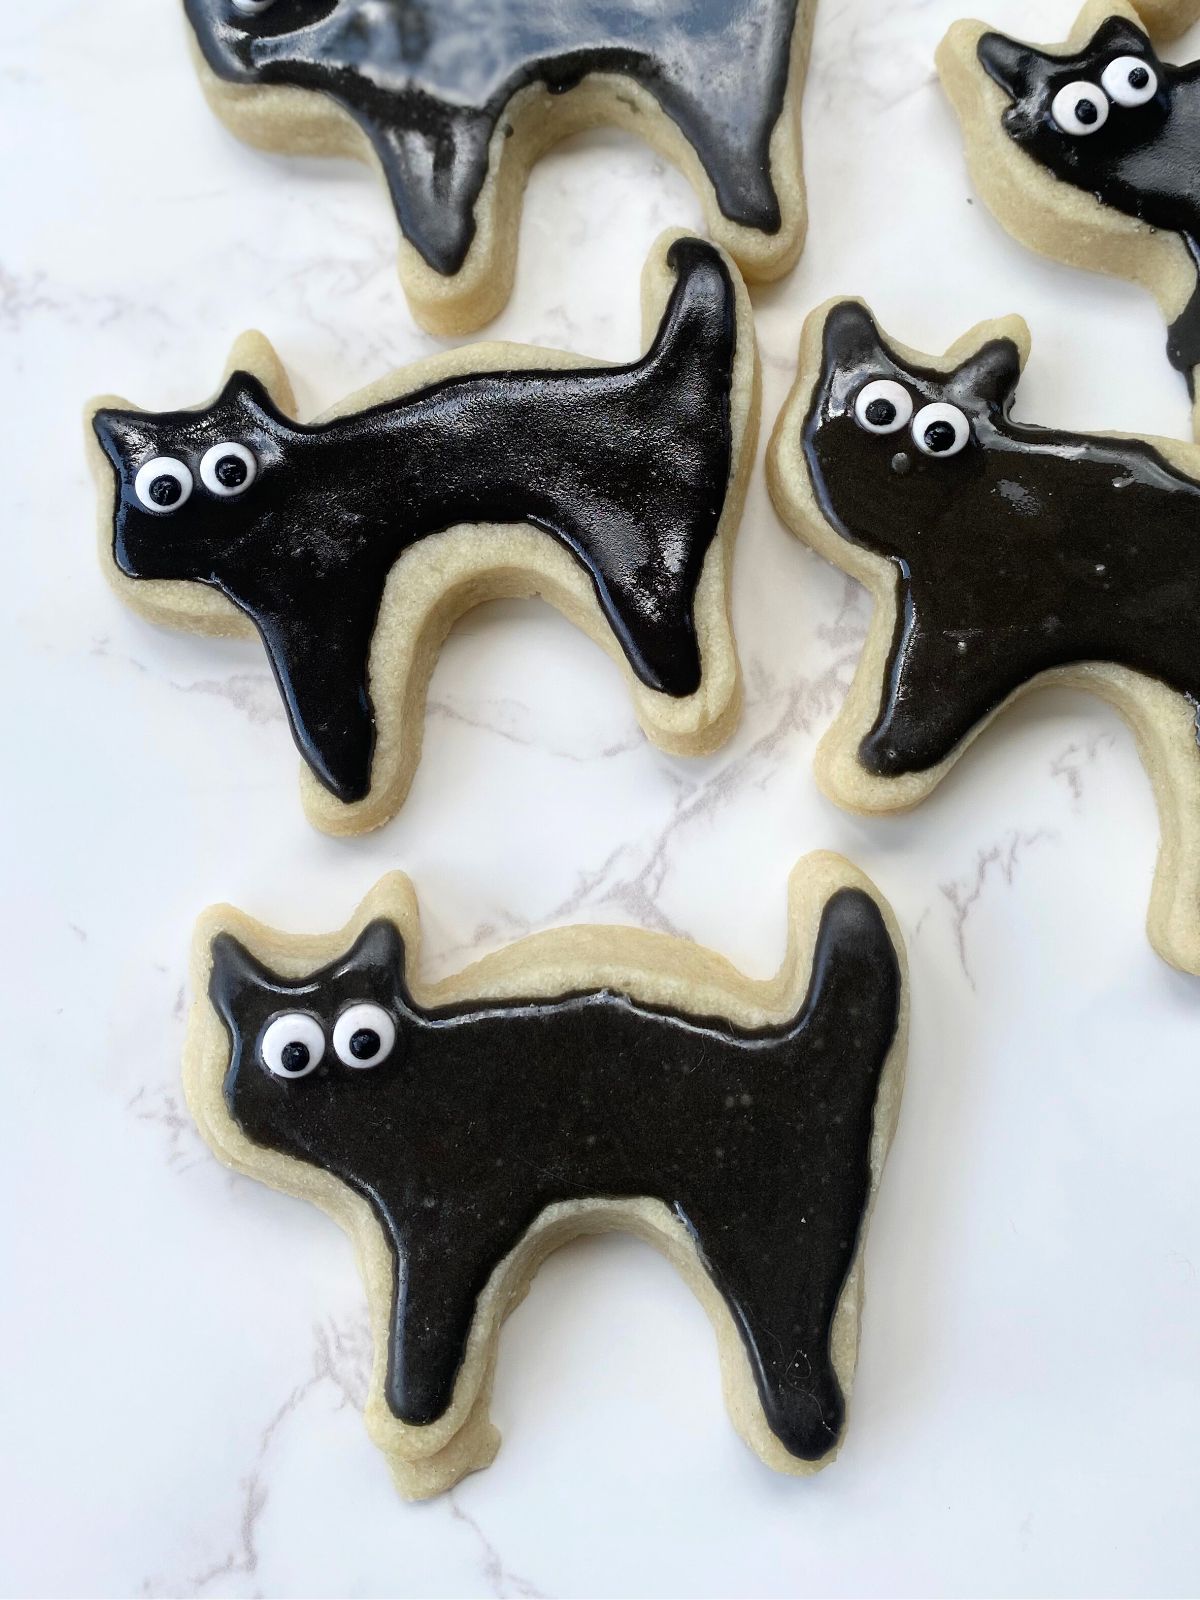
Either dip the cookie in black icing and let the excess drip off. Or, outline the cat and then fill in the entire cookie with black royal icing. Press on two candy eyes while the icing is still wet. Optional: use a small amount of white icing to pipe whiskers.
👉 See full cat cookie decorating instructions
🦇 Bat Cookies
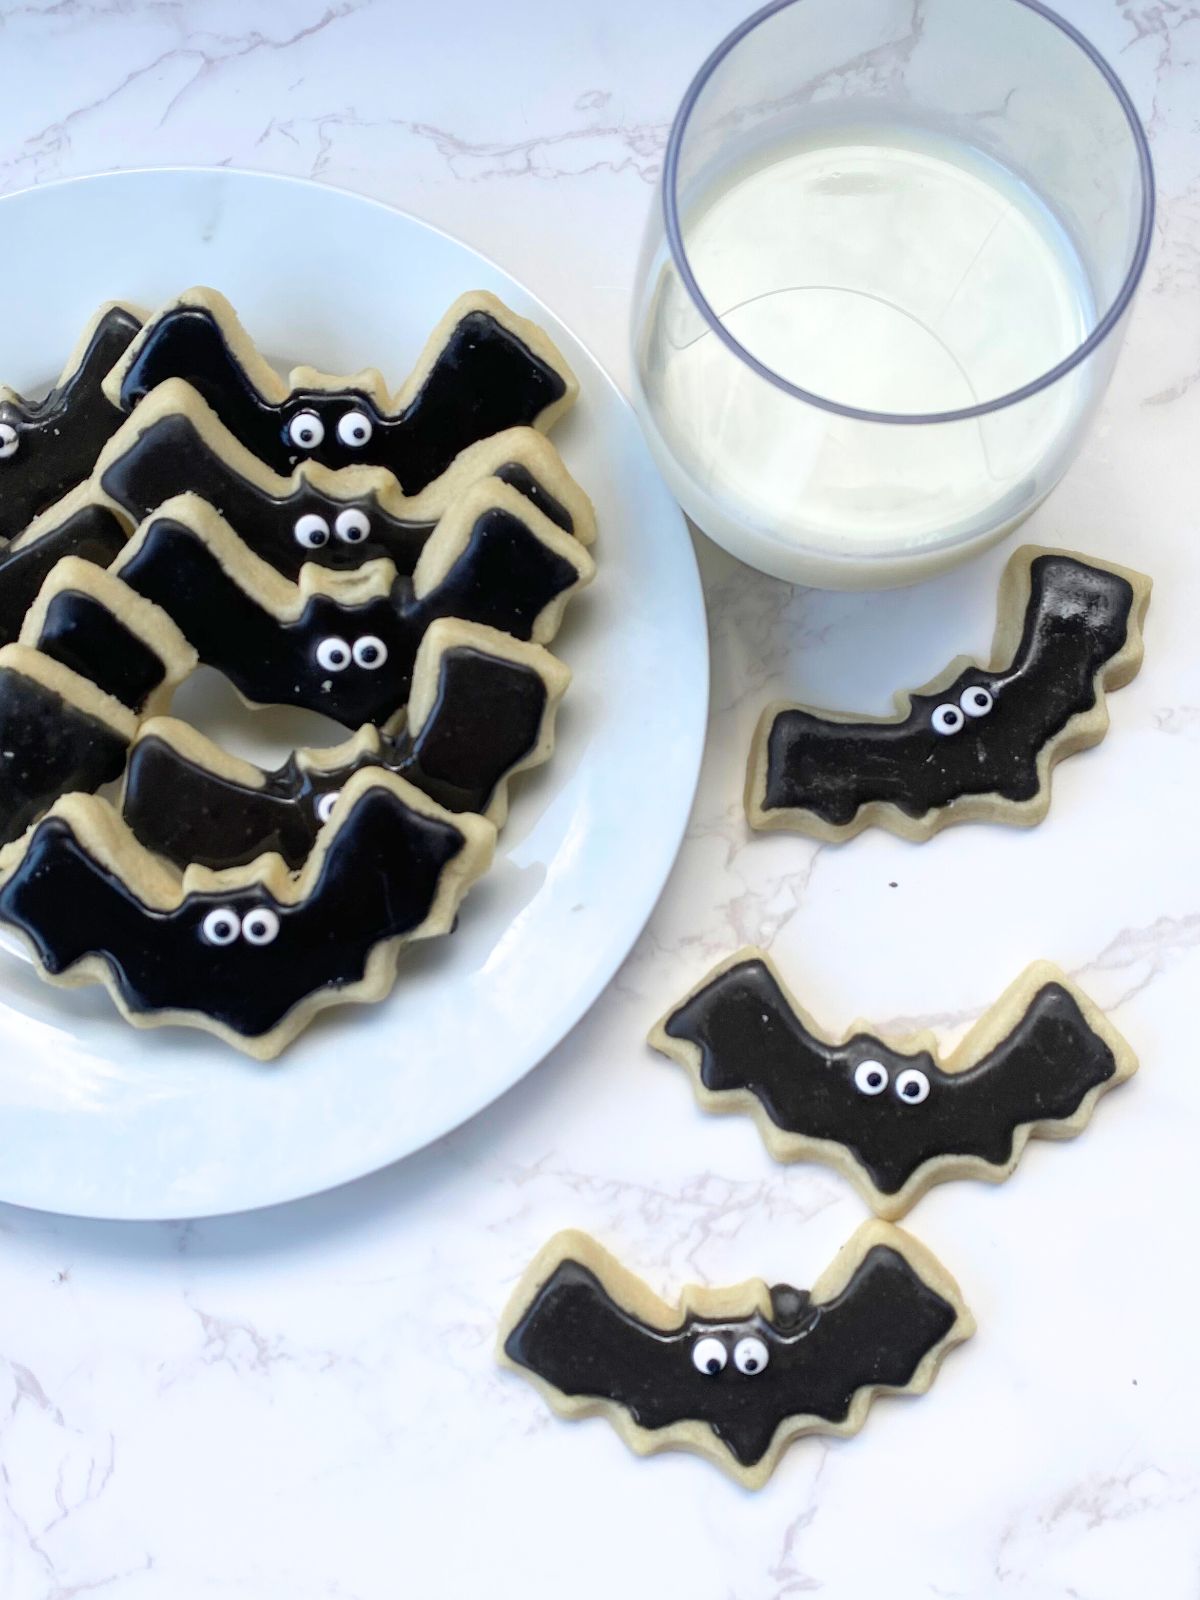
Dip the cookies in black royal icing, or outline and fill with black royal icing. While still wet, add two candy eyes near the center. You can keep the wings simple or pipe on extra lines once dry.
👉 See full bat cookie decorating instructions
👻 Ghost Cookies
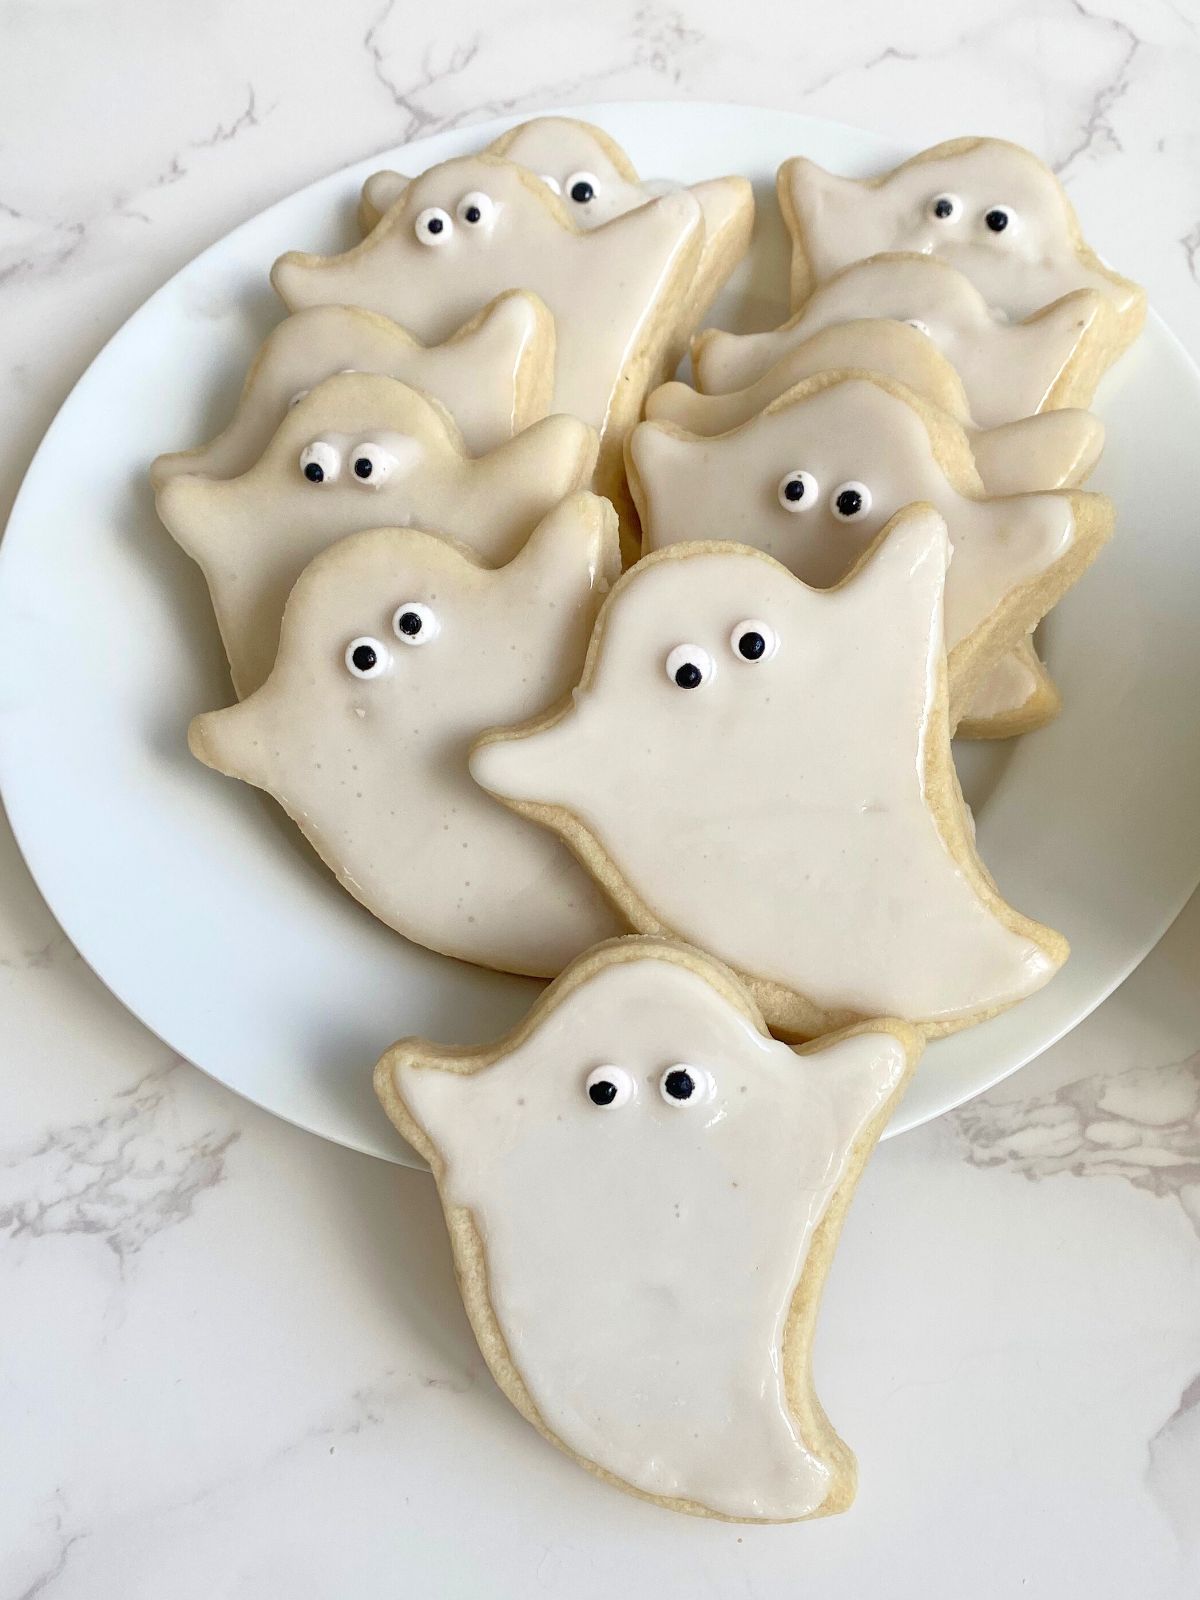
Flood the ghost with white royal icing and press in two candy eyes near the top. Optional: once dry, use black icing or edible marker to add little mouths or expressions.
👉 See full ghost cookie decorating instructions
🎃 Pumpkin Cookies

Use orange royal icing to flood the pumpkin shape. While still wet or slightly set, add a green stem at the top. For extra detail, pipe lines or jack-o’-lantern faces after the orange dries.
👉 See full pumpkin cookie decorating instructions
🧙♀️ Witch Hat Cookies
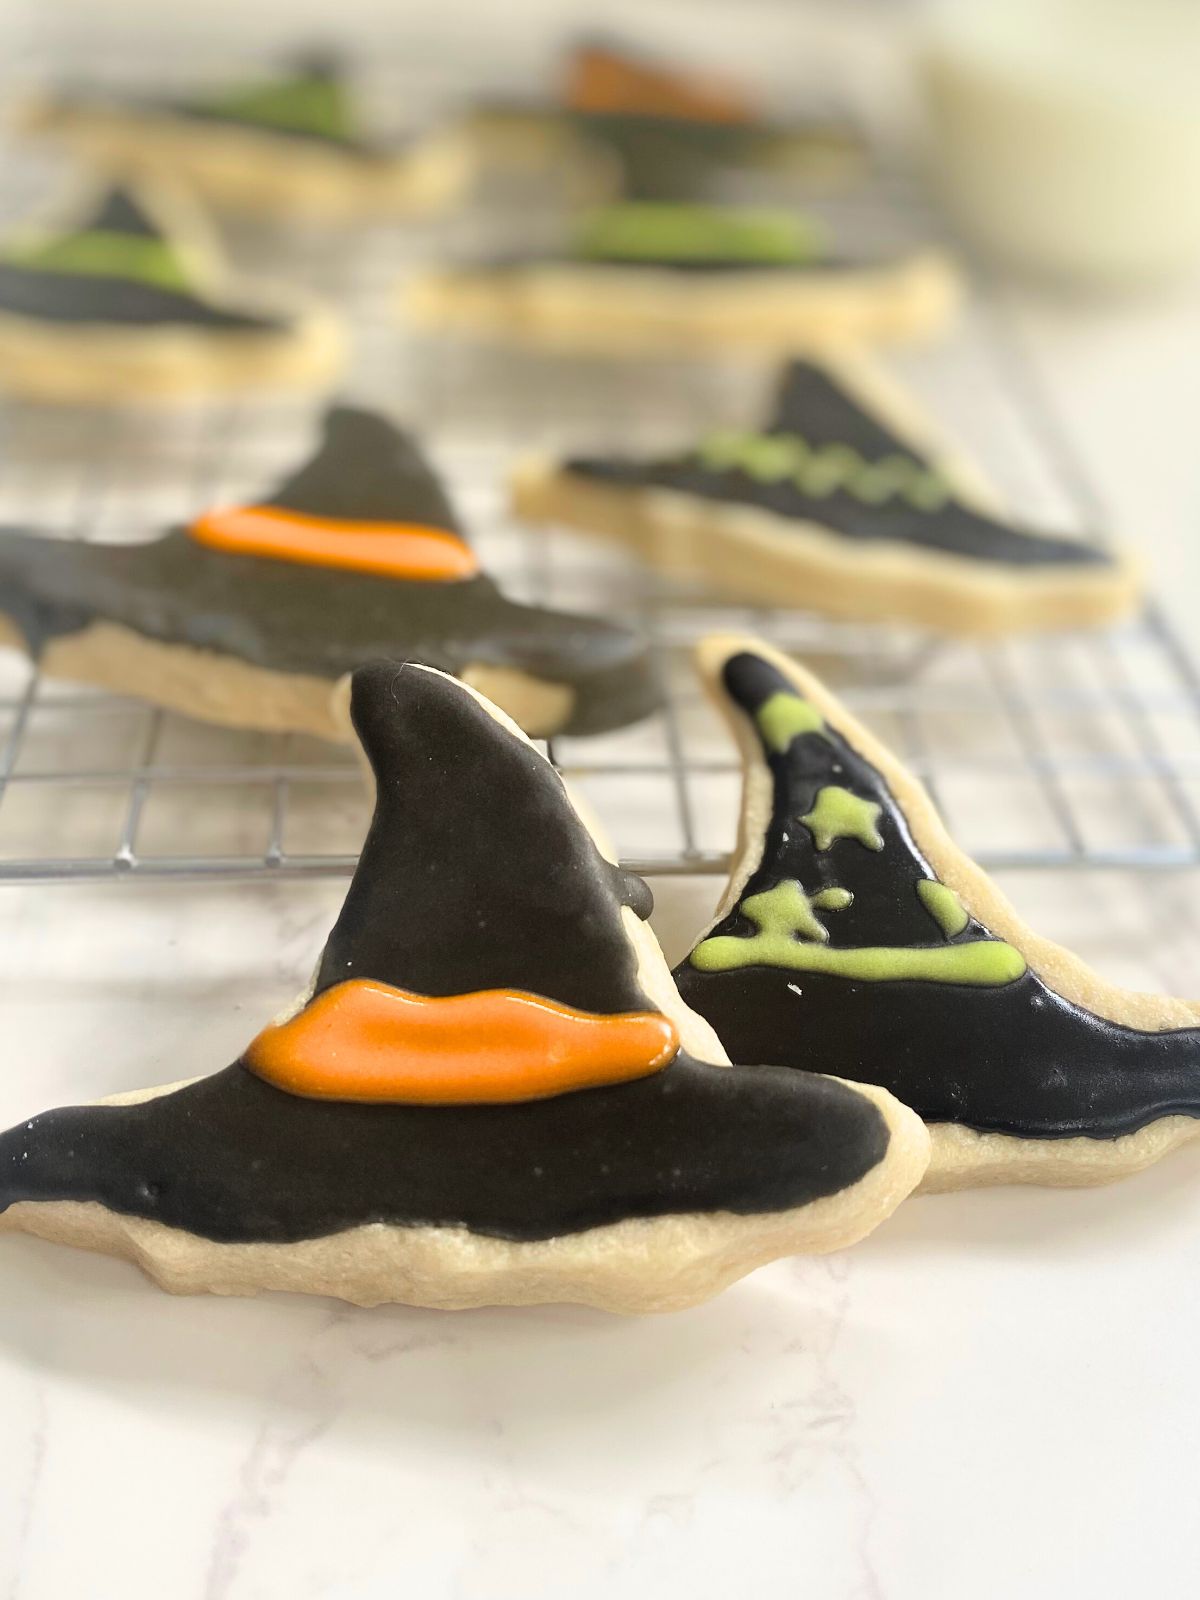
Flood the cookie with black royal icing and let it set. Then pipe a colorful band (purple, green, or orange) and finish with a small yellow or gold square for a buckle.
👉See full witch hat cookie decorating instructions
Pro Tips for Decorating Halloween Sugar Cookies
- Prep everything ahead. Bake your cookies and make your icing the day before, so decorating is easy and stress-free. If you make your royal icing a day ahead of time, just make sure it’s covered with plastic wrap so it doesn’t dry. You can give it a quick stir when you’re ready to use it and it should be good to go.
- Make your cookies extra thick. Especially if you have little helpers for the decorating, extra thick cookie dough can be useful. I have one of those rolling pins that has measurements on the side and I like use the 5/16” instead of ¼” just to give myself (and tiny hands) a bit more to work with.
- Use parchment paper to protect your counters for sure! Especially with black food coloring. I don’t know how, but black food coloring somehow manages to get everywhere and stain everything if you’re not careful.
- Gel food coloring gives the best color payoff without thinning your icing. Regular food coloring will also work, though.
- Let icing dry completely (at least 6–8 hours) before stacking cookies on top of one another. If you’re doing a base layer of icing and then adding some decorations, you don’t have to wait the full 6-8 hours, but just note that the base layer will still be kind of soft and you can easily put big fingerprint dents in it.

These Halloween sugar cookie designs are festive, approachable, and so much fun to make! Whether you’re decorating for a party or just want a seasonal weekend activity, this cookie set has everything you need to celebrate in sweet style.
Once you try one shape, you’ll want to make them all—so be sure to check out the full tutorials for each design linked above!