
Last updated on August 20th, 2023 at 09:50 pm
Hey there, glitter enthusiasts and culinary adventurers! Are you ready to add a touch of sparkle and pizzazz to your next culinary masterpiece? Well, you’re in luck because today I am diving into the fascinating world of edible glitter. That’s right, we’re talking about those mesmerizing, shimmering particles that can turn any ordinary dish into a showstopper. Now, you might be wondering, “How can I make my own edible glitter?” Well, my friends, I’ve got you covered! In this blog post, I’ll be comparing and reviewing two different methods of creating edible glitter, so you can bring the glitz and glam to your kitchen in style.
Which of these two methods gives better results? Keep reading to find out!
The Methods:
Method 1: The Sugar Sprinkle Spectacle
Let’s start with the classic method of making edible glitter using sugar. This technique is super simple and perfect for those who want a quick and easy solution. All you need is some granulated sugar, food coloring, and a dash of creativity. First, grab a small bowl and pour in a generous amount of sugar. Next, add a few drops of your favorite food coloring and mix it well until the color is evenly distributed. Now, spread the colored sugar on a baking sheet and pop it into the oven at a low temperature for about 10-15 minutes. Once it’s done, let it cool and voila! You’ve got yourself a sparkly sugar sprinkle wonderland.
Method 2: The Colorful Cornstarch Masterpiece
This method I saw on TikTok, and I had to try it! It’s a little more complicated than the first method described here, but it looks like it yields excellent results. Basically, you combine cornstarch and water in a pot and cook until it thickens. Then, you remove it from the heat and add your desired amount of food coloring and mix. After that, you spread a thin layer of your colorful cornstarch mixture on some plastic wrap and let it dry. It will form a flaky, thin paper almost. You put that paper in a blender and grind it up to make a beautiful, edible glitter!
So, which method will reign supreme? Let’s actually get in the kitchen to experiment with both!
Method 1: Sugar
To create this edible glitter, first, preheat your oven to 350 degrees F.
Then, take some sugar (It can be as much as you want. Whatever amount of sugar you use will be the amount of glitter you end up with in the end.) and put it in a bowl. Carefully, add a few drops of food coloring and mix.
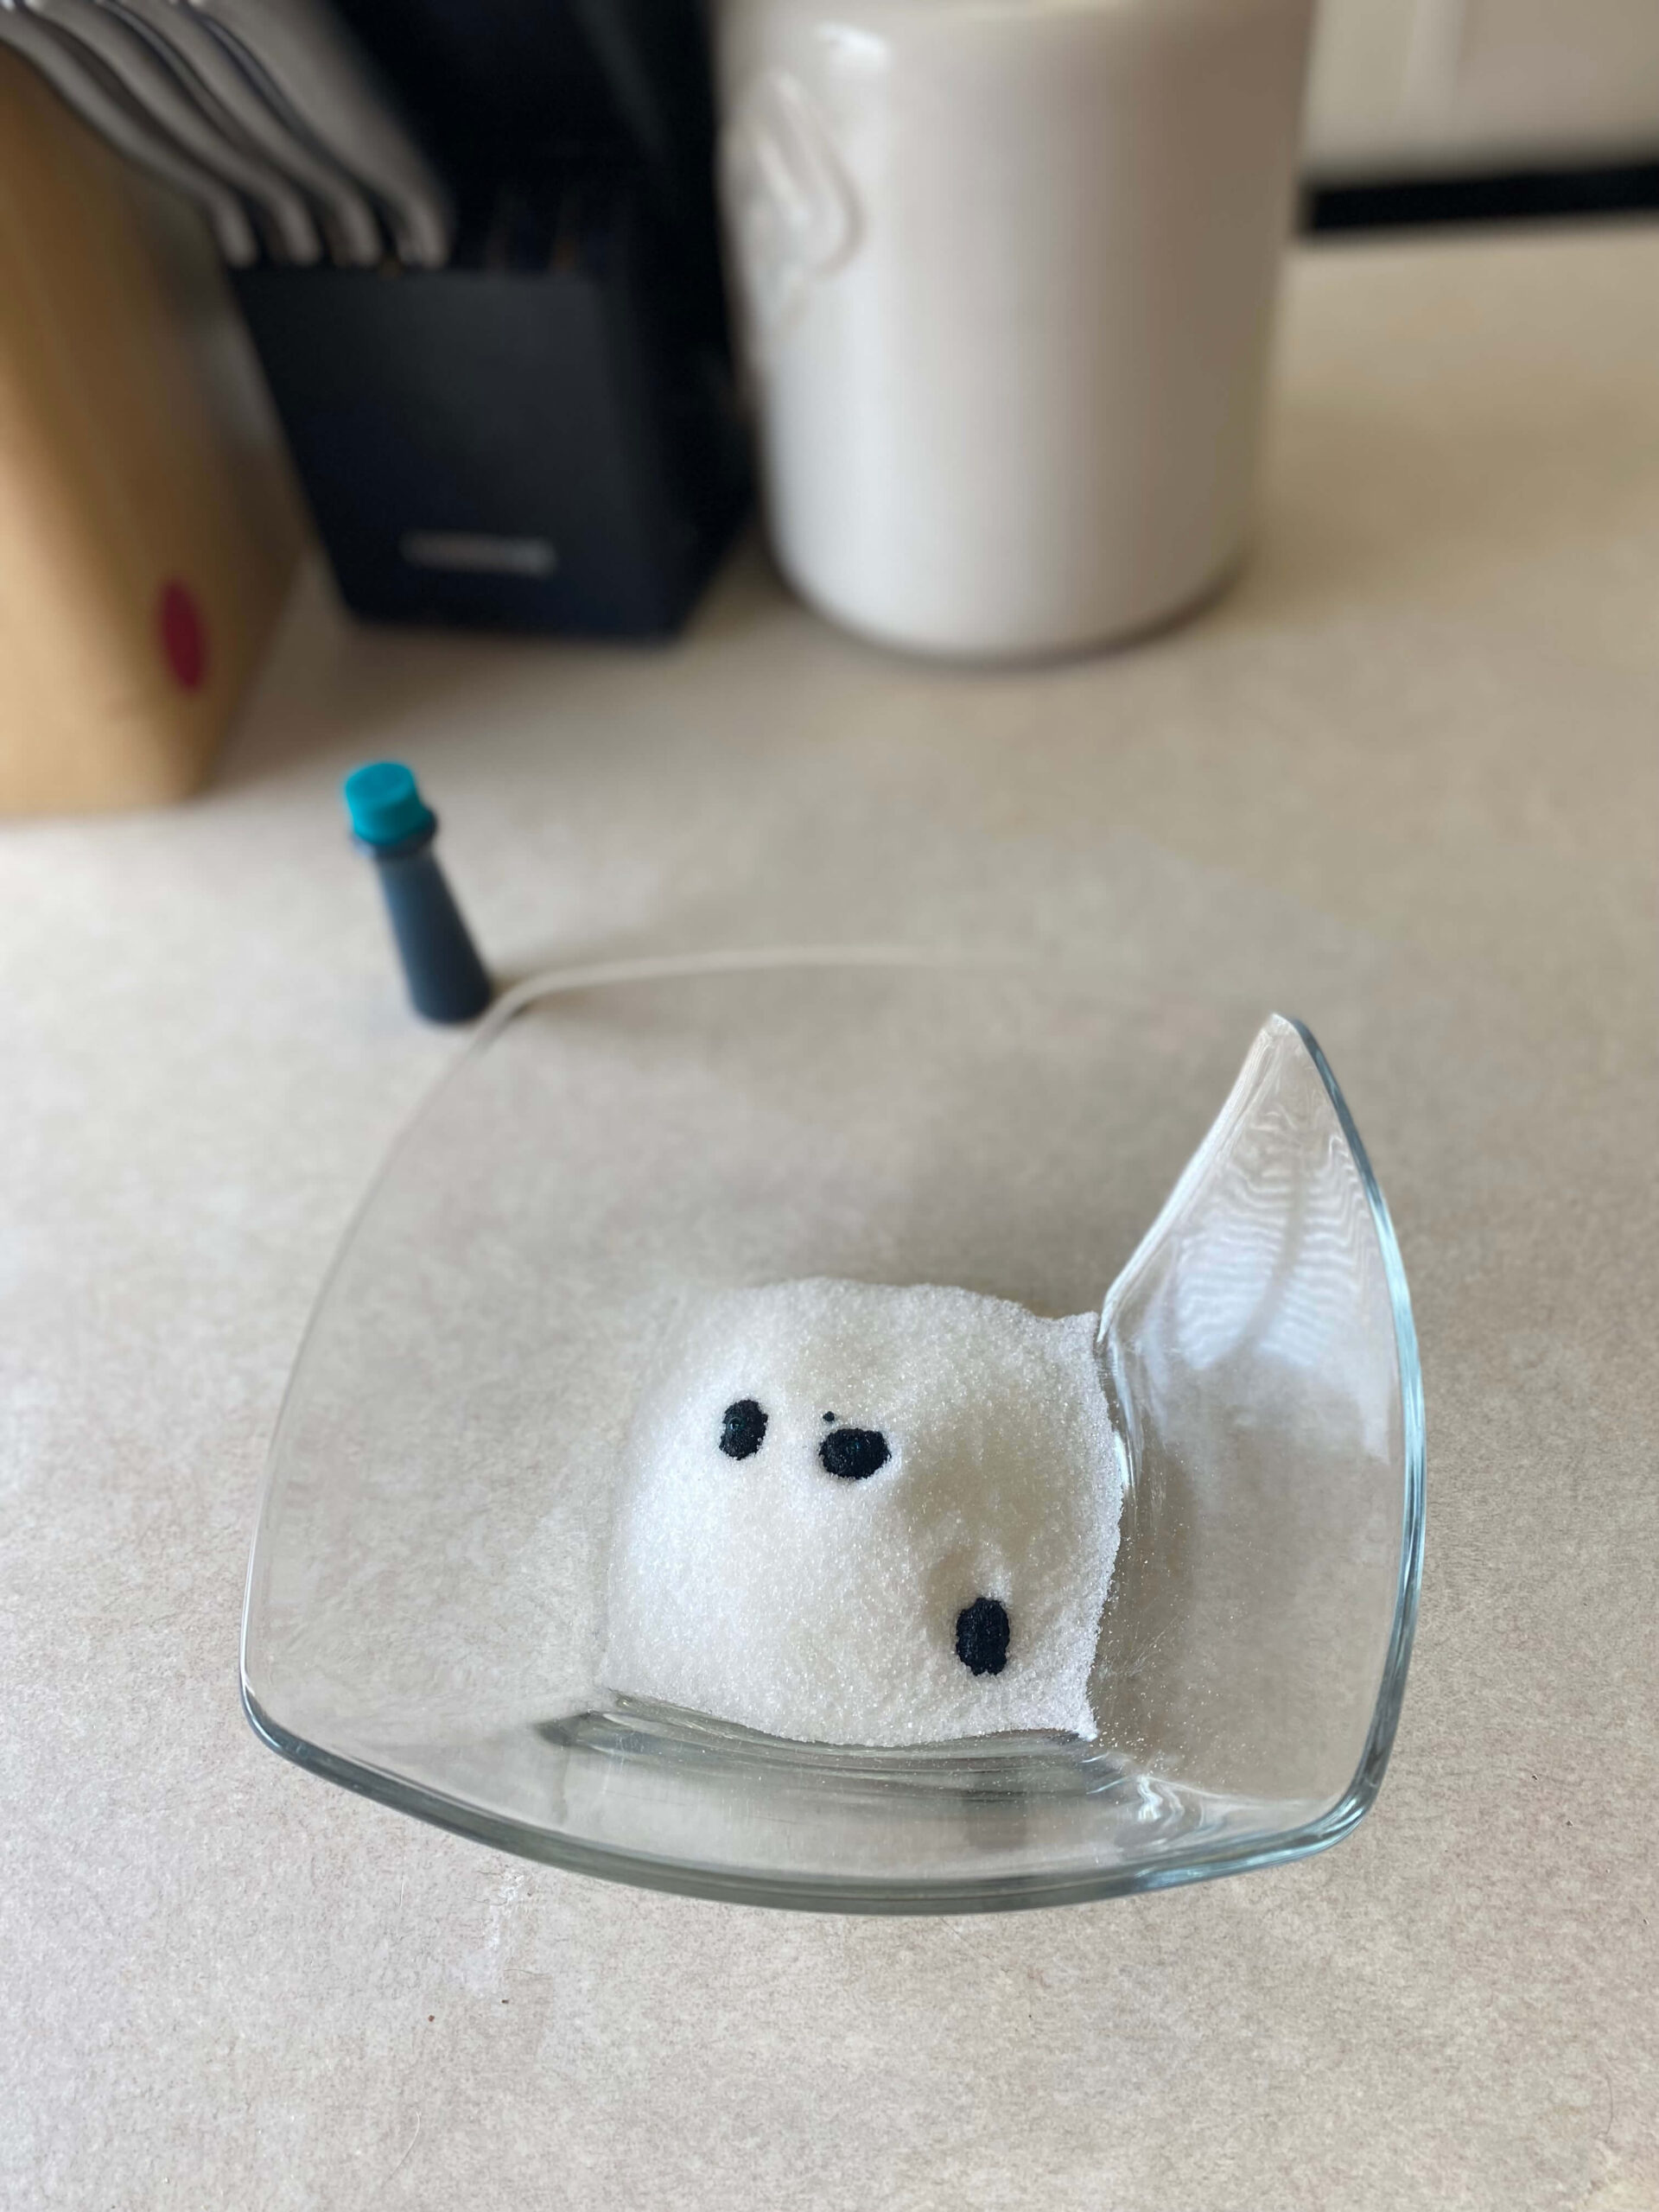
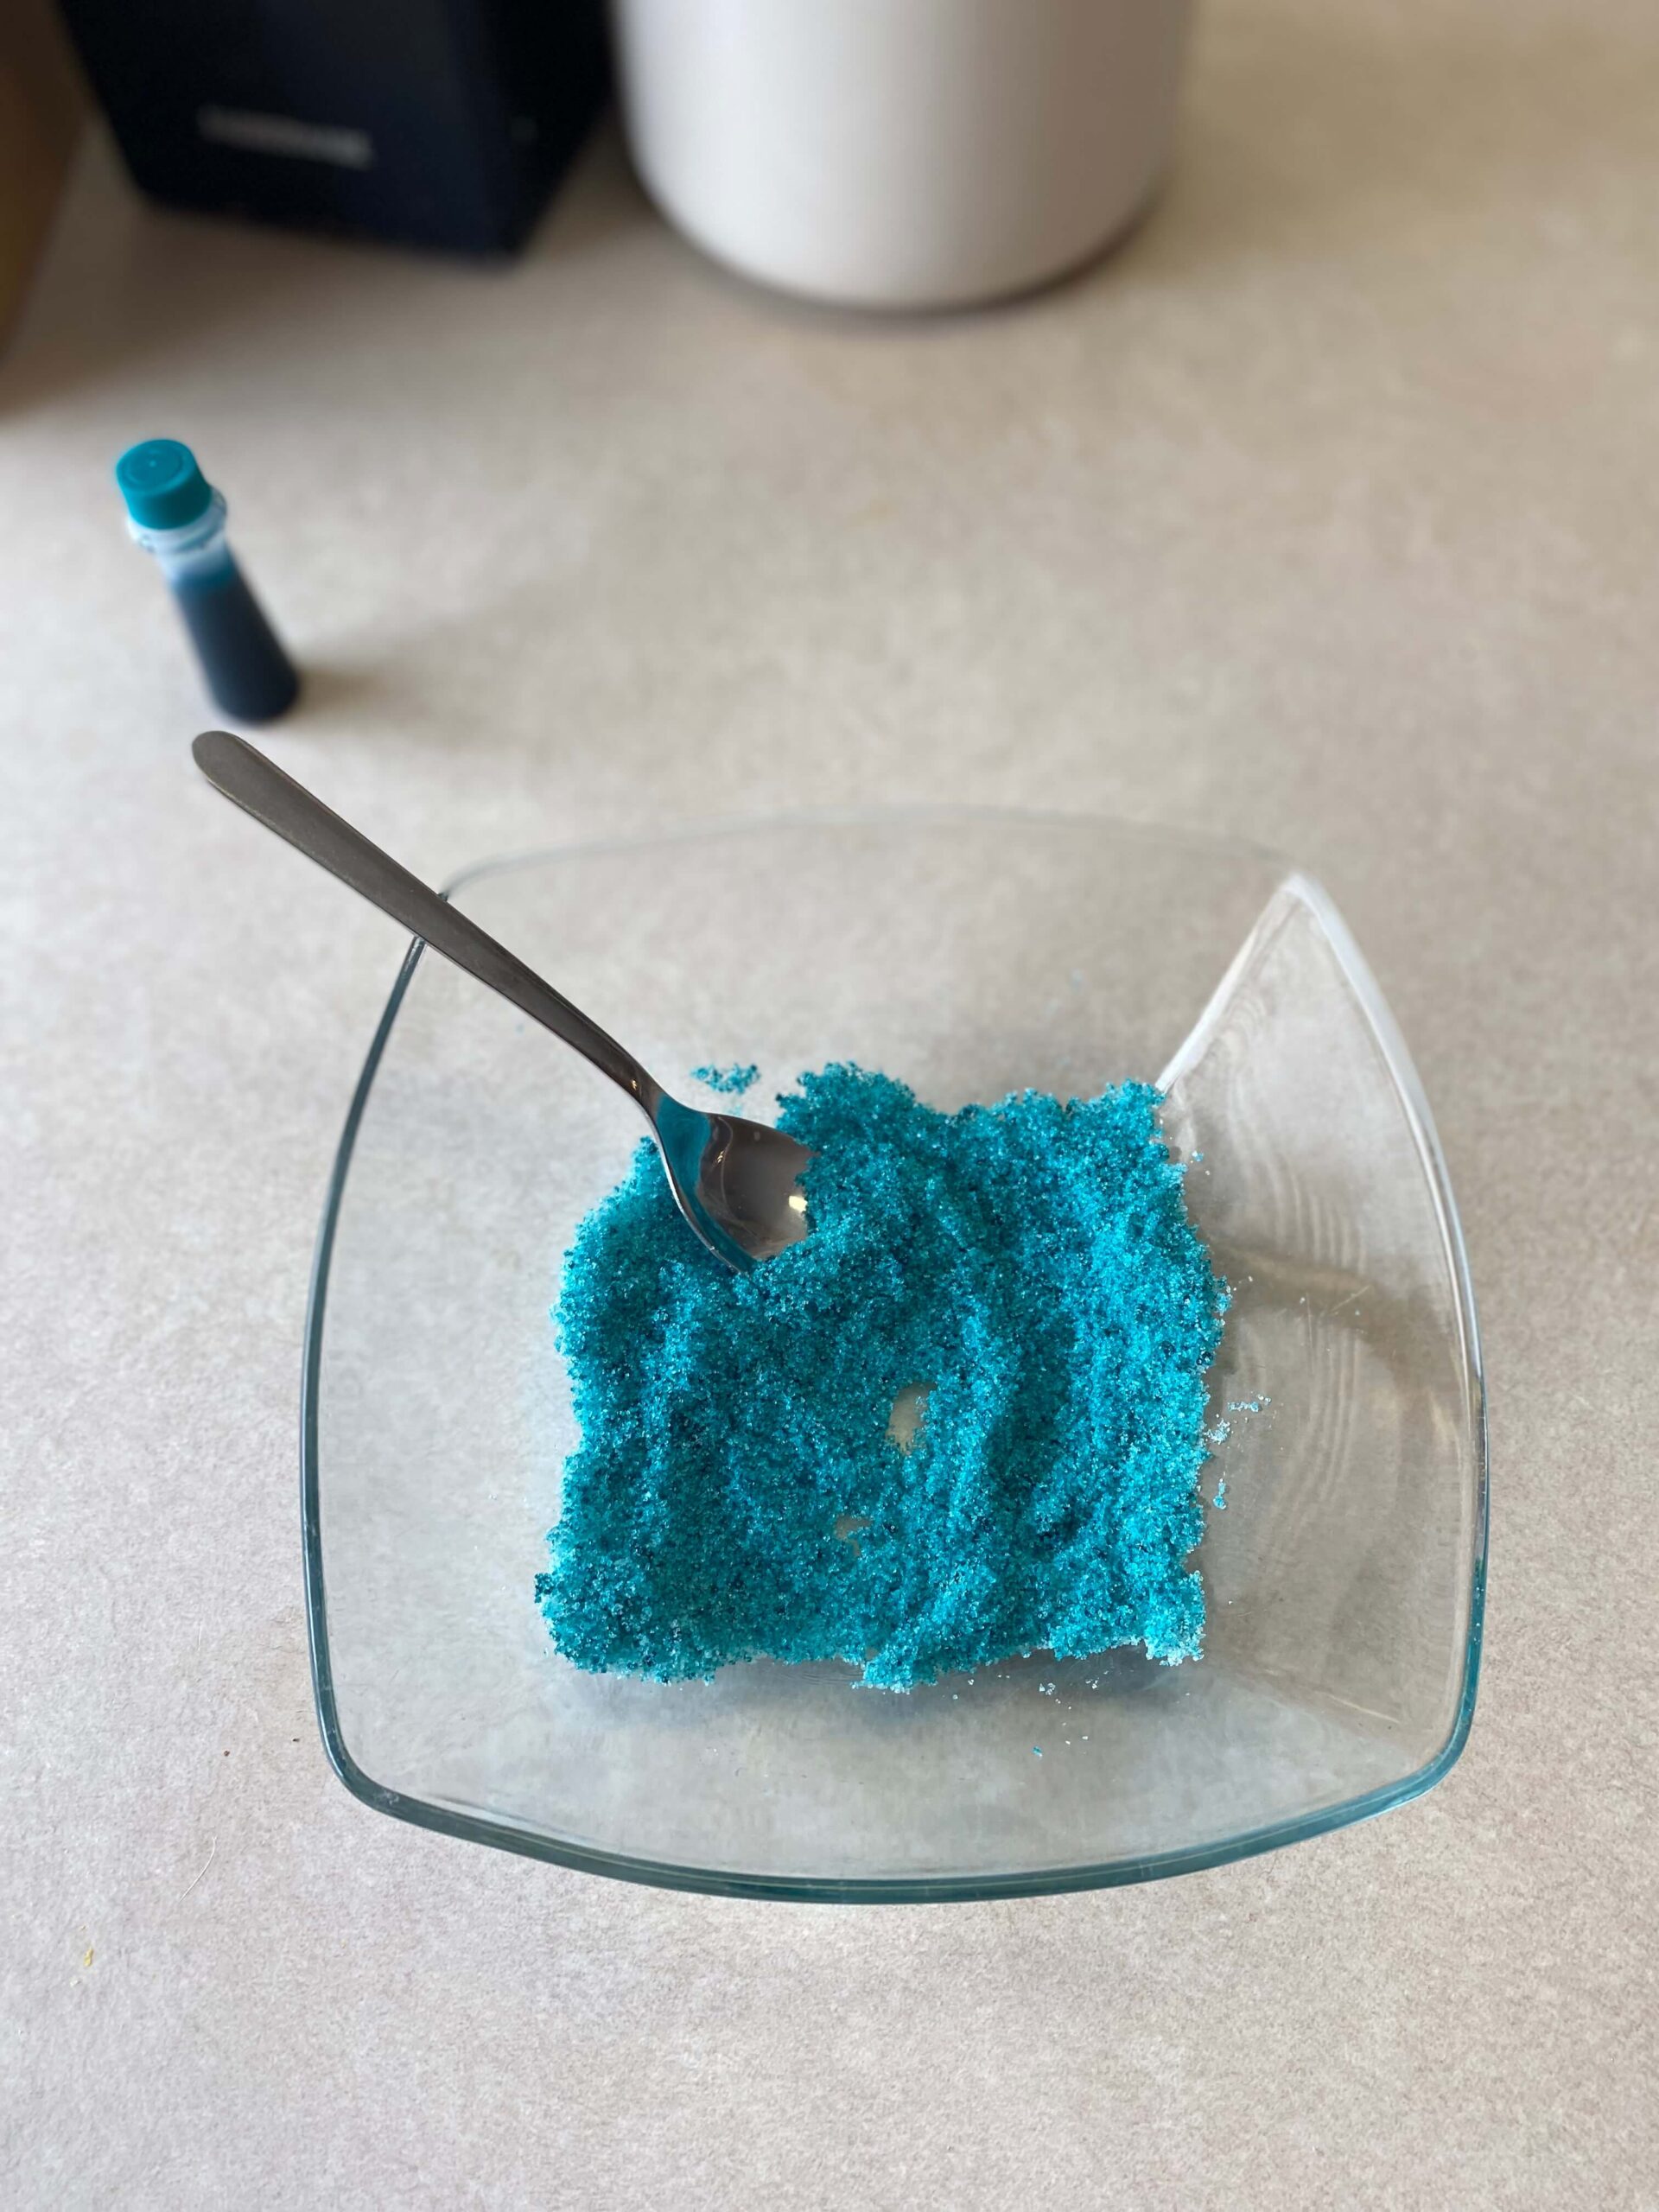
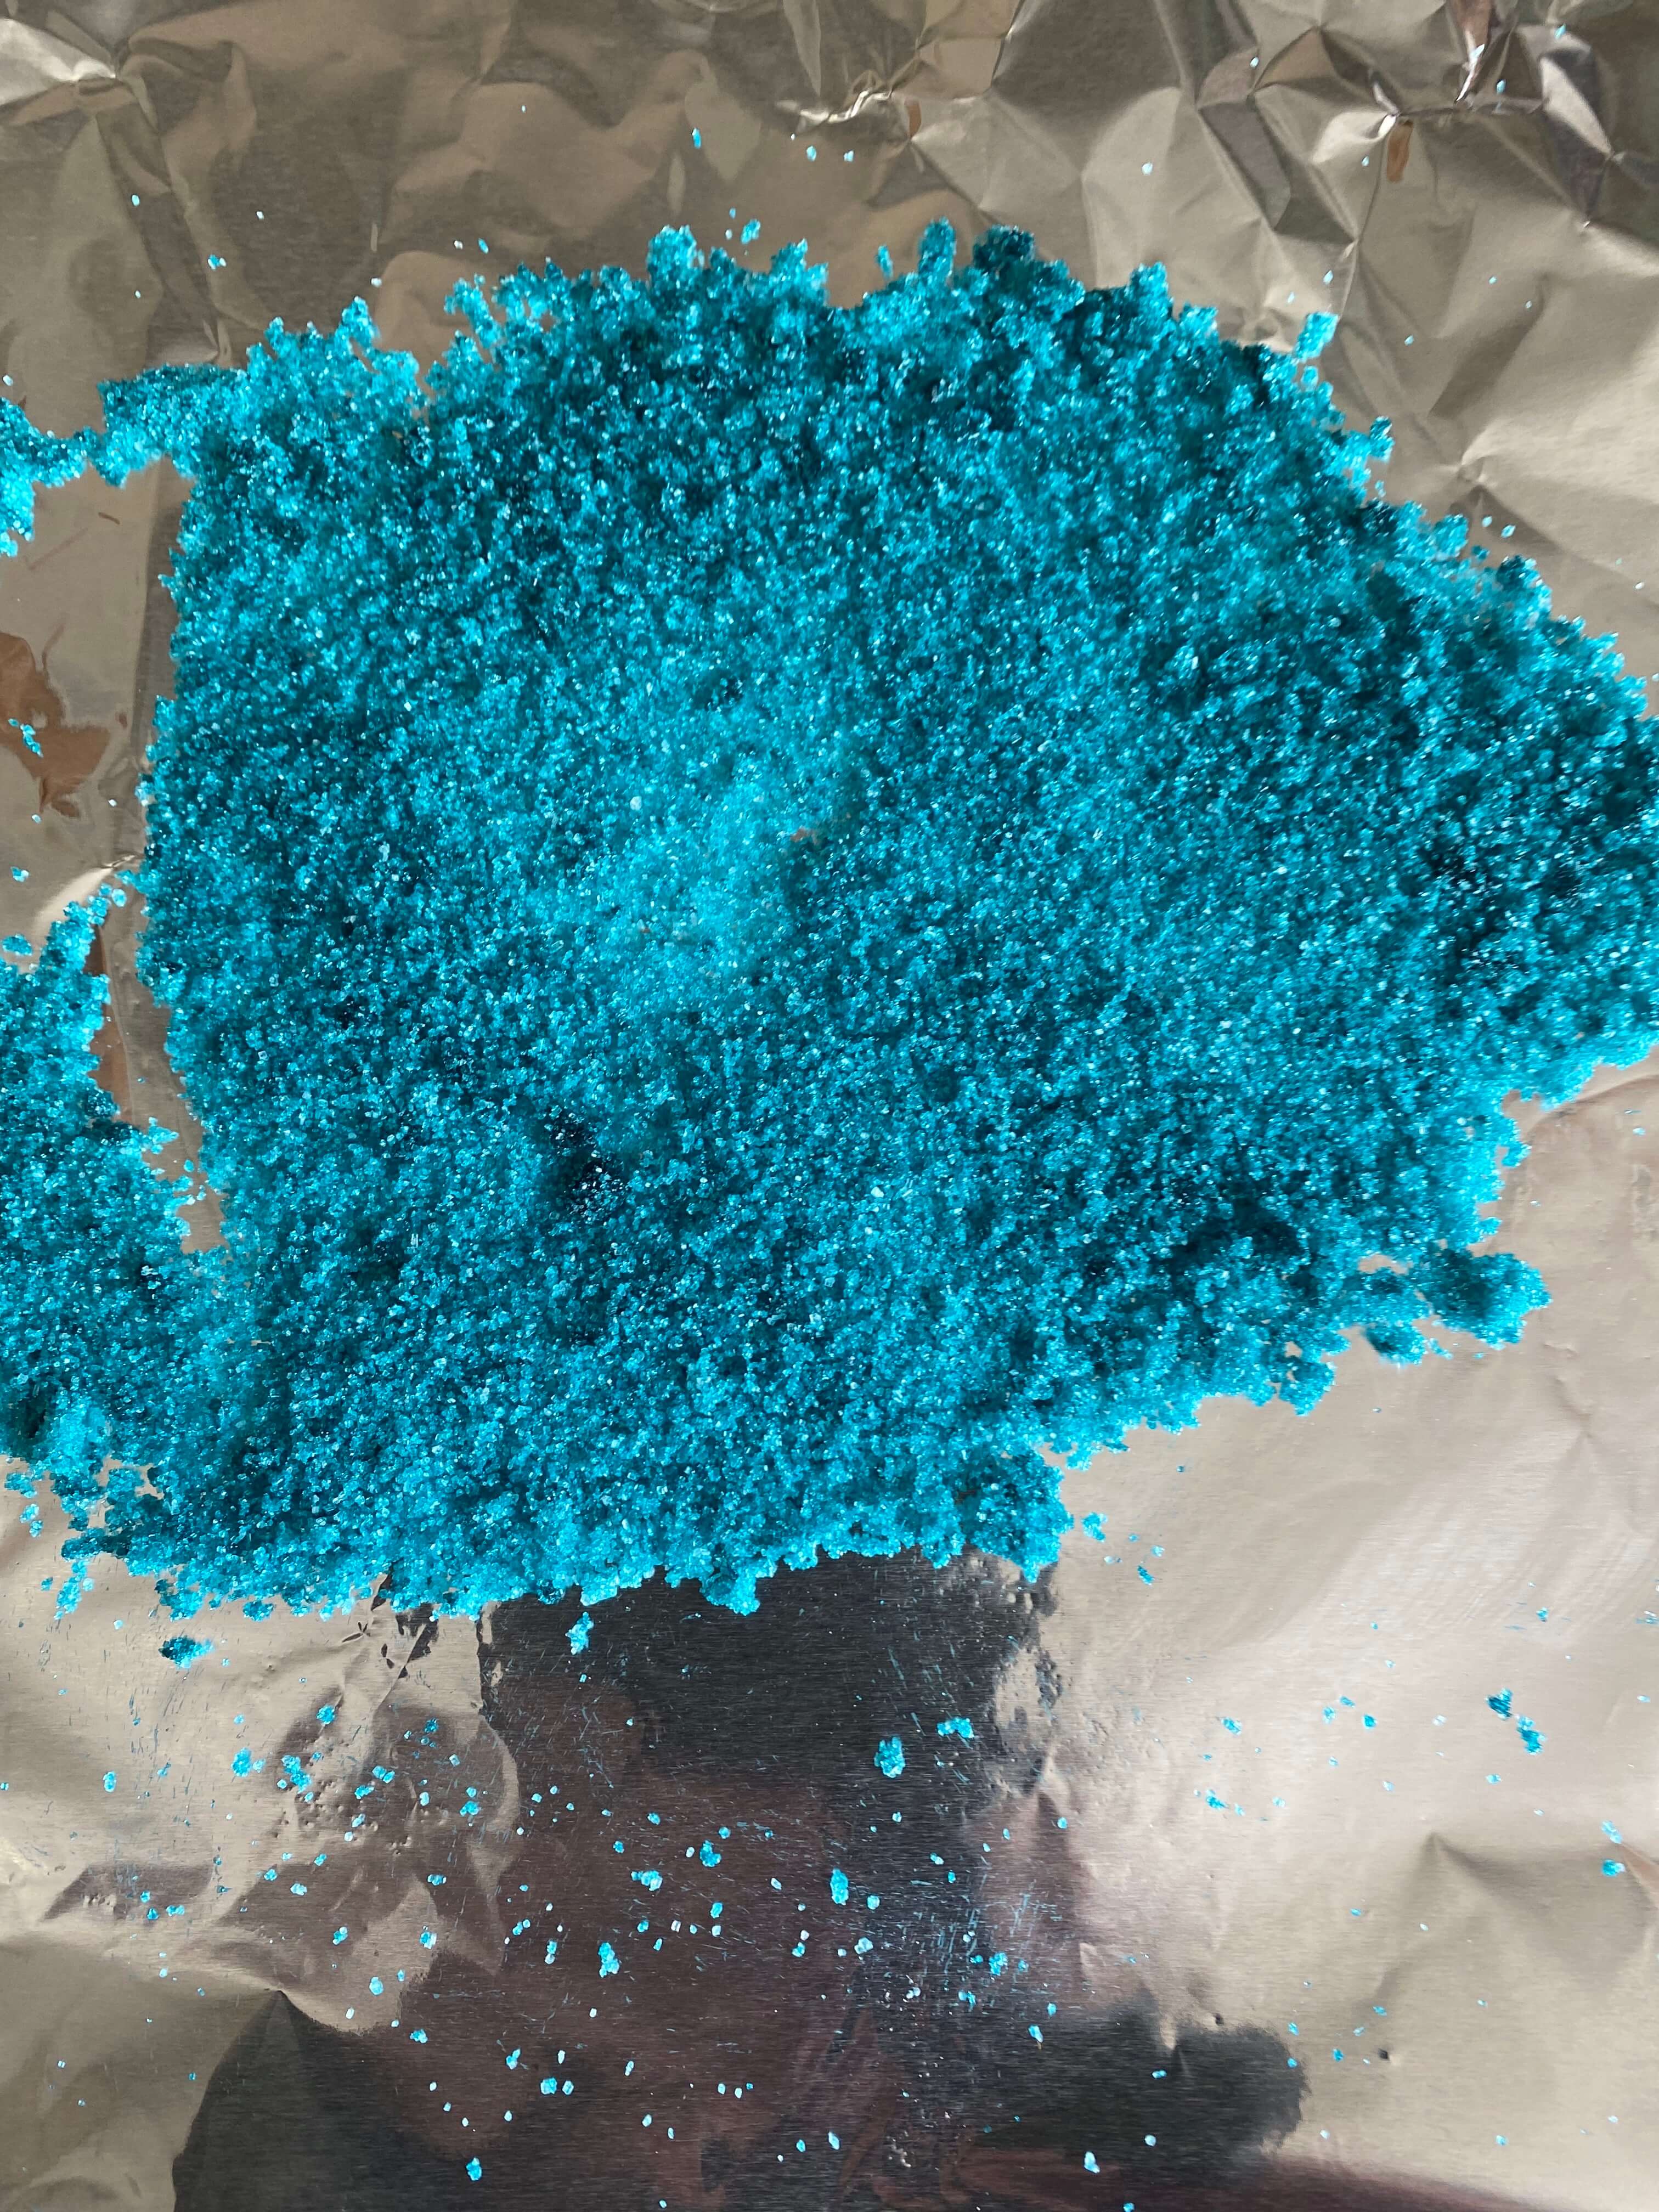
You want your color evenly distributed. It’s better to start off with less food coloring, because you can always add more. Keep mixing that sugar and food coloring until you get the color you want. As you can see, for this experiment, I chose a teal color for this method. I also chose gel food coloring rather than liquid. I don’t know if that made a difference, but I definitely had to stir more than I was expecting in order to get the color evenly distributed!
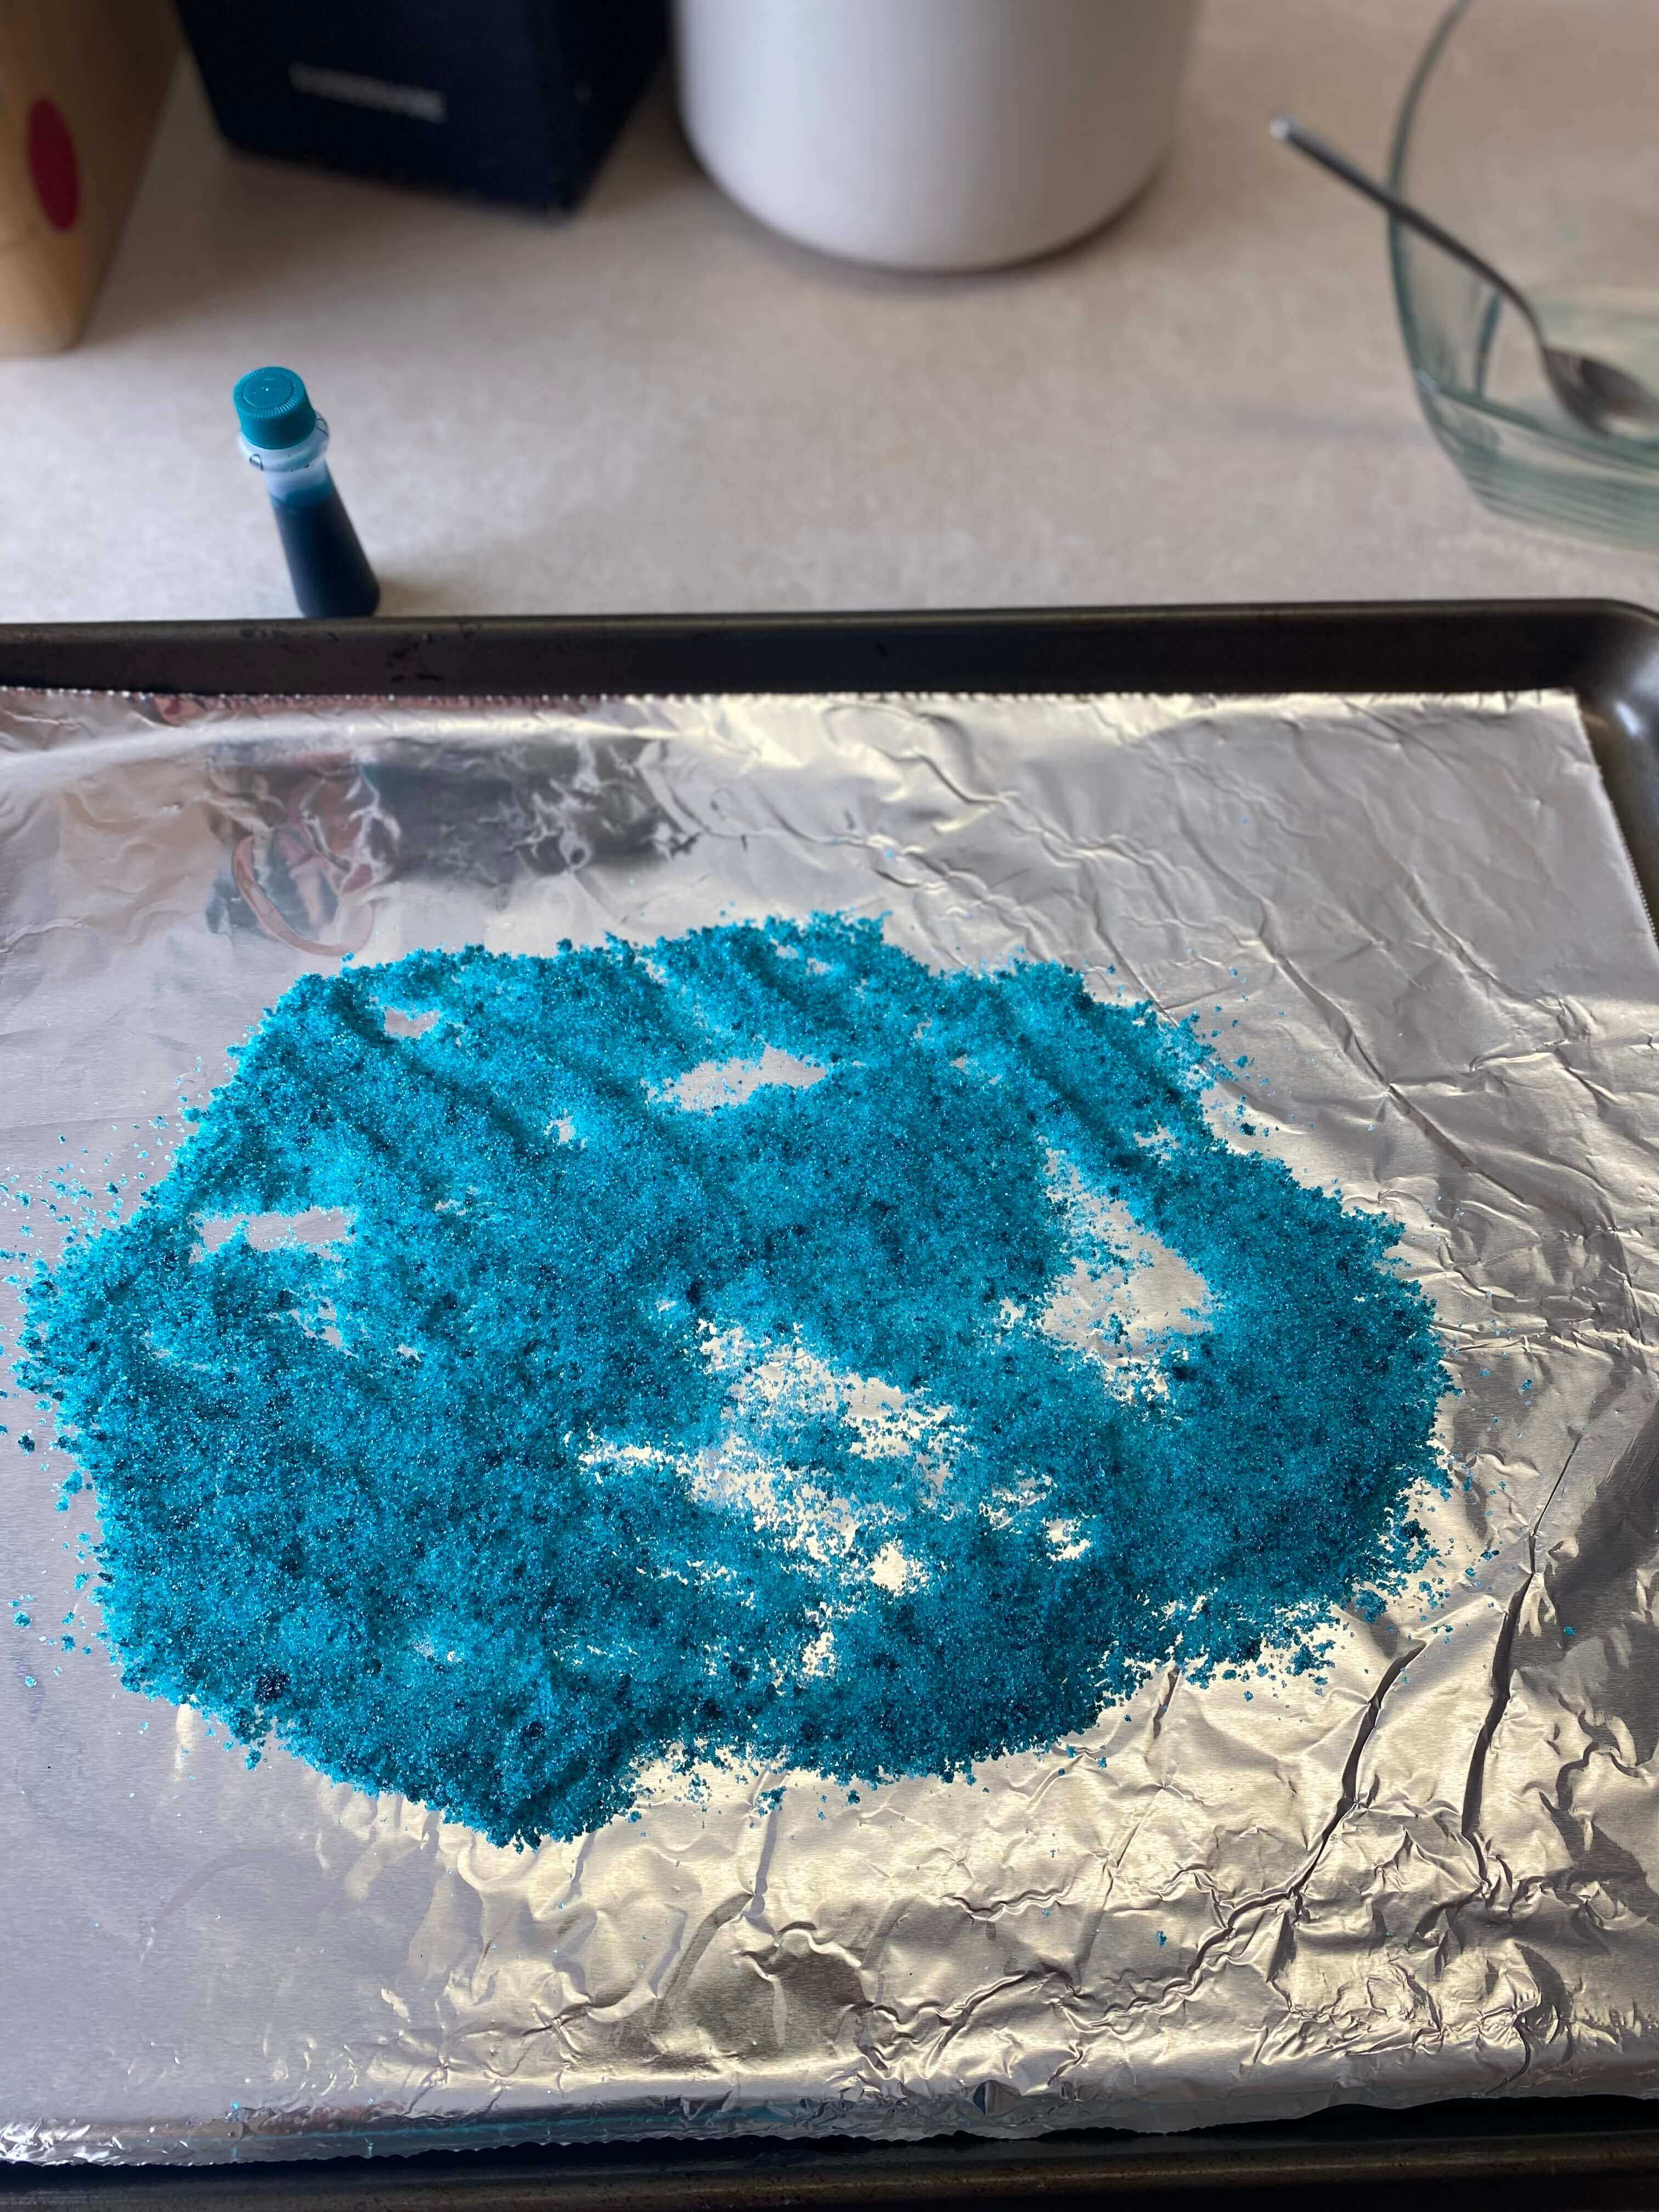
When your sugar is the color you want, spread it in a thin, even layer on a cookie sheet. Bake at 350 for about 10 minutes.
At least. That’s what I thought… When I left the sugar in the oven, already at 8 minutes, it smelled like something was burning. So, I opened up my oven to find a soupy mess!
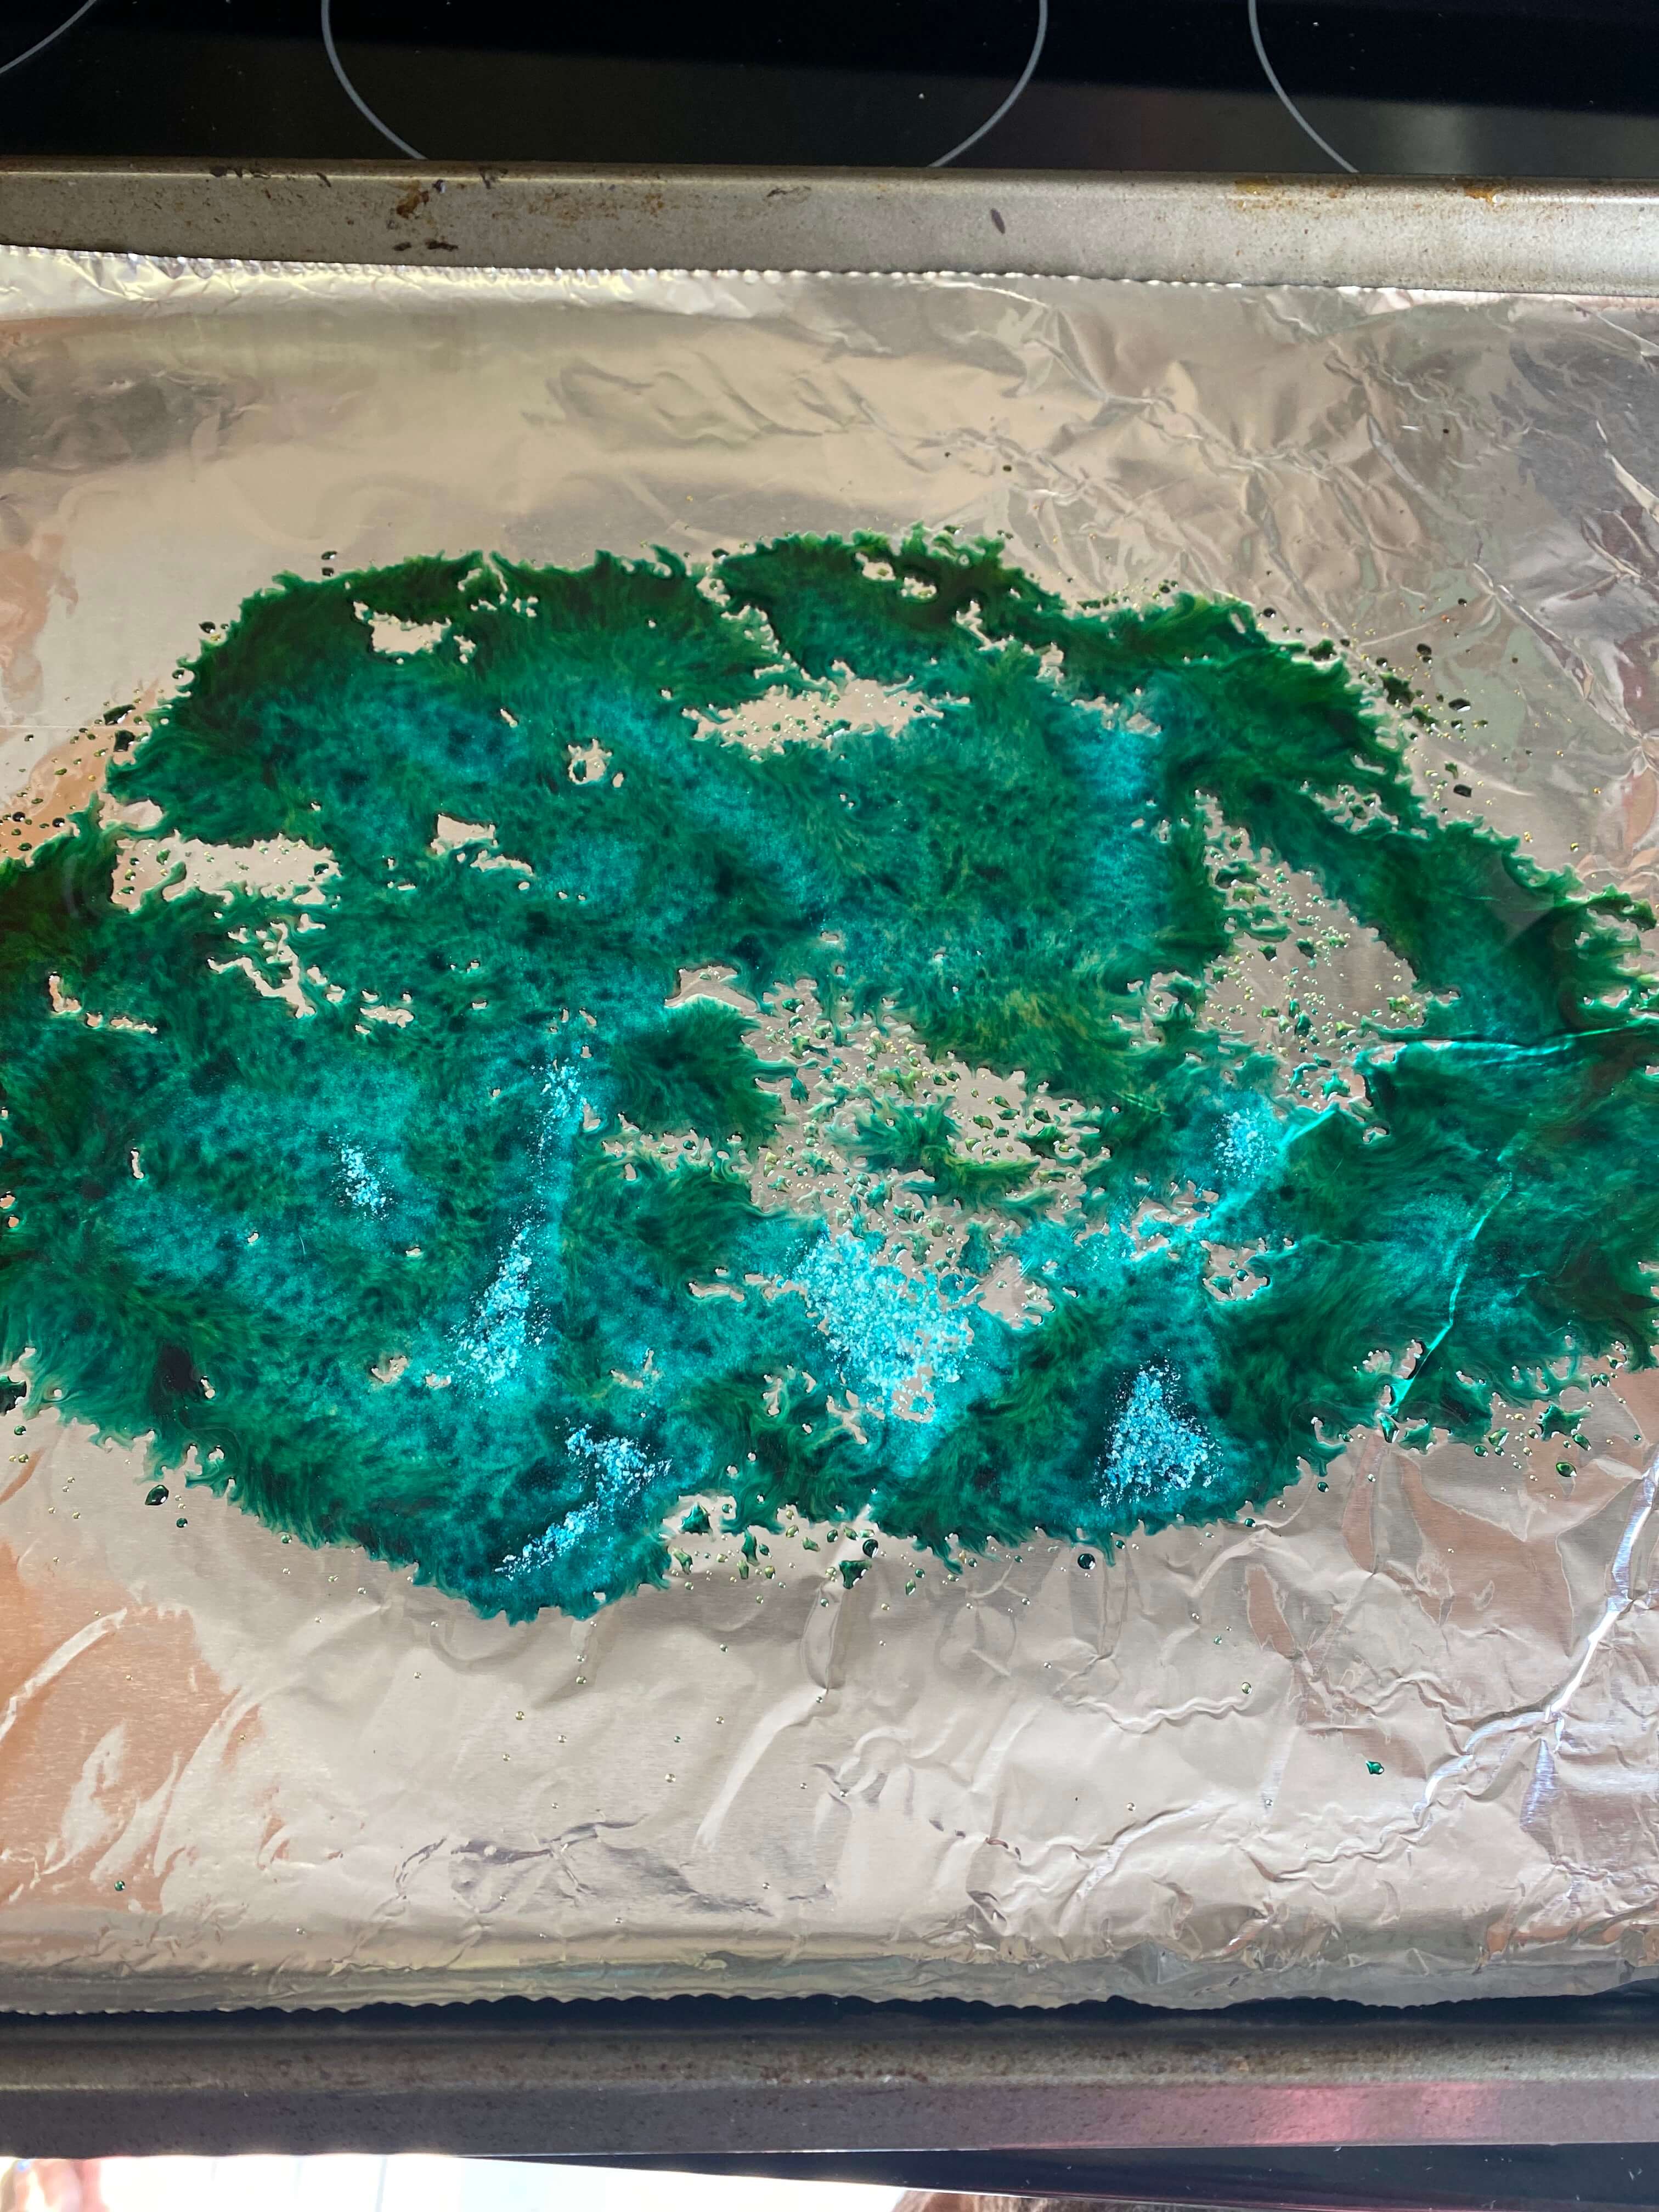
Well, that was a bust!
Method 1: Take Two
I’m determined, though. I’m going to try this one more time, but lower the temperature of the oven to 300 so things don’t melt.
I will say, I have read from sources online that your climate can affect how your edible glitter comes out. I live in North Carolina and am currently writing this in July when it’s rather hot and humid. So, maybe adjusting the temperature and cooking time will help!
Finally: Edible glitter is done! I would call try 2 of that a success!
Method 2: Cornstarch
For this edible glitter, the original recipe I saw called for 1 cup of water and 1 tablespoon of cornstarch. I don’t really want that much edible glitter for the purposes of this experiment, so I am going to half that. Thus, I will use ½ cup of water and ½ tablespoon of cornstarch.
Put your water and cornstarch on the stove over medium heat. Stir constantly until it reaches a thick consistency, and then remove from the heat.
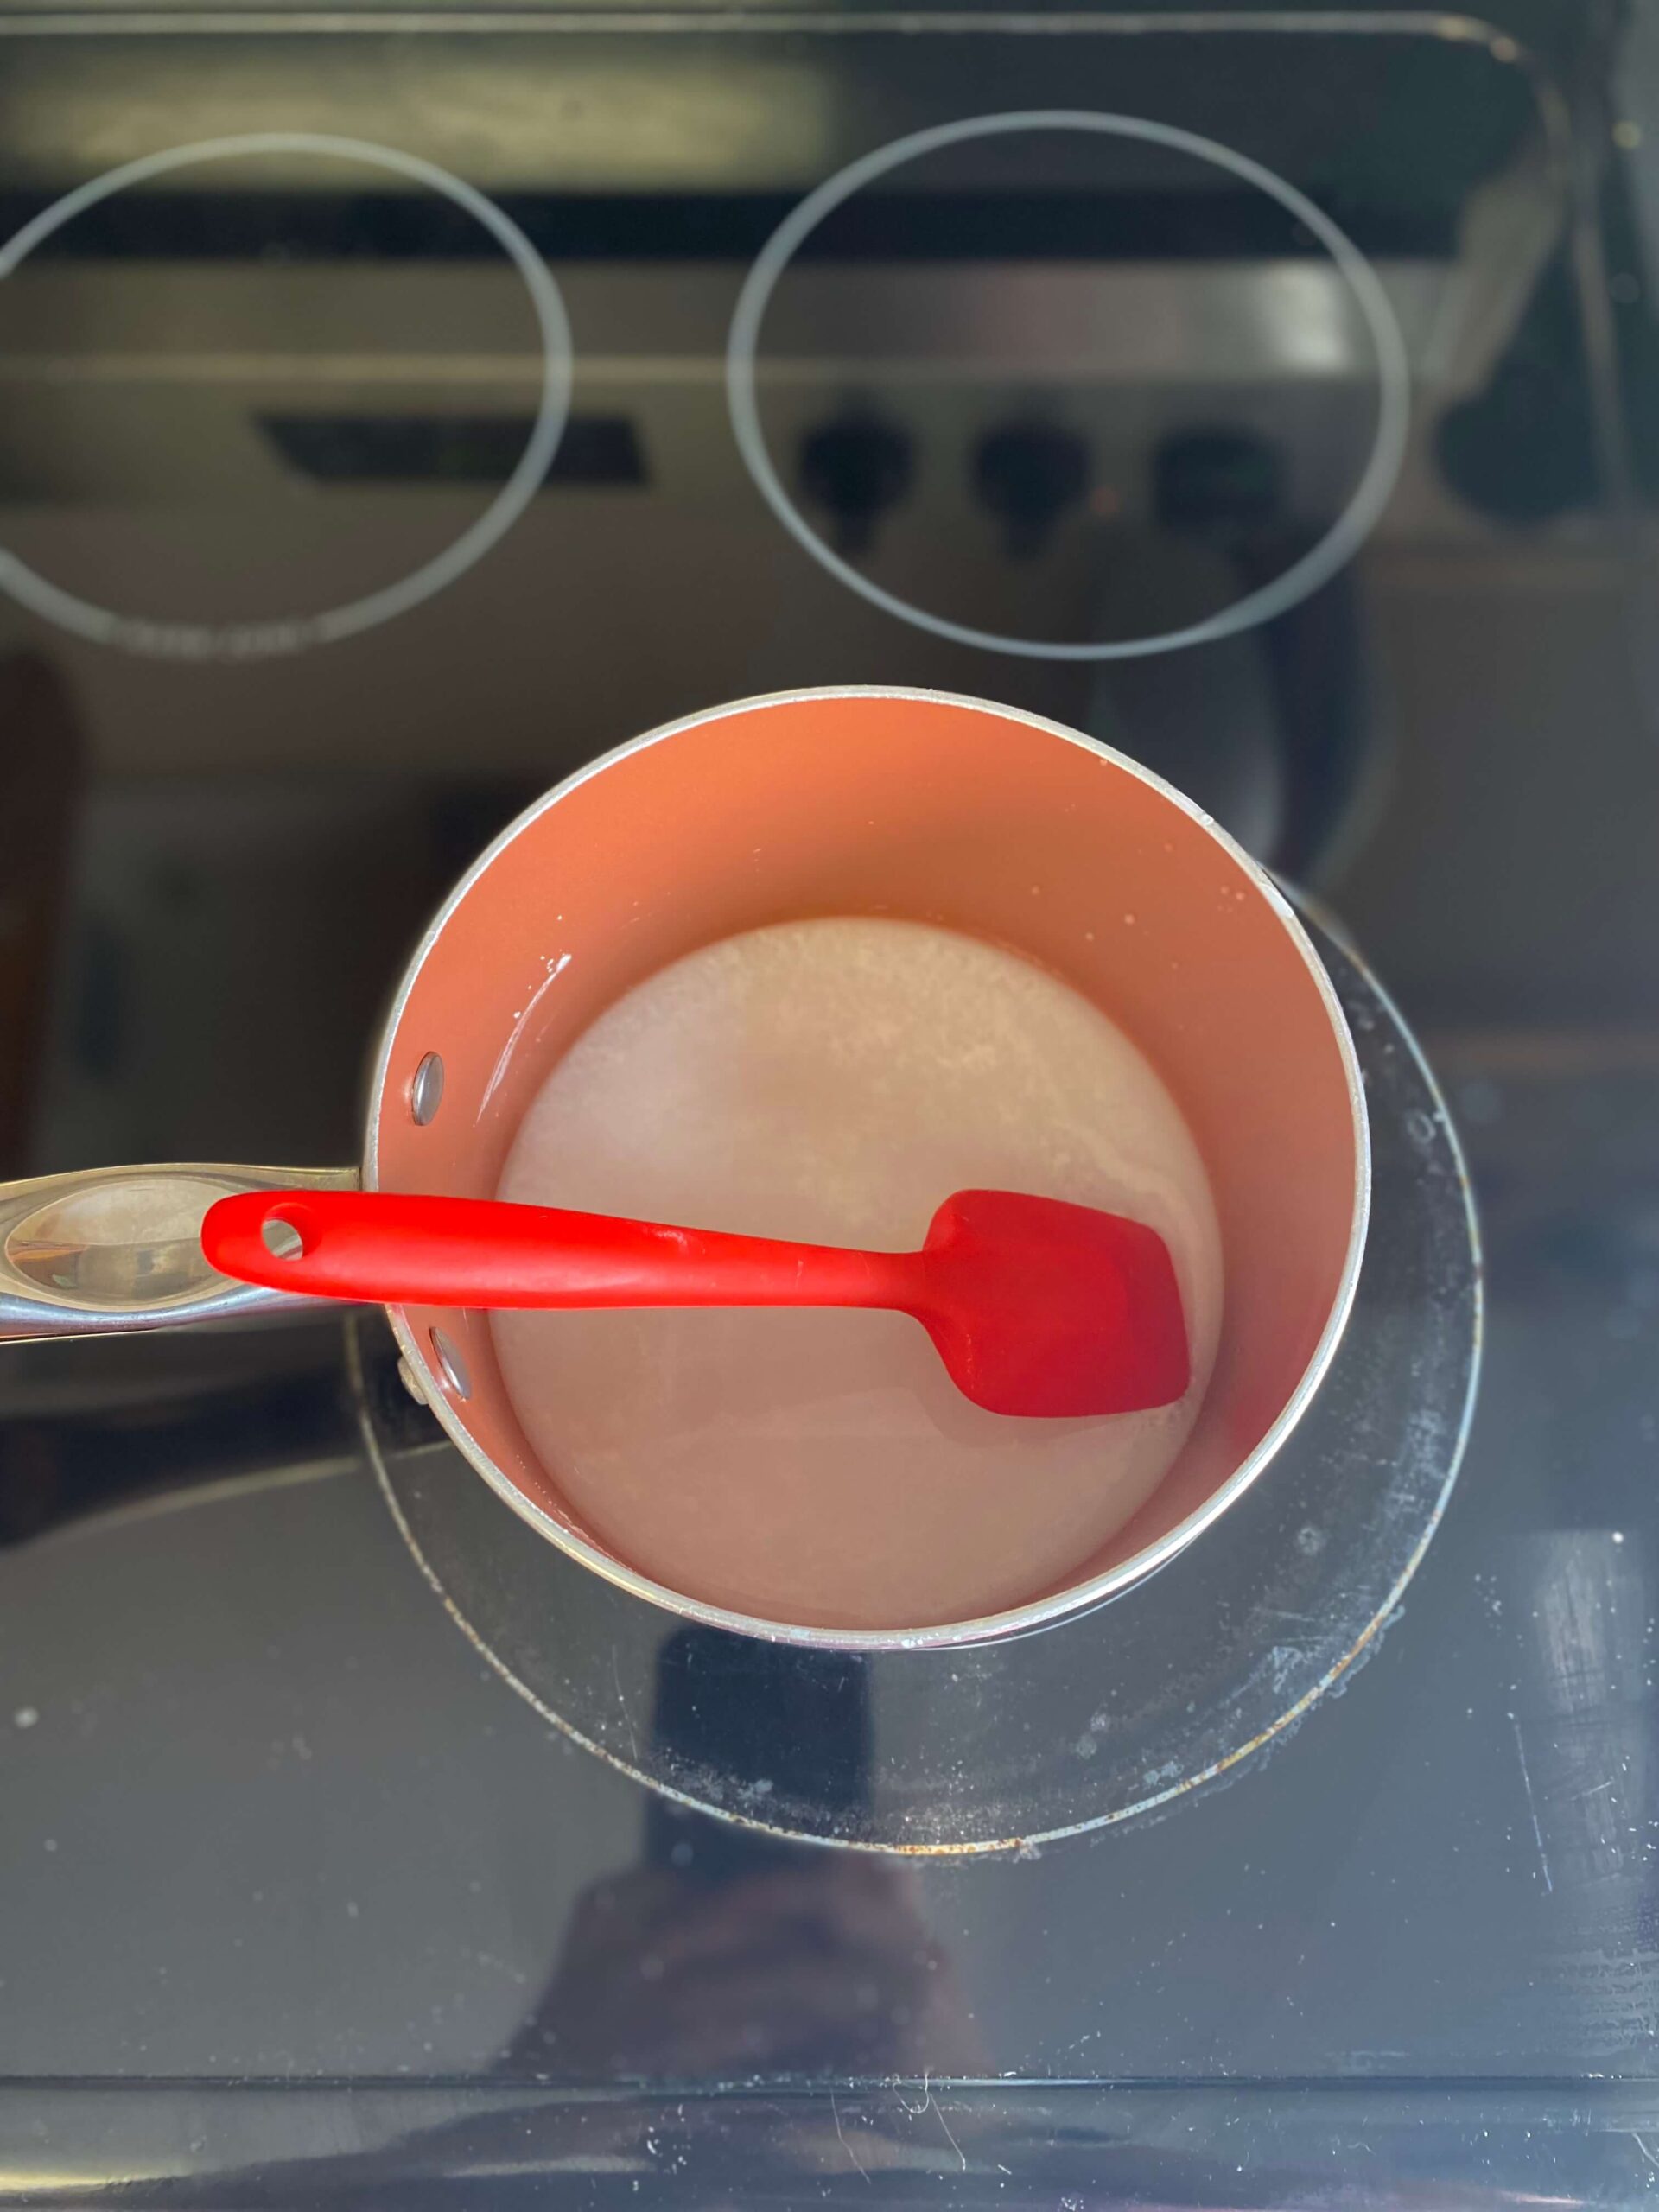
You want a consistency that’s almost syrup-y. Let the mixture cool for a few minutes before going on.
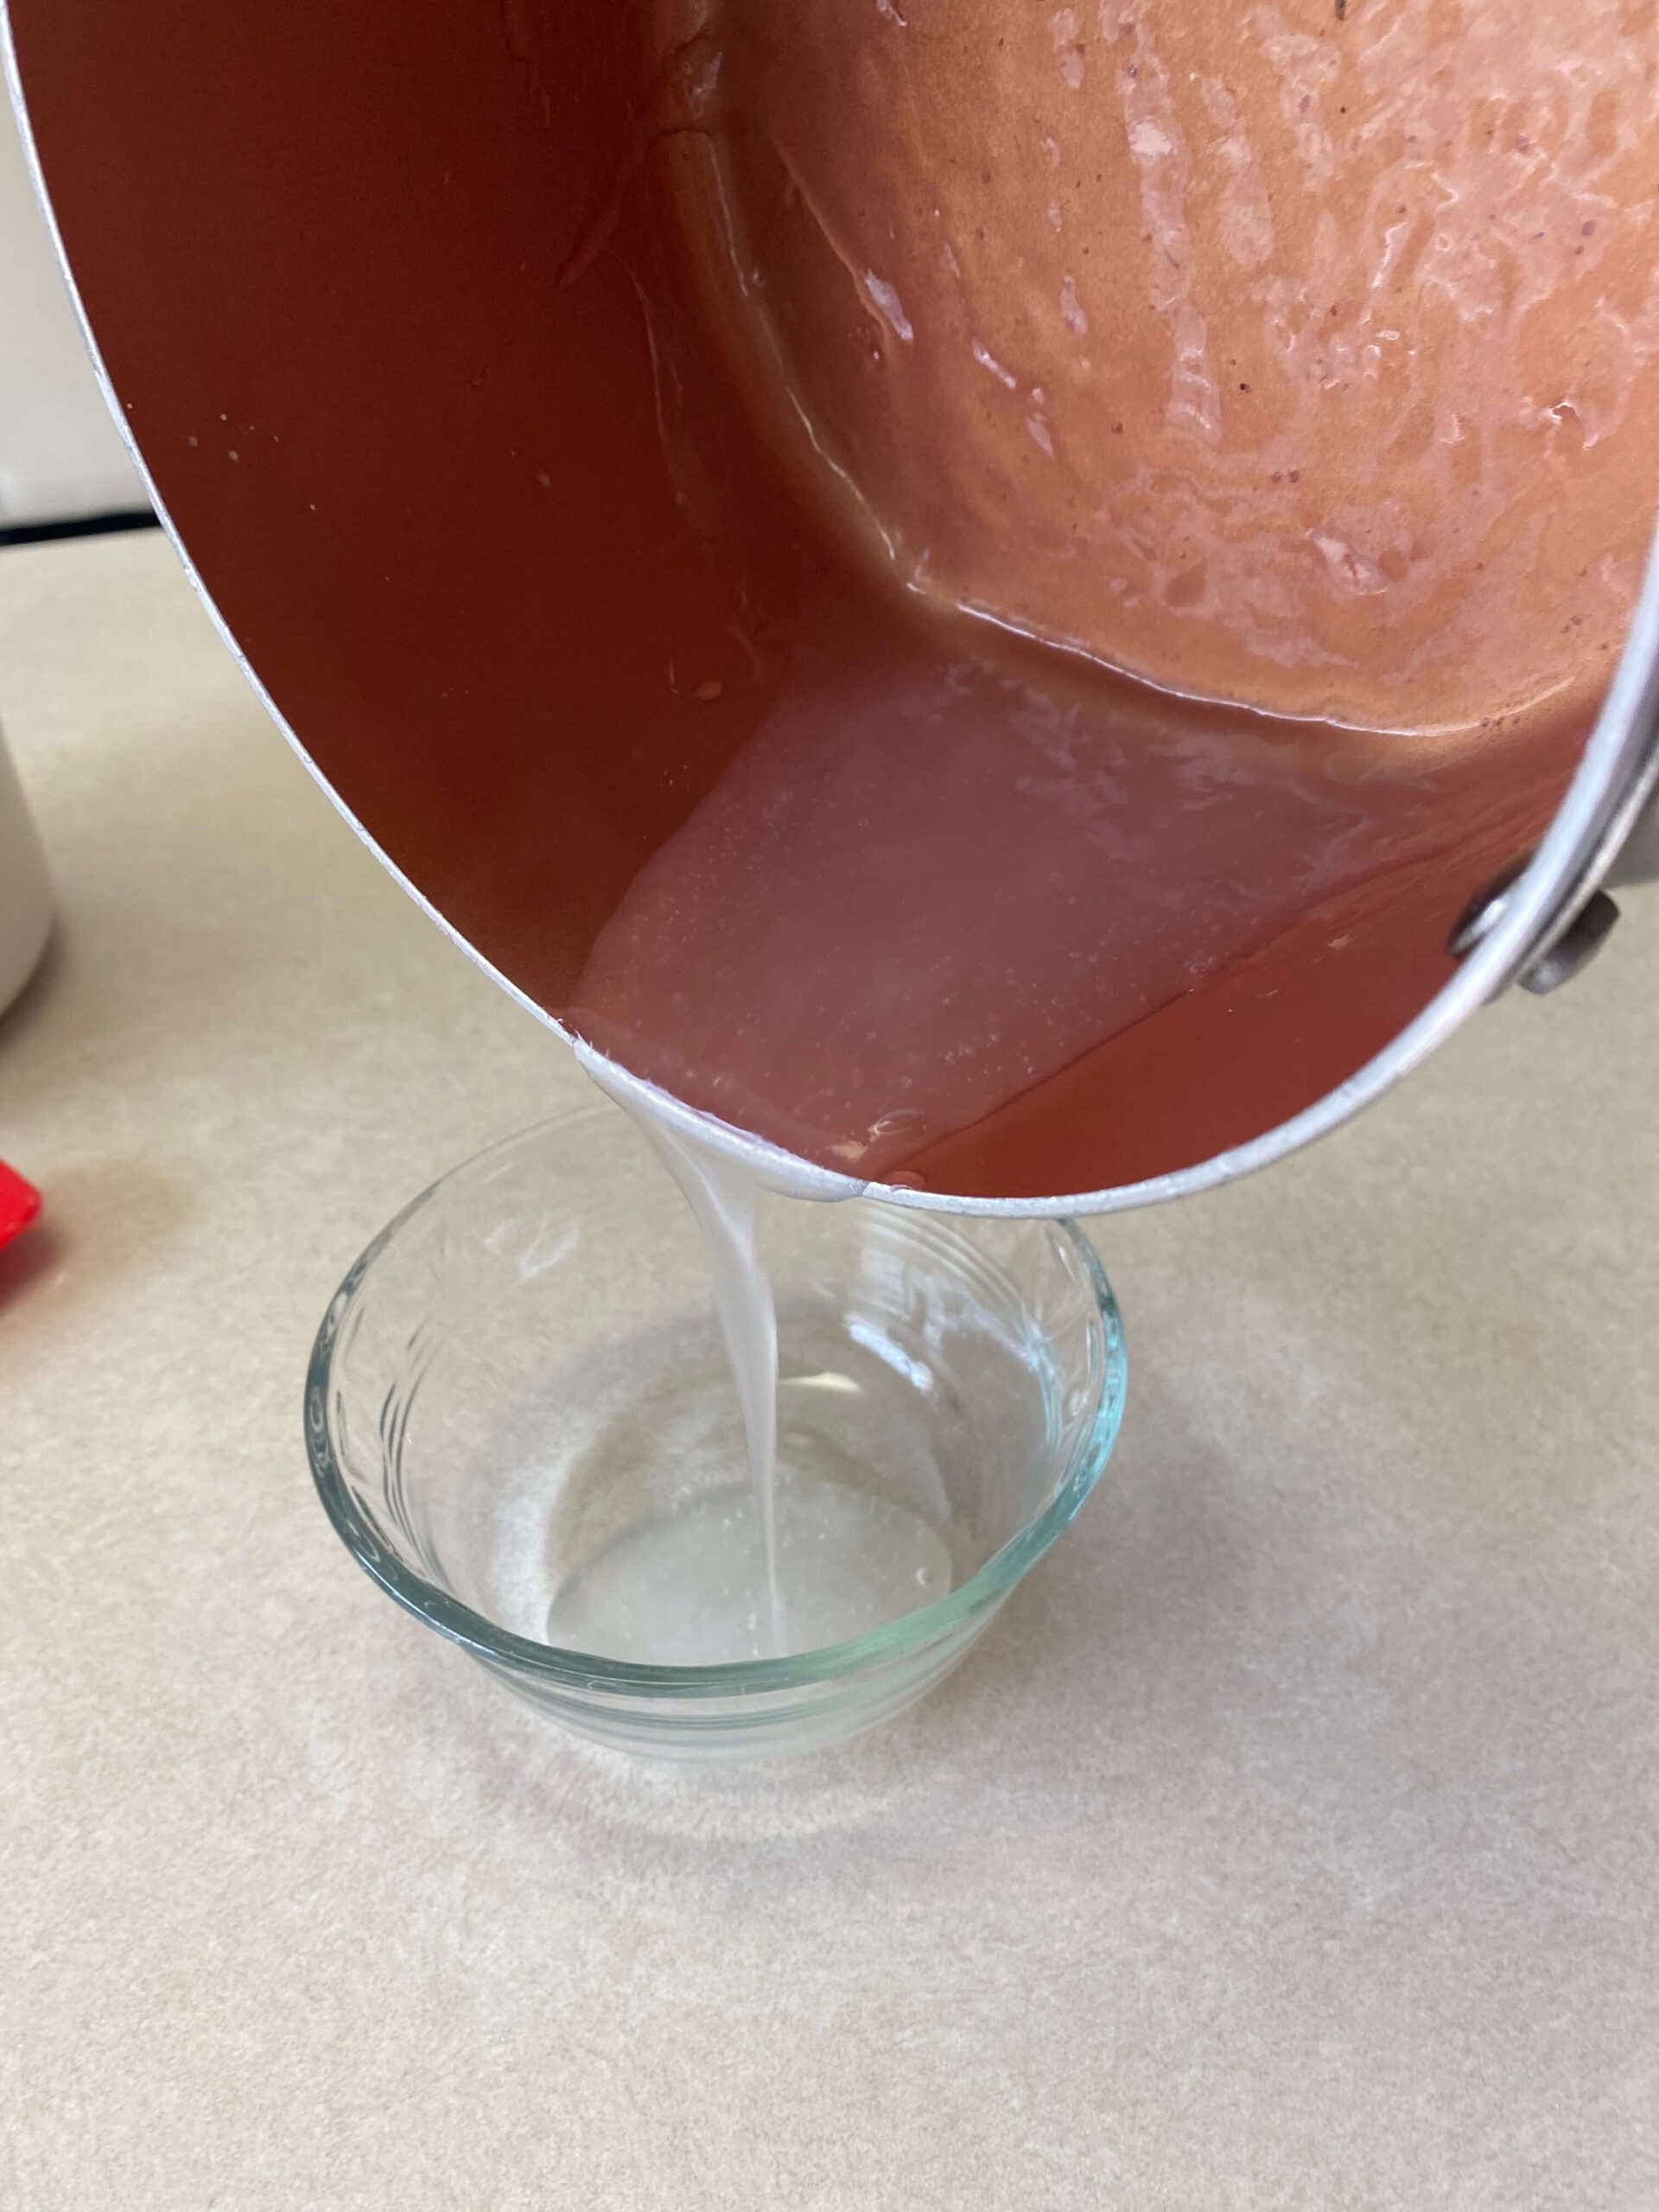
Pour your cornstarch mixture into a bowl and add food coloring one or two drops at a time. Mix in the food coloring until you get the color you want. I went with pink for this experiment, hoping that it would contrast nicely with the teal color I used for the first method.
Once your color is mixed in, lay out a large piece of plastic wrap on a flat surface. Spread out your colored cornstarch mixture in a thin layer on that plastic wrap and let it dry. It will take several hours to dry completely. Also, a word of caution, try not to get the cornstarch mixture or food coloring on any surface other than the plastic wrap! I thought I was being careful and still got some on my counter!
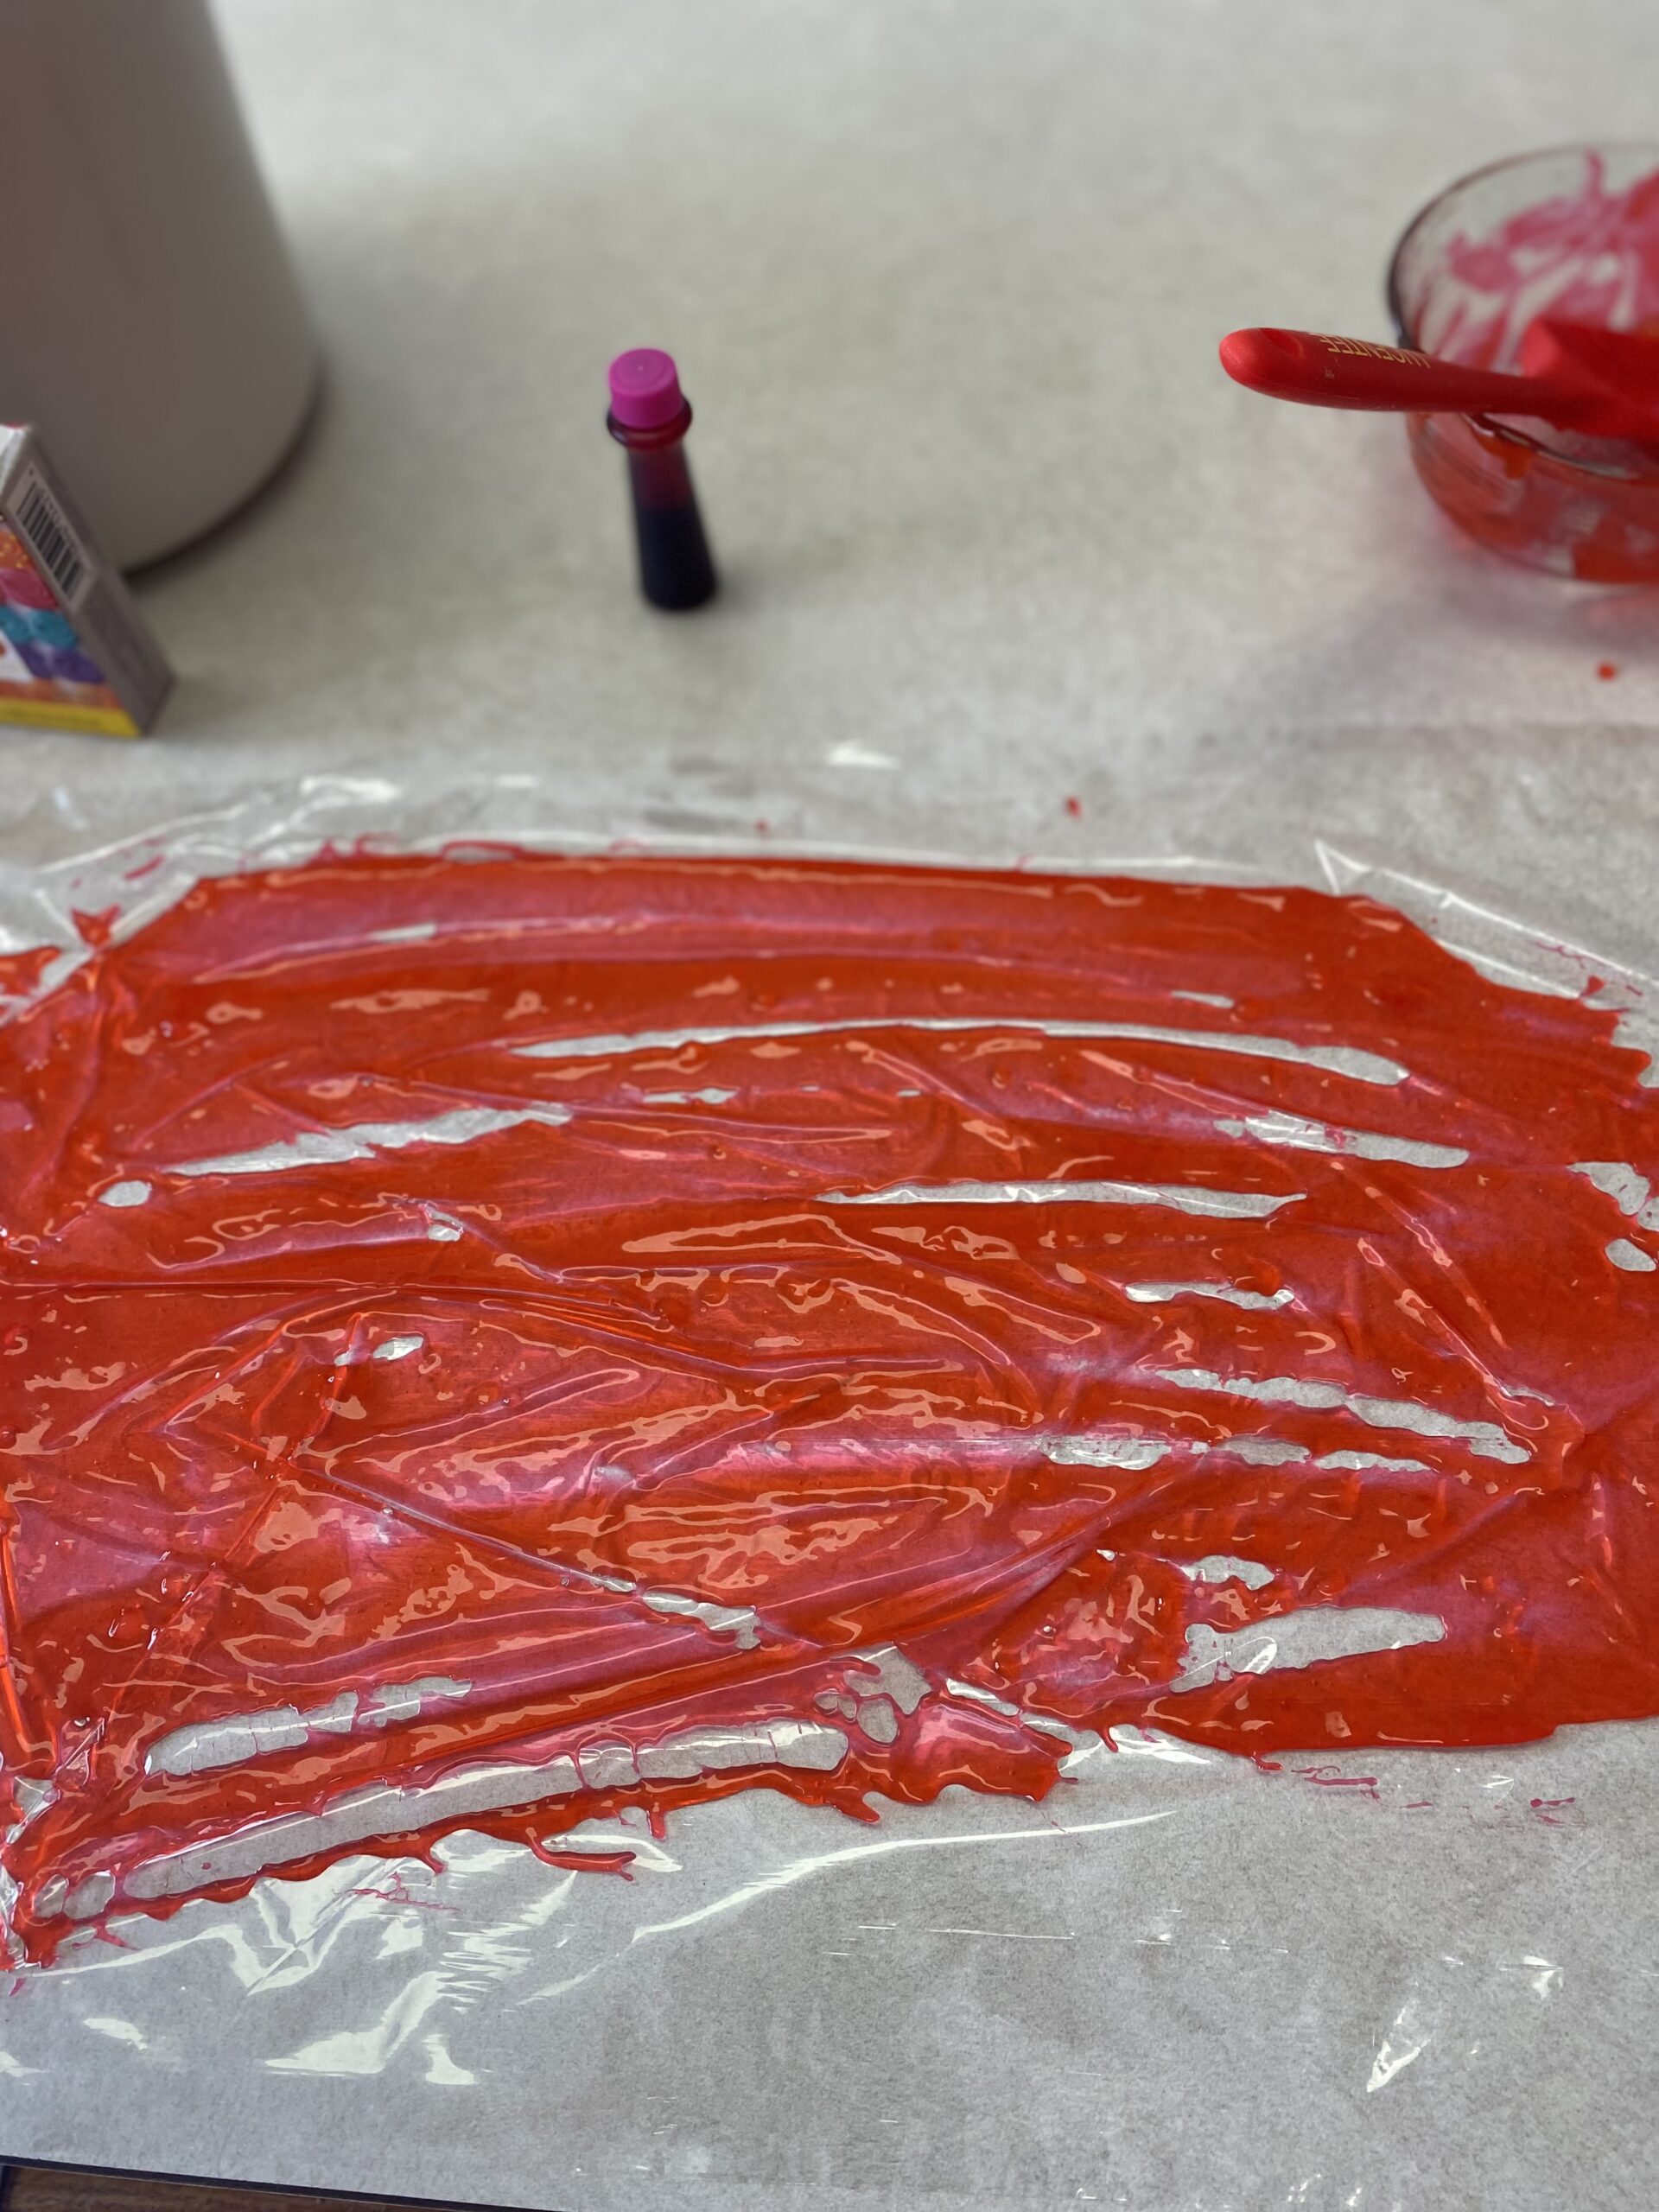
When dry, you should have a flaky layer of color left on your plastic wrap.
At least… That’s what I thought!
I started this first thing in the morning, and 12 hours later, it’s still not dry! That’s such a disappointment! I guess I’ll wait and see in the morning?
Method 2: The Next Morning
Okay! Now, it’s 95% dry! There are still some parts that are a little sticky. I’m just going to throw those out! I’m too impatient, and I think I’ve waited long enough.
So, the instructions I saw said to peel off the dry, colored cornstarch and stick it in a blender.
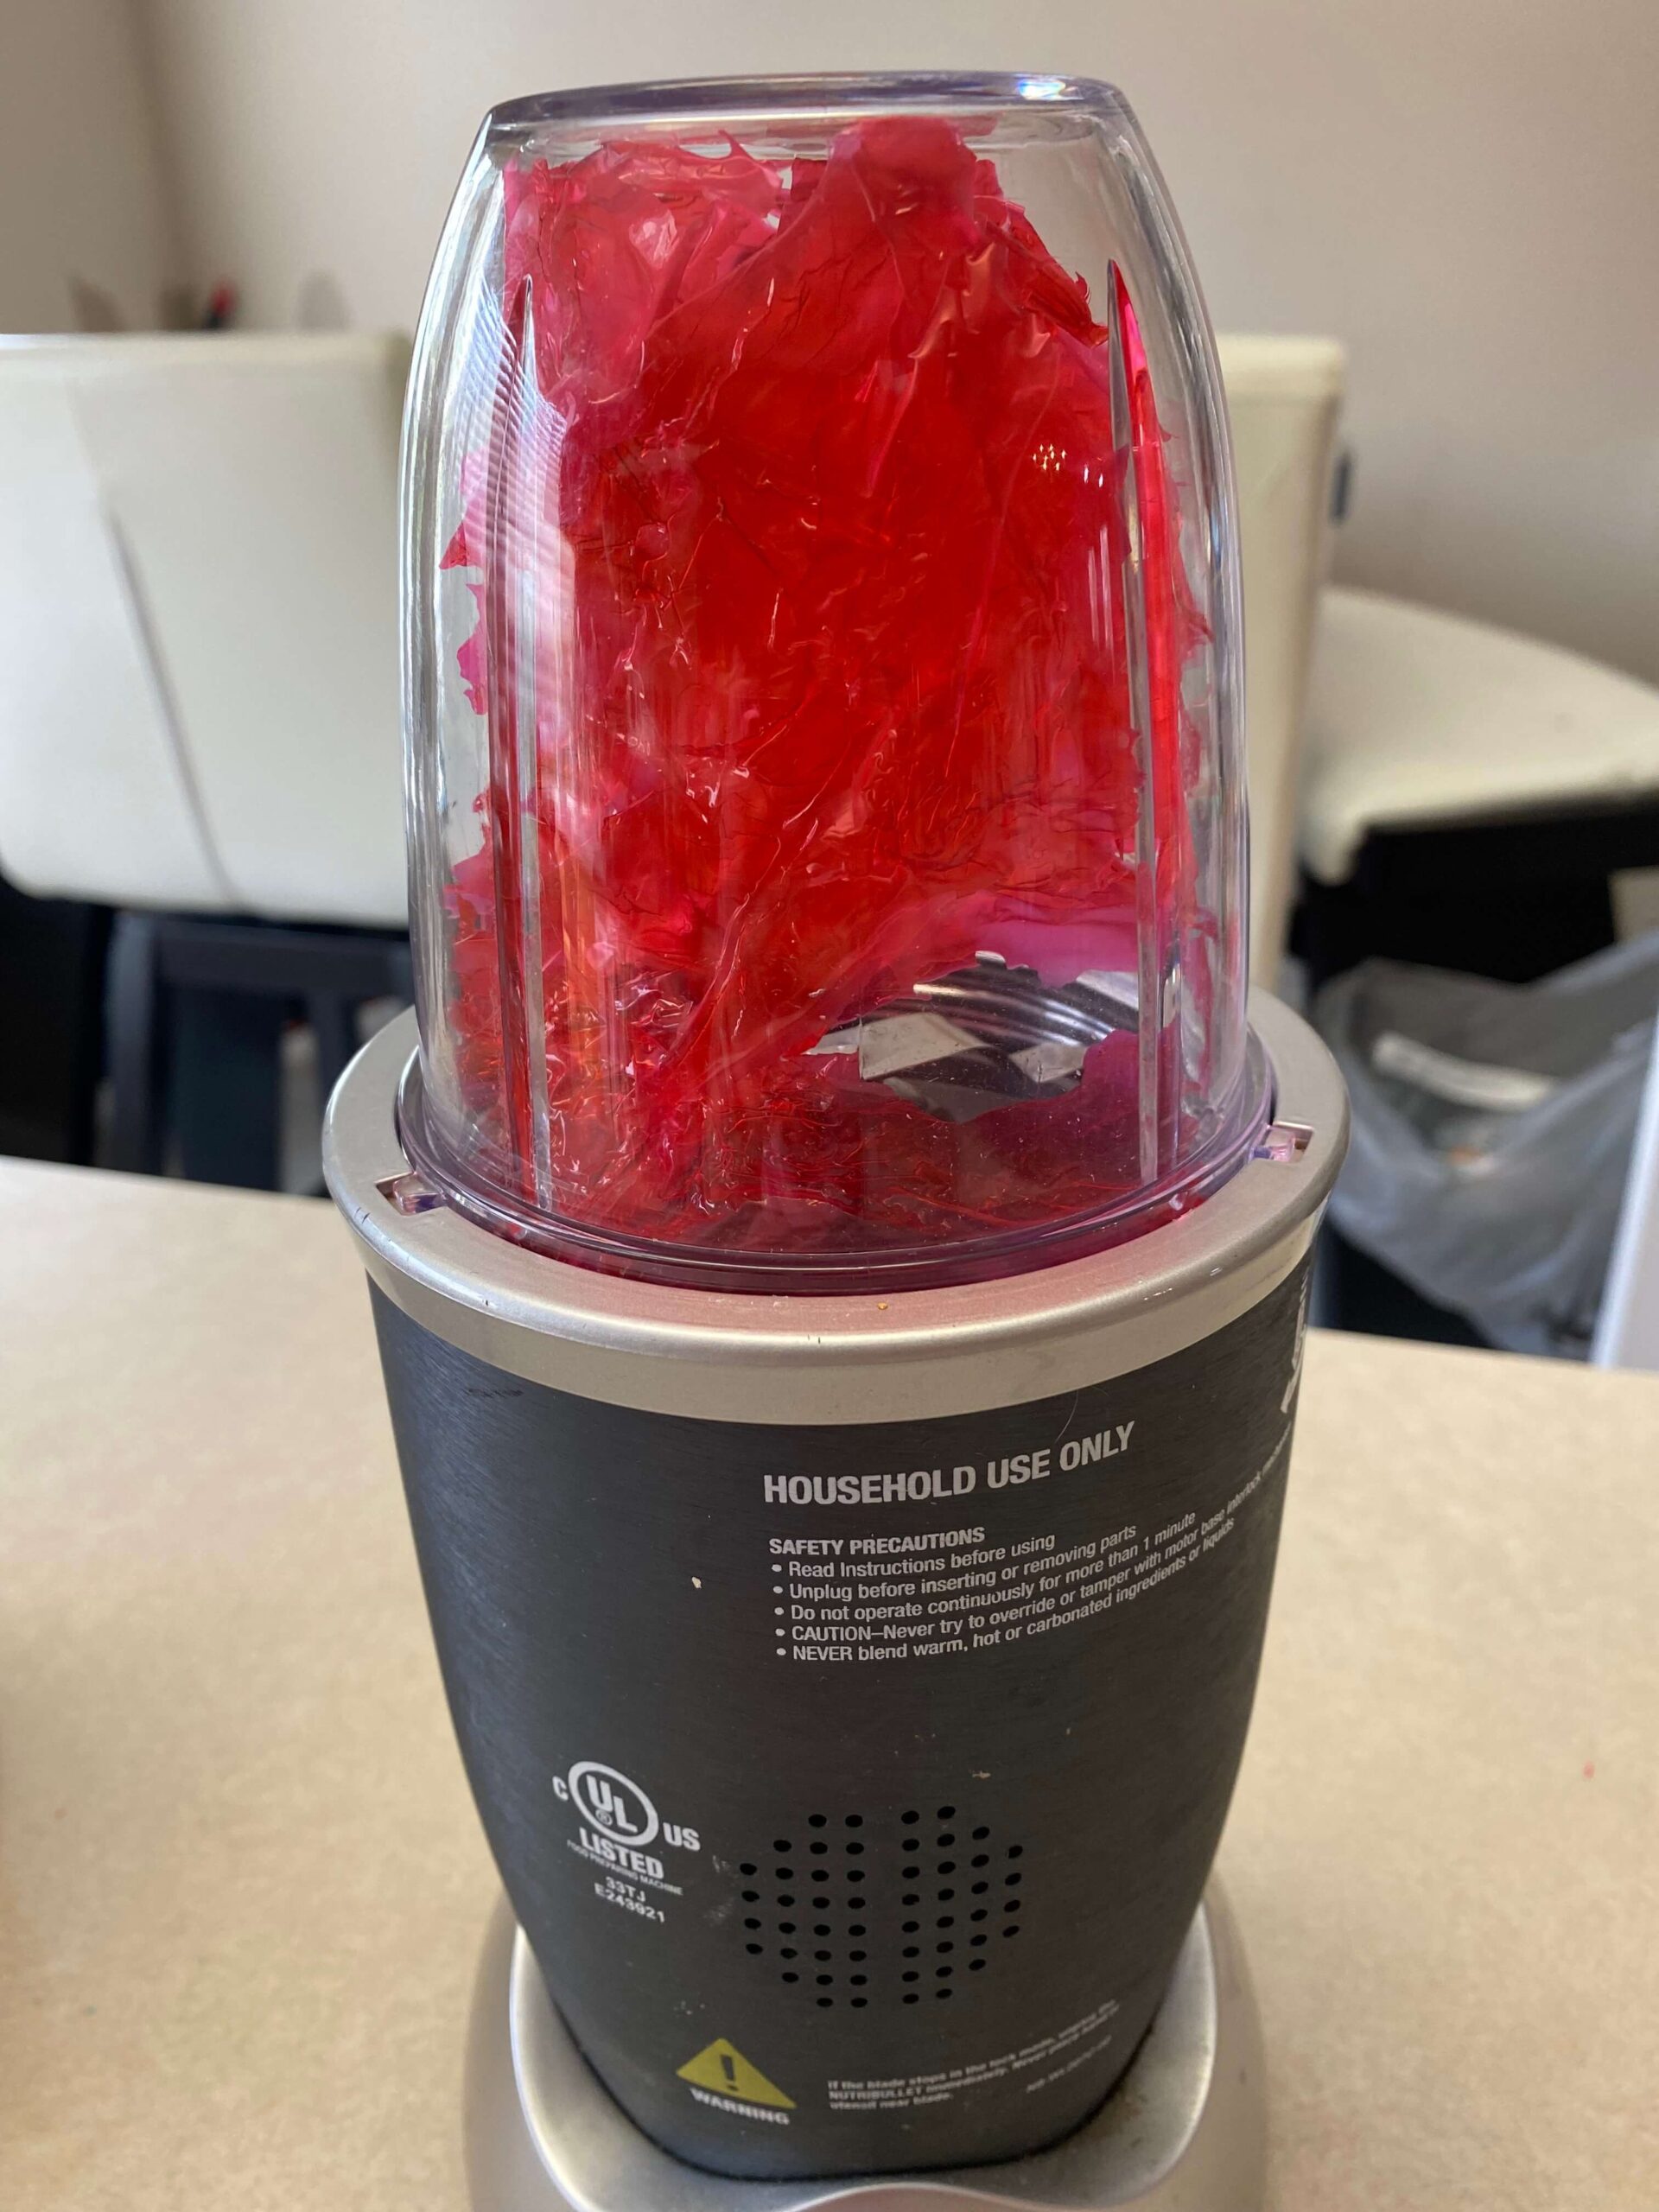
Then, you blend that to the consistently you want. Or maybe not?
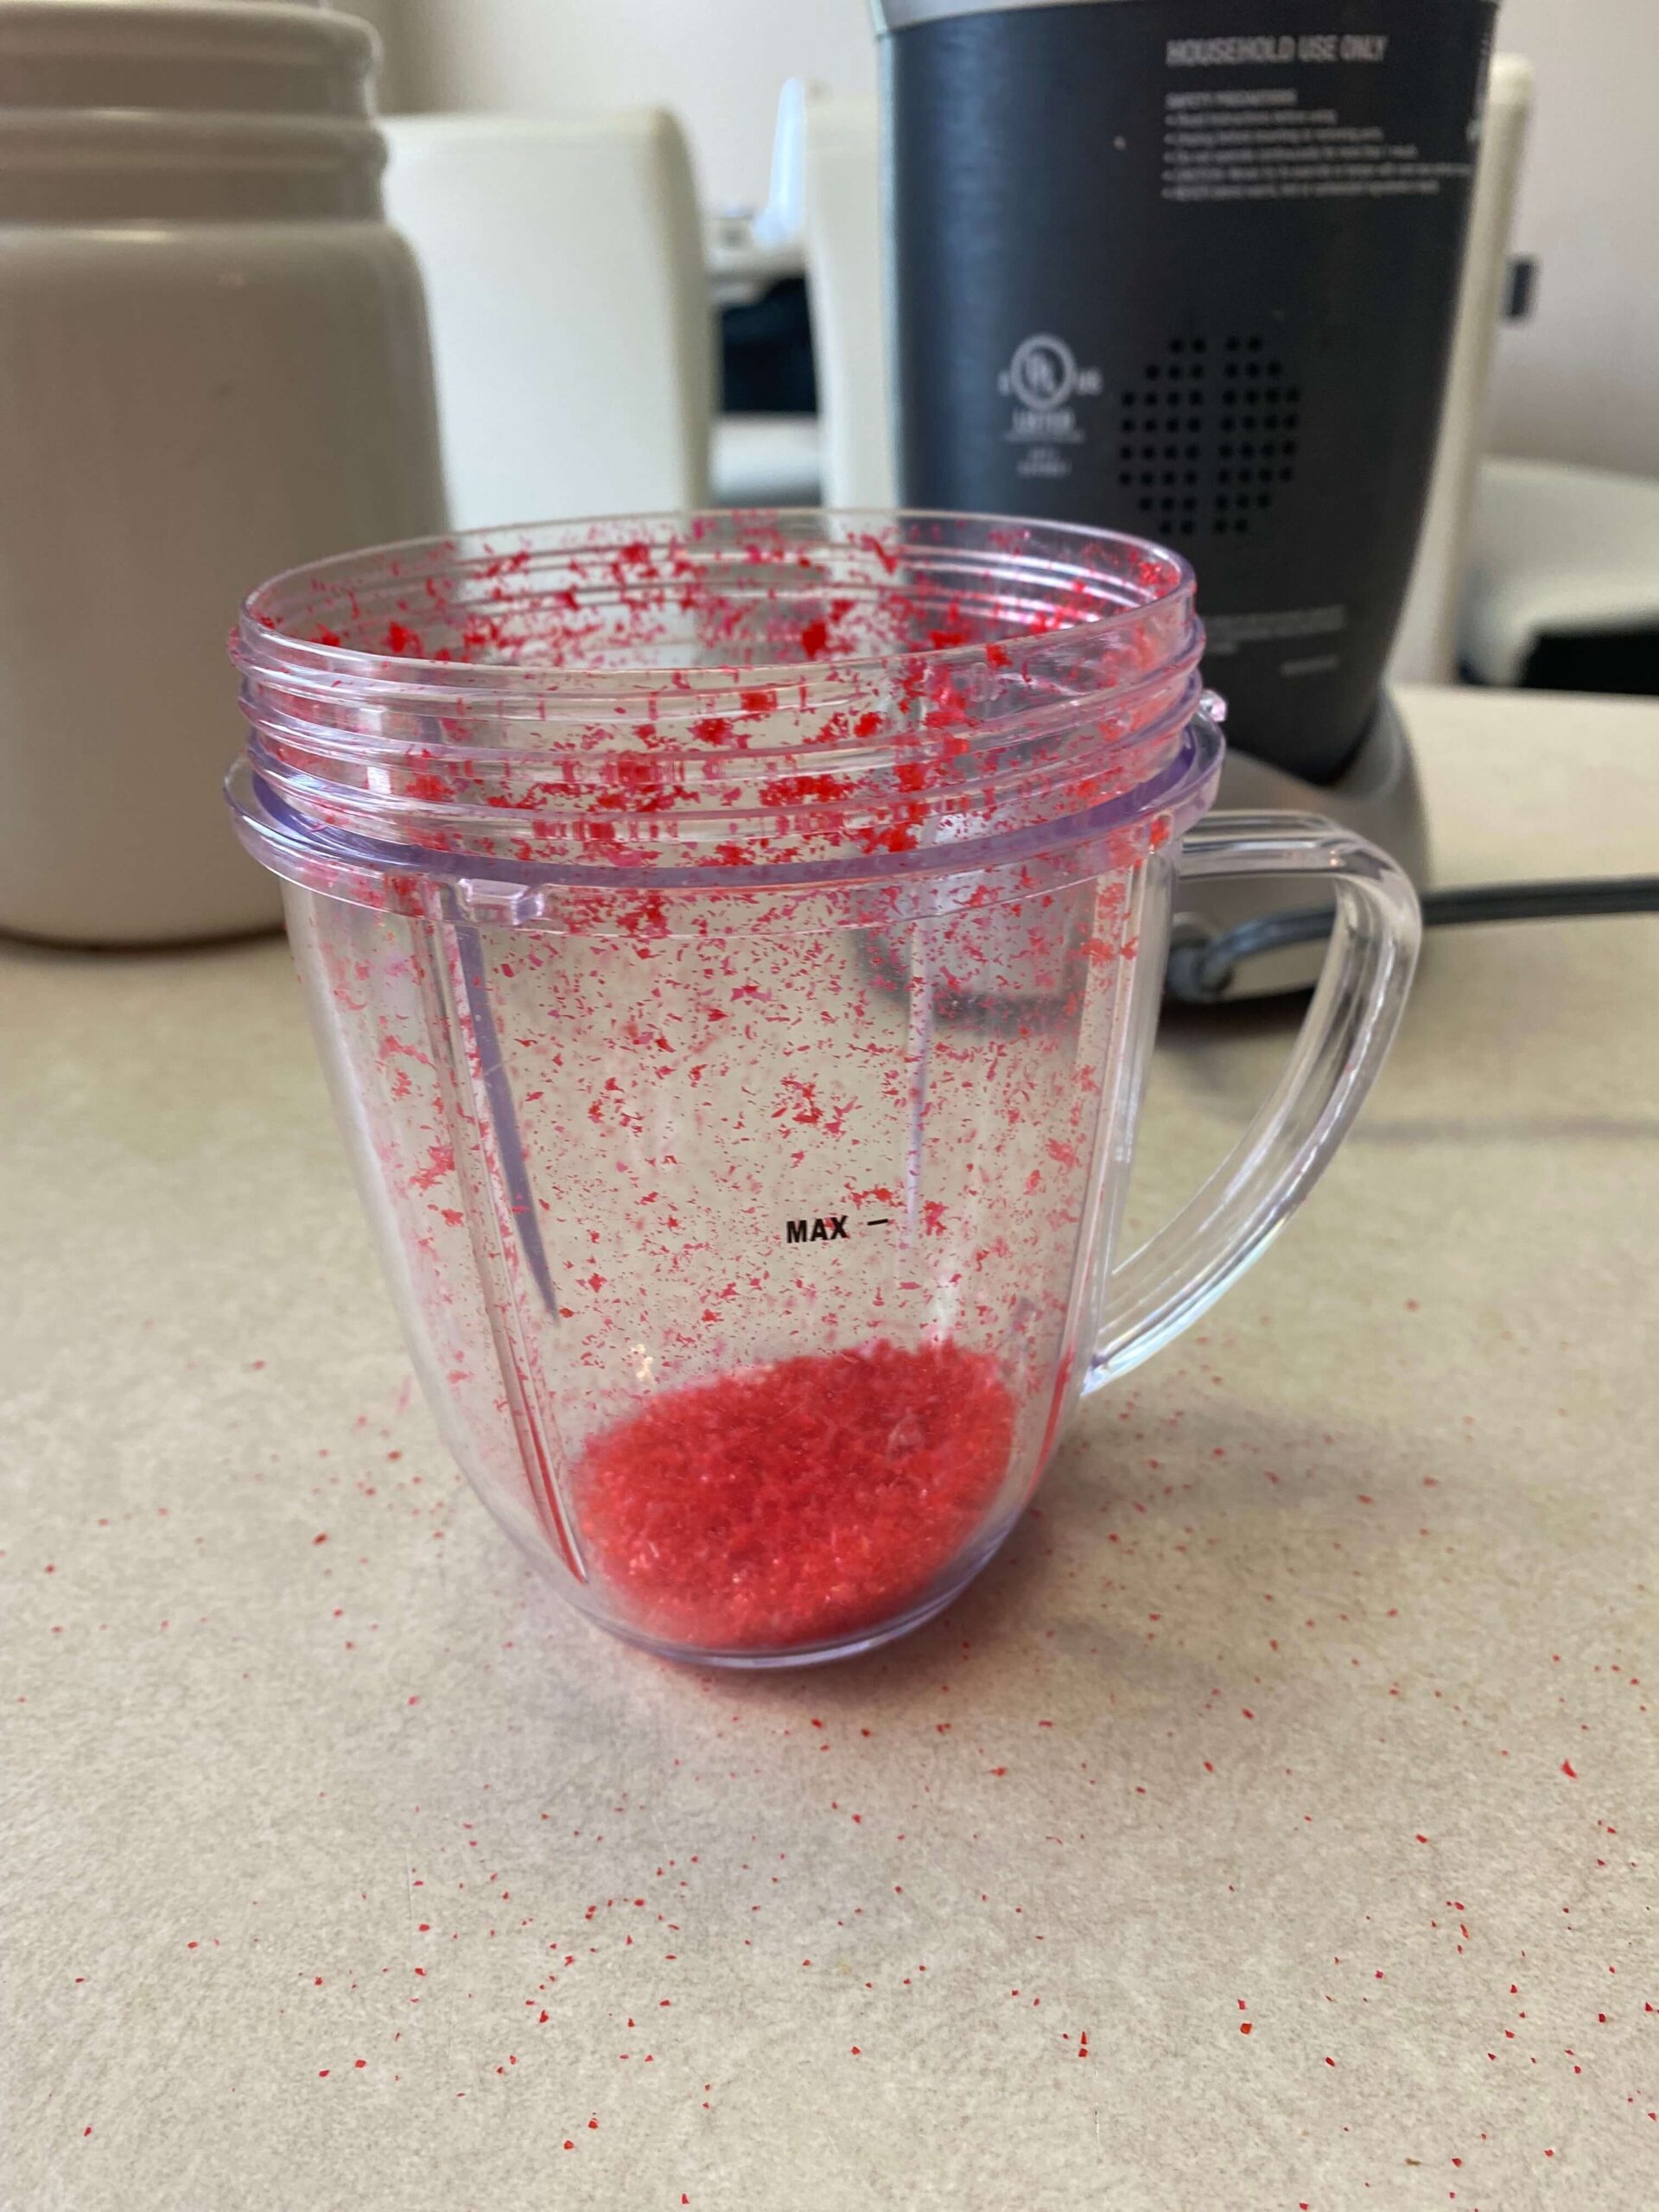
It could be my blender, or the lack of volume of glitter I had, but I could not get the glitter to be as fine as I would have liked! But, nonetheless, 24+ hours later, I have glitter!
Which Method Wins???
So, my friends, there you have it! Two methods for making your very own edible glitter. Here you can see my results here side-by-side.
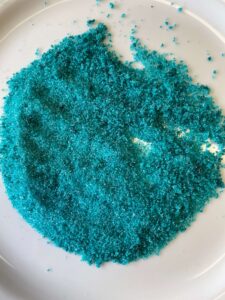
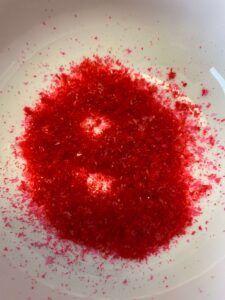
I think you can tell from my struggles with both of these, neither method was ideal. Nonetheless, there was a clear winner! The sugar glitter (if it doesn’t melt on you!) was WAY easier and more convenient. It doesn’t give a super fine glitter texture, but it at least worked!
Final Thoughts:
Looking back on this experiment, I do wonder if I had spread the cornstarch mixture in a (much) thinner layer, if it wouldn’t have taken so much time to dry. The instructions I had did not give a lot of clarity on that, but they did say that dry time would only be 5 hours. I waited over 24 hours, and mine didn’t even completely dry.
I did notice that both edible glitters had some trouble keeping their color. As in, keeping the color in the glitter itself and not all over my hands! The sugar did a pretty good job of that. If I put a handful of the sugar glitter in my hand, a little bit of the color transferred to my skin. The cornstarch glitter, though… Oof! It almost melted into my skin. It looked nice, but not so much on my hands.
That’s just my two cents! I hope you enjoyed reading about these two methods of creating edible glitter! Please feel free to comment and let me know about your own experiences with edible glitter!