 The holiday season is here, and what better way to celebrate than with some adorable and delicious Christmas Red Velvet Cake Pops? These easy treats are the perfect blend of moist red velvet cake, creamy frosting, and a candy coating that will make anyone smile. Whether you’re looking for a fun baking project, a unique dessert for your Christmas party, or a thoughtful homemade gift, this Christmas cake pops recipe has got you covered. Let’s dive into the magic!
Jump to Recipe
Ingredients and Tools
Making red velvet cake pops is easier than you think! Here’s everything you’ll need to whip up these holiday delights:
For the cake balls:
- 1 box of red velvet cake mix (plus ingredients listed on the box—usually eggs, oil, and water)
- ½ to ¾ cup cream cheese frosting (Use homemade for best results, but you can use canned frosting in a pinch)
Cream Cheese Frosting:
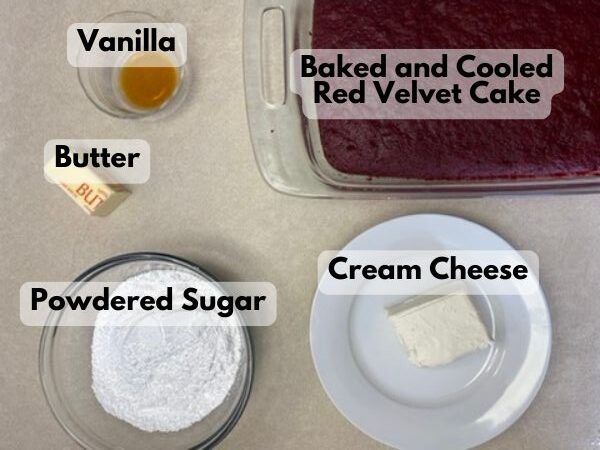
- 4 oz cream cheese
- ¼ cup butter, softened
- 2 cups powdered sugar
- 1 tsp vanilla
For the coating:
- 1 package of chocolate candy melts (regular chocolate or white chocolate. Or both!)
- 1 package of red candy melts (optional, for accents)
- Coconut oil
- Sprinkles or other decorations (optional)
Special Tools
- Parchment paper
- Lollipop sticks
- Styrofoam block or cake pop stand
- Small icing bottle (optional)
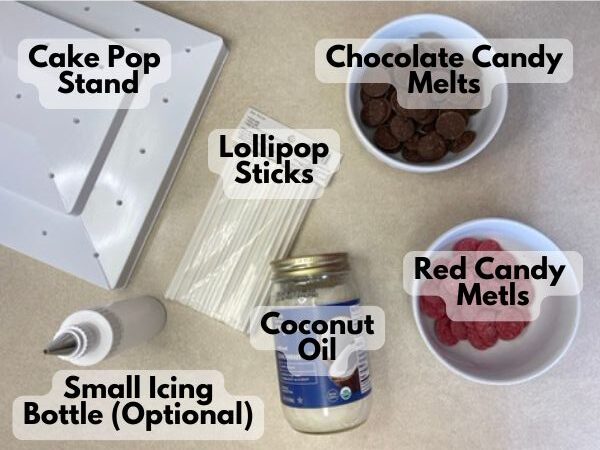
These tools and ingredients come together to create the perfect Christmas cake pops—both beautiful and delicious!
How to Make Red Velvet Cake Pops
Making these red velvet cake balls into festive Christmas cake pops is so fun and rewarding. Follow these steps to create your masterpiece:
Step 1: Bake the Cake
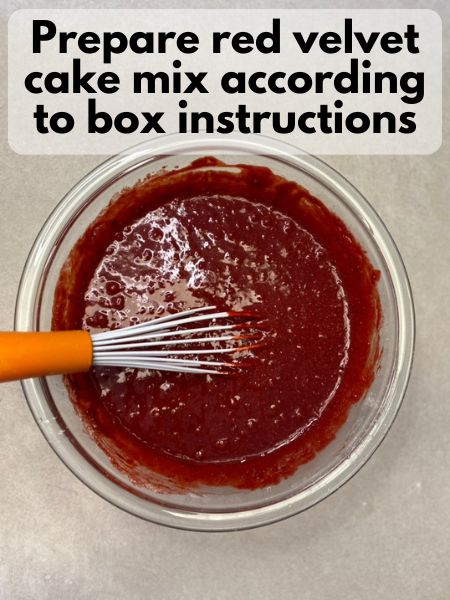
Start by baking the red velvet cake according to the instructions on the box. Once baked, allow the cake to cool completely. This is important because a warm cake can make the next steps a bit tricky.
Step 2: Crumble Cake
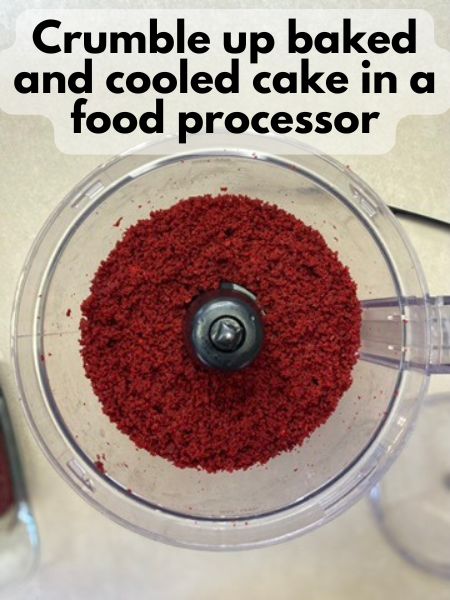
Once cooled, crumble the cake into fine crumbs in a large mixing bowl. I like to use a food processor to make the process faster and easier.
Step 3: Make Cream Cheese Frosting
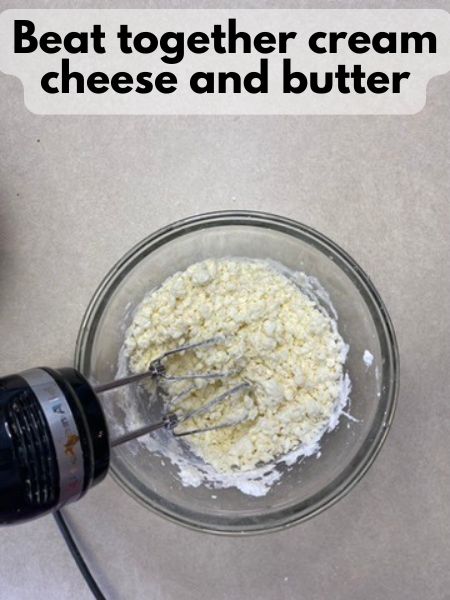
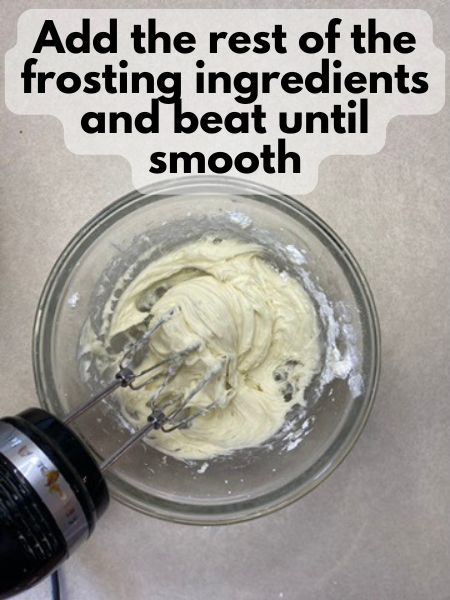
Beat together butter and cream cheese until smooth. Slowly add powdered sugar and vanilla. Mix everything until smooth.
Step 4: Make Red Velvet Cake “Dough”
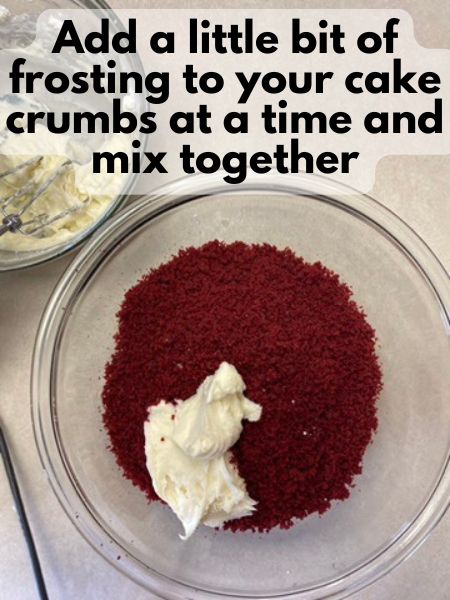
Start by mixing in about half of your frosting into your cake crumbs. I would recommend using an electric mixer to make everything easier. Then, slowly add more frosting until you reach the right consistency for cake pops.
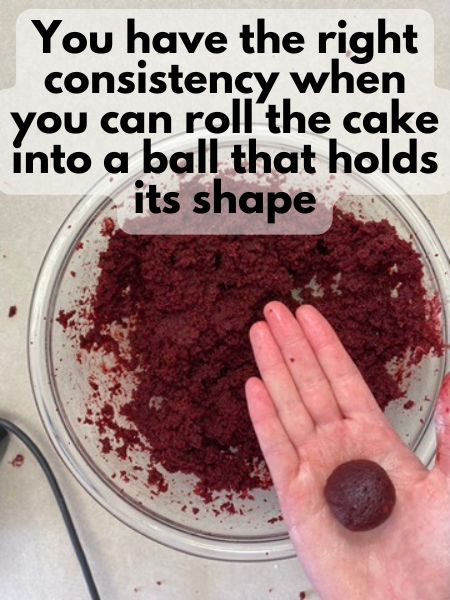
You know you have the right consistency when your cake “dough” is almost like Play Doh and you can roll it into a ball and it will hold it’s shape. You very well may end up using all of the frosting (I usually do!).
Step 5: Roll Into Balls and Chill
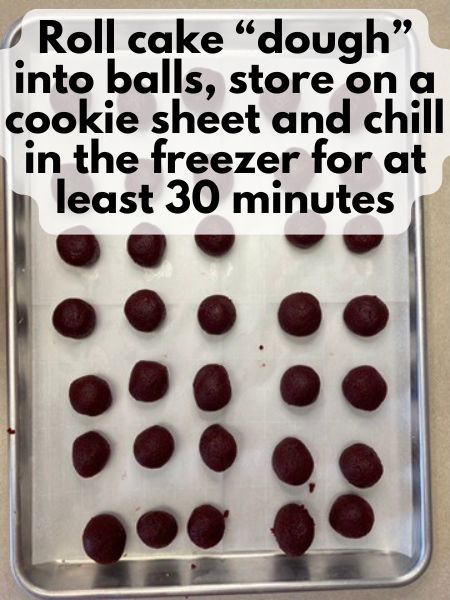
Roll your red velvet cake dough into 1-inch balls. Place them on a parchment-lined baking sheet. Chill the cake balls in the freezer for about 30 minutes or until firm.
Step 6: Prepare the Coating
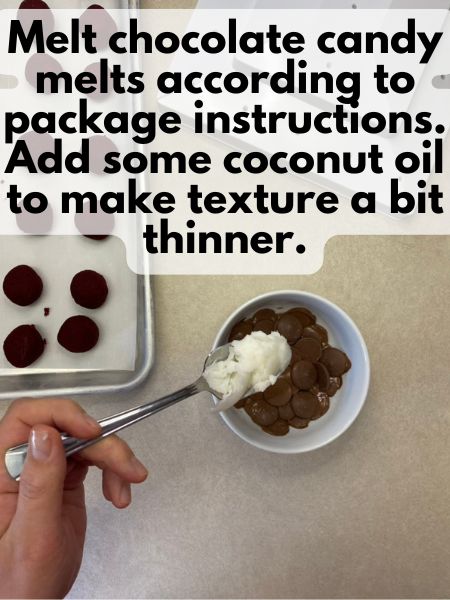
While the cake balls are chilling, melt the candy melts according to the package instructions. I add a little bit of coconut oil to thin out the melting chocolate, as it usually ends up being really thick. It’s easier to make cake pops with slightly thinner chocolate.
Step 7: Assemble and Decorate the Cake Pops
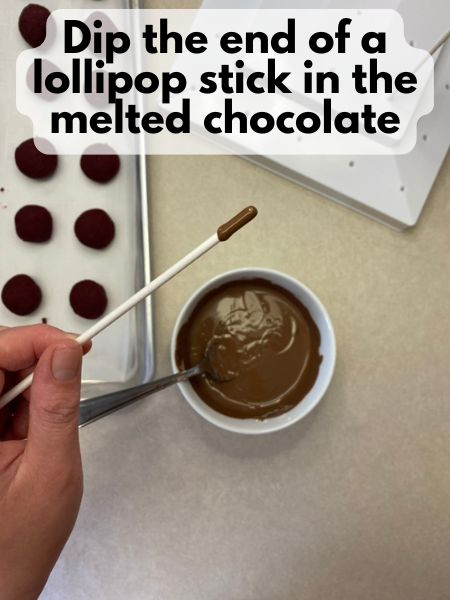
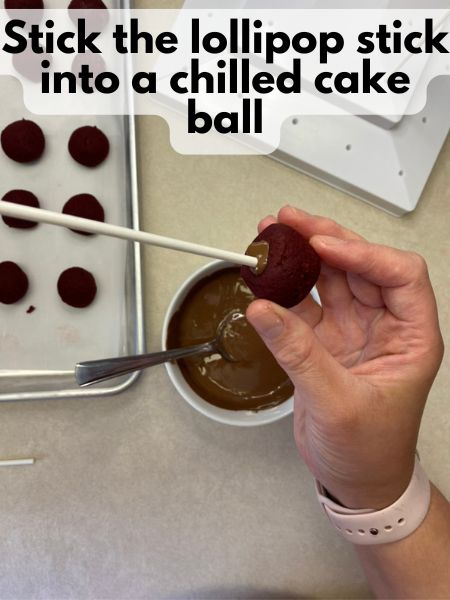
Dip one end of a lollipop stick into the melted candy coating, then insert it halfway into a cake ball. This acts as a glue, securing the stick to the cake ball.
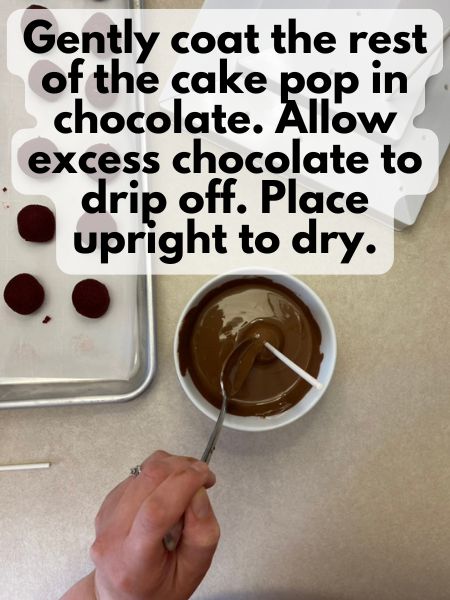
Dip each cake pop into the melted candy melts, ensuring it’s fully coated. Gently spin to allow the excess coating to drop off (This is where the coconut oil comes in handy!), then place the pop upright in a Styrofoam block or cake pop stand. Quickly add sprinkles if adding.
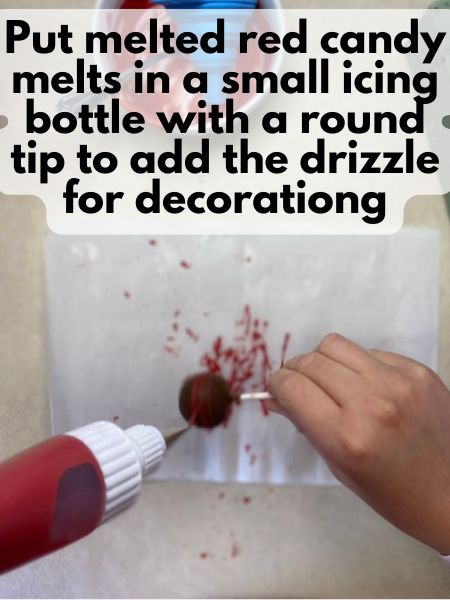
If you like, allow your cake pops to dry for a bit and then melt some red candy melts. Drizzle the red candy melts over your cake pops and let them dry again.
And just like that, you’ve turned simple red velvet cake balls into stunning Christmas cake pops!
Pro Tips for How to Make Cake Pops
To make your red velvet cake pops as flawless as possible, here are some pro tips:
- Perfect Consistency: You’ll probably want to slowly add the frosting to your cake crumbs to achieve the right texture and consistency for cake pops. It’s a lot harder (impossible, really) to go back if you add too much frosting at once.
- Chill, Chill, Chill: Always chill your cake balls before dipping to prevent them from falling apart. If you see your cake pops falling off the lollipop sticks while you’re making them (this usually happens to me around ⅓ of the way through all of the red velvet cake balls), stick them back in the freezer for a bit to firm them back up.
- Thin the Coating: If the candy melts are too thick, add a teaspoon of coconut oil or vegetable oil to thin them out for smoother dipping.
- Decorating Tips: I like to put red melting candy in a small icing bottle with a small, plain round tipp to drizzle and decorate my cake pops. I found mine at Michael’s. You can also use different sprinkles, edible glitter, or other colored candy melts to bring your favorite Christmas cake pops ideas to life.

FAQs
Q: Can I make these cake pops ahead of time?
A: Absolutely! Red velvet cake pops can be made up to three days in advance. Store them in an airtight container in the refrigerator for best results. If you’re afraid they’ll get crushed in a container, I usually store mine in a tall glass in the fridge. However, if you do that, try to be aware of what else you put in your fridge, because the cake pops may absorb some of the other flavors/odors in your fridge.
Q: What if I don’t have a Styrofoam block or cake pop stand?
A: No problem! You can use an inverted colander or a cardboard box with small holes poked into it as a makeshift stand. Try to use the top-most holes so your cake pops are mostly upright to dry at first. Alternatively, place the pops stick-side up on parchment paper to set, although this may slightly flatten one side. I made some caramel apple cake pops using this technique, and thought they turned out cute, though!
Q: Can I use homemade red velvet cake?
A: Yes! If you prefer making your cake from scratch, go for it. Just ensure it’s not too moist or crumbly for rolling into balls.
Q: Can I use a different type of frosting?
A: While cream cheese frosting pairs wonderfully with red velvet cake, you can use buttercream or any frosting you prefer. Keep in mind that different frostings might slightly alter the flavor.
Q: Can I make these without lollipop sticks?
A: Of course! If you prefer, you can skip the sticks and serve them as red velvet cake balls instead. They’ll still be a hit at any holiday gathering.
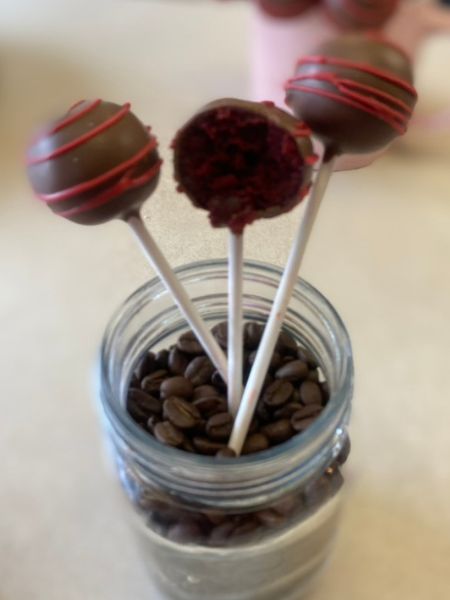
There’s something magical about combining the rich flavor of red velvet with the whimsical charm of Christmas decorations. These Christmas Red Velvet Cake Pops aren’t just delicious—they’re an activity, a gift, and a centerpiece all rolled into one.
Whether you’re indulging in the joy of making red velvet cake balls with your family or wowing your guests with this Christmas cake pops recipe, these treats are sure to become a holiday tradition. So put on your favorite Christmas playlist, grab your ingredients, and let the festive baking begin!

Christmas Red Velvet Cake Pops
Equipment
- 48 cake pop sticks
- styrofoam block or cake pop stand
- 1 small icing bottle optional, for decorating
Ingredients
- 1 red velvet cake (Plus water, oil, eggs your cake mix calls for)
- 4 oz cream cheese softened
- 1/4 cup butter softened
- 2 cups powdered sugar
- 1 tsp vanilla
- Melting chocoate I used at least 24 oz total for this recipe
- 2-4 tsp Coconut oil optional, use to thin melting chocolate to make it easier to work with
Instructions
Prepare Red Velvet Cake
- Bake your red velvet cake according to the instructions and allow to cool completely.
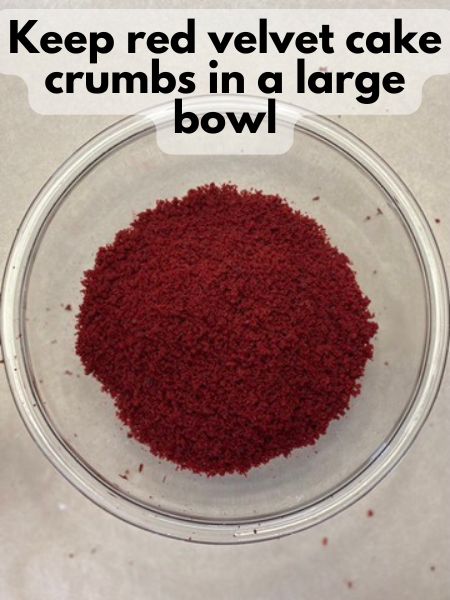
- Place chunks of cake in food processor and pulse until you have very fine crumbs. Keep your cake crumbs in a large bowl and set aside.
Make Cream Cheese Frosting
- Beat together cream cheese and butter until smooth
- Slowly add in powdered sugar and vanilla. Continue beating at medium speed until everything is smooth.
Assemble Cake Pops
- Divide your frosting in half (approximately). Set aside the one half for later use.
- Add your cake crumbs to half your frosting slowly, continuing to mix until everything is smooth
- Add in more frosting 1/4 cup or so at a time until you reach a thick, cookie dough-like consistency. You want your dough to hold its shape without any help.
- Shape your dough into balls. Place on a cookie sheet lined with parchment paper and chill in the freezer for at least 30 minutes.
Decorate Cake Pops
- Melt melting chocolate according to instructions on the package.
- Add a little bit of coconut oil to thin out your chocolate and make it easier to work with.
- Dip the end of a cake pop in the chocolate, and then stick into a chilled cake pop.
- Dip entire cake pop in melted chocolate and gently maneuver a spoon around to pour/cover the cake pop in melted chocolate.
- Hold your cake pop upside down and let excess chocolate drip off. Decorate cake pop with sprinkles (if you like). and place in a styrofoam block or cake pop stand to dry. I like to melt red chocolate candy melts and put them in a small icing bottle with a small, plain round tip. Then, I drizzle the red on top after my cake pops have dried a bit.
- Store your cake pops in the fridge and enjoy!

