
Last updated on September 10th, 2025 at 08:01 am
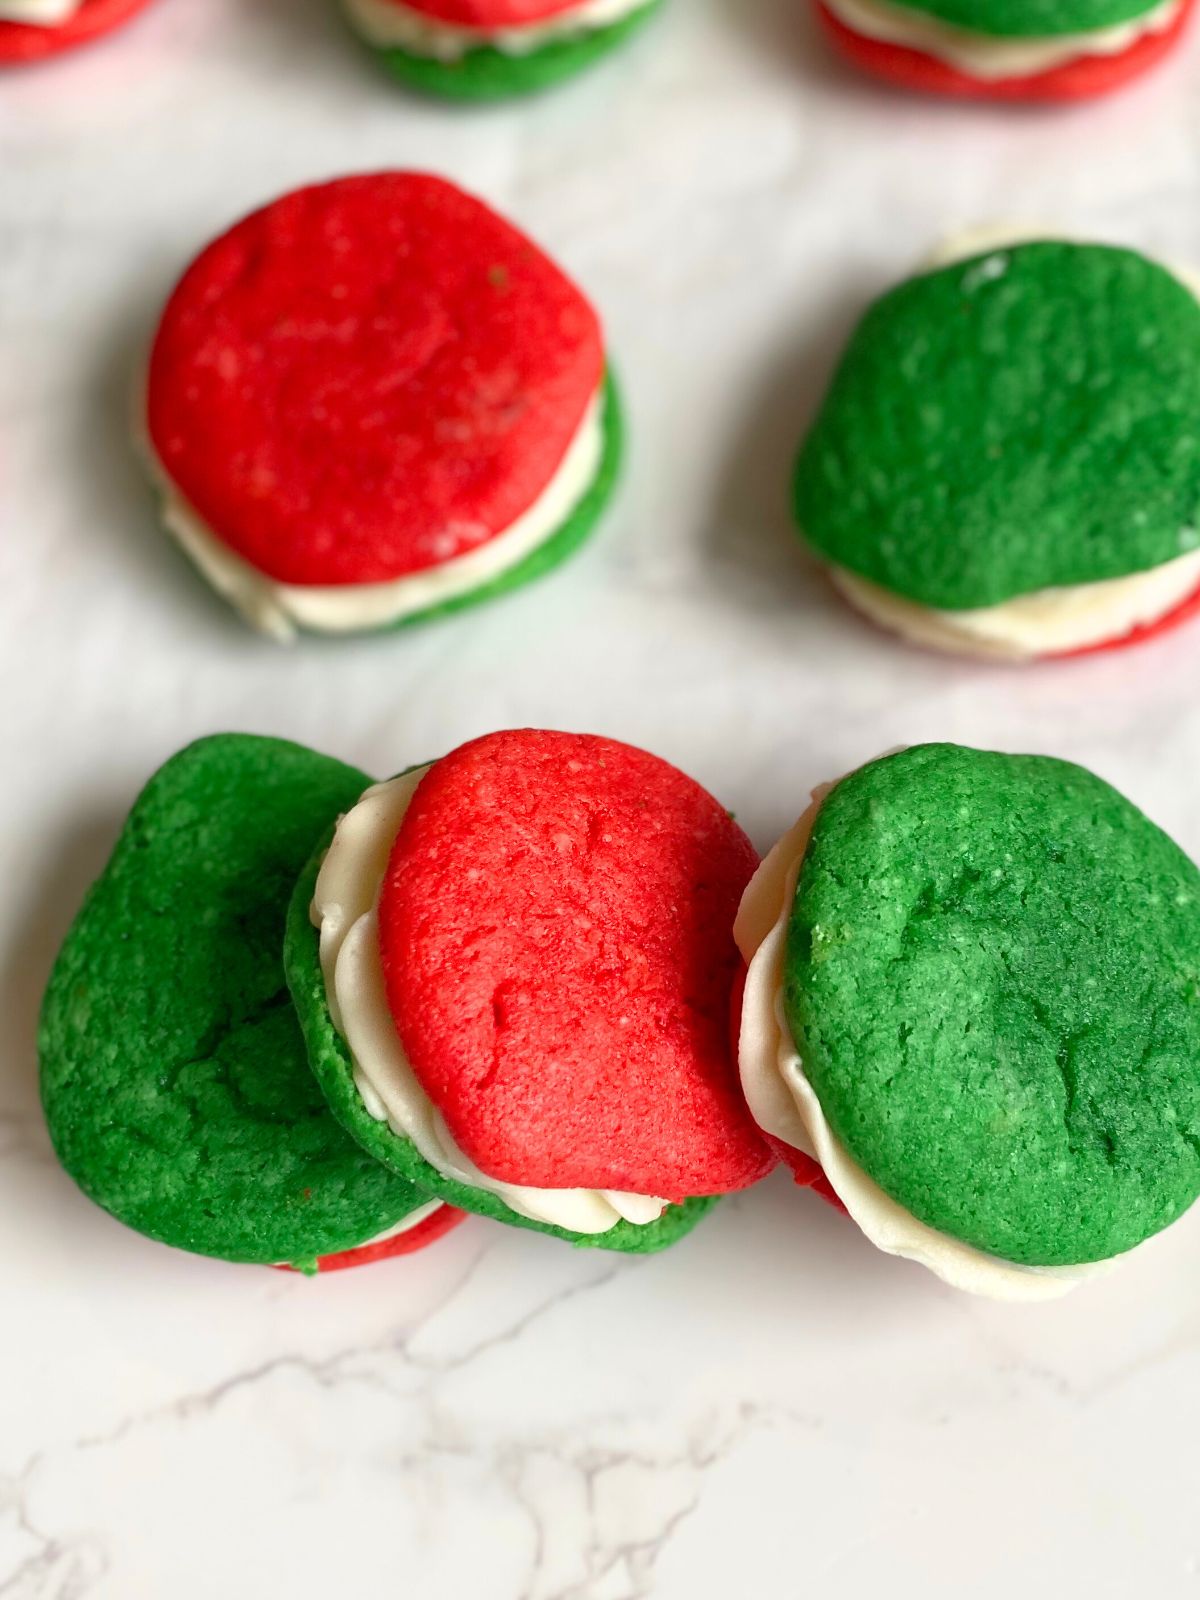
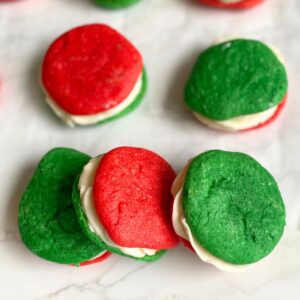
These fluffy whoopie pies makes super cute (and easy!) Christmas desserts that your guests are going to love! They’re soft cake-cookies that are sandwiched together with creamy vanilla filling. They’re basically the perfect handheld treat. These red and green Christmas whoopie pies are made with a white cake mix, so they’re quick and easy to whip up, too!
Whether you’re planning Christmas party desserts for a big gathering or just want something festive to make with your kids, these whoopie pies will definitely be a hit.
Jump to Recipe
Ingredients for Christmas Whoopie Pies
Whoopie Pies:
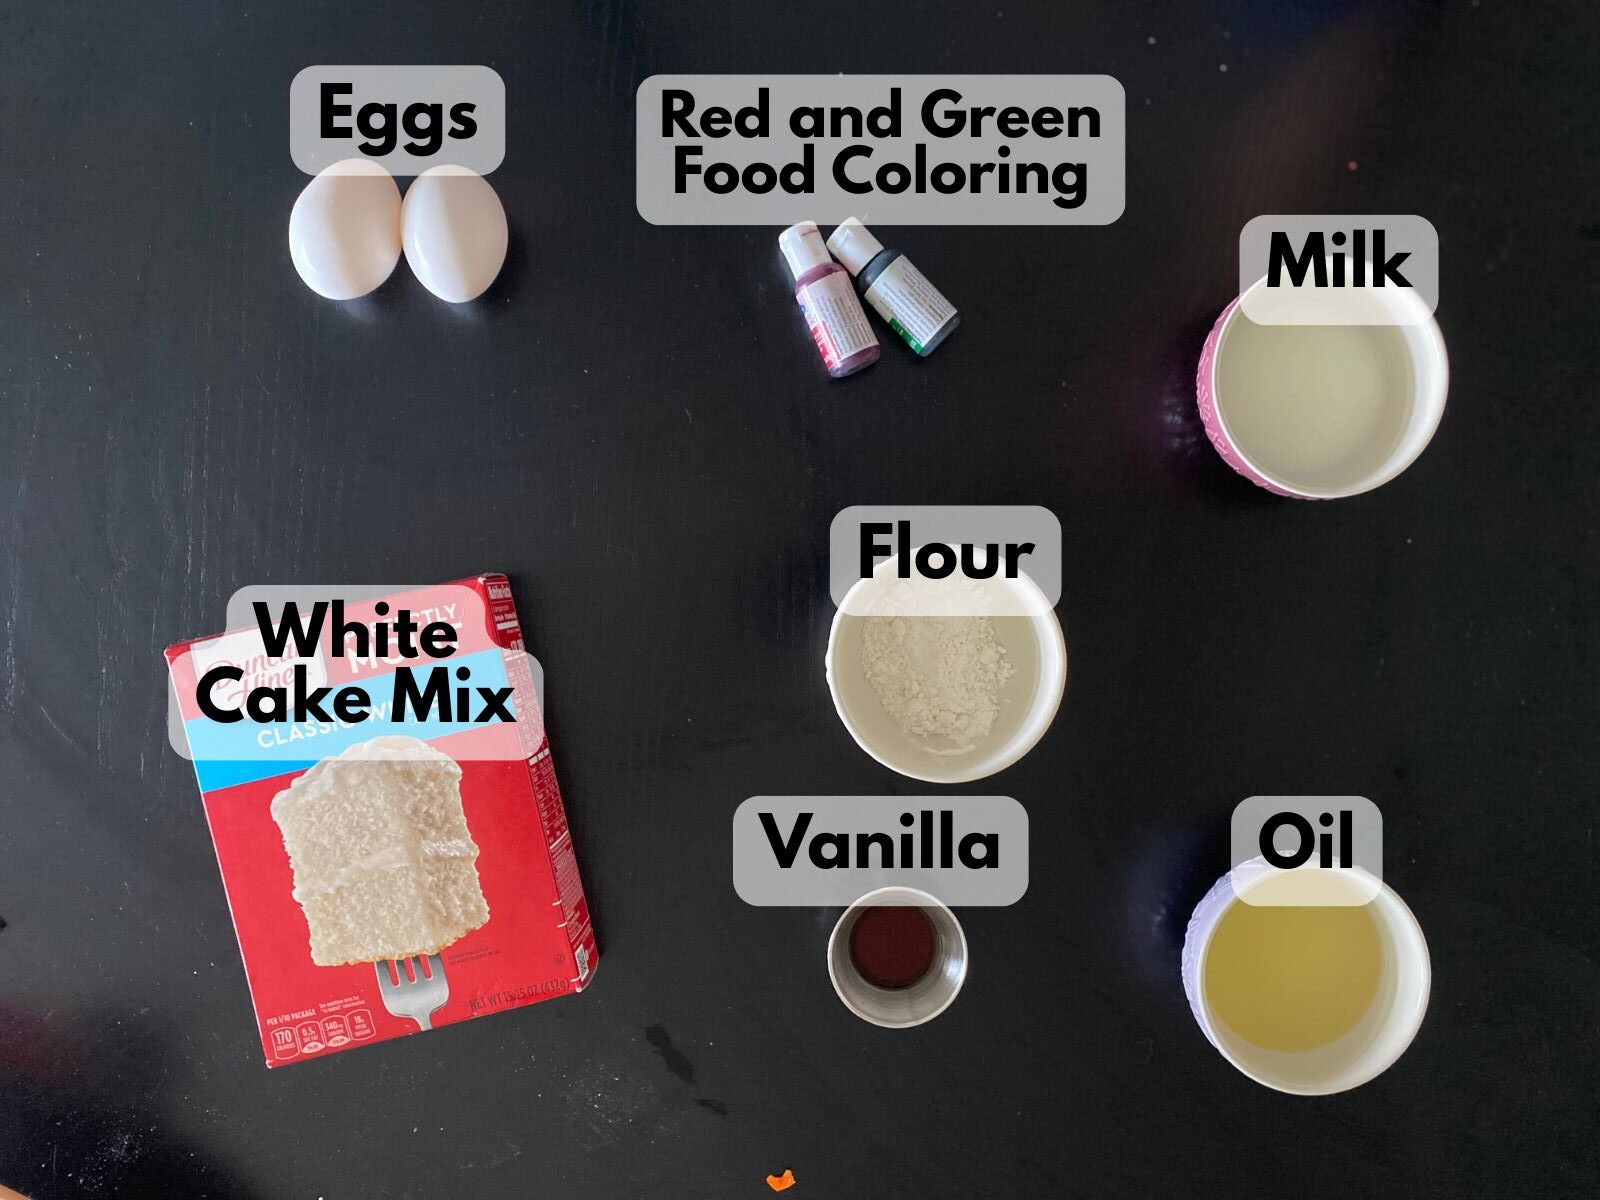
- 1 box white cake mix (15.25 oz)
- 2 tablespoons all-purpose flour
- 1/3 cup vegetable oil
- 2 large eggs
- 1/4 cup milk
- 1 teaspoon vanilla extract (optional)
- Red and green gel food coloring
Vanilla Filling:
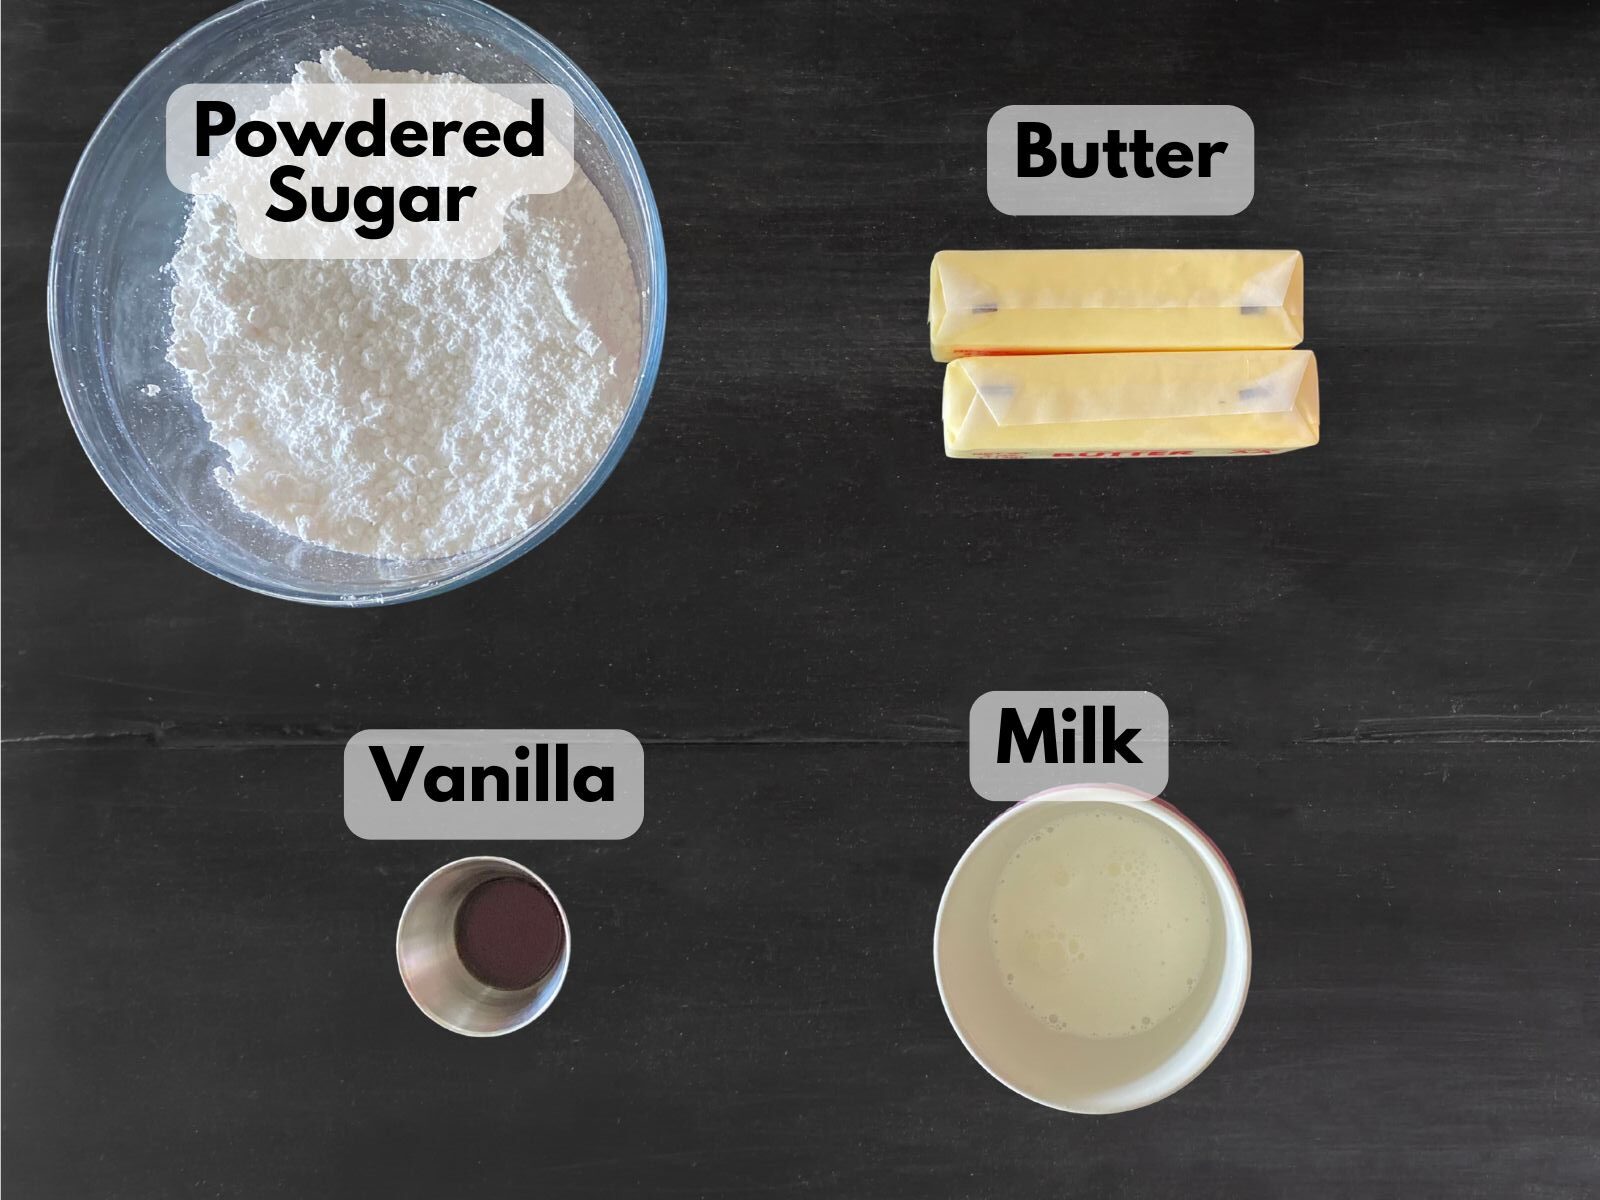
- 1cup unsalted butter, softened
- 2 cups powdered sugar
- 1 teaspoon vanilla extract
- 1–2 tablespoons milk or cream
How to Make Christmas Whoopie Pies
1. Preheat your oven. Set it to 350°F (175°C) and line baking sheets with parchment paper.
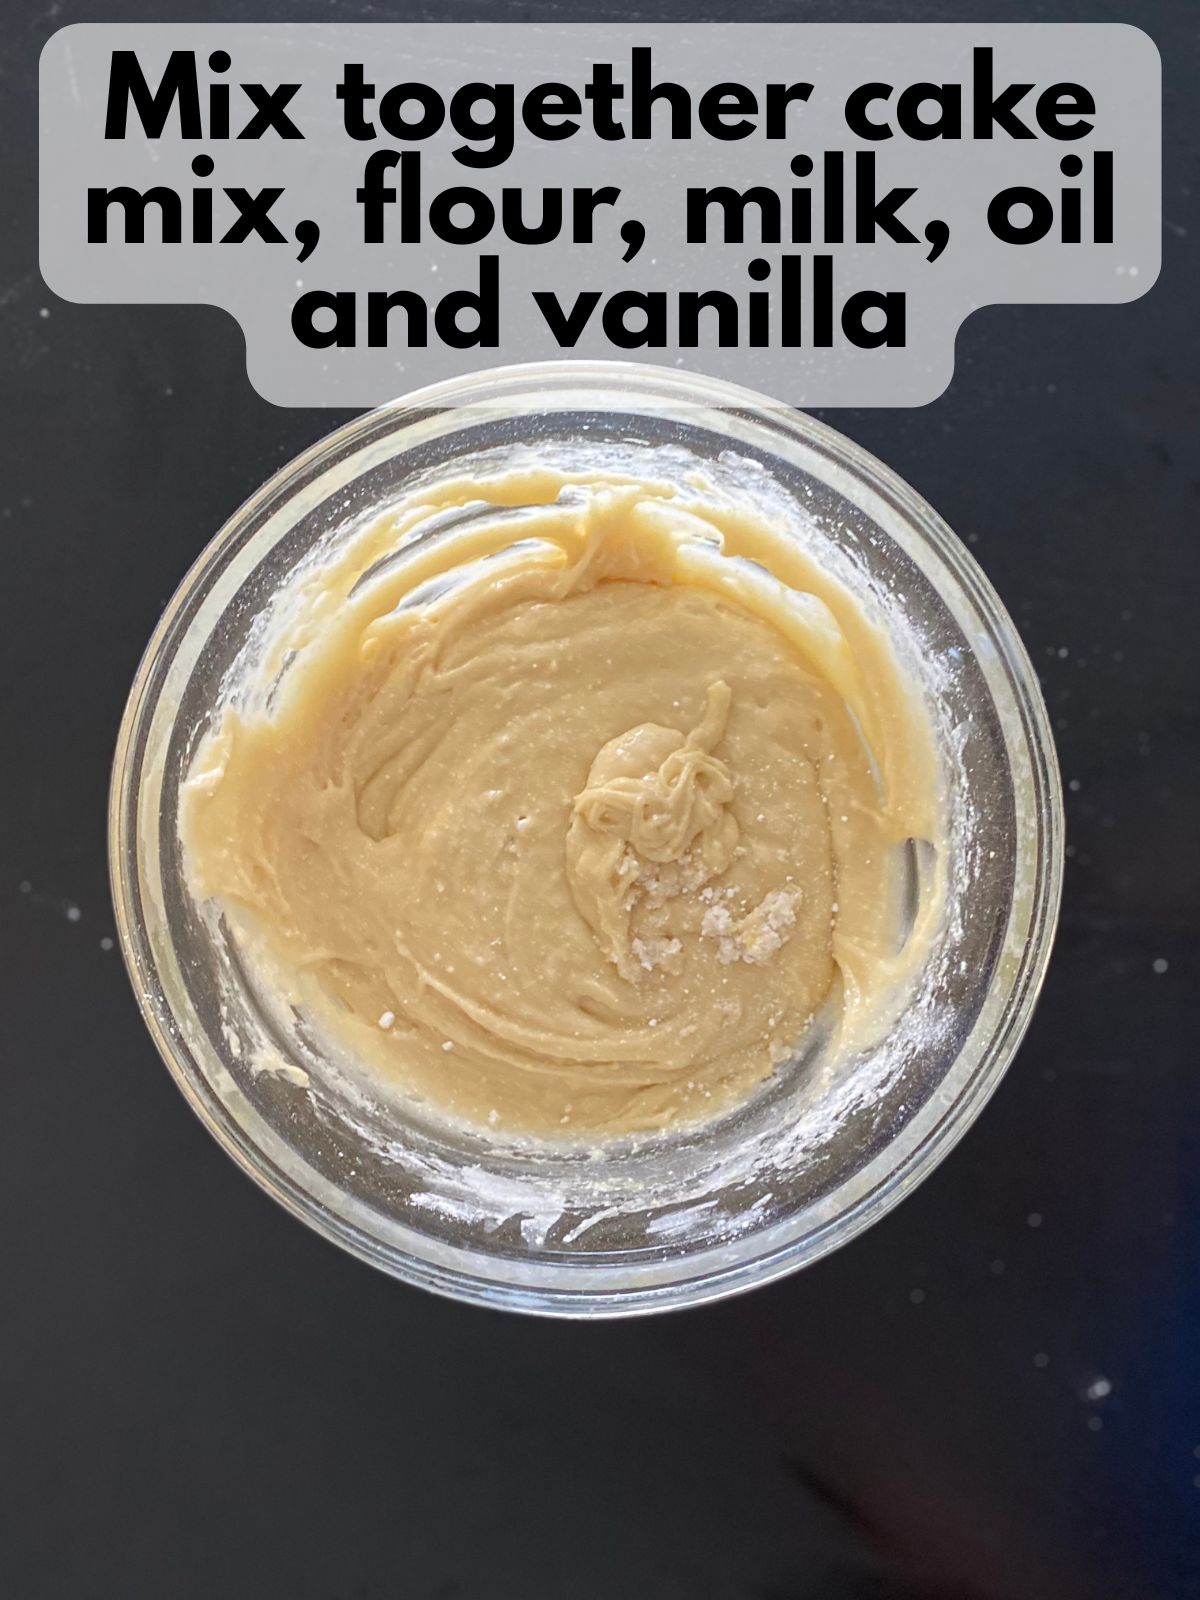
2. Mix the batter. Whisk together the cake mix and flour in a large bowl. Add oil, eggs, milk, and vanilla, then stir until smooth.
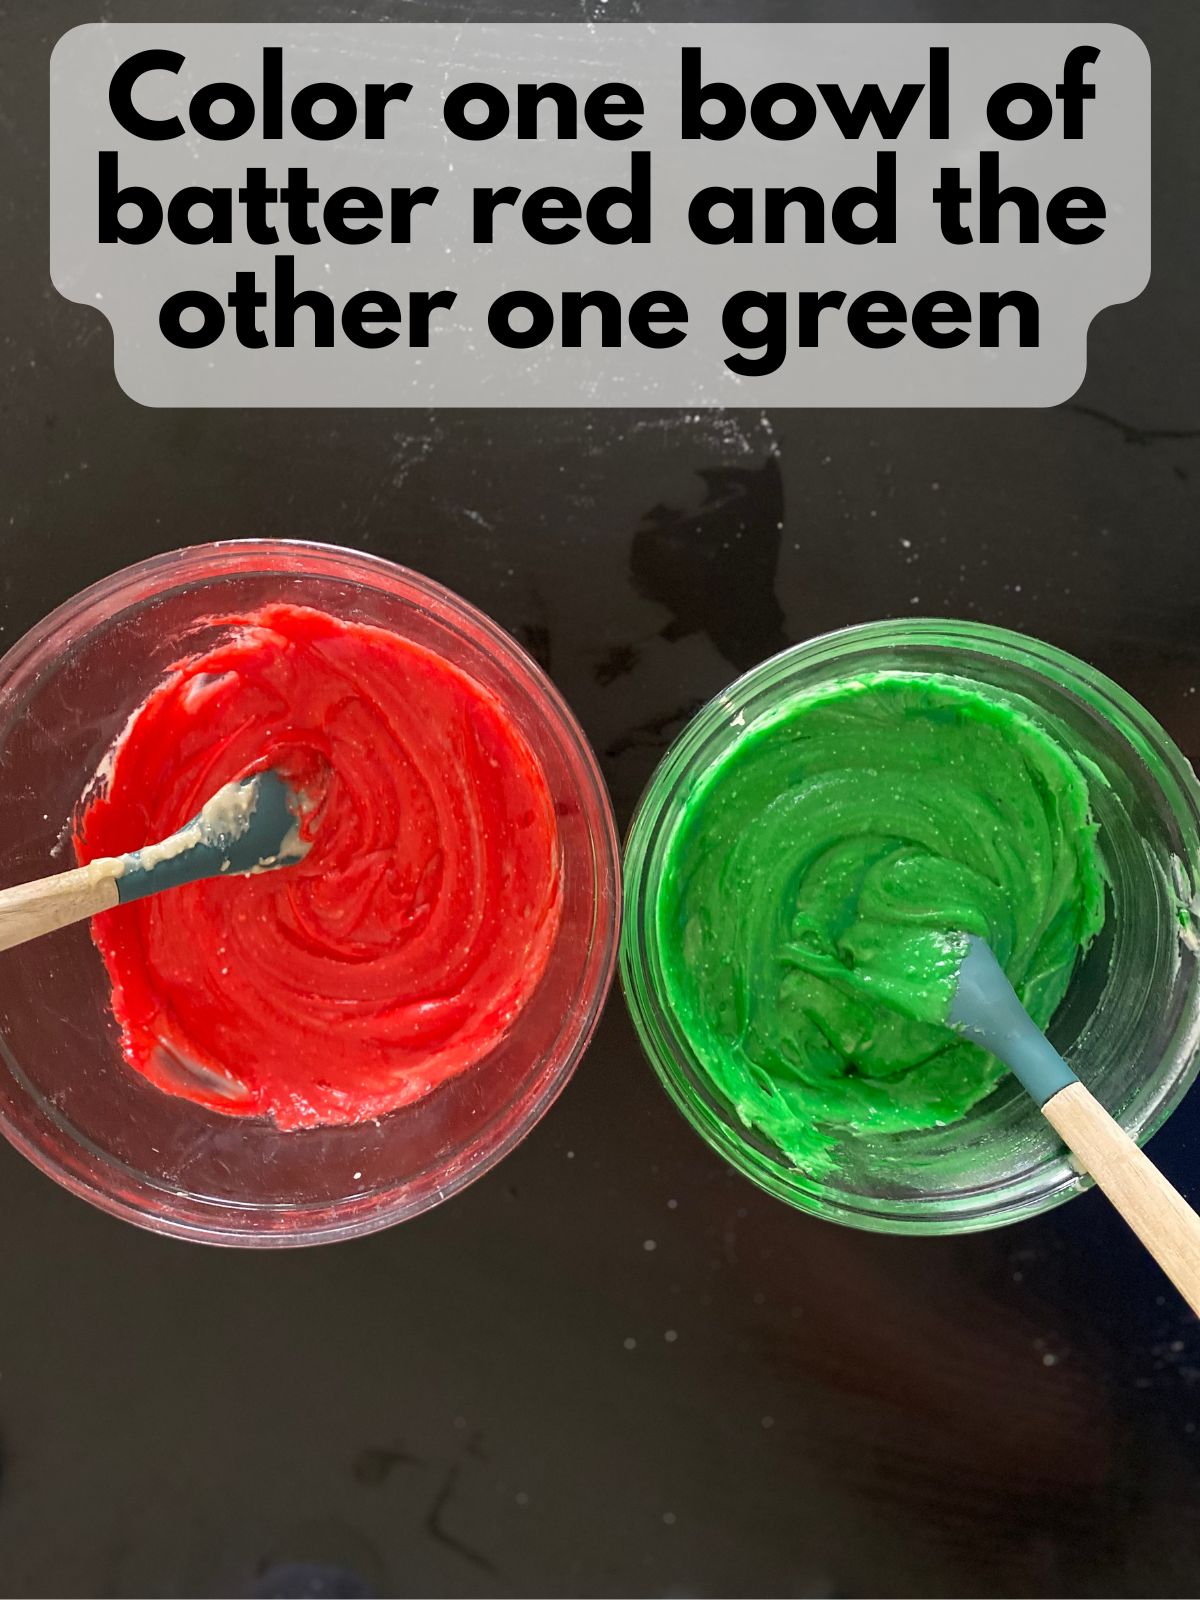
3. Add the colors. Divide the batter into two bowls. Tint one bowl red and the other green with gel food coloring. Mix well so the colors are bright and even.

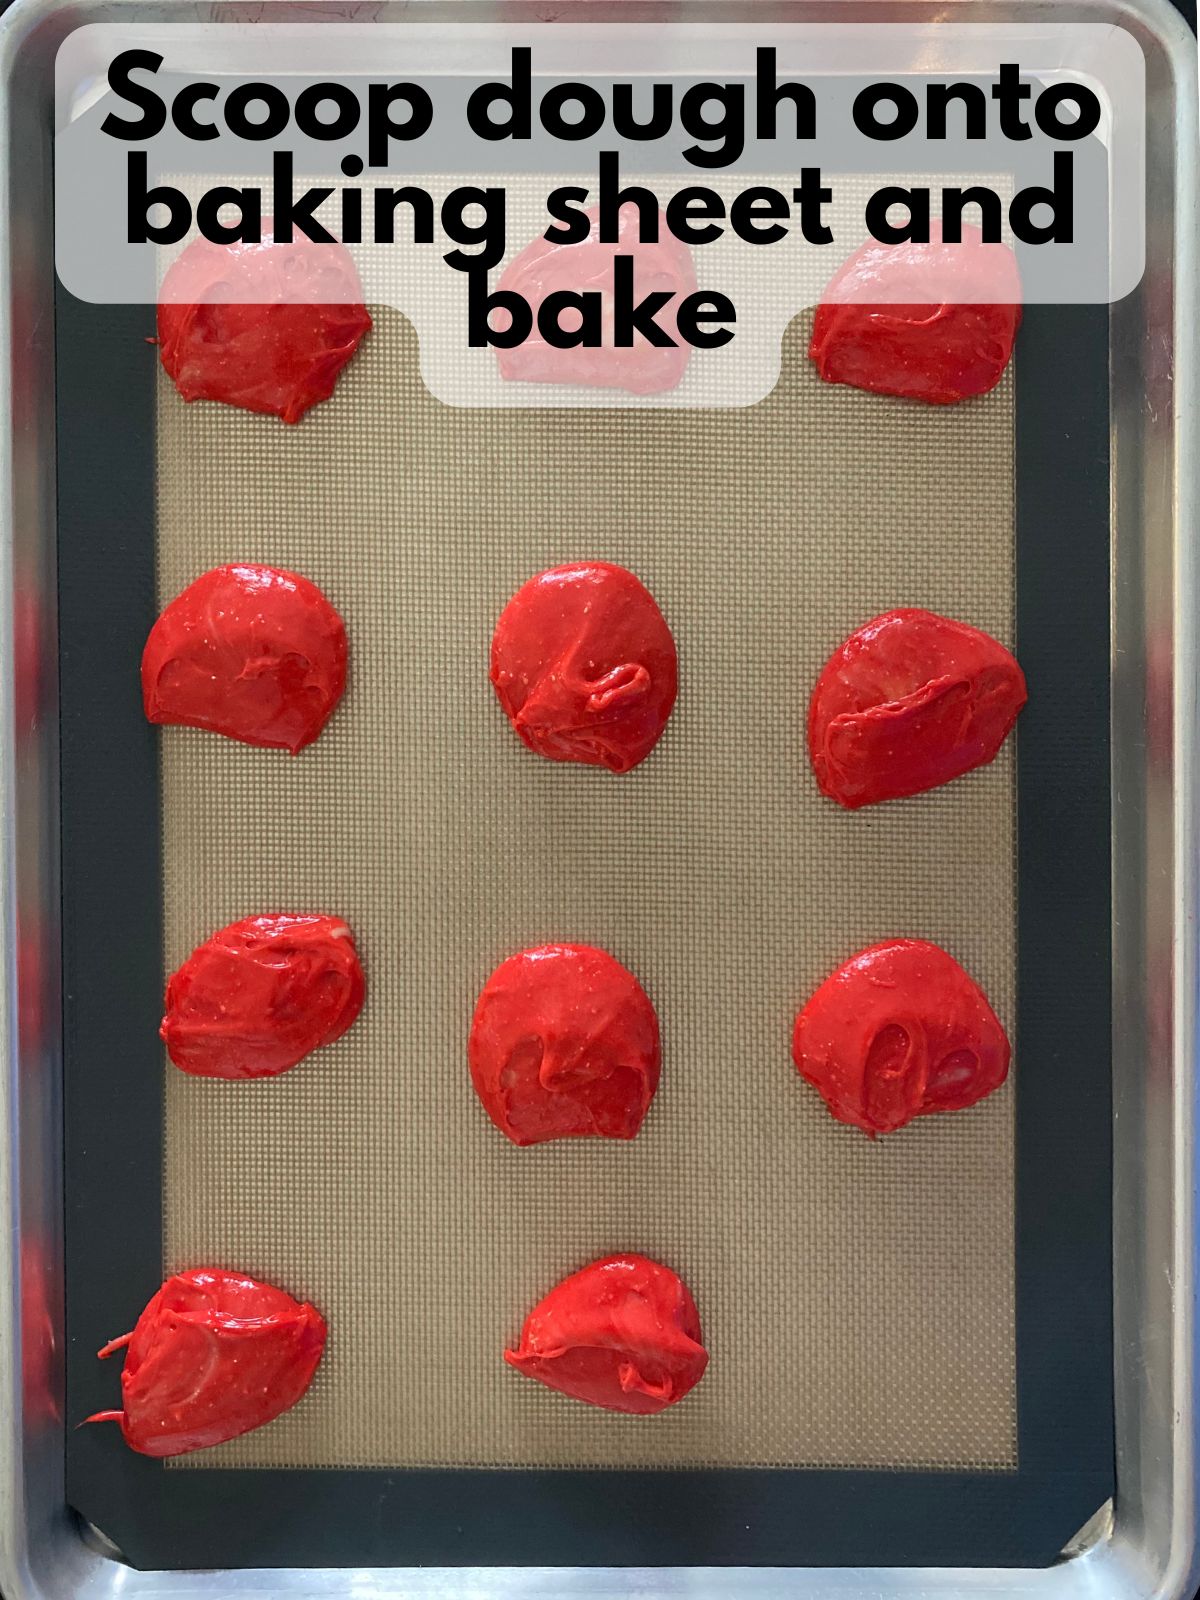
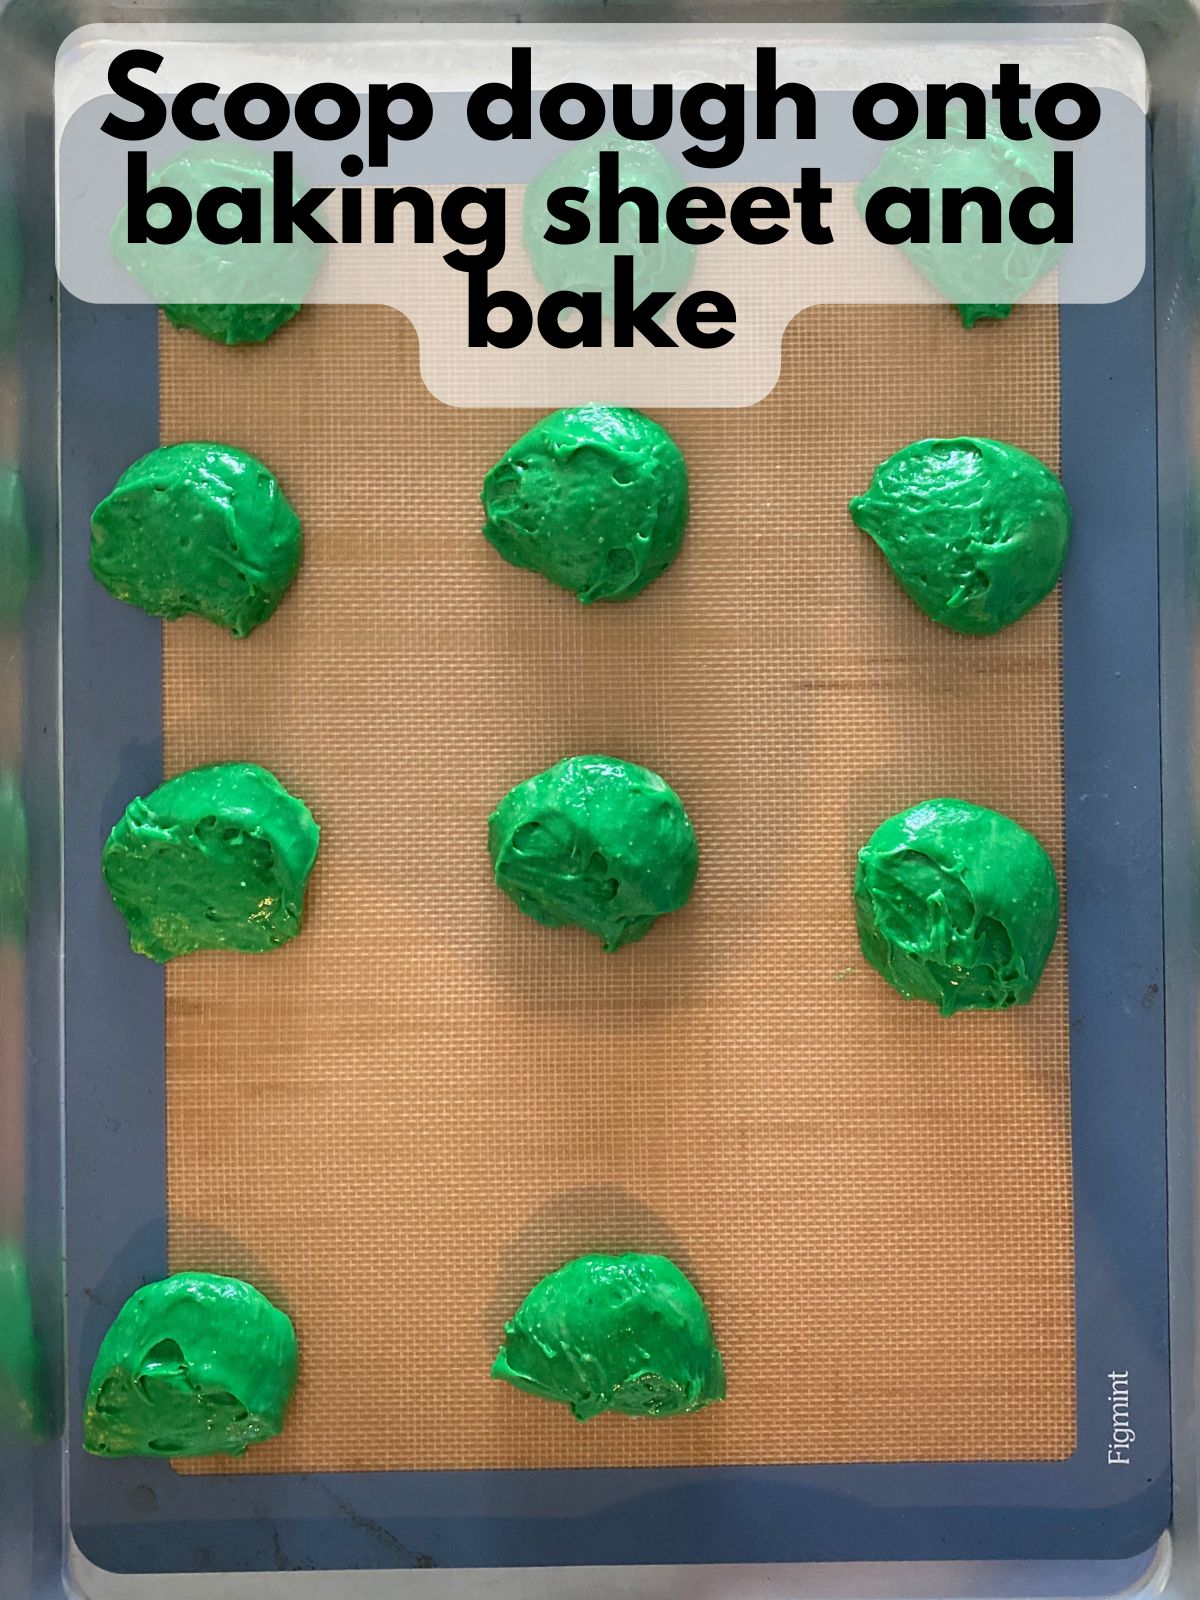
4. Scoop and bake. Drop 1-tablespoon scoops of batter onto baking sheets, leaving space between each. I like to use a cookie scoop to get even sizing.
Bake for 9–11 minutes, or until the tops spring back when touched. Cool completely.
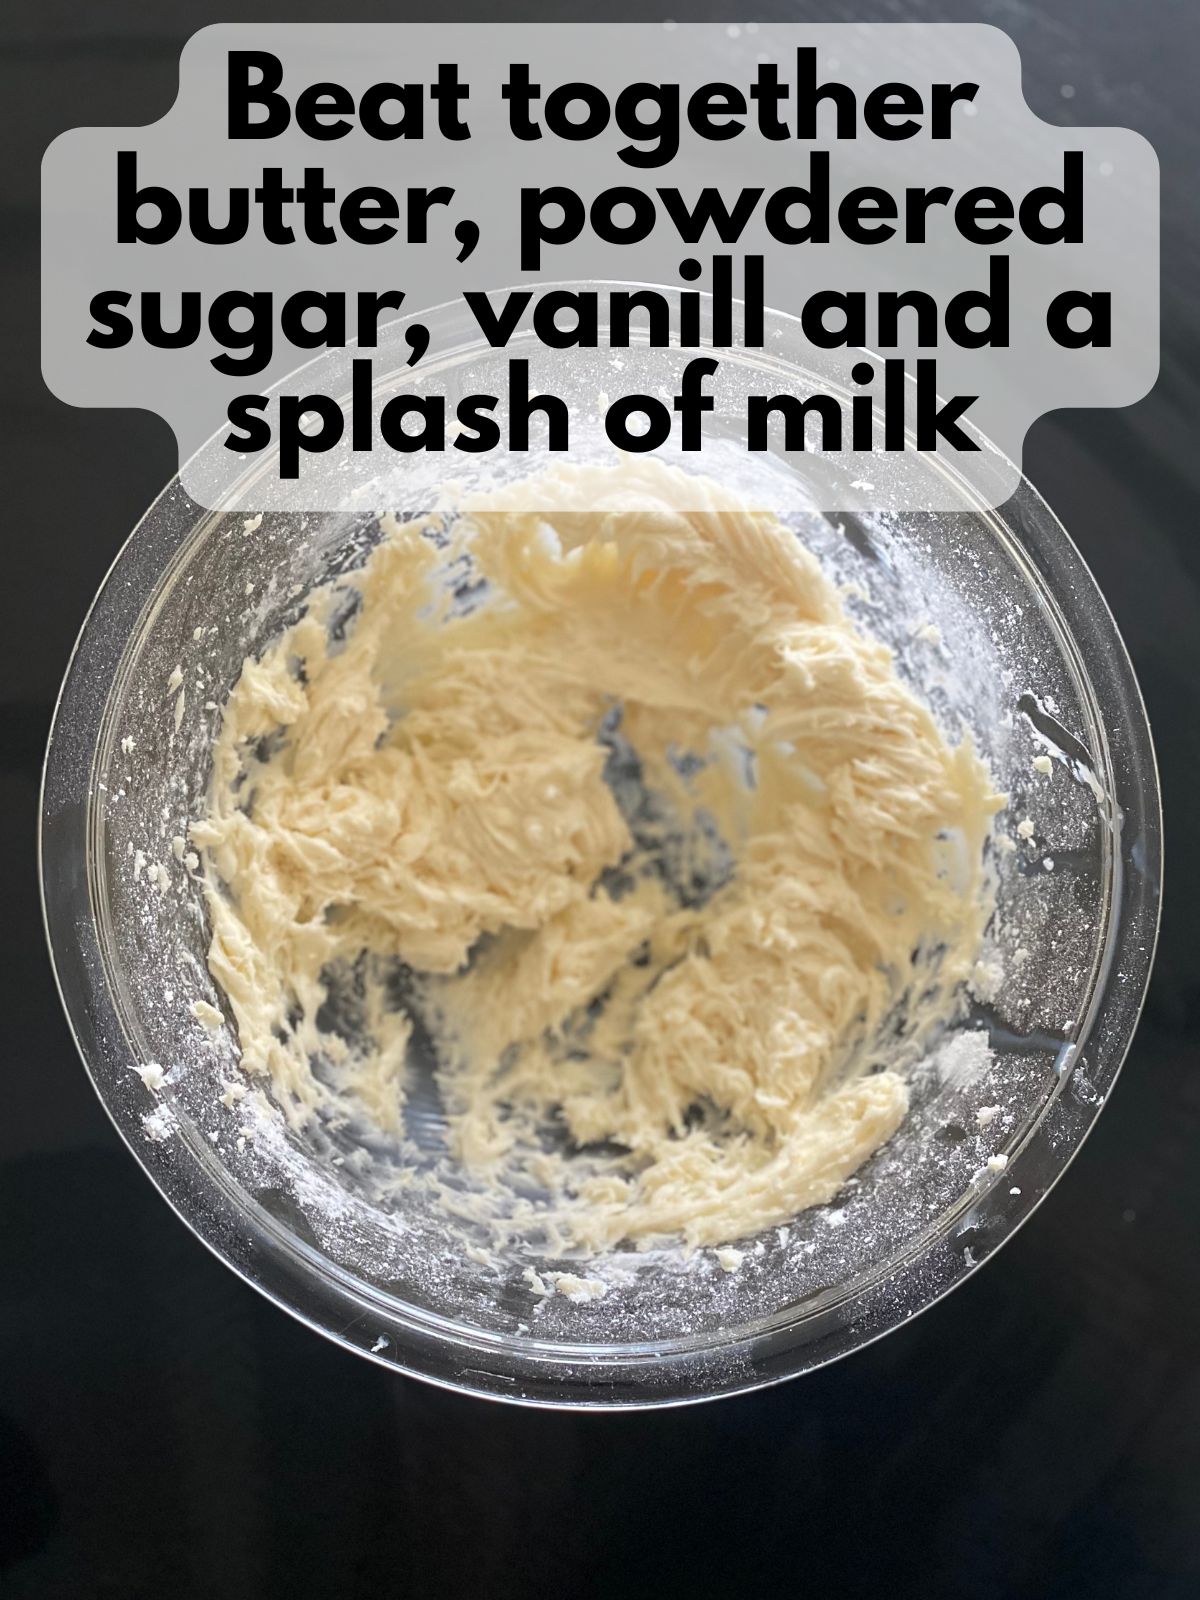
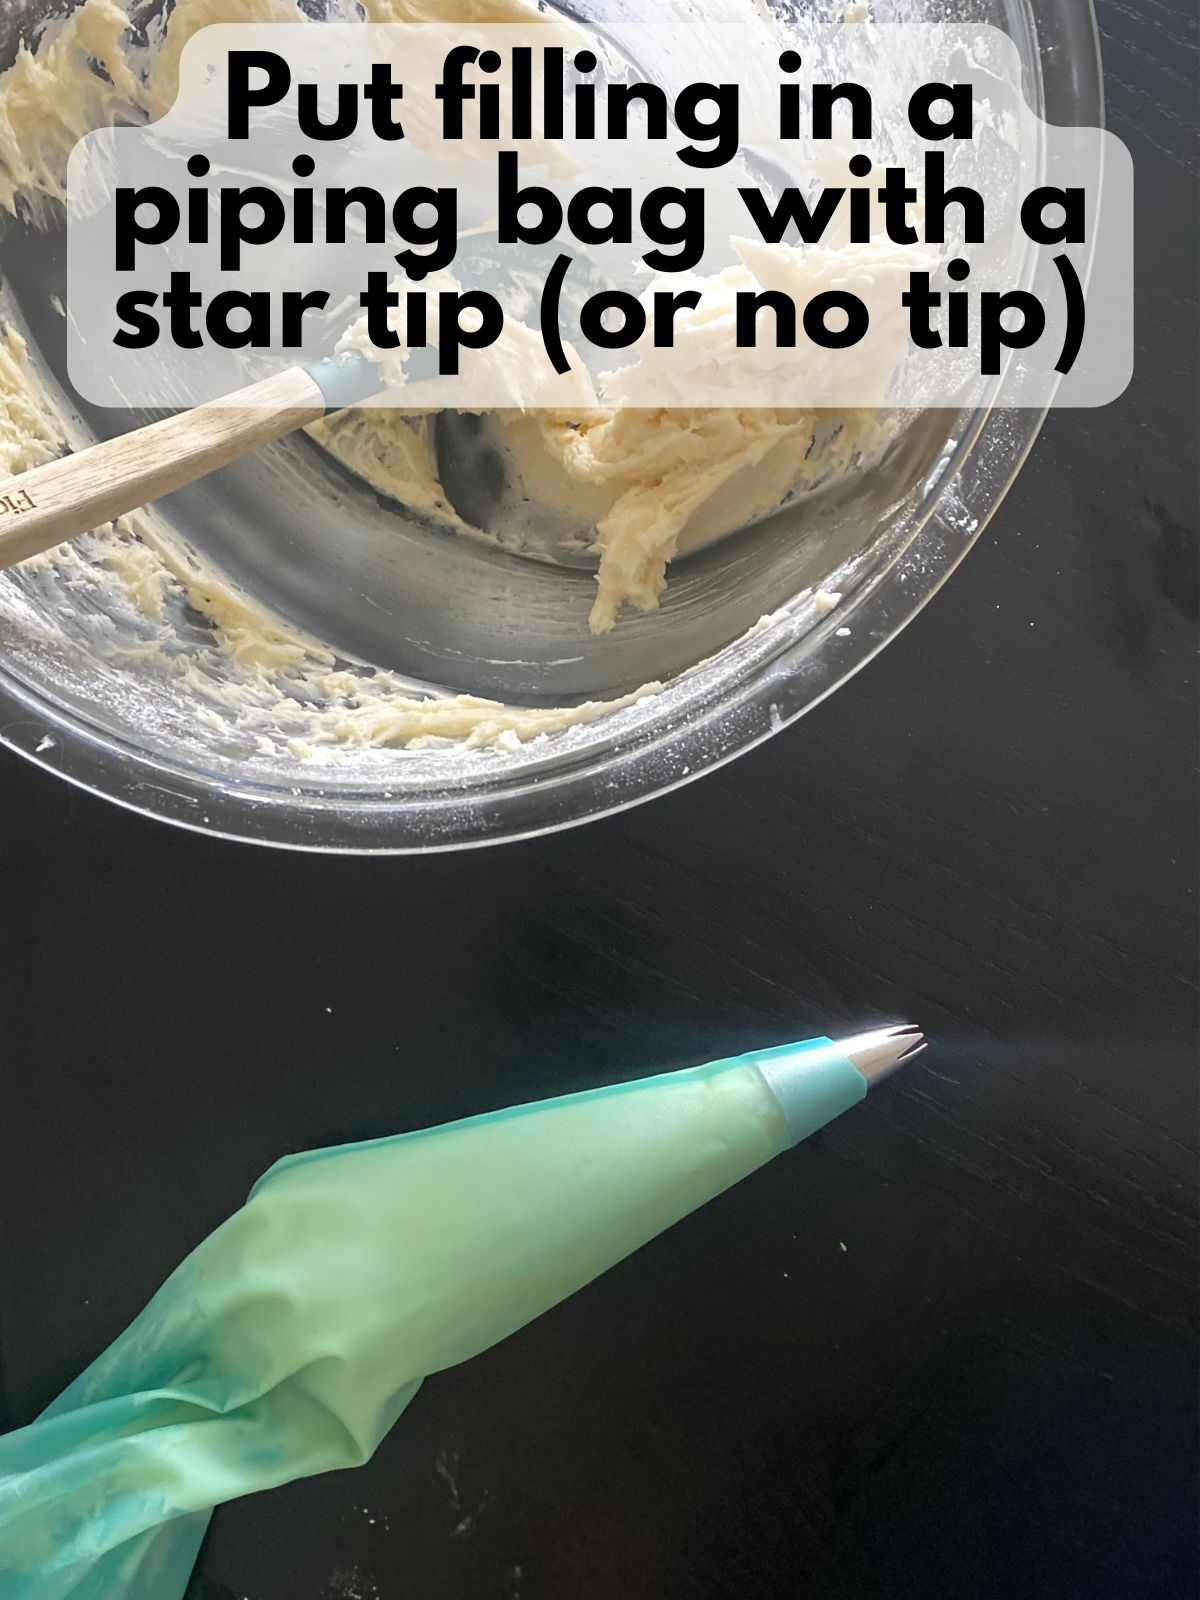
5. Make the filling. Beat butter until creamy, then add powdered sugar and vanilla. Mix in milk a little at a time until the frosting is light and fluffy.
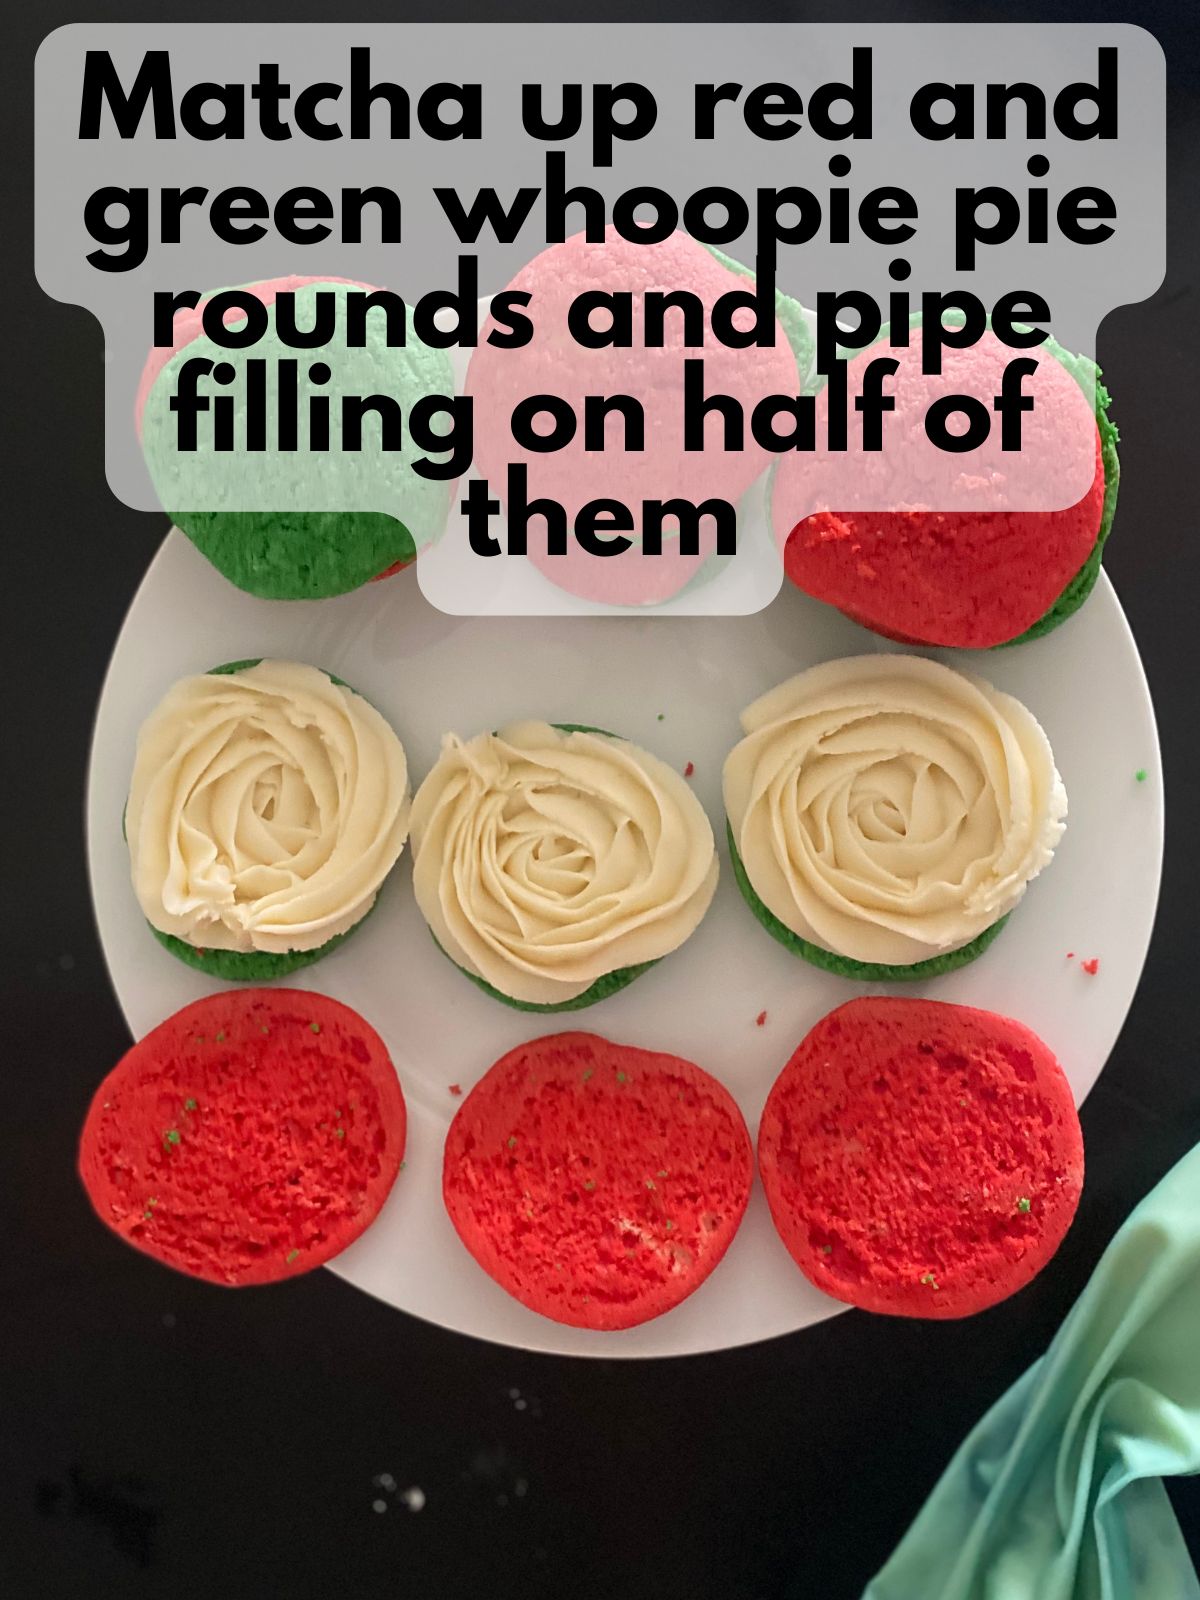
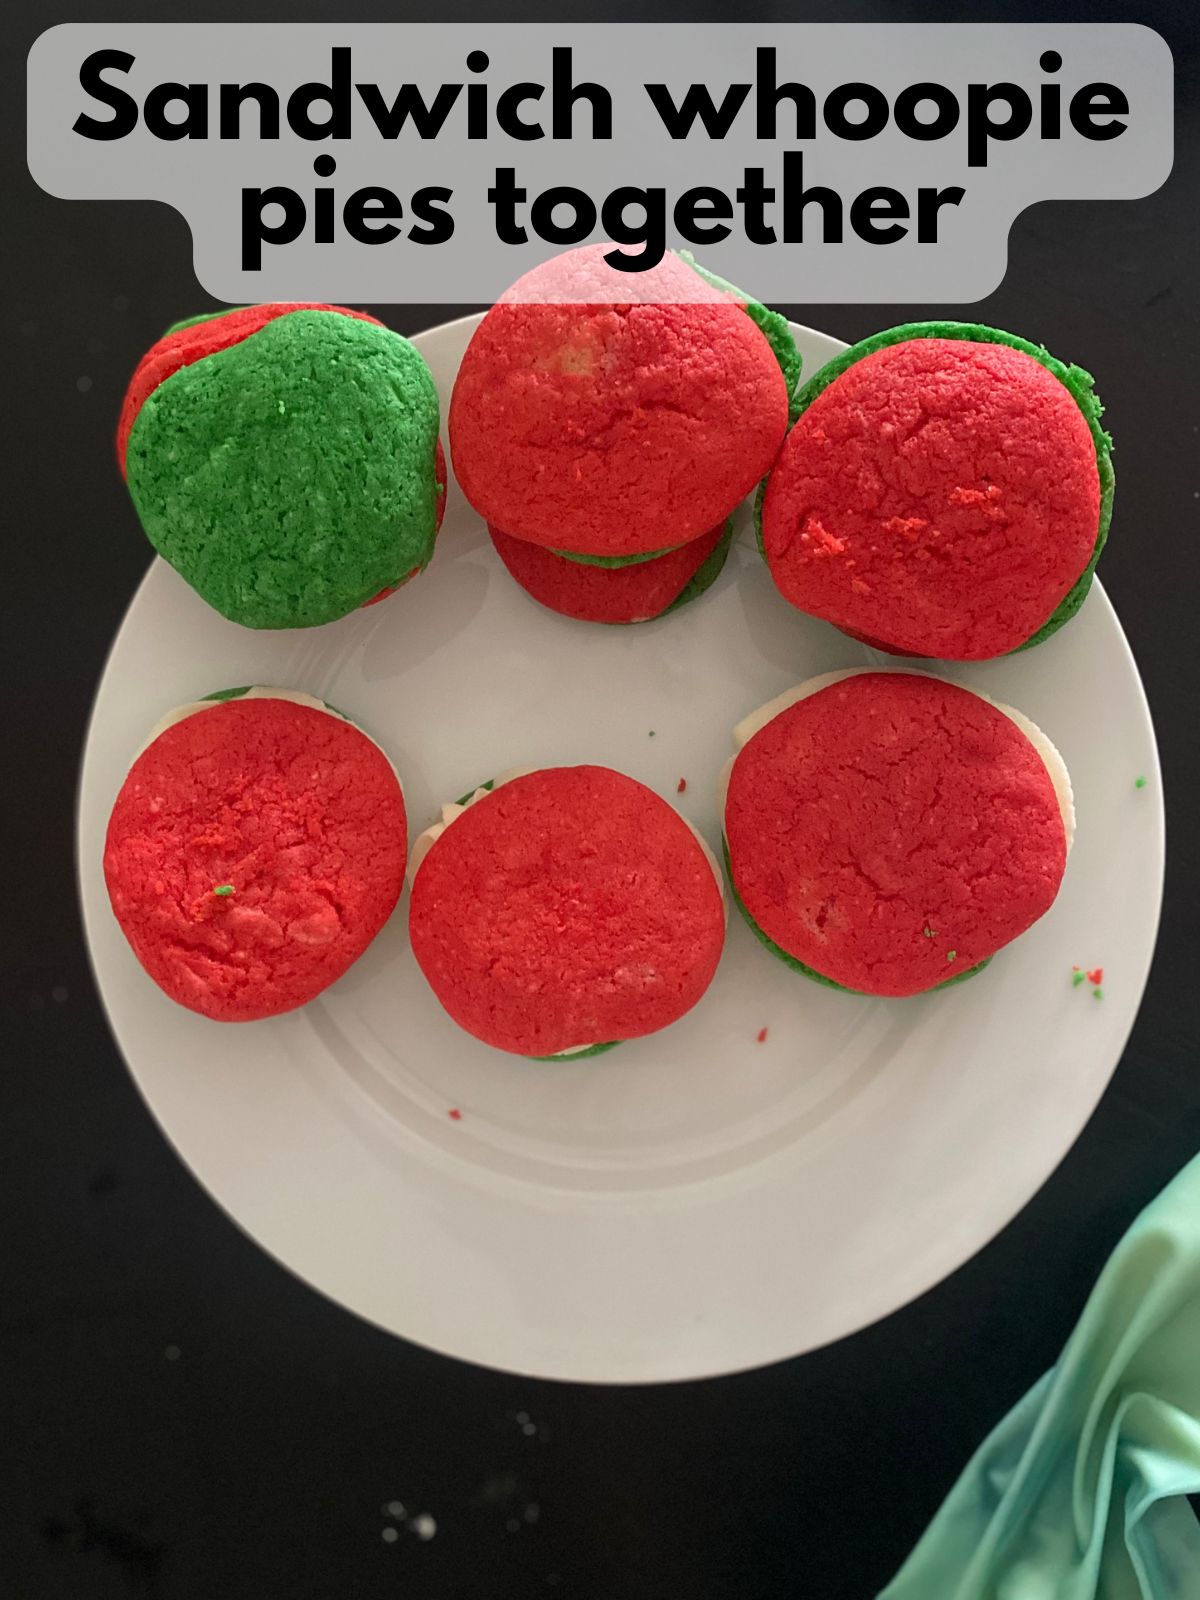
6. Assemble. Pair up cookies of similar size. Pipe or spread filling onto one side and top with its match. I like to pipe my frosting with a Wilton 1M tip for pretty swirls.
7. Store. You can store these at room temperature for up to 2 days, but I prefer to store them in the fridge. They taste freshest if you wrap them individually in plastic wrap.
If you don’t have plastic wrap, you can also store them in an air tight container lined with parchment paper. If stacking in a container, I like to dust the layers with a bit of powdered sugar and put parchment paper between each layer so they don’t stick.
Pro Tips for Perfect Whoopie Pies
- Use “the good” food coloring. I usually buy my food coloring at Michael’s in the baking section. However, any gel food coloring can work. I like the Michael’s kind (you can probably find food baking food coloring online too!) for Christmas-y things because they have colors like “deep red” and “deep green” that sound too dark, but actually come out perfect for Christmas-y things. Sometimes the food coloring from the grocery store comes out kind of light or requires a lot of food coloring to get a rich color.
- Keep the sizes even. A small cookie scoop helps make all your whoopie pies uniform, which makes sandwiching easier. Make sure you leave plenty of room on your baking sheet for spread.
- Make ahead. Bake the whoopie pie rounds a day in advance and store them in an airtight container. Fill them right before serving for the freshest taste. Or, you can wrap each assembled whoopie pie in plastic wrap and store in the fridge for 3-ish days before serving.
- Switch up the filling. If you want more holiday flair, try adding peppermint extract to the filling instead of vanilla! You could also try chocolate whoopie pie rounds with Christmas-colored filling. You can even roll your whoopie pies in festive Christmas sprinkles.

FAQs
Can I freeze these whoopie pies?
Yes! You can freeze the baked rounds (without filling) for up to 2 months. Just thaw, add filling, and serve. You can also freeze the assembled whoopie pies wrapped in plastic wrap, but the texture of the frosting might be slightly (I don’t really notice it, honestly) off after you thaw.
Do I have to use a white cake mix?
Definitely not! A vanilla or yellow cake mix will work too. Just note that, with a yellow cake mix, the colors might be a little bit different.
How should I store these?
Keep your whoopie pies in an airtight container at room temperature for 2–3 days, or in the fridge for up to 5 days. If you chill them, let them come back to room temperature before serving. For maximum freshness, wrap individual whoopie pies in plastic wrap.
Do I have to use food coloring if I don’t like using red dye?
No, definitely not! If you like to stay away from food coloring, you could also just make whoopie pies with this recipe and then decorate them with some festive sprinkles, sanding sugar, or just have plain whoopie pies! I also really like chocolate whoopie pies, and those have a rich flavor and don’t use food coloring.
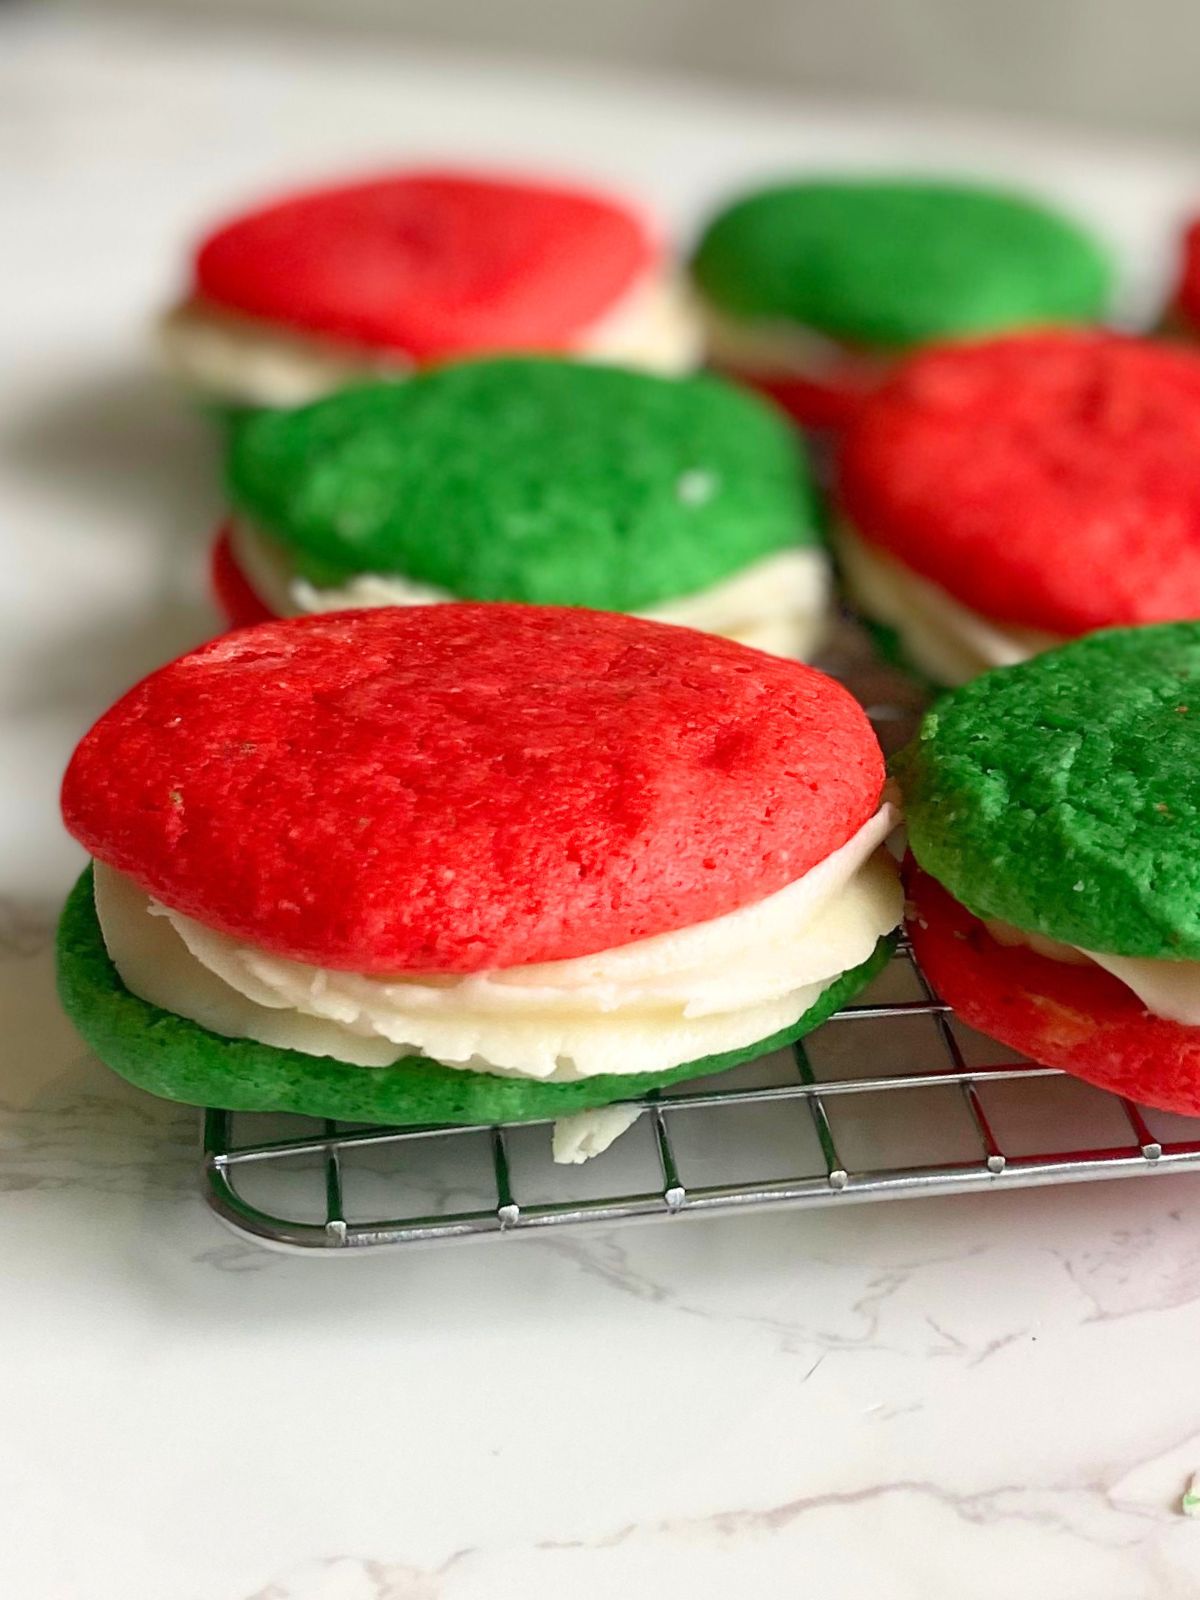
These Christmas whoopie pies with their red and white whoopie rounds and fluffy vanilla filling make such cute Christmas desserts. They’re perfect for holiday parties, cookie trays, or a cozy night at home, and they’re bound to spread some extra cheer. Happy Christmas baking!
Christmas Cake Mix Whoopie Pies
Equipment
- 1 piping bag optional
- 1 Star piping tip optional (I like the Wilton 1M or 4B tips)
Ingredients
Whoopie Pie Rounds
- 1 box white cake mix 15.25 ounces
- 2 Tbsp flour
- 1/3 cup vegetable oil
- 2 eggs
- 1/4 cup milk
- 1 tsp vanilla
- red and green food coloring the "deep" red and green colors, if you can find them, work best
Vanilla Filling
- 1 cup unsalted butter softened
- 4 cups powdered sugar
- 1 tsp vanilla
- 1-2 Tbsp milk or cream to adjust for consistency
Instructions
Make Red and Green Whoopie Pie Rounds
- Set it to 350°F (175°C) and line baking sheets with parchment paper.
- Whisk together the cake mix and flour in a large bowl. Add oil, eggs, milk, and vanilla, then stir until smooth.
- Divide the batter evenly into two bowls. Tint one bowl red and the other green with gel food coloring. Mix well so the colors are bright and even. *See note about food coloring
- Drop 1-tablespoon scoops of batter onto baking sheets, leaving space between each. I like to use a cookie scoop to get even sizing.
- Bake for 9–11 minutes, or until the tops spring back when touched. Cool completely.
Make Filling
- Beat butter until creamy, then add powdered sugar and vanilla. Mix in milk a little at a time until the frosting is light and fluffy.
- You can put the filling in a piping bag with a star tip (or no tip!) for pretty presentation if you want to. Spreading with a butter knife also works.
Assemble
- Pair up cookies of similar size. Pipe or spread filling onto one side and top with its match. I like to pipe my frosting with a Wilton 1M tip for pretty swirls.
Store
- You can store these at room temperature for up to 2 days, but I prefer to store them in the fridge. They taste freshest if you wrap them individually in plastic wrap and let them come to room temperature before eating. *See note about storage