
Last updated on December 29th, 2023 at 08:37 pm
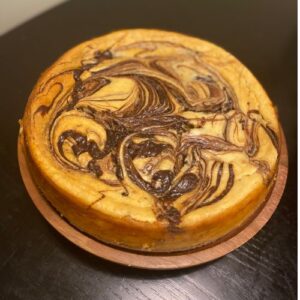
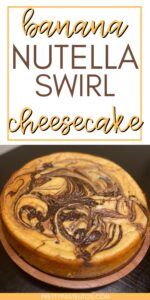 This banana Nutella swirl cheesecake turned out super delicious! It was gone in a day. Luckily, I had too many ripe bananas sitting around, and I needed a creative way to use them up! Today, I’m going to share a recipe that’s a delightful combination of creamy cheesecake goodness, banana sweetness, and the irresistible chocolate flavor of Nutella. Brace yourself for the ultimate Banana Nutella Swirl Cheesecake – a slice of paradise that will elevate your dessert game to a whole new level. Don’t worry if this sounds complicated! With these simple tips and tricks, you’ll see that this recipe is actually pretty easy!
Jump to Recipe
How to Make Banana Nutella Swirl Cheesecake
Ingredients:
– 2 cups graham cracker crumbs (I buy the premade crumbs because I’m lazy. If you have whole graham crackers, you can grind them up in the food processor first.)
– 1/2 cup unsalted butter, melted
– 16 oz cream cheese, softened
– 1 cup granulated sugar
– 3 ripe bananas, mashed
– 2 large eggs
– 1 tsp vanilla extract
– 1 cup Nutella
Instructions:
Step 1: Preheat and Prep Crust
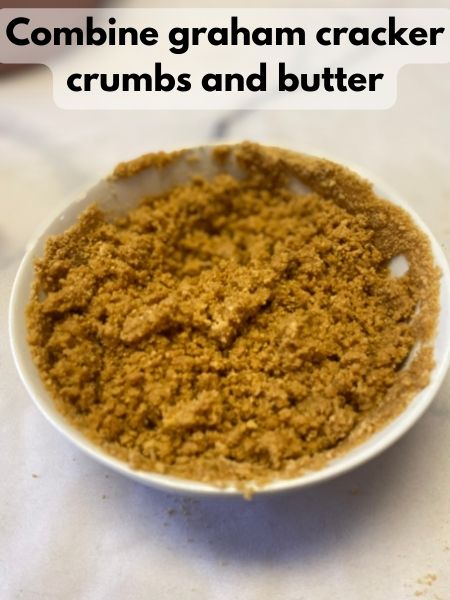
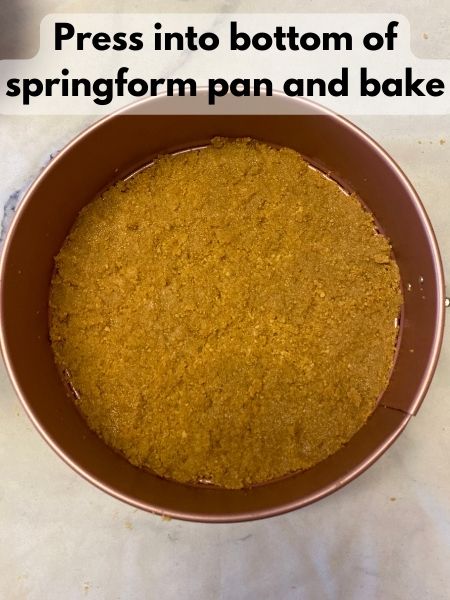
Preheat your oven to 325°F. Grease your springform pan. Combine graham cracker crumbs and melted butter in a bowl, then press the mixture into the bottom of your springform pan to create the crust. Pop it into the oven for 10 minutes, allowing it to set.
Step 2: Whip Up the Creamy, Banana Cheesecake Base
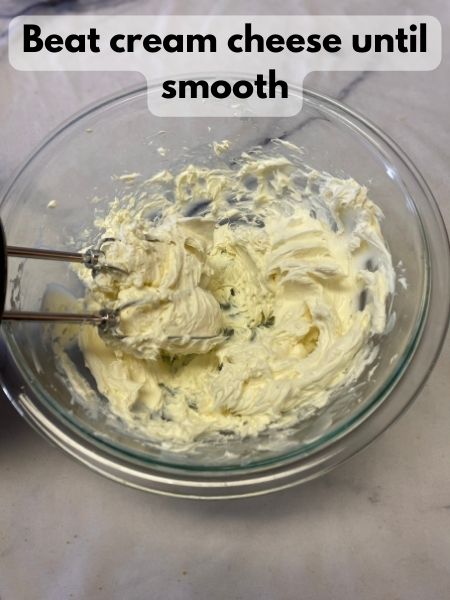
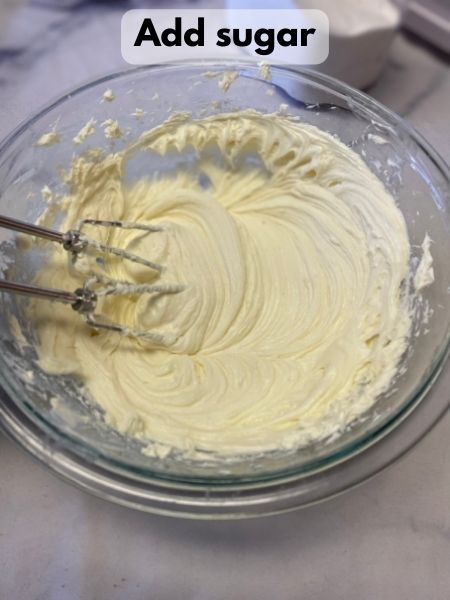
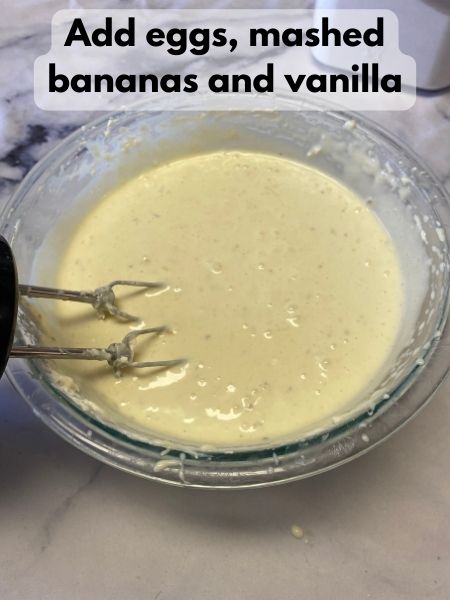
In a mixing bowl, beat the softened cream cheese until creamy. Gradually add sugar and continue mixing until smooth. Incorporate mashed bananas, eggs, and vanilla extract, blending until the batter is velvety and delicious.
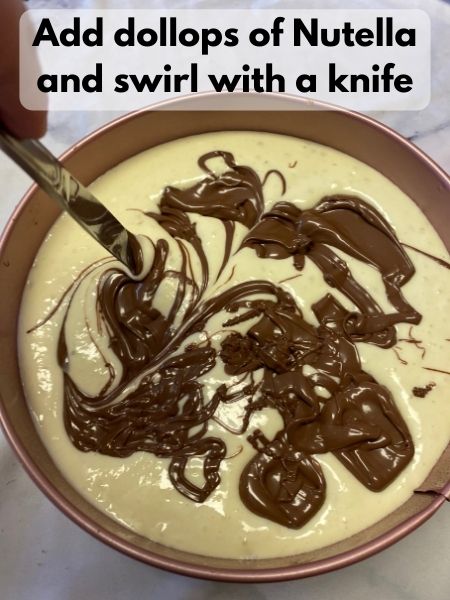
Step 3: Add Nutella Swirl
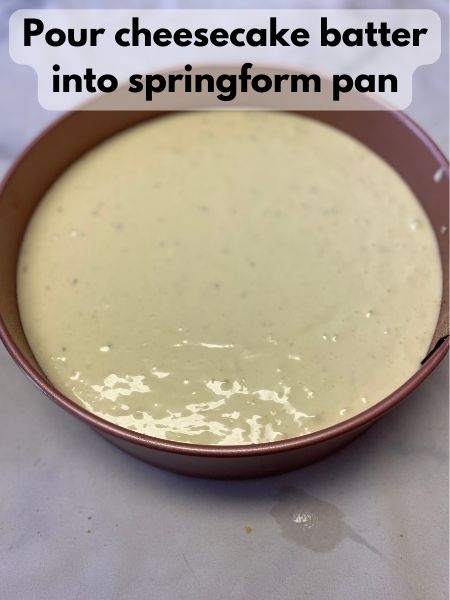
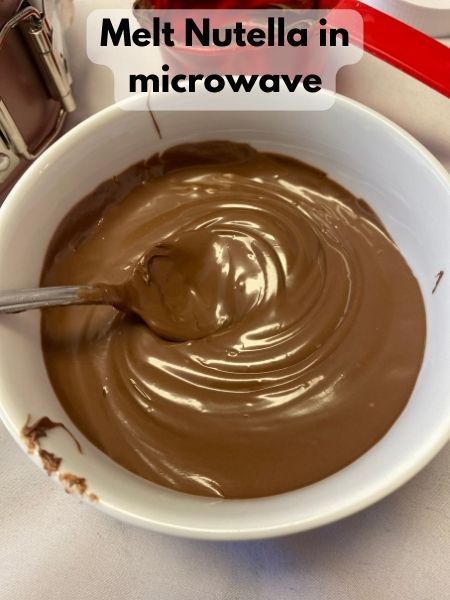
Gently pour cheesecake batter into your prepared crust. Melt the Nutella in the microwave for a few seconds until it’s pourable. About 20 seconds was good for me. Drop dollops of Nutella on top of your cheesecake batter and gently swirl with a butter knife.
Step 4: Bake and Marvel
Place your creation in a water bath (See below for more details!) and let it bake for 60-70 minutes or until the center is set. Once done, turn off the oven, crack the door, and let the cheesecake cool gradually. Refrigerate for at least four hours or overnight for maximum flavor infusion.
But how do I know if it’s done baking?
That’s a great question that many bakers before you have asked! Cheesecake will not firm up completely while it’s baking. If your cheesecake is firm when you pull it out of the oven, you may have over-baked it. A good way to tell if cheesecake is done is to give it a little jiggle in the oven. I usually grab my ovenmit and kind of pull the oven rack out a couple inches and push it back. If the cheesecake completely wobbles and the whole surface moves, your cheesecake needs to bake more! However, if your cheesecake mostly holds its shape and only the middle part jiggles, you’re good.
Special Tools for Making Cheesecake
Before we embark on this culinary journey, let’s make sure we have the right tools. Crafting the perfect Banana Nutella Swirl Cheesecake requires a few special items. These tools will make this process simple and painless. I’m all about stress-free baking!
Springform Pan
A springform pan is basically a round cake pan, but the sides actually come off. You have a round cake base, and then the sides of the pan kind of fasten to the bottom and are closed with a little buckle. I actually never owned a springform pan, and thus I always avoided making cheesecakes. Not anymore!
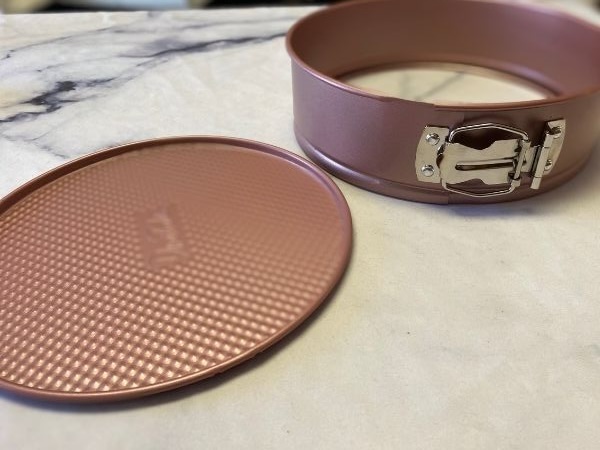
Springform pans are kind of a necessity to make proper cheesecake. Luckily, they aren’t super expensive! I actually got mine at Homegoods for only $8! If you don’t have a springform pan and want to make these as cheesecake bars instead, I’m sure you could! You would probably have to adjust the baking time. If I ever experiment with that, I will definitely update here to specify what a good baking time estimate would be!
Electric Mixer
In the name of stress-free baking, I always use an electric mixer! You can use an electric hand mixer or a stand mixer. Please, please, please don’t try to make cheesecake without an electric mixer. In order to get the texture to be nice and smooth, you would have to stir by hand forever and a half. You’re busy. You don’t have time for that.
The key to consistent cheesecake flavor is really (really!) whipping that cream cheese with an electric mixer. If you don’t whip up your cream cheese well, you risk having chunks of it floating in your delicious cheesecake. Don’t take the risk. Make sure you mix well with an electric mixer.
A Large Metal Roasting Pan
This will be used for the water bath method commonly used to bake beautiful, pristine cheesecakes. Don’t worry! You will not actually be bathing your cheesecake, and it’s really not as complicated as it sounds. I linked a video below below that I think illustrates the whole process super well.
That’s about it as far as tools you will need to create the perfect cheesecake! Please read on for some helpful cheesecake tips and tricks.
Pro Tips for Making Cheesecake
Please read through these before baking! Making cheesecake isn’t very difficult. However, it does require some patience and a little bit of insider knowledge! Hopefully the below tips will help make your baking experience easy peasy.
Room Temperature Ingredients
To achieve that dreamy, lump-free batter, ensure your cream cheese, eggs, and other dairy ingredients are at room temperature. This allows for smooth blending, giving your cheesecake that creamy consistency we all crave. This goes with the tip above about using an electric mixer to make sure everything is well-mixed. If you use cold ingredients, your cream cheese will be harder to mix until smooth.
Now… I’m not saying let your dairy products out for hours at a time until they go bad! I would say I usually take my cream cheese out about an hour to an hour and a half before I start to put everything together. Milk and eggs I might take out of the fridge 30 minutes or so before I start baking. The main thing you want softened is the cream cheese, but you also don’t want ice cold milk and eggs causing your softened cream cheese to firm back up.
Water Bath Magic
For a perfectly moist and pretty cheesecake, use the water bath technique. The what you say???
Don’t worry! It’s not nearly as complicated as it seems. I think this video by Sally’s Baking Addiction explains it and shows it super well! There are 2 ways to do this. I used method 2 because it’s a lot easier to me, but I explain both below just in case you were wondering. 🙂
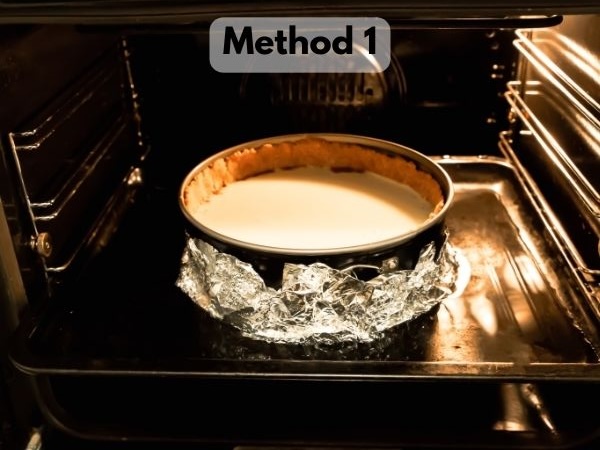
For the first method, you wrap your springform pan in foil and place it in a larger, metal pan filled with hot water during baking. You don’t have to fill the larger pan all the way with water! Sally, very wisely, suggests making your water about an inch deep. It’s also a good idea to pre-boil your water before sticking it in the oven with your cheesecake. I use my electric tea kettle because it’s fast, but if you don’t have one, you could start boiling a pot of water while you prepare your batter. Just be super (super!) careful when pouring the water in.
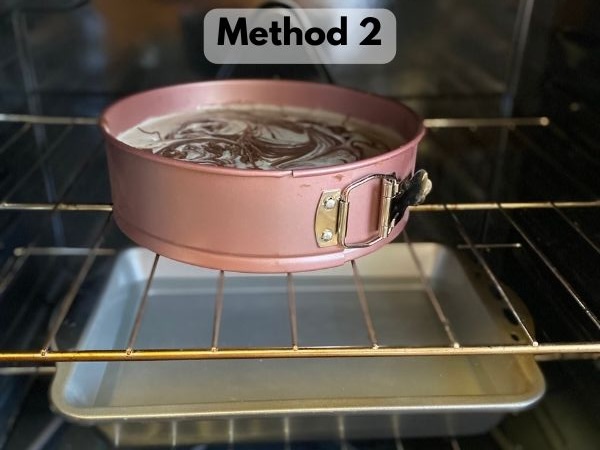
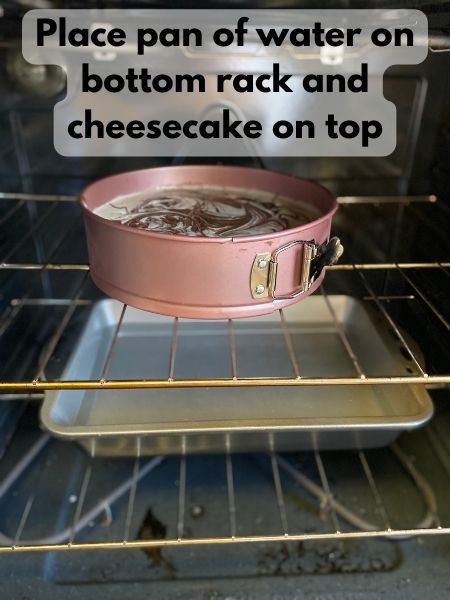
Now, method 2 is a little easier and less stressful in my opinion! If you’re not about to wrap your pan in foil and place it in boiling water, I don’t blame you! I’m so clumsy, I would spill it all and water would get in my cheesecake. Instead, you can place your cheesecake pan on the top rack of your oven and then pour boiling water into a larger pan on the bottom rack of your oven. Again, about an inch of water should be sufficient.
Chill Your Cheesecake the Right Way
After baking, let your cheesecake cool in the turned-off oven with the door open partway for an hour. This gradual cooling prevents sudden temperature changes and reduces the risk of cracks. Once cooled, refrigerate your cheesecake for at least four hours or, even better, overnight for optimal flavor development.
There you have it – a mouthwatering recipe for a Banana Nutella Swirl Cheesecake that will have your taste buds doing the happy dance. This recipe really is quite simple, as long as you follow the little tips and tricks given along the way. Making cheesecake is an art, and it does take practice! I hope you enjoyed this recipe as much as I did!
If you like this banana cheesecake recipe, check out these banana desserts:
Banana Nutella Swirl Cheesecake
Equipment
- 1 Springform pan
- 1 Metal roasting pan for water bath during baking
Ingredients
- 2 cups graham cracker crumbs
- 1/2 cup unsalted butter melted
- 16 oz. cream cheese softened
- 1 cup granulated sugar
- 3 overly ripe bananas mashed
- 2 eggs
- 1 tsp vanilla
- 1 cup Nutella
Instructions
Pre-Bake Cheesecake Crust
- Preheat the oven to 325°F. Grease a springform pan
- Combine melted butter and graham crumbs. Press them into the bottom of your springform pan into an even, flat layer.
- Bake in the oven for about 10 minutes, just so it sets
Make Banana Nutella Swirl Cheesecake
- In a large mixing bowl, beat your softened cream cheese until smooth and creamy. Gradually add the sugar in, and keep beating until smooth.
- Then, add in your bananas, eggs and vanilla. Mix everything until it is nice and smooth.
- Pour your cheesecake batter into your springform pan with the crust you just pre-baked.
- Slightly melt the Nutella in the microwave for just a few seconds.
- Place dollops of Nutella on top of the cheesecake batter in the pan and swirl it around with a knife.
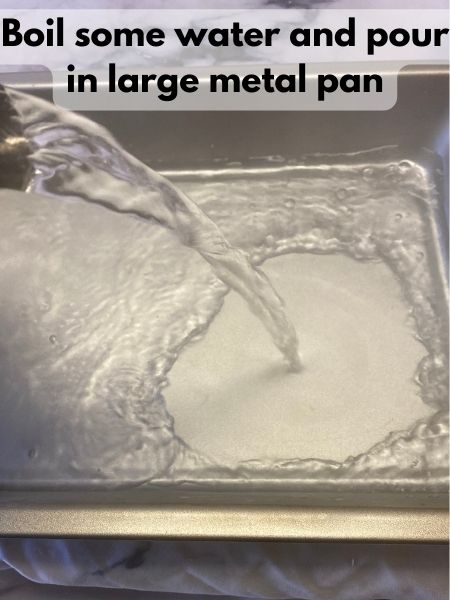
- Boil some water and pour it into a large metal roasting pan. You want about an inch of water in the bottom.
- Place your pan of boiling water on the bottom rack of your preheated oven (Still at 325°F). Place your springform pan with the cheesecake batter on the top rack of your oven.
- Bake your cheesecake for about 60-70 minutes. You'll know it's done when you can jiggle the pan slightly and the edges around the pan stay firm. The middle part will still be a little jiggly.
- Turn off your oven and leave the door to your oven partially open for another hour to allow the cheesecake to cool gradually.
- Finish chilling your cheesecake in the fridge for at least another 4 hours or overnight.