Easy Frankenstein Rice Krispie Treats
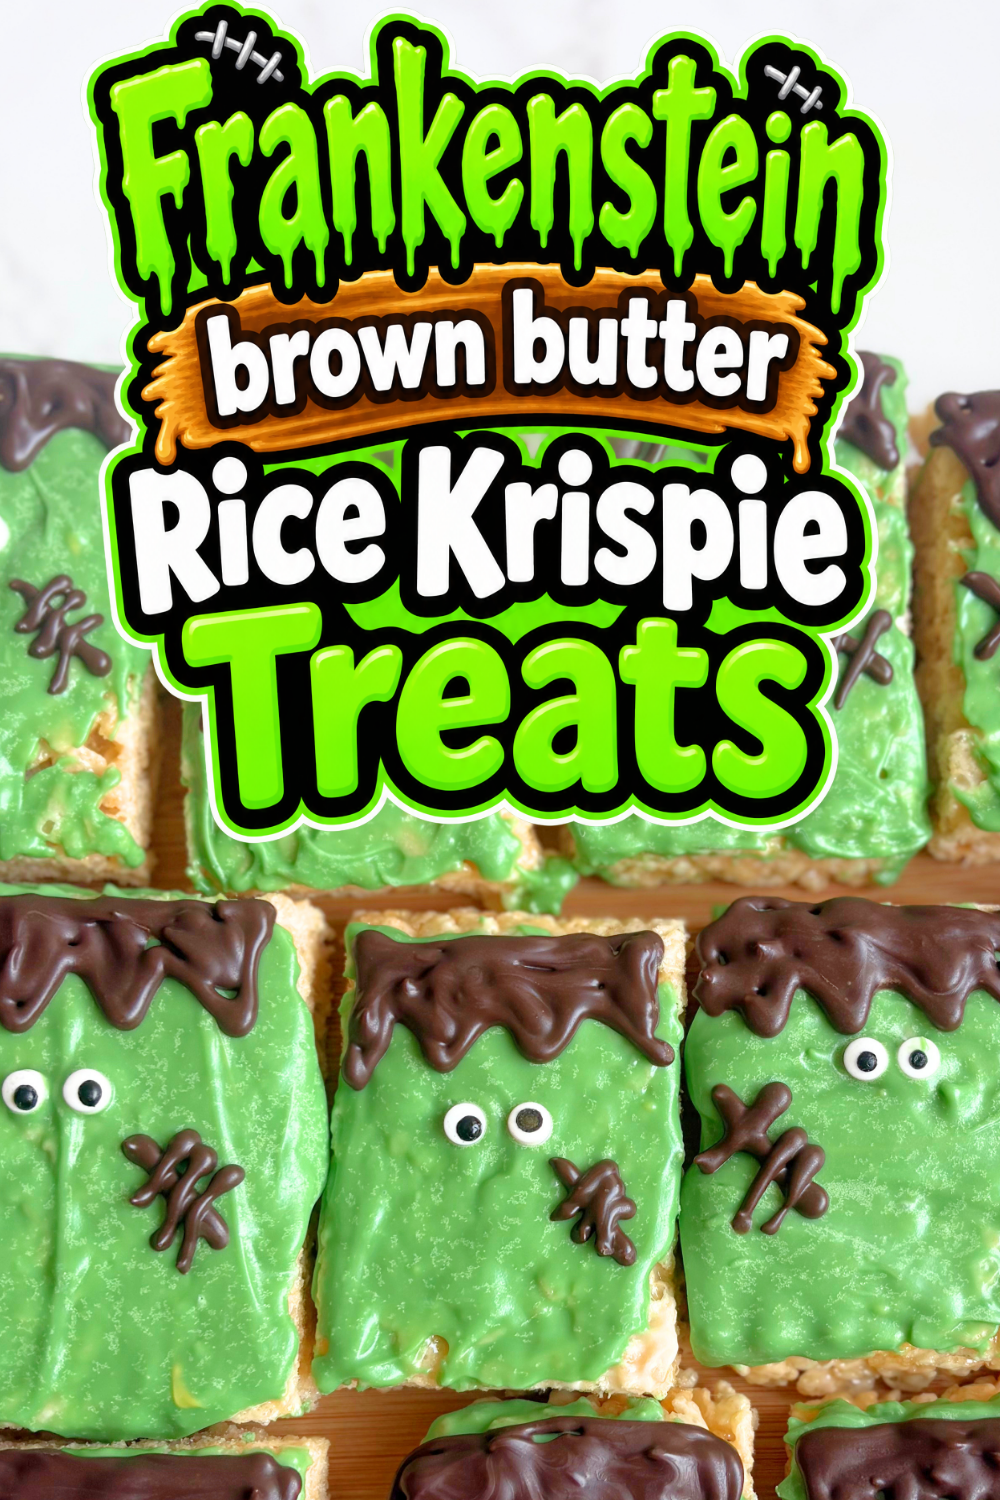
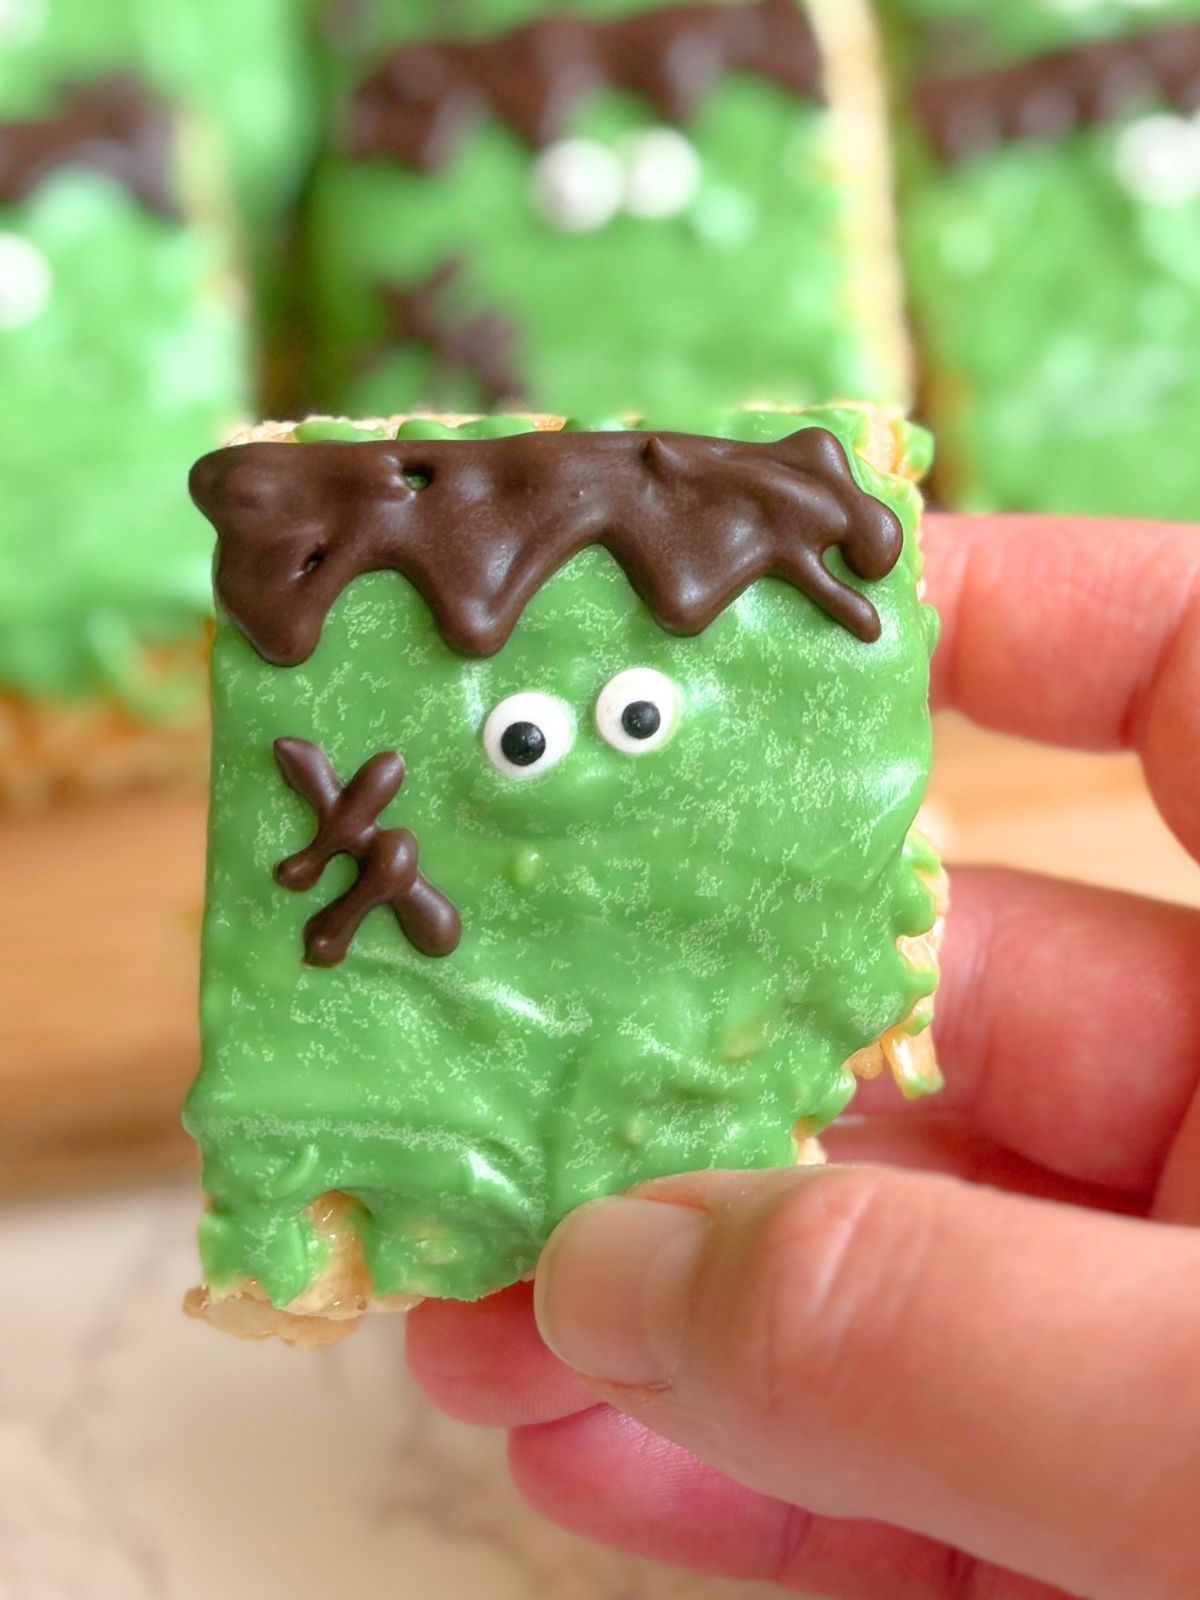
These easy Frankenstein rice krispie treats are cute, spooky sweets that come together fast, without turning your kitchen into a disaster zone. These are fun, kid-friendly, and perfect for anyone who needs No bake Halloween treats for parties, school events, or movie nights. You get soft, gooey bars with toasty brown butter flavor, then a quick green candy coating and funny little monster faces that make everyone smile before the first bite.
Jump to Recipe
Ingredients for Frankenstein Rice Krispie Treats
Rice Krispie treats base:
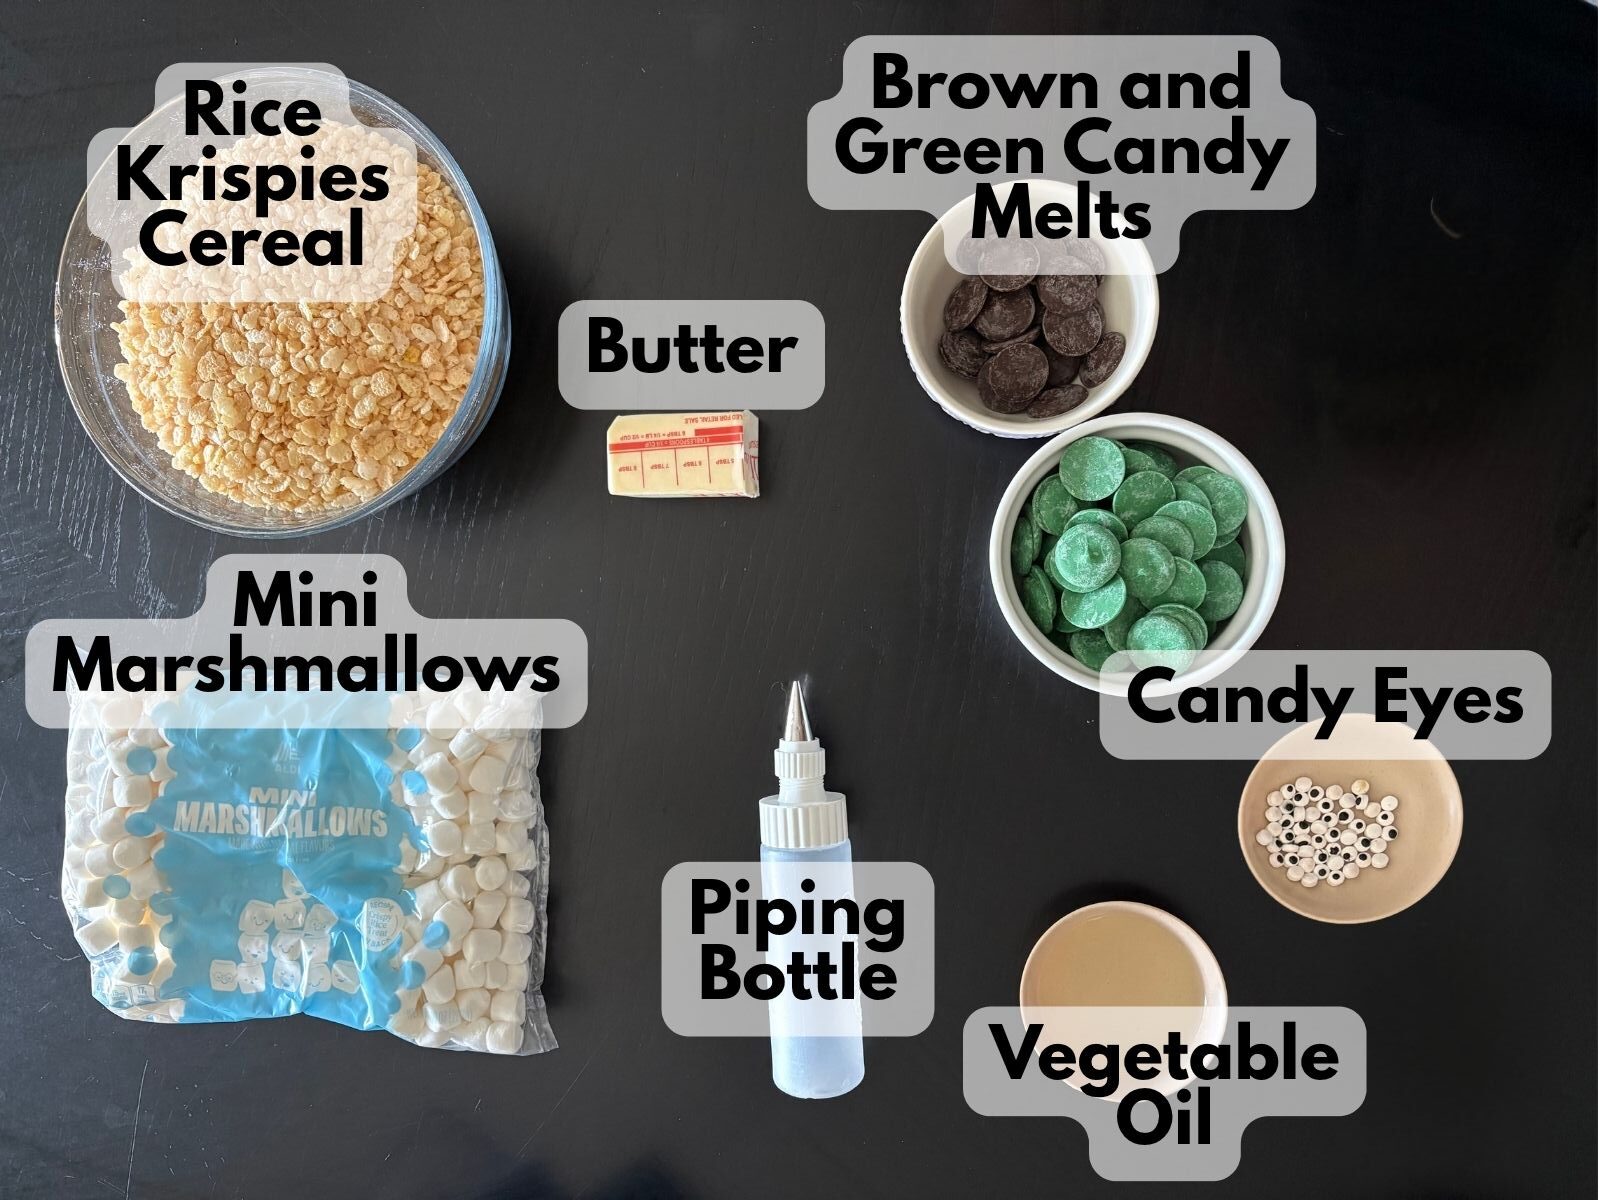
- 4 tablespoons unsalted butter
- 1 package (10 ounces) mini marshmallows
- 1 teaspoon vanilla extract (optional but tasty)
- Pinch of salt
- 5 cups Rice Krispies cereal
Frankenstein decorations:
- 10–12 ounces green candy melts
- 2–4 ounces yellow candy melts (optional, to make dark green candy melts look brighter and warmer)
- 1–2 ounces white candy melts (optional, to lighten the green further)
- 4–6 ounces chocolate candy melts or semisweet chocolate
- 24 small candy eyes
- 1–2 teaspoons vegetable oil (or coconut oil), as needed to thin the candy melts
How to Make Frankenstein Rice Krispie Treats
1. Prepare the pan. Lightly grease a 9-inch square baking pan and line it with parchment paper, leaving enough overhang to lift out the finished treats.
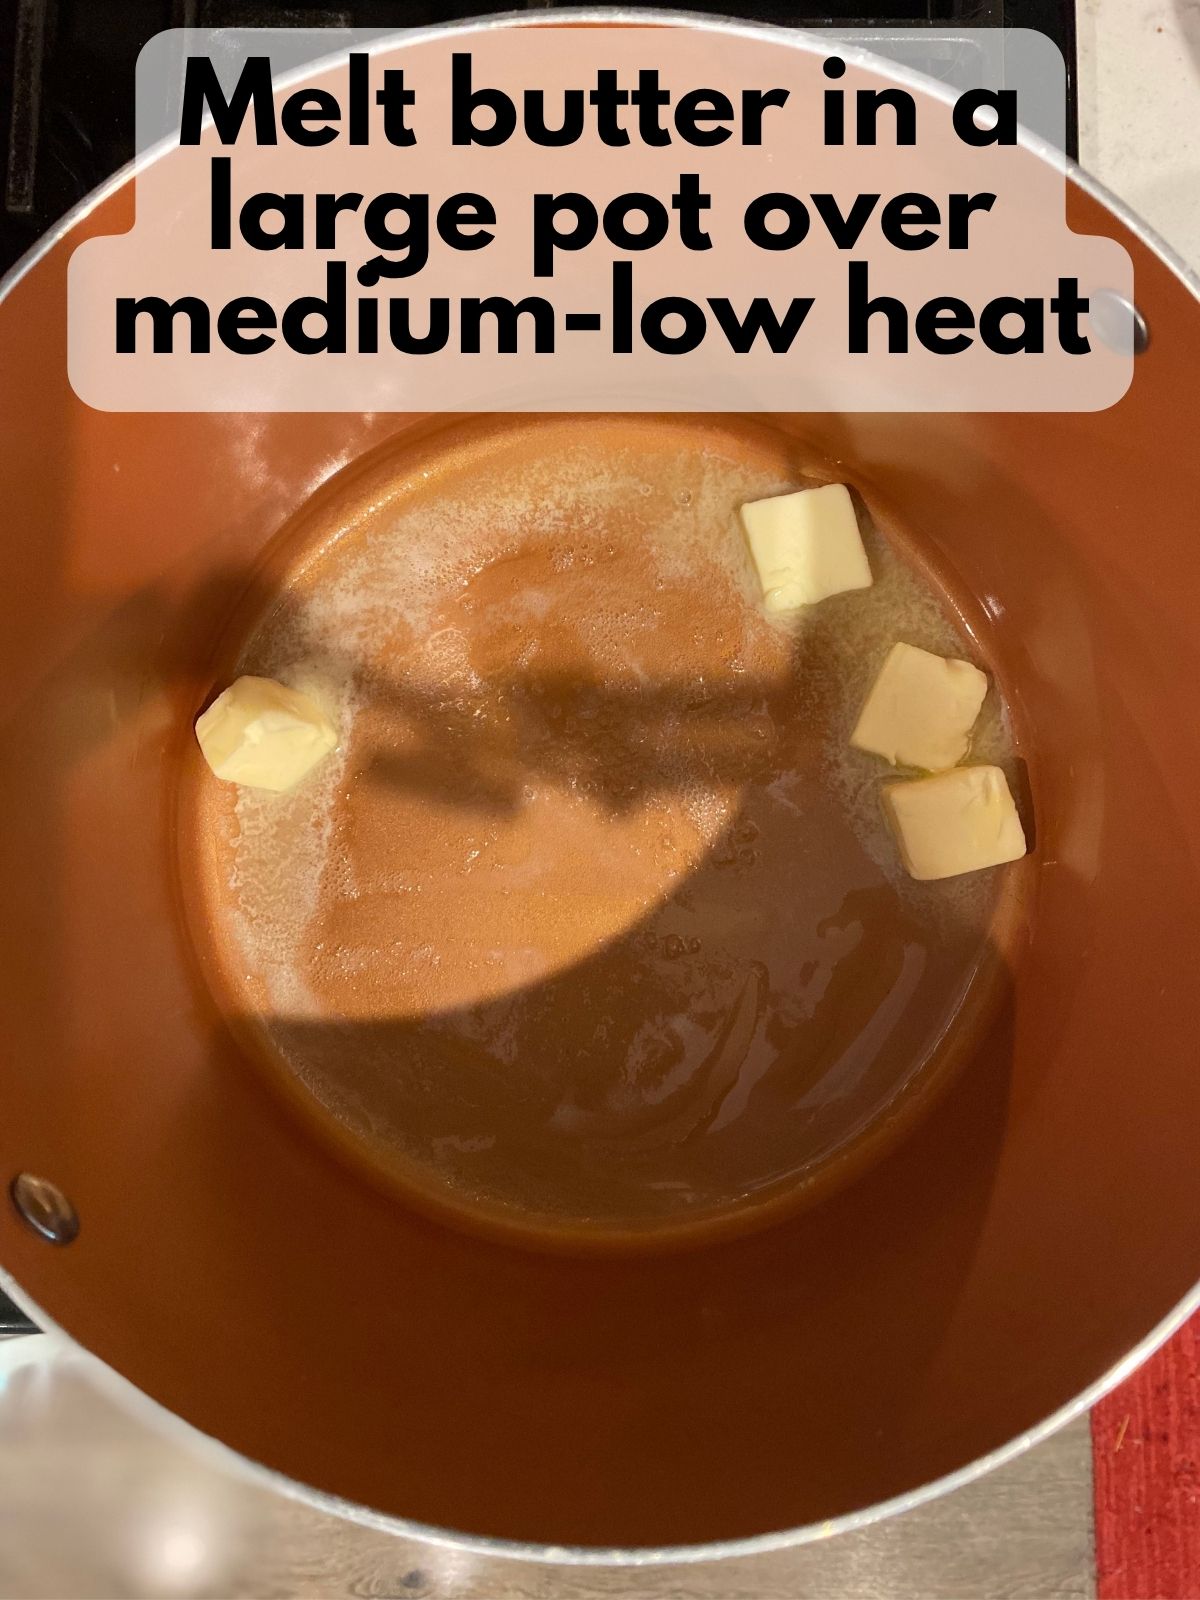
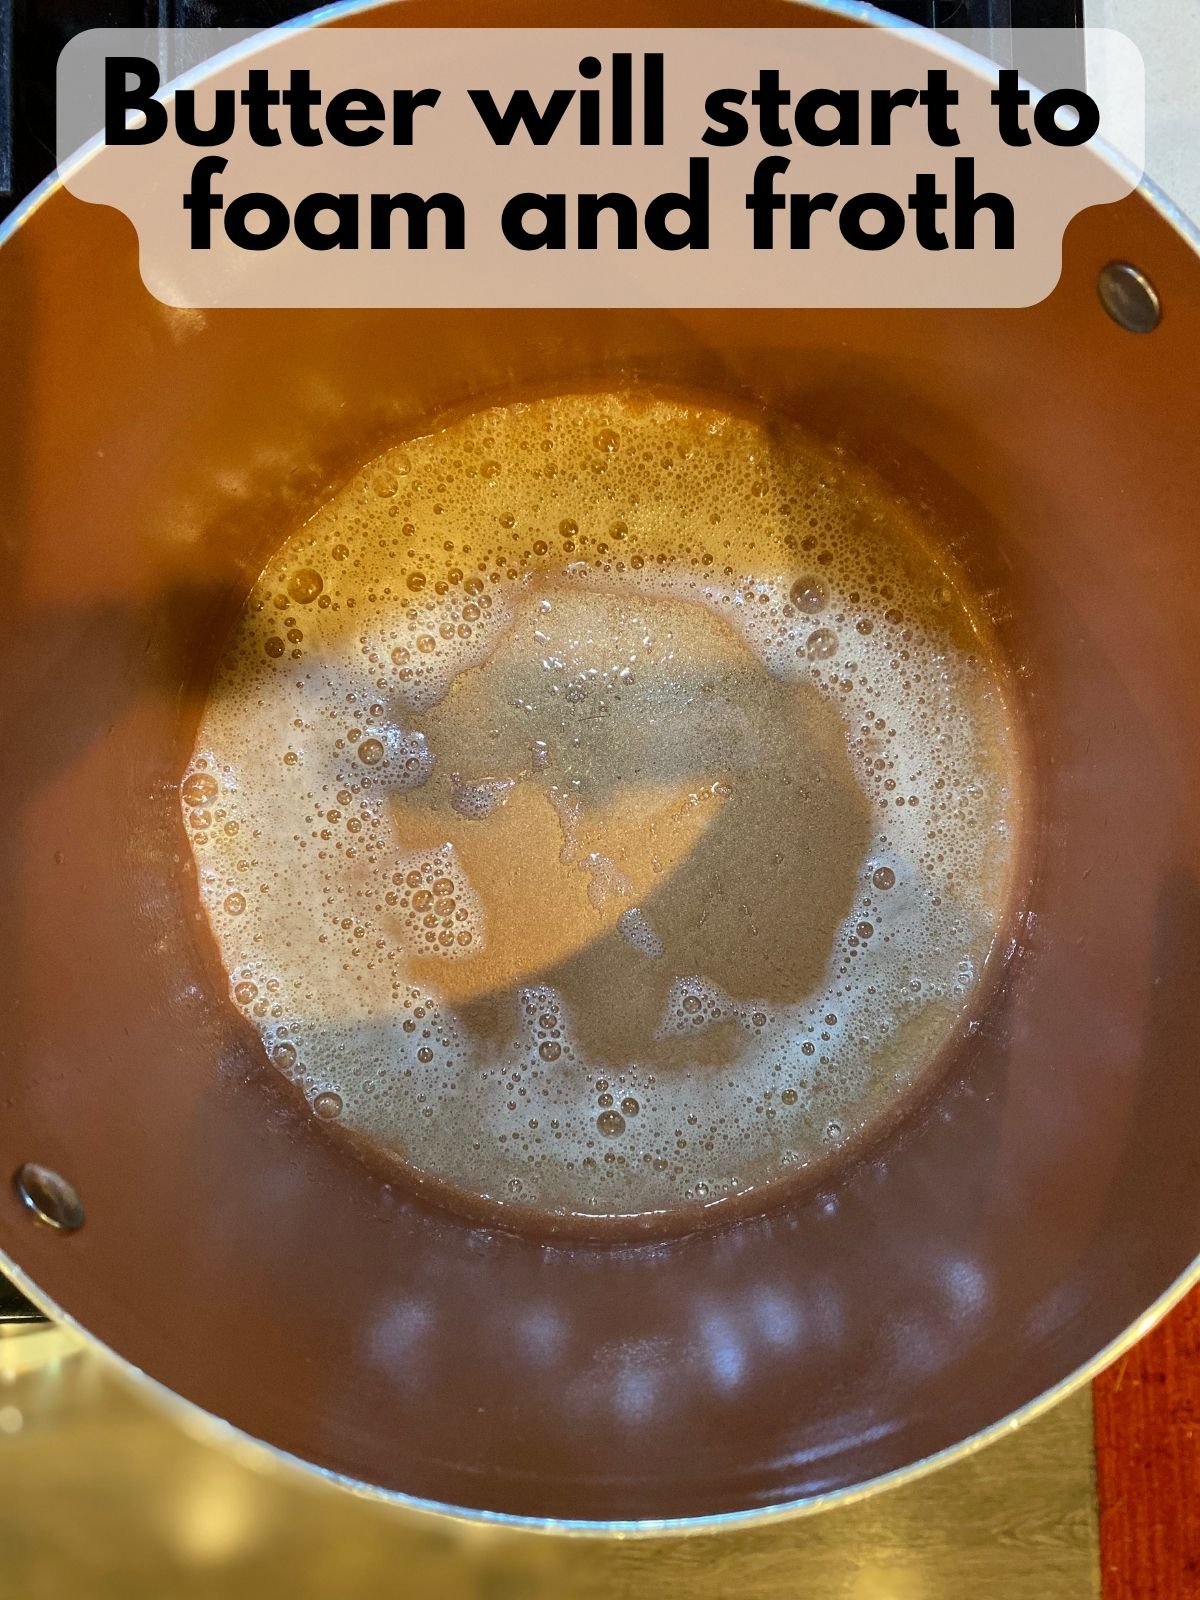
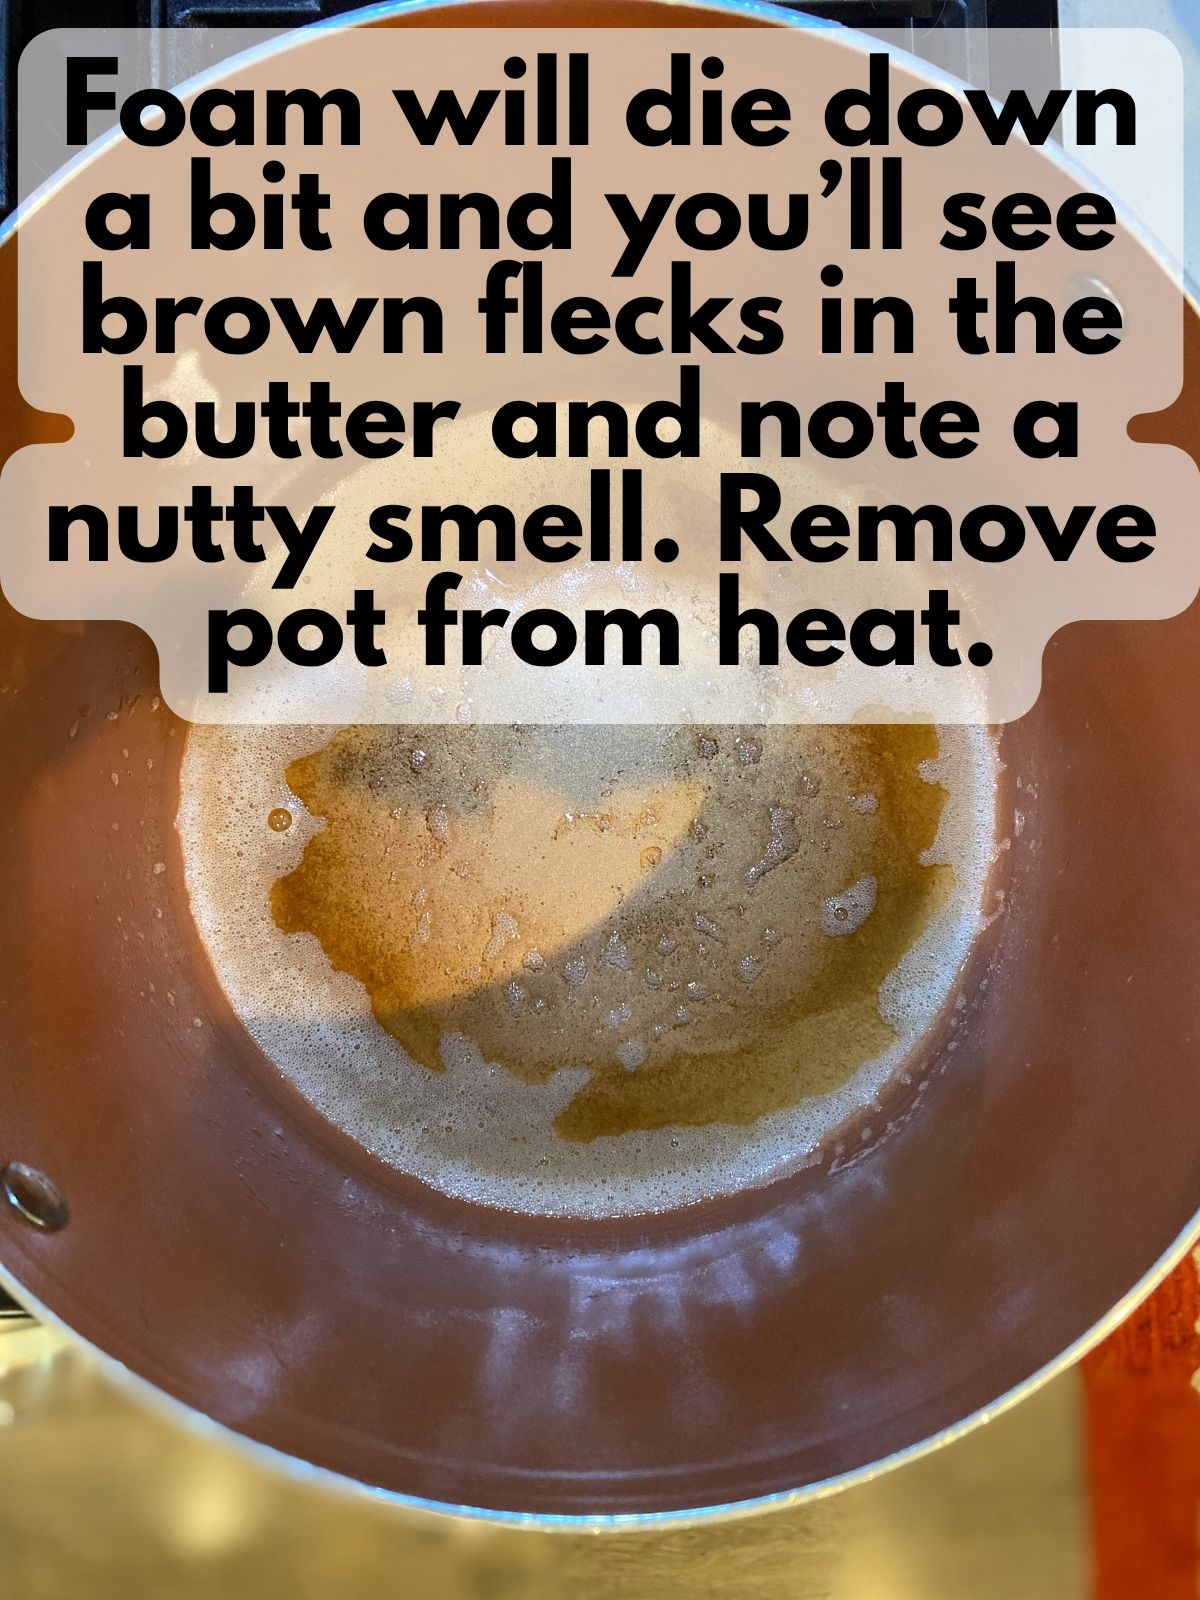
2. Brown the butter. Melt the butter in a large pot over medium heat. Continue cooking, stirring often, as the butter foams and froths. Once the foam subsides slightly, move some of it aside so you can see the bottom of the pot. When small brown flecks appear and the butter has a nutty aroma, remove the pot from the heat.
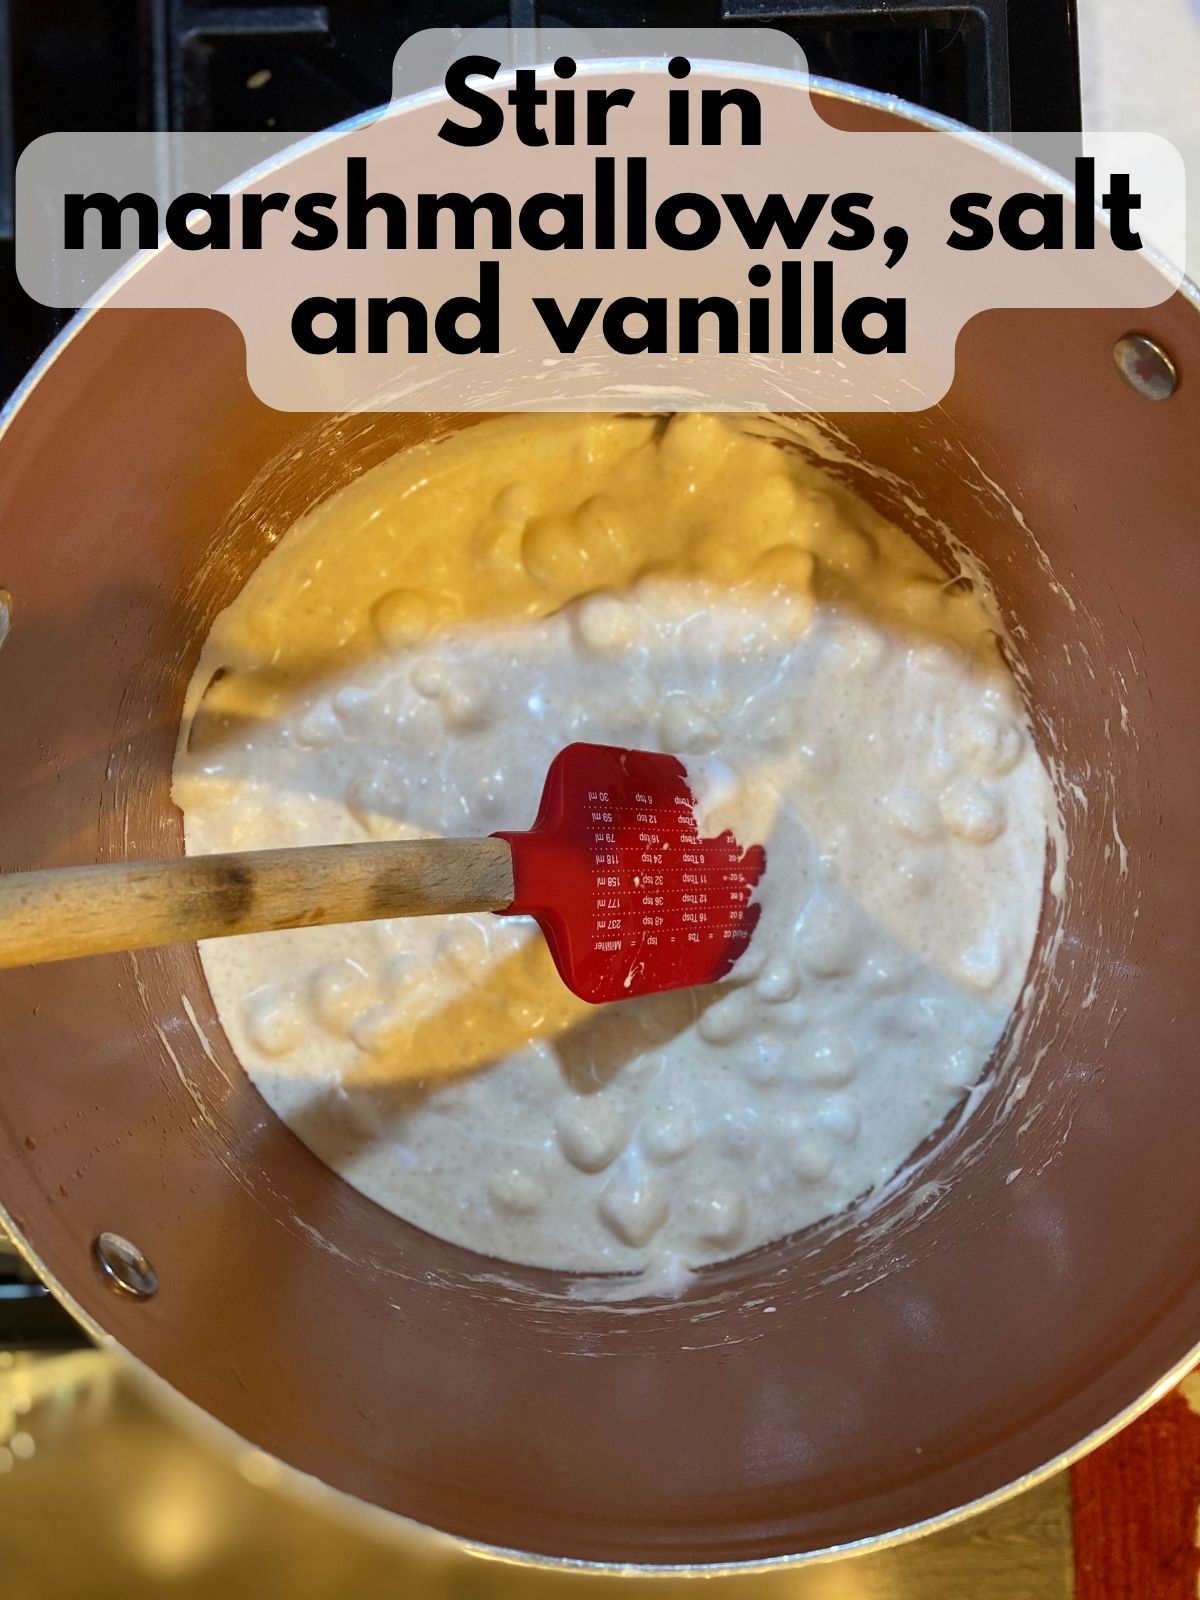
3. Melt the marshmallows. Reduce the heat to low and add the mini marshmallows. Stir until the marshmallows are completely melted and smooth.
4. Add the vanilla and salt. Remove the pot from the heat. Stir in the vanilla extract and salt until combined.
5. Add the cereal. Fold in the Rice Krispies cereal until it is evenly coated with the marshmallow mixture.
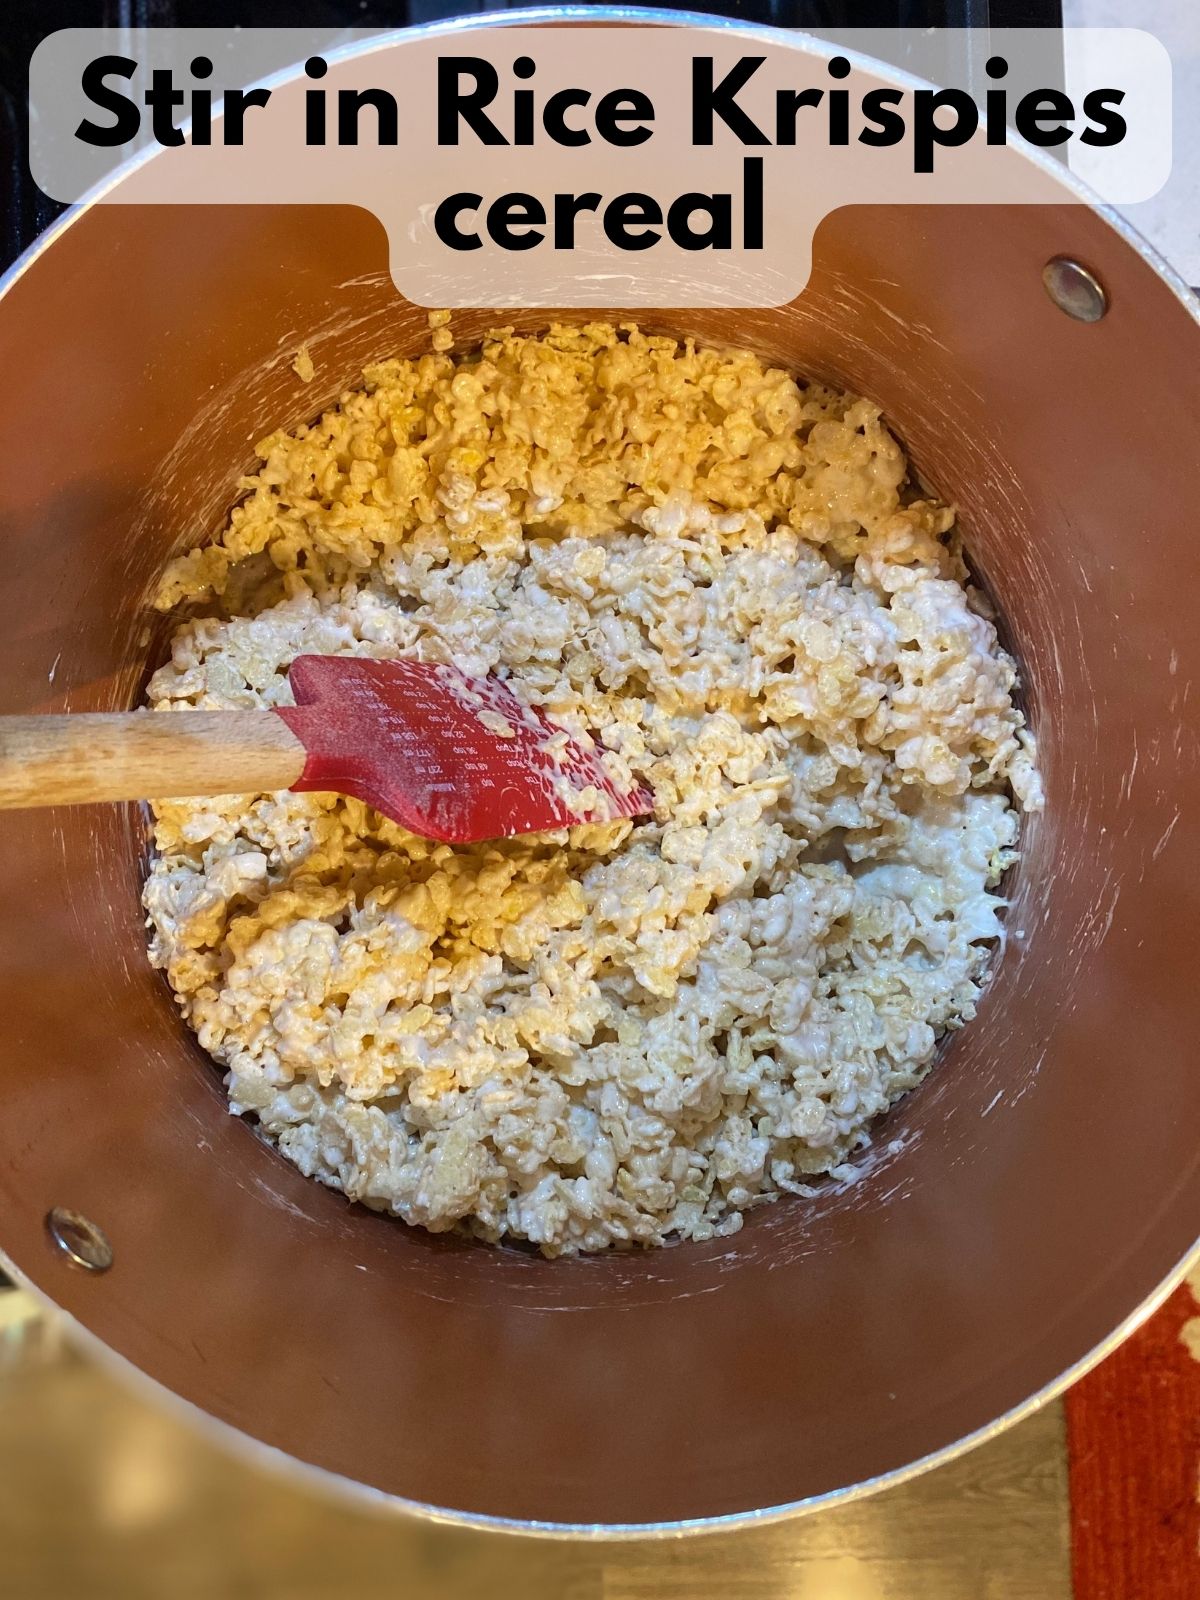
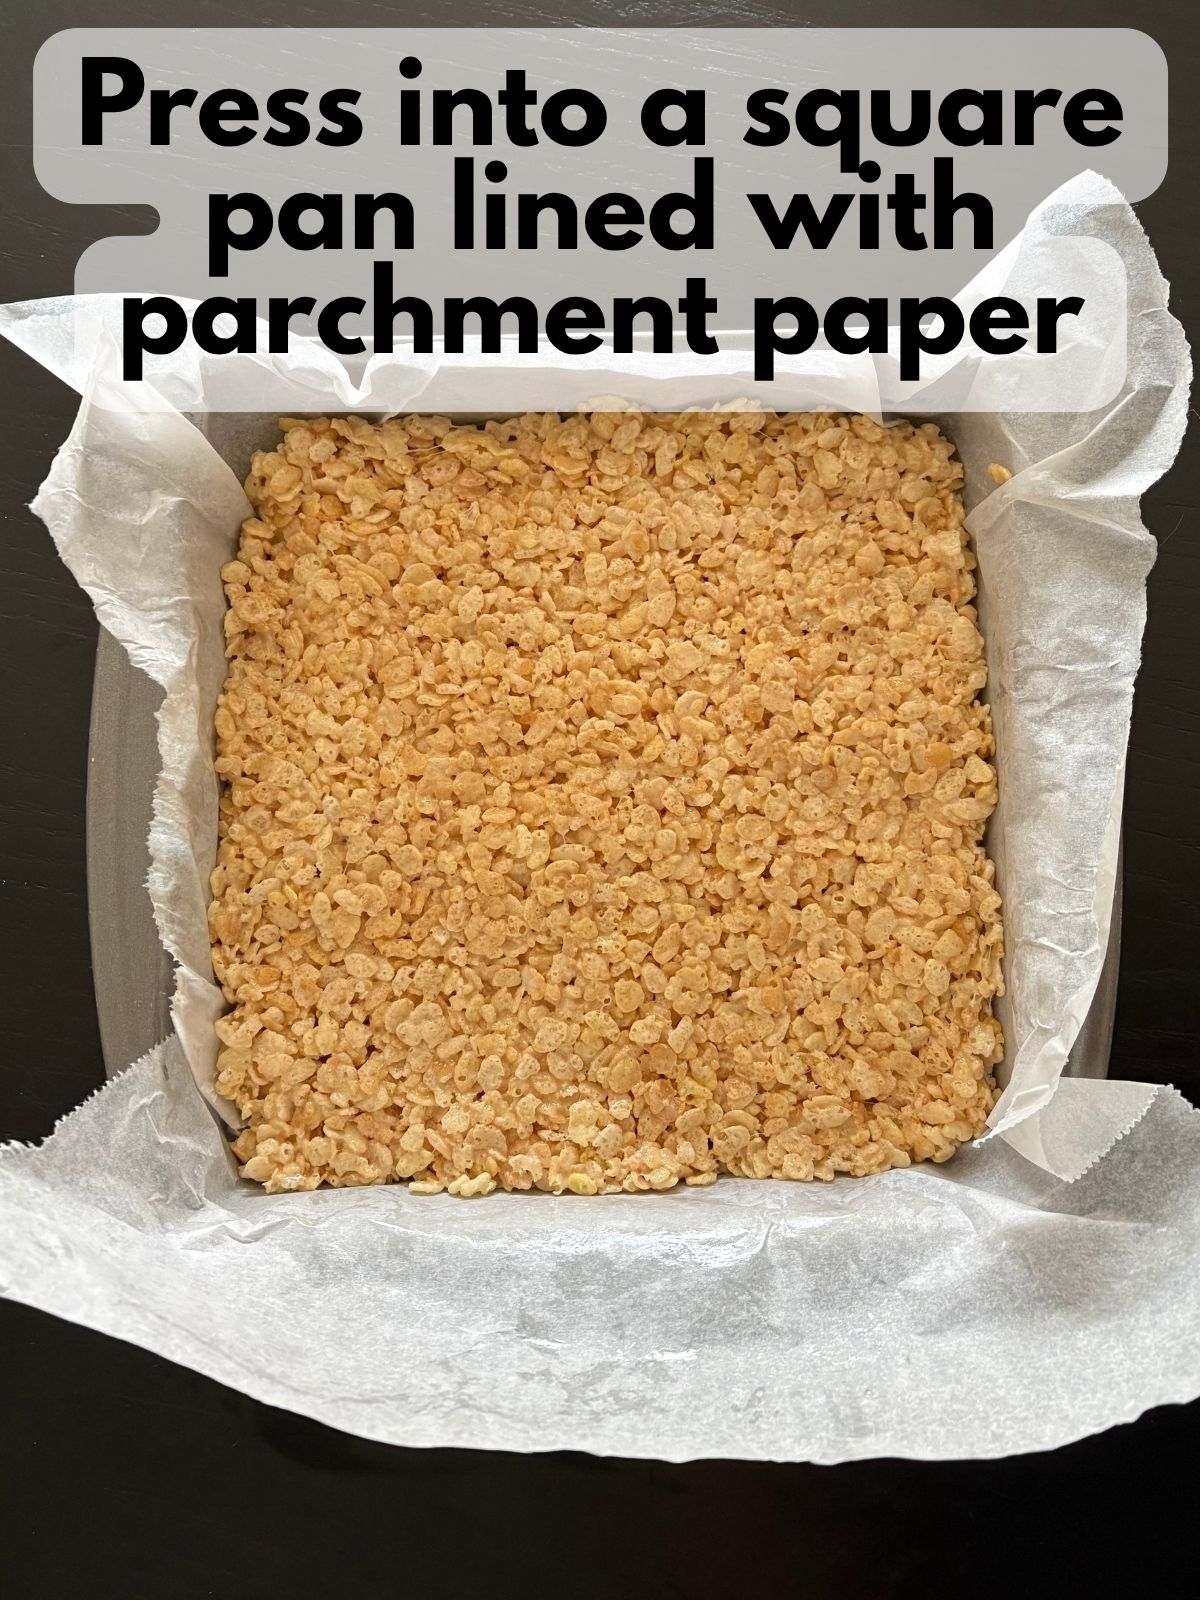
6. Press the mixture into the pan. Transfer the mixture to the prepared pan. Lightly grease your hands or a spatula, then gently press it into an even layer. Avoid packing it too firmly, which can make the finished treats hard.
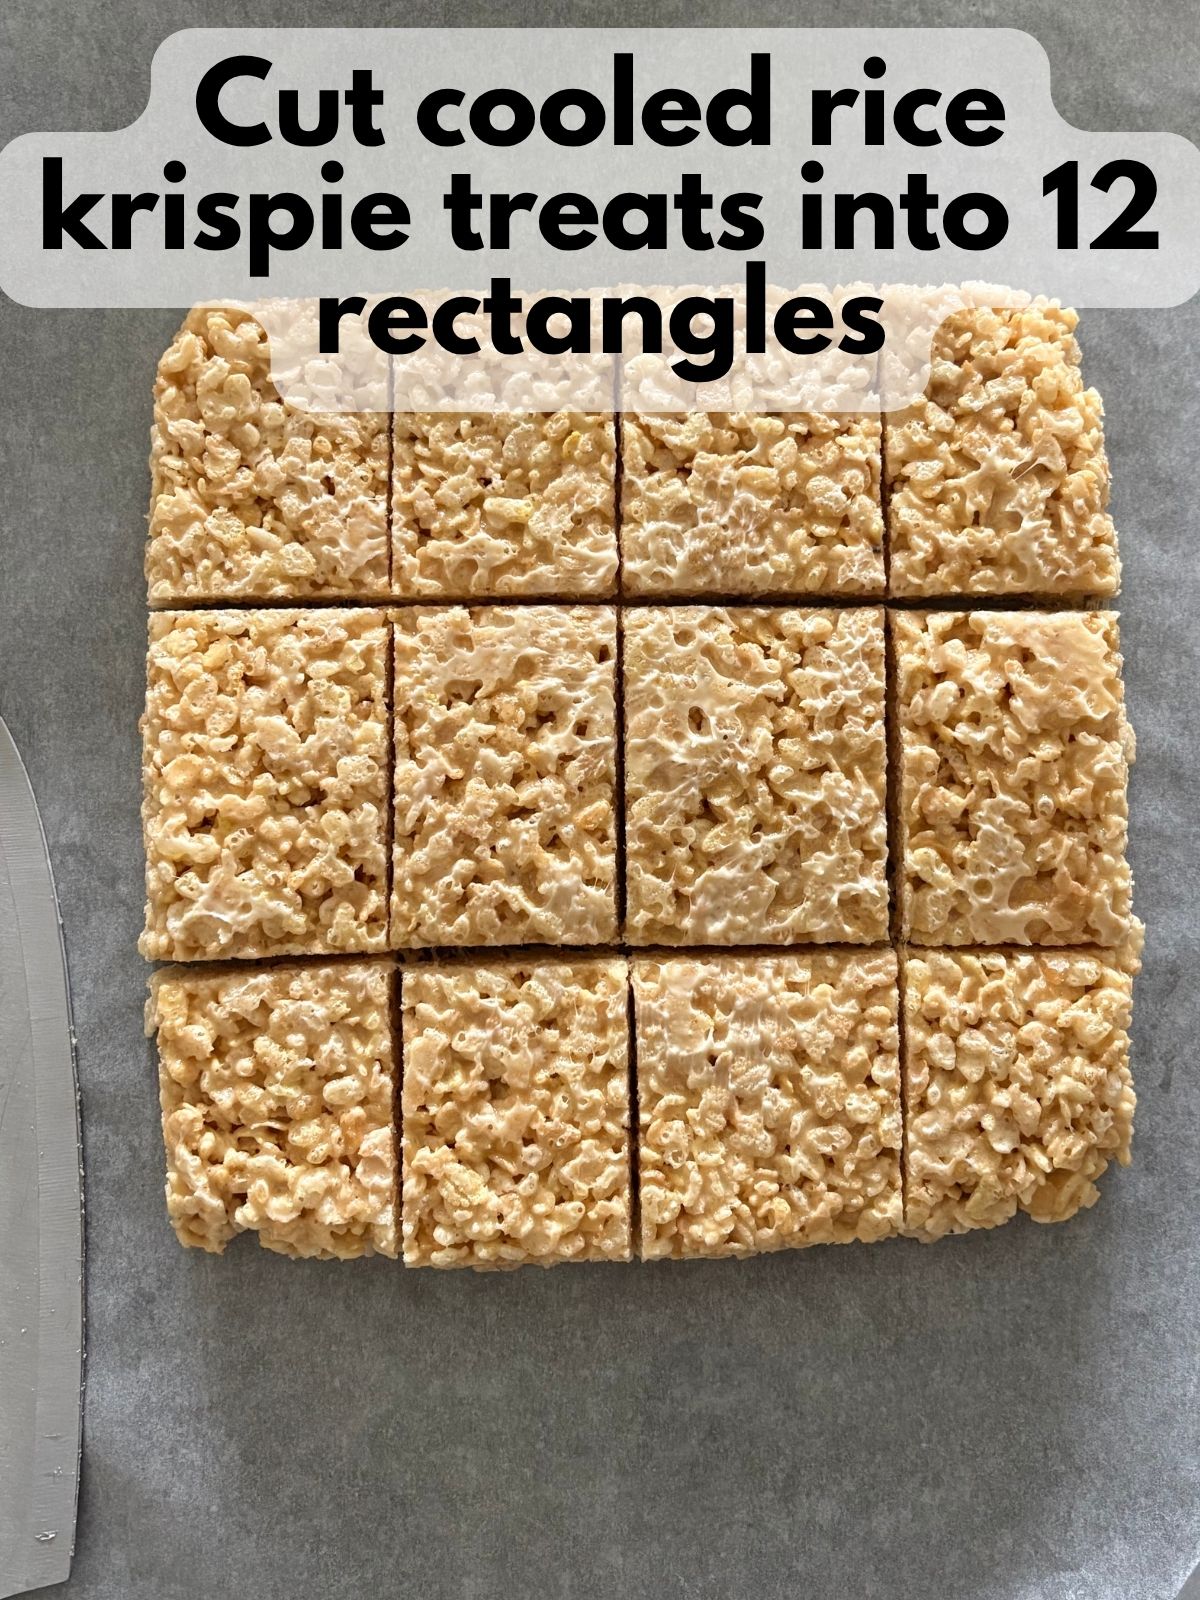
7. Cool and cut. Allow the treats to cool at room temperature for approximately 30 minutes. Use the parchment overhang to lift them out of the pan, then cut the slab into 12 rectangles by making a 3-by-4 grid.
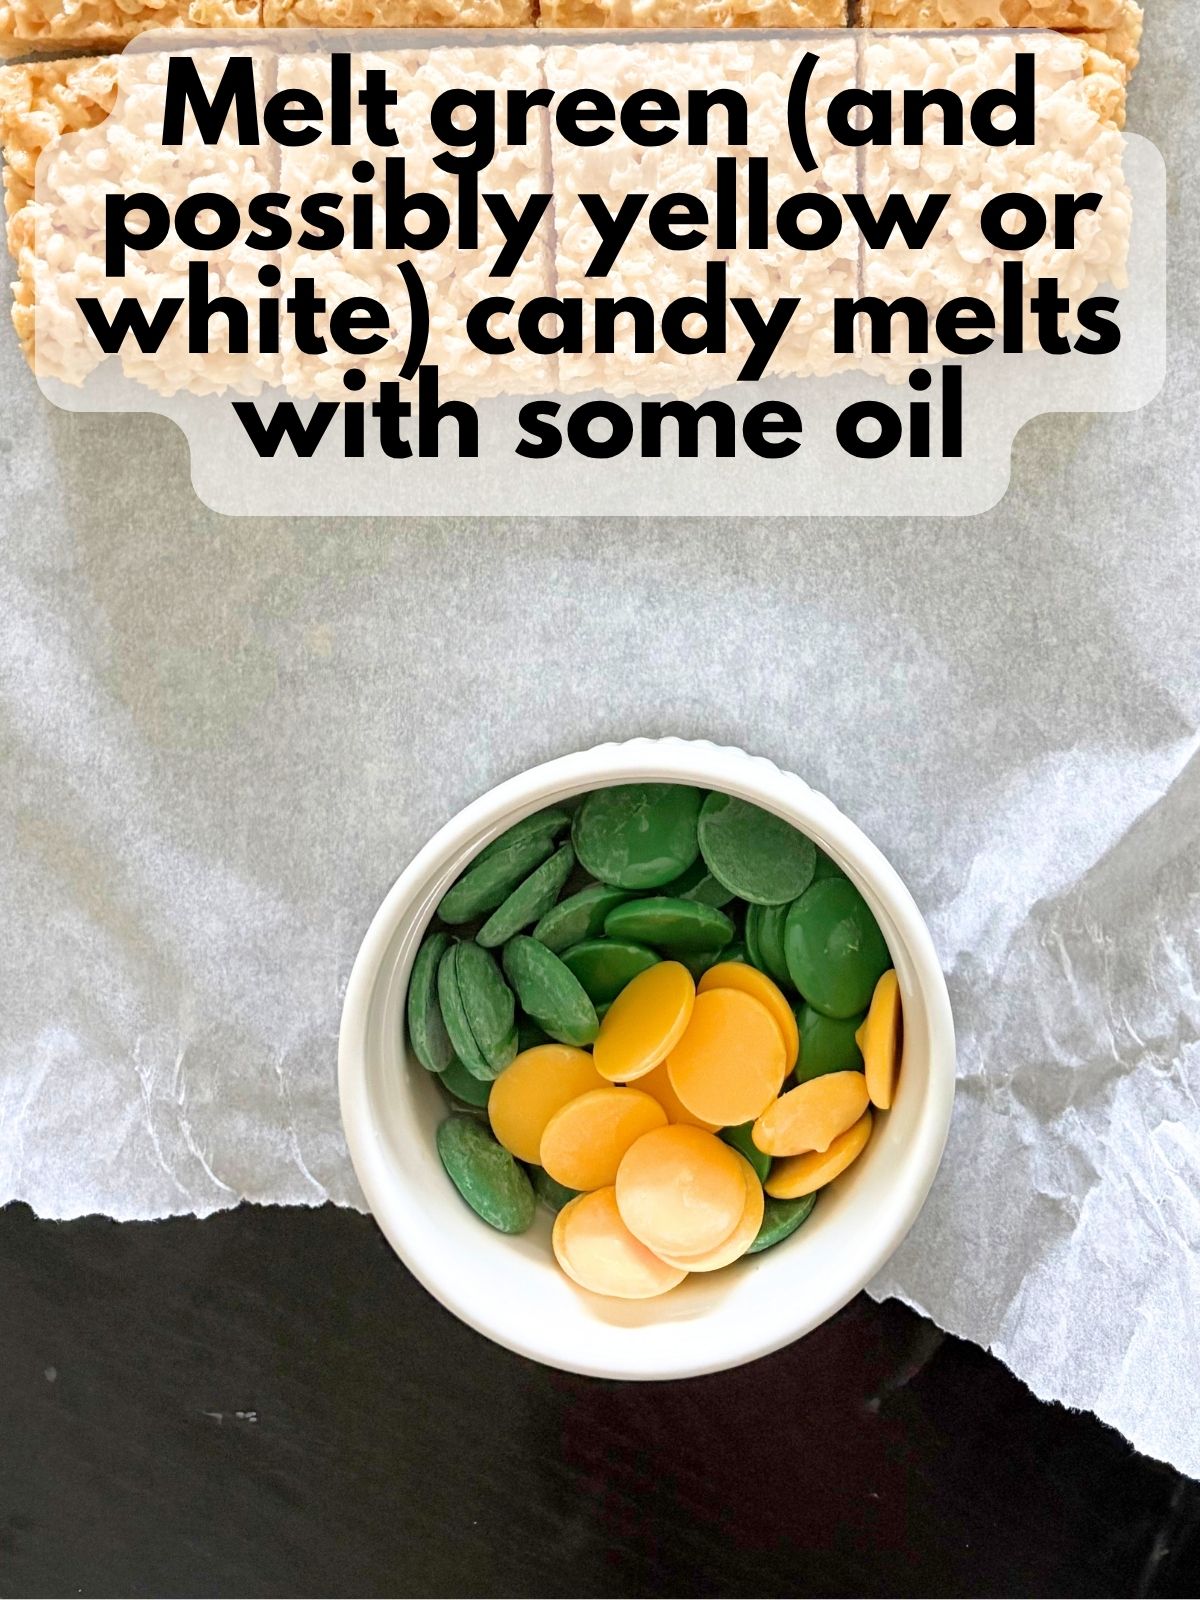
8. Prepare the green candy coating. Place the green candy melts in a microwave-safe bowl. If the green is very dark, add a few yellow candy melts to give it a brighter, warmer color. You can also add a small amount of white candy melts if you would like to lighten it further.
9. Melt the candy coating. Microwave the candy melts and 1-2 teaspoons of vegetable oil according to the package directions, stirring frequently, until melted. If the coating is too thick for dipping, stir in a small amount of vegetable oil until smooth and easy to work with.
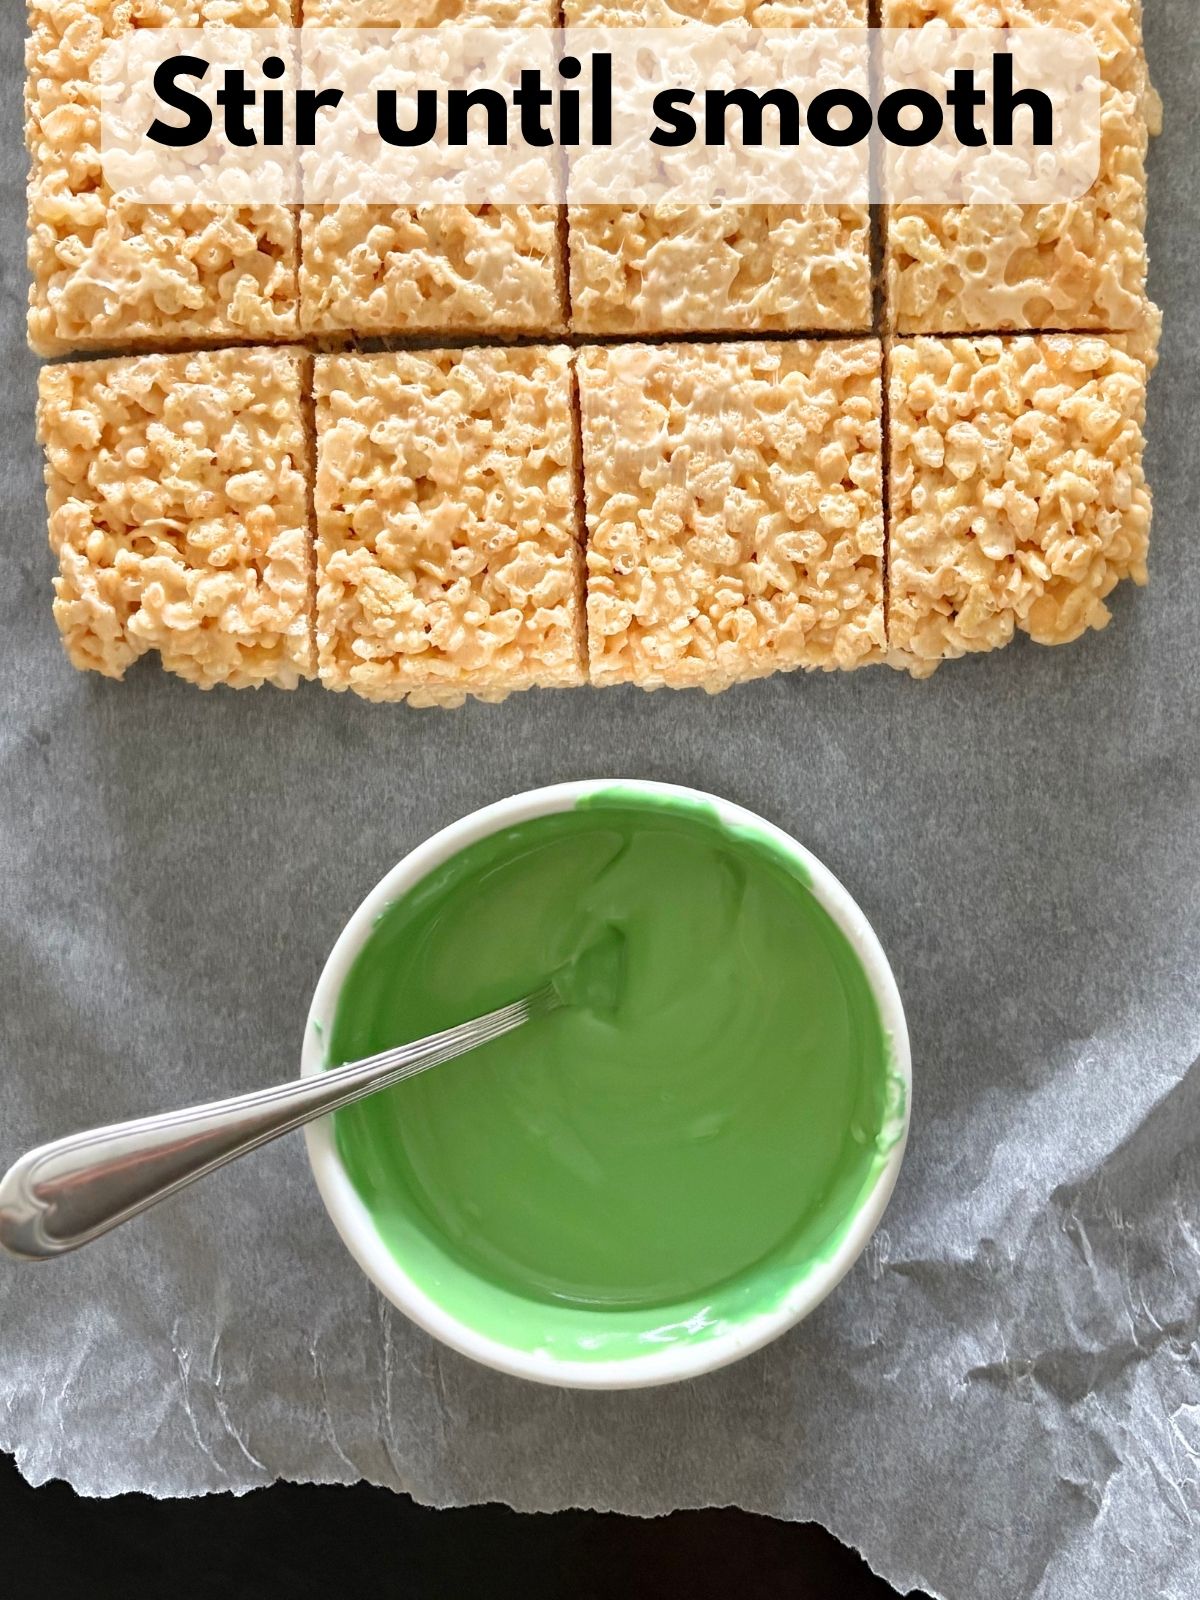
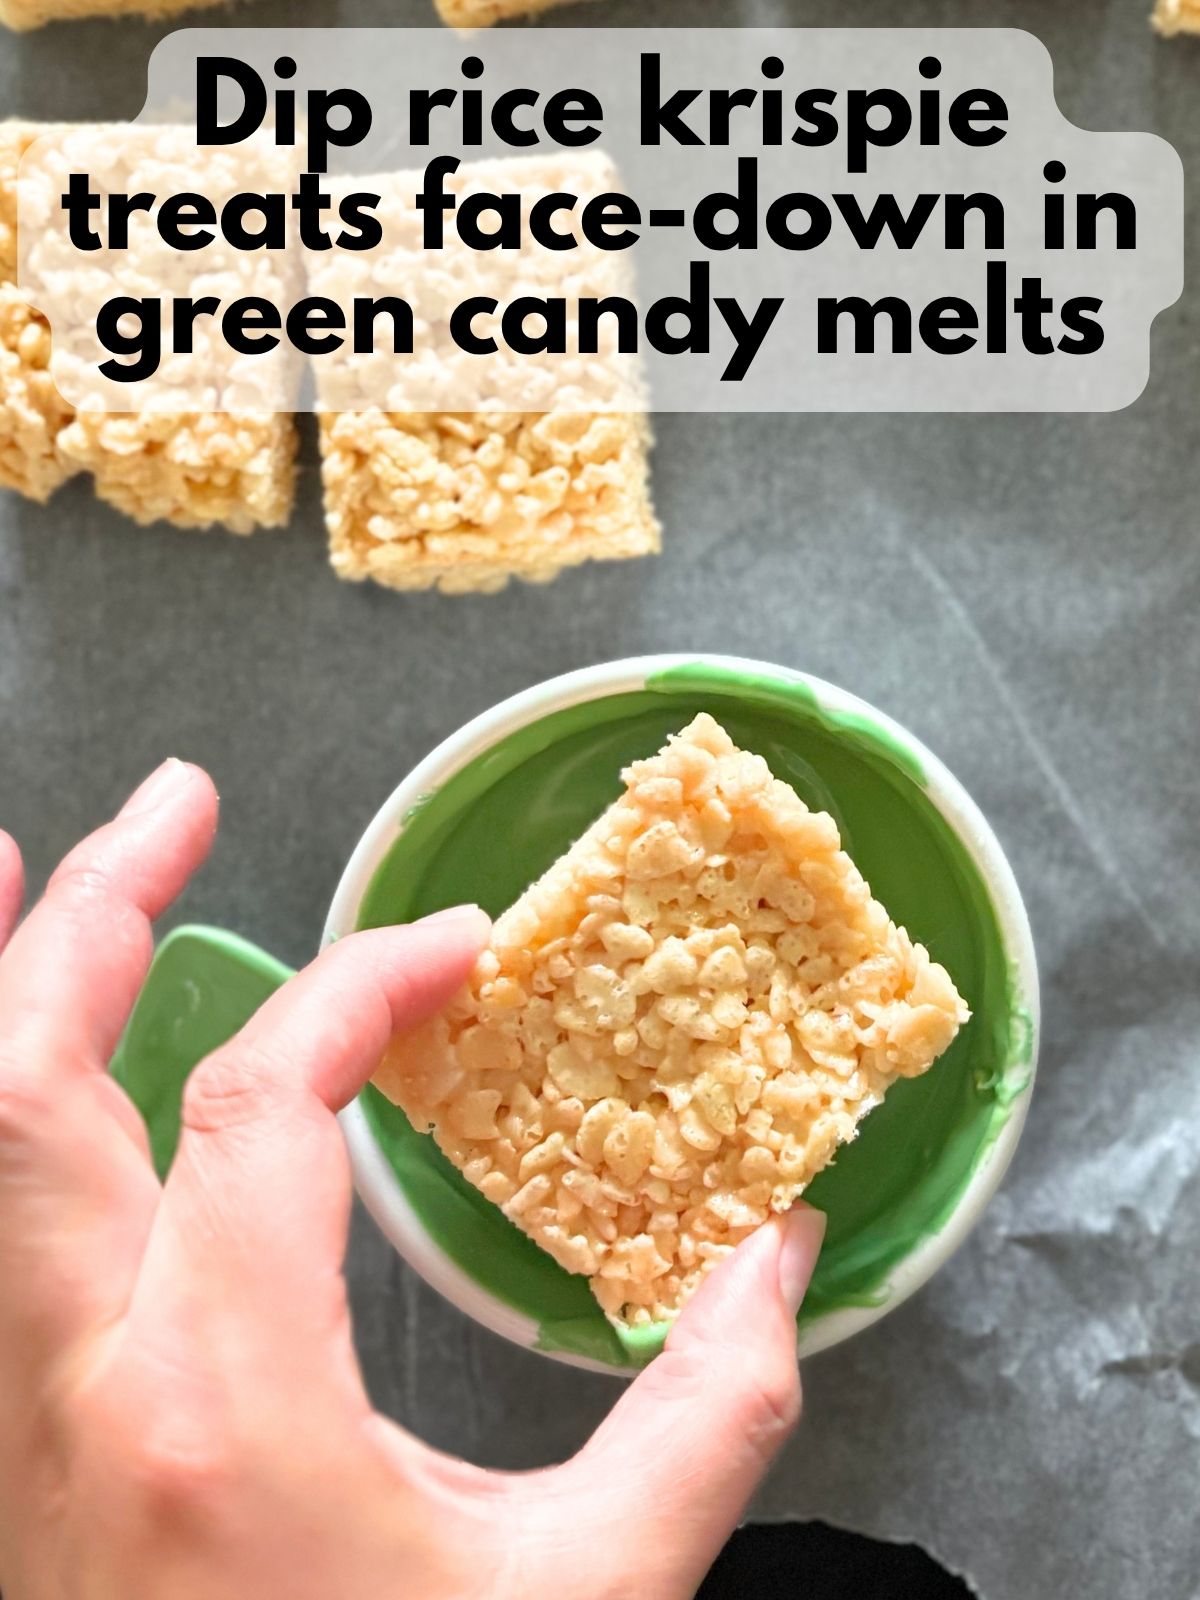
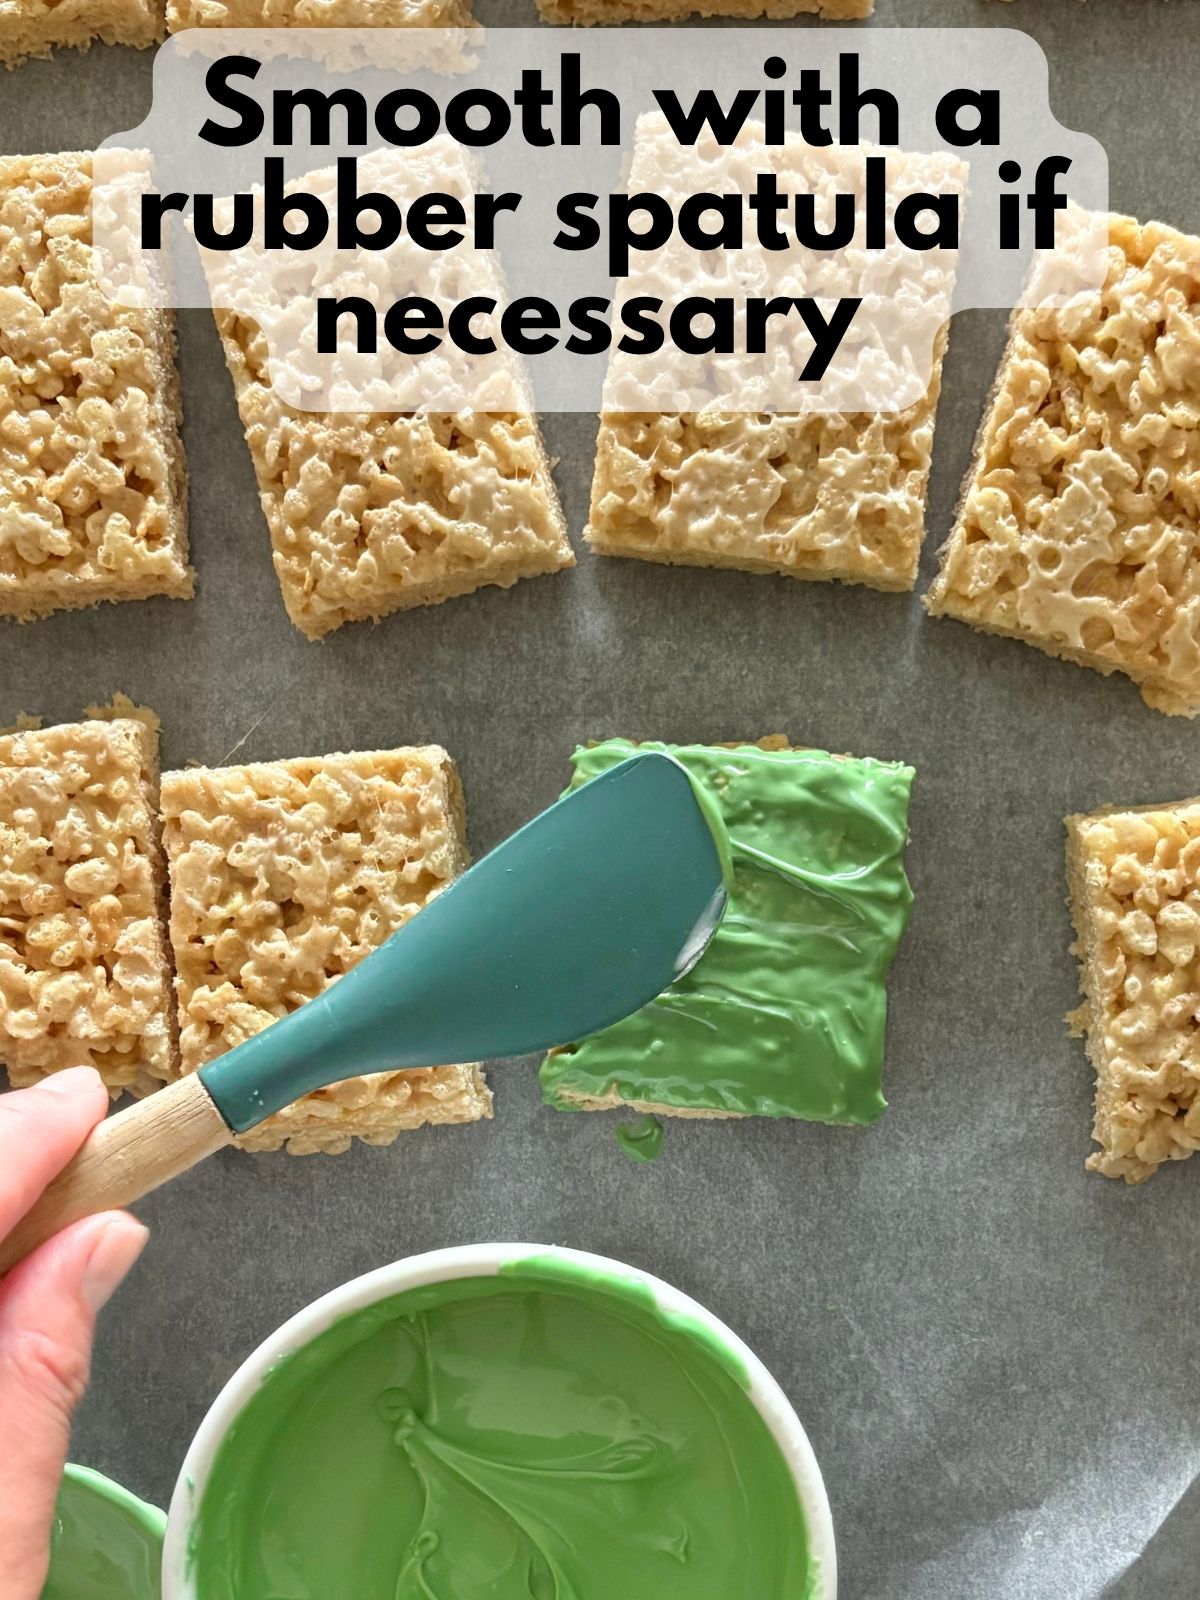
10. Coat the treats. Arrange the rectangles on parchment paper. Dip the flat side of each treat into the melted green coating, then place it coated-side up on the parchment. Use a small rubber spatula to spread and smooth the coating, if needed.
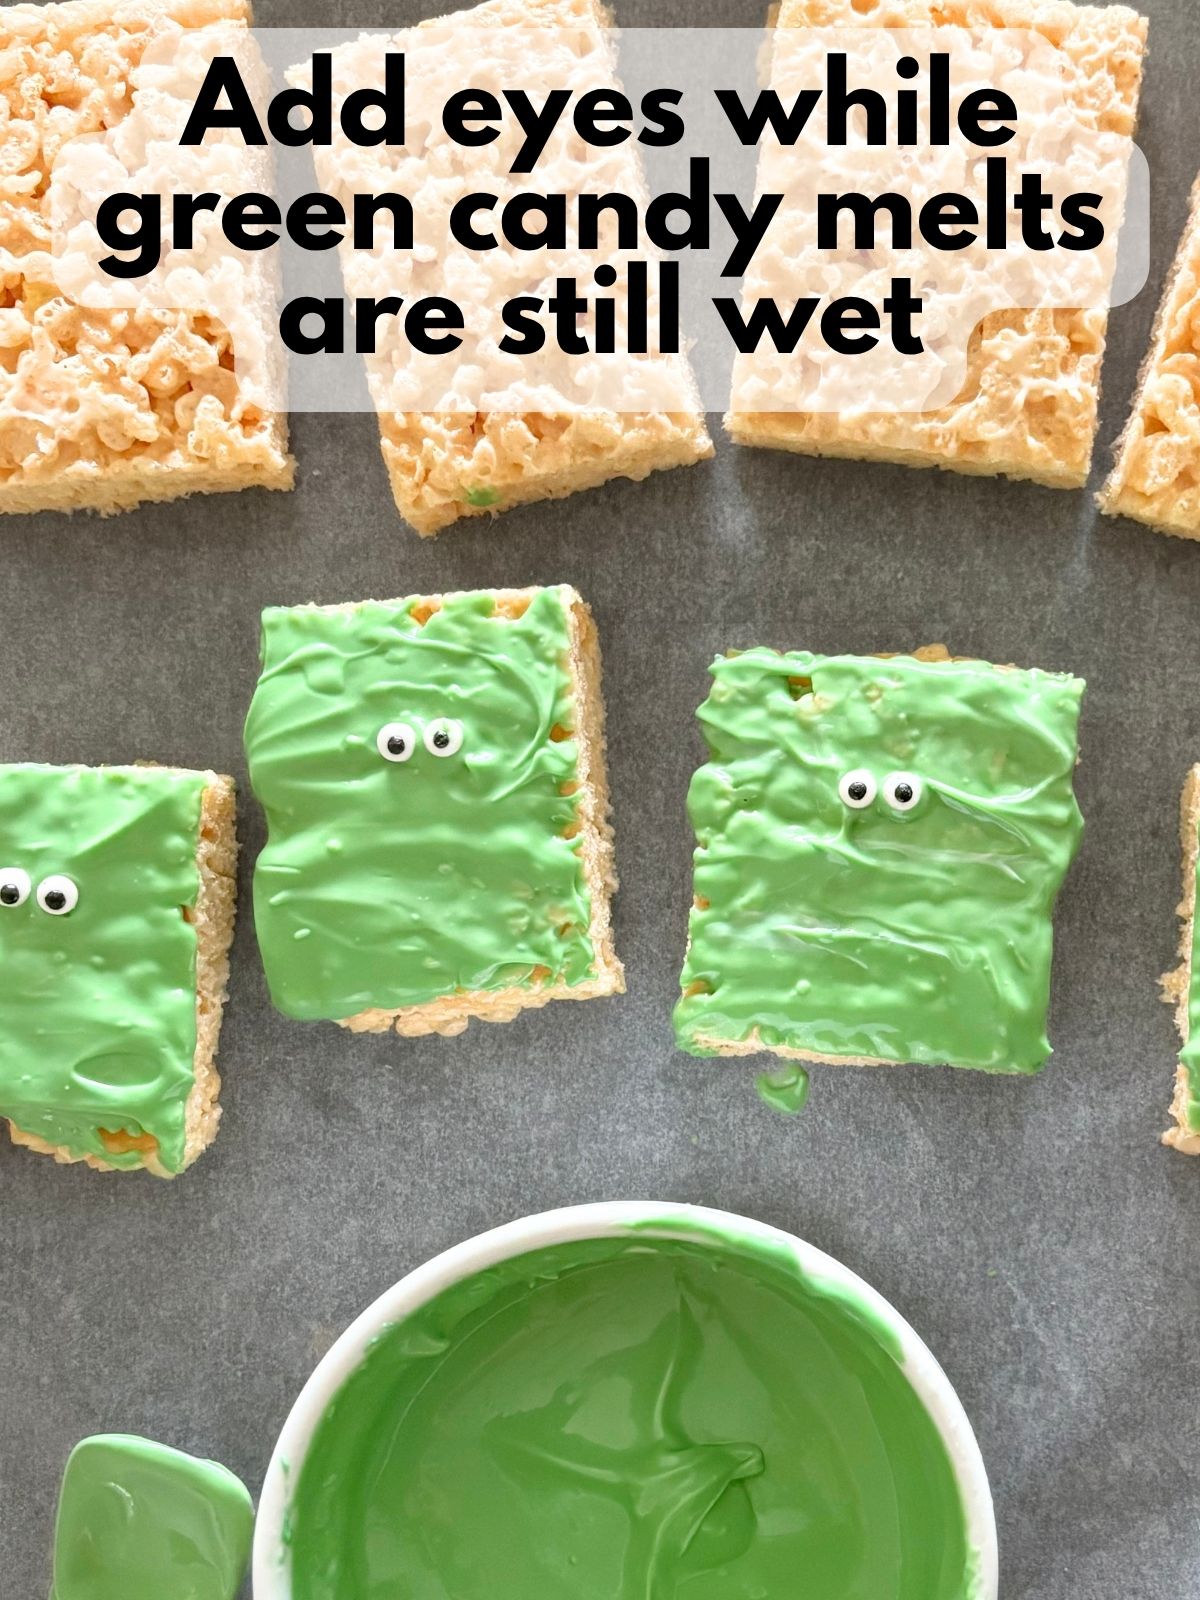
11. Add the eyes. While the green coating is still wet, place two small candy eyes on each treat. Allow the coating to set until firm.
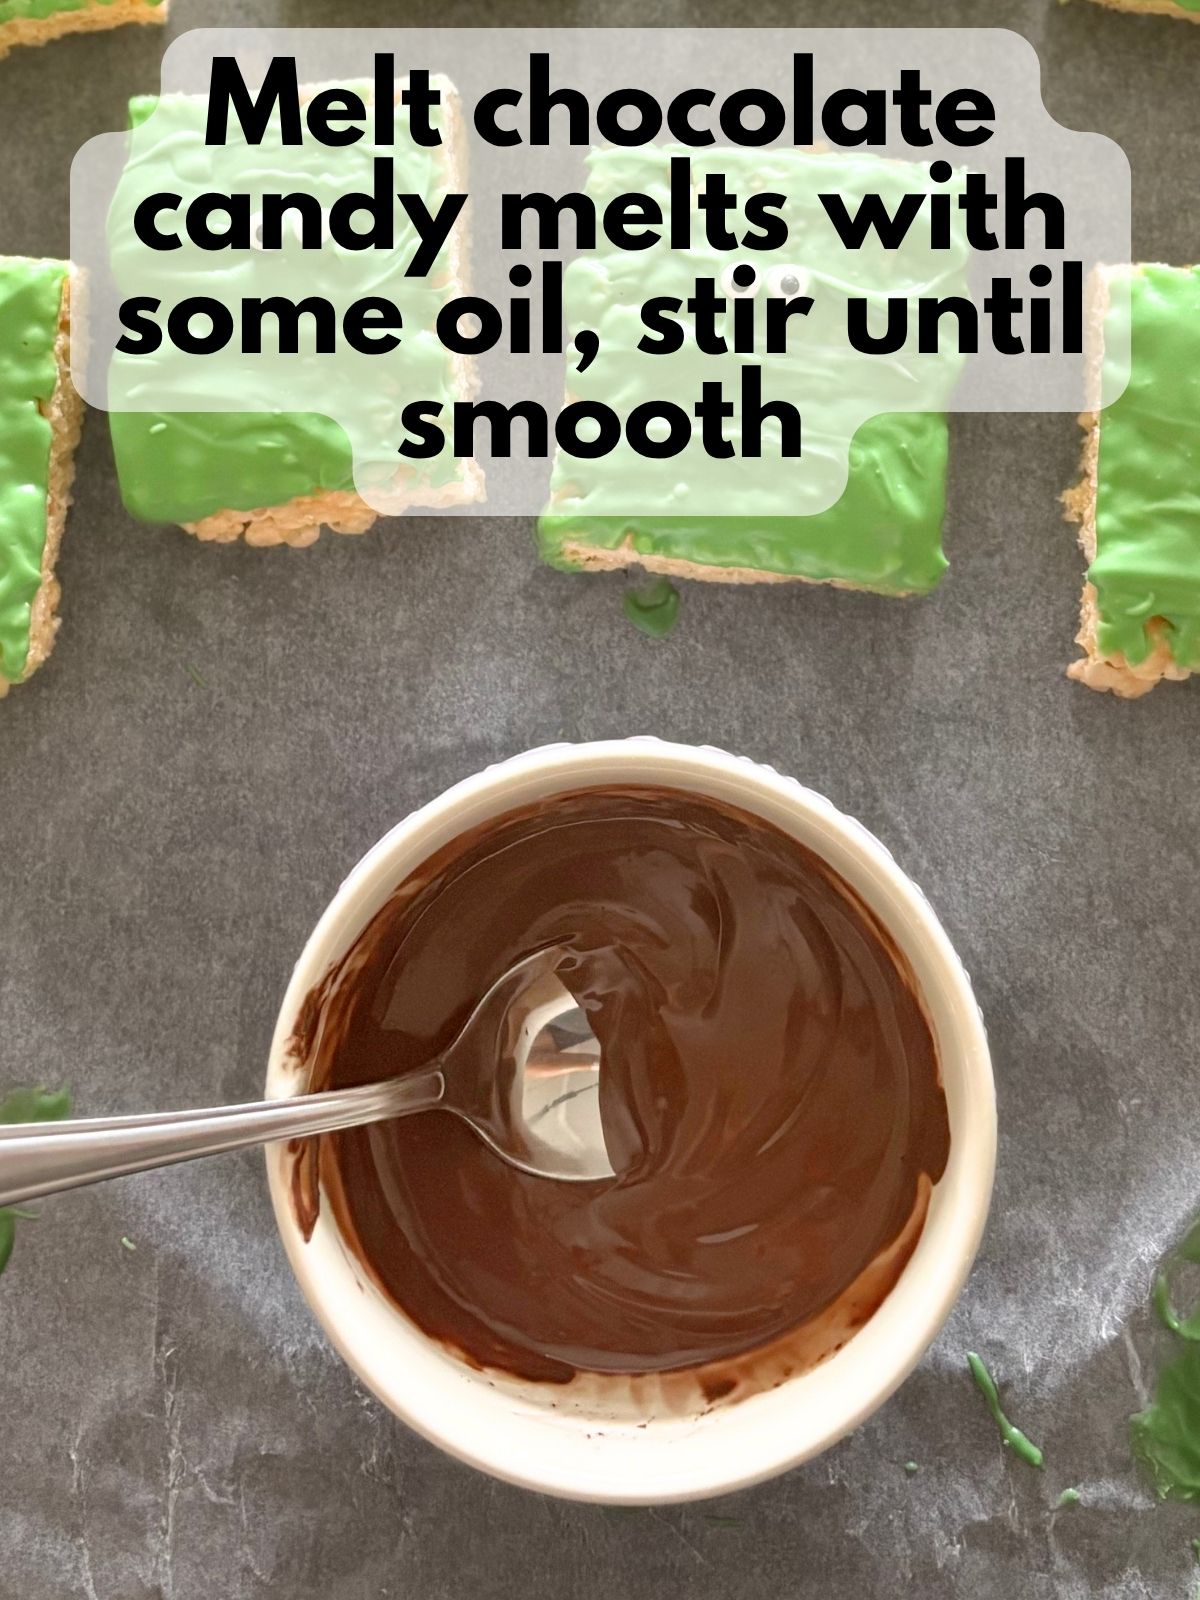
12. Melt the chocolate. Place the chocolate candy melts in a microwave-safe bowl with a teaspoon or so of vegetable oil and microwave according to the package directions, stirring frequently. If needed, stir in a bit more vegetable oil until the chocolate is smooth and easy to pipe.
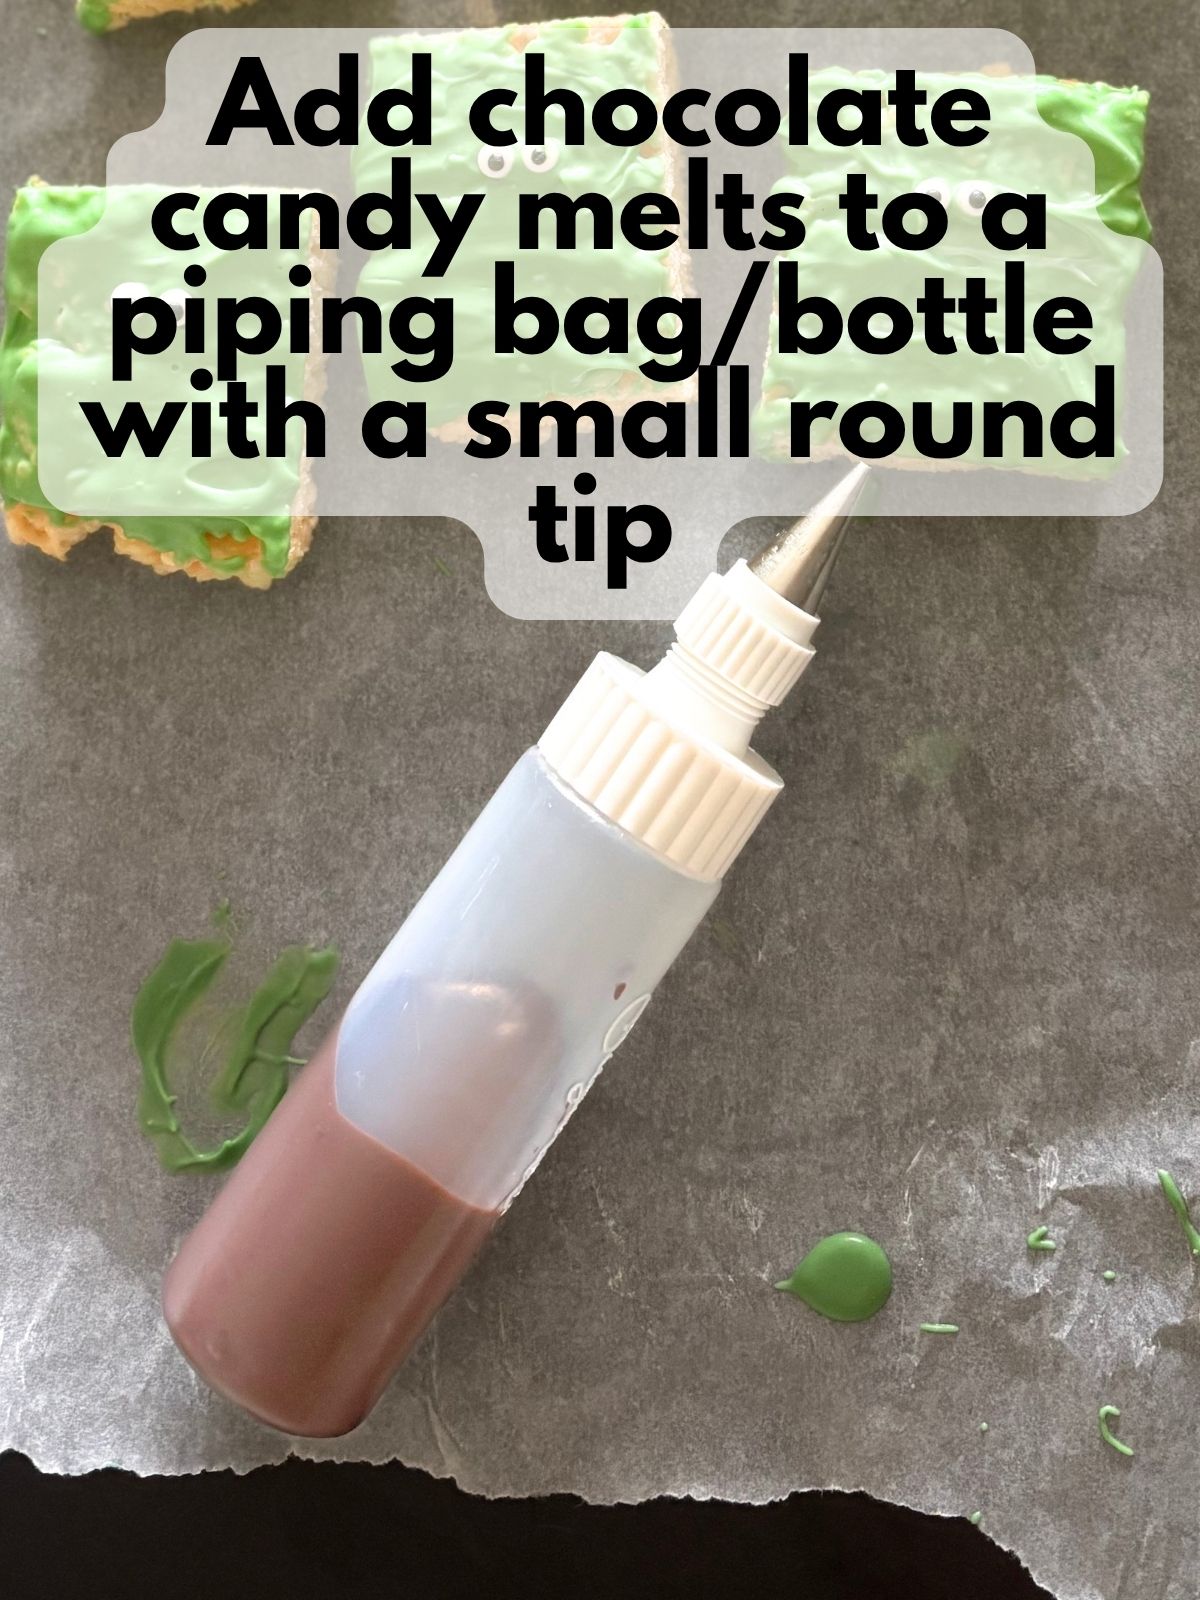
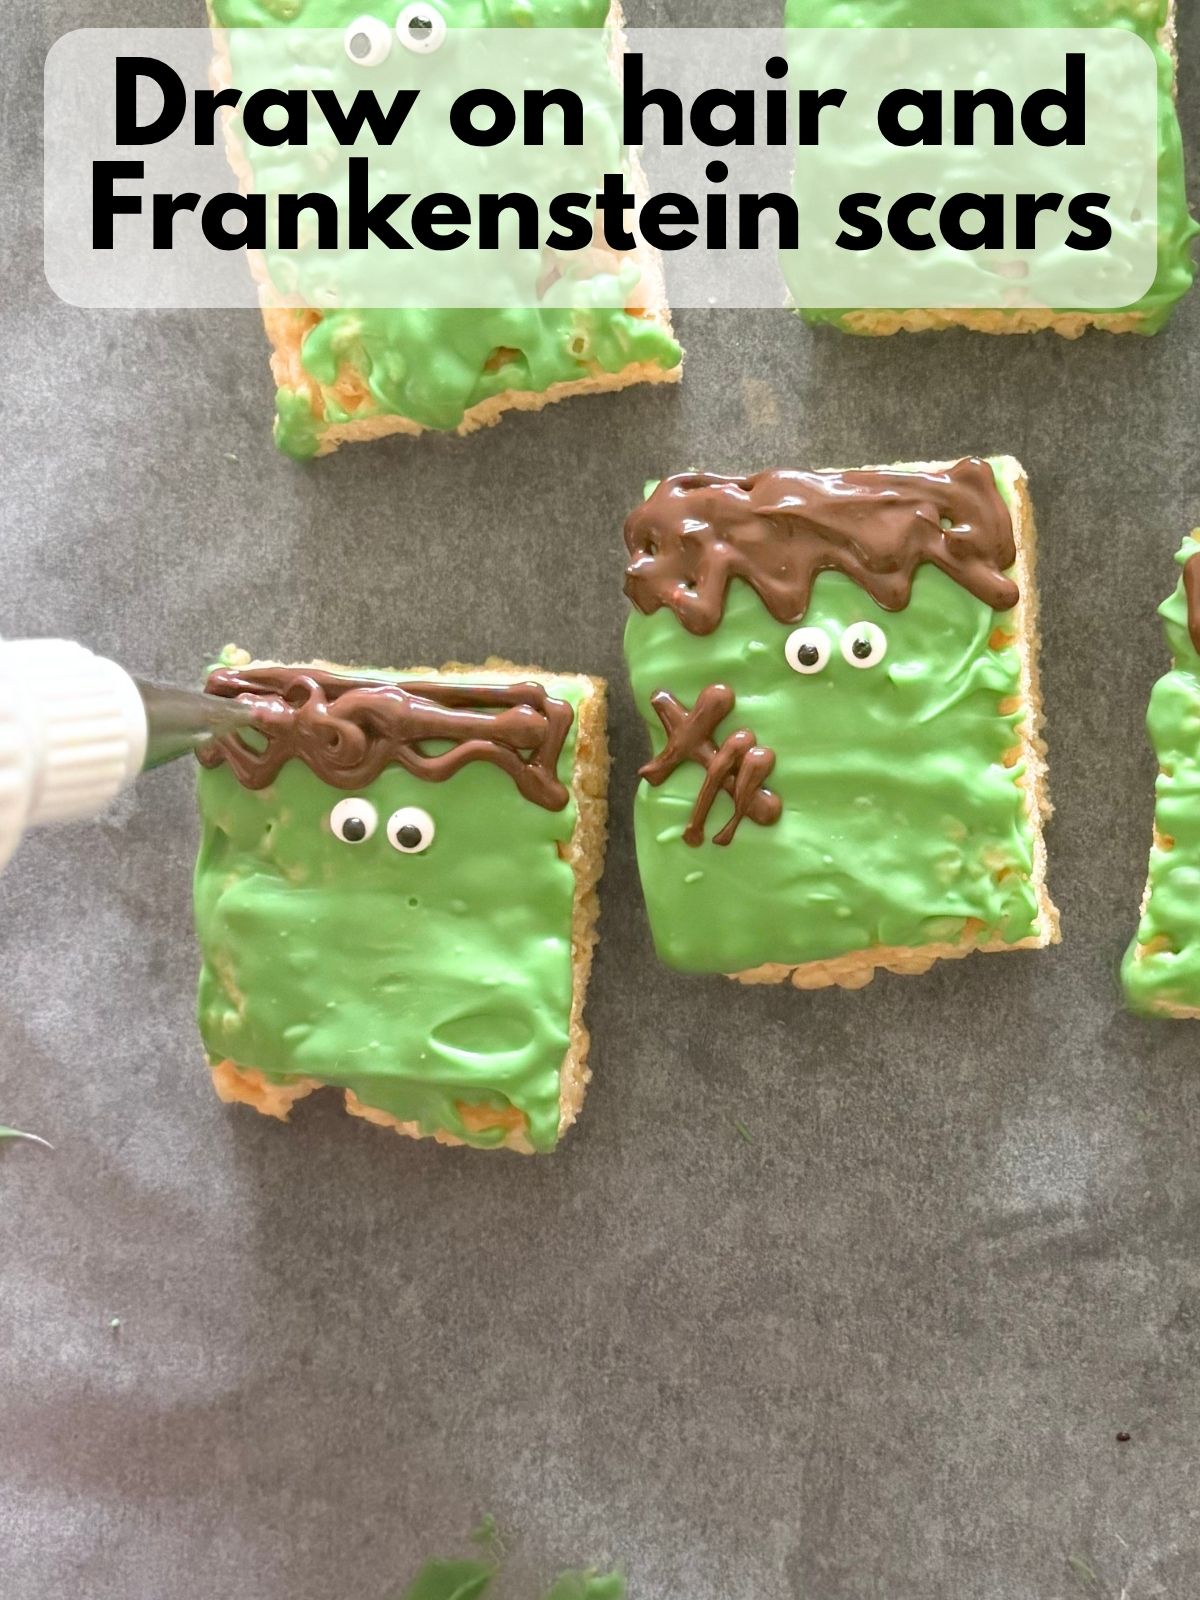
13. Add the Frankenstein details. Transfer the melted chocolate to a piping bottle, piping bag, or small zip-top bag with a small corner snipped off. Pipe zigzag hair along the top of each face. Add a mouth and a few short intersecting lines to create Frankenstein scars. Gently smooth the chocolate with your piping tip or finger for the hair.
14. Let the treats set. Allow the green coating and chocolate details to set completely before serving or storing the treats.
Pro Tips
- Decorate the flat side. Turn the Rice Krispie treats over and decorate the side that rested against the bottom of the pan. This gives you a smoother, flatter surface for creating the Frankenstein faces.
- Adjust the green before melting. If your green candy melts are very dark, add a few yellow candy melts to make the color look brighter and warmer. If you would like an even lighter green, add a small amount of white candy melts as well. Melt all the colors together in the same bowl.
- Use oil-based candy coloring only. If you need to adjust the shade after melting, use an oil-based coloring made for chocolate or candy. Regular liquid or gel food coloring may cause the candy melts to seize (when they firm up too quickly) and become grainy.
- Thin thick candy melts gradually. If the melted candy is too thick for dipping, spreading, or piping, stir in a small amount of vegetable oil. Add only a little at a time until the coating is smooth and easy to work with.
- Protect the candy eyes from heat and humidity. In a hot or humid environment, the black coloring on candy eyes can bleed. Keep the finished treats in an airtight container in the coolest, driest area available. If your kitchen is especially warm, refrigerate them in a tightly sealed container. Before serving, let the unopened container come to room temperature so condensation forms on the outside of the container instead of on the treats.
- Work on parchment paper. Assemble and decorate the treats on parchment paper to prevent sticking and make cleanup easier.
FAQs
Do I have to brown the butter?
You do not have to, but I highly recommend it. Browning the butter really adds to the flavor without much extra work.
Can I use regular marshmallows instead of mini?
Yes. Use the same total weight (10 ounces) and just be patient during melting. Stir often until completely smooth before adding the cereal.
What if I cannot find green candy melts?
You have two options. You can use white candy melts with oil-based green candy coloring, or you can use another bright color, such as purple or orange, and make “monster” treats instead of classic Frankenstein treats.
Can I use chocolate chips instead of chocolate candy melts?
Yes. Melt chocolate chips gently in 30-second bursts in the microwave with 1-2 teaspoons of coconut oil or vegetable oil help them set a little firmer and pipe more smoothly.
How do I keep the treats from sticking to the knife when I cut them?
Grease your knife lightly or spray it with nonstick spray, then wipe clean between cuts for sharp, neat rectangles.
What if I don’t have a piping bag/bottle/tip?
No worries! These have such simple decorations, you could put your chocolate candy melts in a sandwich bag and snip off a tiny (but tiny!) bit of a corner. Start small with your cut, because it’ll probably need to smaller than you think.
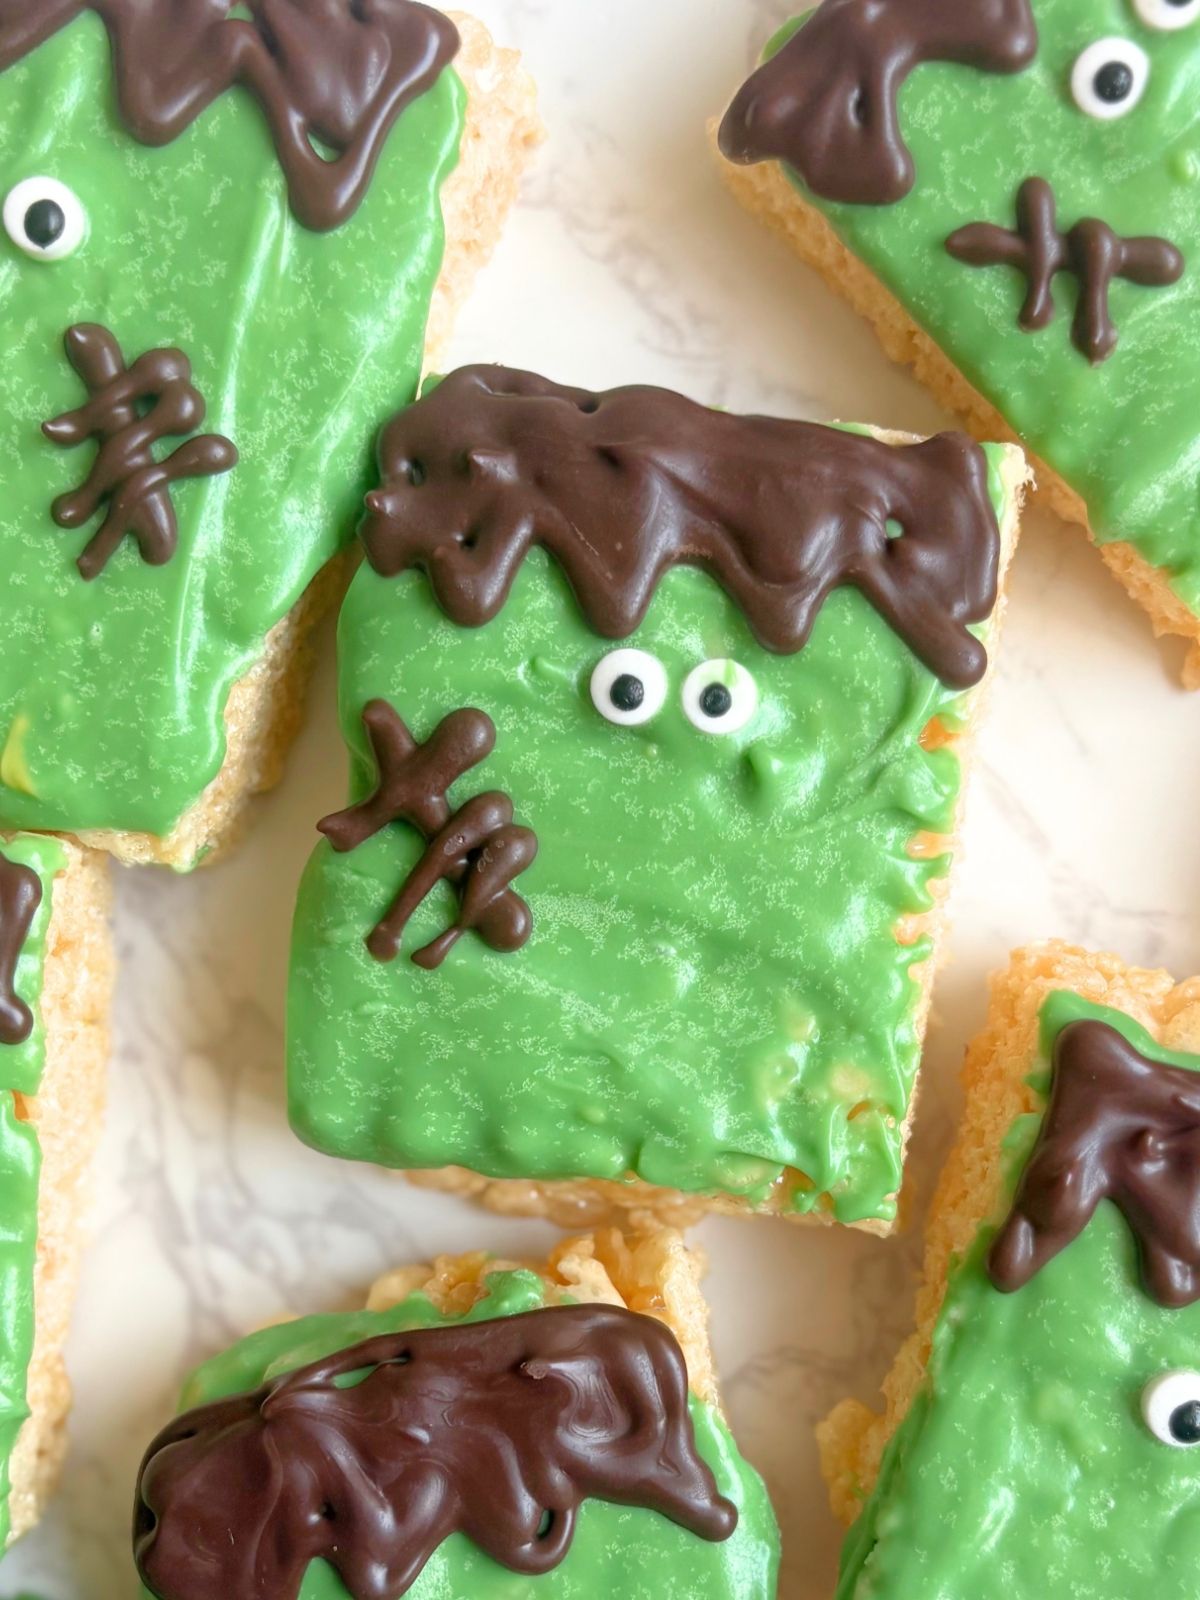
I love how these Frankenstein Rice Krispie Treats take a simple pan of brown butter rice krispie treats and turn them into the cutest No bake Halloween treats with just a few candy melts and a handful of candy eyes. They are quick, fun, and easy to customize with different expressions, and they pack perfectly for parties, potlucks, or movie nights at home.
If you want a Halloween dessert that looks like you spent hours but secretly came together in under an hour, these monster bars are about to be your new seasonal favorite.
Frankenstein Rice Krispie Treats

Ingredients
Rice Krispie treats base:
- 4 Tbsp unsalted butter
- 1 package 10 ounces mini marshmallows
- 1 tsp vanilla extract optional but tasty
- Pinch of salt
- 5 cups Rice Krispies cereal
Frankenstein decorations:
- 10-12 oz green candy melts
- 2-4 oz yellow candy melts optional, to make dark green candy melts look brighter and warmer
- 1-1 oz white candy melts optional, to lighten the green further
- 4-6 oz chocolate candy melts or semisweet chocolate chips
- 24 small candy eyes
- 2-3 tsp vegetable oil or coconut oil, as needed to thin the candy melts
Instructions
- Prepare the pan. Lightly grease a 9-inch square baking pan and line it with parchment paper, leaving enough overhang to lift out the finished treats.
- Brown the butter. Melt the butter in a large pot over medium heat. Continue cooking, stirring often, as the butter foams and froths. Once the foam subsides slightly, move some of it aside so you can see the bottom of the pot. When small brown flecks appear and the butter has a nutty aroma, remove the pot from the heat.
- Melt the marshmallows. Reduce the heat to low and add the mini marshmallows. Stir until the marshmallows are completely melted and smooth.
- Add the vanilla and salt. Remove the pot from the heat. Stir in the vanilla extract and salt until combined.
- Add the cereal. Fold in the Rice Krispies cereal until it is evenly coated with the marshmallow mixture.
- Press the mixture into the pan. Transfer the mixture to the prepared pan. Lightly grease your hands or a spatula, then gently press it into an even layer. Avoid packing it too firmly, which can make the finished treats hard.
- Cool and cut. Allow the treats to cool at room temperature for approximately 30 minutes. Use the parchment overhang to lift them out of the pan, then cut the slab into 12 rectangles by making a 3-by-4 grid.
- Prepare the green candy coating. Place the green candy melts in a microwave-safe bowl. If the green is very dark, add a few yellow candy melts to give it a brighter, warmer color. You can also add a small amount of white candy melts if you would like to lighten it further.
- Melt the candy coating. Microwave the candy melts and 1-2 teaspoons of vegetable oil according to the package directions, stirring frequently, until melted. If the coating is too thick for dipping, stir in a small amount of vegetable oil until smooth and easy to work with.
- Coat the treats. Arrange the rectangles on parchment paper. Dip the flat side of each treat into the melted green coating, then place it coated-side up on the parchment. Use a small rubber spatula to spread and smooth the coating, if needed.
- Add the eyes. While the green coating is still wet, place two small candy eyes on each treat. Allow the coating to set until firm.
- Melt the chocolate. Place the chocolate candy melts in a microwave-safe bowl with a teaspoon or so of vegetable oil and microwave according to the package directions, stirring frequently. If needed, stir in a bit more vegetable oil until the chocolate is smooth and easy to pipe.
- Add the Frankenstein details. Transfer the melted chocolate to a piping bottle, piping bag, or small zip-top bag with a small corner snipped off. Pipe zigzag hair along the top of each face. Add a mouth and a few short intersecting lines to create Frankenstein scars. Gently smooth the chocolate with your piping tip or finger for the hair.
- Let the treats set. Allow the green coating and chocolate details to set completely before serving or storing the treats.