Candy Corn Brown Butter Rice Krispie Treats
You will love this recipe for Candy Corn Rice Krispie Treats if you want something cute, low effort, and totally on-theme for Halloween. These are no bake Halloween treats you can pull together in under an hour, including cooling time, and they look like giant candy corn wedges without being overly sweet. If you are hosting a party, signing up for a work potluck, or need a last-minute treat for a school event, these easy rice krispie treats will save you so much stress while still looking like you spent all afternoon on them.
Jump to Recipe

Ingredients for Candy Corn Rice Krispie Treats
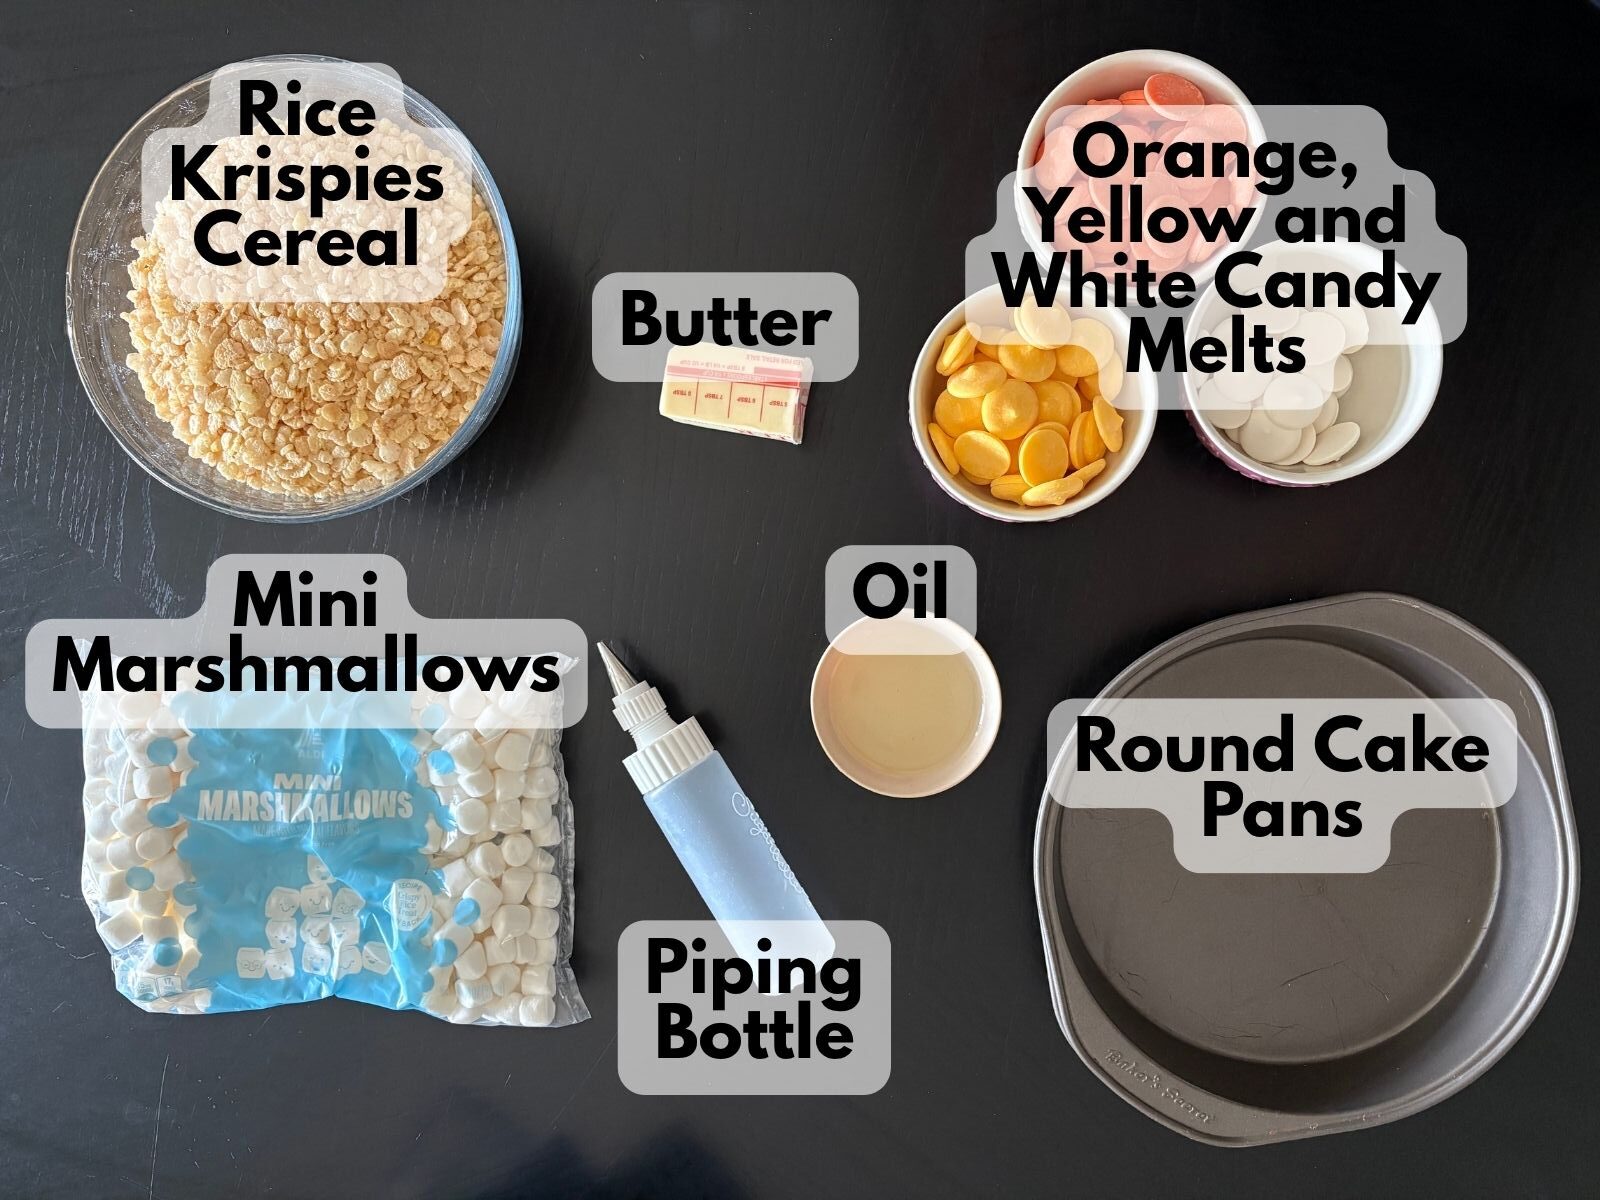
Rice Krispie Treat Layer
- 4 tablespoons unsalted butter
- 1 package (10 ounces) mini marshmallows
- 1 teaspoon vanilla extract (optional, but tasty)
- Pinch of salt
- 5 cups Rice Krispies cereal
- Nonstick cooking spray or softened butter, for the pans
- 2 8-inch round baking pans
Candy Corn Coating
- 6 ounces yellow candy melts
- 6 ounces orange candy melts
- 4 ounces white candy melts
- 1 to 3 teaspoons coconut oil or vegetable oil, as needed, to thin the melts
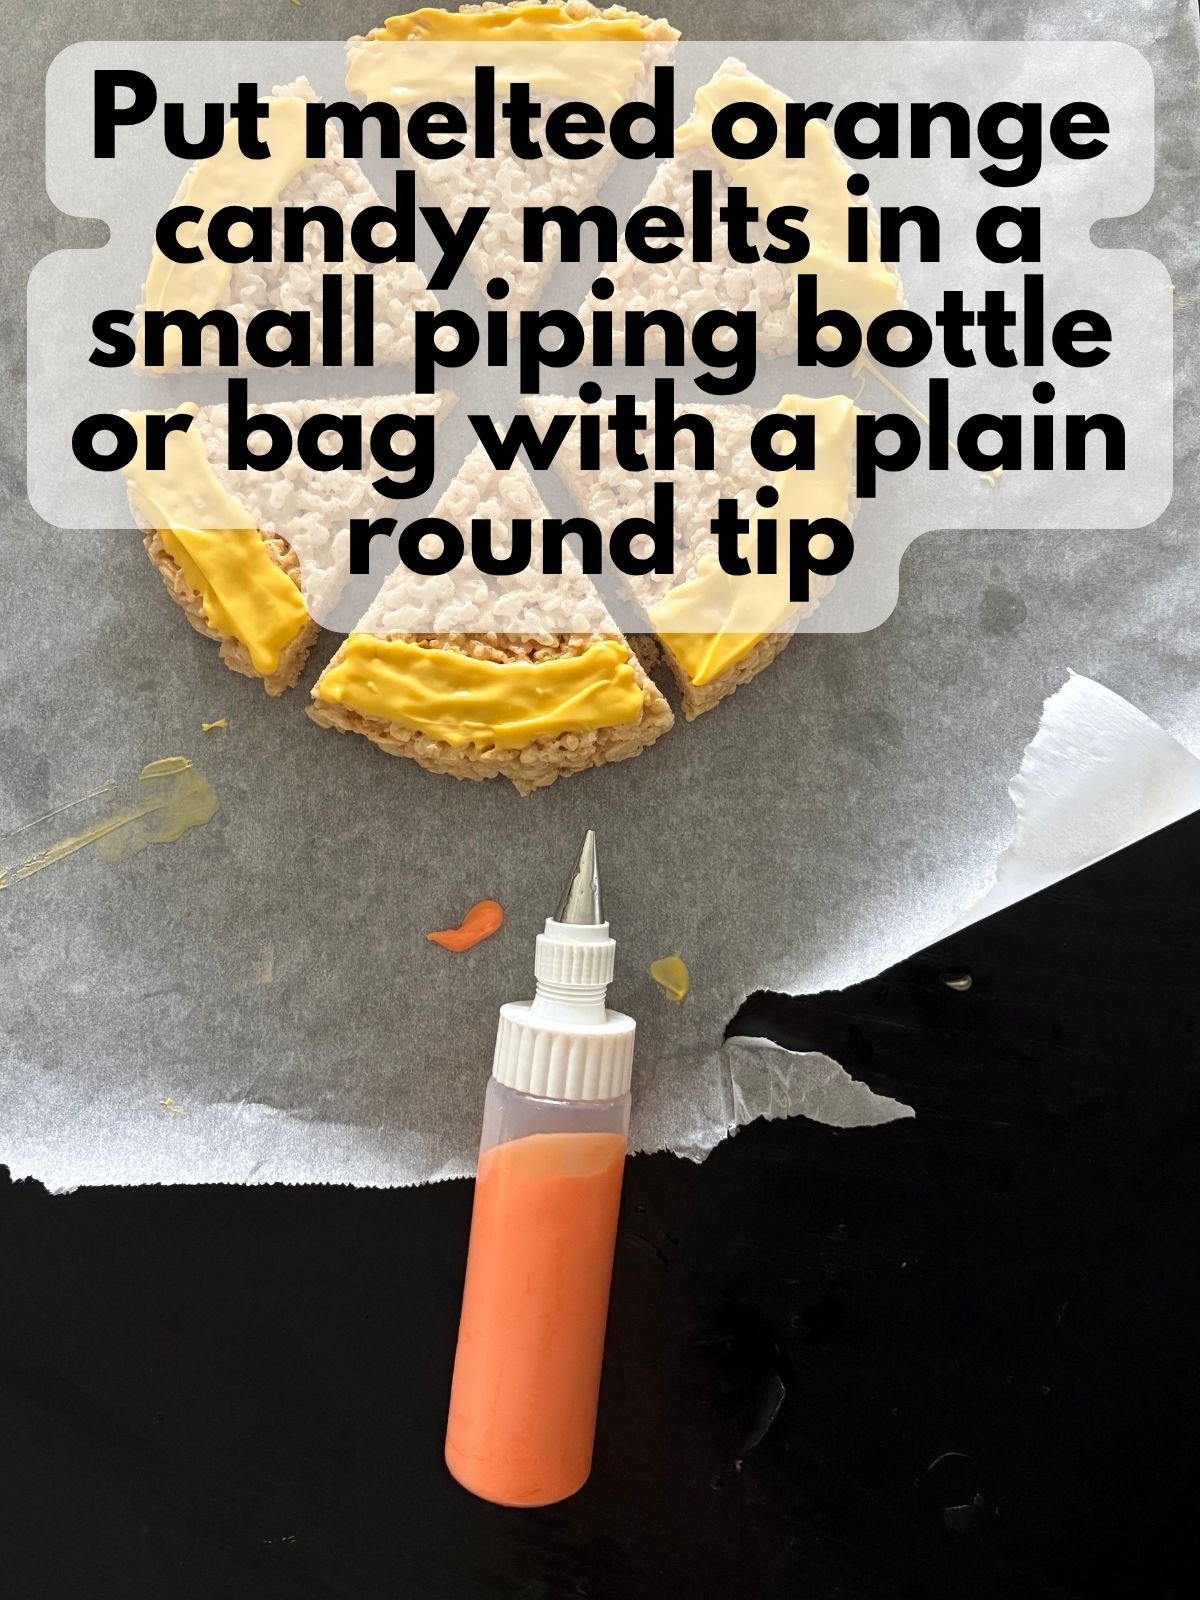
- Piping bag/bottle with a small round tip (or some sandwich bags)
How to Make Candy Corn Rice Krispie Treats
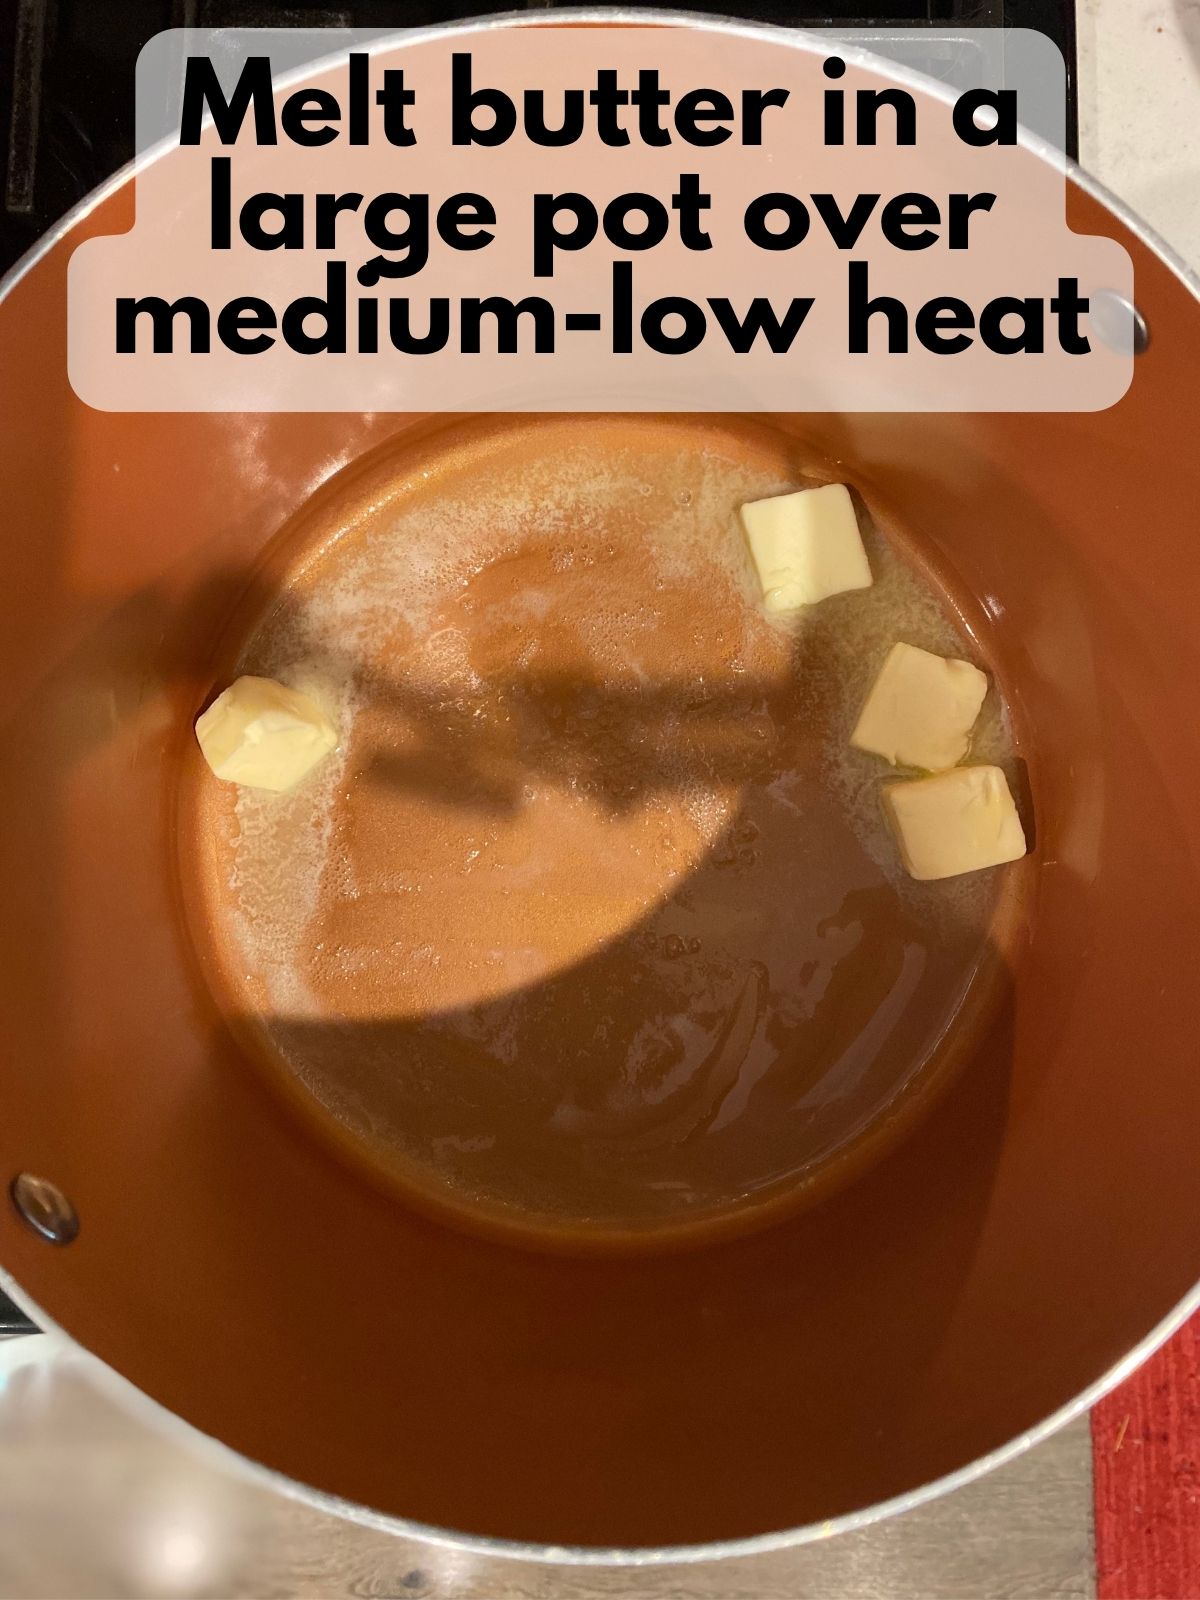
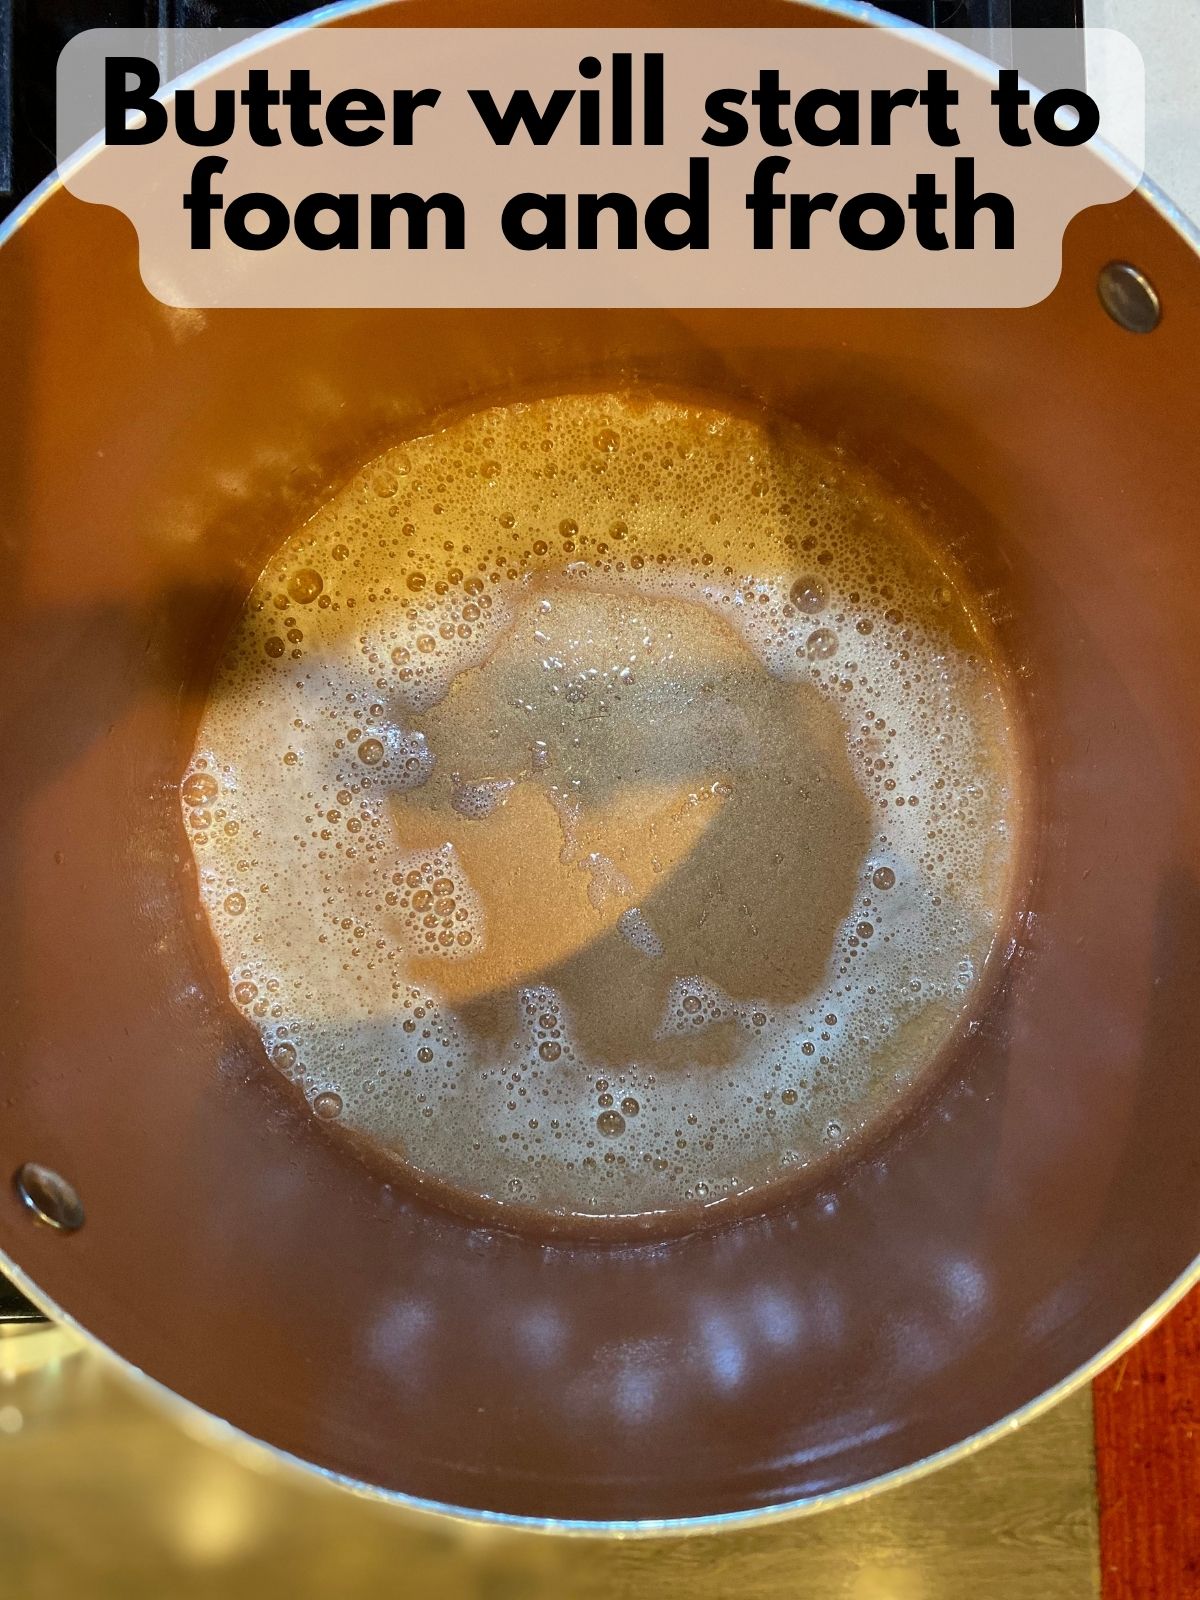
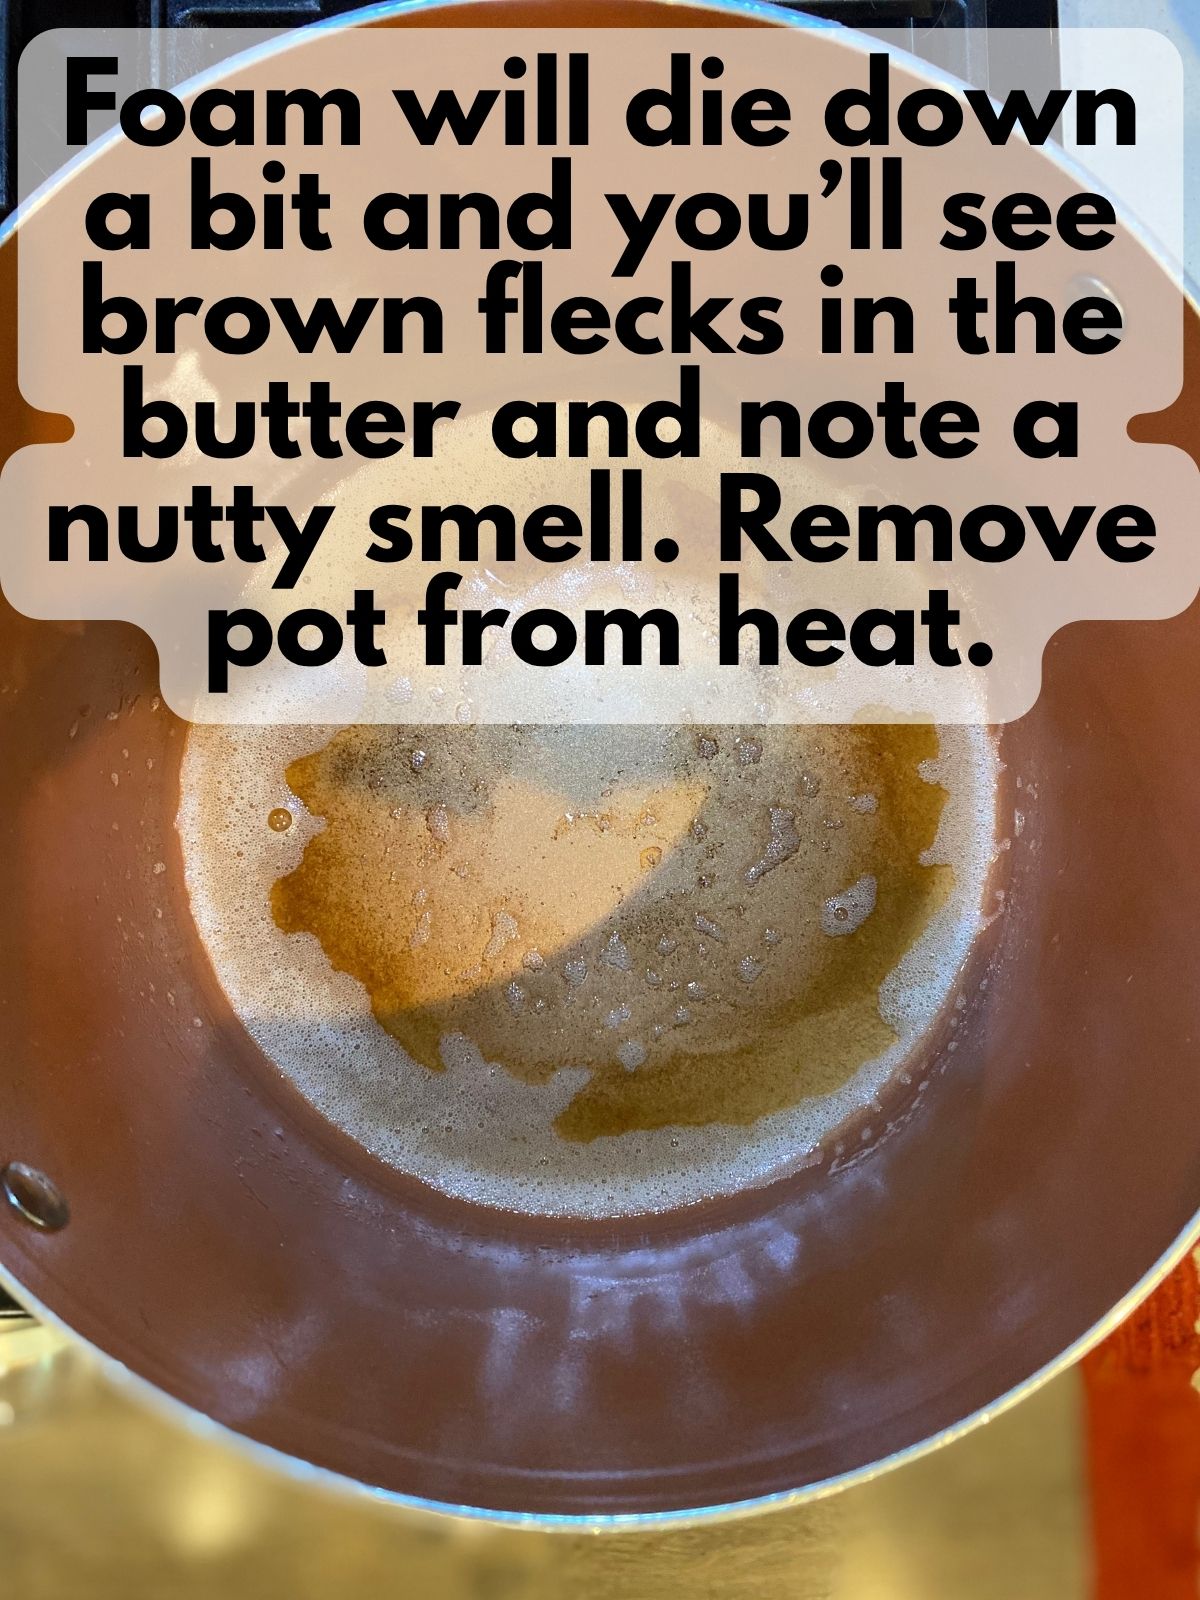
1. Brown the butter: Melt the butter in a large pot over medium-low heat. Continue cooking, stirring often, as the butter begins to foam and froth. Once the foam dies down slightly, look for small brown flecks at the bottom of the pot and a nutty aroma. Remove the pot from the heat.
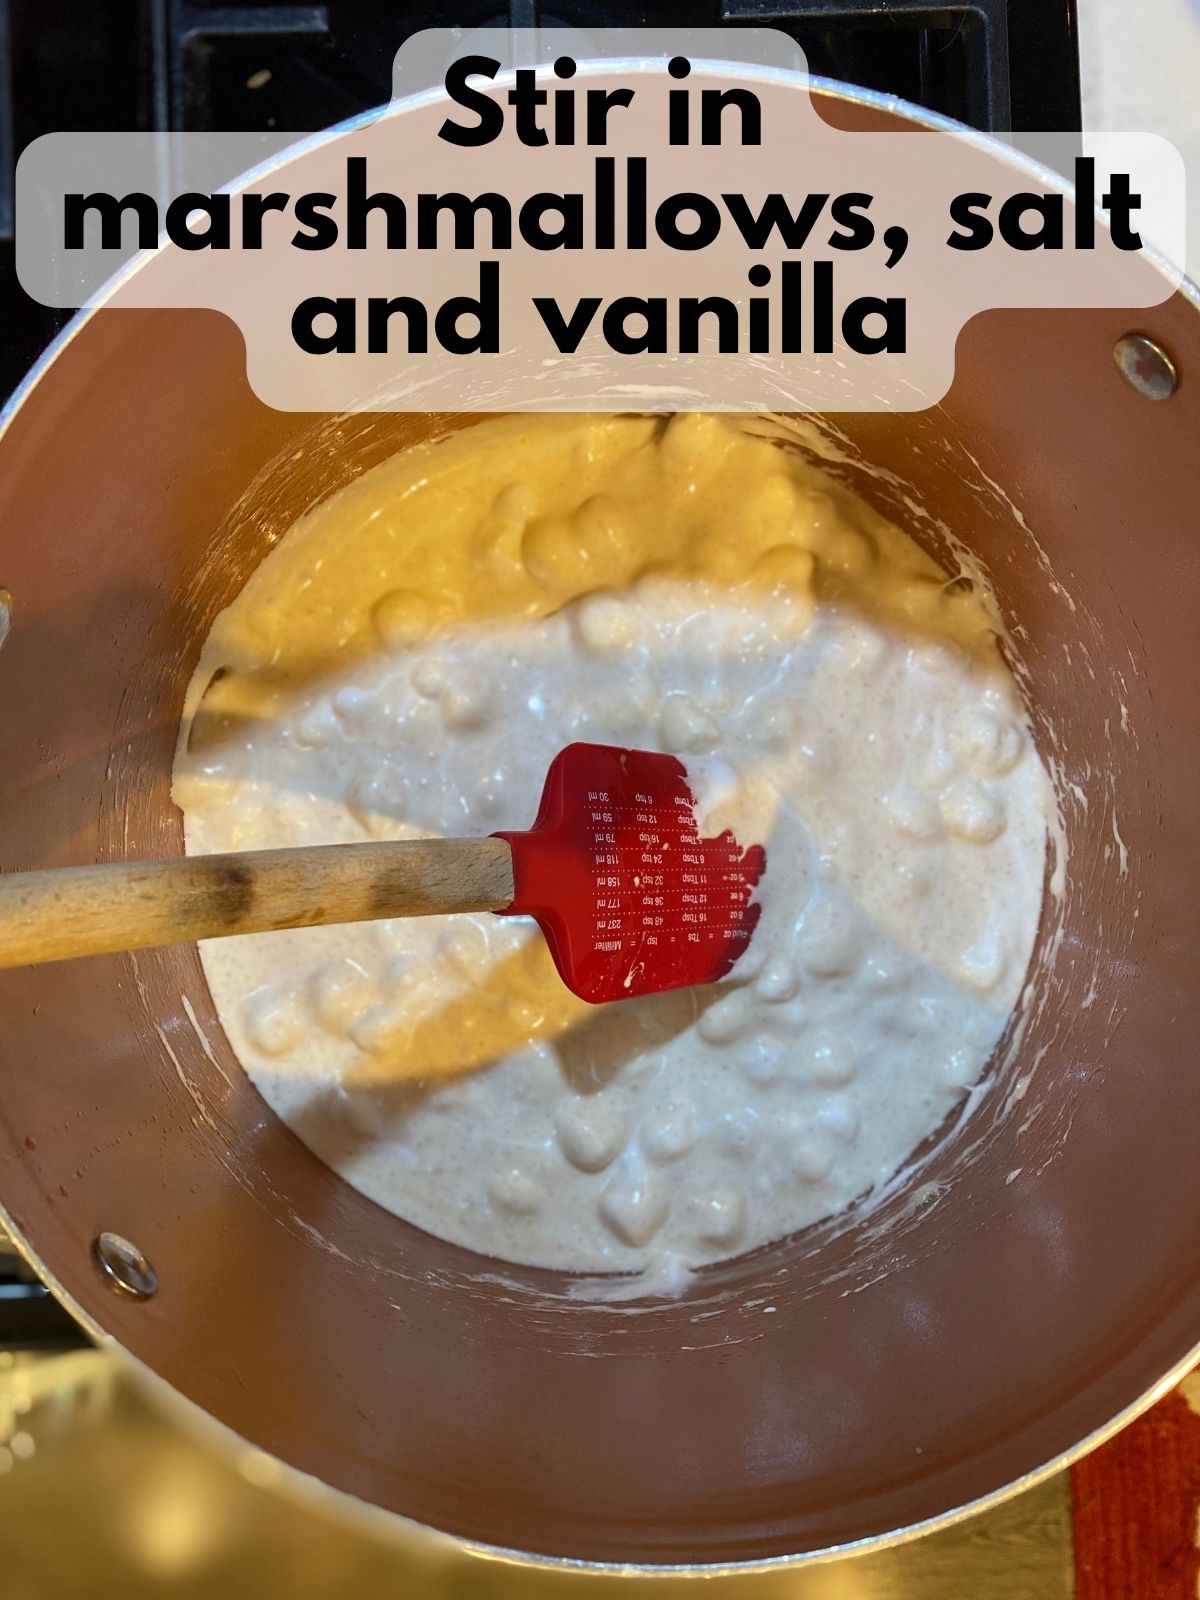
2. Add the marshmallows: Stir the marshmallows, salt, and vanilla into the browned butter until the marshmallows are completely melted and the mixture is smooth.
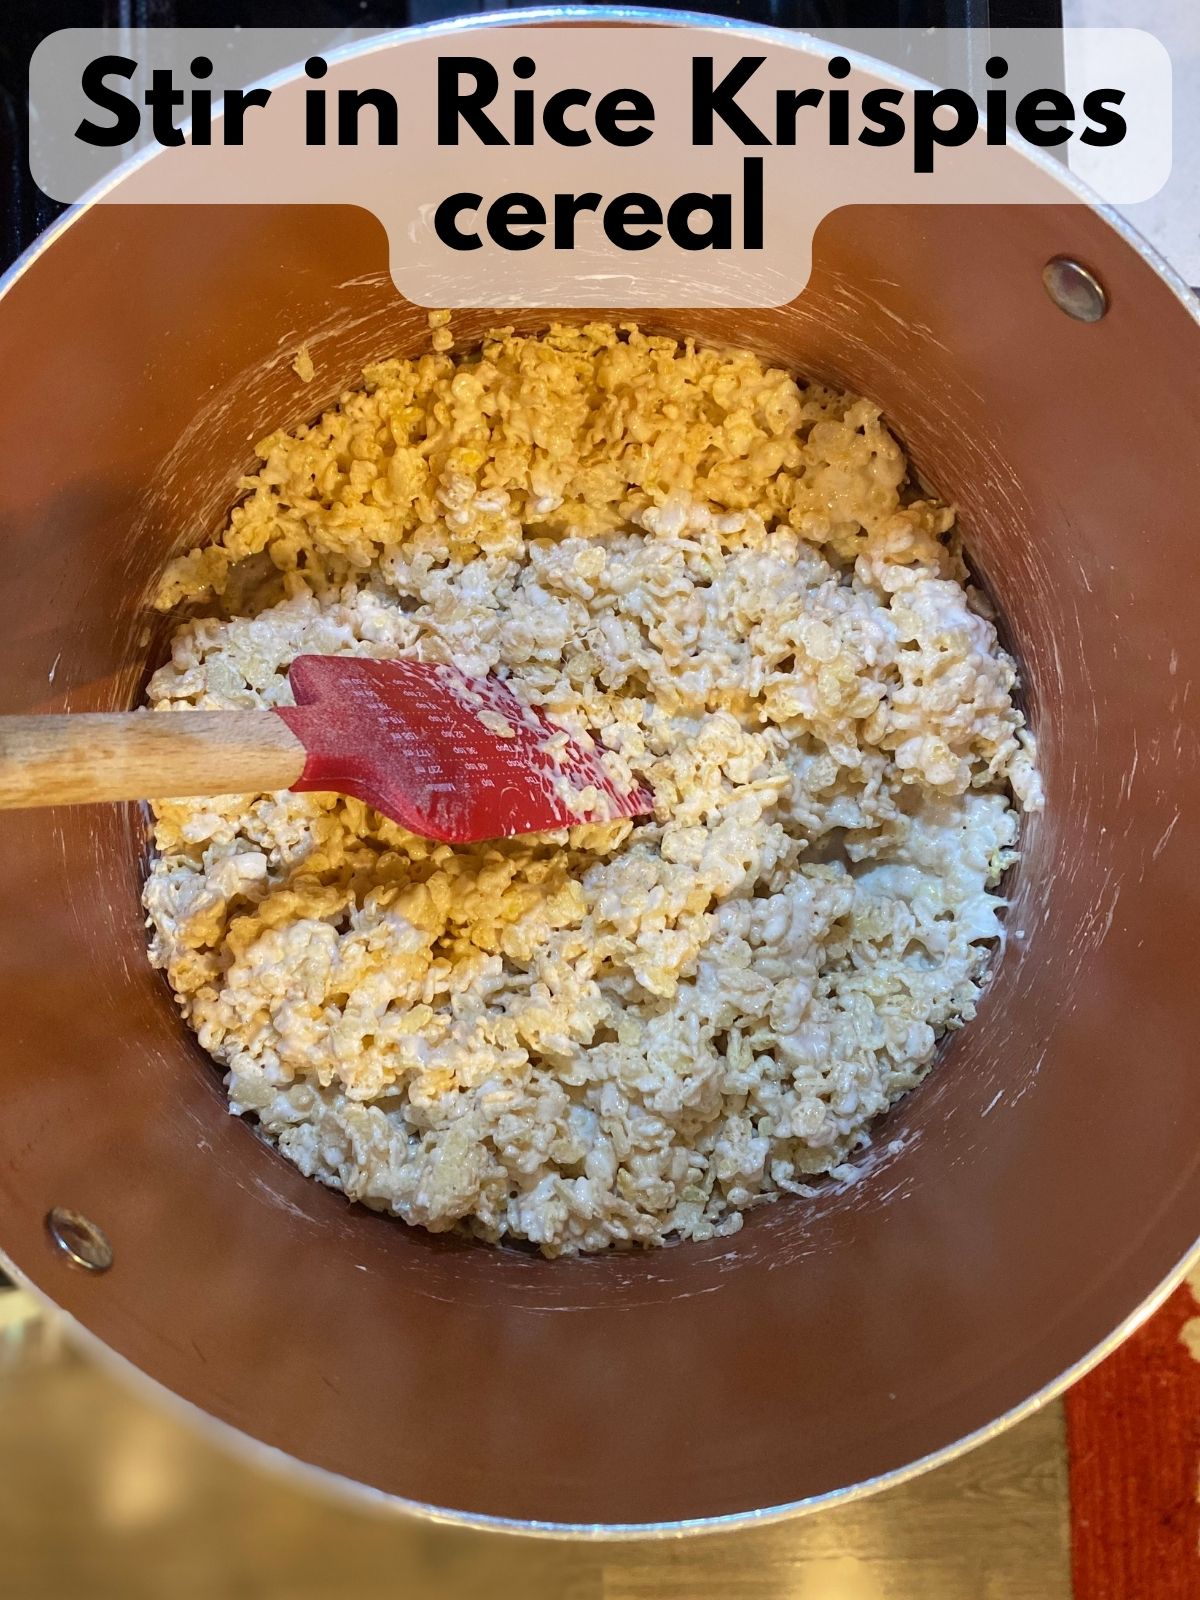
3. Add the cereal: Fold in the Rice Krispies cereal until it is evenly coated with the marshmallow mixture.
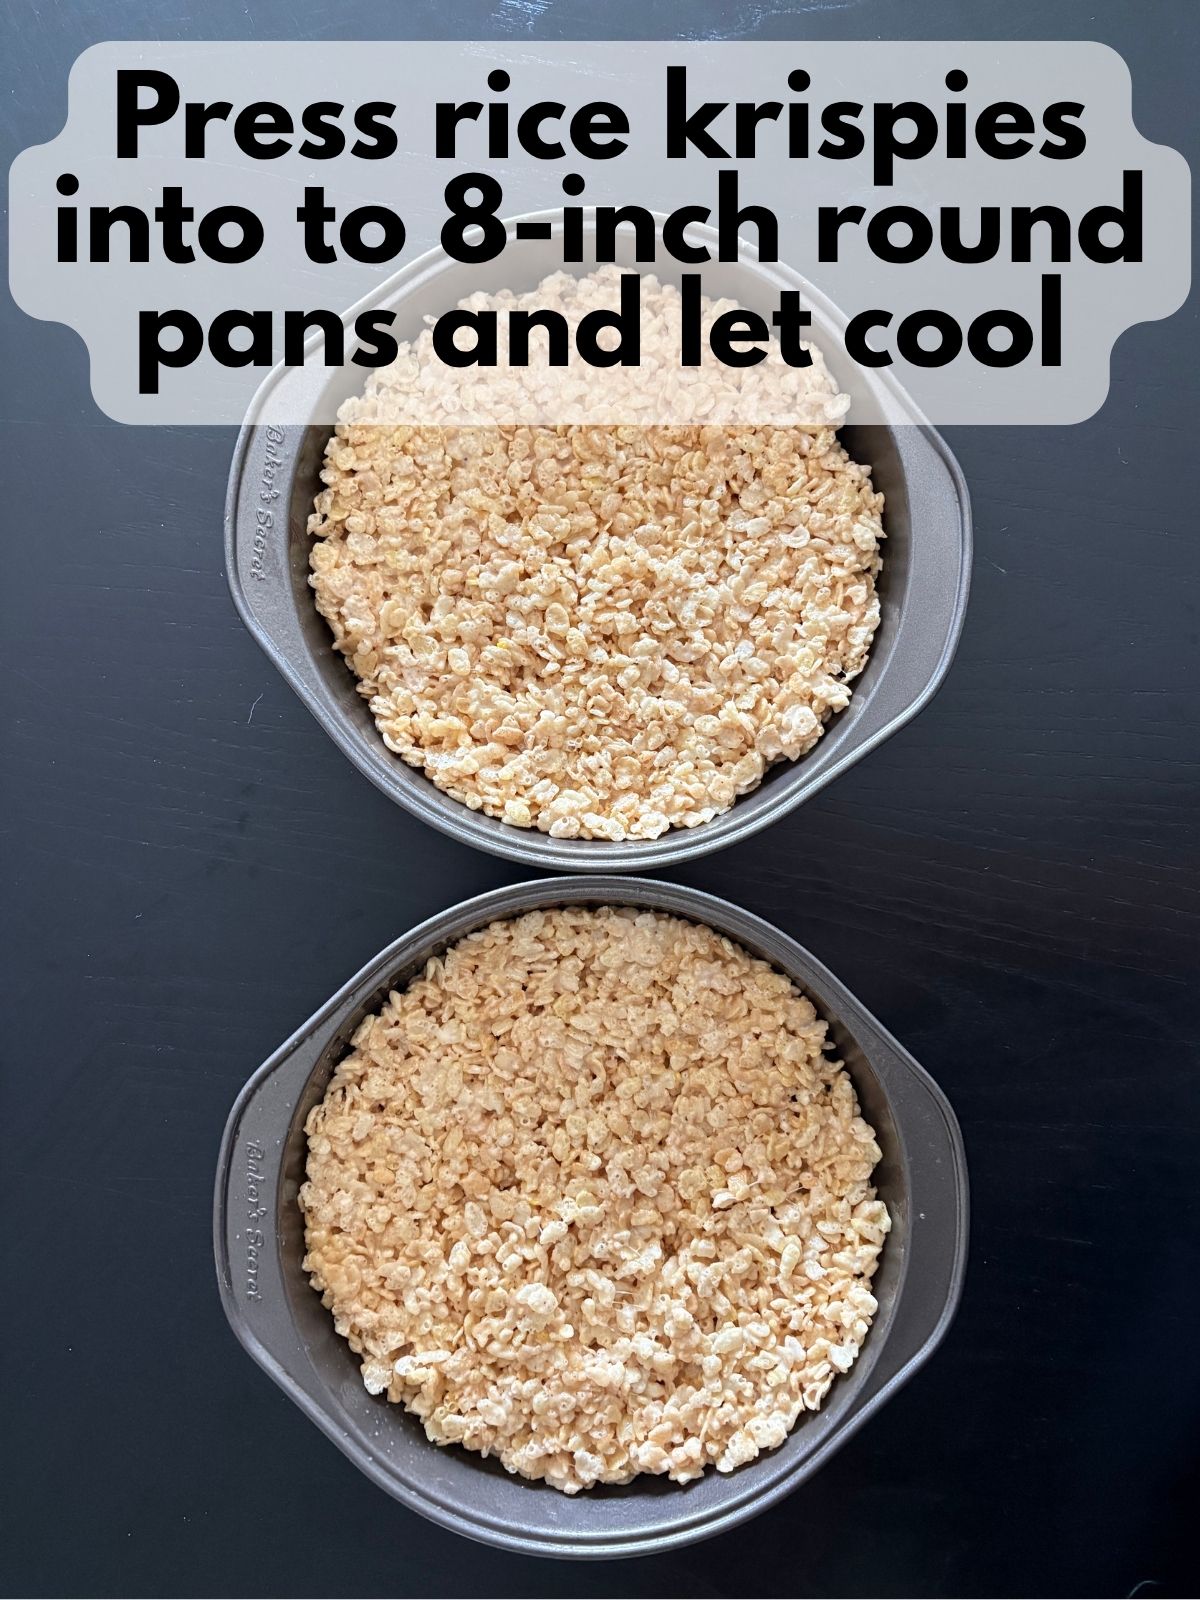
4. Shape the treats: Divide the mixture evenly between two 8-inch round pans. Gently press it into an even layer and allow the treats to cool completely.
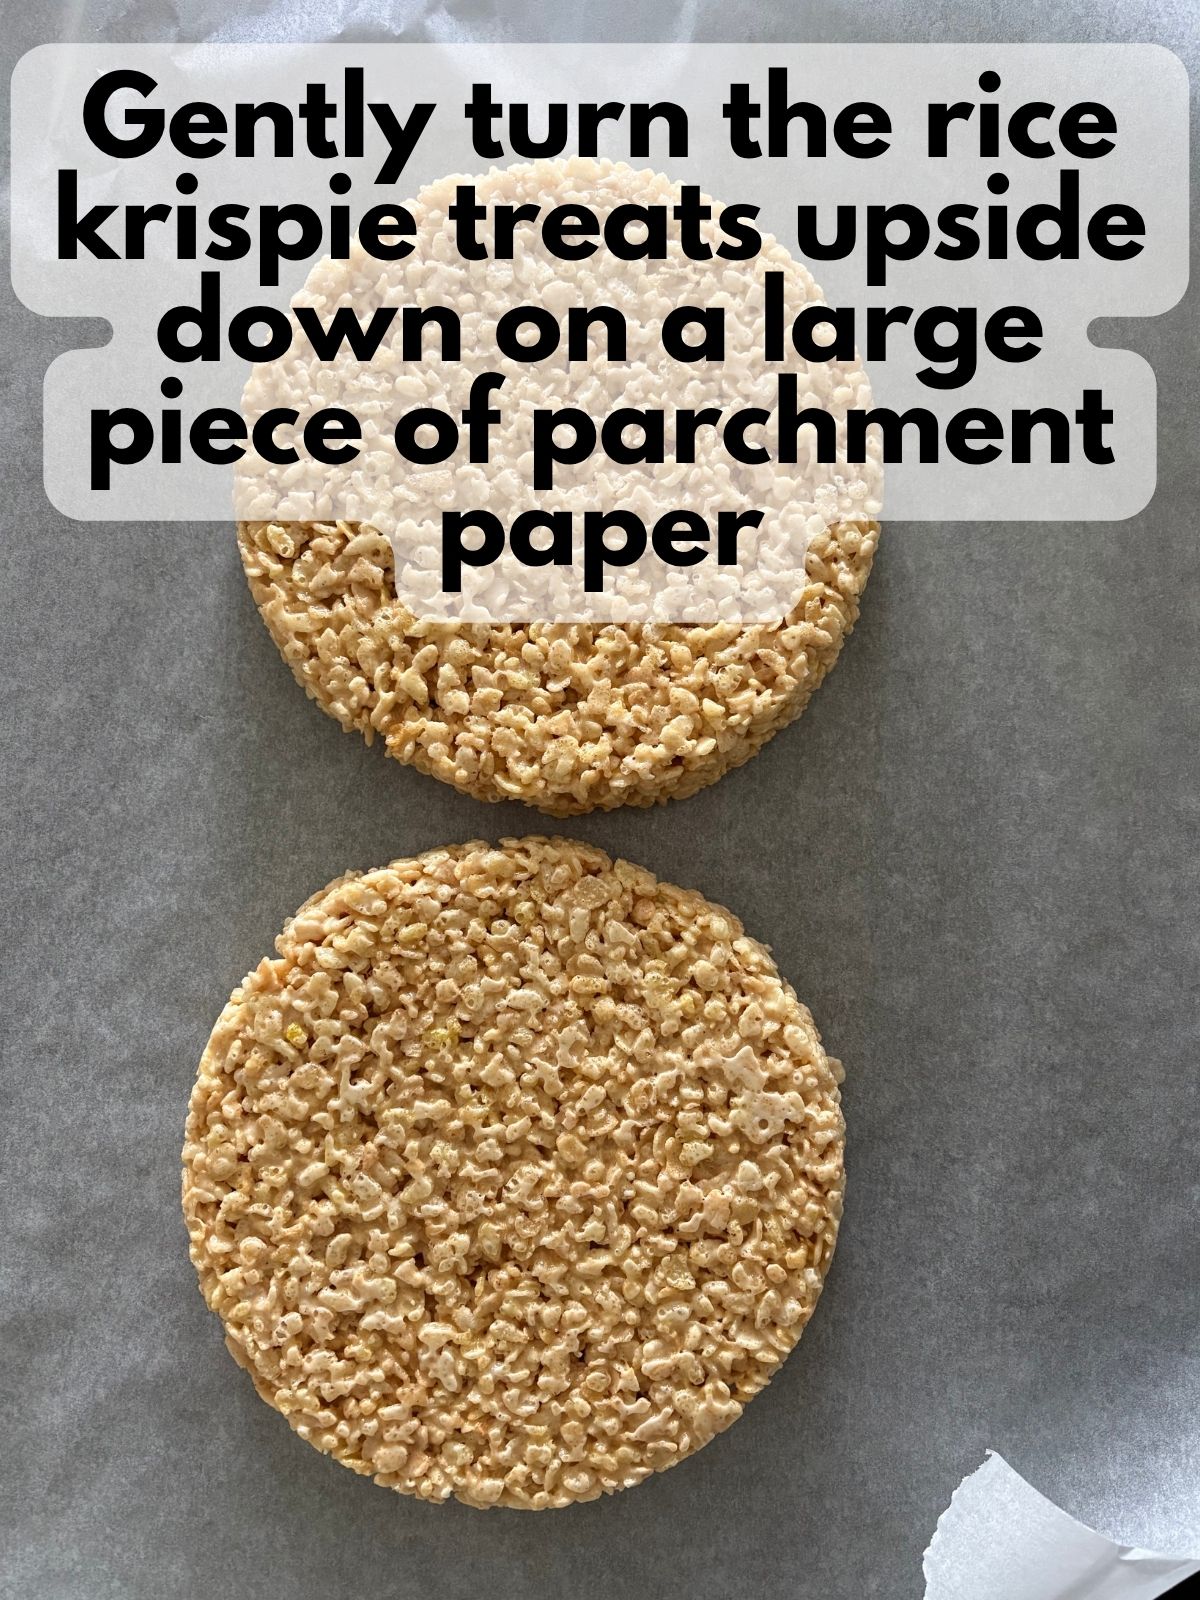
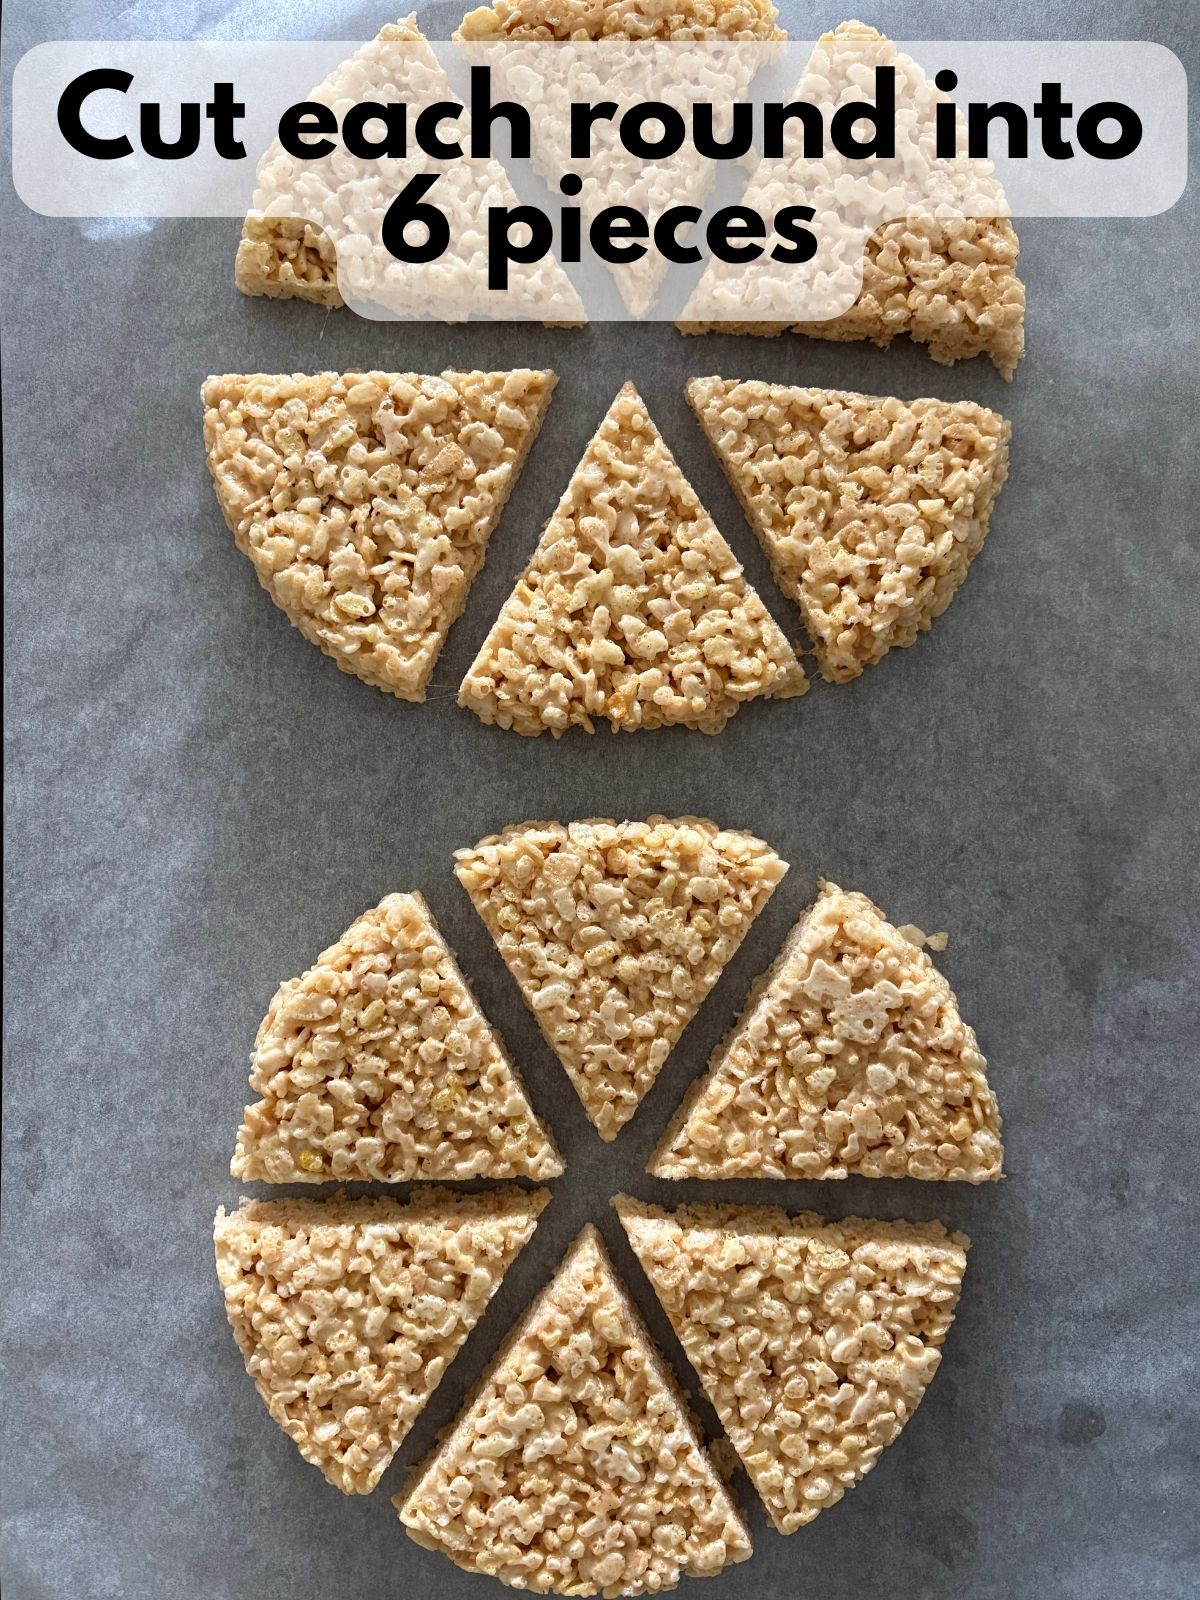
5. Cut into wedges: Carefully turn each round out onto a large sheet of parchment paper. Cut each round into 6 equal wedges to create 12 triangle-shaped treats.
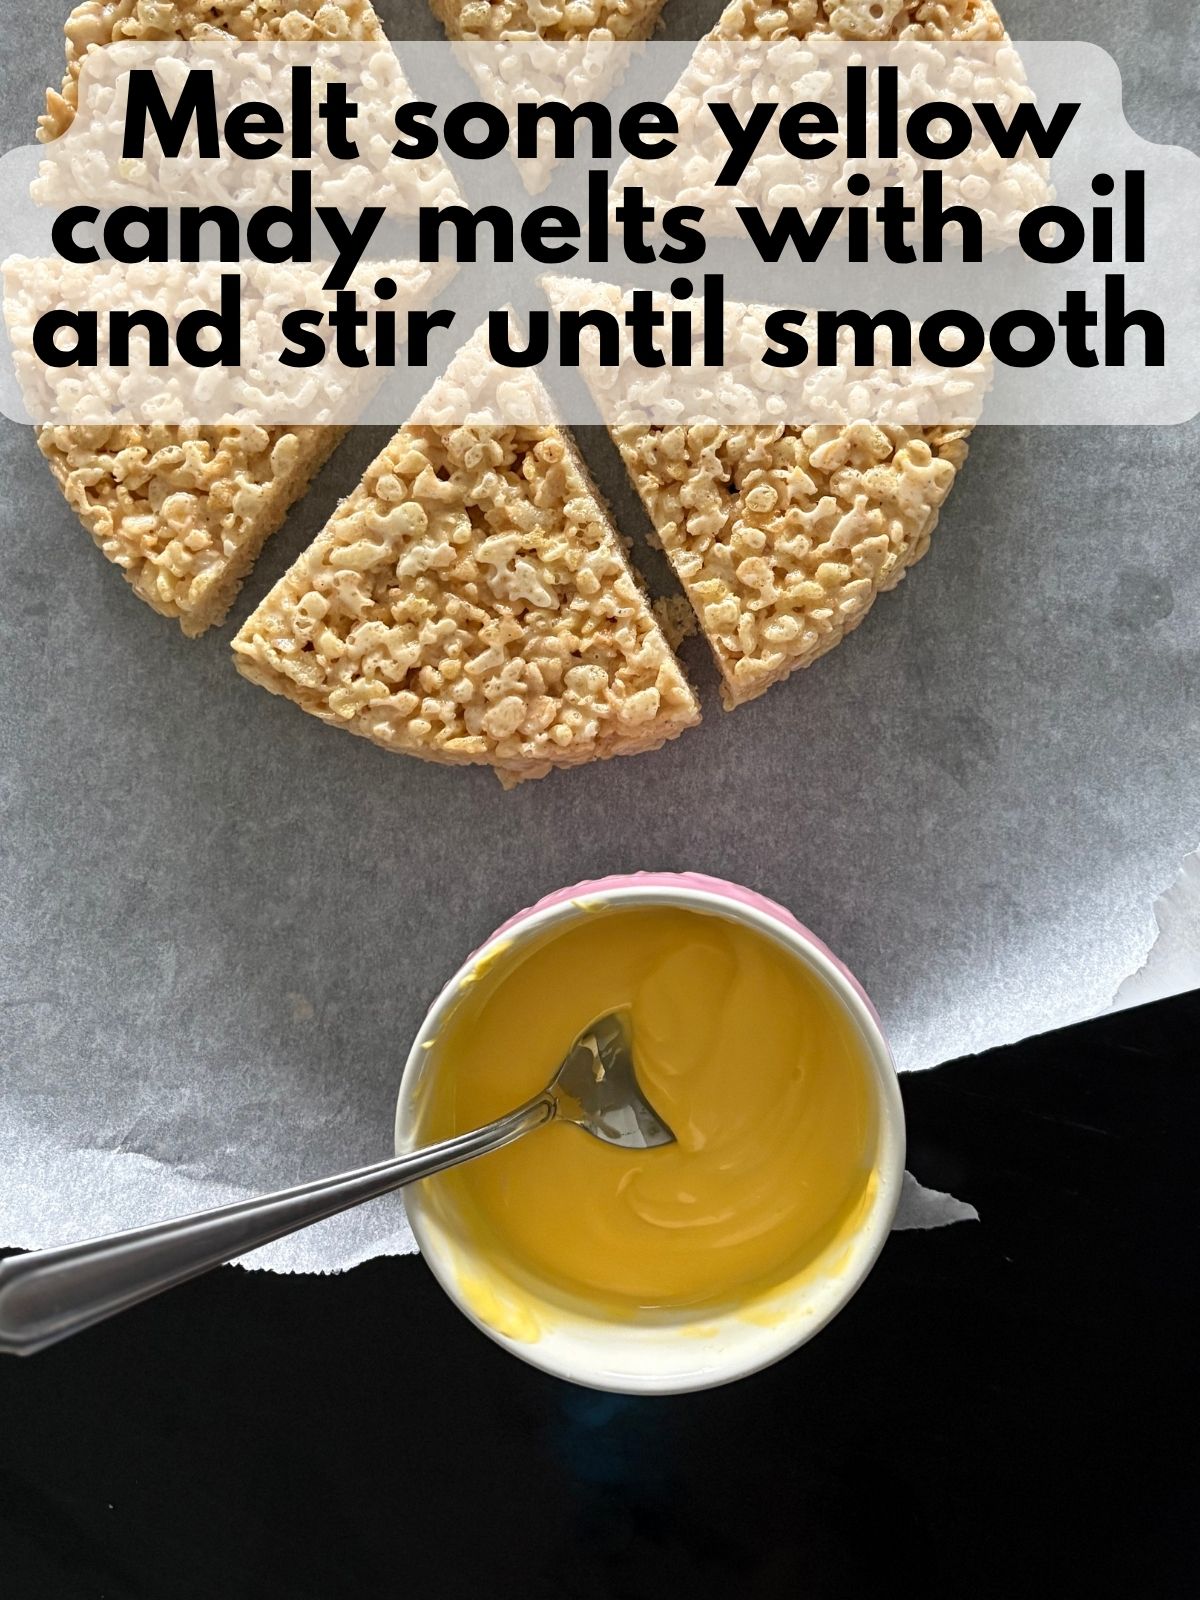
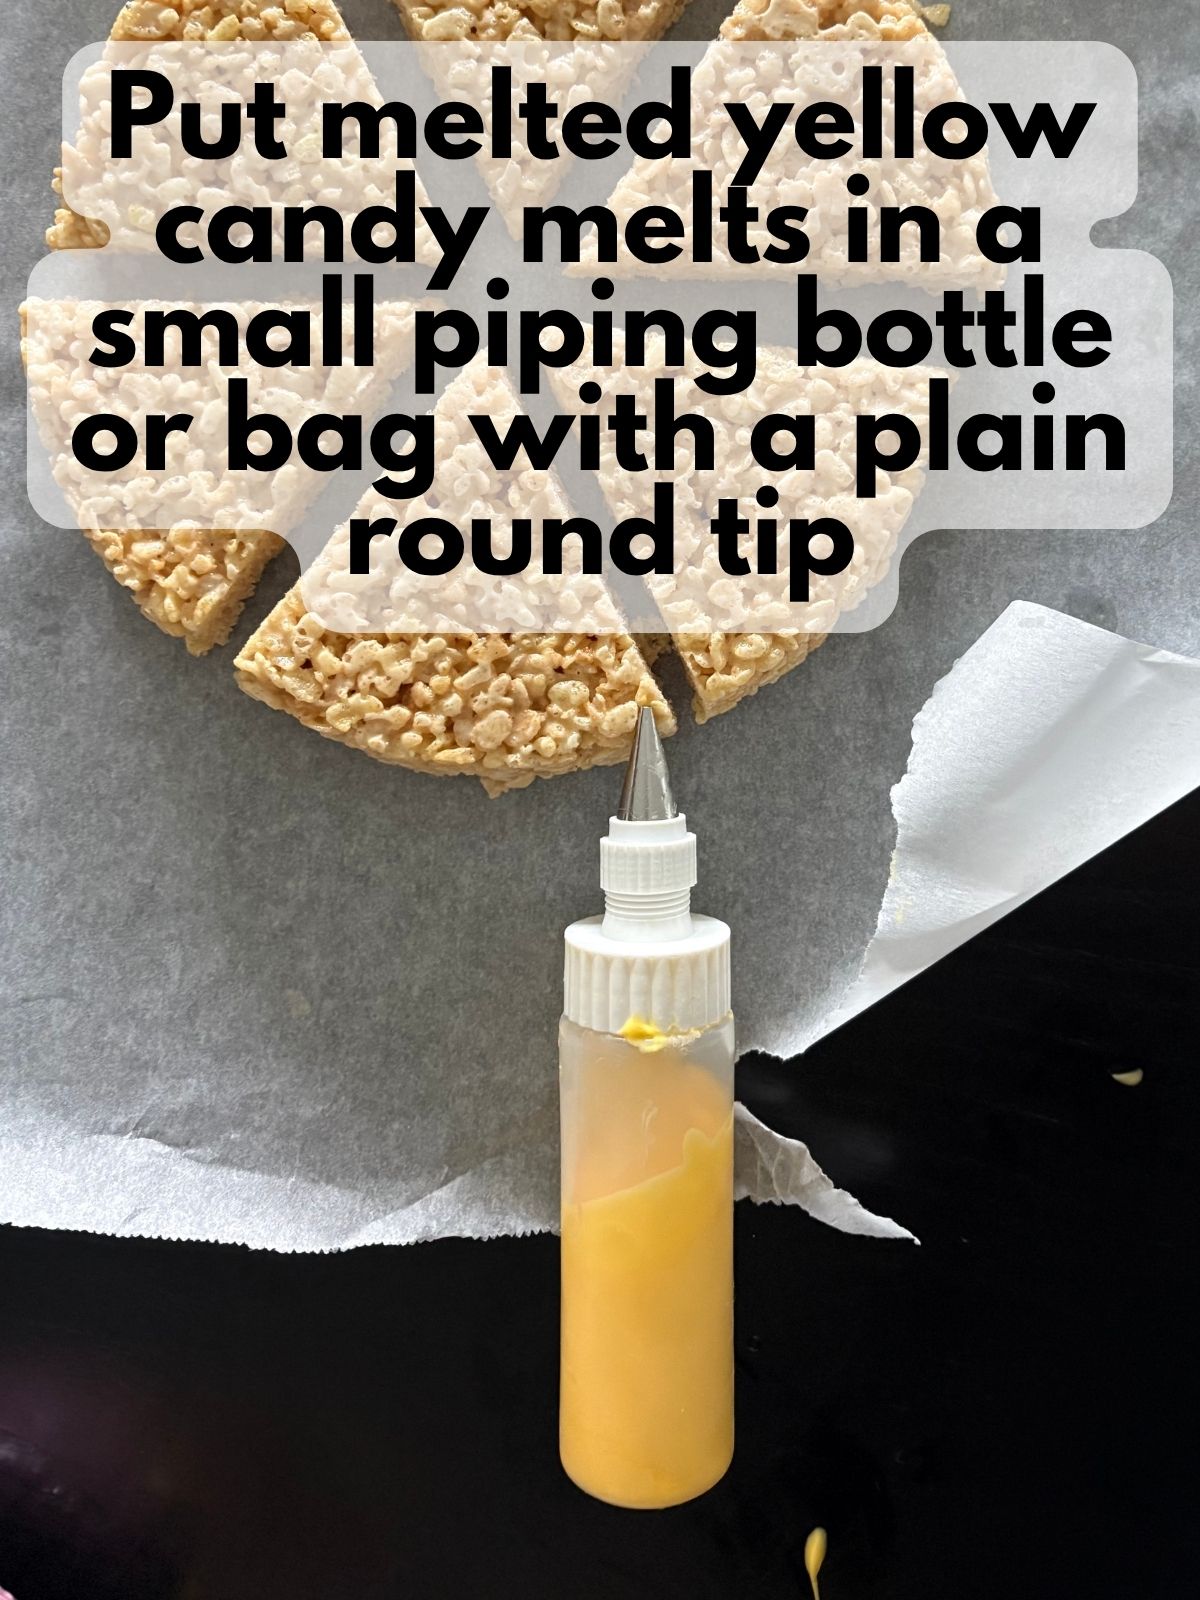
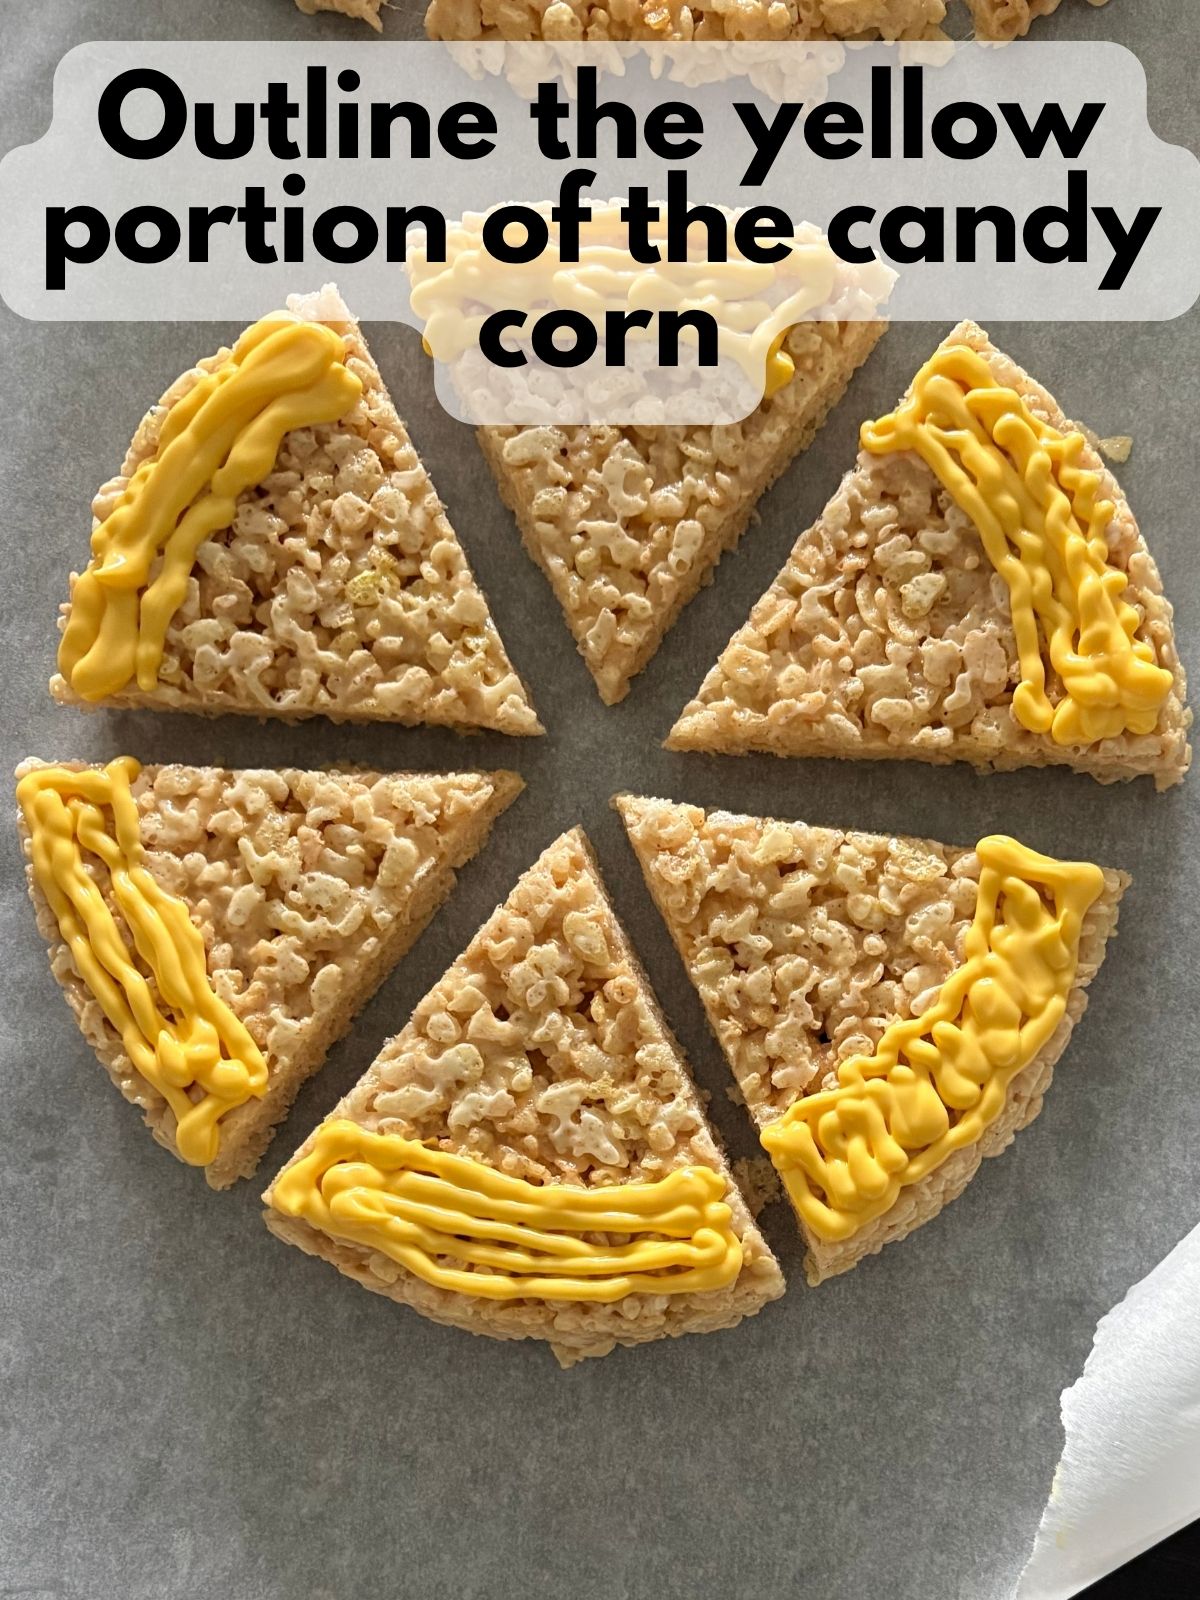
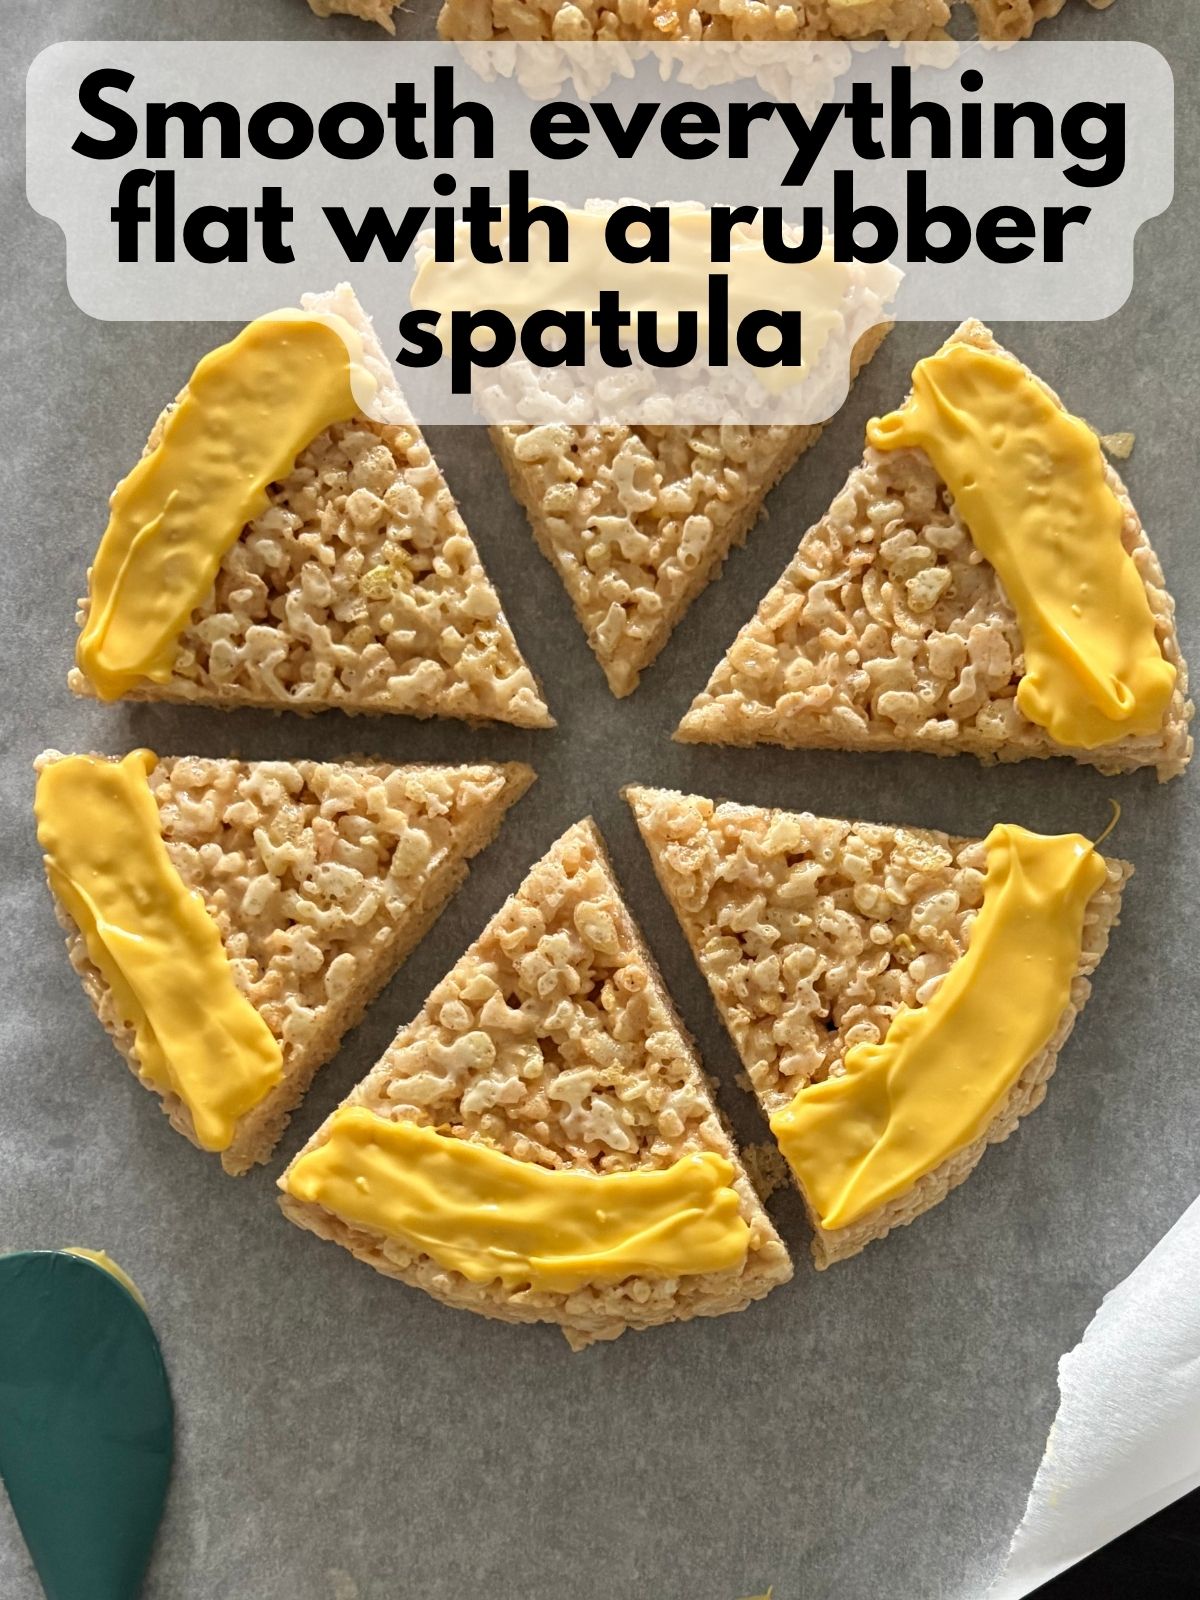
6. Add the yellow coating: Melt the yellow candy melts with oil according to the package directions, stirring until smooth. Transfer the melted candy to a small piping bottle or piping bag fitted with a plain round tip. Outline and fill the wide outer edge of each wedge, then smooth the coating with a small rubber spatula.
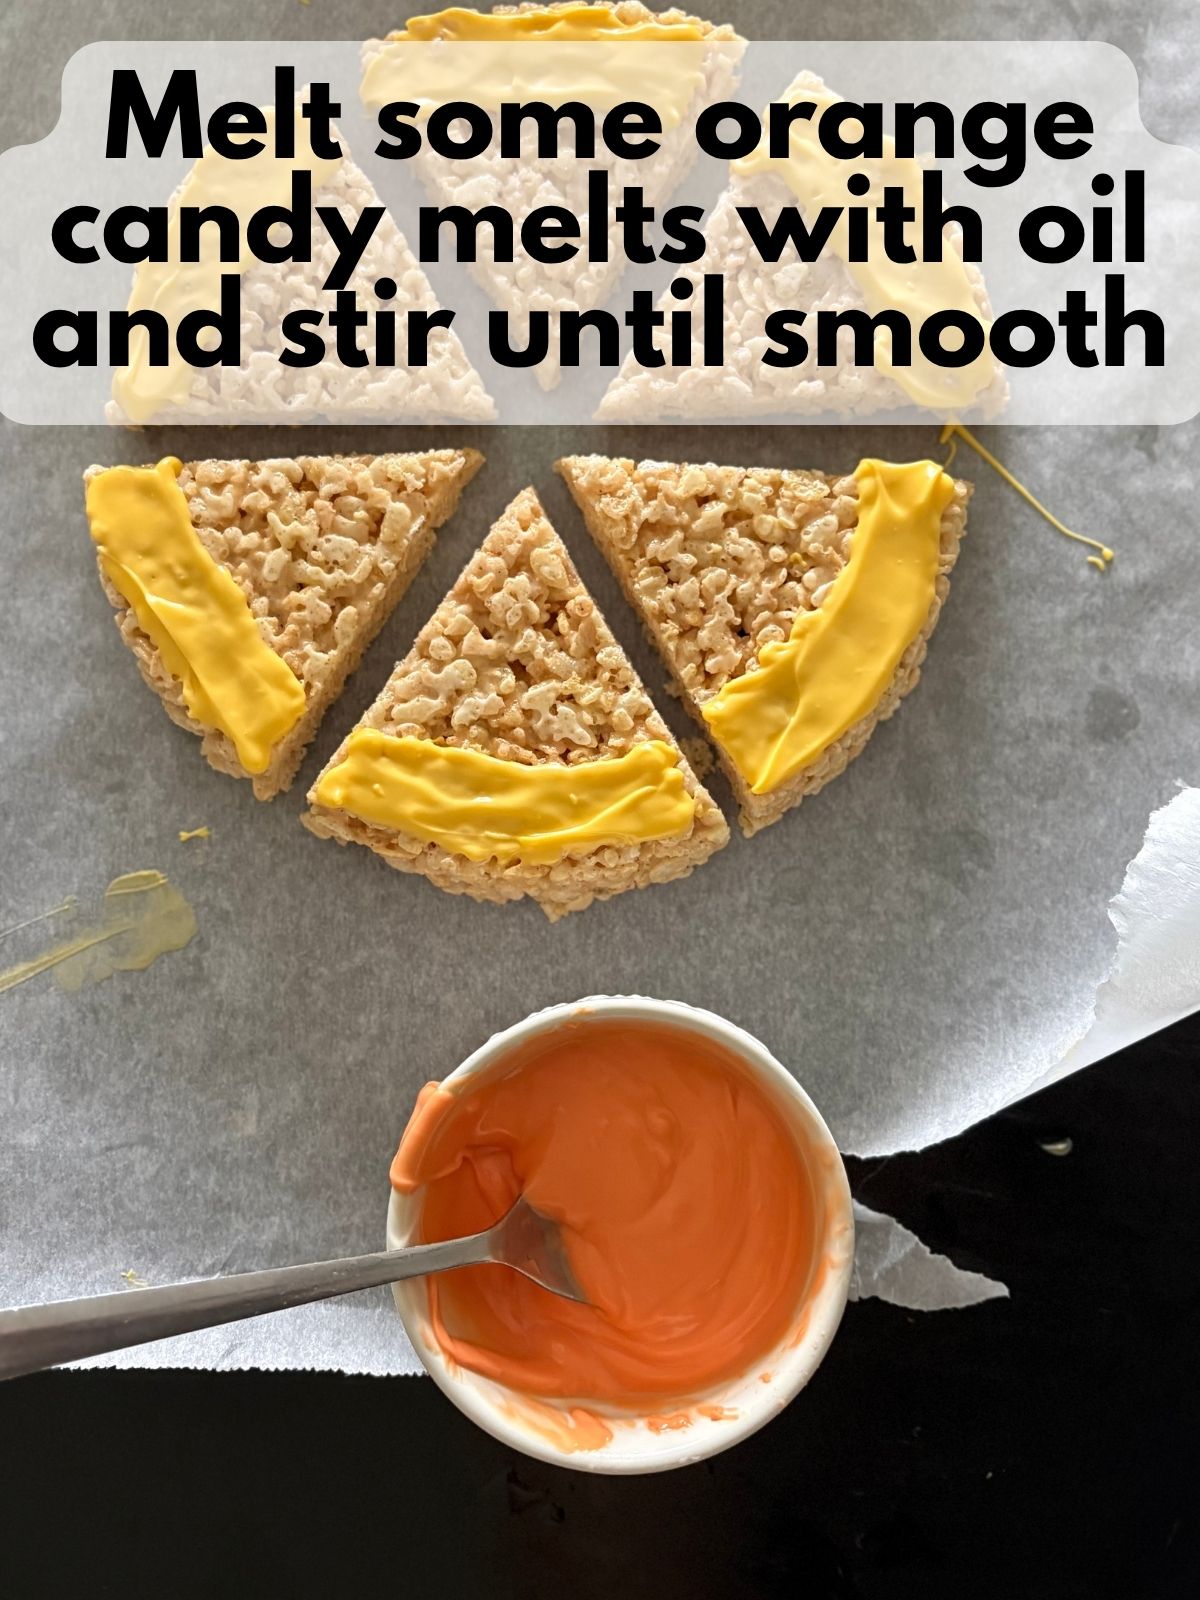
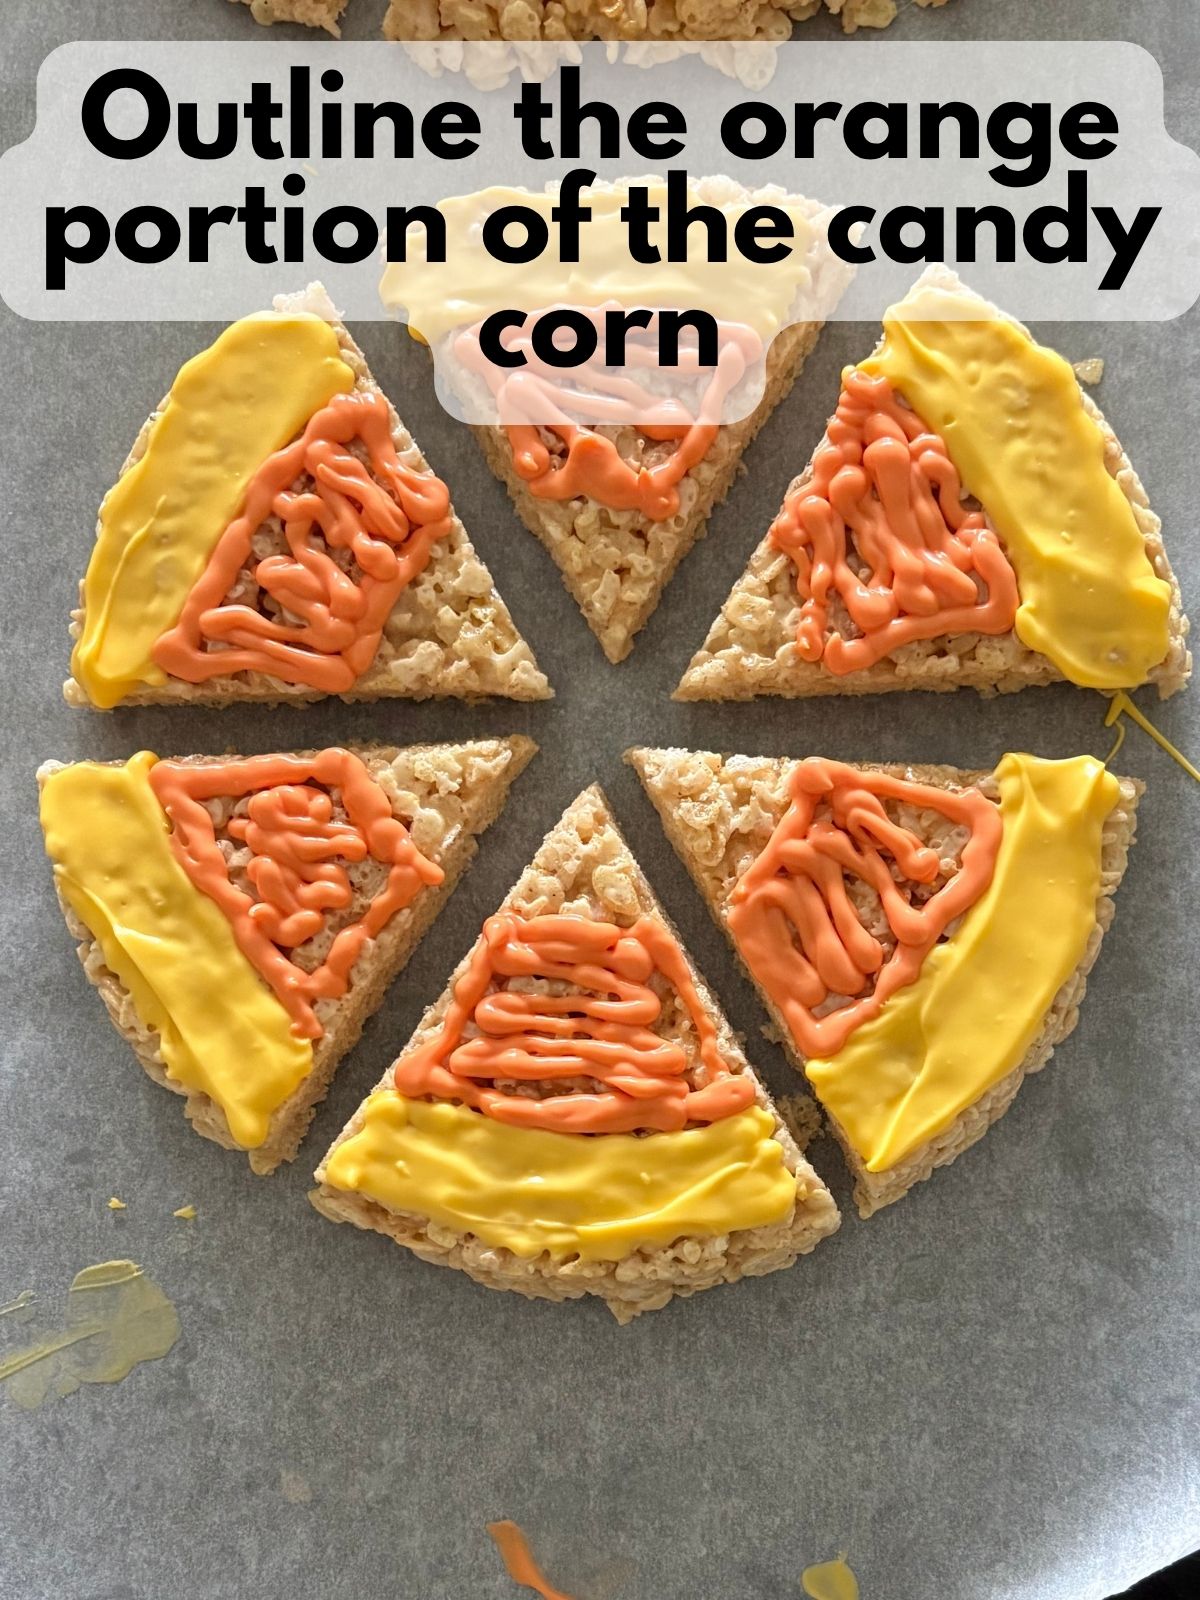
7. Add the orange coating: Melt the orange candy melts with oil and stir until smooth. Transfer them to a clean piping bottle or bag. Outline and fill the middle section of each wedge, then smooth the coating with the rubber spatula.
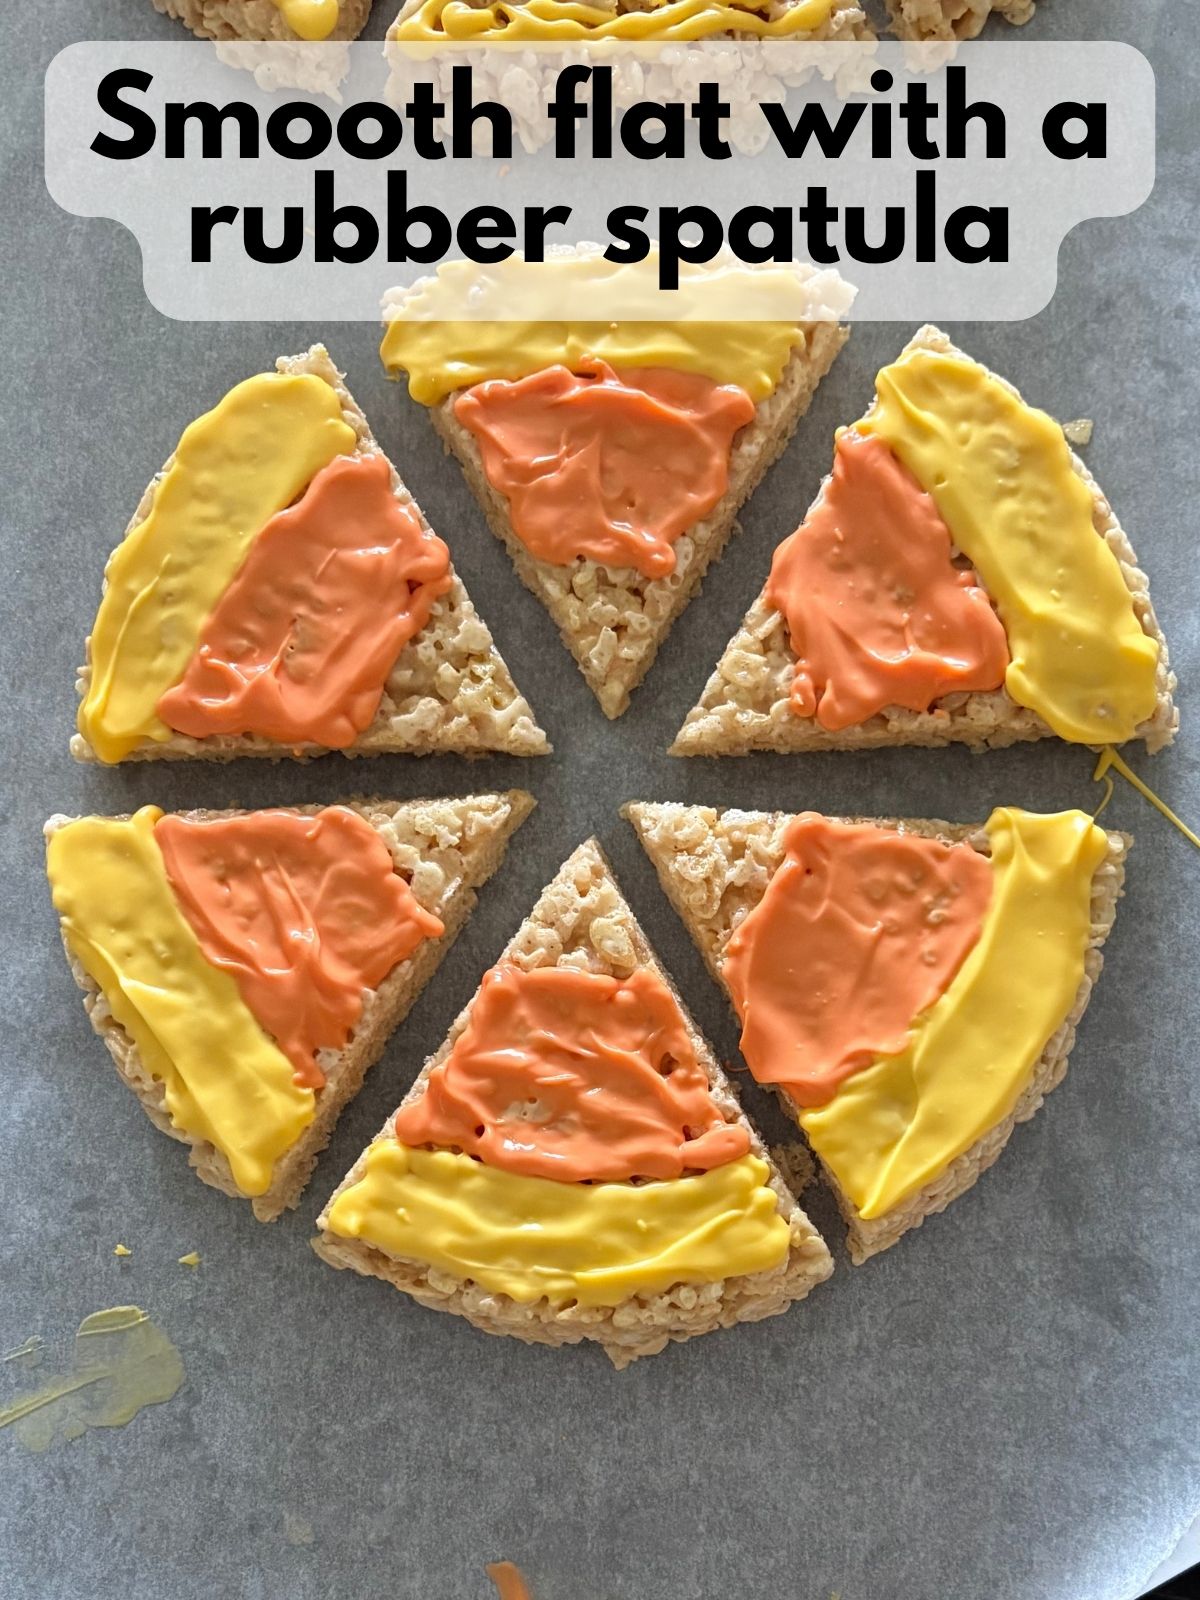
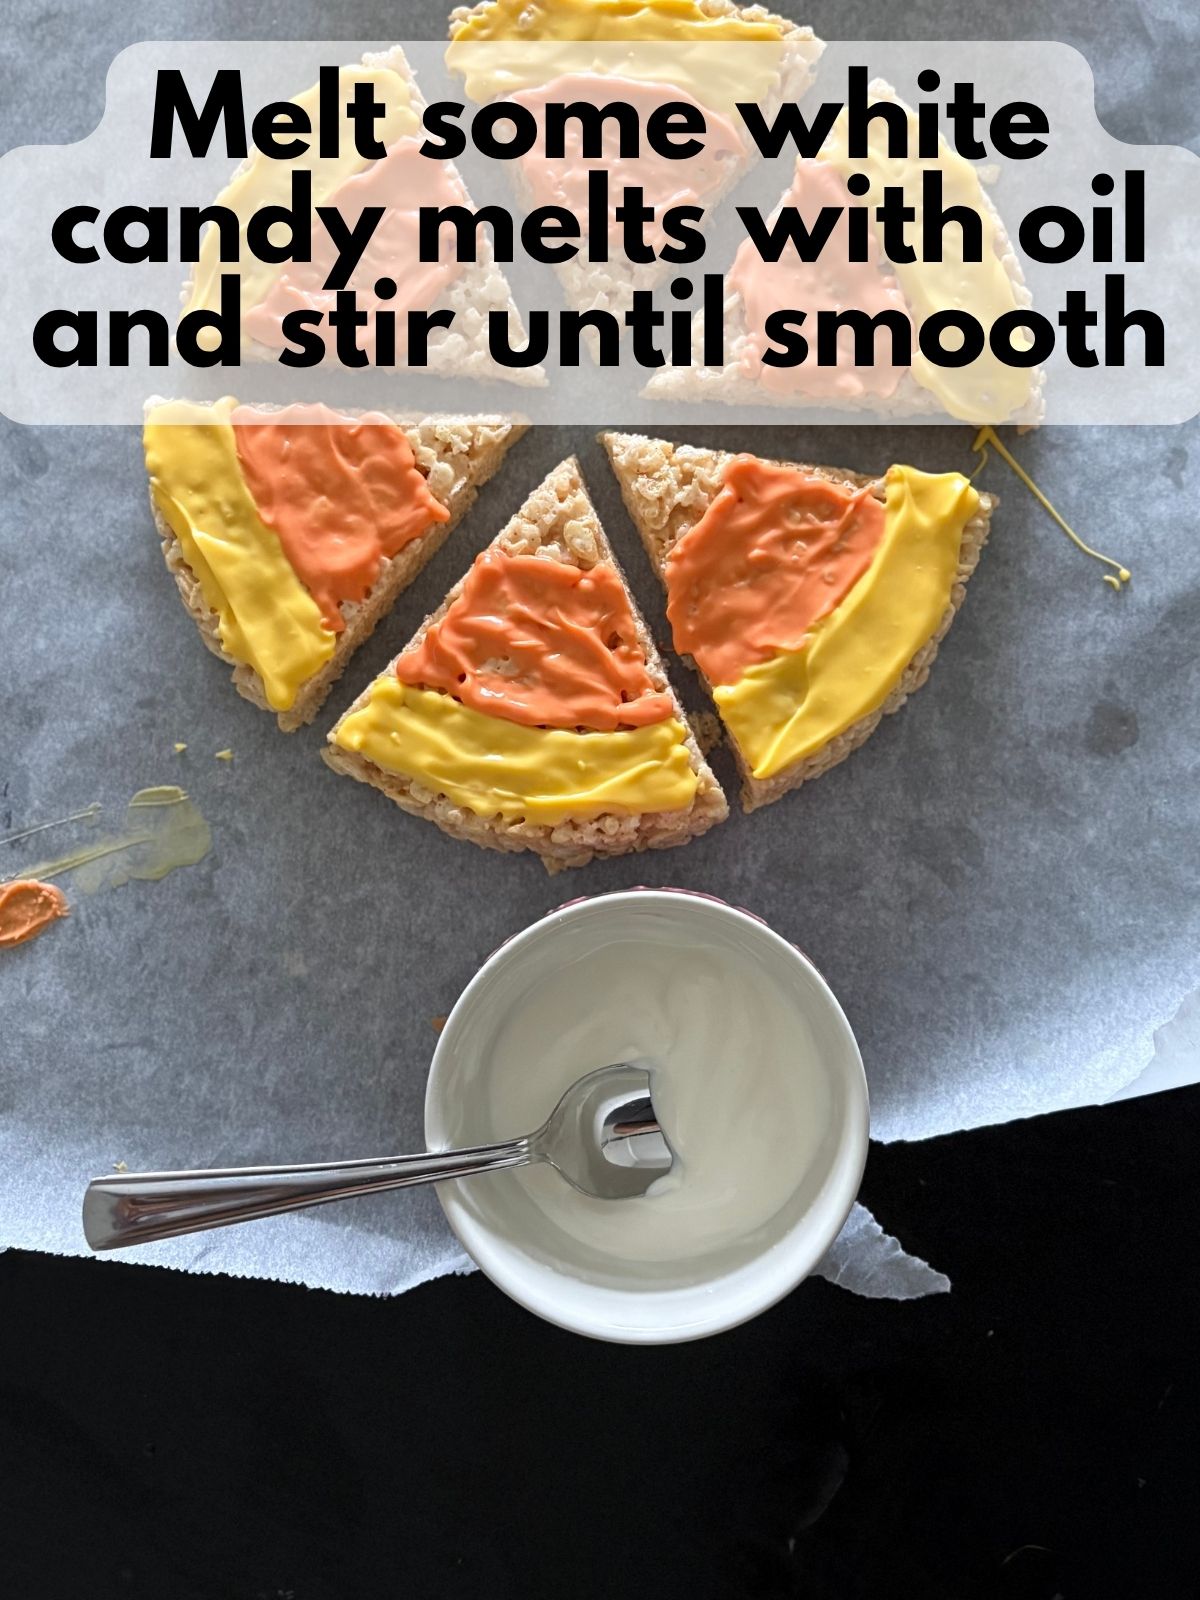
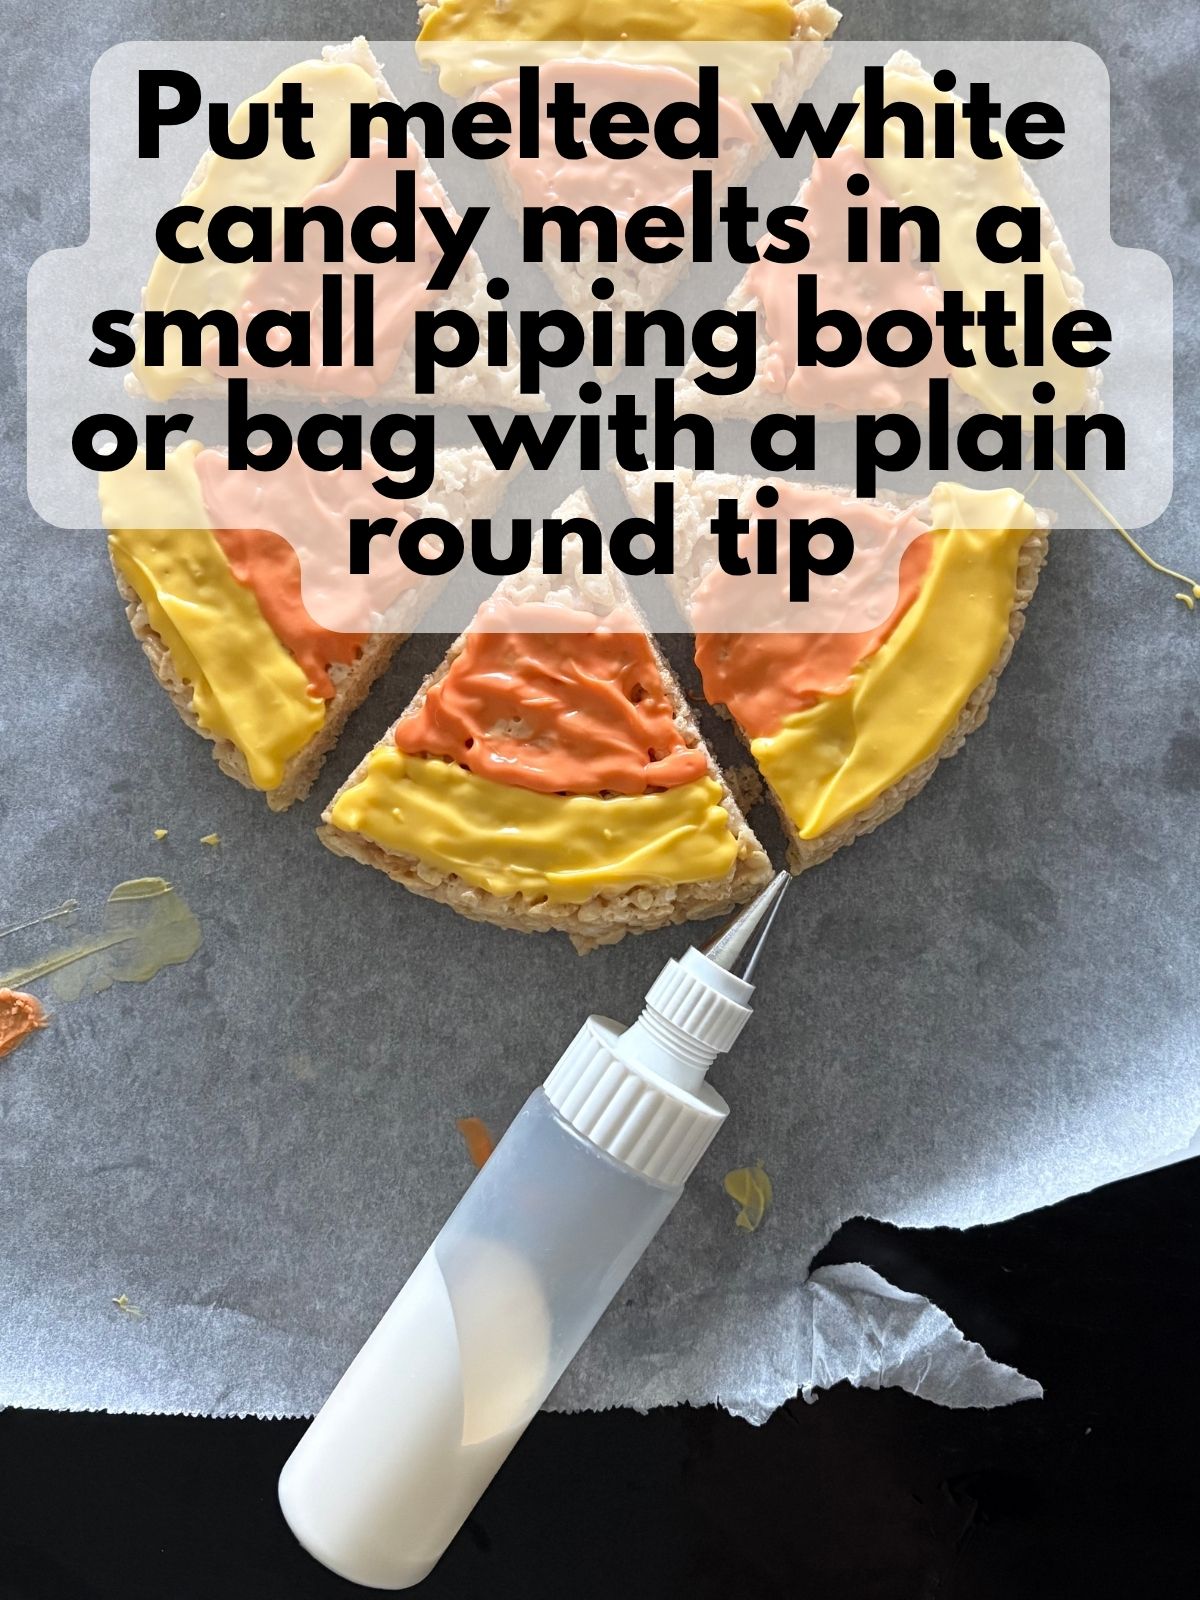
8. Add the white coating: Melt the white candy melts with oil and stir until smooth. Transfer them to a clean piping bottle or bag. Outline and fill the pointed tip of each wedge, then smooth the coating.
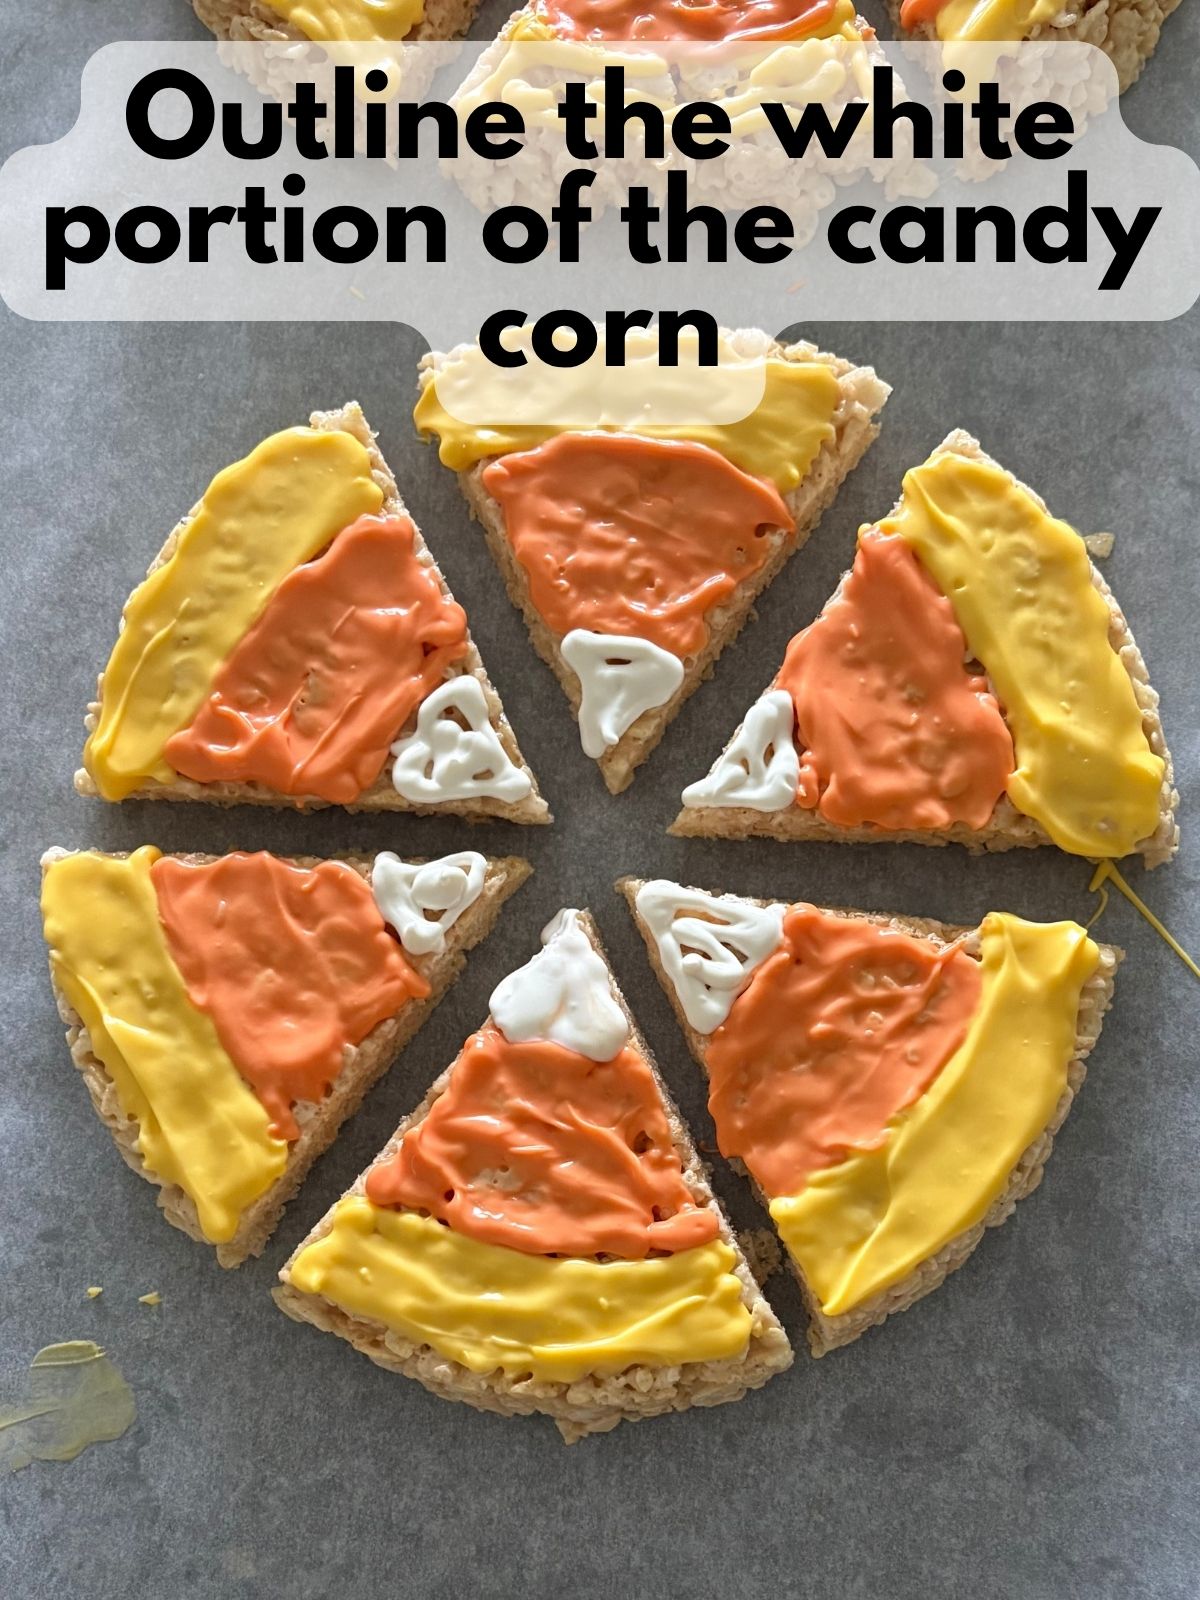
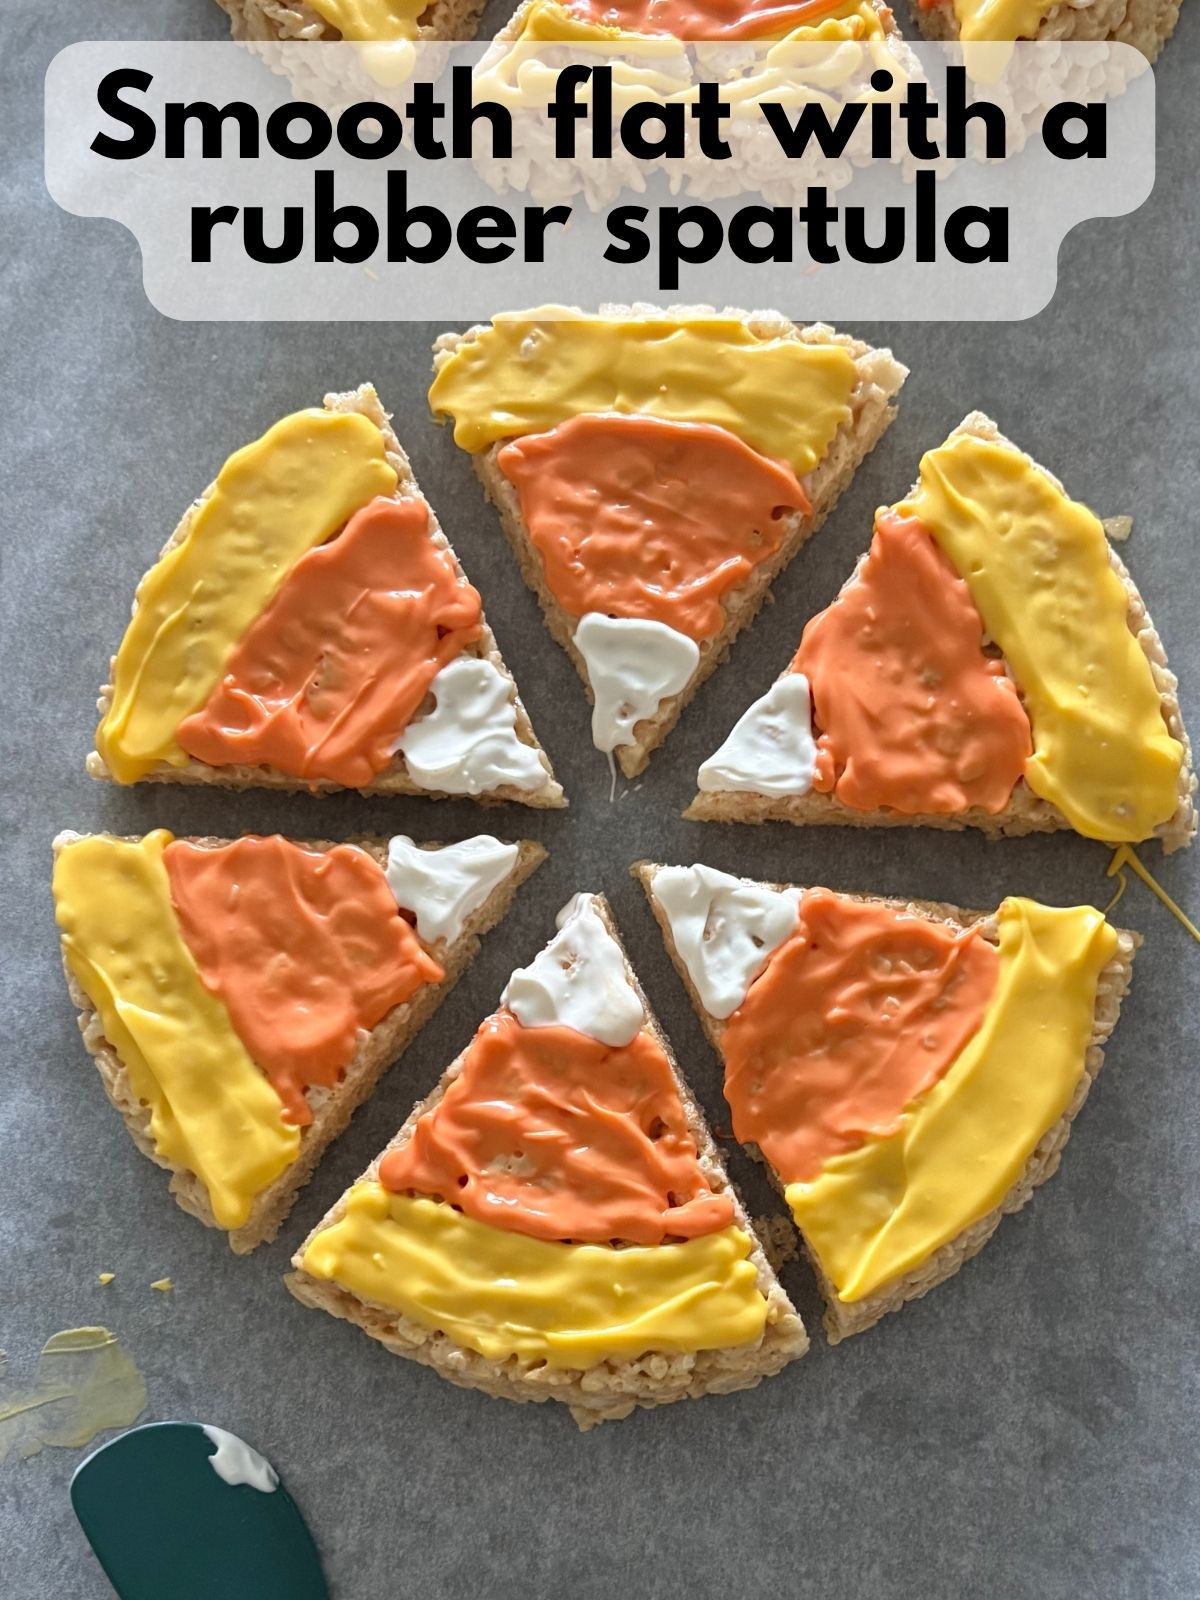
Let the treats set: Leave the decorated Rice Krispie treats on the parchment paper until the candy coating is completely firm.
Pro Tips
- Watch the brown butter. Brown butter goes from perfect to burnt quickly. Once you see brown specks and smell that nutty aroma, turn off the heat.
- You don’t need a ton of candy melts. It looks like you might need a lot, but really you don’t need a ton of candy melts. You want just enough for a thin layer on top. I usually outline the area I want, fill it in with some rough squiggly lines, and then smooth everything flat with a rubber spatula.
- Grease everything lightly. A little nonstick spray or butter on your spatula and hands makes spreading the cereal mixture so much easier with less sticking. I like to grease a small piece of parchment paper and use that to smooth everything down.
- Thin candy melts carefully. Add coconut or vegetable oil a tiny bit at a time. You want the coating to flow and spread, not turn oily or too loose.
- Make ahead for parties. These easy rice krispie treats are ideal to prep the day before your Halloween gathering. Store them at room temperature in an airtight container with parchment between layers.
FAQs
Can I use regular marshmallows instead of mini?
Yes. Use the same weight of marshmallows. Mini marshmallows just melt more quickly and evenly.
Do I have to brown the butter?
No; you can simply melt the butter and proceed with the recipe. Browning it adds a deeper, toasty flavor that makes these feel more like gourmet brown butter rice krispie treats, but the recipe still works without that step.
What if I cannot find candy melts?
You can use colored white chocolate melted with oil and tinted with oil-based candy coloring. Avoid water-based food coloring, which can cause the chocolate to firm up rather than staying smooth and spreadable.
How long do these treats stay fresh?
They are best within 2 to 3 days. Keep them at room temperature in an airtight container. Avoid the fridge. Refrigeration can make the cereal lose its crunch and the candy coating can sweat when it comes back to room temperature.
What if I don’t have a piping bag or bottle?
This can totally still work if you put your melted candy melts in a sandwich bag and snip off the tiniest piece from a corner of the bag. A piping bag/bottle makes it slightly easier, but honestly, it’s also a lot of clean up. As long as you’re sure to cut a very, very small corner off a sandwich bag, it can work just as well.

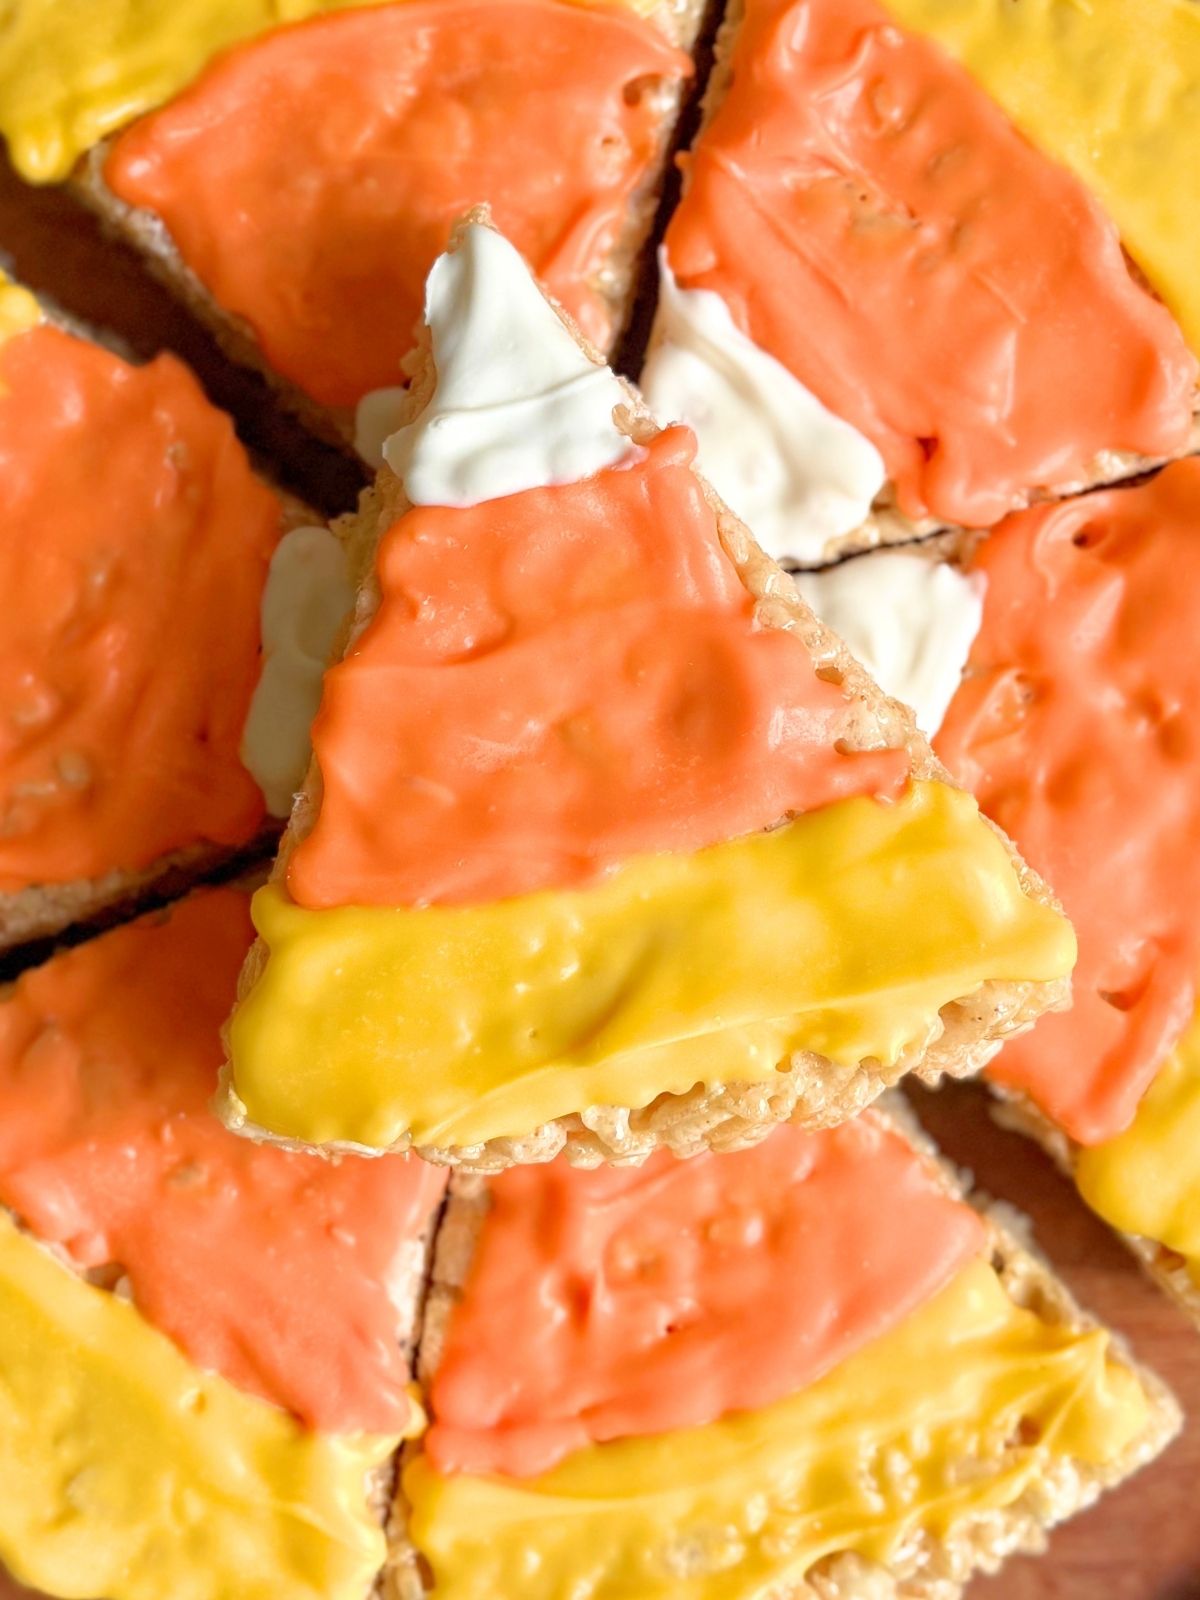
I love how these Candy Corn Rice Krispie Treats are high-impact cute with low effort. The base is a simple, nostalgic cereal bar, but browning the butter and adding that candy corn design turn them into party-worthy no bake Halloween treats in almost no time. If you want a crowd-pleasing dessert that feels festive, travel friendly, and easy to share, this one absolutely belongs on your October baking list.
Candy Corn Rice Krispie Treats

Ingredients
Rice Krispie Treat Layer
- 4 Tbsp unsalted butter
- 1 package 10 ounces mini marshmallows
- 1 ts[ vanilla extract optional, but tasty
- Pinch of salt
- 5 cups Rice Krispies cereal
- Nonstick cooking spray or softened butter for the pans
- 2 8-inch round baking pans
Candy Corn Coating
- 6 ounces yellow candy melts approximately
- 6 ounces orange candy melts approximately
- 4 ounces white candy melts approximately
- 1 to 3 tsp coconut oil or vegetable oil as needed, to thin the melts
- Piping bag/bottle with a small round tip or some sandwich bags
Instructions
- Brown the butter: Melt the butter in a large pot over medium-low heat. Continue cooking, stirring often, as the butter begins to foam and froth. Once the foam dies down slightly, look for small brown flecks at the bottom of the pot and a nutty aroma. Remove the pot from the heat.
- Add the marshmallows: Stir the marshmallows, salt, and vanilla into the browned butter until the marshmallows are completely melted and the mixture is smooth.
- Add the cereal: Fold in the Rice Krispies cereal until it is evenly coated with the marshmallow mixture.
- Shape the treats: Divide the mixture evenly between two 8-inch round pans. Gently press it into an even layer and allow the treats to cool completely.
- Cut into wedges: Carefully turn each round out onto a large sheet of parchment paper. Cut each round into 6 equal wedges to create 12 triangle-shaped treats.
- Add the yellow coating: Melt the yellow candy melts with oil according to the package directions, stirring until smooth. Transfer the melted candy to a small piping bottle or piping bag fitted with a plain round tip. Outline and fill the wide outer edge of each wedge, then smooth the coating with a small rubber spatula.
- Add the orange coating: Melt the orange candy melts with oil and stir until smooth. Transfer them to a clean piping bottle or bag. Outline and fill the middle section of each wedge, then smooth the coating with the rubber spatula.
- Add the white coating: Melt the white candy melts with oil and stir until smooth. Transfer them to a clean piping bottle or bag. Outline and fill the pointed tip of each wedge, then smooth the coating.
- Let the treats set: Leave the decorated Rice Krispie treats on the parchment paper until the candy coating is completely firm.