
Last updated on August 1st, 2025 at 10:11 pm
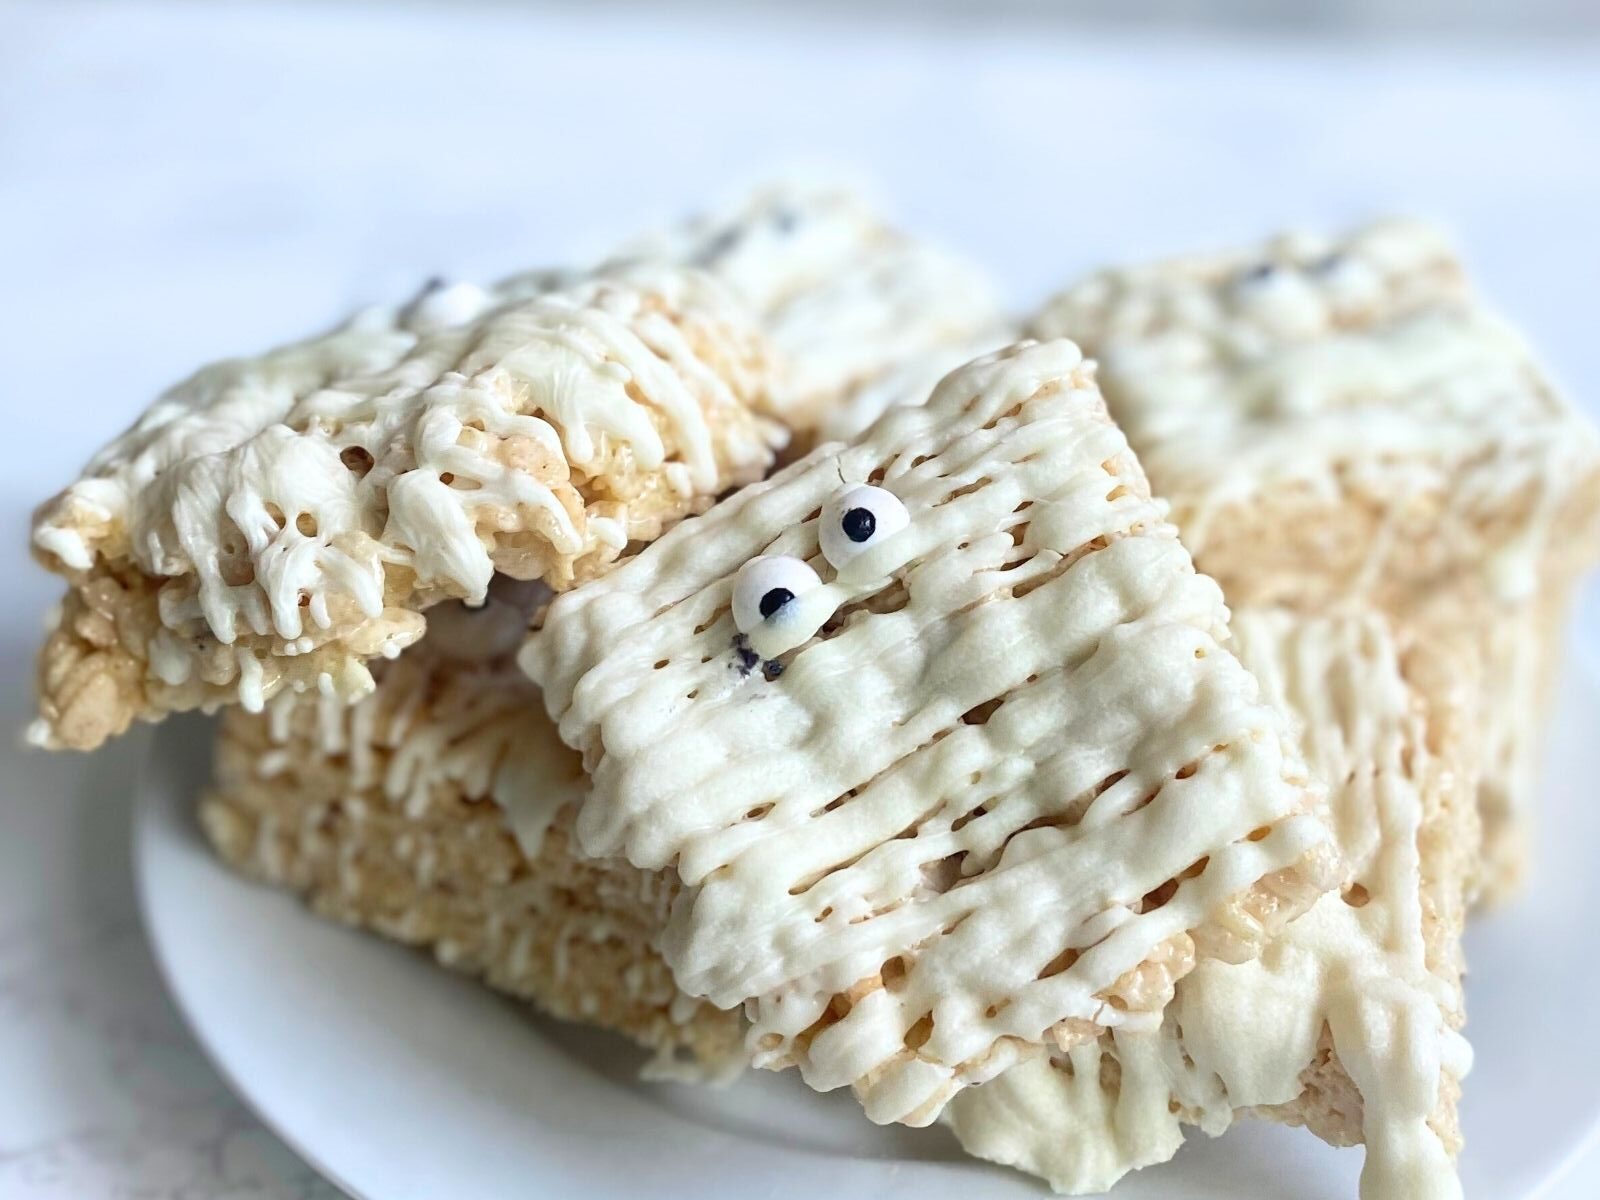
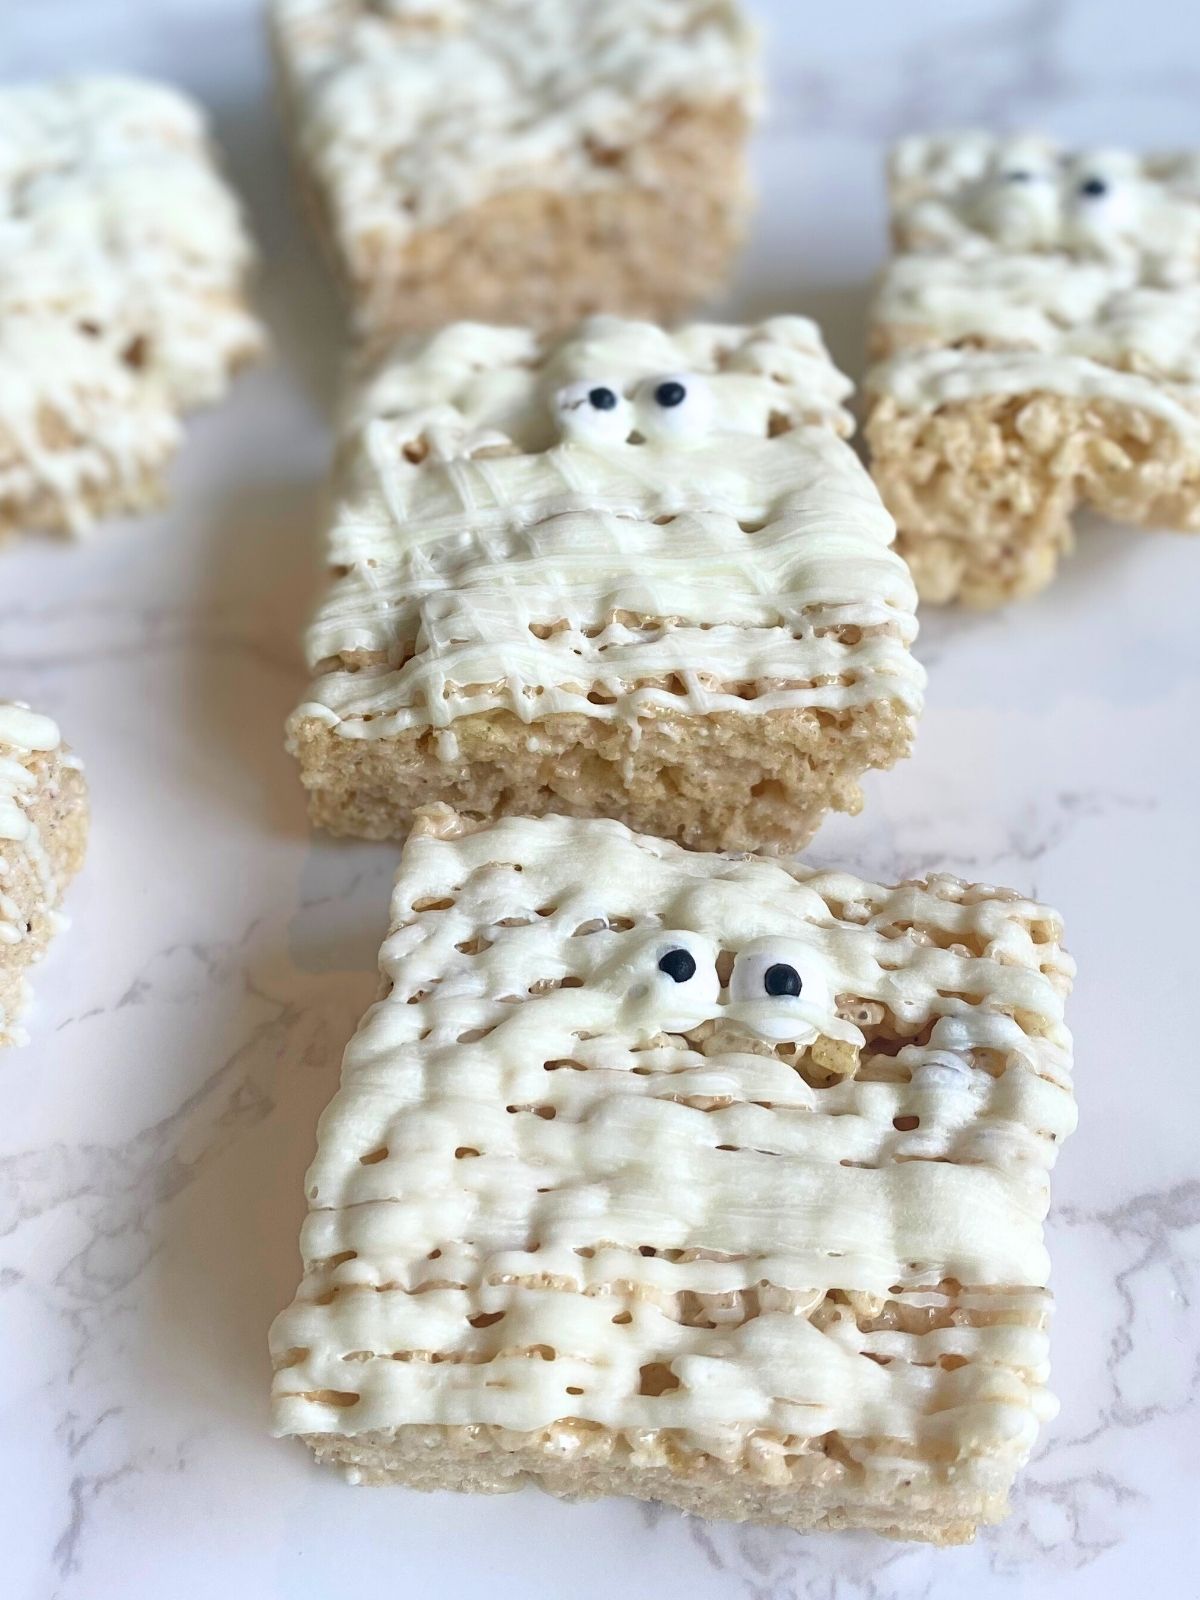
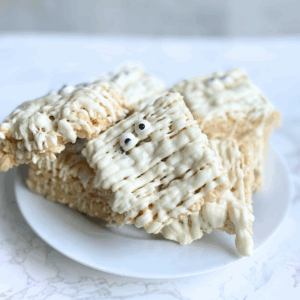
These Mummy Rice Krispie Treats are a festive, easy Halloween dessert you can whip up in a flash. They’re made with soft, chewy homemade brown butter Rice Krispie Treats, drizzled with white chocolate “bandages” and topped with candy eyes for a spooky-cute finish. Best of all? They’re completely no bake—perfect for last-minute Halloween fun.
These little mummies are great for Halloween bake sales, movie nights, or a fun afternoon activity with the kids. You can keep them simple with just a drizzle and eyes, or add colored drizzle if you’re feeling extra festive. However you decorate them, they’re guaranteed to be a crowd favorite!
Jump to Recipe
Ingredients for Mummy Rice Krispie Treats
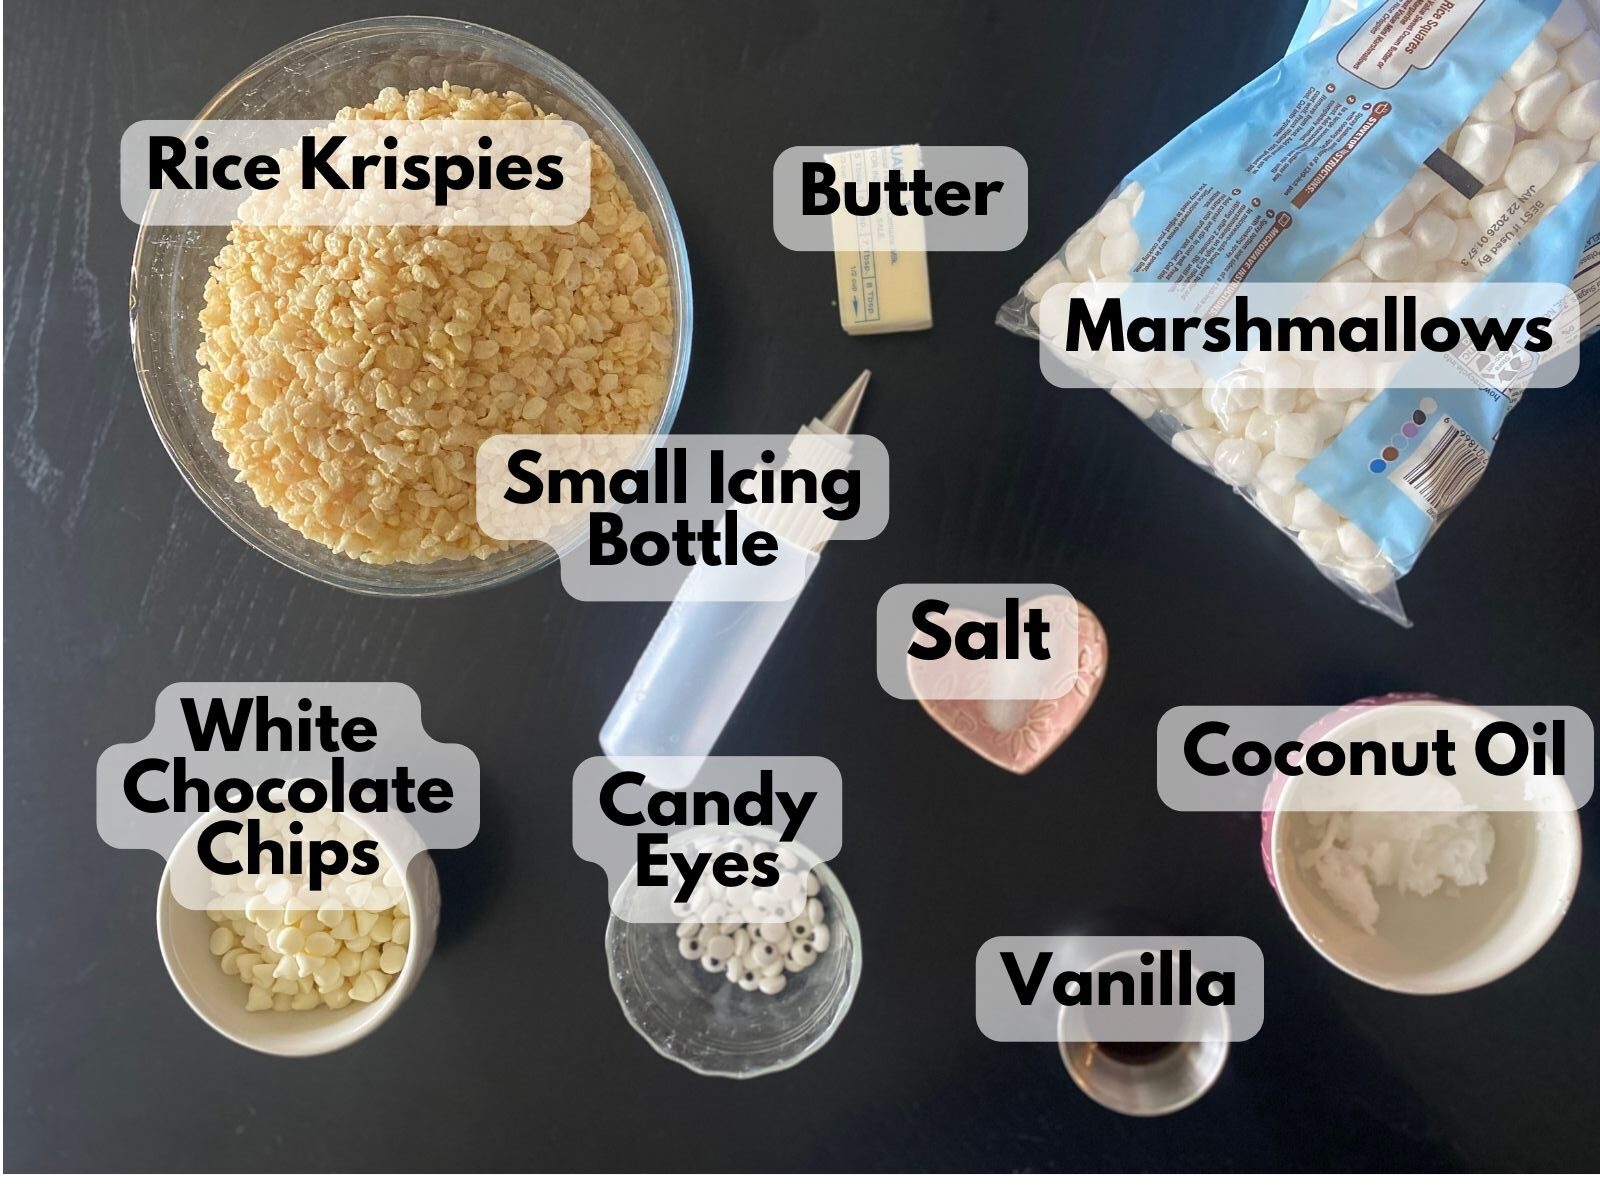
To make these no-bake Halloween treats, you’ll need:
For the brown butter Rice Krispie Treats:
- 4 tablespoons unsalted butter
- 1 (10-ounce) bag mini marshmallows
- 5 cups Rice Krispies cereal
- ¼ teaspoon salt
- 1 teaspoon vanilla extract
For decorating:
- 1 cup white chocolate chips
- 1–2 teaspoons coconut oil or other neutral oil (optional, for smoother melting)
- Candy eyeballs
- Parchment paper (for easy cleanup)
How to Make Mummy Rice Krispie Treats
Step 1: Make the brown butter Rice Krispie Treats
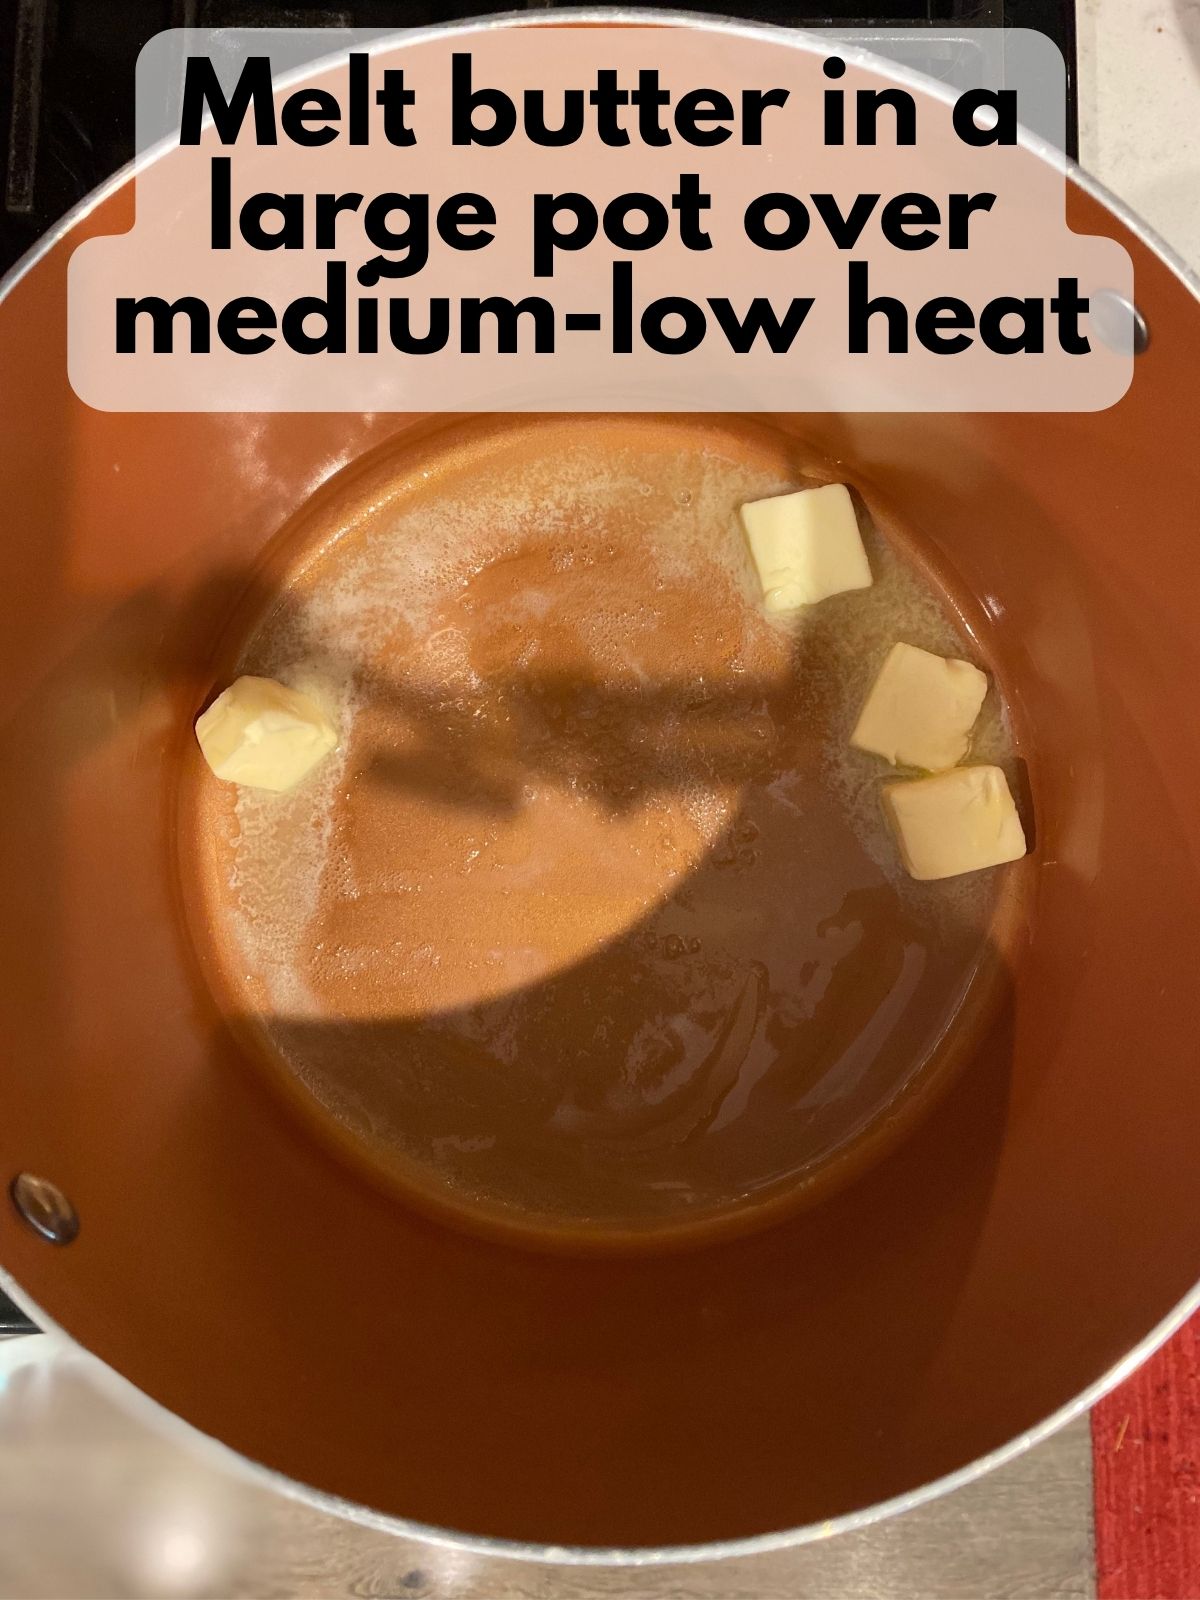
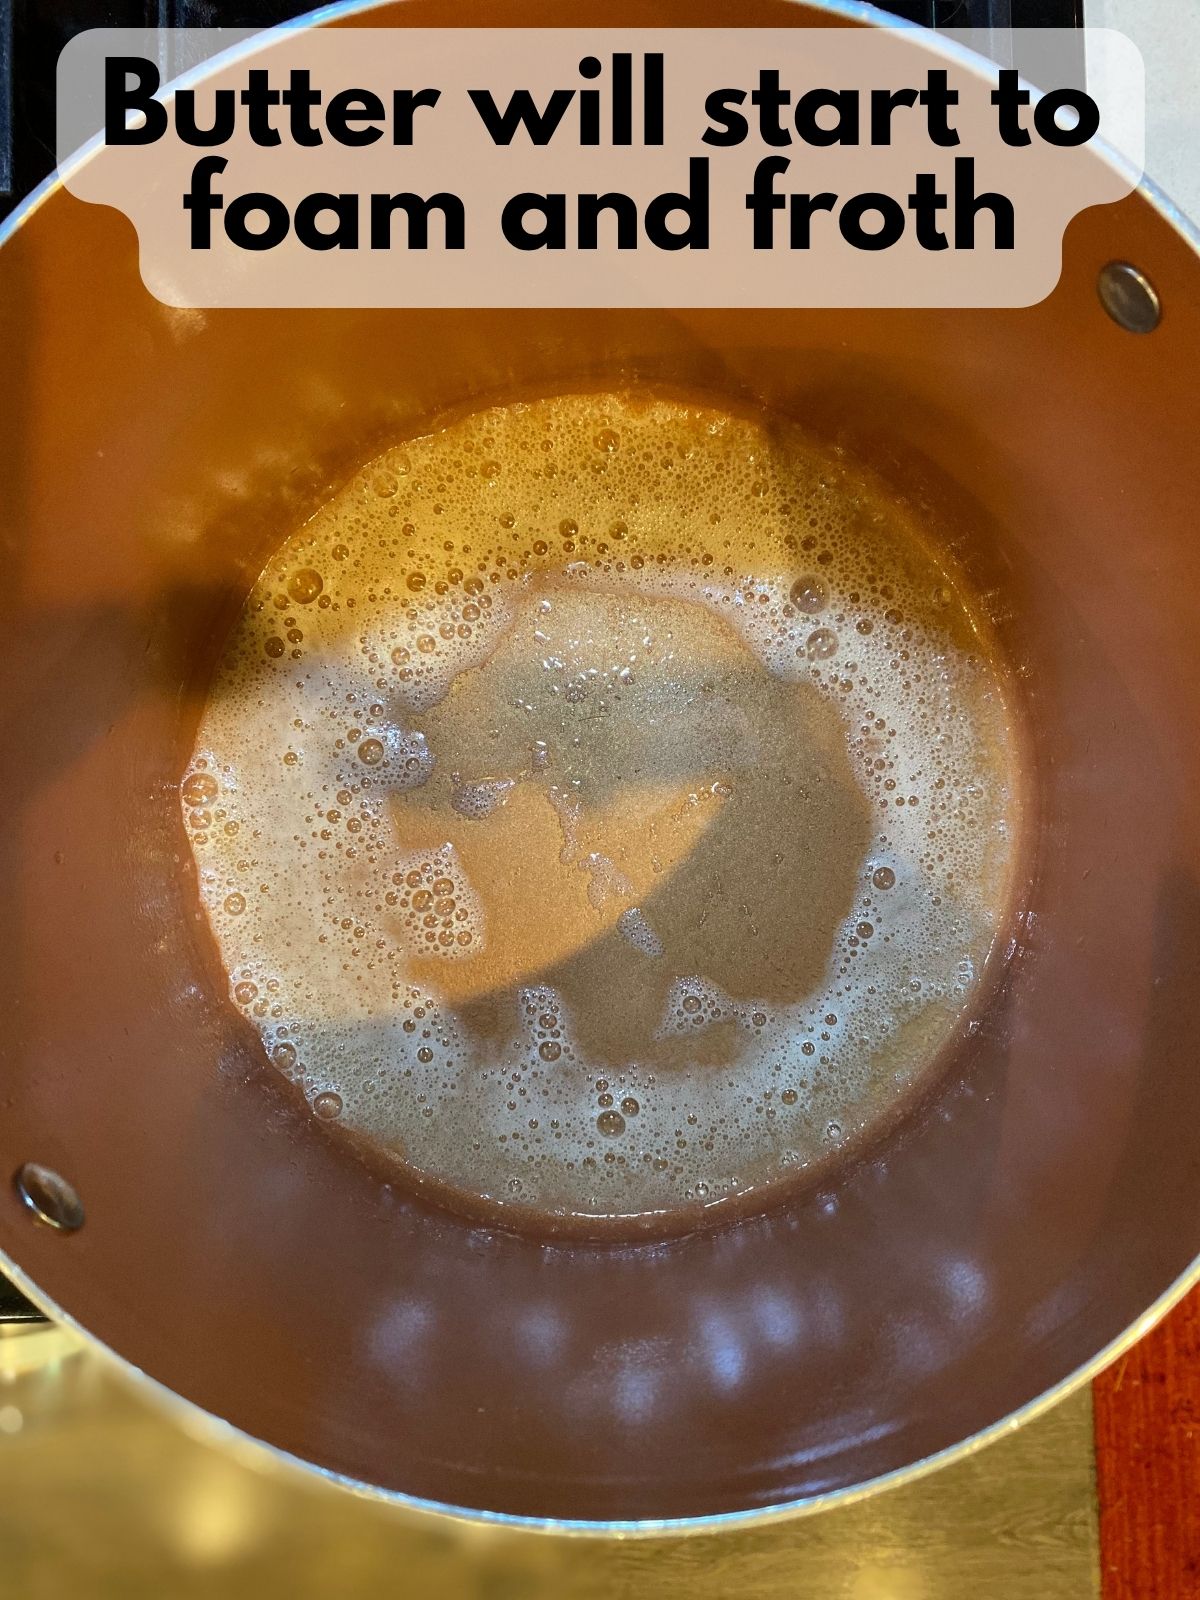
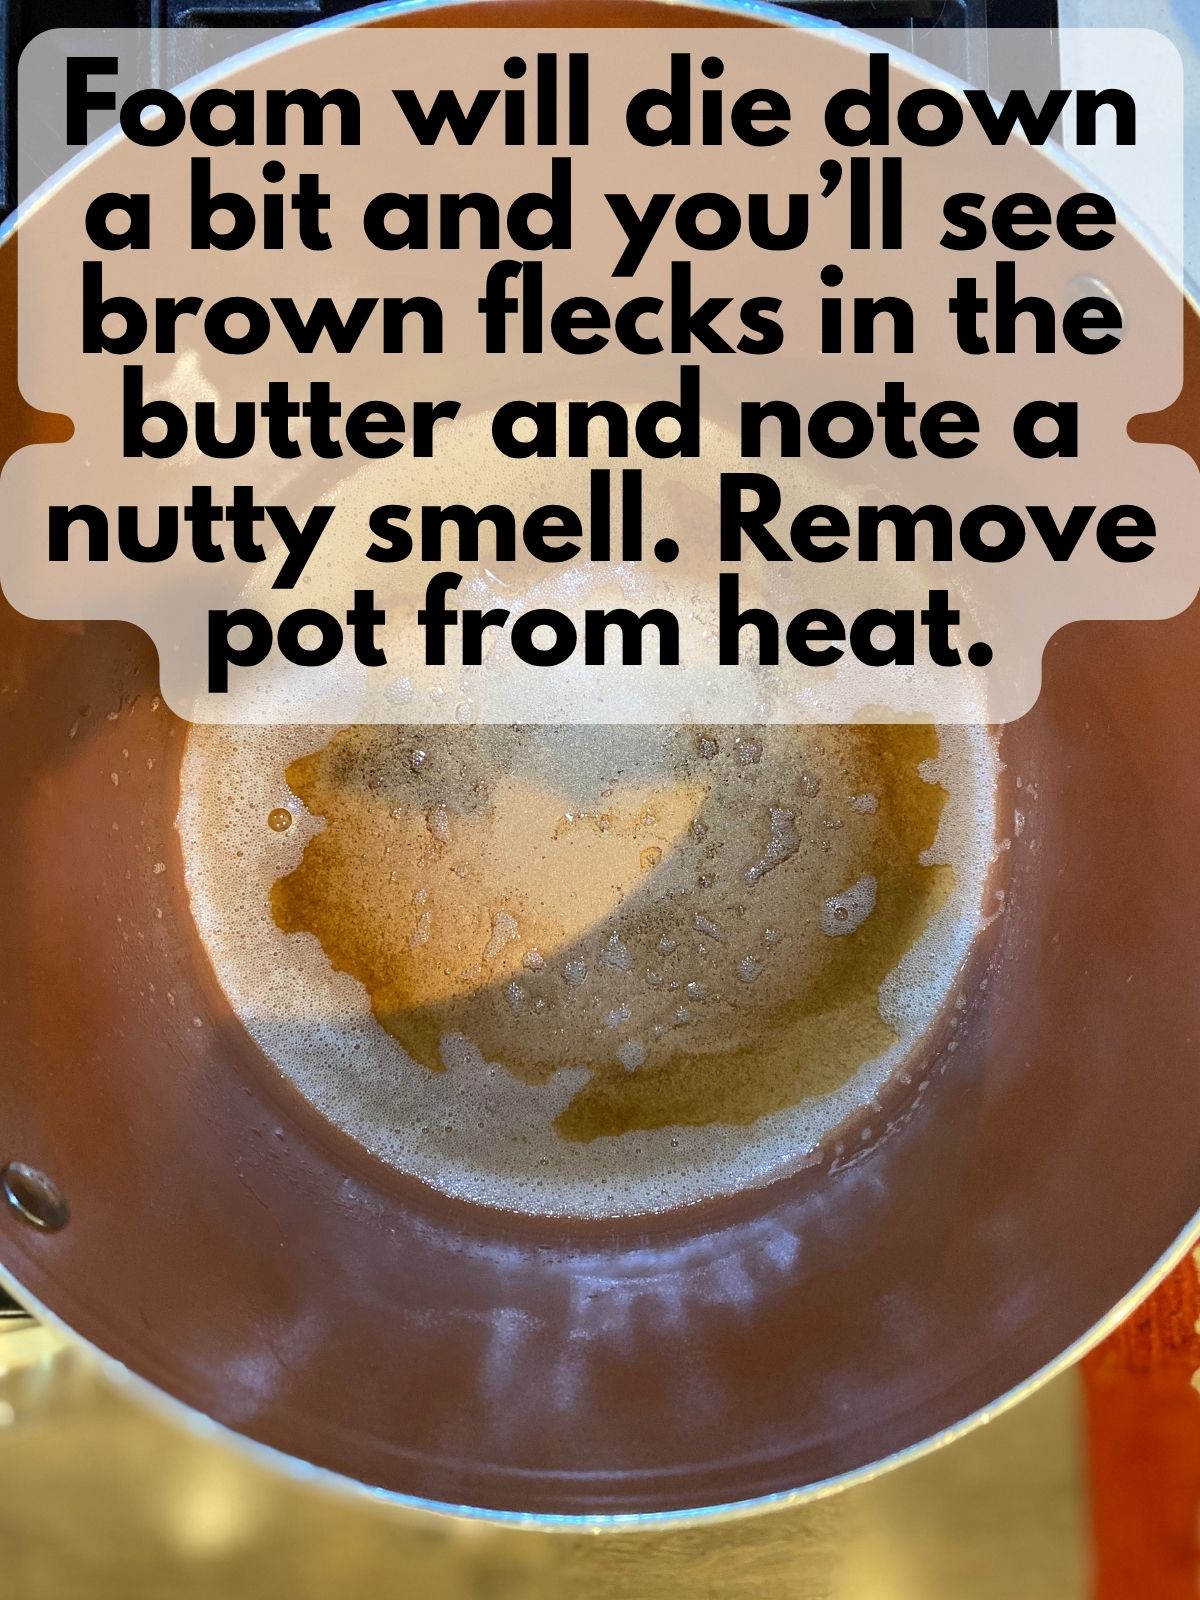
In a large pot, melt the butter over medium heat. Keep cooking, stirring frequently, until the butter foams and turns golden brown with a nutty aroma—this usually takes about 5–7 minutes.
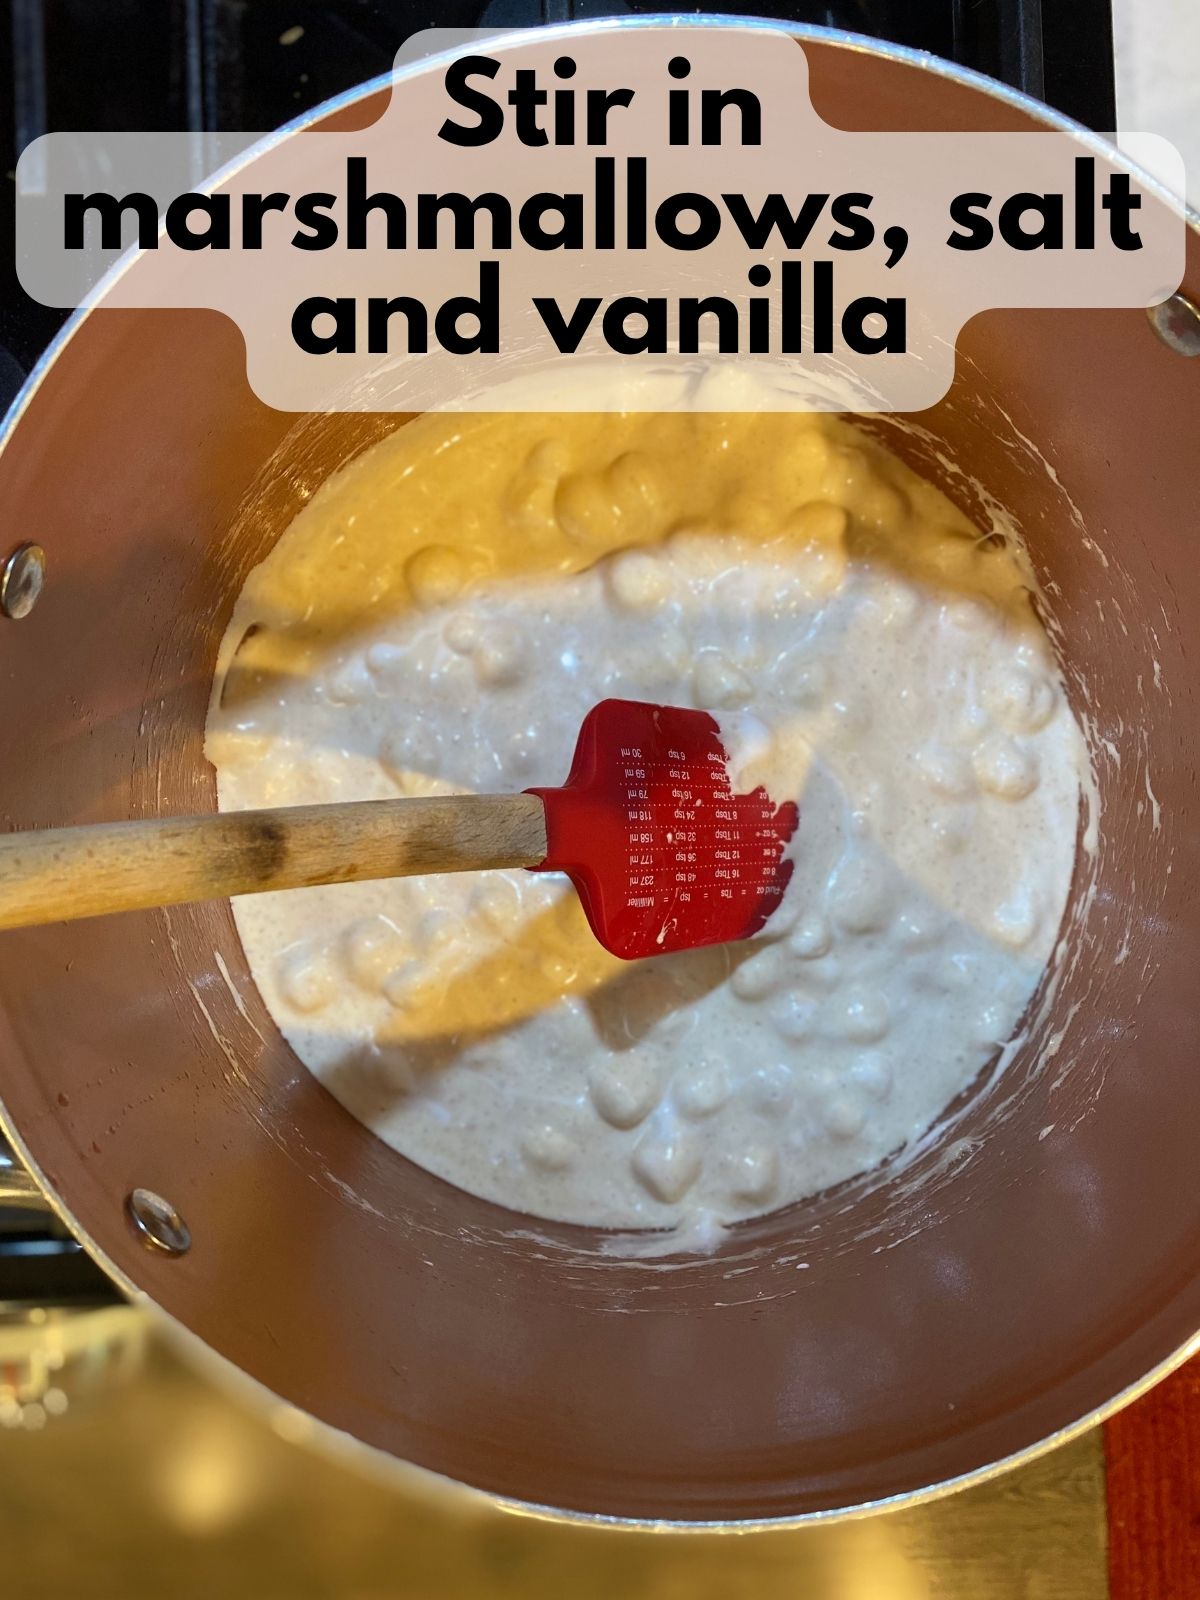
Reduce the heat to low, then stir in the mini marshmallows and salt. Continue stirring until the marshmallows are completely melted and smooth.
Remove from heat and stir in the vanilla.
Add the cereal and mix until everything is evenly coated.

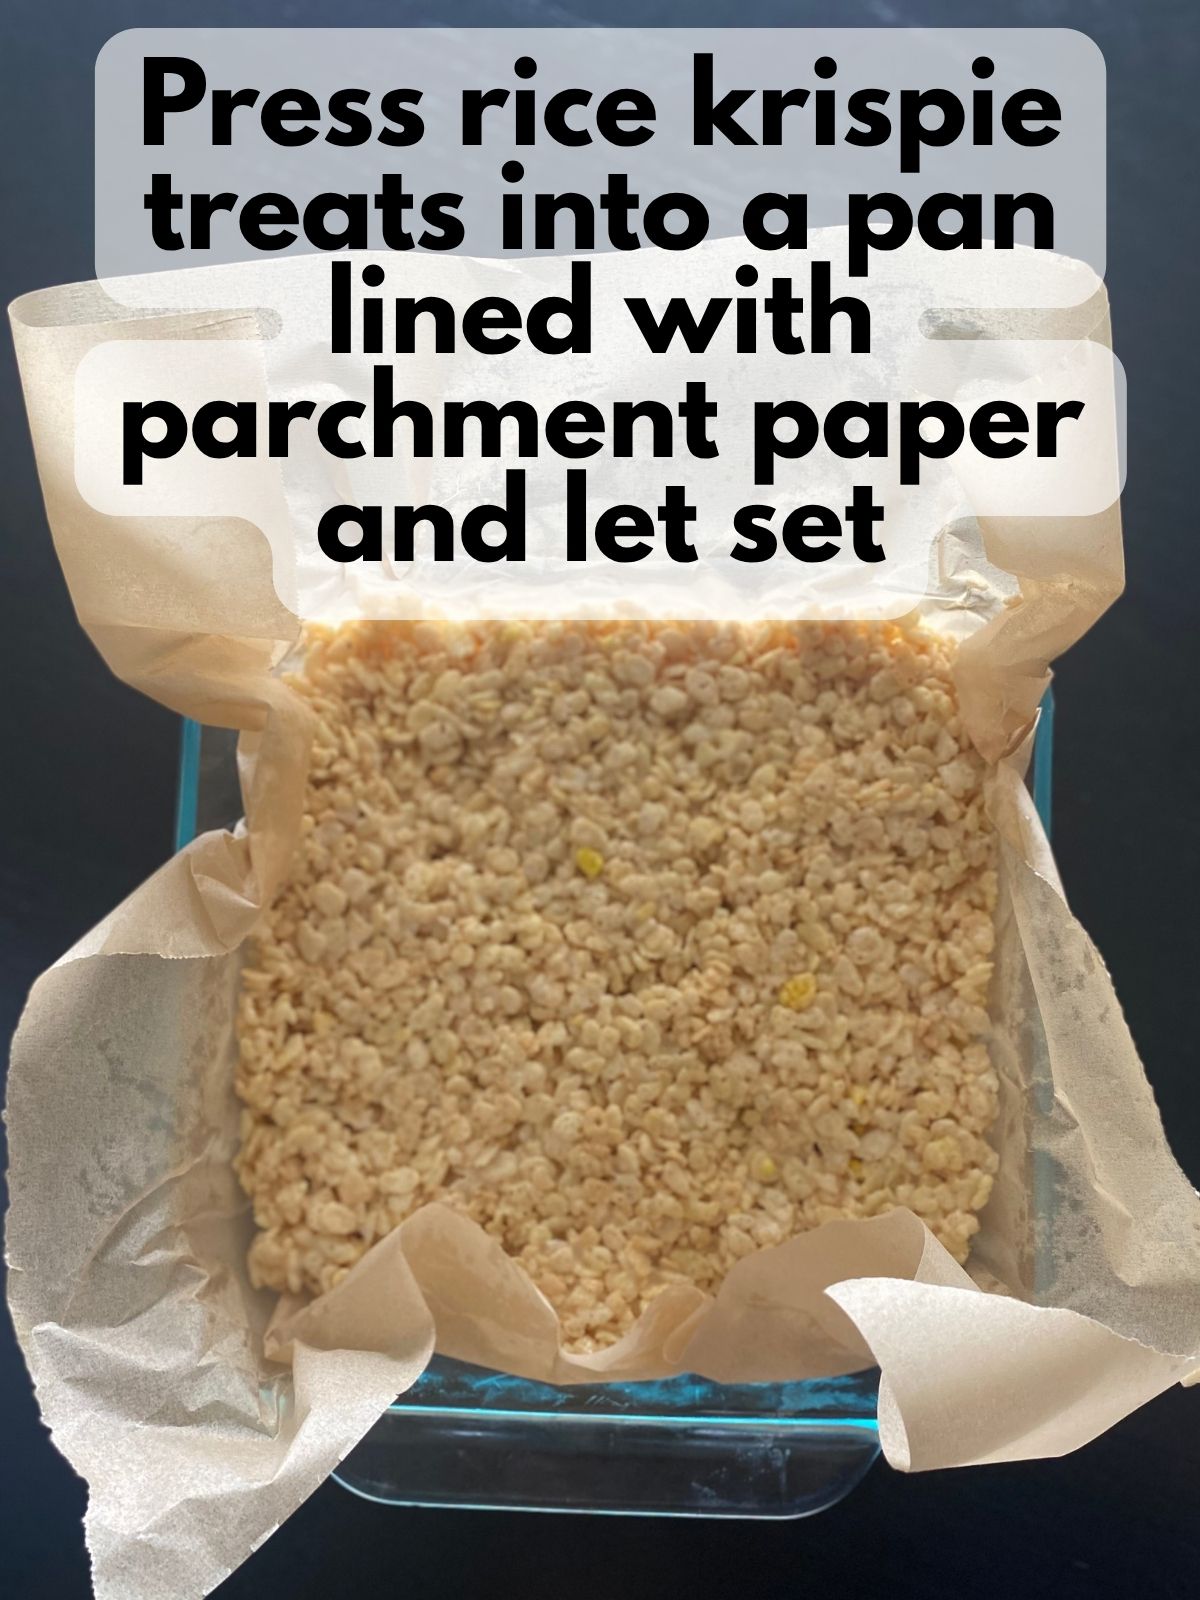
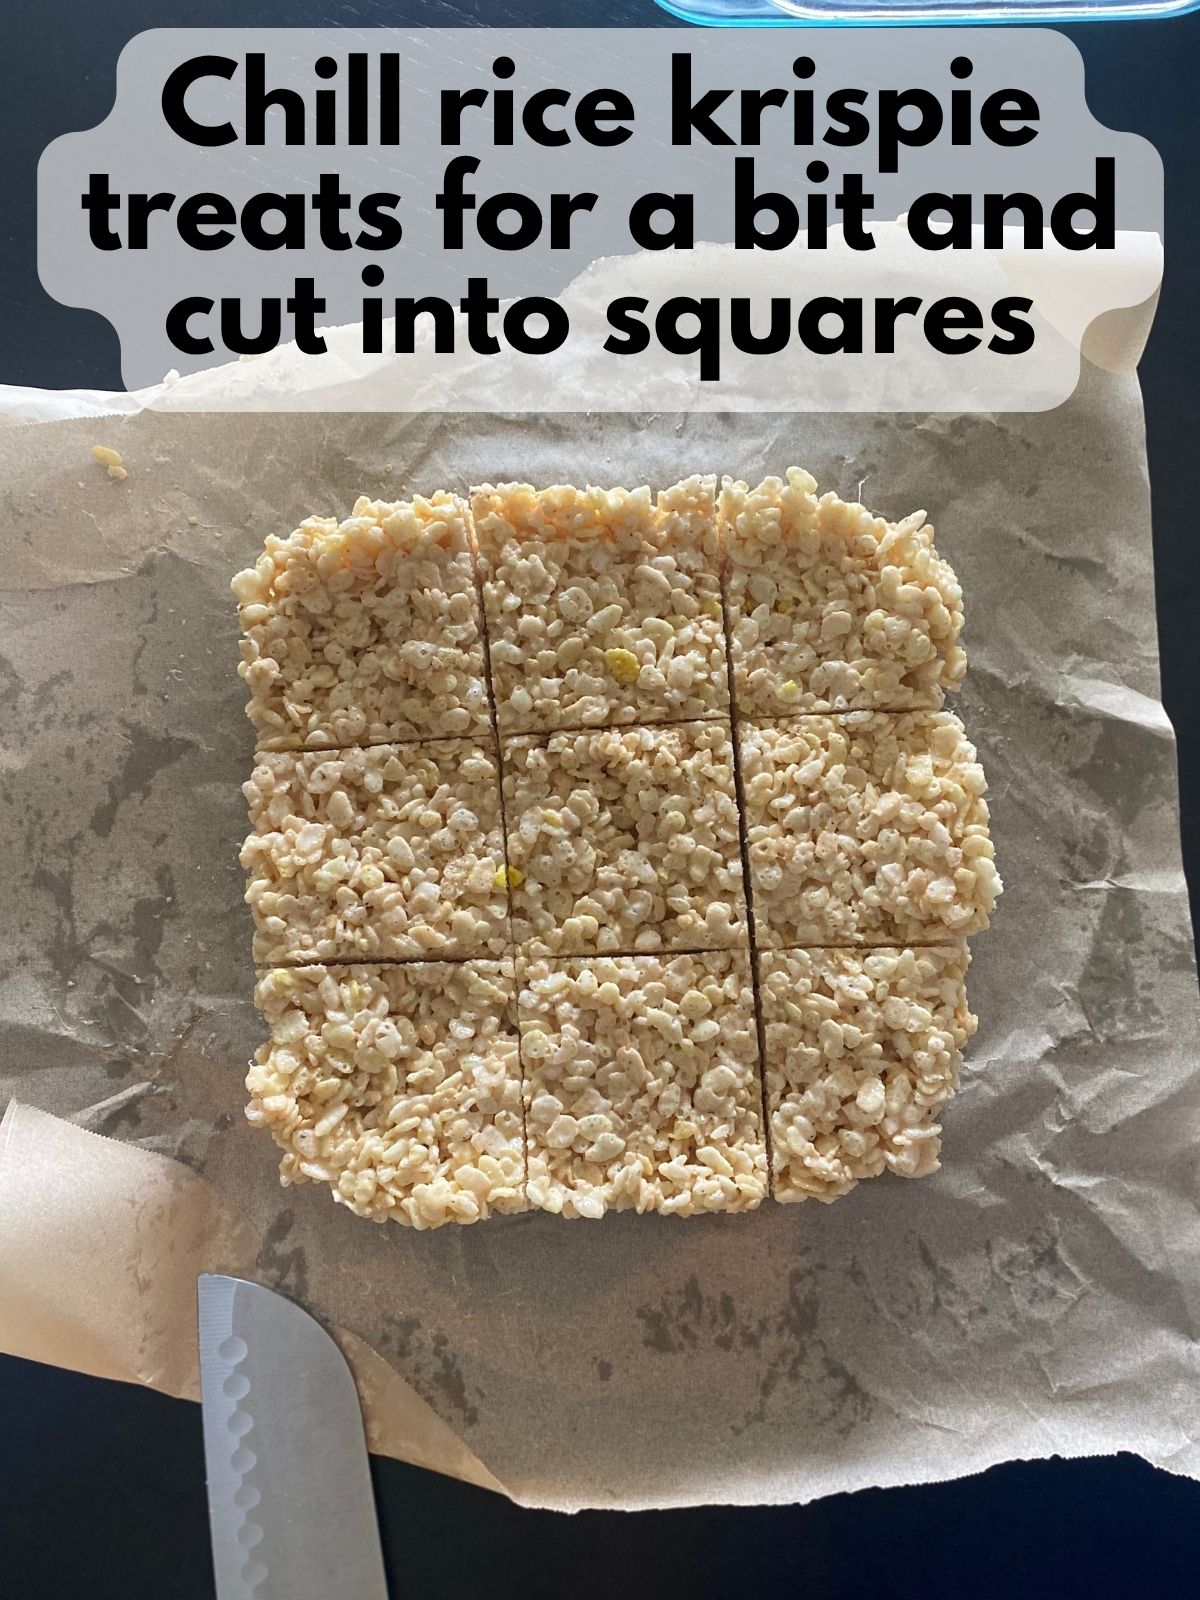
Press the mixture into a parchment-lined 8×8 or 9×9-inch pan. Use a clean piece of parchment paper between your hand and the treats to gently press and smooth them into an even layer. Let cool completely, then cut into rectangles.
Step 2: Set up your decorating station
Line a baking sheet or work surface with parchment paper and arrange the Rice Krispie rectangles in a single layer.
Step 3: Melt the white chocolate
In a microwave-safe bowl, combine the white chocolate chips and 1–2 teaspoons of coconut oil. Microwave in 30-second intervals, stirring well after each round, until smooth. Put your melted white chocolate in a small icing bottle or a piping bag with a small round tip (If you don’t have either of those, you can use a zip-top bag and snip the tiniest of corners off of it to use).
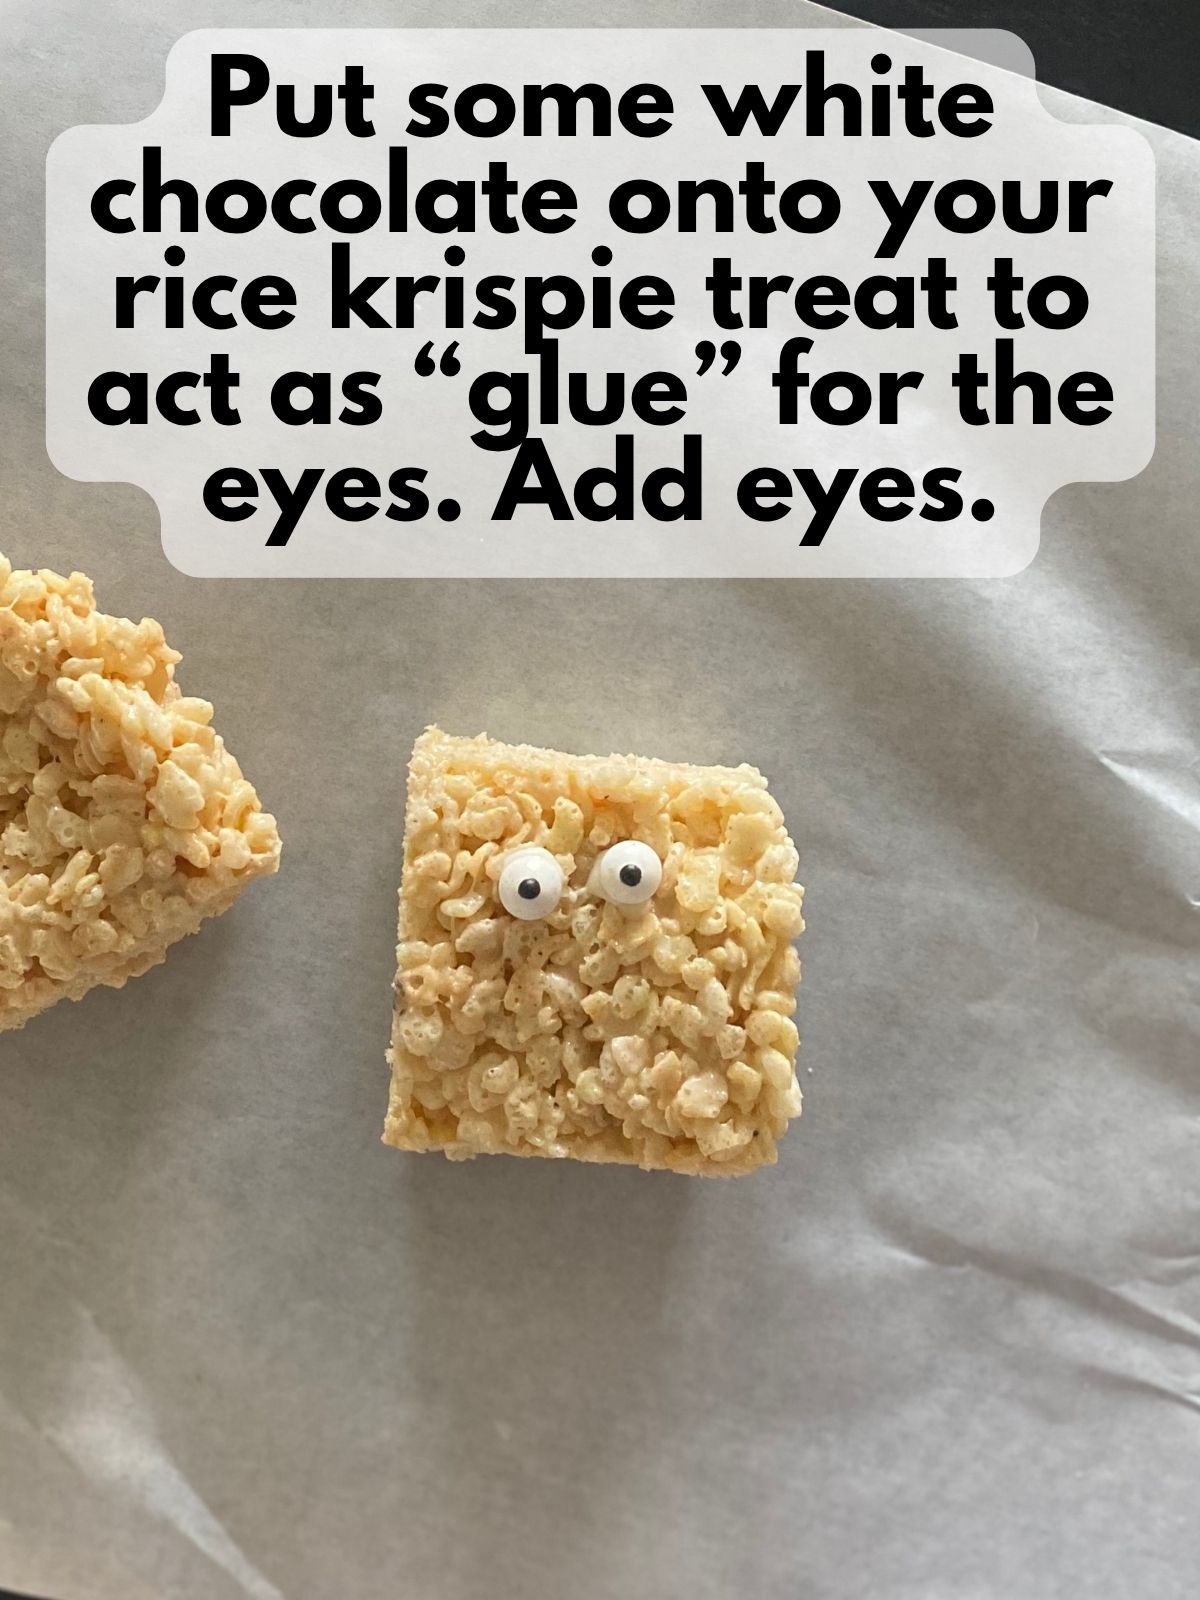
Step 4: Add the eyes
Use a small spoon or toothpick to dab a little melted chocolate onto the back of two candy eyeballs. Press them gently onto each Rice Krispie Treat, placing them near the top—this is where your mummy will “peek” out.

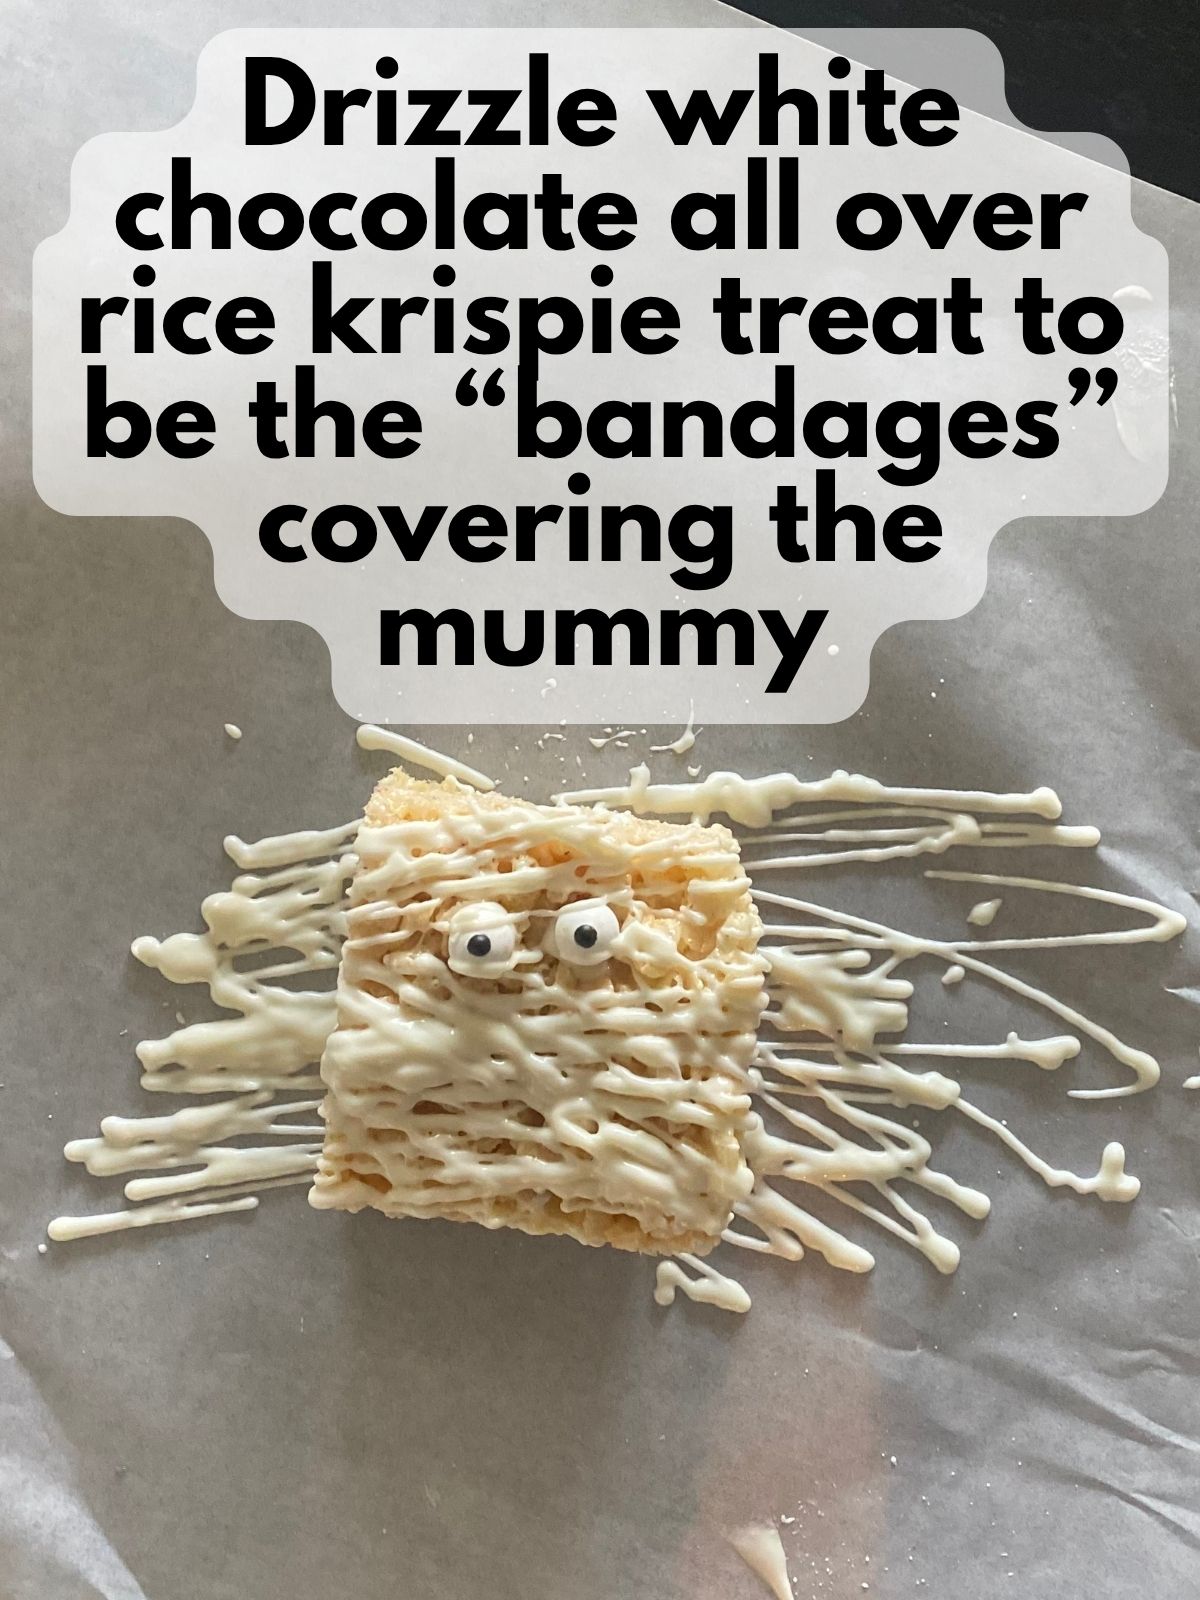
Step 5: Drizzle the “bandages”
Transfer the melted white chocolate to a piping bag or zip-top bag with a small corner snipped off. Drizzle it back and forth across each treat to create a fun, mummy-like effect. Don’t worry about perfection—the uneven look makes it even better!
Step 6: Let them set
Let the chocolate firm up at room temperature for about 20–30 minutes, or pop the tray in the fridge for 10 minutes if you’re short on time. Once set, they’re ready to serve!
Pro Tips for Mummy Rice Krispie Treats
- Use parchment to press the treats evenly. Placing a clean, slightly greased piece of parchment paper on top of the mixture makes it easy to press everything into an even layer without sticking to your hands or spatula.
- Brown butter makes a big difference. Taking the extra few minutes to brown the butter adds a rich, nutty flavor that gives these Rice Krispie Treats a bakery-style upgrade.
- Melt the white chocolate with coconut oil. White chocolate can be tricky—melting it with a little coconut oil from the start helps it melt smoothly and makes it easier to drizzle without seizing or hardening too fast.
- Let the kids help. These no bake desserts are great for little hands. Let your kids place the eyeballs and drizzle the “bandages”—the messier they are, the cuter they look!
- Chill to set faster. If you’re in a hurry, pop the finished treats in the fridge for about 10 minutes to help the chocolate set quickly and keep the drizzle from smudging.
FAQs
What size pan should I use?
I recommend using an 8×8 or 9×9-inch pan for thicker treats that are easier to cut and decorate. You can use a 13×9-inch pan if you prefer thinner bars or want to make more treats, but the results won’t be quite as tall or soft.
Can I use candy melts instead of white chocolate chips?
You can, but I’ve found that some brands of candy melts dry a little too quickly for this recipe, which can make it tricky to drizzle the “bandages” before they start to set. I prefer using white chocolate chips melted with a bit of coconut oil for a smoother, more manageable texture.
How should I store these treats?
Once the chocolate has set, store the treats in an airtight container at room temperature for up to 3 days. If your kitchen runs warm, you can store them in the fridge—just let them sit at room temp for a few minutes before serving so they’re not too firm.
Do these travel well?
Yes! Once the chocolate drizzle is set, these treats are easy to stack and pack for parties or bake sales. Just place a sheet of parchment paper between layers if you’re stacking them in a container. If you’re traveling somewhere warm, try to keep them cool to prevent the white chocolate from getting too soft or smudging—an insulated bag or small ice pack can help.
If you refrigerate the treats, keep in mind that moving them directly from cold storage to a hot and humid environment can cause condensation to form on the chocolate. To help minimize that, you can let them come to room temperature in the container with the lid on—this helps them warm up more gradually and reduces moisture buildup.
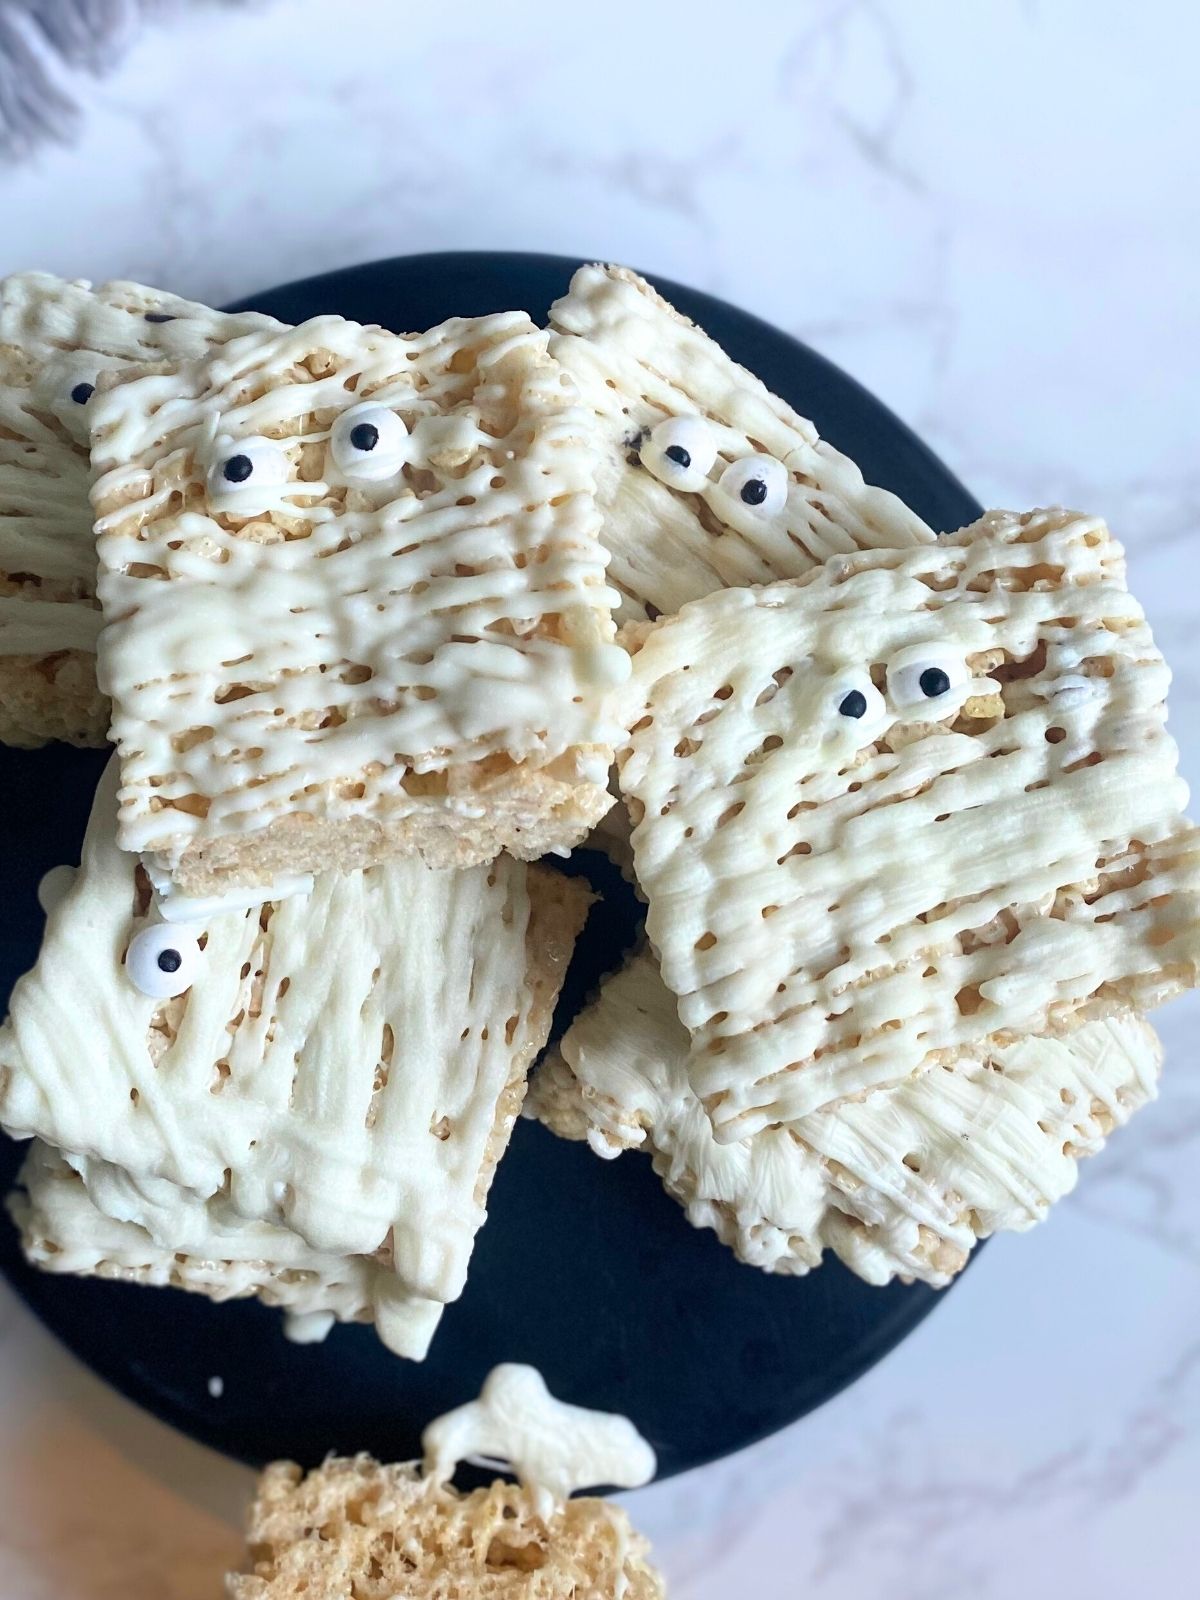
These Mummy Rice Krispie Treats are one of my favorite easy Halloween desserts to make when I want something quick, festive, and kid-approved. Whether you’re making them for a bake sale, Halloween party, or just for fun, these Halloween-themed desserts come together in no time!
I hope you and your little ones have as much fun decorating (and eating!) these as we do. If you try them, I’d love to see your spooky creations—leave a comment on Pinterest and tag @RobynPrettyPastelitos
Happy Halloween! 🎃
4
Mummy Rice Krispie Treats
Equipment
- 1 Small icing bottle or a piping bag with a small, round tip optional, but helpful (If you don't have either, you can use a zip top bag and snip a really tiny corner off)
- 1 large sauce pan
- 1 8x8 Baking Dish
Ingredients
Brown Butter Rice Krispie Treats
- 4 Tbsp unsalted butter
- 10 ounces mini marshmallows usually one bag
- 5 cups Rice Krispies cereal
- 1/4 tsp salt
- 1 tsp vanilla
Decorations
- candy eyes
- 1 cup white chocolate chips or white candy melts
- 1-2 tsp coconut oil
Instructions
Make Brown Butter Rice Krispie Treats
- In a large pot, melt the butter over medium heat. Keep cooking, stirring frequently, until the butter foams and turns golden brown with a nutty aroma—this usually takes about 5–7 minutes.
- Reduce the heat to low, then stir in the mini marshmallows and salt. Continue stirring until the marshmallows are completely melted and smooth.
- Remove from heat and stir in the vanilla.
- Add the cereal and mix until everything is evenly coated.
- Press the mixture into a parchment-lined 8x8 or 9x9-inch pan. Use a slightly greased piece of parchment paper between your hand and the treats to gently press and smooth them into an even layer. Let cool completely, then cut into rectangles.
Decorate like Mummies
- Line a baking sheet or work surface with parchment paper and arrange the Rice Krispie rectangles in a single layer.
- In a microwave-safe bowl, combine the white chocolate chips and 1–2 teaspoons of coconut oil. Microwave in 30-second intervals, stirring well after each round, until smooth. Melting the coconut oil with the white chocolate from the beginning helps prevent the chocolate from seizing or hardening too quickly.
- Use a small spoon or toothpick to dab a little melted chocolate onto the back of two candy eyeballs. Press them gently onto each Rice Krispie Treat, placing them near the top—this is where your mummy will “peek” out.
- Transfer the melted white chocolate to a piping bag or bottle (or zip-top bag with a small corner snipped off) fitted with a small, round tip. Drizzle it back and forth across each treat to create a fun, mummy-like effect. Don’t worry about perfection—the uneven look makes it even better!
- Let the chocolate firm up at room temperature for about 20–30 minutes, or pop the tray in the fridge for 10 minutes if you're short on time.