
Last updated on November 12th, 2025 at 10:13 pm
If you’ve ever wanted to throw a Halloween cookie decorating party but thought it sounded like too much work, I’m here to tell you: it can be so easy, and so much fun. Whether you’re planning a playdate, hosting a Halloween party for kids, or just want a festive family afternoon, decorating cookies is the perfect low-stress activity to get everyone into the spooky spirit.
I love using simple shapes and even simpler decorating techniques (like one or two colors of royal icing and a few candy eyes or sprinkles). No need to be fancy! The best part is, you can prep most of it ahead of time and focus on the fun when it’s time to decorate.
Supplies Needed for a Halloween Cookie Decorating Party
You don’t need a ton of tools or ingredients to make this happen. Here’s everything I use to set up a successful cookie decorating station:
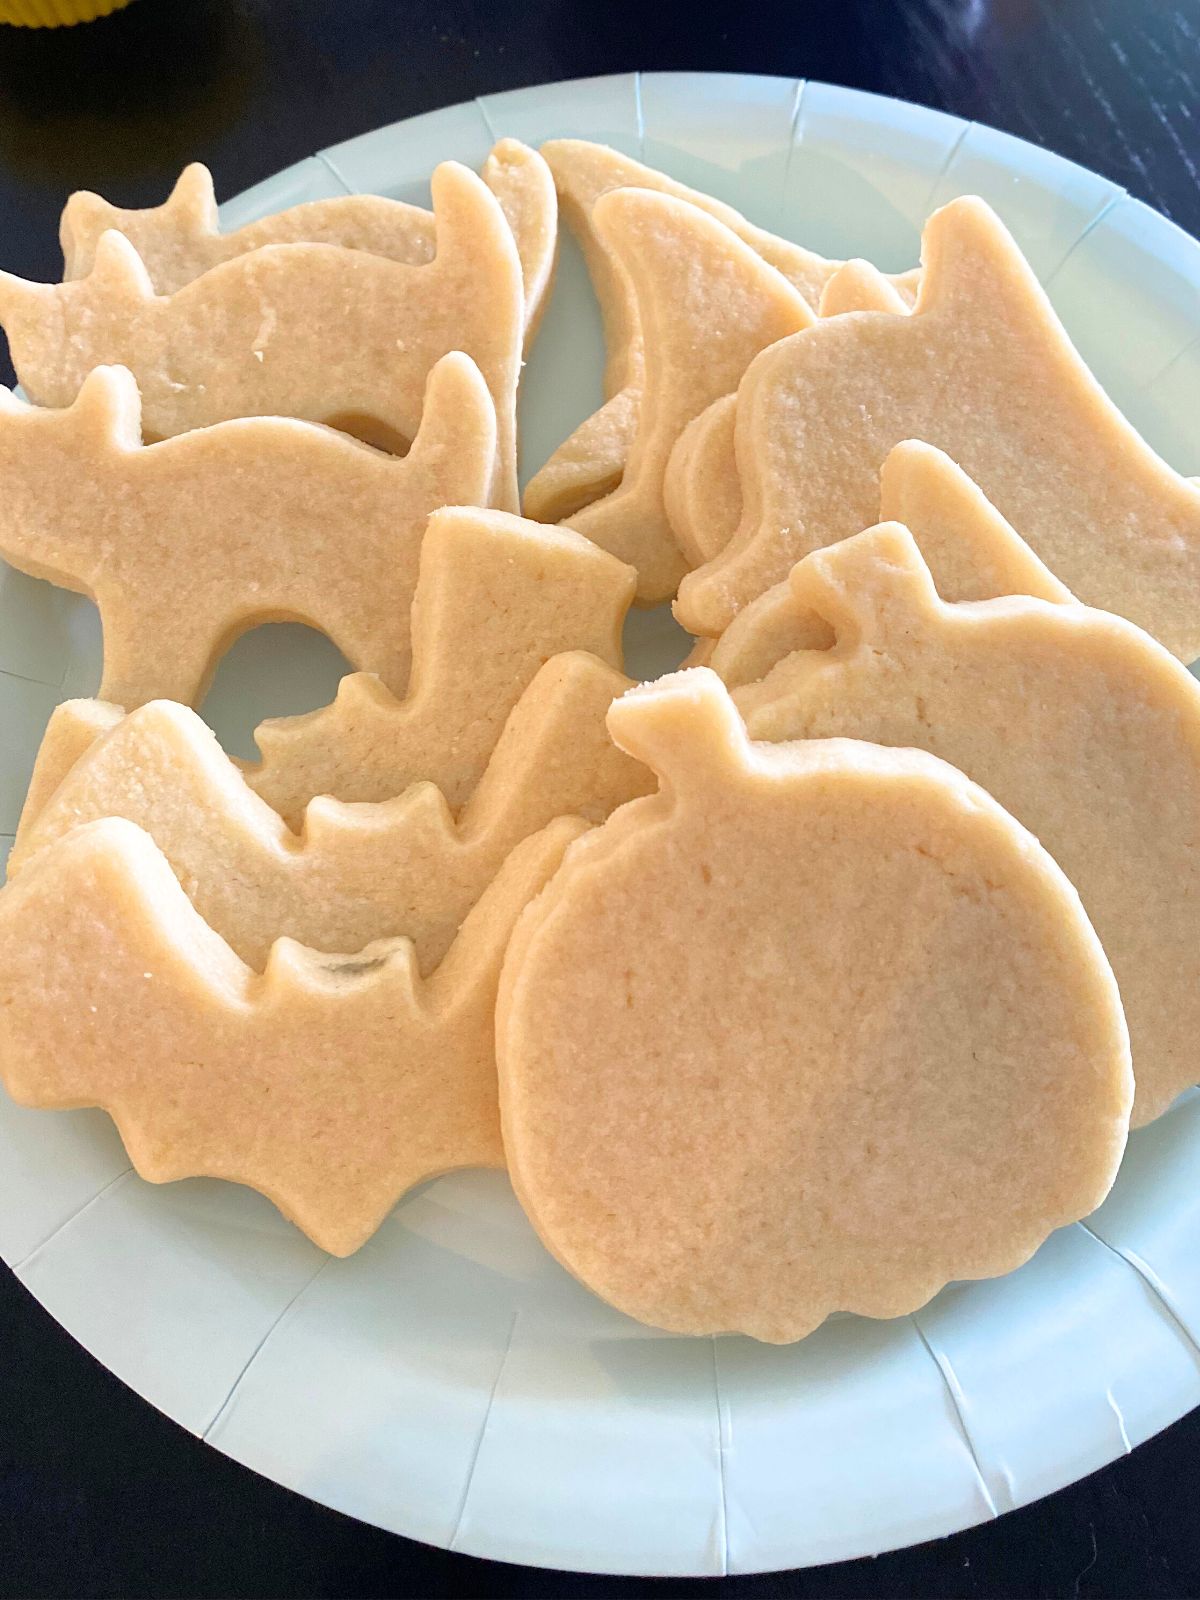
- Pre-baked sugar cookies in Halloween shapes
(Cats, bats, ghosts, pumpkins, and witches’ hats are my favorites!)
- Royal icing, divided and tinted in a few classic Halloween colors. One batch is plenty. (see my tips below for how to make this even simpler!)
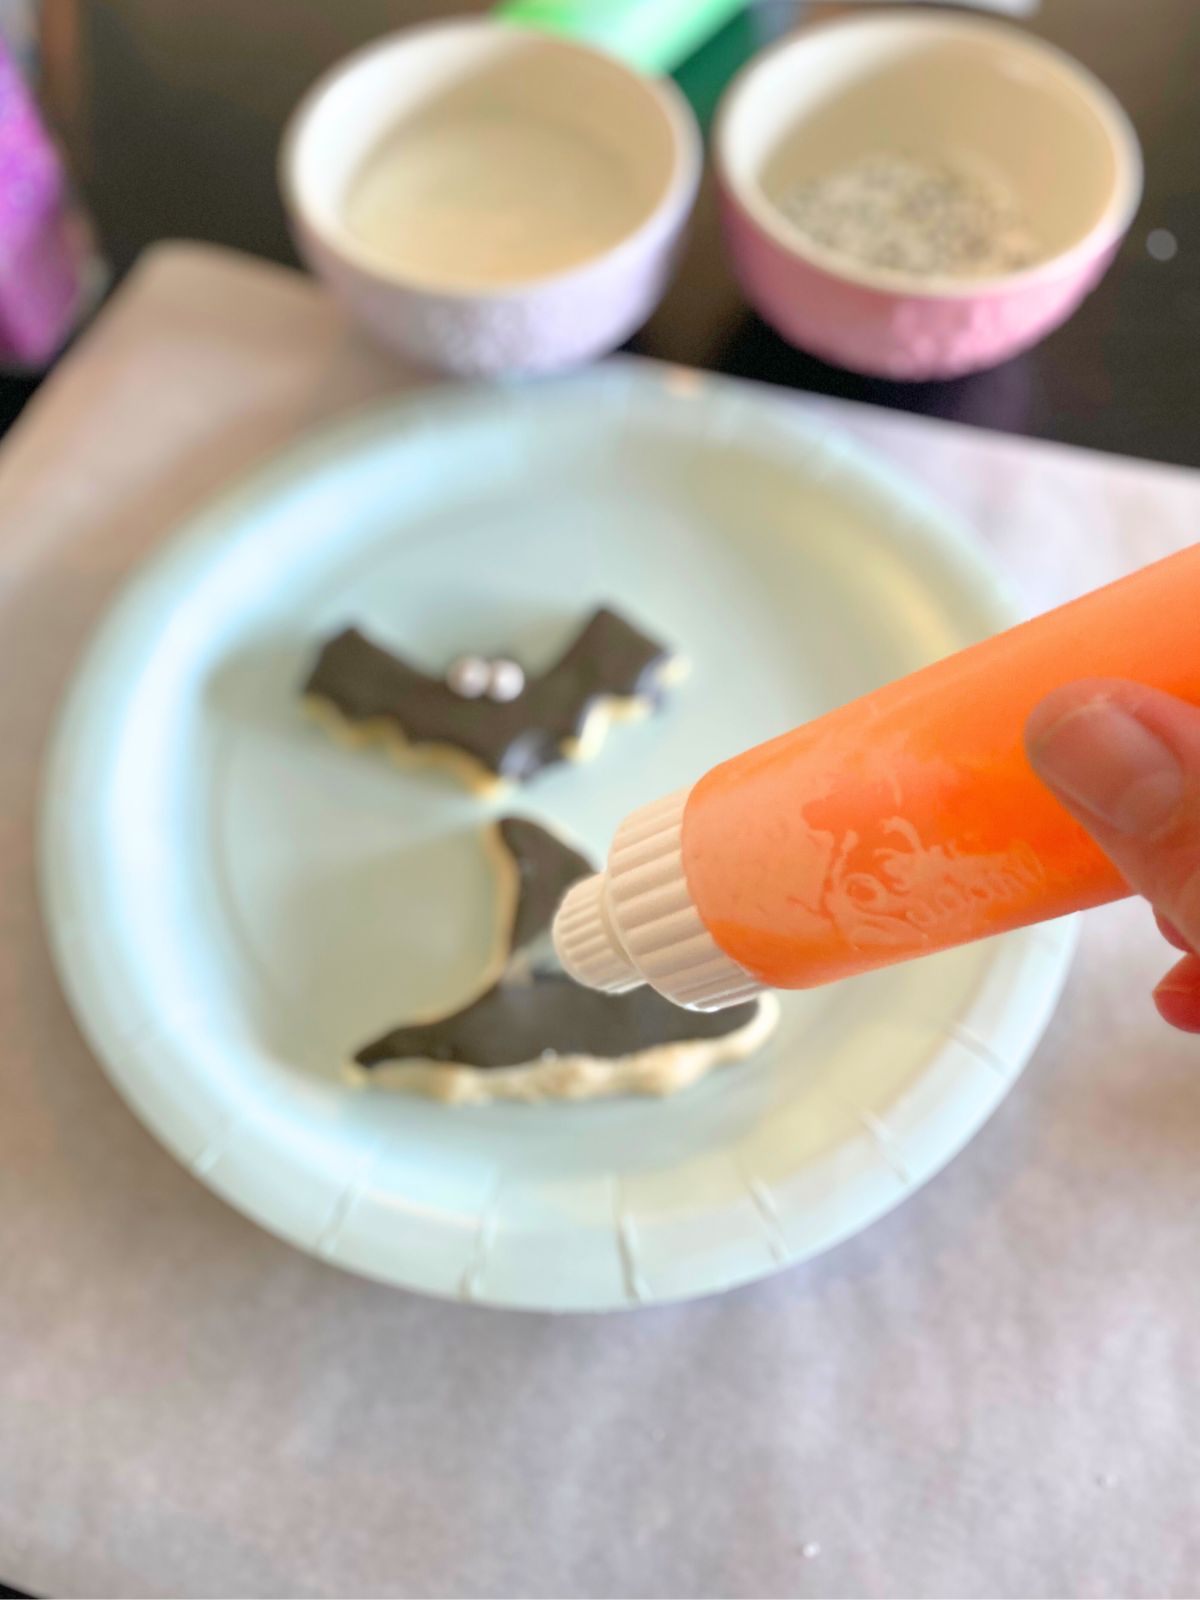
- Small icing bottles or piping bags for decorating (I definitely recommend the bottles if you’re decorating with kids!)
- Small round tips for the icing bags or bottles (Like the ones that look too small, are probably the right size. Just make sure you sift your powdered sugar for your royal icing so that clumps of it don’t clog up those tiny piping tips).
- Toothpicks to help smooth out icing
- Candy eyes and Halloween-themed sprinkles
- Paper plates or trays—one per person
- Napkins, parchment paper, and/or a plastic tablecloth to cover your decorating area
- Optional extras: cupcake liners for sprinkles, a mug of cider, or some Halloween napkins for added charm
📝 Need a cookie dough recipe? I used this easy cutout sugar cookie dough for all my Halloween shapes. It holds its shape when baked and works beautifully with royal icing!
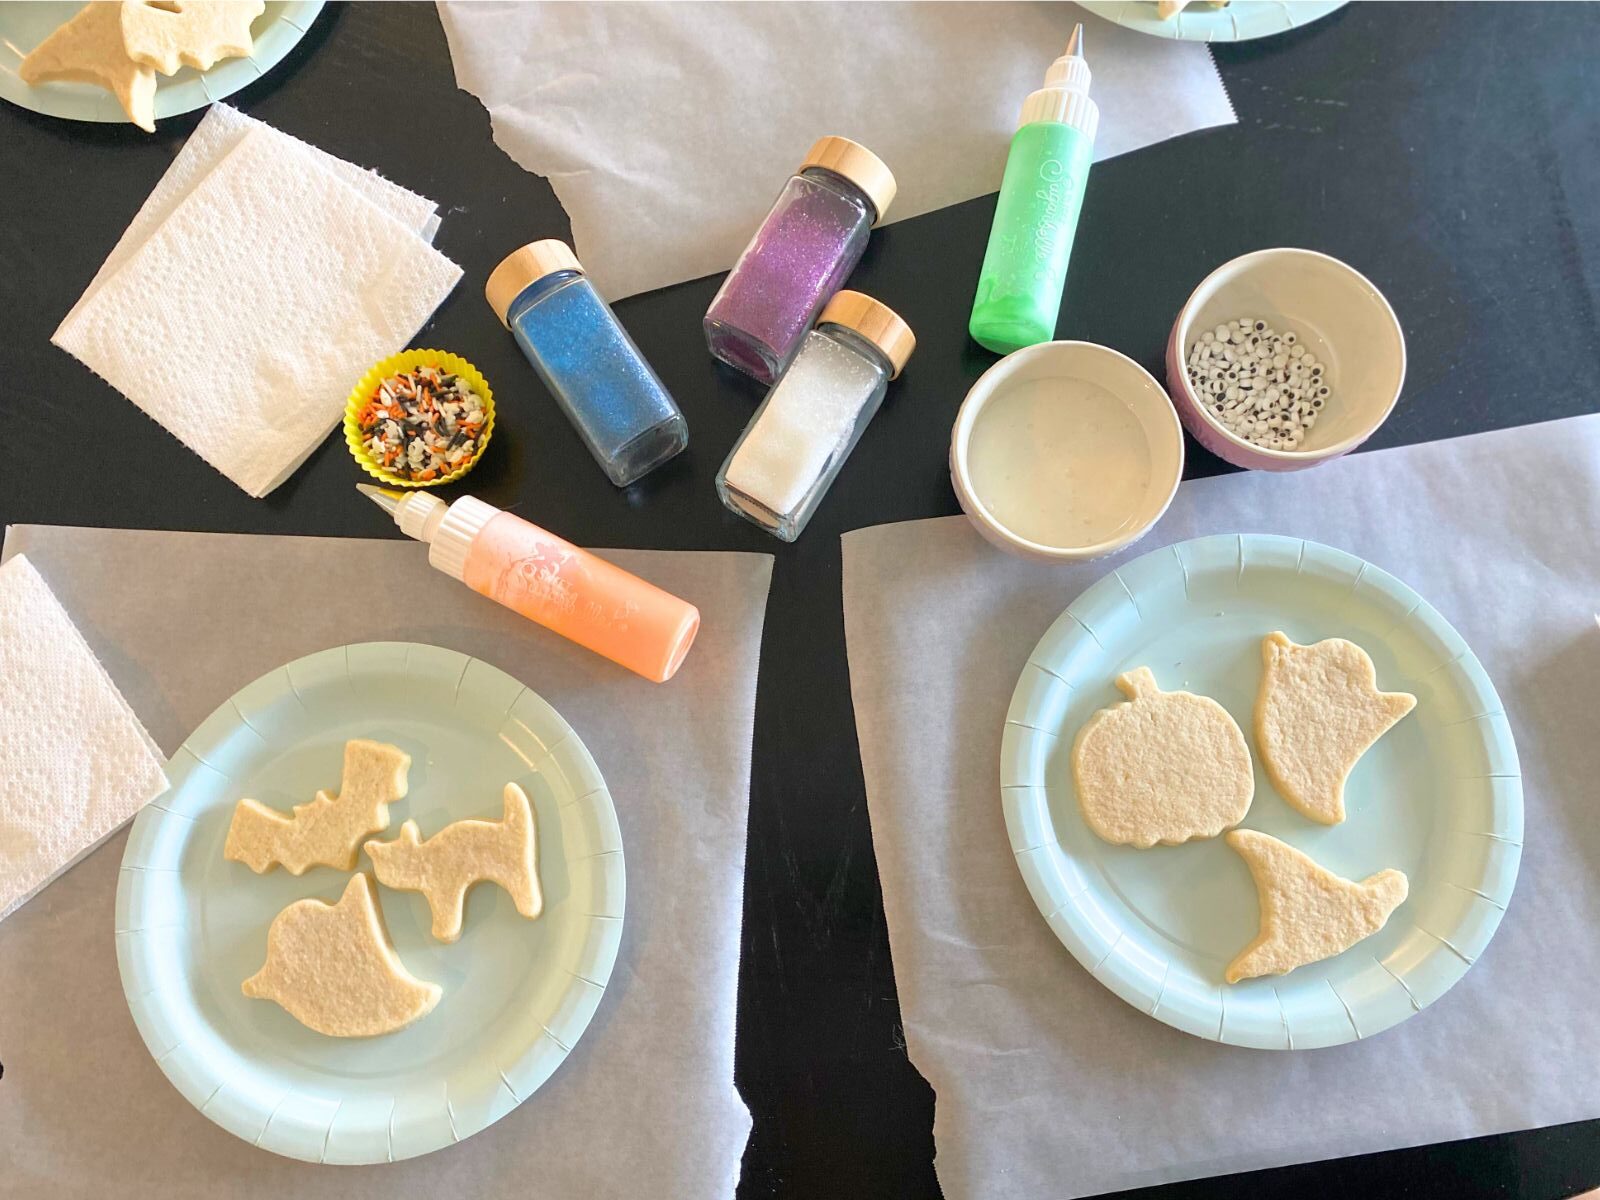
How to Set Up Your Decorating Station
Setting up your cookie decorating party doesn’t need to be complicated. I like to prep everything ahead of time so when it’s time to decorate, it’s all about the fun.
1. Bake your cookies in advance
I always recommend baking your cookies at least one day before the party. That way you’re not rushing, and the cookies are completely cooled and ready to go. You can even bake and freeze them up to a month in advance!
2. Mix and tint your royal icing
I make one big batch of royal icing and divide it into small bowls to color. A little food coloring goes a long way—especially for bold Halloween shades like black and purple. You can prep this the night before and store the icing in an airtight container that’s covered. You can even pre-ice your cookies the night before with a base layer of icing so that guests can just focus on decorating when they get there (You probably just need a base layer of either black or white).
If you only have one or two icing bottles, don’t worry! You can rotate colors between decorators, or refill as needed (Just make sure to rinse the bottles really well between colors).
3. Set up a station for each decorator
I like to give each person a little space with:
- 2–3 cookies to start
- 1–2 icing colors
- A toothpick for smoothing
- A napkin or paper towel
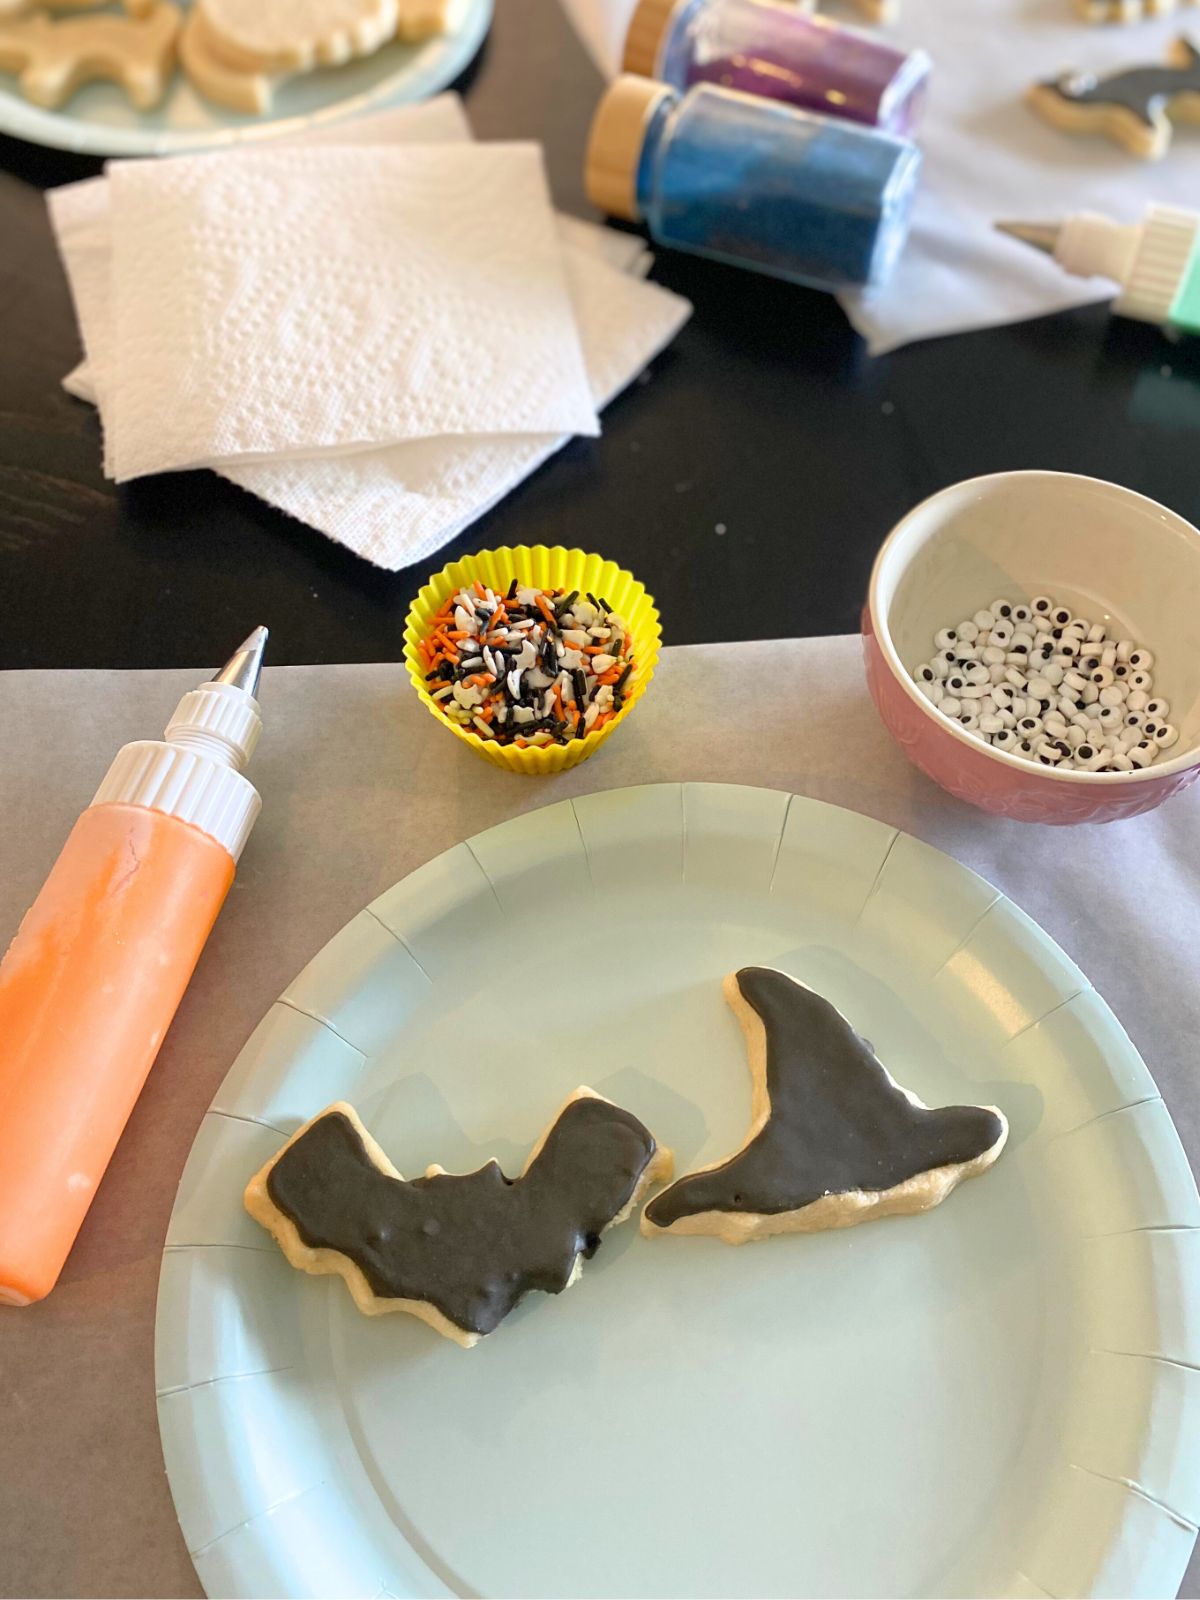
- A shaker or cupcake liners with sprinkles or eyes
If you’re decorating with younger kids, squeeze bottles are easier than piping bags. And don’t be afraid to keep it simple—sometimes all you need is black icing and candy eyes for the cutest cat cookies!
4. Lay out a tray of “sample” cookies (optional)
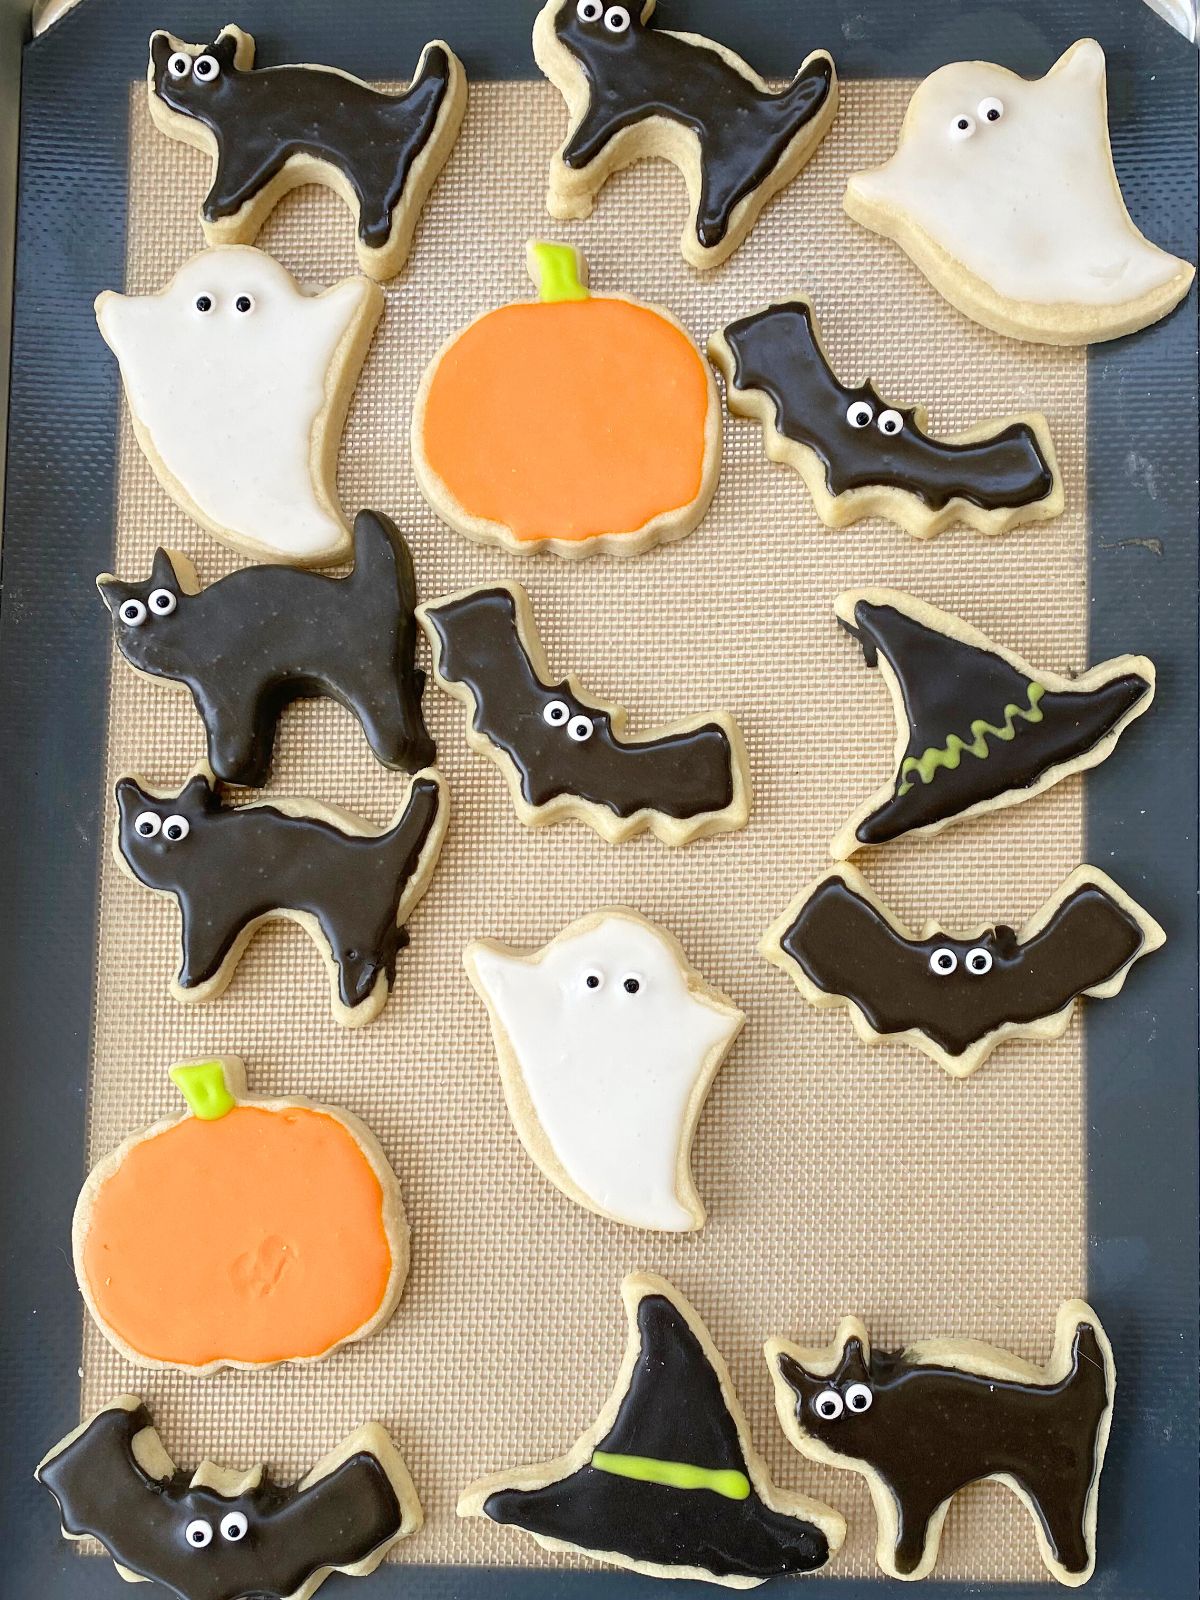
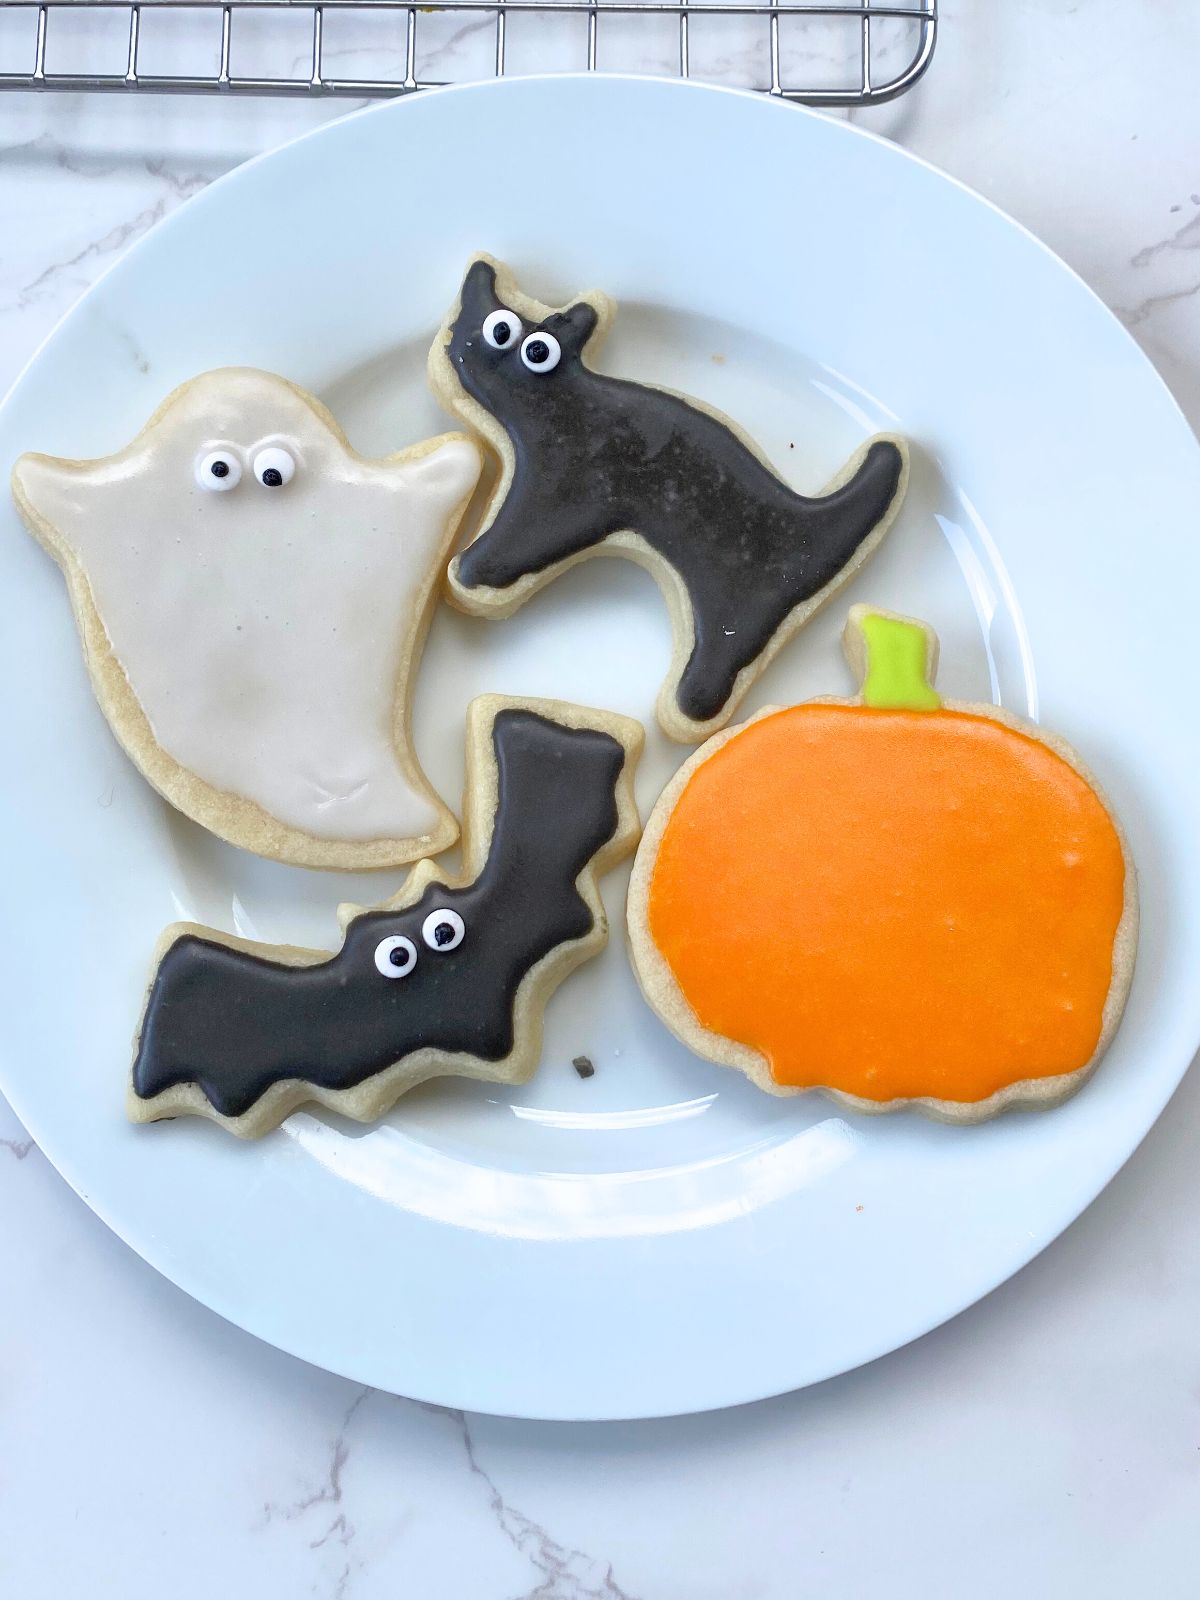
This is totally optional, but a fun way to give your guests a little inspiration. You can decorate a few cookies ahead of time and display them on a plate at the center of the table. Think: a black bat with candy eyes, a ghost with a cute expression, or a pumpkin with a green stem.
Pro Tips for a Smooth Decorating Day
- Roll your cookies extra thick if you have kids decorating with you. The “typical” for cutout cookies is ¼” thick, but for small hands that might not be as careful, I like to roll mine to 5/16” of an inch to be extra sure. It helps to have one of those rolling pins that has the measurements on the sides, but if you don’t, you can always just estimate on the thicker side.
- Base coat your cookies the night before so that you can just focus on adding any sprinkles, eyes, or extra decorations during the party. You can do this the day before and then let that base coat of icing dry overnight. Really, you just need a base of black or white for most cookies (black for cats, bats, witch’s hats and white for ghosts.). I also had some pre-made orange pumpkins.
- Use parchment paper or a neutral table covering to protect your surface and make cleanup easy
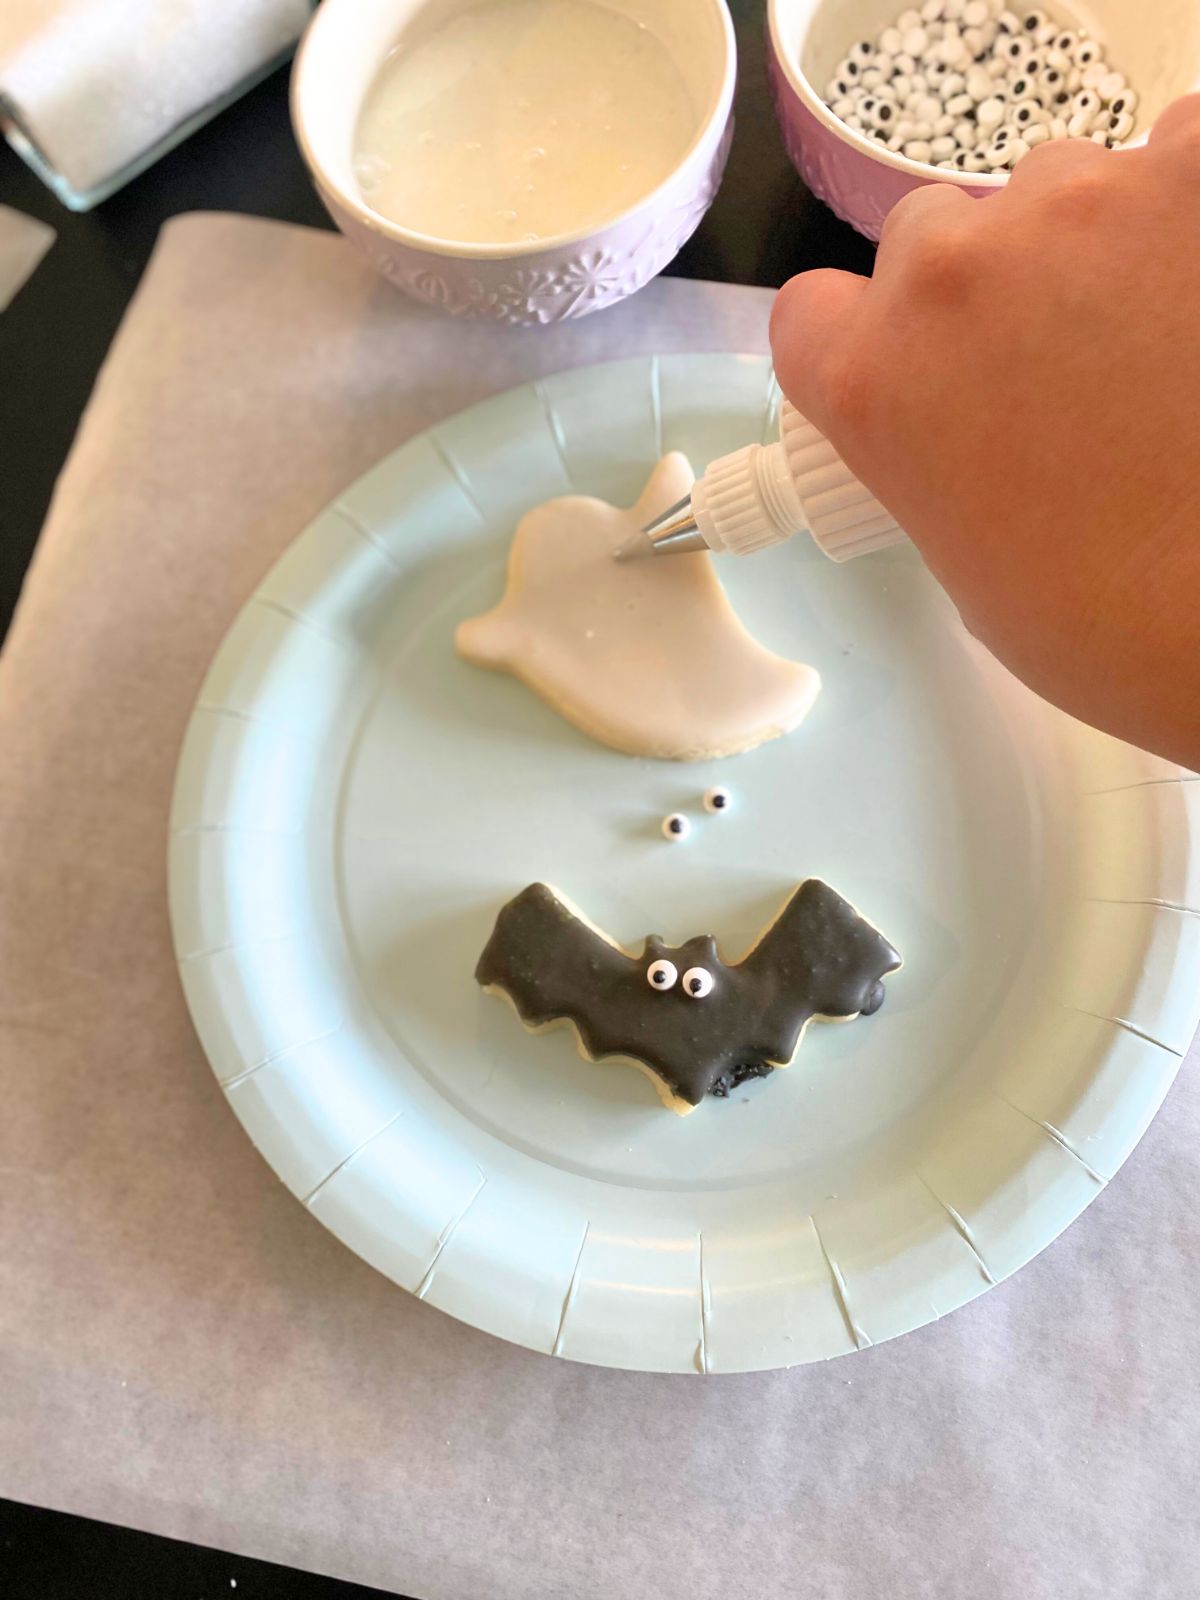
- Use a dot of icing as “glue” to attach candy eyes or sprinkles if your base has already dried
- Sift your royal icing ingredients so that clumps of things don’t clog up your piping tips. There’s nothing more frustrating than being halfway through your cookie design, and then your piping bottle decides to clog up and you have to dismantle it to dislodge a tiny clump of powdered sugar.
If you’re short on time, you can even use store-bought cookie dough and royal icing mix. This is all about making a fun seasonal memory—not adding to your to-do list.
Easy Halloween Cookie Decorating Ideas
Here are a few of my favorite quick and cute designs to try:
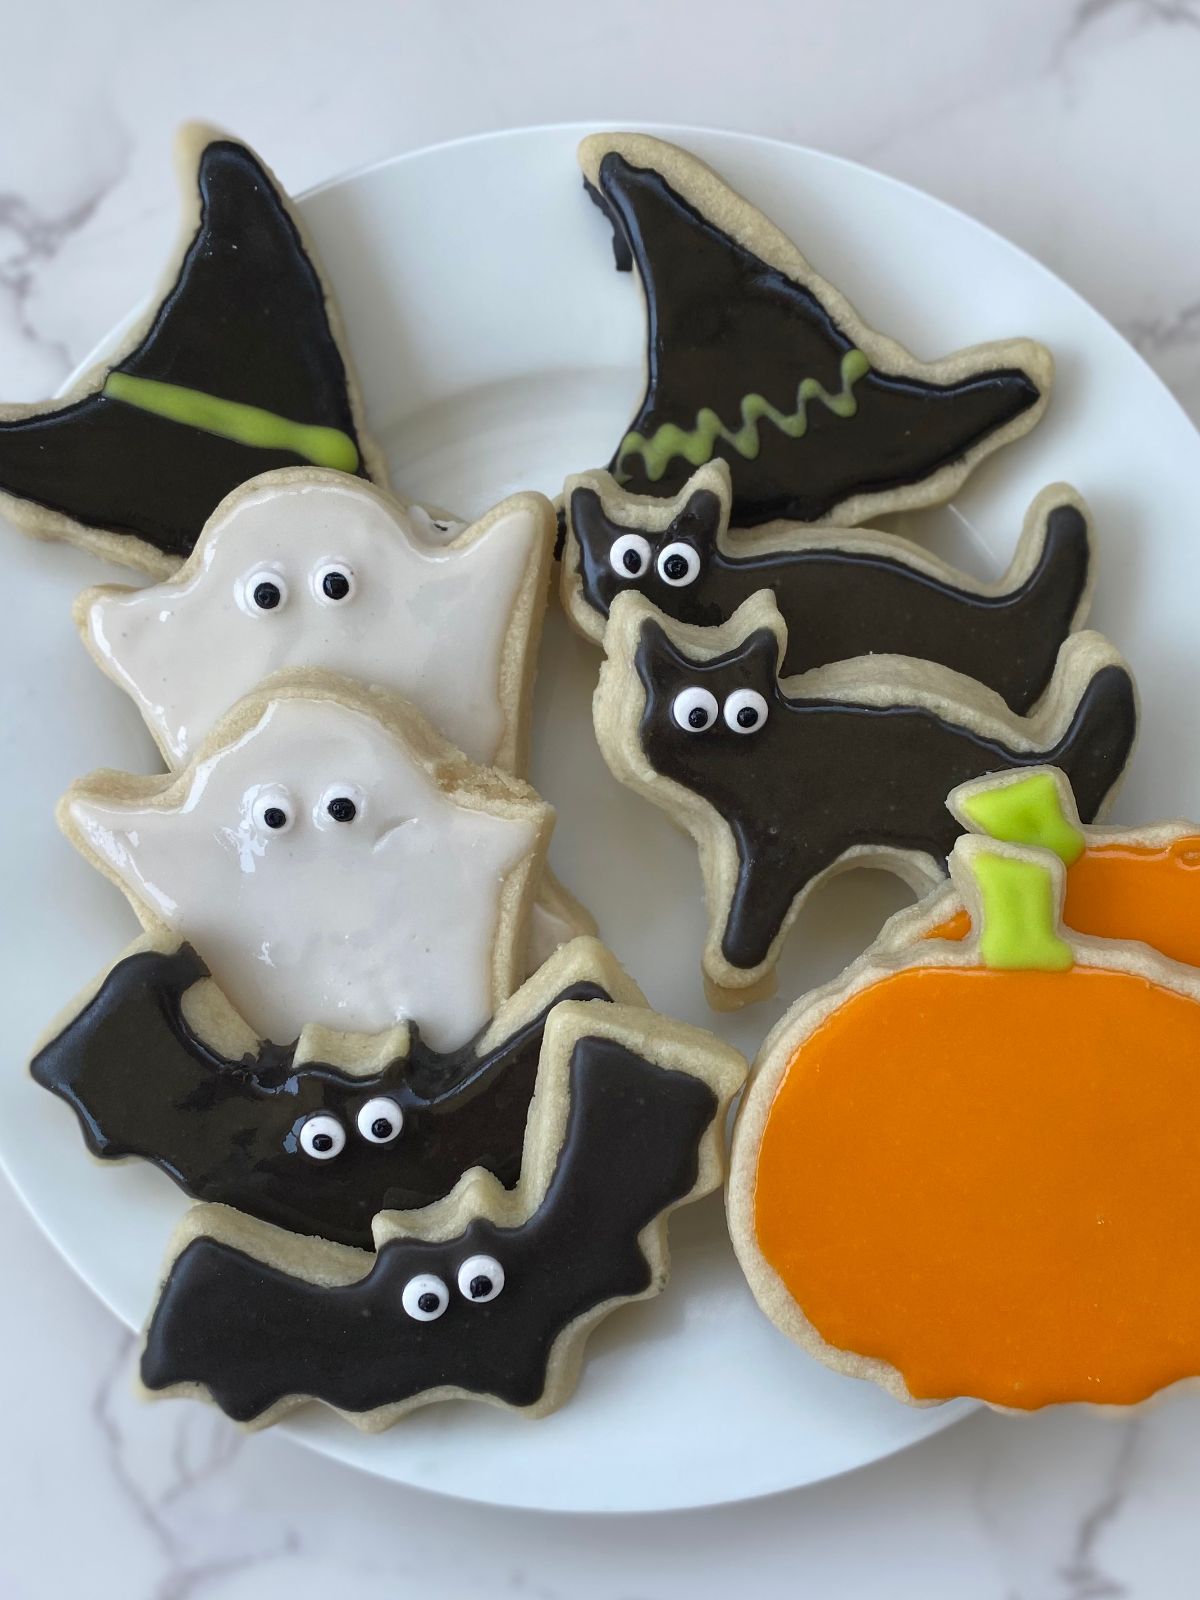
- Black Cats: Cover the cookie in black royal icing and add two candy eyes while the icing is still wet (or use a dot of icing if dry)
- Bats: Same idea—flood with black icing, add eyes, and you’re done!
- Ghosts: White icing with two black eyes or a cute little mouth
- Pumpkins: Orange icing with a green stem. You can add lines to mimic a pumpkin shape or keep it smooth and simple.
- Witches’ Hats: Black icing for the base, and once dry, add a colorful band or buckle across the brim
Keep a few extras for taste-testing—someone always wants to snack while decorating!
FAQs
Can I use store-bought cookies or icing?
Yes! Sugar cookie dough and royal icing kits work great if you’re short on time or don’t want to make everything from scratch. I’ve found that the store bought cookies can be a bit crumbly, which is why I like to make mine from scratch. But as long as it’s fun at the end of the day, that’s what matters!
How many cookies should I prep per person?
Plan for 2–3 cookies per person for young kids, or 4–5 for older kids and adults who want to decorate more.
What’s the best way to stick eyes or decorations on dry icing?
Just use a small dot of royal icing as glue! Dab it on with a piping bag or piping bottle and gently press the candy eye or sprinkle in place.
How far ahead can I prep everything?
You can bake and freeze cookies up to a month in advance. Royal icing can be made 1–2 days ahead if stored airtight. Base-coat your cookies the night before if you want to save time during the party.
What if I only have 1 or 2 icing bottles?
That’s totally fine! Let guests take turns or refill bottles with different colors as you go. It’s more relaxed and less wasteful.
Halloween cookie decorating is such a fun and festive tradition—and it doesn’t have to be complicated to feel magical. With a few pre-baked cookies, some colorful icing, and a handful of sprinkles, you’ve got everything you need for a cozy afternoon or party activity that kids and adults will both love. Set out a simple decorating station, let everyone get creative, and enjoy a sweet little Halloween memory (plus a plate of adorable cookies to show for it!).