
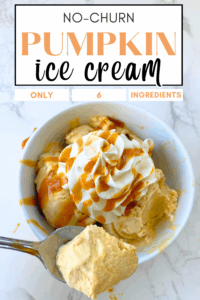
 I love easy pumpkin desserts, and this no-churn pumpkin ice cream is one of my favorites to make when I want that cozy fall flavor with almost no effort. It’s rich, creamy, full of pumpkin spice, and comes together with just a handful of ingredients—no ice cream maker needed!
This recipe checks all the boxes: it’s fast, it’s festive, and it’s one of those no bake fall treats that feels a little fancy without any actual fuss. Whether you’re making it for a Halloween gathering or just treating yourself to a sweet fall moment, this easy fall dessert is guaranteed to impress.
Ingredients for No-Churn Pumpkin Ice Cream
You’ll only need six simple ingredients to make this creamy pumpkin treat:
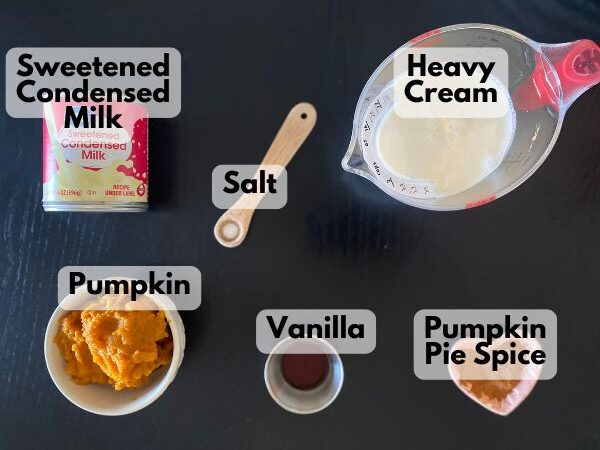
- 1 cup cold heavy whipping cream
- 1 can (14 oz) sweetened condensed milk
- 3/4 cup pumpkin puree (not pumpkin pie filling)
- 1 1/2 teaspoons pumpkin pie spice (or a homemade blend of cinnamon, nutmeg, ginger, and cloves)
- 1 teaspoon vanilla extract
- Pinch of salt
Optional mix-ins:
- Crushed graham crackers or gingersnaps
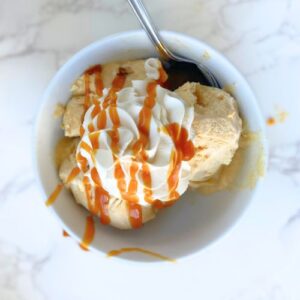
- Caramel or dulce de leche swirls
- Toasted pecans or white chocolate chips
How to Make No-Churn Pumpkin Ice Cream
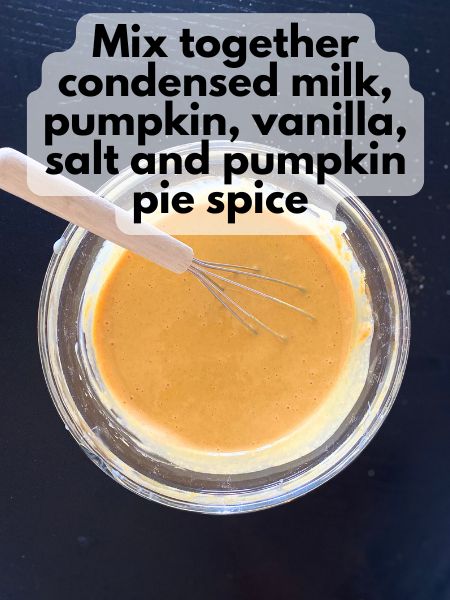
Step 1: Make the pumpkin base
In a bowl, whisk together the sweetened condensed milk, pumpkin puree, pumpkin pie spice, vanilla extract, and a pinch of salt. The mixture should be thick, smooth, and fragrant. If you’re worried your pumpkin might be a little too wet, you can blot the puree lightly with paper towels to remove excess moisture—this helps prevent ice crystals from forming later.
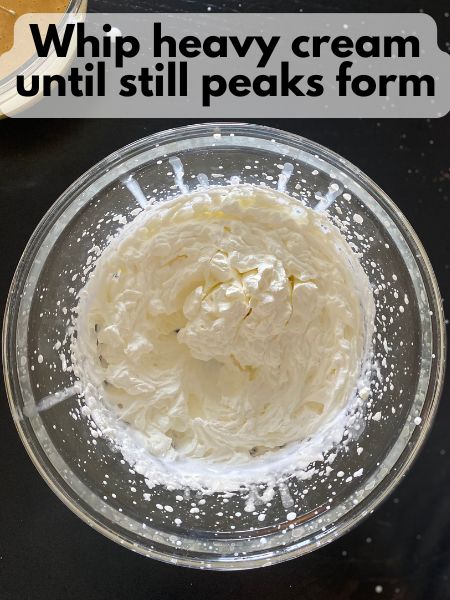
Step 2: Whip the cream
In a separate, larger bowl, whip your cold heavy cream using a hand mixer or stand mixer. Whip until stiff peaks form. This will give your ice cream its signature light, scoopable texture.
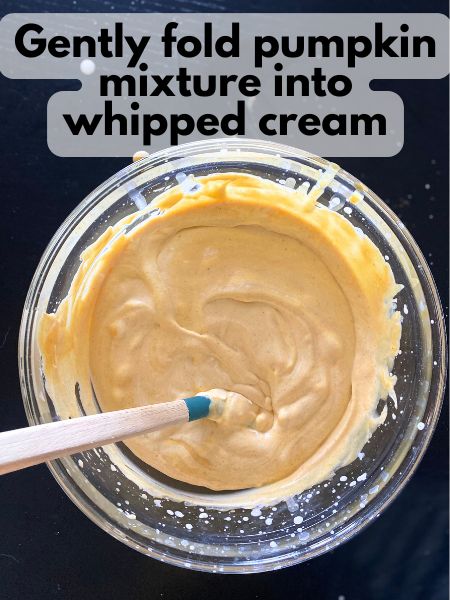
Step 3: Fold the whipped cream into the pumpkin base
Gently fold the whipped cream into the pumpkin mixture using a rubber spatula. Do this in batches and go slowly so you don’t deflate the air you just whipped into the cream. The result should be light and fluffy but evenly mixed.
Step 4: Add mix-ins (optional)
Once everything is combined, pour the mixture into a loaf pan or airtight freezer-safe container. If you’re adding mix-ins like crushed cookies or caramel, sprinkle or swirl them in now. You you can layer ice cream and mix-ins in two batches and then swirl with a butter knife.
I really liked the plain pumpkin ice cream and thought it came out delicious, for what it’s worth.
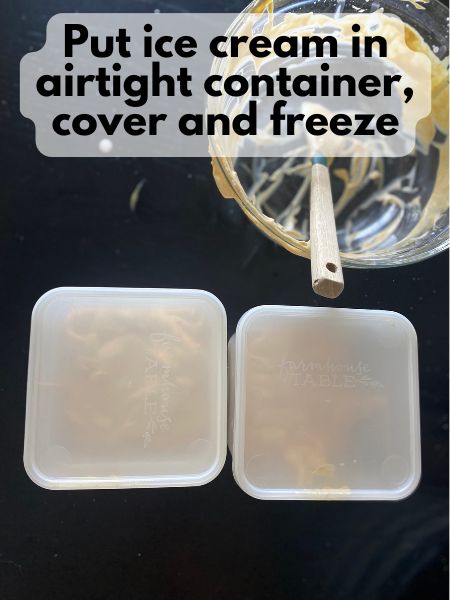
Step 5: Freeze
Smooth the top, cover the container, and place it in the freezer for at least 6 hours or overnight until firm.
Pro Tips
- Don’t use too much pumpkin: Stick with 3/4 cup of pumpkin puree. Any more than that and you risk the ice cream turning icy instead of creamy. If your canned pumpkin puree is pretty watery, I would suggest you blot it with some paper towels to get some of the water out.
- Use pure pumpkin puree, not pie filling: The pie filling has added sugar and spices, which can throw off the texture and flavor in the end.
- Pump up the spices: Sweetened condensed milk adds richness but can mellow out flavors, so don’t be shy with the pumpkin pie spice.
- Graham crackers = pumpkin pie vibes: A swirl of crushed graham crackers or gingersnaps adds the perfect cozy crunch. I have an apple pie ice cream recipe here that has a graham cracker swirl in it. You could use that amount and technique for this recipe.
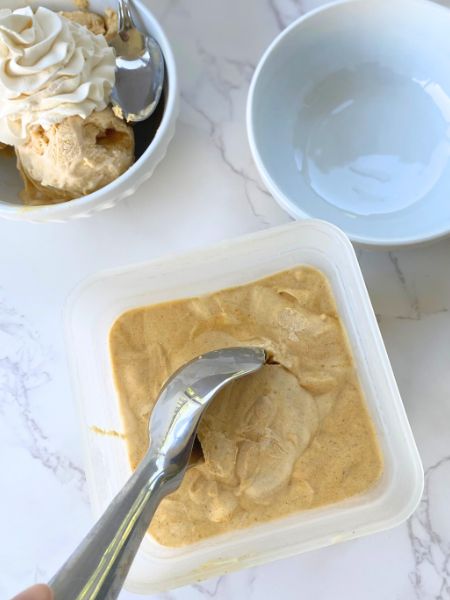
- Let it sit for a few minutes before scooping: Like most no-churn ice creams, this one is best if you let it sit at room temp for 3-55 minutes before serving.
- Double it: This recipe made a little bit less than most of my no-churn ice cream recipes make. I didn’t add as much whipped cream as I normally do because I wanted to make sure to have plenty of pumpkin and pumpkin flavor. If you’re anticipating needing a lot of pumpkin ice cream to share, I would suggest you just make a double batch right away, and make sure you store it in an airtight container to keep leftovers fresh.
FAQs
Can I use fresh pumpkin instead of canned?
You can, but it’s important to make sure it’s very smooth and thick like the pumpkin puree from a can. Homemade puree tends to be wetter than canned, so blotting or straining it can help you avoid a watery texture.
Do I need an ice cream maker for this recipe?
Nope! That’s the beauty of no-churn ice cream. All the creamy texture comes from whipping the cream and folding it gently into the condensed milk mixture.
How long does no-churn pumpkin ice cream last?
It will keep in the freezer for up to 2 weeks in an airtight container, though it’s best eaten within the first week for the creamiest texture. This recipe doesn’t make a lot, so it will probably be gone before you know it.
What can I serve with this ice cream?
Try it with a slice of warm apple pie, spooned into a gingersnap cone, or even sandwiched between two cookies for an easy pumpkin dessert with serious flair.
What kind of container should I store this in?
I have these awesome plastic containers with tight-fitting lids that I stored mine in. I think they were the kinds of containers that soup came in at one point. If you don’t have anything like that, you can use a loaf pan. However, I would recommend you cover your loaf pan with plastic wrap and then wrap a rubber band around the outside of your plastic wrap to keep it nice and airtight.
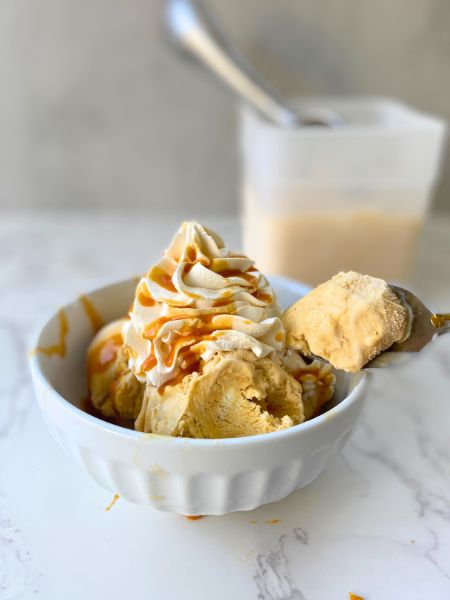
This no-churn pumpkin ice cream is one of those easy fall desserts you’ll want to come back to year after year. It’s festive, flavorful, and ridiculously simple to make. Whether you’re serving it on a cozy weeknight or adding it to your Thanksgiving dessert table, it’s the perfect way to celebrate pumpkin season—no oven required.
Pumpkin No-Churn Ice Cream
Equipment
- Electric or stand mixer
- mixing bowls
- rubber spatula
Ingredients
- 1 cup cold heavy whipping cream
- 1 can (14 oz) sweetened condensed milk)
- 3/4 cup pumpkin puree not pumpkin pie filling
- 1 1/2 tsp pumpkin pie spice
- 1 tsp vanilla
- pinch salt
- Mix-ins (crushed graham crackers, dulce de leche, nuts, etc.) optional
Instructions
- In a bowl, whisk together the sweetened condensed milk, pumpkin puree, pumpkin pie spice, vanilla extract, and a pinch of salt. (If you’re worried your pumpkin might be a little too wet, you can blot the puree lightly with paper towels to remove excess moisture—this helps prevent ice crystals from forming later.)
- In a separate, larger bowl, whip your cold heavy cream using a hand mixer or stand mixer. Whip until stiff peaks form.
- Gently fold the whipped cream into the pumpkin mixture using a rubber spatula. Do this in batches and go slowly so you don’t deflate the air you just whipped into the cream. The result should be light and fluffy but evenly mixed.
- Once everything is combined, pour the mixture into a loaf pan or airtight freezer-safe container. If you’re adding mix-ins like crushed cookies or caramel, sprinkle or swirl them in now. You you can layer ice cream and mix-ins in two batches and then swirl with a butter knife.
- Smooth the top, cover the container, and place it in the freezer for at least 6 hours or overnight until firm.