
Last updated on March 31st, 2025 at 09:01 pm
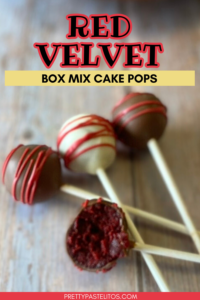 If you’re looking for a fun and delicious treat that’s as pretty as it is tasty, these Red Velvet Cake Pops are just the thing! With their vibrant red center, creamy cream cheese frosting, and rich chocolate coating, they’re a perfect bite-sized dessert for any celebration—or just because. Whether you’re hosting a party, making a sweet gift, or looking for a fun baking project, these cake pops are easy to make, totally customizable, and always a crowd-pleaser.
Helpful Tools to Make Red Velvet Cake Pops
The joy of making cake pops lies not just in the end result, but also in the process itself. To whip up these delectable treats, you’ll need a few basic tools:
- Cake Pop Sticks: These are essential for creating the classic cake pop look. They are also labeled as lollipop sticks in stores, some times. I usually get mine at Michael’s.
- Melting Chocolate or Candy Melts: These coatings give your cake pops a glossy finish and hold your decorations in place. Please, please, please do NOT use regular chocolate chips and expect the same results. Chocolate chips are not made for melting! I have heard that you can add some oil to regular chocolate chips to get results similar to those of melting chocolate, but I personally have not tried that method.
- Coconut (or vegetable) Oil: Add a bit of this to your melted candy melts to kind of thin out the texture. It’s easier to make cake pops with candy melts that are a bit on the water-y side. You don’t need to add a ton, either. I would start with around a teaspoon, and give it a good stir to incorporated it well. Then, try to make a cake pop and see if you need to add a bit more oil.

- Styrofoam Block or Cake Pop Stand: Perfect for holding your cake pops upright while the chocolate coating sets. You can buy styrofoam blocks at most craft stores, usually near the fake flowers.
- Parchment Paper: To prevent sticking and make the cleanup process a breeze.
- Food Processor: While not mandatory, a food processor makes it easy to crumble the cake into fine crumbs.
How to Make Red Velvet Cake Pops
Now, let’s dive into crafting those irresistibly velvety red cake pops. Personally, I believe that the frosting makes the cake! That being said, I believe it is perfectly acceptable to make cake pops using a cake mix, but I do believe that the frosting should be homemade if at all possible. You just can’t beat the robust flavor that homemade frosting gives!
Ingredients:
1 red velvet cake, baked and cooled (I used the Duncan Hines mix)
4 ounces cream cheese, softened
1/4 cup unsalted butter, softened
2 cups powdered sugar
1 teaspoon vanilla extract
Candy melts (you can choose your color)
Cake pop sticks
Assorted decorations (sprinkles, edible glitter, etc.)
Instructions
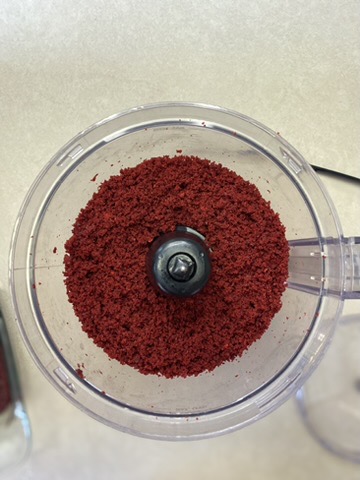
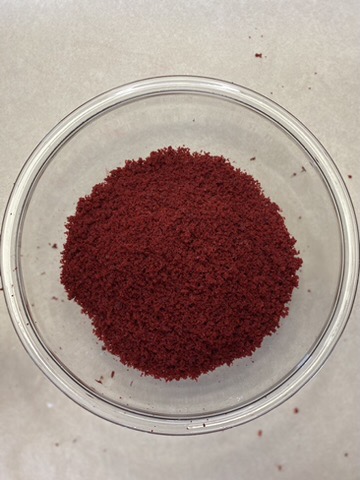
Crumble the cake: Crumble the red velvet cake into fine crumbs. I used a food processor. Store your crumbs in a large bowl
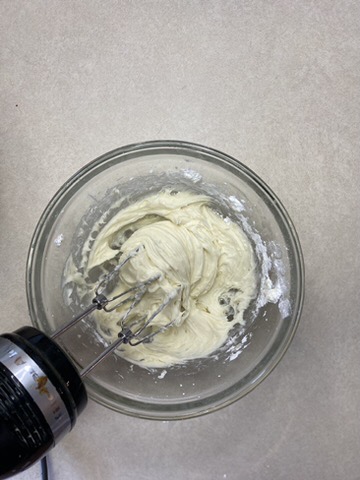
Make the frosting: Beat the softened cream cheese and butter until smooth. Add in vanilla. Slowly add in powdered sugar one cup at a time until you have a thick, rich frosting.
Divide up your frosting: Start with about half of the frosting and then add more to your liking/to get the proper texture. This recipe doesn’t require a full batch of frosting if you use a cake from a box, but I like to use pretty much all of it.
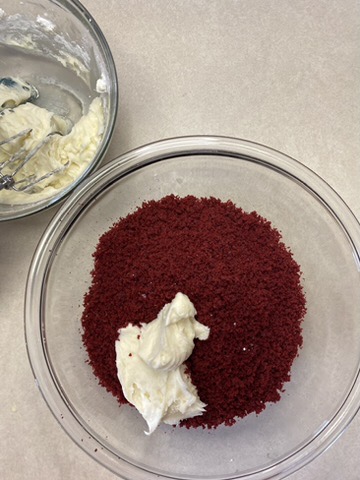
Combine: Mix the cake crumbs with the cream cheese frosting until well combined. Keep adding and mixing frosting with your cake crumbs until you get the desired texture. You want to be able to form the cake pops into balls that hold their shape without drooping or falling apart.
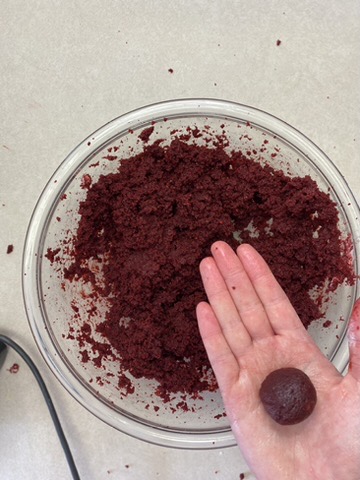
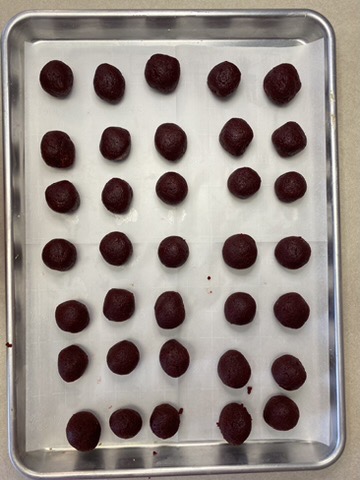
Shape and Chill: Roll the mixture into small balls and place them on a tray. Chill in the fridge for about 20-30 minutes.
Dip in chocolate: Melt the candy melts according to the package instructions. Stick the cake pop sticks into the melted candy and insert them into the cake balls. Dip each cake pop into the melted candy coating, allowing the excess to drip off.
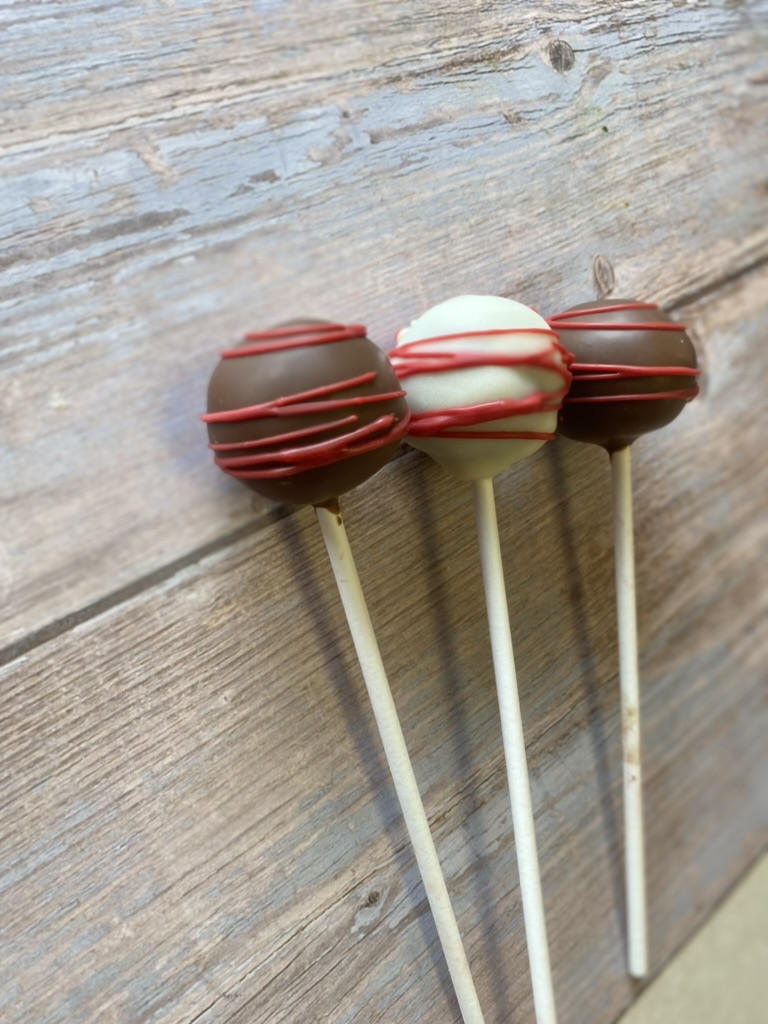
Optional Decorate. I chose to decorate my cake pops with a colored drizzle. You could also drip your still-wet cake pops in sprinkles, edible glitter, nuts or anything else.
Set and Enjoy: Place the decorated cake pops in a styrofoam block or cake pop stand to let the coating set. Once set, they’re ready to be enjoyed!
There you have it, folks – a delightful adventure into the world of easy, delicious red velvet cake pops! These bite-sized treats are not only scrumptious but also a joy to make and share.

Red Velvet Cake Pops
Equipment
- 50 cake pops sticks
- styrofoam blocks or a cake pop stand
- electric mixer
- Food Processor optional
Ingredients
Red Velvet Cake Pops
- 1 red velvet cake mix
- All the other ingredients (eggs, oil, etc.) that your cake mix calls for
Cream Cheese Frosting
- 4 oz cream cheese softened
- 1/4 cup butter softened
- 2 cups powdered sugar
- 1 tsp vanilla
Decoration
- 24 oz candy melts approximately. You can use white chocolate, dark chocolate or even red chocolate.
- 1-3 Tbsp coconut oil You can also use vegetable oil. Sometimes coconut oil leaves a hint of a flavor of coconut.
Instructions
Bake Cake
- Prepare your red velvet cake mix according to the box instructions. Bake fully and allow it to cool fully before continuing.
Make Red Velvet Cake Balls
- After your cake fully cools, break it into fine, fine crumbs. I like to cut the cake into big chunks and then pulse it in a food processor. Store your crumbs in a large bowl.
- In another large bowl, mix together all of your cream cheese frosting ingredients until smooth. First, mix together the cream cheese and butter until smooth. Then, slowly add the powdered sugar and vanilla. Mix everything until smooth.
- Take about half of your frosting and mix it into your cake crumbs. You want the frosting and cake crumbs to form a sort of cake dough. Keep adding frosting and mixing it into your cake crumbs until your "dough" has the consistency of Play Doh and can be molded into a ball.
- Line a cookie sheet (or other flat plate) with parchment paper.
- Roll your cake dough into 1-inch balls and place them on your lined cookie sheet. You might have to work in batches, depending on how many cake balls you can fit on one tray.
- Place your cookie sheet in the freezer for about 30 minutes to chill. You can do the fridge, but I think it's easier to work with cake balls that are almost frozen.
Decorate Cake Pops
- Melt your chocolate candy melts according to the package instructions (definitely follow those!) in a small bowl. I would work with about 8 ounces of chocolate at a time. If you melt a lot at once, you risk it hardening up again before you can use it all.
- Add a bit of coconut (or vegetable) oil to the candy melts to make them a bit more water-y. It's easier to work with candy melts that have a slightly thinner texture. Mix that oil in really well so you have one consistency for your candy melts throughout.
- Take your cake balls out of the freezer.
- Dip the end of a cake pop stick into the candy melts. Take that end with chocolate on it and stick it into the middle of a semi-frozen cake ball (the chocolate acts like a glue to hold the cake ball on).
- Carefully dip your cake ball on a stick into the melted chocolate and cover it with chocolate. Carefully lift the cake pop out and allow the excess chocolate to drip off back into the bowl of melted chocolate.
- Place your coated cake pop upright in a cake pop stand or some styrofoam to dry. If you're adding sprinkles, add those while your chocolate coating is still wet.
- Optional: I like to melt some red chocolate candy melts (with some extra oil!) and place them in a small icing bottle with a small, plain round tip. Then, I drizzle that chocolate on the outside of my cake pops and stick them upright once more to dry.