
Last updated on April 9th, 2025 at 09:07 pm
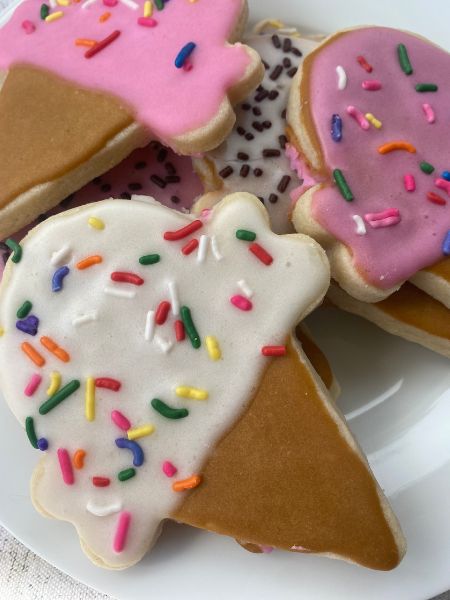
 These Ice Cream Cone Cutout Cookies are the perfect way to celebrate sunny days, beach trips, and backyard barbecues. They’re buttery, soft, and hold their shape beautifully—ideal for decorating with vibrant royal icing or your favorite buttercream. Whether you’re baking for a party or a fun afternoon activity with the kids, these summer themed cookies are guaranteed to be a hit!
I love making cutout cookies for every season, but there’s something extra fun about these. The playful shape and bright colors make them perfect summer sugar cookies decorated with sprinkles, drizzles, or even edible glitter. Plus, they store well and look stunning wrapped up in little cellophane bags for party favors. As soon as I saw that cute ice cream cone cookie cutter, I knew I was going to have to make something absolutely adorable with it! I hope you enjoy these cookies as much as I did.
Jump to Recipe
Ingredients for Ice Cream Cone Cutout Cookies
This cookie dough is my go-to for cutouts because it’s easy to work with and doesn’t spread while baking. Here’s what you’ll need:
For the Cookies:
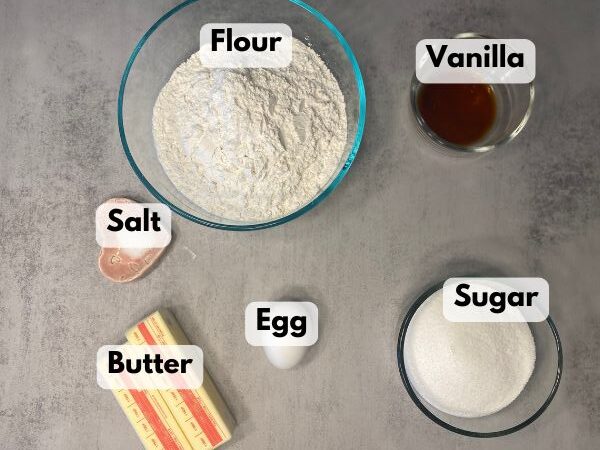
- 1 cup (2 sticks) unsalted butter, softened
- 1 cup granulated sugar
- 1 large egg
- 1 teaspoon vanilla extract
- 3 cups all-purpose flour
- 1/2 teaspoon salt
For the Icing:
You can use your favorite royal icing, I always go with this recipe from Sally’s Baking Addiction which I absolutely love!:
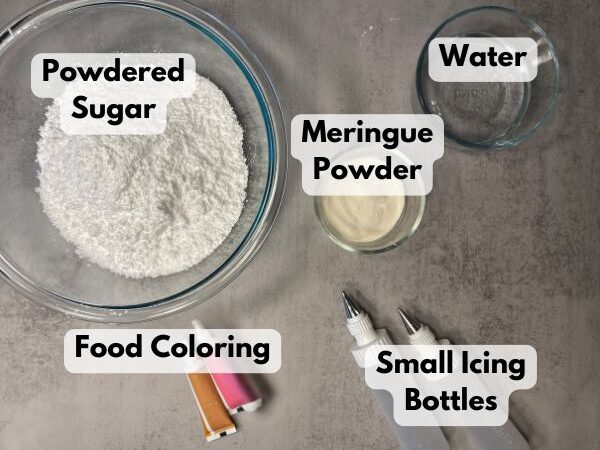
- 4 cups powdered sugar
- 3 tablespoons meringue powder
- 9-10 tablespoons room temperature water
- Gel food coloring (for decorating, more on that later)
- Sprinkles for topping (optional, but super easy and fun)
How to Make Ice Cream Cone Cutout Cookies
These cookies come together in just a few steps. Chill the dough before rolling to make cutting easier—and don’t forget to have fun decorating!
Step 1: Make the Dough
1. In a medium bowl, whisk together the flour, baking powder, and salt. Set aside.
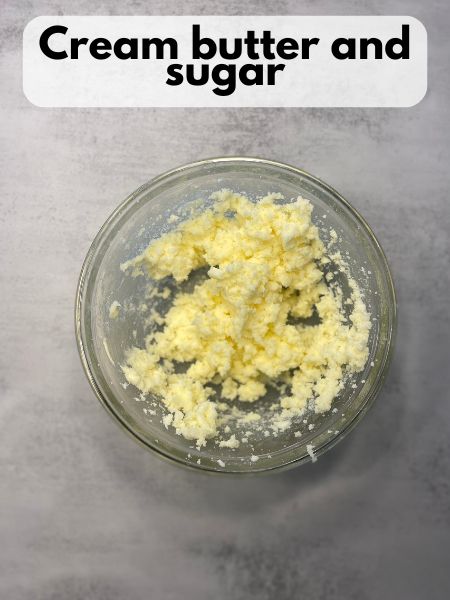
2. In a large bowl, use an electric mixer to beat the butter and sugar until light and fluffy (about 2-3 minutes).
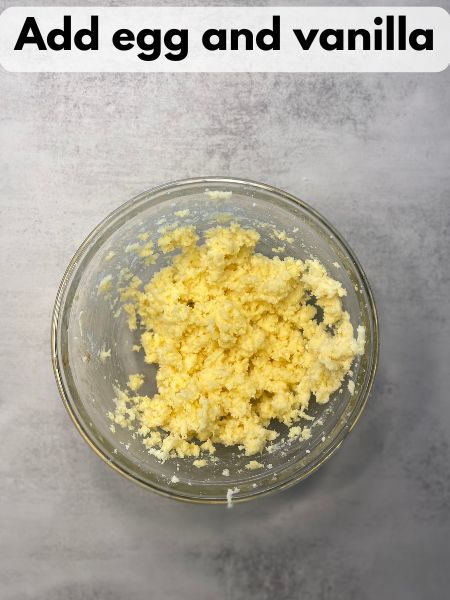
3. Add the egg and vanilla extract. Beat until fully combined.
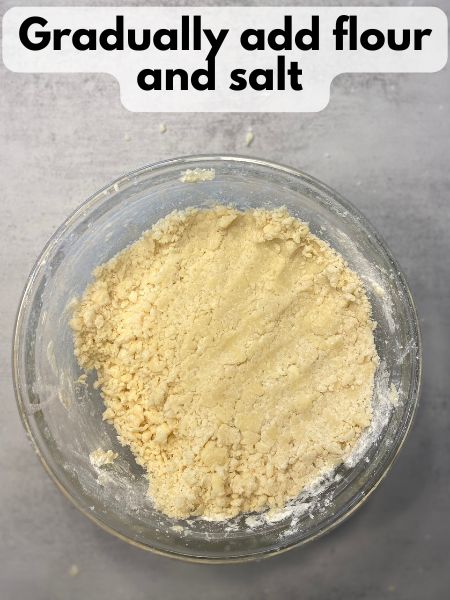
4. Gradually add the dry ingredients to the wet ingredients, mixing until a dough forms.
Step 2: Chill the Dough
1. Divide the dough in half and flatten each half into a disc. Wrap in plastic wrap and refrigerate for at least 1 hour.
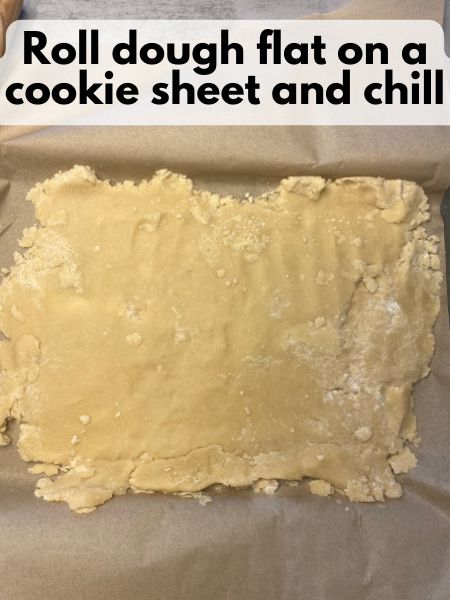
1A. If you’re pressed for time (Or just impatient like me!), you can also roll your dough out pretty flat and put it on a cookie sheet lined with parchment paper. You can stick your whole cookie sheet in the freezer for 20-30 minutes to chill it.
However you do it, chilled dough is much easier to work with and helps your cookies keep their shape.
Step 3: Cut and Bake
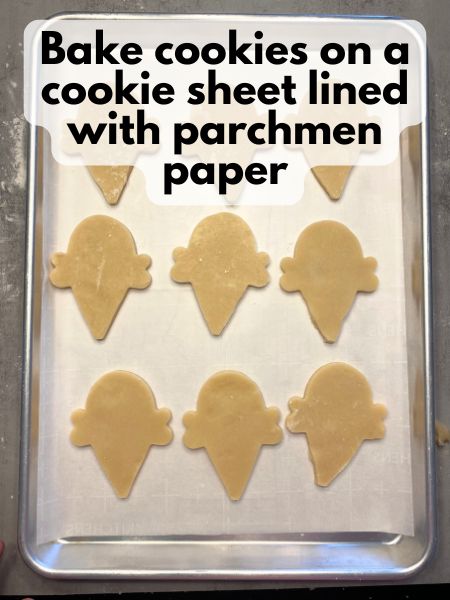
1. Preheat your oven to 350°F (175°C). Line your baking sheets with parchment paper.
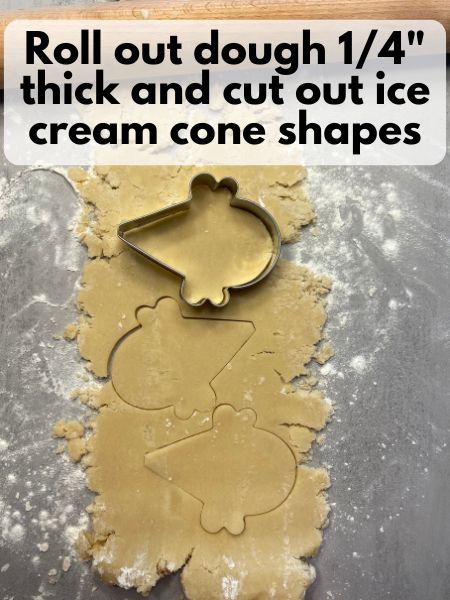
2. On a lightly floured surface, roll the dough to about ¼ inch thick. Use an ice cream cone cookie cutter to cut out shapes and transfer them to the baking sheet, spacing about 1 inch apart.
3. Bake for 8–10 minutes or until the edges are just barely golden. Let cool on the pan for 5 minutes before transferring to a wire rack to cool completely.
Step 4: Decorate
Once the cookies are fully cooled, it’s time for the fun part! I know this part looks complicated and labor-intensive, but once you’re going through the process, it’s really quite simple! It just take a lot of words to explain.
Part 1 Decoration
1. Mix up your icing, adjusting the consistency as needed. I also recommend small icing bottles (which you’ll see in all my pictures for these types of cookies because I love them so much!), or a piping bag fitted with a small, plain round tip.
You’re going to want to decorate these cookies in two parts for best results, so you’ll want a couple different bowls to mix your colors, and you’ll also want a bowl with a lid to store your icing for part 2 while part 1 sets.
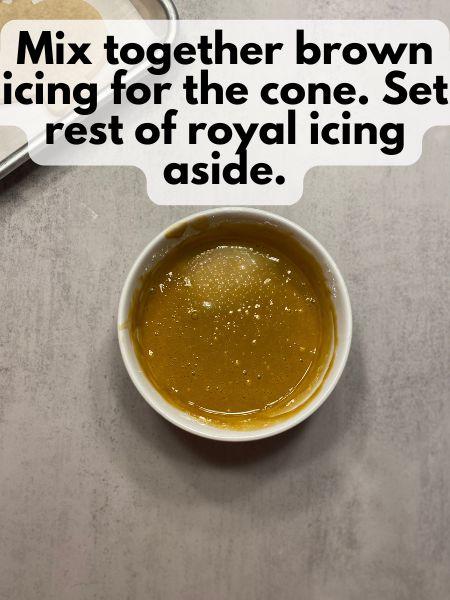
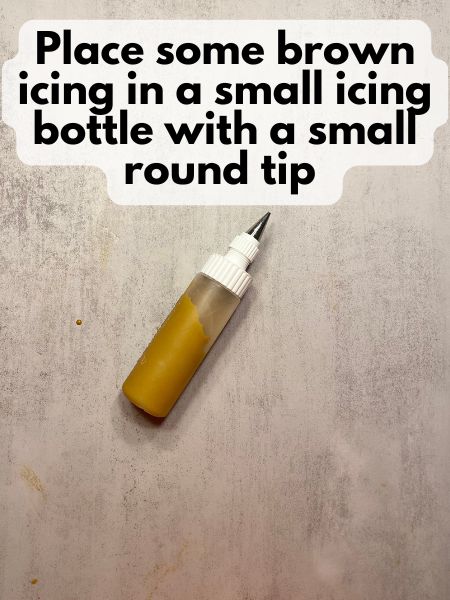
2. For part 1, take about ¼ of your royal icing and color it a brown color. You can find brown food coloring at a craft store in the baking section or online. Put your brown icing in a small icing bottle with a small round tip, like the tip that looks like it will be too small for this will probably be the perfect size!
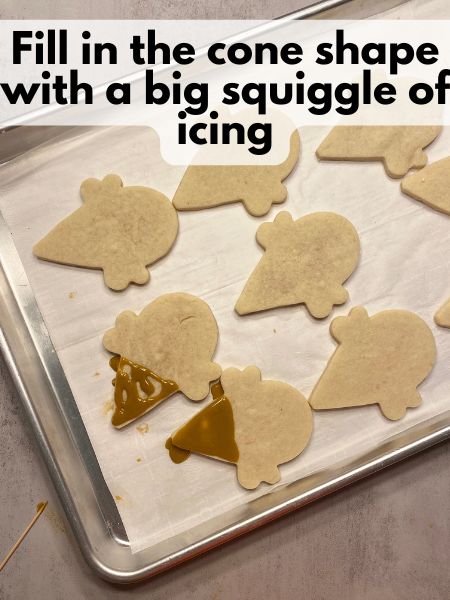
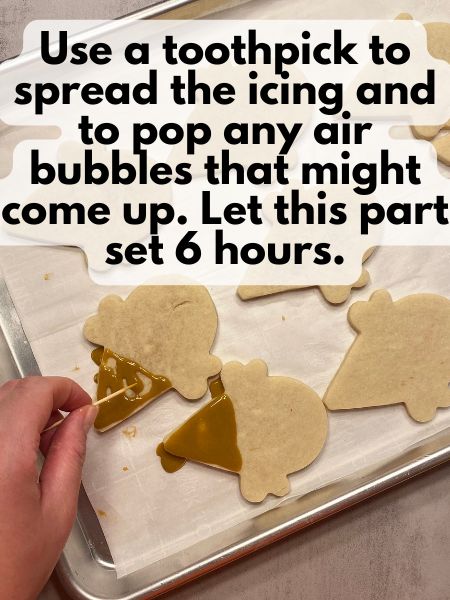
3. Outline a triangle for your cone on the cookie, then fill in the triangle with more royal icing to “flood” the area. Use a toothpick to gently spread the icing out and to pop any air bubbles you may see forming in your icing.
4. Let part 1 of the icing sit for around 4-6 hours to make sure it’s really set before doing part 2. Store the rest of your royal icing in an airtight container either in the fridge or at room temperature. I know! This part really stinks!! However, it will help you have super cute ice cream cone cookies in the end. If you don’t let the brown part set fully, it will run into your vibrant ice cream colors.
Part 2 Decoration
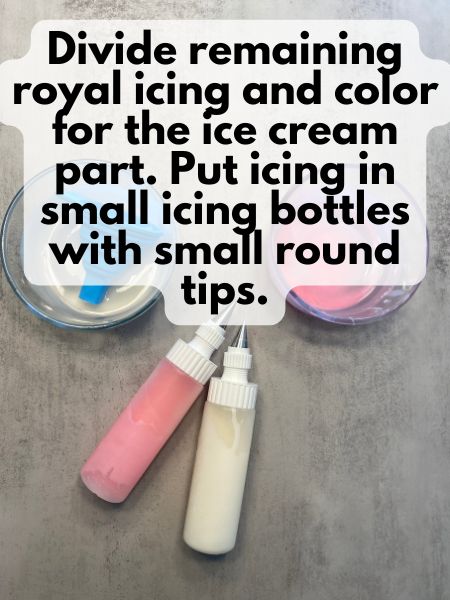
1. For part 2, take the rest of your royal icing (you might have to give it a stir and/or add a couple drops of water if it thickened while you were waiting) and divide it into however many colors you want for your ice cream part.
2. Add gel food coloring to your royal icing and put the icing in small icing bottles or piping bags with small, plain round tips.
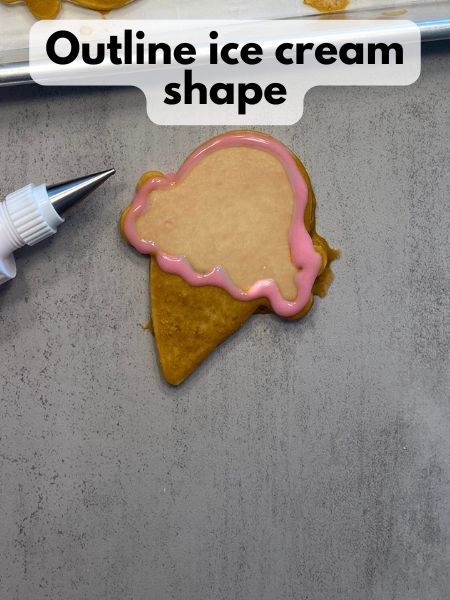
3. Outline the ice cream shape first, then fill it in (just like you did with the cone part). Finally, use a toothpick to gently spread the icing and pop any air bubbles that might form.
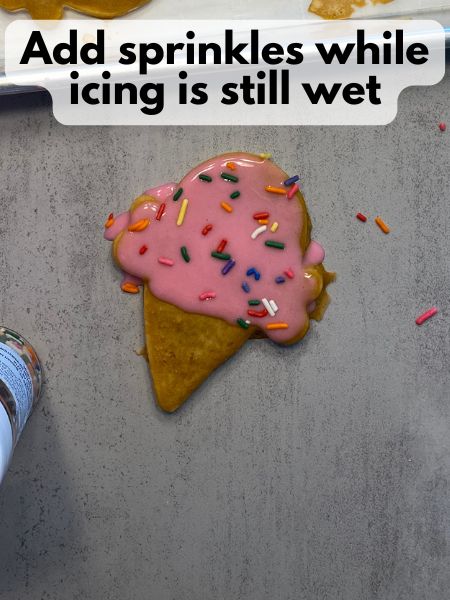
4. If you want to decorate with sprinkles, do this while the royal icing is still set. Let your cookies sit at least another 6 hours to allow the icing to set.

Pro Tips for the Best Summer Decorated Cookies
- Don’t skip chilling the dough. It makes a huge difference in how your cookies bake and helps them hold crisp edges.
- Use the smallest round tips you can. The icing tips that look too small are probably the right size for this kind of thing. Also, to go along with that, make sure your royal icing doesn’t have any lumps in it. Lumps will clog up your piping tip making it harder to decorate with. If you find a lump is blocking your piping tip, I would recommend removing it and rinsing it with warm water if you used an icing bottle, If you used a piping bag, you can try to poke a toothpick up into your tip so you don’t have to empty your piping bag to rinse the tip out.
- Pipe in stages. Let each layer of icing set separately. This gives your summer sugar cookies decorated that crisp, clean look. I like to do my cookies either in two days or over the course of one entire day. So, I’ll make my dough early in the morning and bake it. Then, I’ll do the cone part and let that set in the afternoon. Finally, at night I’ll do the ice cream part and let it set overnight so the cookies can be enjoyed next day. You could also bake your cookies in the afternoon, do the cone part of the icing in the evening and let that set over night. Then, do the ice cream part the next morning and let that set until afternoon/evening. Unfortunately, cute cut out cookies are a bit of a process, but like 90% of that process is just waiting for icing to set while you do other things and move on with your life.
- Plan ahead. Going along with the above point, royal icing takes time to dry completely—up to 12 hours for two layers. If you’re stacking cookies, make sure they’re fully dry first. Also, make sure you set aside a day or so to fully allow icing to dry if you want to gift them, sell them at a bake sale or just really impress your friends at your summer cookout.
- Use Jimmies for Sprinkle Decorations. It’s so funny for me to call them Jimmies, because in my head they’re just sprinkles. However, if you search sprinkles you’ll probably see sanding sugars and nonpareils, too. Jimmies work great with royal icing because they have a waxy coating that doesn’t bleed its color into the wet royal icing. Nonpareils can also work, but I thought they were too small to really be visible on such a large cookie. Sanding sugar gives cut out cookies almost a glittery look, which is fine, but it just wasn’t the vibe I was going for for this ice cream cone cookie.
FAQs
Can I freeze these cookies?
Yes! You can freeze the unbaked dough, baked undecorated cookies, or even fully decorated cookies (just be sure the icing is completely dry). Store them in airtight containers and thaw at room temperature.
Can I use a different icing?
Absolutely. Royal icing gives that smooth, glossy finish, but if you prefer a softer bite, you can use a simple buttercream or glaze instead. Just note that buttercream won’t harden enough for stacking or packaging.
What’s the best way to store these cookies?
Once decorated and dried, store your cookies in an airtight container at room temperature. They’ll stay fresh for up to a week. For longer storage, freeze them with parchment between layers.
Where can I find ice cream cone cookie cutters?
Most craft stores carry seasonal cookie cutters, or you can easily find them online. You can even print a template and cut the shapes by hand if you’re feeling crafty!
Can I make these cookies in advance for a party?
Yes! You can make the dough up to 3 days ahead, or bake and freeze the cookies up to a month ahead. Just decorate a day or two before your event for the freshest look and taste.

These Ice Cream Cone Cutout Cookies are everything I love about summer themed cookies—bright, playful, and totally customizable. Whether you go all out with royal icing or keep it simple with a drizzle and sprinkles, they’re sure to bring smiles to everyone’s face.
They’re perfect for birthday parties, poolside treats, or just a sweet afternoon activity with the kids. And honestly, they make me smile every time I see them lined up in pretty rows on a tray.
So grab your cookie cutters, some food coloring, and get ready to whip up the cutest summer decorated cookies around. Happy baking!

Ice Cream Cone Cutout Cookies
Equipment
- Small icing bottles or piping bags
- Small round piping tips
Ingredients
Cutout Cookie Base
- 1 cup (2 sticks) unsalted butter softened
- 1 cup granulated sugar
- 1 egg
- 1 tsp vanilla
- 3 cups all-purpose flour
- 1/2 tsp salt
Royal Icing
- 4 cups powdered sugar
- 3 Tbsp meringue powder
- 9-10 Tbsp water room temperature
Decorating
- Gel food coloring brown for the cone and various colors for the ice cream
- Sprinkles for decorating
Instructions
Make Cutout Cookie Dough
- In a medium bowl, whisk together the flour, baking powder, and salt. Set aside.
- In a large bowl, use an electric mixer to beat the butter and sugar until light and fluffy (about 2-3 minutes).
- Add the egg and vanilla extract. Beat until fully combined.
- Gradually add the dry ingredients to the wet ingredients, mixing until a dough forms.
Chill the Dough
- Option 1: Divide the dough in half and flatten each half into a disc. Wrap in plastic wrap and refrigerate for at least 1 hour.
- If you want something a bit faster you can opt for Option 2: roll your dough out pretty flat and put it on a cookie sheet lined with parchment paper. You can stick your whole cookie sheet in the freezer for 20-30 minutes to chill it.
Cut and Bake
- Preheat your oven to 350°F (175°C). Line your baking sheets with parchment paper.
- On a lightly floured surface, roll the dough to about ¼ inch thick. Use an ice cream cone cookie cutter to cut out shapes and transfer them to the baking sheet, spacing about 1 inch apart.
- Bake for 8–10 minutes or until the edges are just barely golden. Let cool on the pan for 5 minutes before transferring to a wire rack to cool completely.
Decorate Cone
- Mix together all your icing ingredients, adjusting the consistency as needed. Don't add food coloring yet.
- Take about ¼ of your royal icing and color it a brown color. You can find brown food coloring at a craft store in the baking section or online.
- Put your brown icing in a small icing bottle with a small round tip, like the tip that looks like it will be too small for this will probably be the perfect size! Alternatively, you can use a piping bag with a small tip.
- Outline a triangle for your cone on the cookie
- Then fill in the triangle with more royal icing to “flood” the area.
- Use a toothpick to gently spread the icing out and to pop any air bubbles you may see forming in your icing.
- Let the cone part rest and dry 4-6 hours until it's totally set.
- Store the rest of your royal icing in an airtight container with a lid until you're ready for the next part.
Decorate the Ice Cream
- Take the rest of your royal icing (you might have to give it a stir and/or add a couple drops of water if it thickened while you were waiting) and divide it into however many colors you want for your ice cream part.
- Add gel food coloring to your royal icing and put the icing in small icing bottles or piping bags with small, plain round tips.
- Outline the ice cream shape first, then fill it in (just like you did with the cone part). Finally, use a toothpick to gently spread the icing and pop any air bubbles that might form.
- If you want to decorate with sprinkles, do this while the royal icing is still set.
- Let your cookies sit at least another 6 hours to allow the icing to set and enjoy.