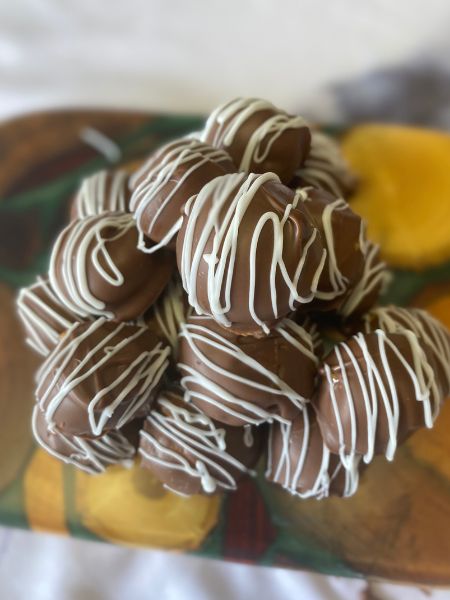
 This recipe is something that I have been craving and wanting to make for the longest time! I am so excited to finally write and publish this recipe for Salted Caramel Cookie Butter Truffles. I, honestly, got the idea when I was super late night snacking, and I saw these salted caramel chips and a jar of cookie butter in my pantry. I figured, I love both of these flavors! Let’s see how they interact! And ever since that late night, I have been wanting to formally publish something with these. So, here we go with some mouthwatering, rich and super easy Salted Caramel Cookie Butter Truffles.
Are Truffles Hard to Make?
So, maybe you’re wondering, “Aren’t truffles too complicated to make at home?” I thought the same thing, too! Truffles is such a fancy word, surely they must be extremely complex and time-consuming, right? Well, fear not, because I’m here to share a recipe that will make you a truffle-making pro in no time! These Salted Caramel Covered Cookie Butter Truffles are not only delectable but surprisingly easy to whip up.
If you’re looking for other truffle recipes, check these out:
Special Ingredients Needed for These Truffles:
Now, let’s talk about what makes these truffles extra special. The secret lies in a couple of ingredients that come together to create a flavor explosion in every bite. Here’s what you’ll need to gather:
1. Cookie Butter: Aka, the star of the show! Cookie butter adds a rich and creamy texture, infusing the truffles with an irresistible cookie flavor. I absolutely love the Trader Joe’s brand of cookie butter! However, I have used Biscoff in a pinch and it works just as well.
2. Salted Caramel Candy Melts: These things are amazing!! I found them at Michael’s and instantly fell in love. I’ve already made Oreo truffles and cake pops with them. If you can’t find them at your local Michael’s, you can also buy them online. I know. It’s not at all ideal. However, after tasting these things, I would definitely buy them anywhere I could. I went to two different Michael’s stores in my area to make sure I had some for this recipe.
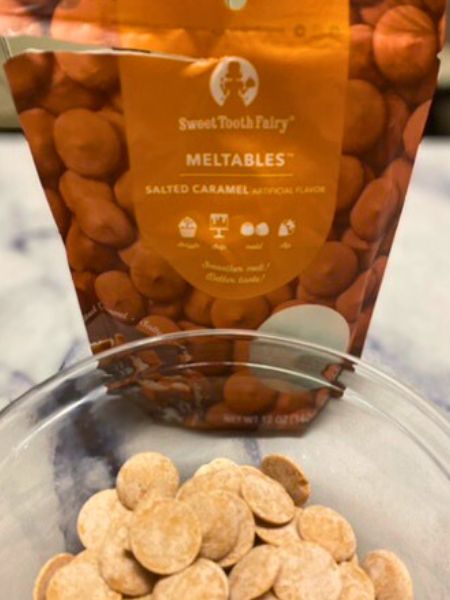
3. Extra Chocolate Melts: I will explain a little more in just a bit, but I recommend having some regular chocolate melts to drizzle and decorate your truffles with. This is, of course, optional! However, I think it make brings the presentation of the whole thing together a little more. Plus, Michael’s has different colors of melting chocolate, so you can buy colors to match any season or occasion if you wanted to!
My Secret to Making Pretty Truffles
I will not deny that I’m a lazy (and busy!) baker. That’s why I started this site after all: to help other lazy bakers achieve picture worthy desserts with minimal effort. I try to share tips and tricks with all of my recipes to make your life a little simpler and easier. I have 2 main tricks to make these truffles easy and pretty.
Trick #1: Use coconut oil. As much as I love the Sweet Tooth Fairy brand of melting candies from Michael’s, they melt a little too thick for me. I want my excess candy/chocolate to quickly drip off of my truffles. I don’t have time to waste shaking and coaxing excess chocolate off of things! So, I add a little bit of coconut oil to my melting candies to make the texture just a little more watery. I couldn’t tell you exactly how much, but I would estimate about 2-3 teaspoons for a whole 12 oz. bag of candy melts.
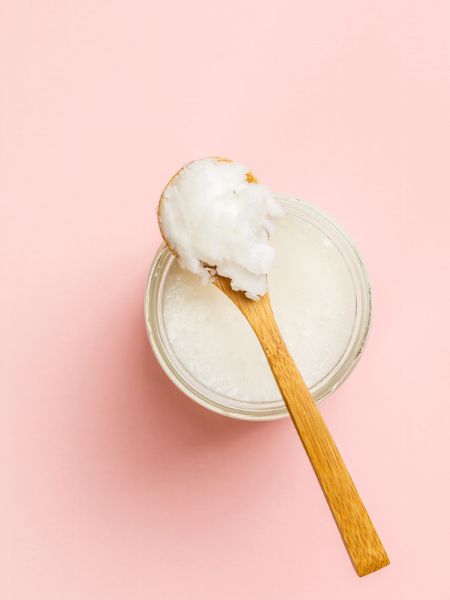
I also add coconut oil to the chocolate I use for the drizzle to decorate my truffles. I use these small icing bottles (also from Michael’s!) with tiny round tips to create my drizzle. The hole on these tips is super small, so it can easily get clogged in the middle of drizzling your truffles. The coconut oil also helps loosen up your drizzle so that you can quickly get it done and move on to enjoying these deliciously easy treats!
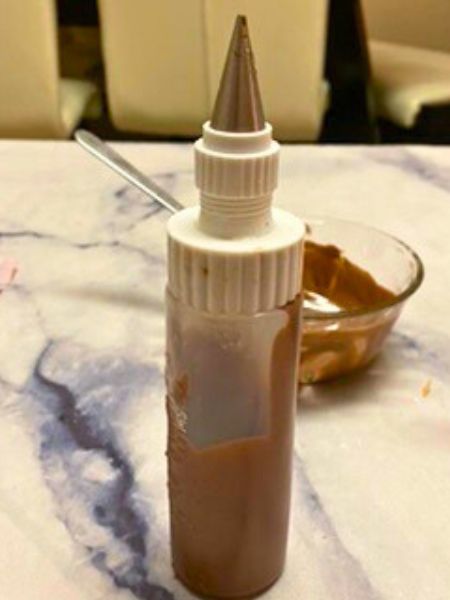
Trick #2: Drizzle to decorate. You could use extra salt to decorate these, since they are salted caramel. You could also use some kind of edible glitter or sprinkles. I, however, use a drizzle simply to mask the fact that, up close, my truffles end up being all different sizes and asymmetrical. I think the drizzle adds an extra dimension of decorating and thus hides some of the imperfections in my truffles. Maybe that’s just me, and y’all see through my asymmetrical truffles, anyway. However, I like to drizzle my truffles if I can for the simple reason of, I think it makes things look pretty while distracting people from certain imperfections that are there.
How to Store Salted Caramel Cookie Butter Truffles
Before we dive into the kitchen, let’s talk about proper truffle storage. These little bites of heaven are best kept in an airtight container in the refrigerator. The cool temperature helps maintain their shape and texture. If you manage to resist devouring them all at once, these truffles can last up to a week in the fridge, making them a perfect make-ahead treat for any occasion.
How to Make Salted Caramel Cookie Butter Truffles
Alright, let’s get down to the delicious details – making these Salted Caramel Cookie Butter Truffles! Get your apron on and let’s embark on this sweet adventure together. The good news is: it’s a rather quick, short adventure!
Ingredients:
– 1 cup cookie butter
– 4 oz cream cheese, softened
– 1 cup powdered sugar
– Salted caramel melts (About 12 oz. Adding a little coconut oil stretches how many candy melts you end up needing. I just squeaked by with 12 oz. and some coconut oil)
– Coconut oil (Optional, see note above)
Instructions:
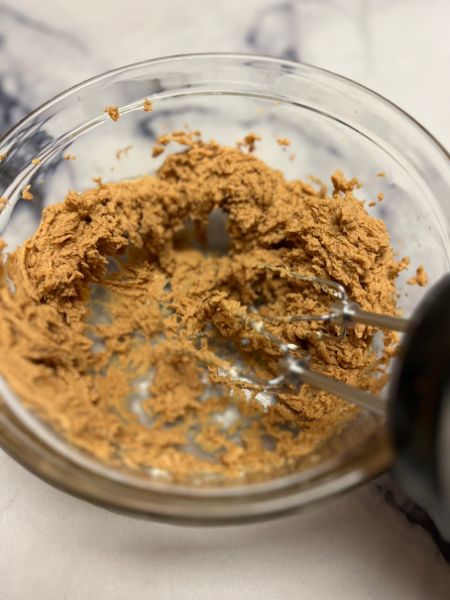
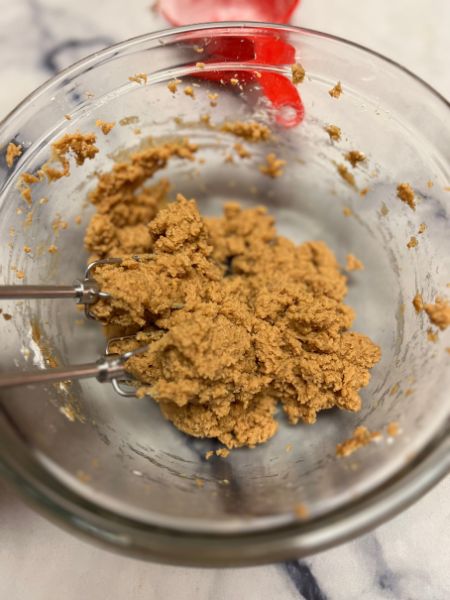
1. Mix : In a bowl, combine the cookie butter and cream cheese until smooth. Then, add in powdered sugar and mix that until everything forms a smooth dough with no obvious lumps of sugar.
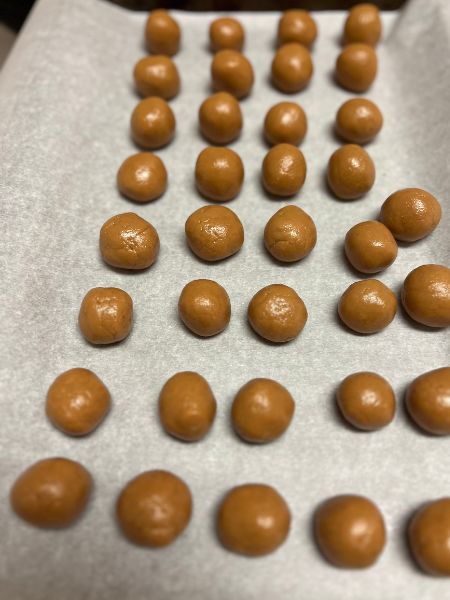
2. Shape Into Balls: Once the mixture is smooth and consistent, use your hands to roll it into bite-sized balls. Place them on a parchment-lined cookie sheet and chill in the fridge or freezer for 30 minutes.
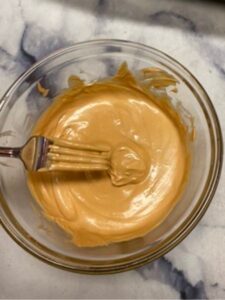
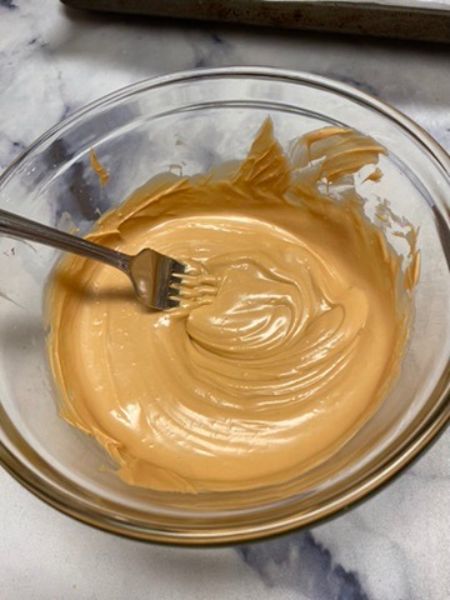
3. Melt the Salted Caramel Melts: In a heatproof bowl, melt the salted caramel melts according to the package instructions. This part is important: Actually follow the package instructions when they tell you to microwave them at half-power at first! If you don’t do that, you’ll end up burning your salted caramel melts before you can use them.
Add a little coconut oil to your melted salted caramel melts for texture.
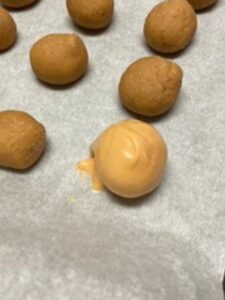
4. Dip and Coat: Take the chilled cookie butter balls and dip each one into the melted chocolate, ensuring they’re evenly coated. Use a fork to lift them out, allowing any excess chocolate to drip back into the bowl. Then, carefully place them back on the lined cookie sheet to set
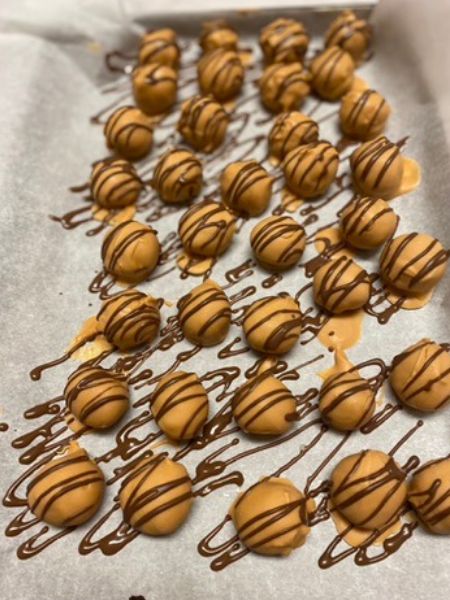
5. Drizzle the Pretty: Melt your regular chocolate candy melts according to the package instructions. Add a little bit of coconut oil to make things smoother. Then, using a spoon or a small icing bottle with a small (tiny!) round tip, drizzle your salted caramel cookie butter truffles just a little bit.
6. Store in the fridge in an airtight container.
7. Indulge! Once set, your Salted Caramel Cookie Butter Truffles are ready to be devoured. Serve them on a fancy platter or pack them into a cute box for an irresistible homemade gift.
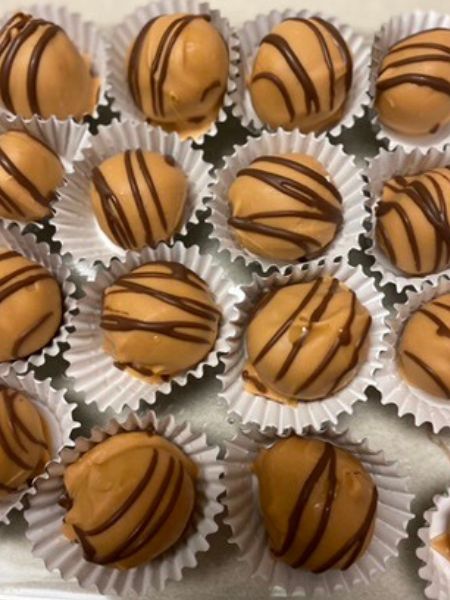
Congratulations, you’ve just mastered the art of making cookie butter truffles! These little bites are perfect for satisfying sweet cravings, impressing guests, or even as a thoughtful homemade gift. So, go ahead, treat yourself and your loved ones to the delightful experience of these Salted Caramel Covered Cookie Butter Truffles.

Salted Caramel Cookie Butter Truffles
Ingredients
- 1 cup cookie butter
- 4 oz cream cheese softened
- 1 cup powdered sugar
- 12 oz salted caramel flavored candy melts
- 2-3 tsp coconut oil
- 2 oz chocolate candy melts for decoration, optional
Instructions
- In a large mixing bowl, mix the cookie butter and cream cheese until smooth and consistent.
- Add powdered sugar and mix until smooth and consistent.
- Line a cookie sheet with parchment paper. Shape your cookie butter dough into balls about 1 inch in diameter, and place them on the cookie sheet.
- Place your cookie butter balls in the fridge or freezer to chill for around 30 minutes. I prefer the freezer, as I think it helps them hold their shape more during the next steps.
- After your cookie butter balls have chilled, melt your salted caramel flavored candy melts according to the package instructions. Add a little bit of coconut oil to give your candy melts a slightly thinner texture.
- Using a fork, carefully dip each cookie butter ball in melted salted caramel, then lift them out of the caramel using the fork and allow the excess to drip off. Carefully place them back on the cookie sheet to set.
- Melt some regular chocolate candy melts according to package instructions. Add a little bit of coconut oil to make the texture slightly thinner. Using a spoon or a small icing bottle, drizzle on some regular chocolate for decoration.

