
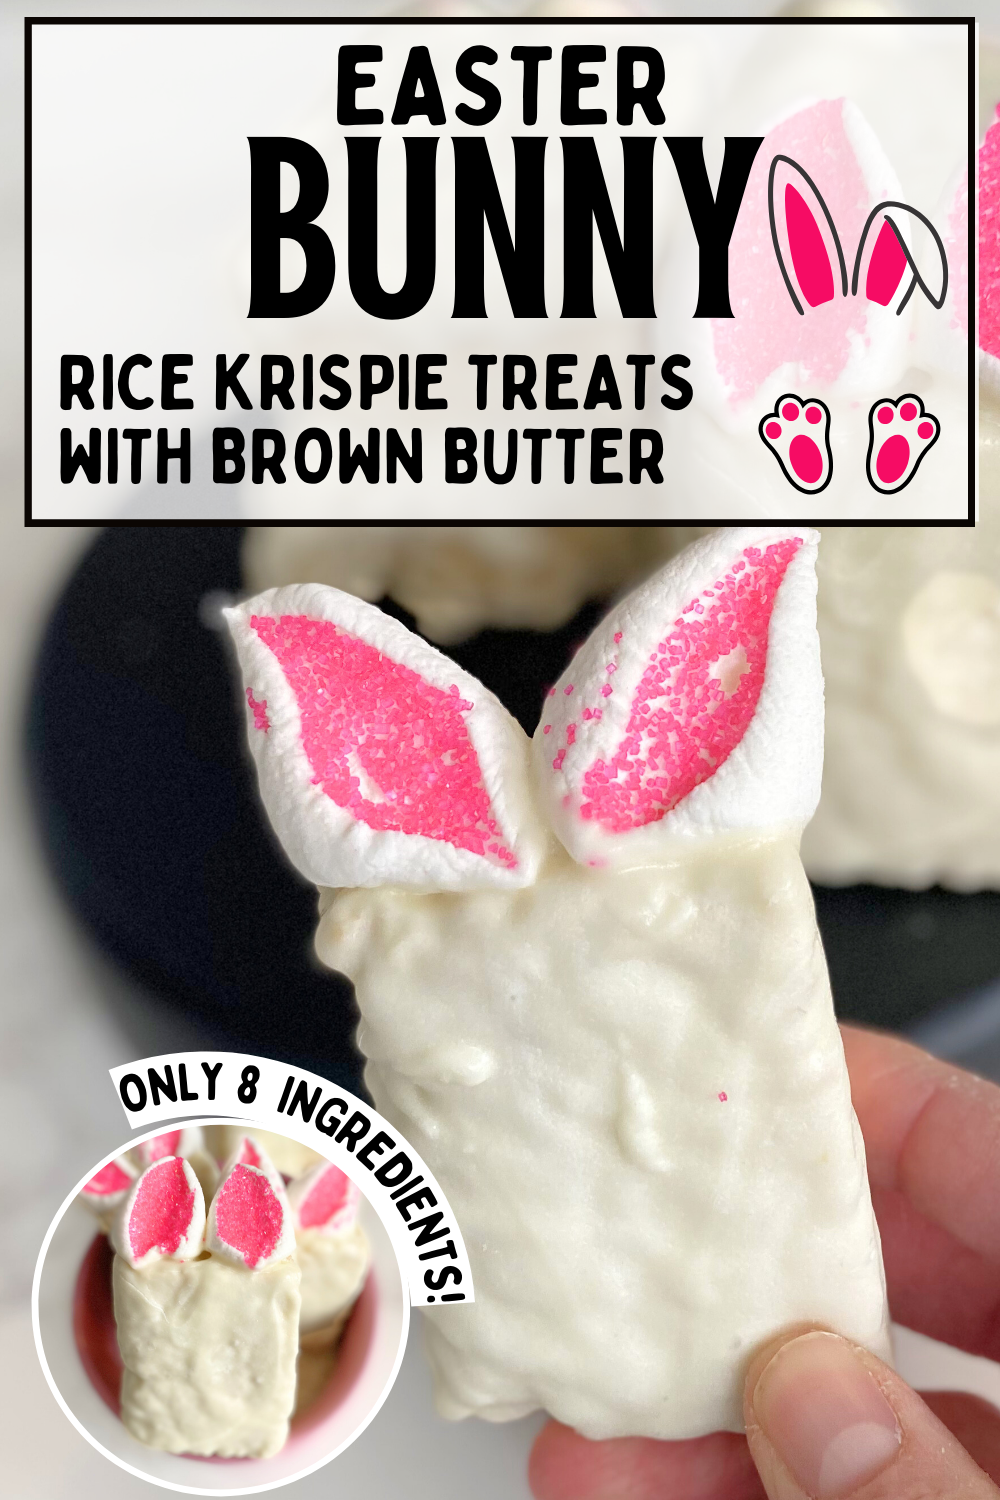
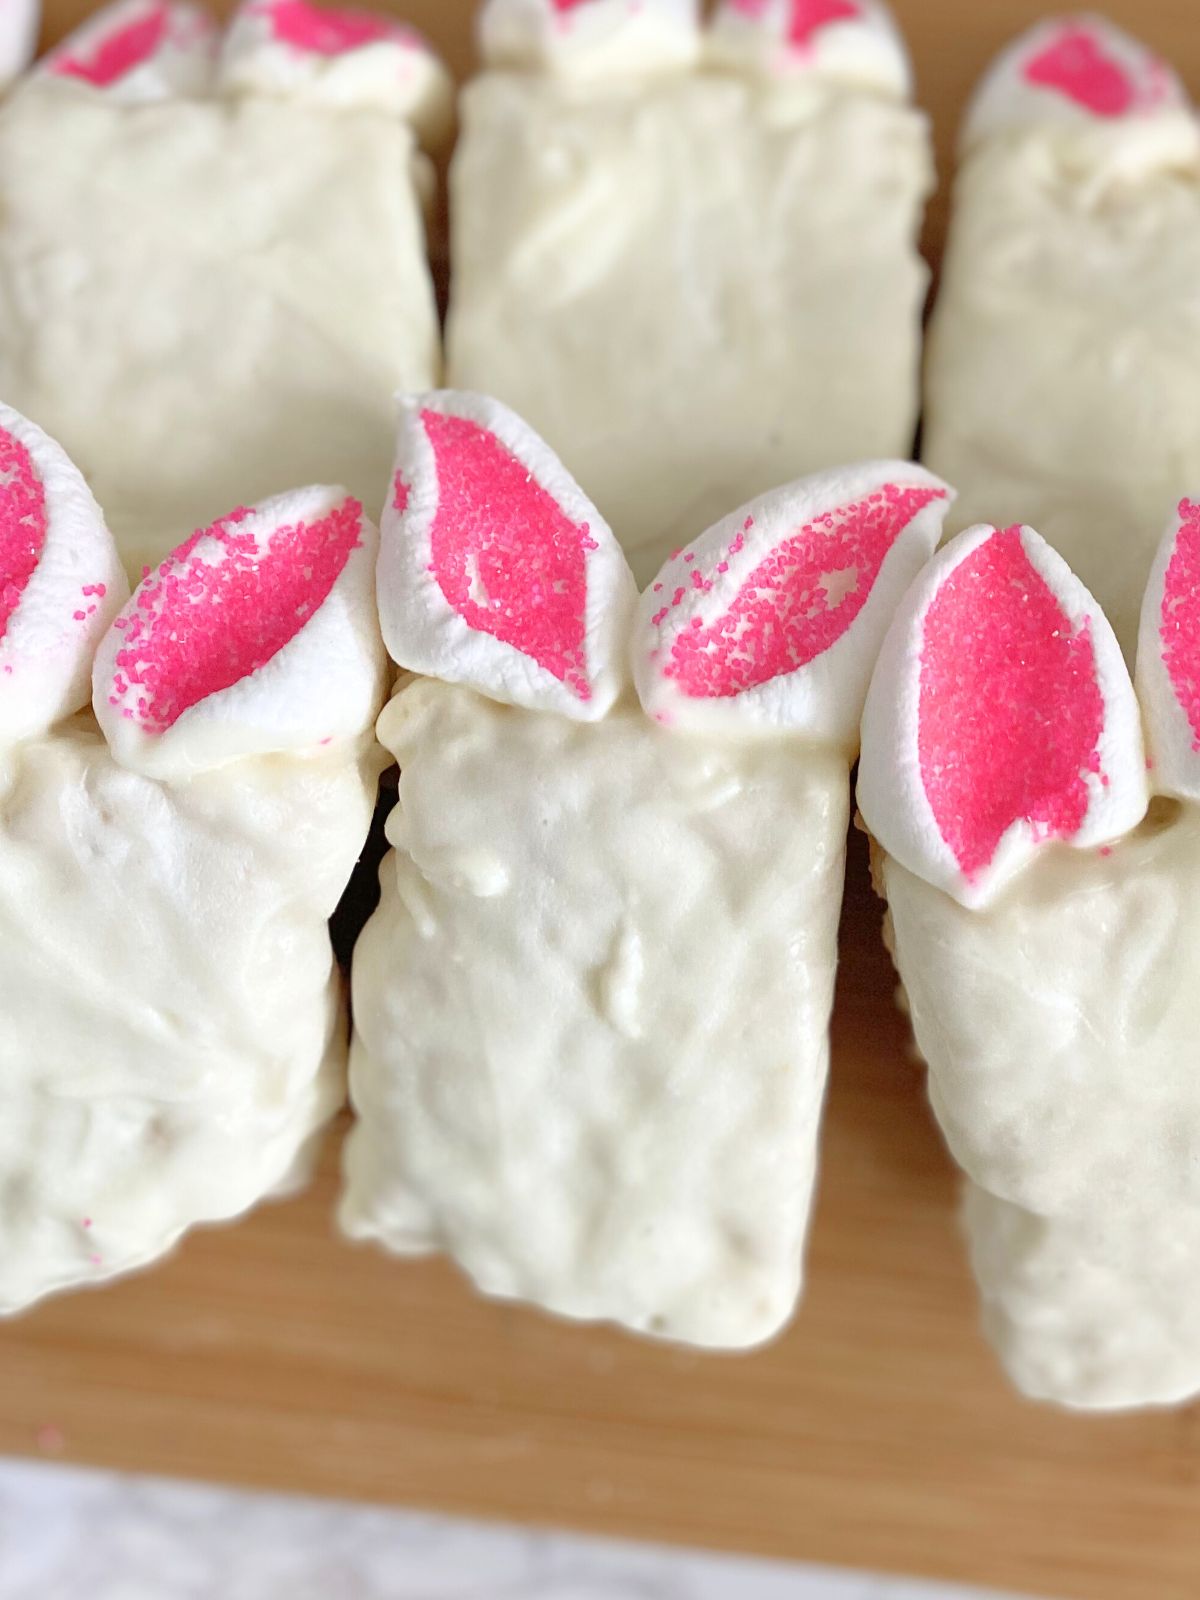
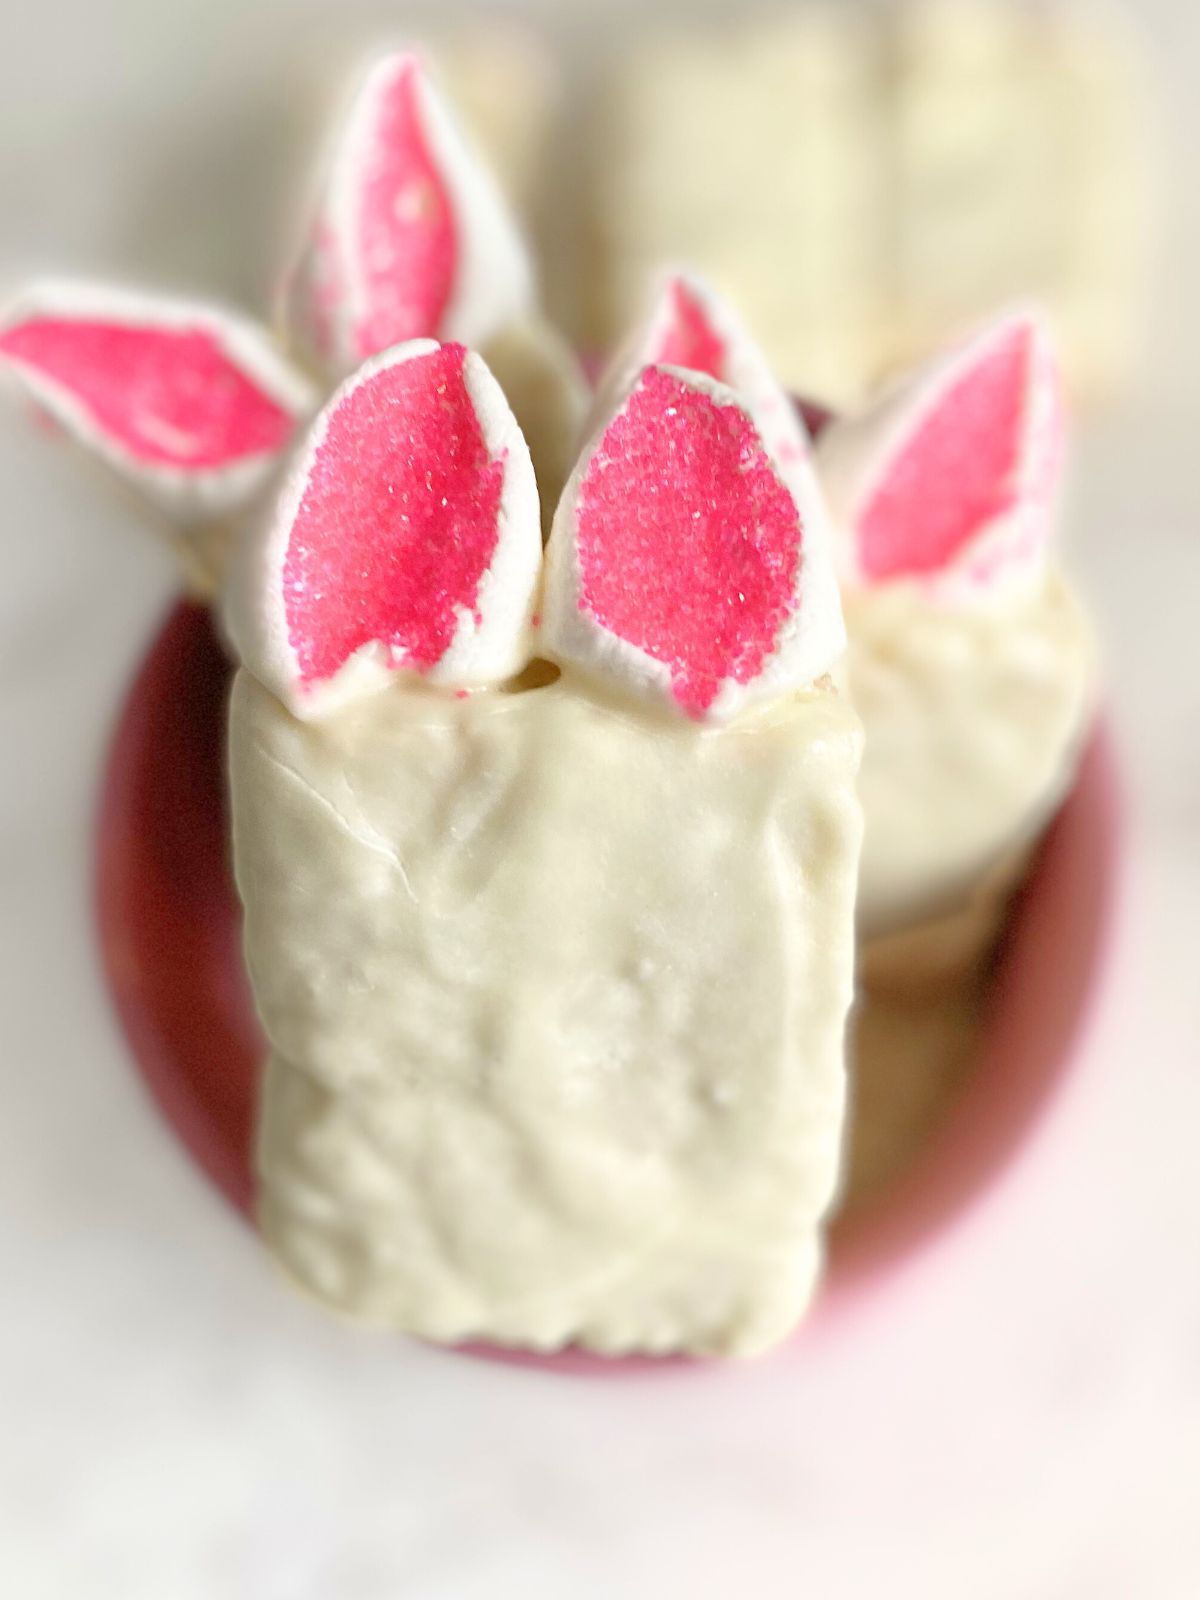
These Easter Bunny Rice Krispie Treats are almost too cute to eat… almost. They’re made with nutty browned butter Rice Krispie treats, a quick dip in white candy melts, and the simplest little marshmallow ears with pink sanding sugar. They’re perfect when you want cute Easter desserts for a party tray, classroom treat, or Easter brunch table, but without turning on the oven. If you’re looking for no bake Easter desserts that are fun, fast, and totally doable, this is the one.
Jump to Recipe
Ingredients
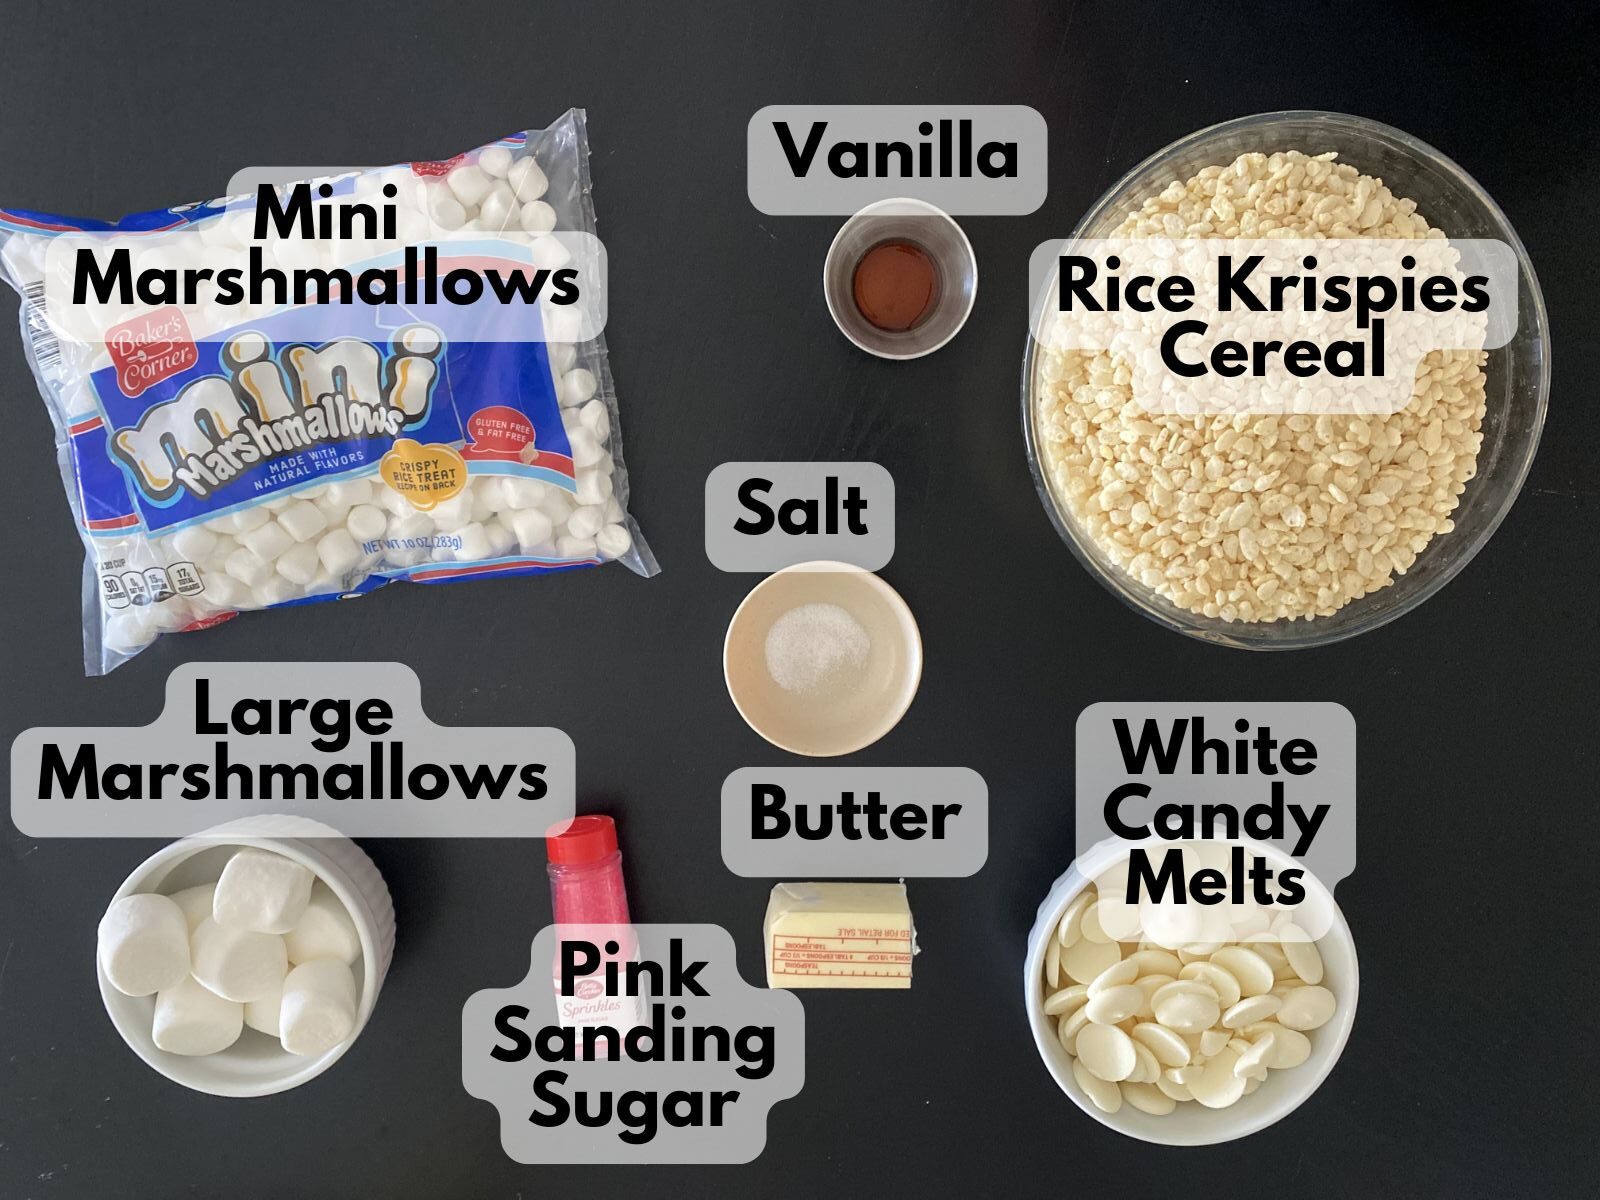
Browned Butter Rice Krispie Treats
- 4 tablespoons unsalted butter
- 1 (10 oz) bag mini marshmallows
- 1 teaspoon vanilla extract
- ¼ teaspoon salt
- 5 cups Rice Krispies cereal
Bunny Decoration
- White candy melts (about 10–12 oz, depending on how many you dip)
- Large marshmallows (for ears)
- Pink sanding sugar
- A little extra melted candy melts (to “glue” the ears on)
- Neutral oil (like vegetable oil or melted coconut oil), optional for thinning candy melts
How to Make Easter Bunny Rice Krispie Treats
1. Prep your pan
Line an 8×8 (or 9×9) pan with parchment paper. This makes it so much easier to lift the treats out and slice them neatly later.
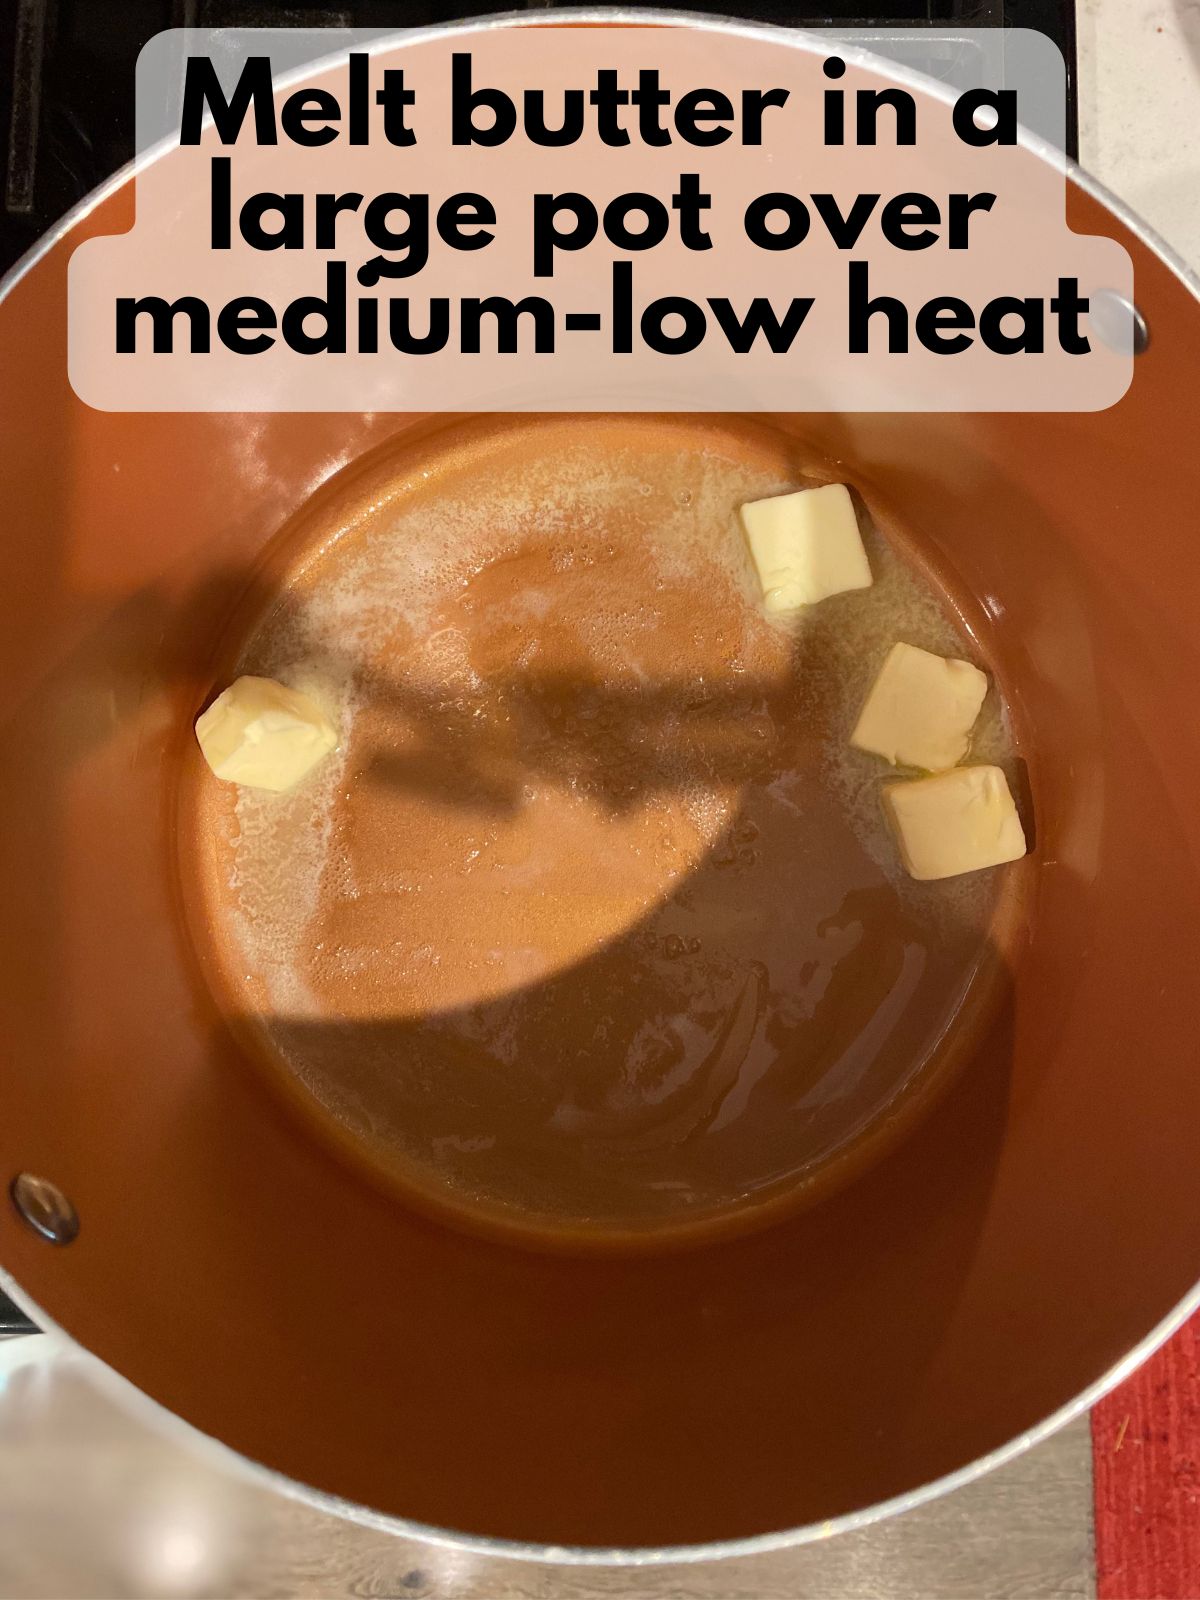
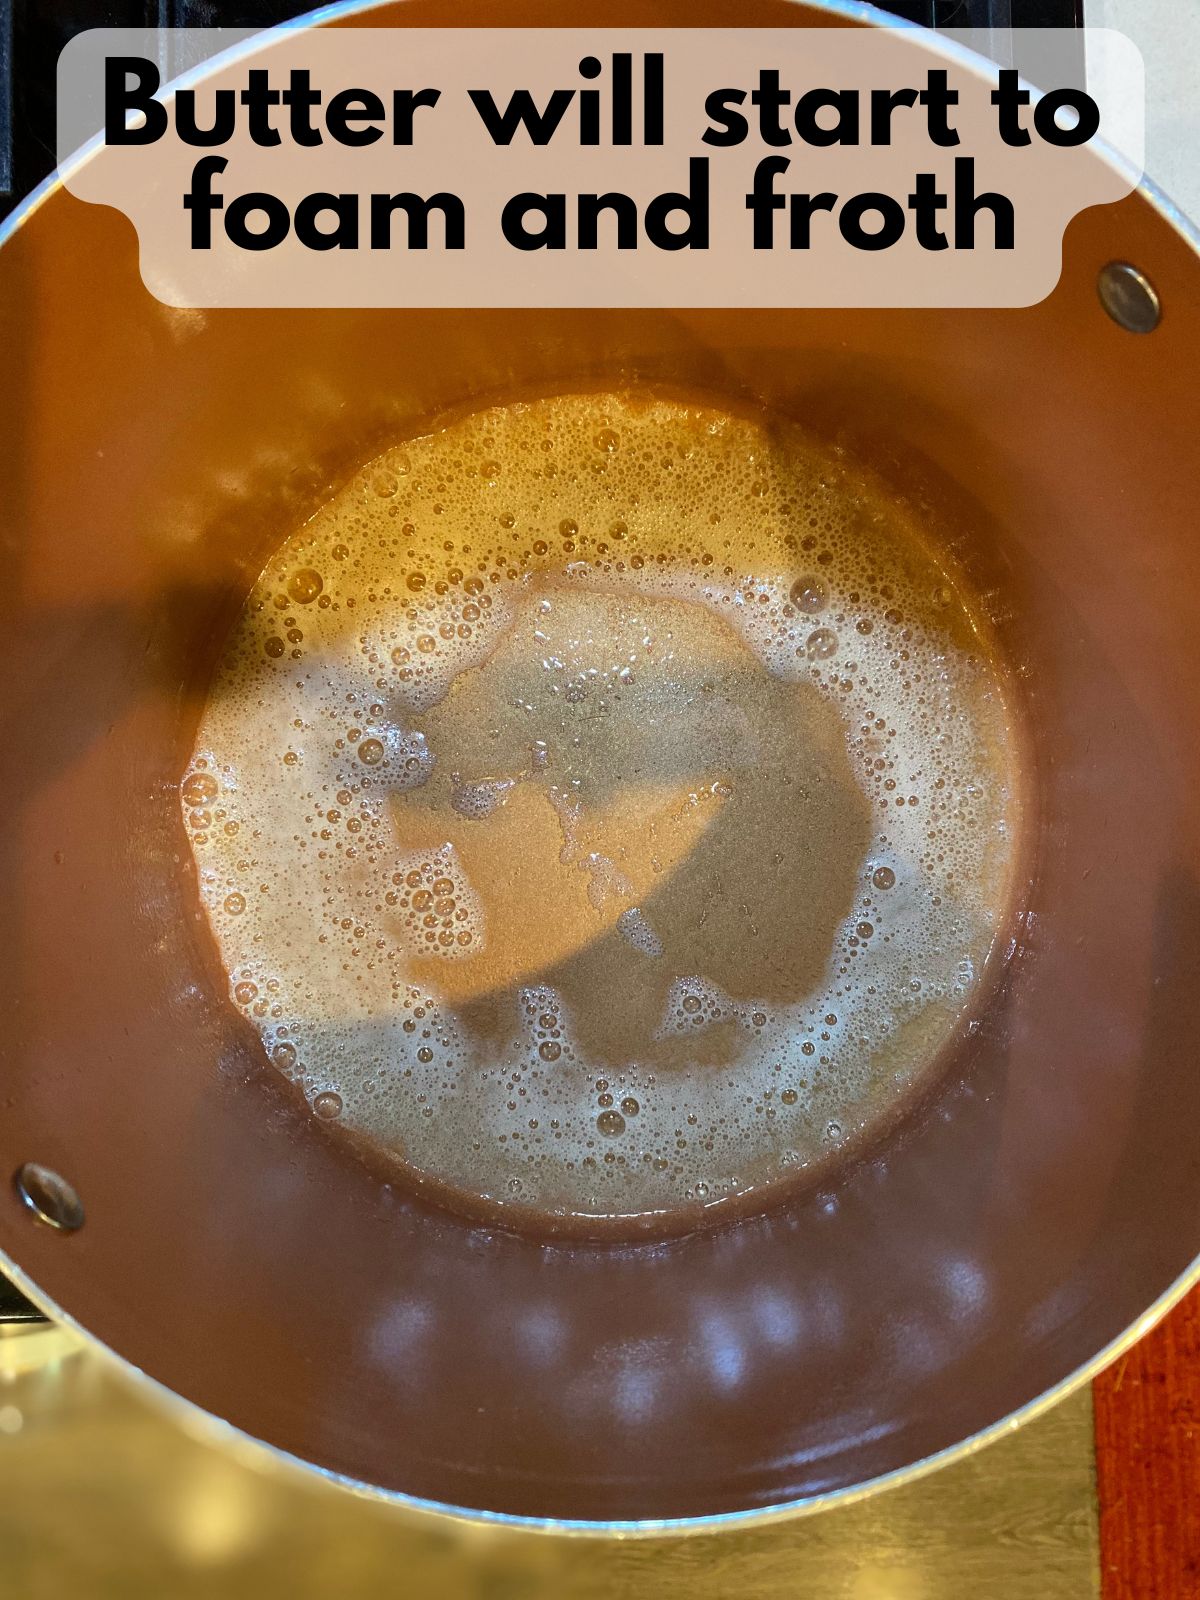
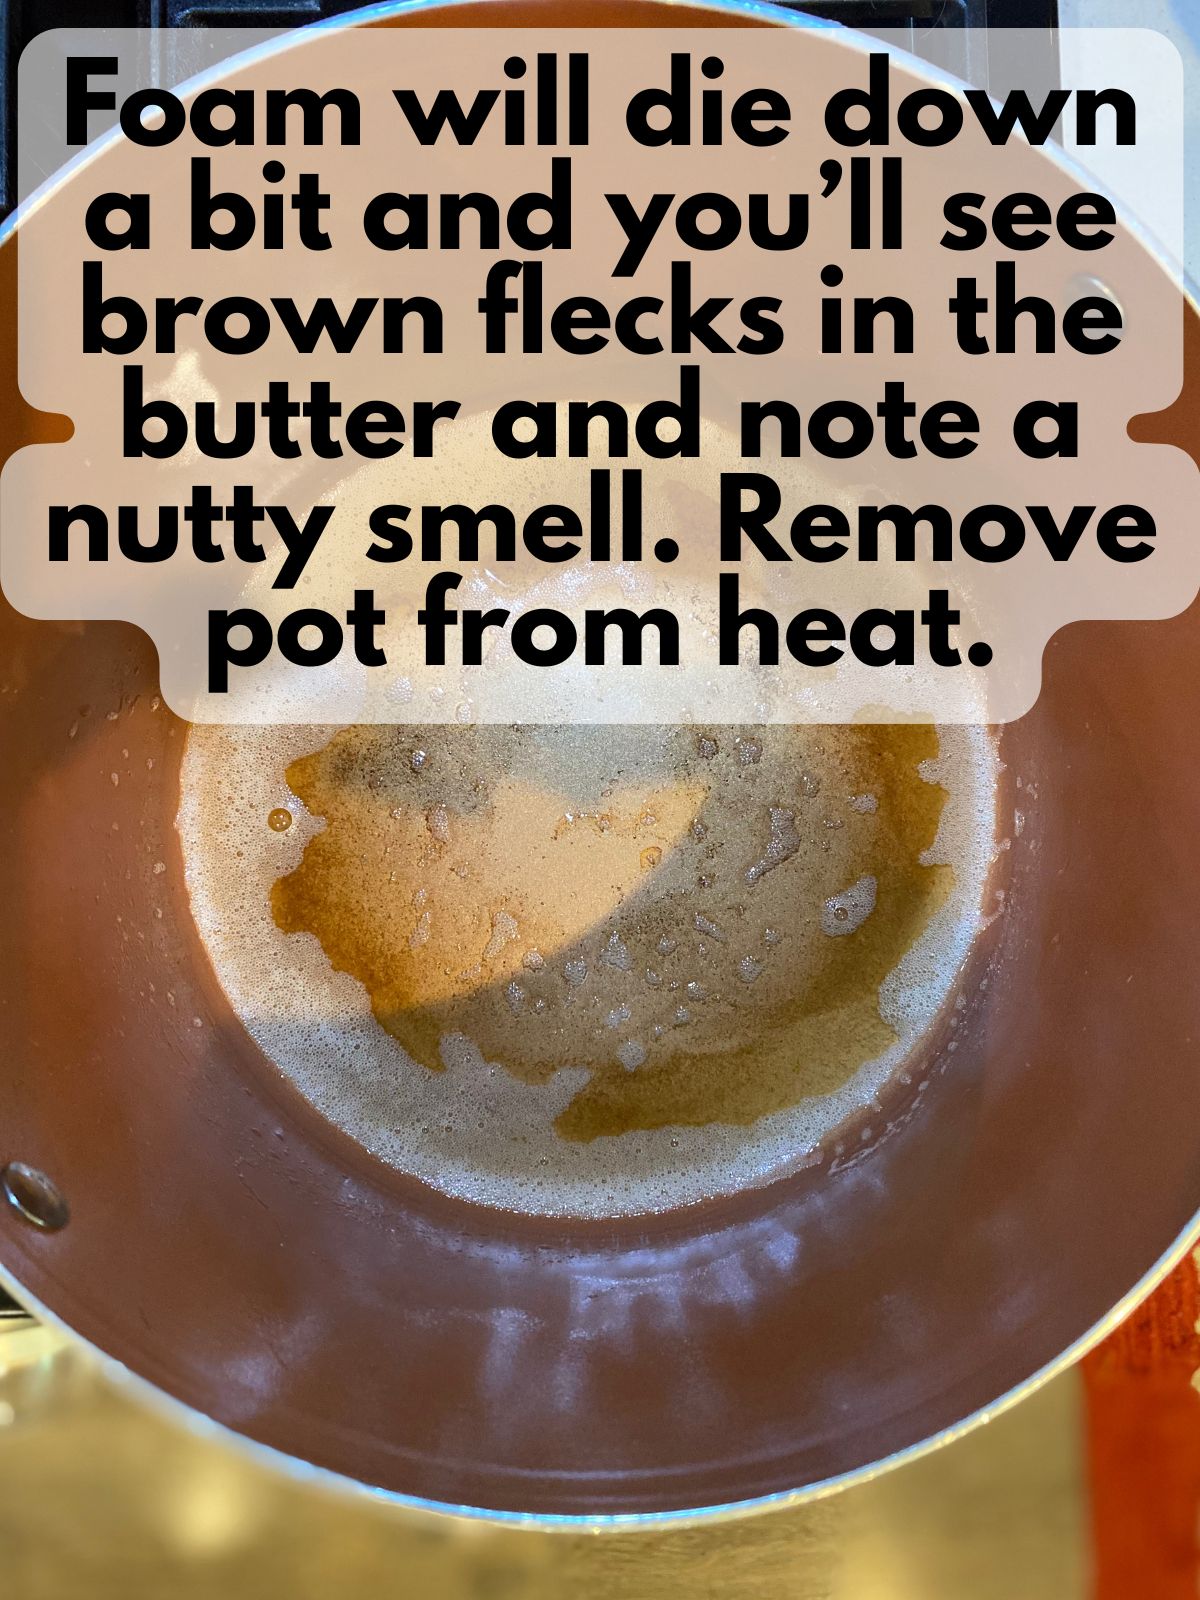
2. Brown the butter
In a large pot over medium heat, melt the butter. Keep stirring as it foams, then turns golden, then becomes a deeper amber with little brown bits at the bottom. Once it smells nutty and toasty, pull it off the heat.
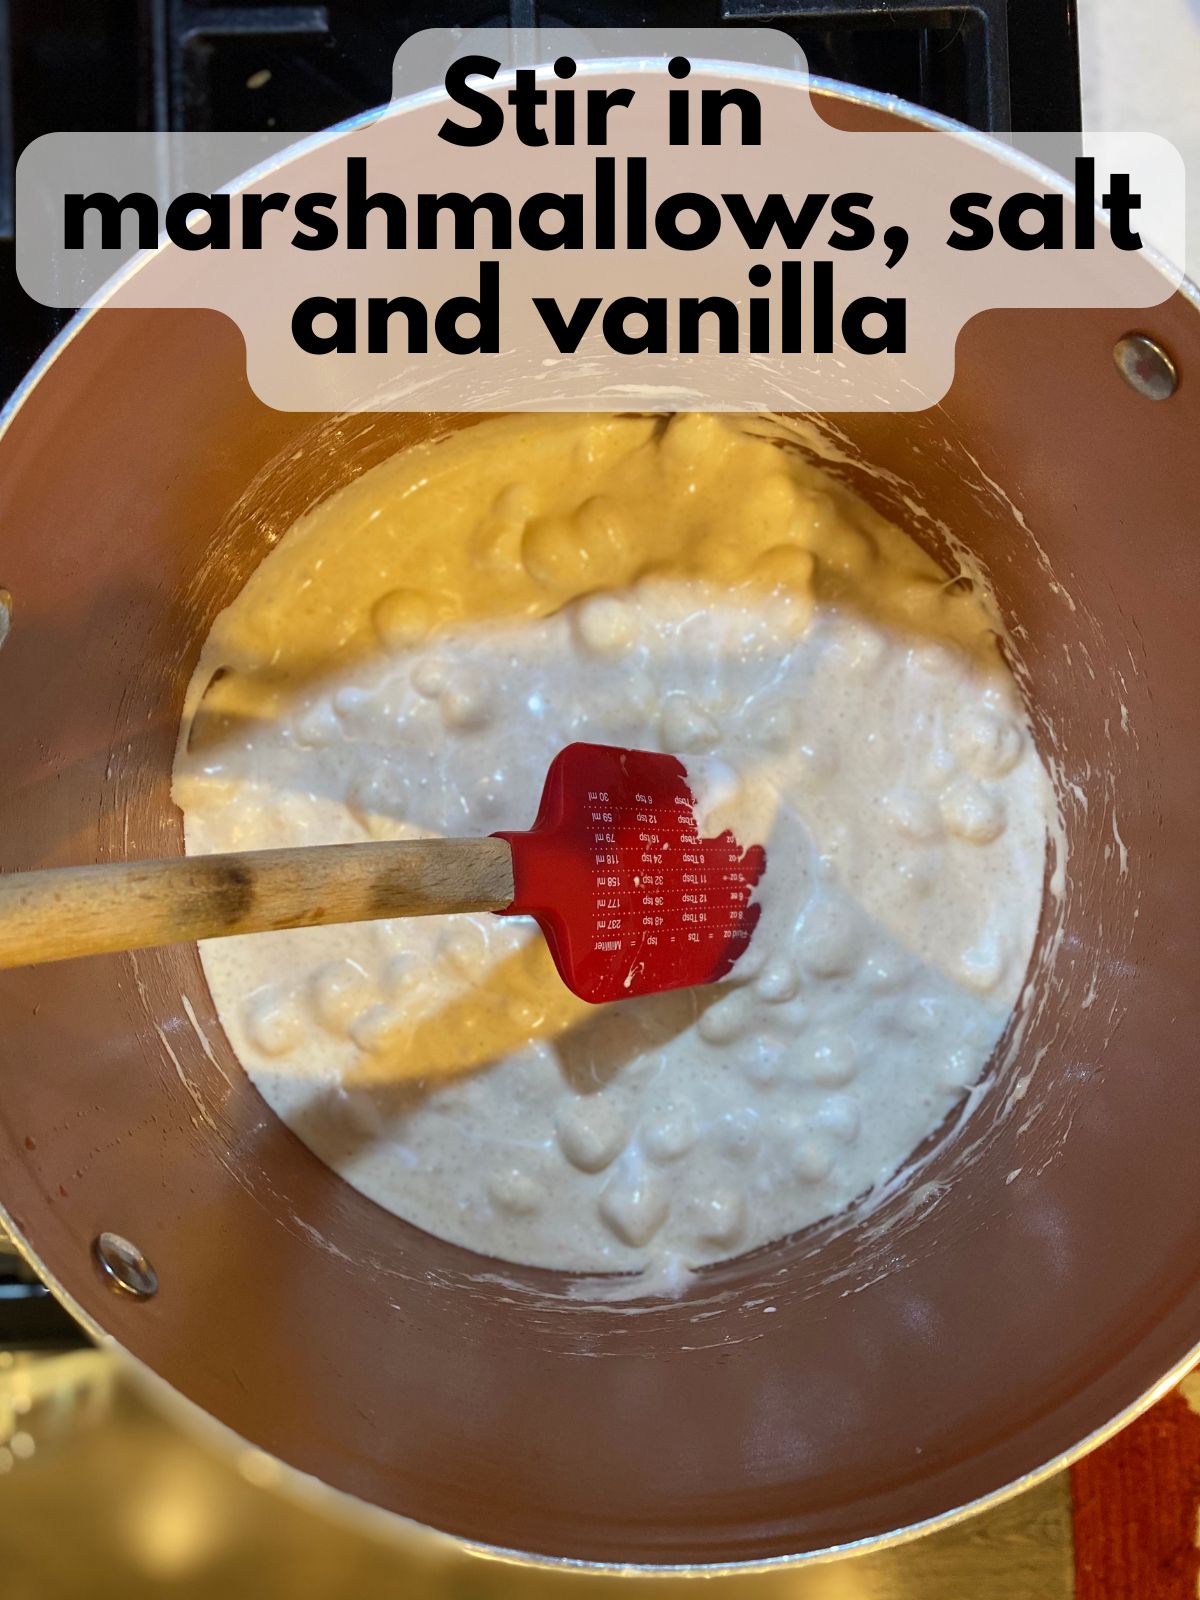
3. Melt the marshmallows
Add the mini marshmallows and stir until smooth and melted. Add salt and vanilla if using.
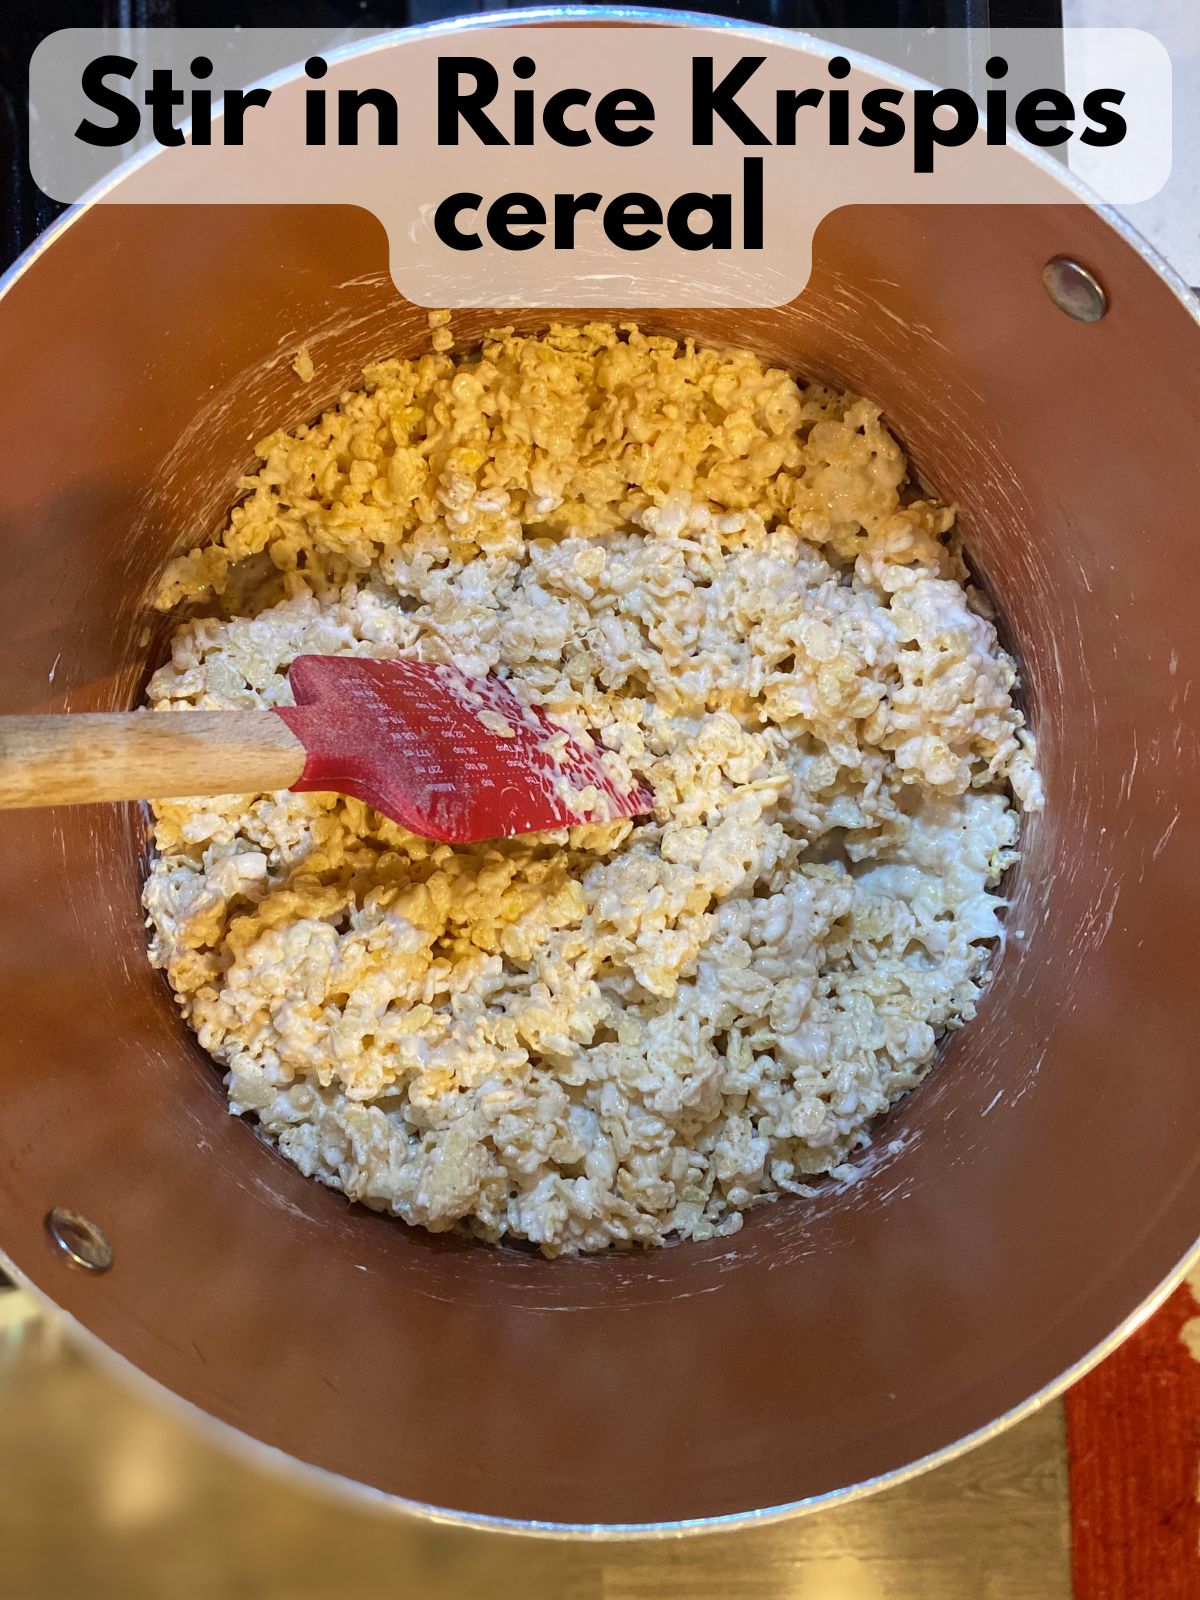
4. Stir in cereal
Pour in the Rice Krispies and fold gently until everything is coated. If your marshmallow mixture starts to stiffen or harden too quickly while you’re stirring, set the pot back over low heat for 30–60 seconds and stir until it loosens up again.
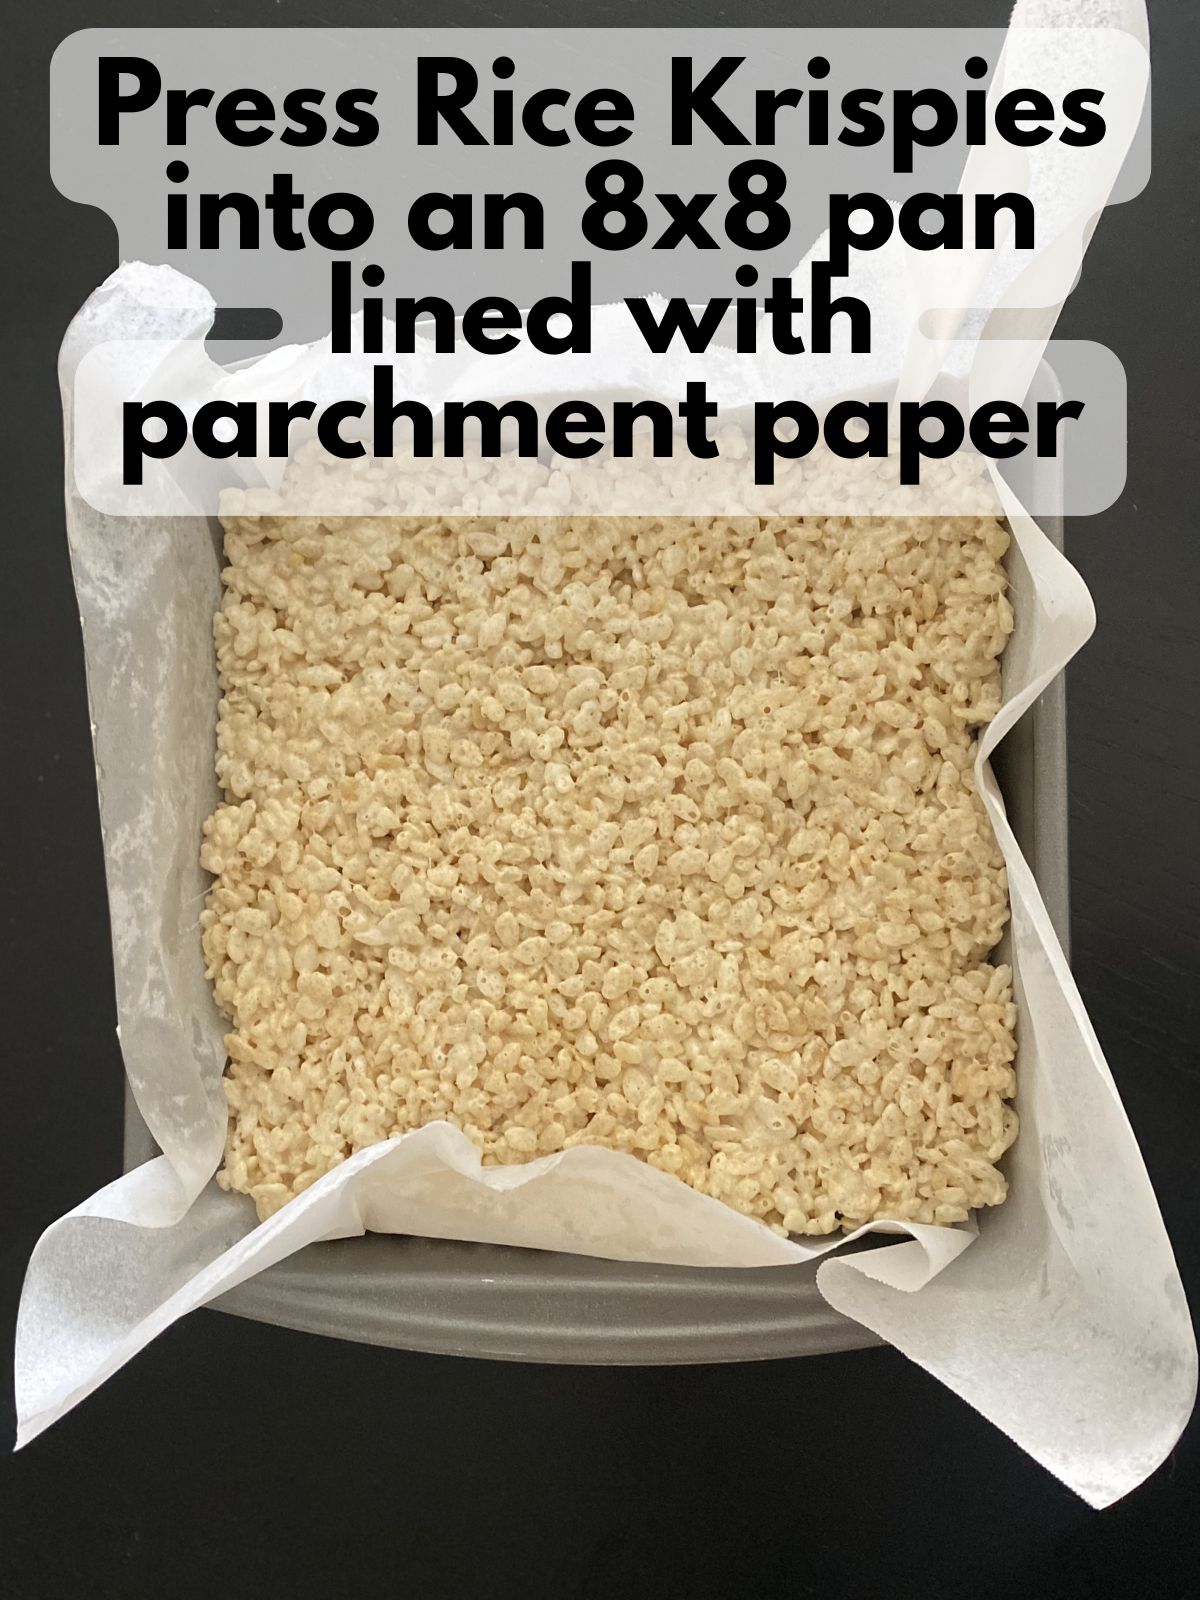
5. Press into the pan
Press the mixture into your prepared pan. Don’t smash it down too hard, just gentle pressing keeps the treats soft. You can use a greased piece of parchment paper to press down on the top so the rice krispies don’t stick to your hands.
6. Cool and cut
Let the pan cool for about 20–30 minutes, then lift out and cut into rectangles or squares.
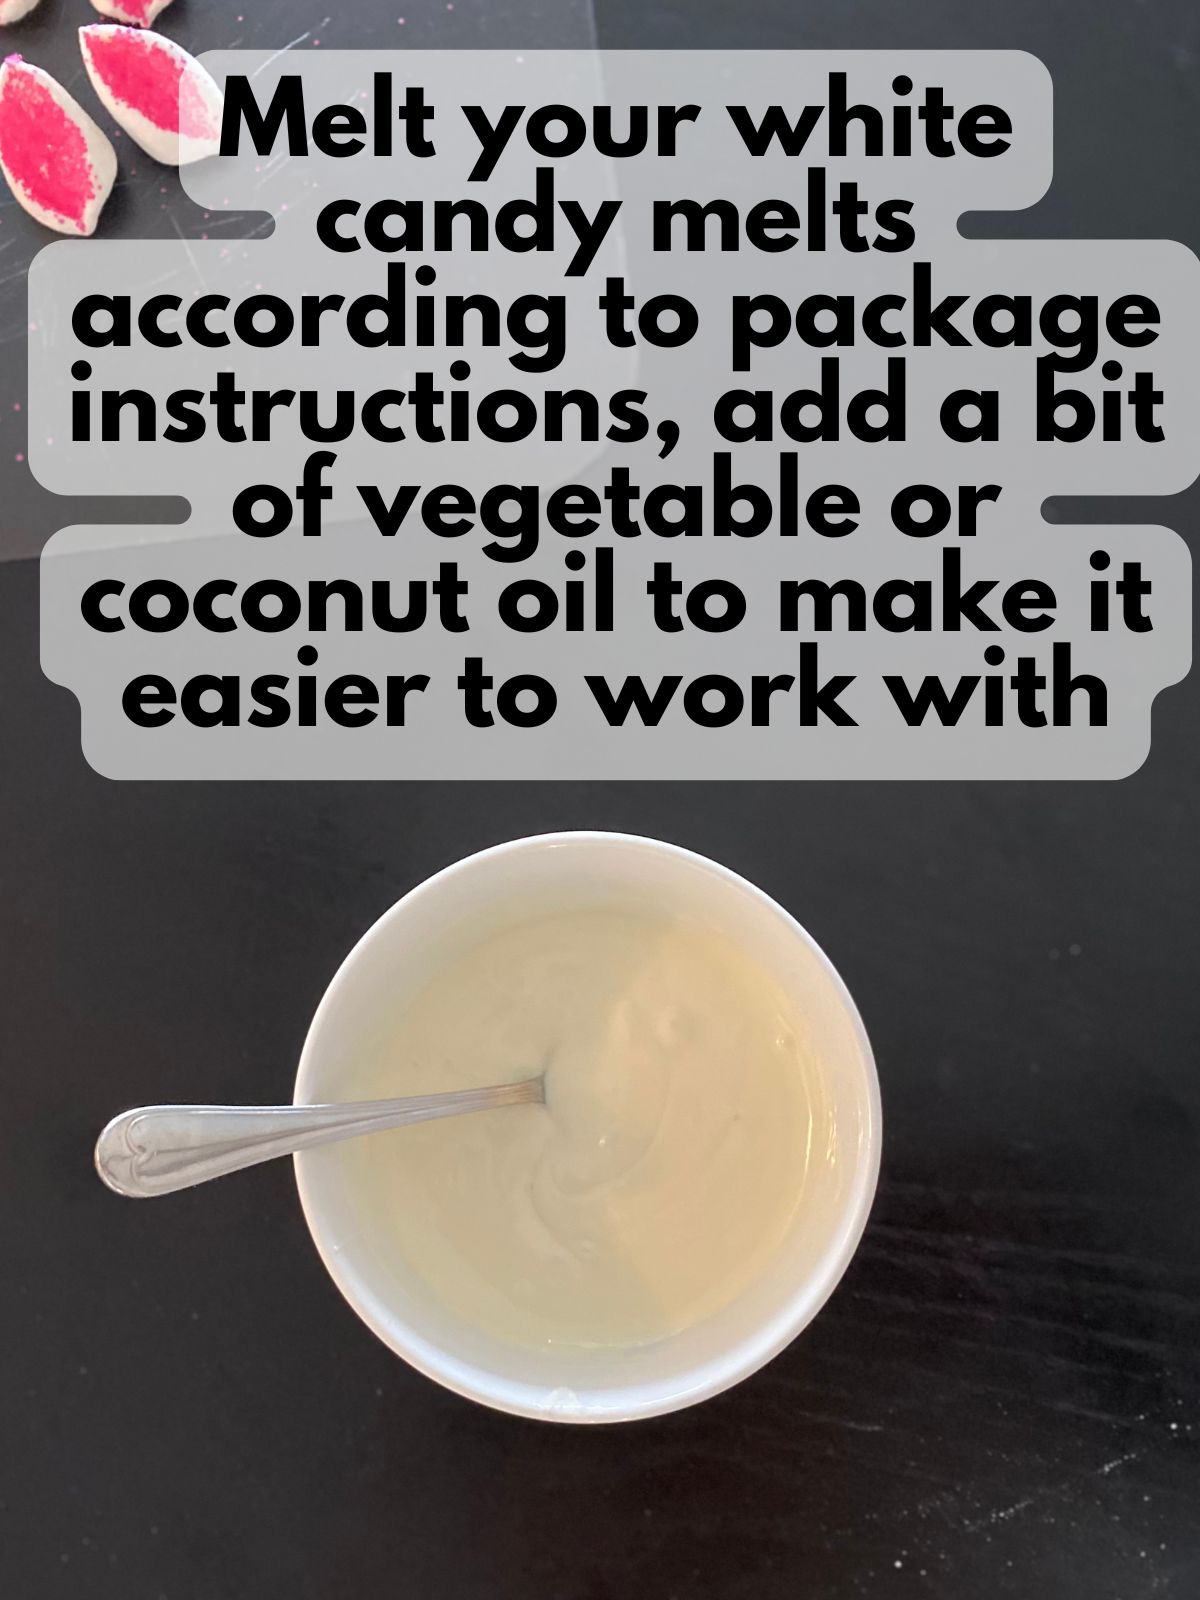
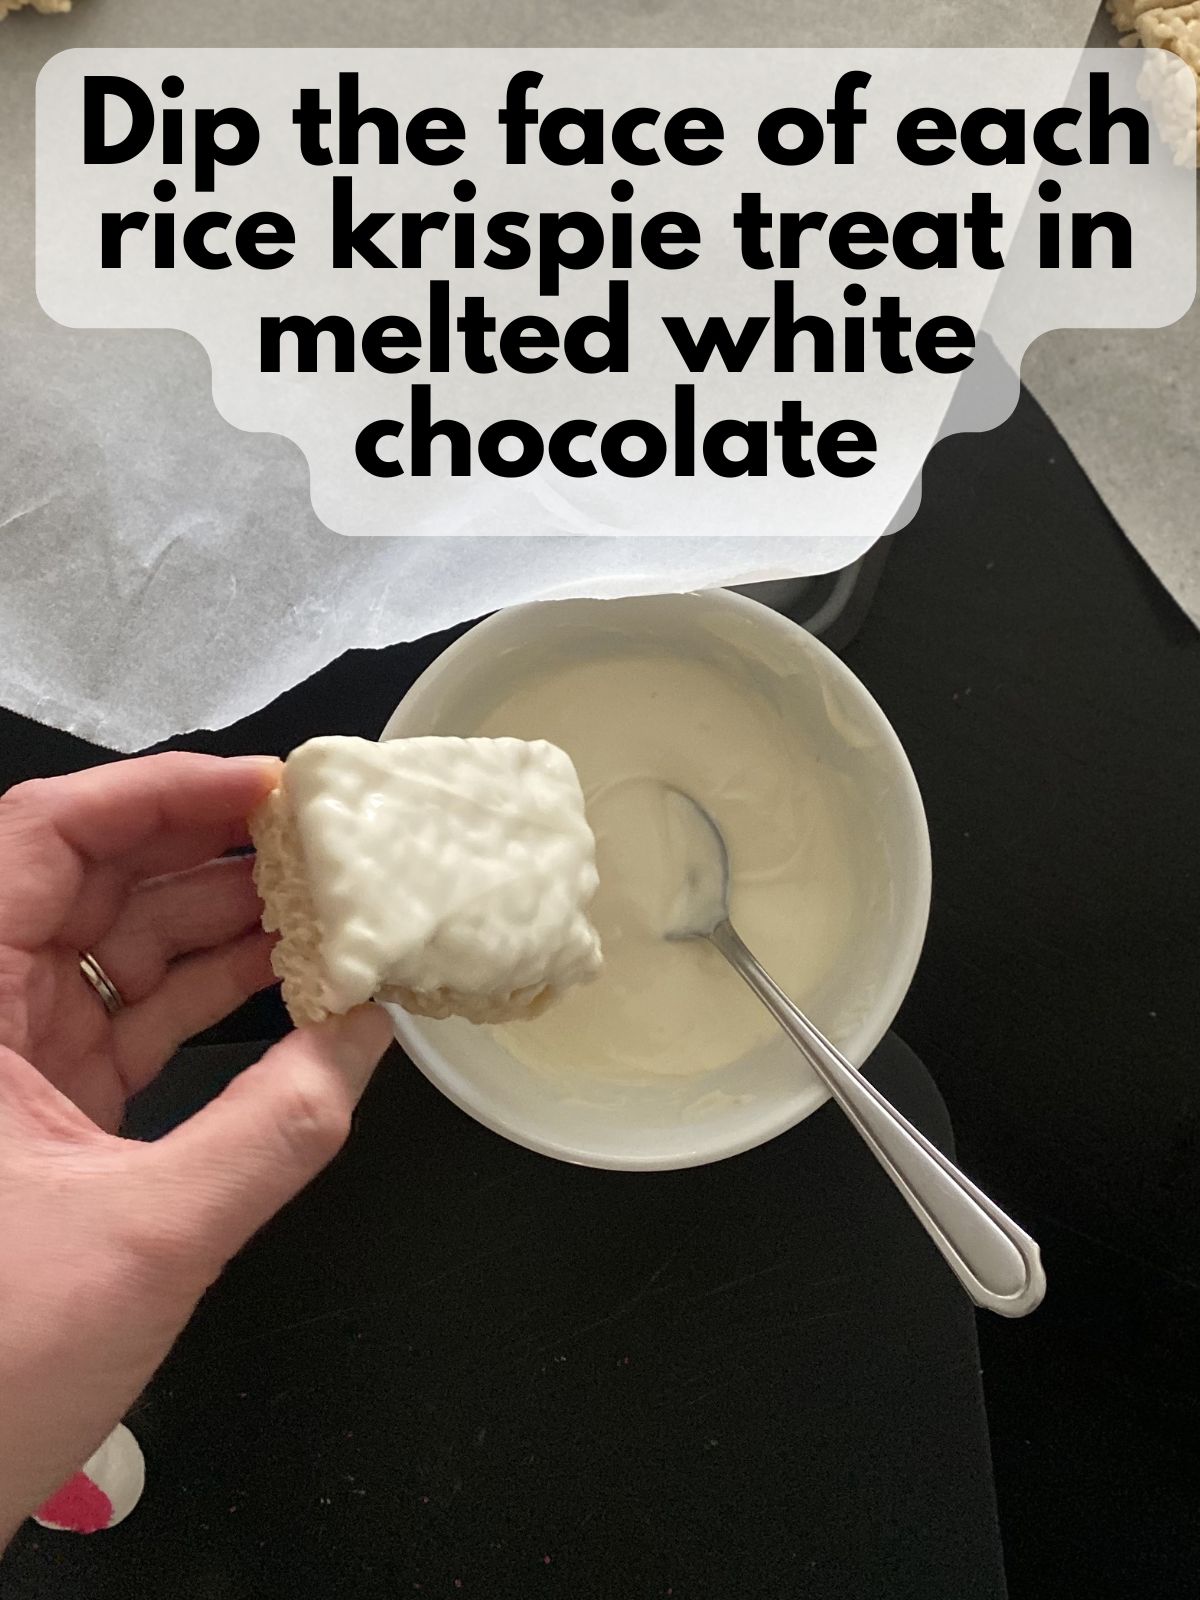
7. Dip in white candy melts
Melt the white candy melts according to the package instructions with a bit of neutral oil (like vegetable oil or melted coconut oil) to make them smoother and easier to dip. Add more oil if your candy melts still seem thick. Dip the front of each Rice Krispie treat into the melted candy melts (I like dipping about 1/3 of the treat). Set on parchment paper to firm up.

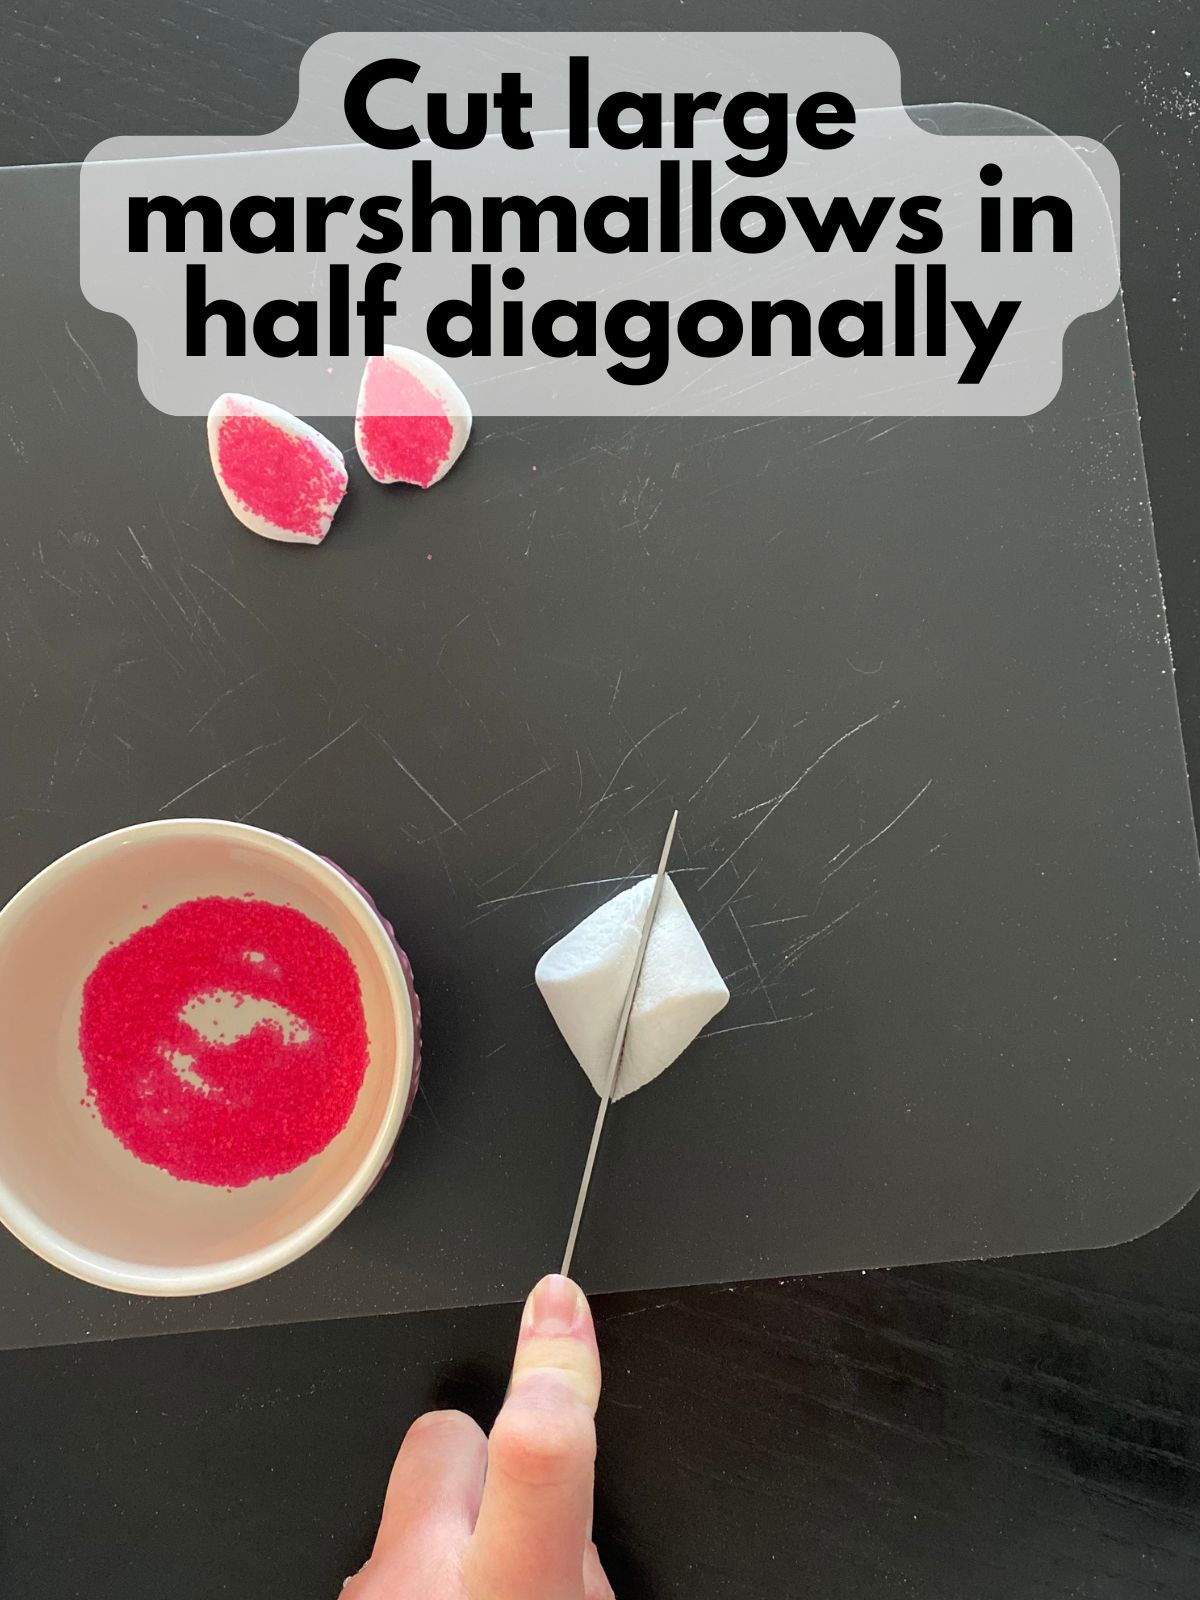
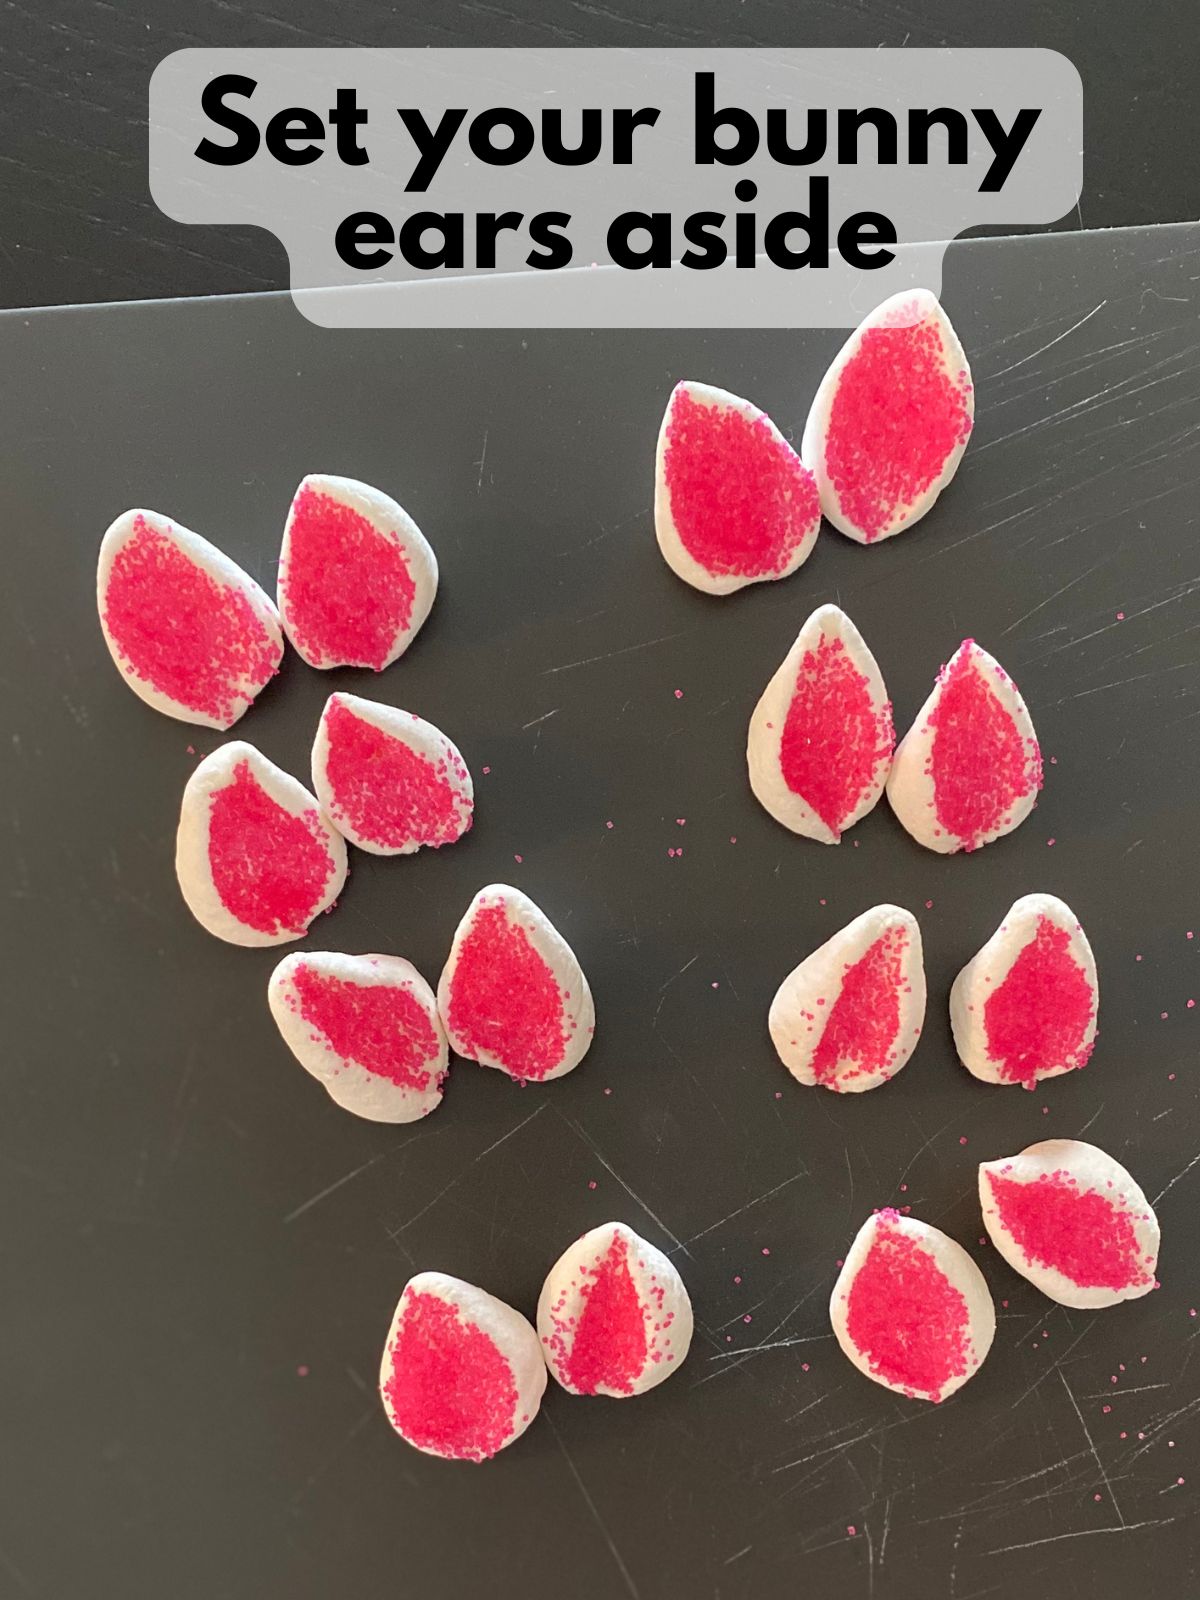
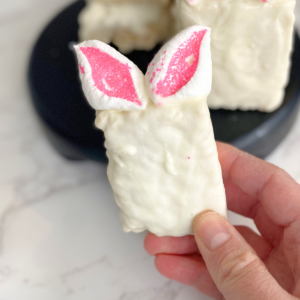
8. Make the marshmallow ears
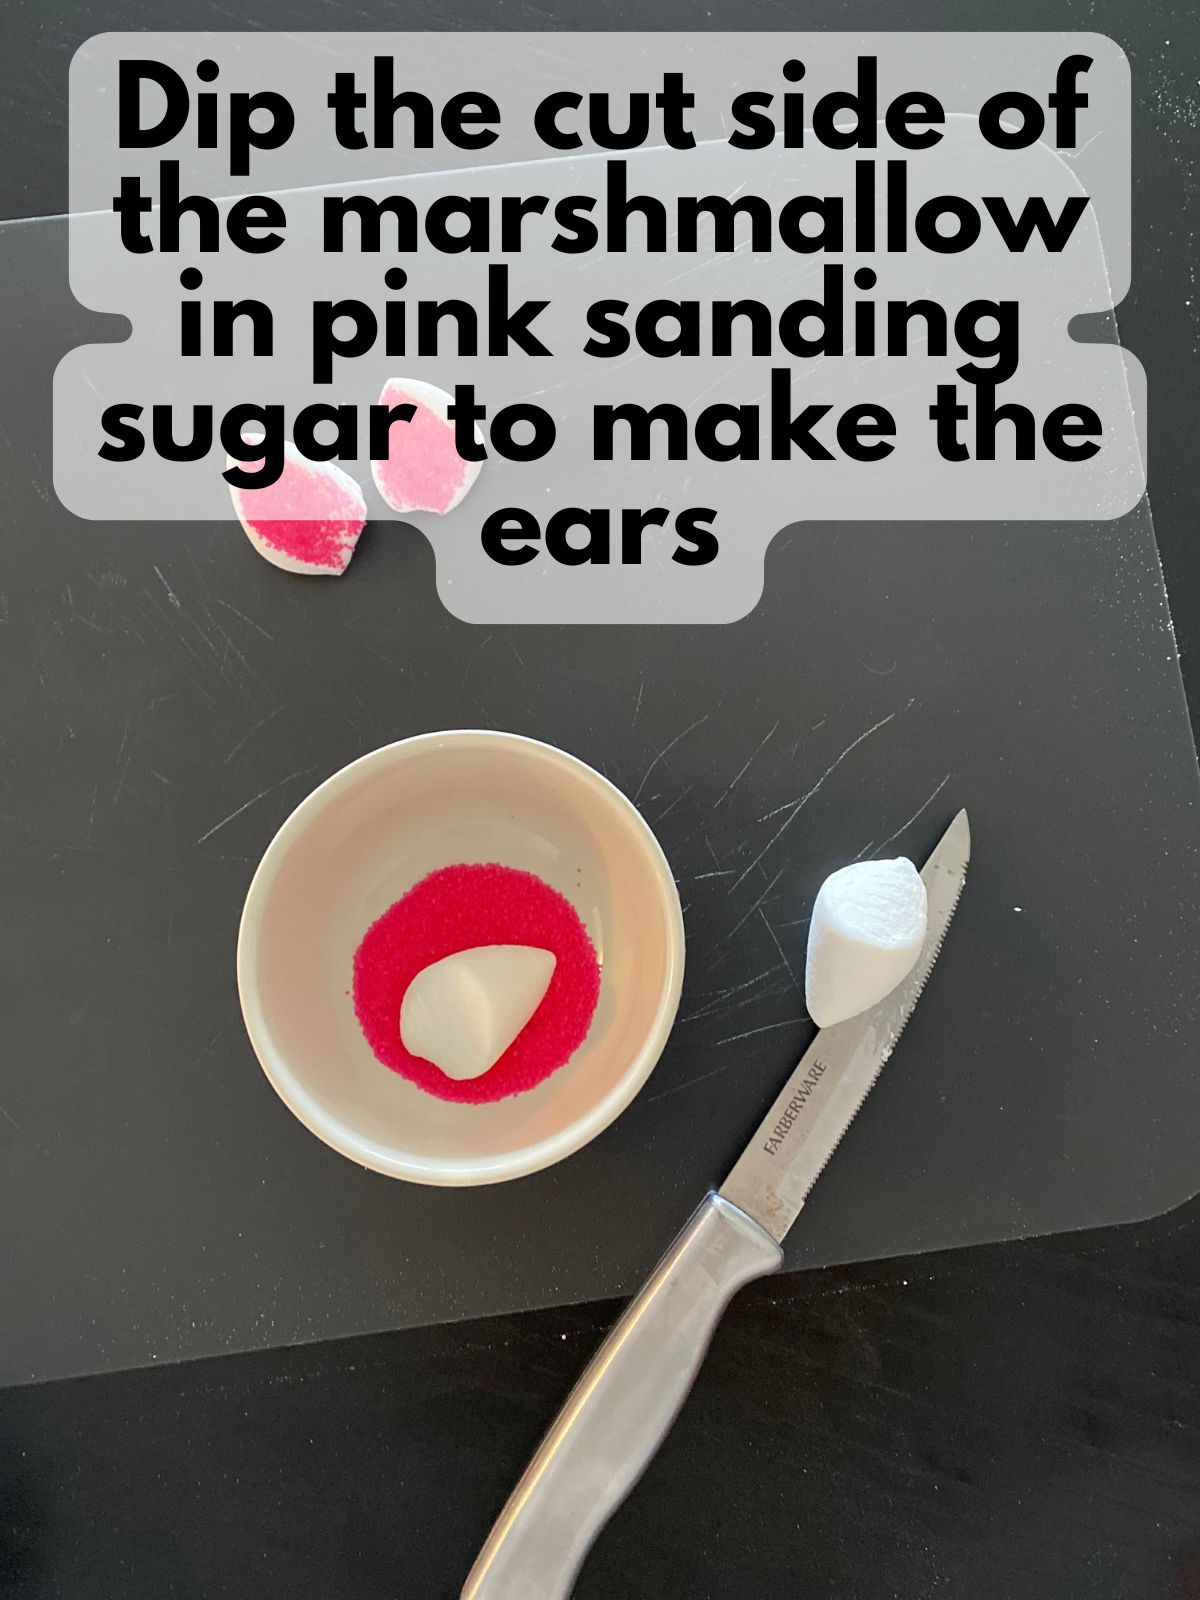
Cut mini marshmallows diagonally to create two ear shapes (each marshmallow gives you two “ears”). Press the sticky cut side into pink sanding sugar to make the inner ear.
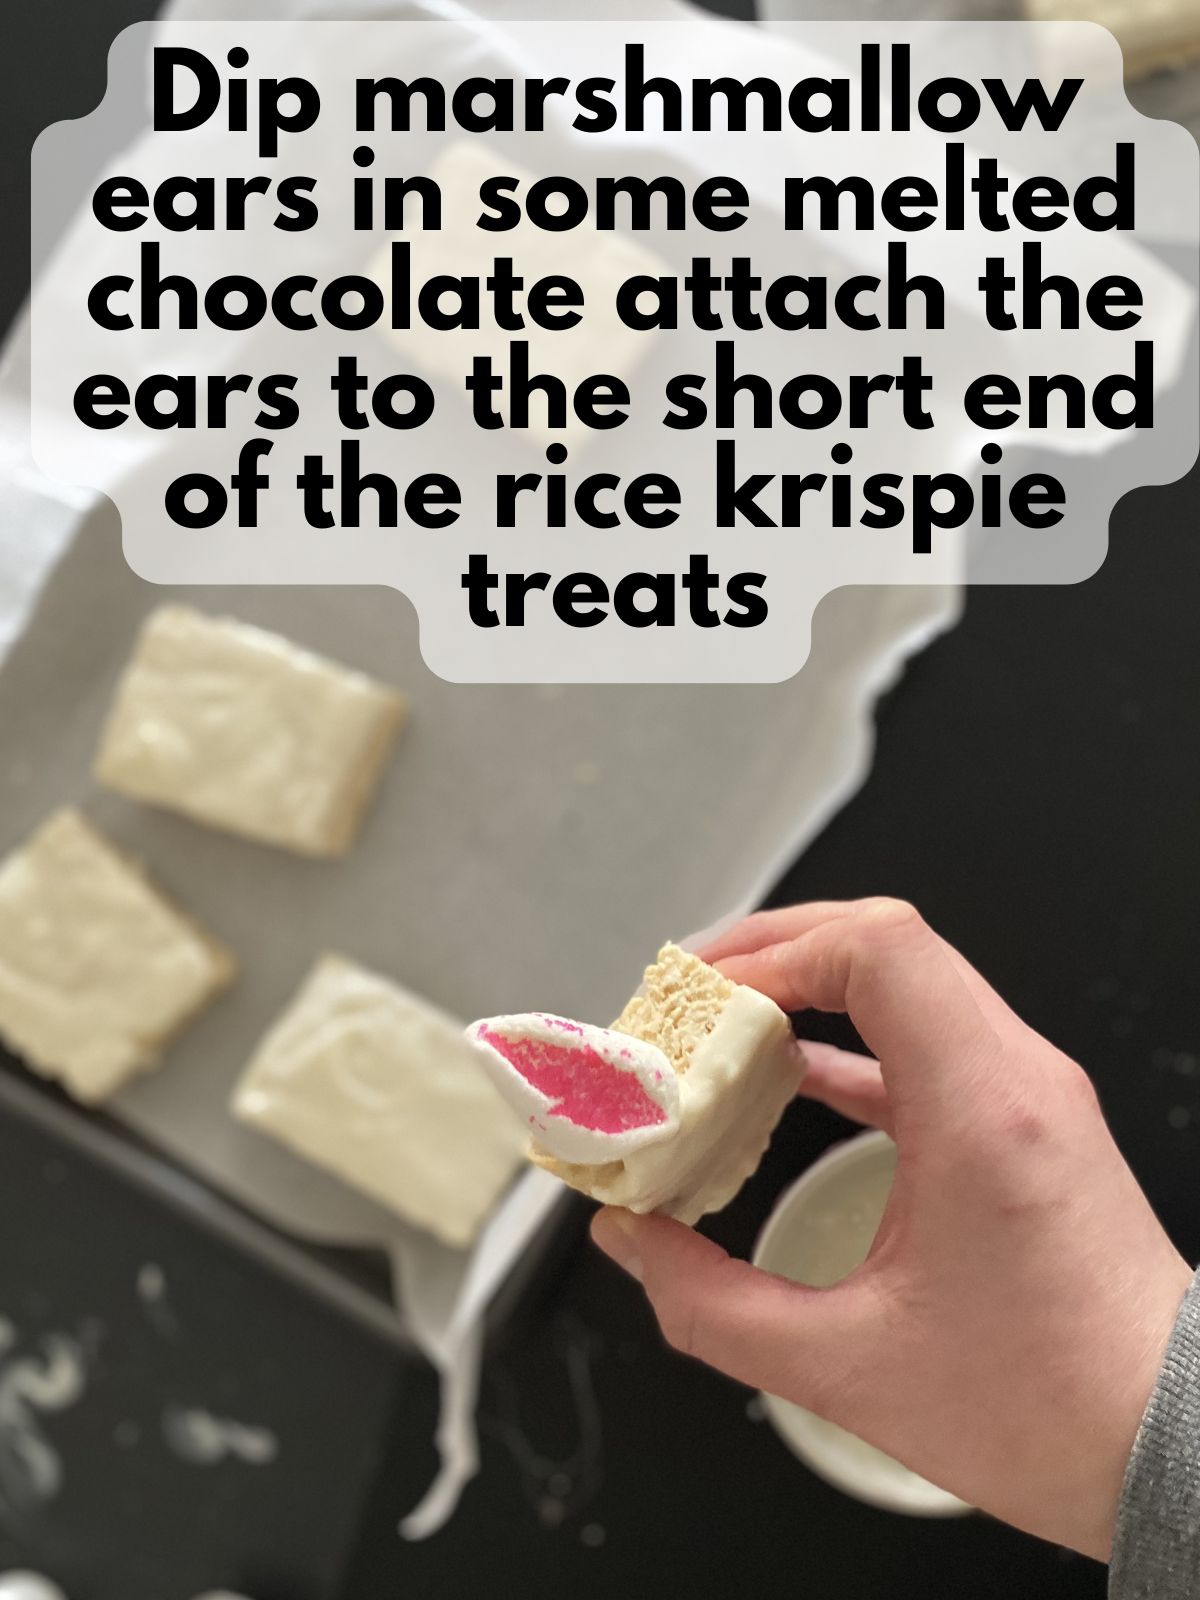
9. Attach the ears
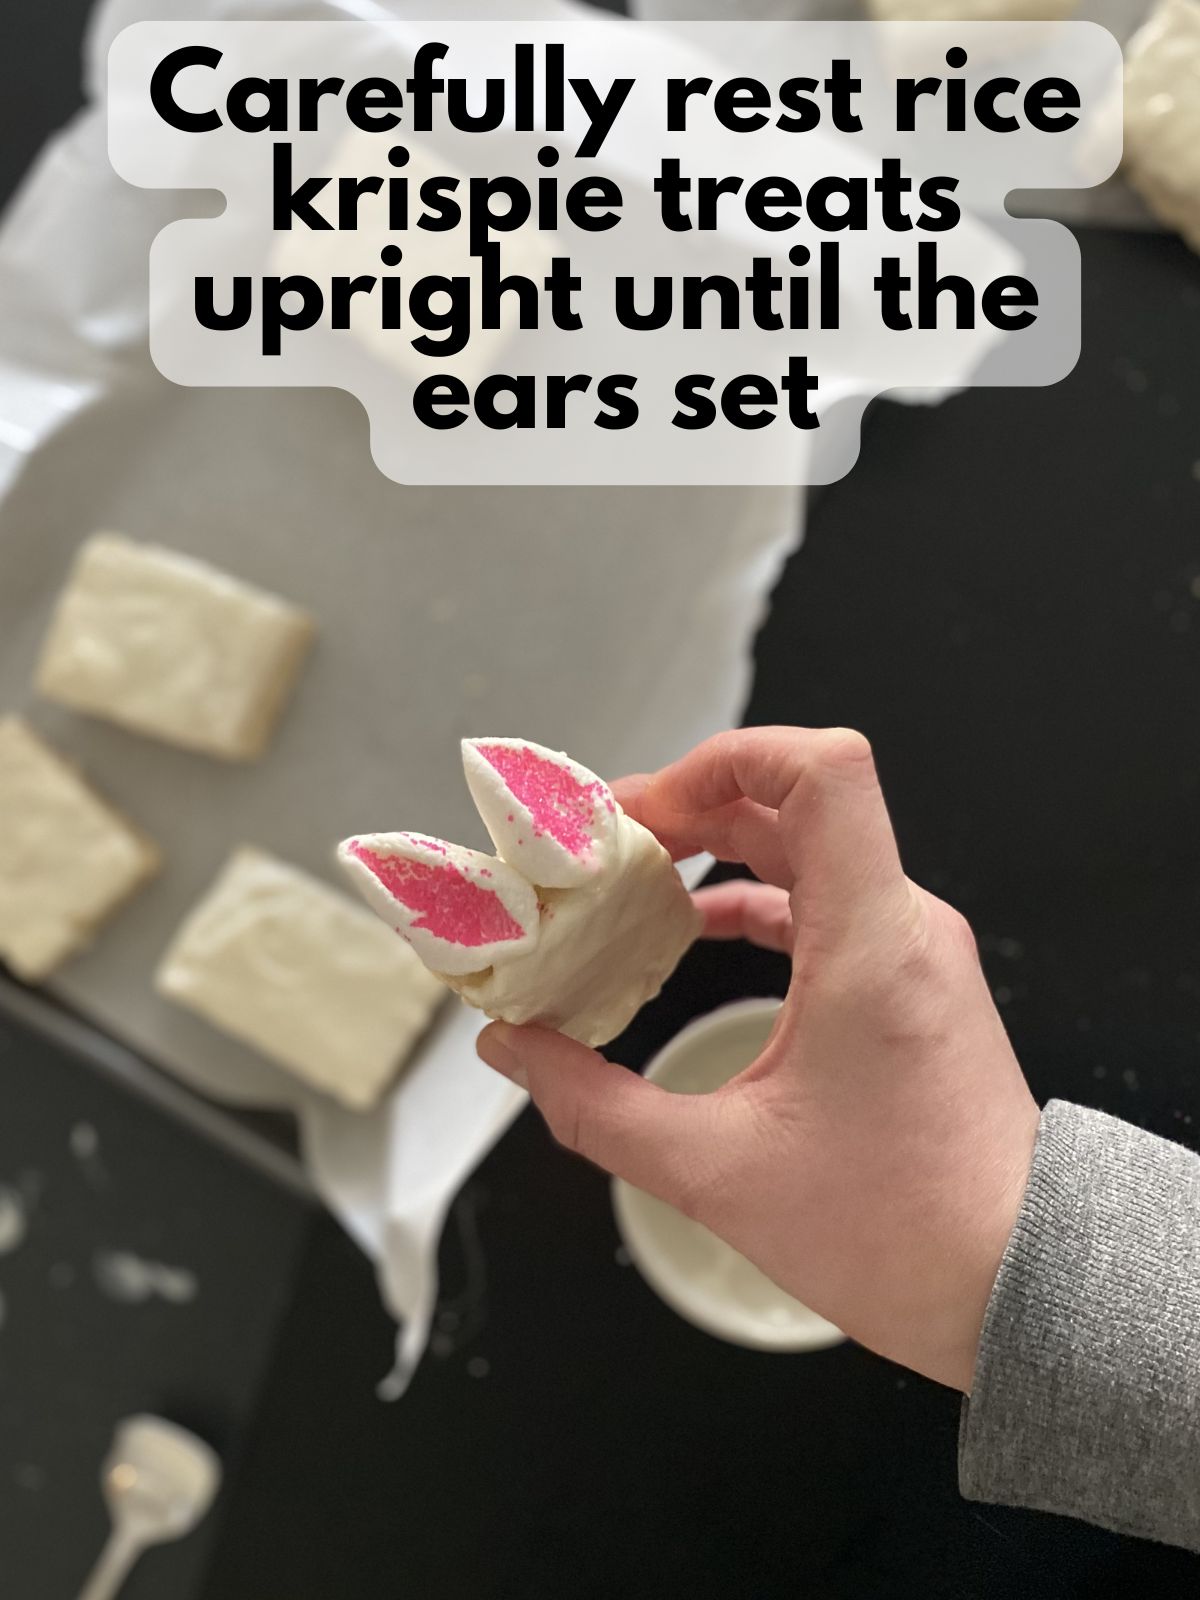
Use a dab of melted candy melts as glue and stick two ears on the top edge of each treat. Let everything set completely before serving or packaging.
10. Store and serve
Once the candy melts are fully set, store the bunny treats in an airtight container at room temperature for up to 2–3 days. If you’re stacking them, place parchment paper between layers so the ears don’t get squished.
These are truly easy Easter treats, but they look super cute!
Pro Tips for the Cutest Bunny Treats
- Don’t walk away from the browned butter. It can go from golden to burnt fast—once you smell that nutty aroma, you’re there.
- Use parchment for clean dipping. Set dipped treats on parchment so the candy coating releases easily.
- Dip the flatter side for the smoothest “bunny face.” After you press the treats into the pan, the bottom side is usually flatter and smoother than the top—flip the pieces and dip that flat side into the white candy melts for the cleanest look.
- Sugar the marshmallow ears right away. As soon as you cut the mini marshmallows, press the sticky cut side into the pink sanding sugar immediately so it adheres well.
- Store them so the ears don’t get smushed. For best results, store in an airtight container in a single layer (or use parchment between layers and give the ears a little space). I usually keep them at cool room temperature so they stay soft. You can refrigerate them if your kitchen runs warm, but the treats and ears will firm up more, so if you do, let them sit out for 15–30 minutes before serving.
FAQs
Can I make these ahead of time?
Yes! These are one of my favorite make-ahead cute Easter desserts. You can make them 1 day ahead for the best texture. If you want to make them 2 days ahead, they’ll still be totally fine, but the marshmallow ears can start to feel a little firmer. For the freshest look and bite, I like to dip the treats ahead of time and add the ears the day you’re serving (or at least within 24 hours).
How should I store Easter Bunny Rice Krispie Treats?
Store at room temperature in an airtight container. I like placing parchment between layers so the ears don’t get squished.
Why are my Rice Krispie treats hard?
Usually that happens when you press them too firmly into the pan or overheating the marshmallows. Next time, press gently and melt the marshmallows on low heat.
Can I use white chocolate chips instead of candy melts?
Yes, you can. Add white chocolate chips to a microwave-safe bowl with a generous splash of neutral oil (like vegetable oil or melted coconut oil). Microwave in 30-second bursts, stirring really well between each, until smooth. Just be careful, white chocolate burns easily, so it’s better to heat it slowly and stop as soon as it melts.
Why aren’t my marshmallow ears sticking (and how do I fix it)?
This usually happens if the candy melts start to thicken or if the dipped “face” has already fully set and is too smooth for the ears to grab onto. The easiest fix is to use a generous dab of melted candy melts as “glue” and dip the bottom edge of each ear into the melts before attaching it. Then pop the treats in the fridge for 5–10 minutes so the candy coating sets quickly and locks the ears in place.
If your candy melts are getting too thick while you work, stir in a tiny bit more neutral oil to keep them smooth and sticky enough to hold.
If you want easy Easter treats that are festive, kid-approved, and honestly adorable, these Easter Bunny Rice Krispie Treats are it. The browned butter makes them taste extra special, and the candy melt dip and marshmallow ears turns them into the cutest little no bake Easter desserts that are perfect for sharing (or keeping a couple hidden for yourself).
Easter Bunny Rice Krispie Treats
Ingredients
Brown Butter Rice Krispie Treats
- 4 Tbsp unsalted butter
- 1 bag mini marshmallows 10 oz.
- 1 tsp vanilla
- 1/4 tsp salt
- 5 cups Rice Krispies cereal
Bunny Decorations
- 12 oz. white candy melts approximately, you may need more or less
- 1-3 tsp neutral oil (like vegetable or coconut) optional, to make the candy melts easier to work with
- 12 large marshmallows or 1 for each rice krispies treat
- pink sanding sugar
Instructions
Make Brown Butter Rice Krispie Treats
- Line an 8x8 (or 9x9) pan with parchment paper. This makes it so much easier to lift the treats out and slice them neatly later.
- Brown the butter: In a large pot over medium heat, melt the butter. Keep stirring as it foams, then turns golden, then becomes a deeper amber with little brown bits at the bottom. Once it smells nutty and toasty, pull it off the heat.
- Add the mini marshmallows and stir until smooth and melted. Add salt and vanilla if using.
- Pour in the Rice Krispies and fold gently until everything is coated. If your marshmallow mixture starts to stiffen or harden too quickly while you’re stirring, set the pot back over low heat for 30–60 seconds and stir until it loosens up again.
- Press the mixture into your prepared pan. Don’t smash it down too hard, just gentle pressing keeps the treats soft. You can use a greased piece of parchment paper to press down on the top so the rice krispies don’t stick to your hands.
- Let the pan cool for about 20–30 minutes, then lift out and cut into rectangles or squares. I like to cut mine into 12 rectangles so I have a clear long end and short end.
Make Bunny "Faces"Cut mini marshmallows diagonally to create two ear shapes (each marshmallow gives you two “ears”). Press the sticky cut side into pink sanding sugar to make the inner ear.
- Melt the white candy melts according to the package instructions with a bit of neutral oil (like vegetable oil or melted coconut oil) to make them smoother and easier to dip. Add more oil if your candy melts still seem thick.
- Dip the front of each Rice Krispie treat into the melted candy melts (I like dipping about 1/3 of the treat). Set on parchment paper to firm up.
Attach Ears
- Cut large marshmallows diagonally to create two ear shapes (each marshmallow gives you two “ears”). Press the sticky cut side into pink sanding sugar to make the inner ear.
- Use a dab of melted candy melts as glue and stick two ears on the top edge of each treat. Let everything set completely before serving or packaging.
- Once the candy melts are fully set, store the bunny treats in an airtight container at room temperature for up to 2–3 days. If you’re stacking them, place parchment paper between layers so the ears don’t get squished.