
Last updated on January 17th, 2026 at 12:37 am
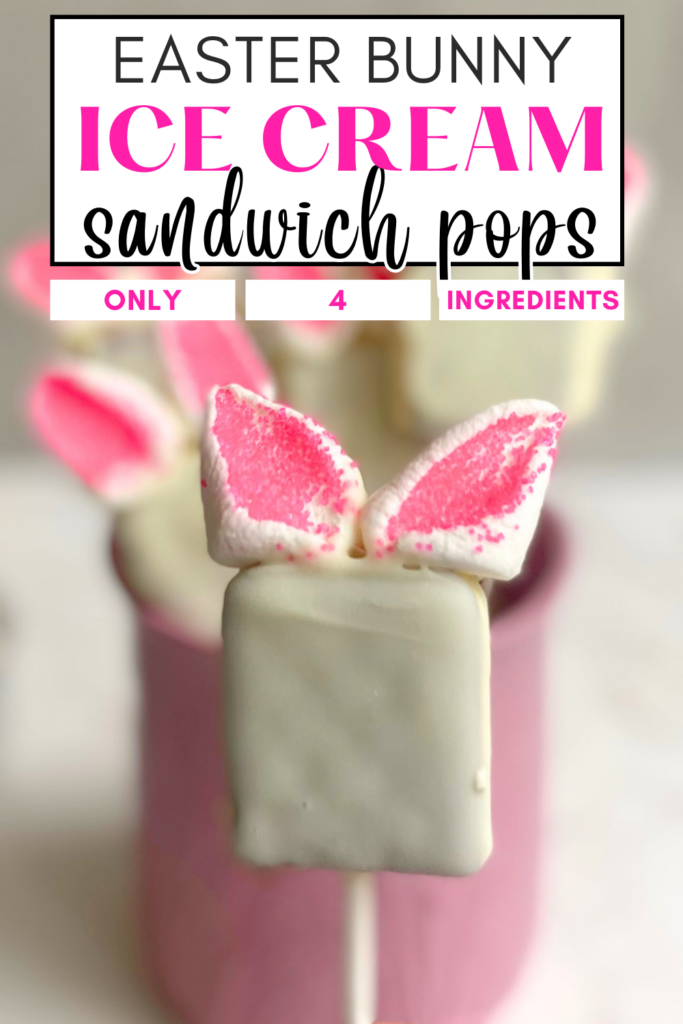
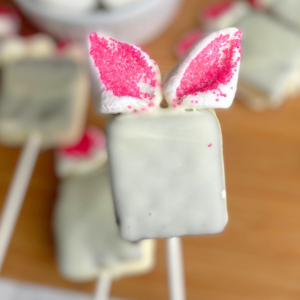
If you need cute Easter desserts that are simple and no-bake, these bunny ice cream sandwich pops are the move for you. Cut some ice cream sandwiches in half, dip them in smooth white candy melts, and use marshmallows for the ears and tail. No oven, no baking, no complicated steps, just an easy no bake spring dessert.
They’re also perfect Easter party food because you can make a whole batch ahead of time, keep them frozen, and pull them out right when you’re ready to serve!
Jump to Recipe
Ingredients for Bunny Ice Cream Sandwich Pops

- Ice cream sandwiches (I technically used mini, but I’m sure regular-sized would work too)
- Lollipop sticks (or very sturdy paper straws)
- White candy melts or white melting wafers
- 1–2 teaspoons coconut oil or vegetable oil (optional, but it makes the candy melts easier to work with)
- Large marshmallows (for ears)
- Mini marshmallows (for tails)
- Pink sanding sugar
- Optional decorations: candy eyes, mini pink candies for noses, sprinkles
How to Make Bunny Ice Cream Sandwich Pops
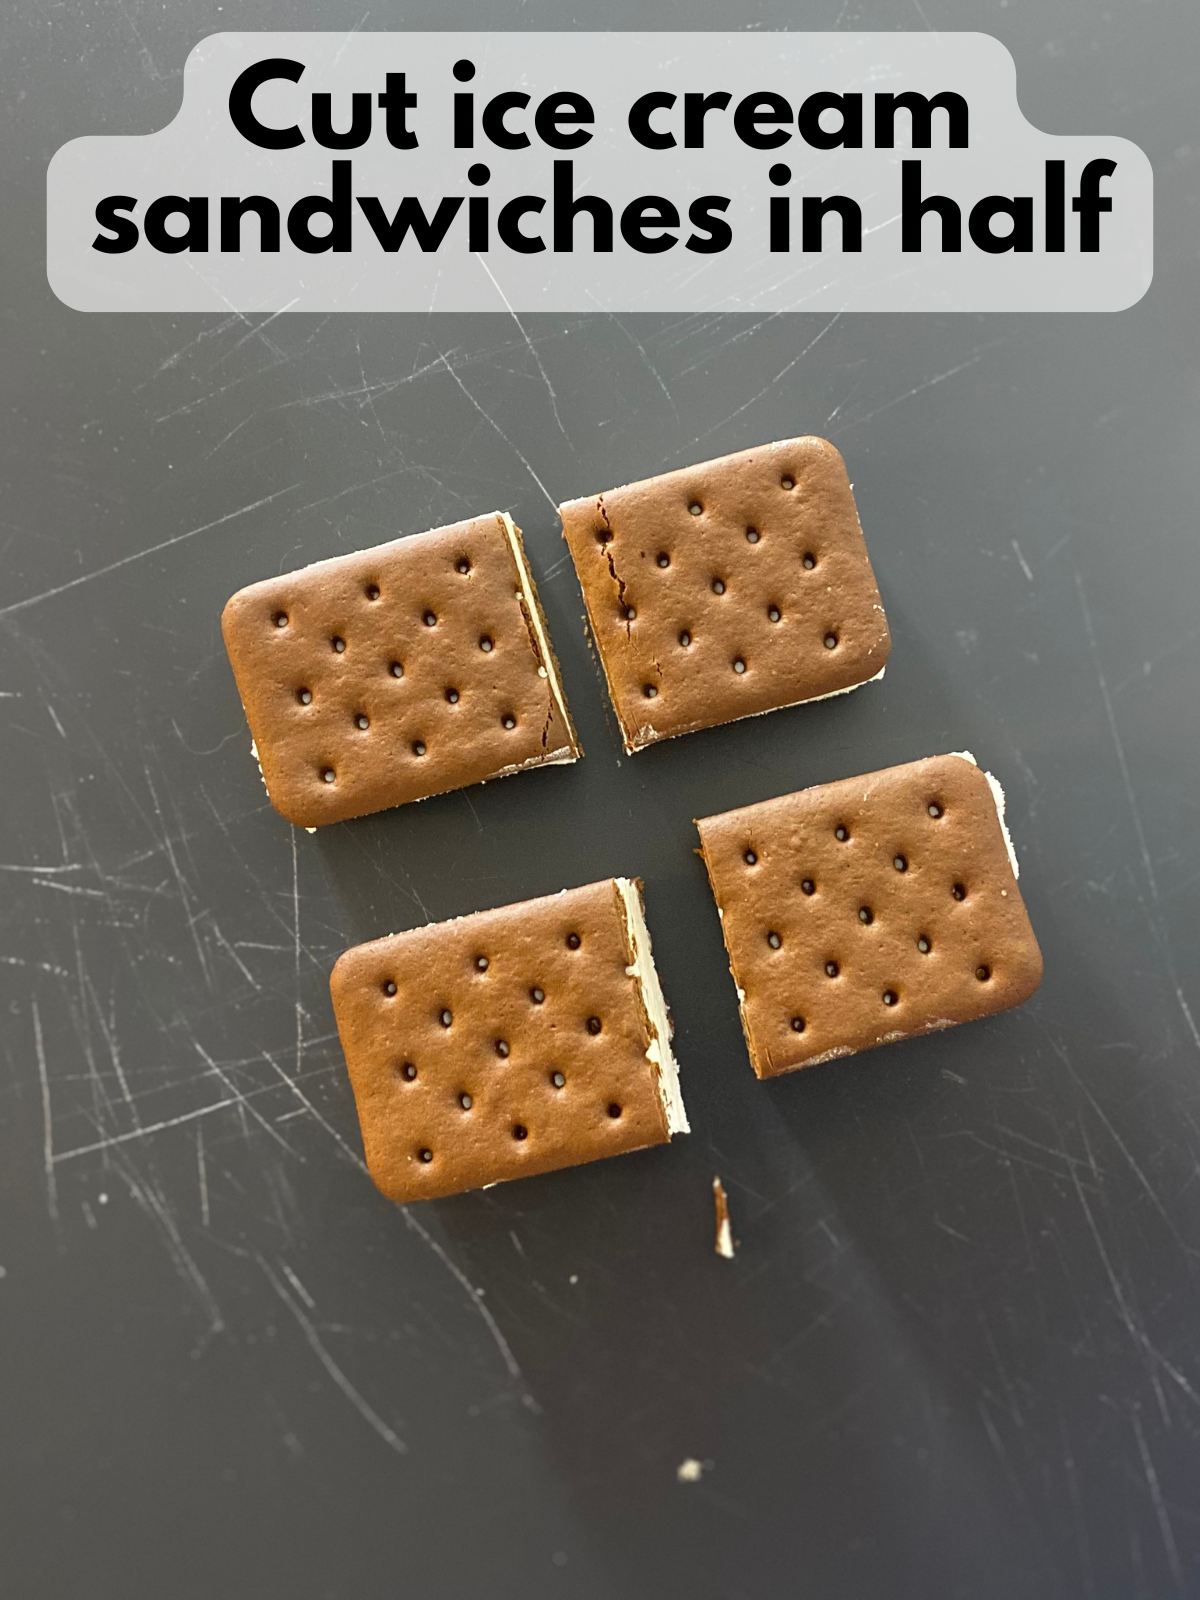
1. Prep Your Ice Cream Sandwiches
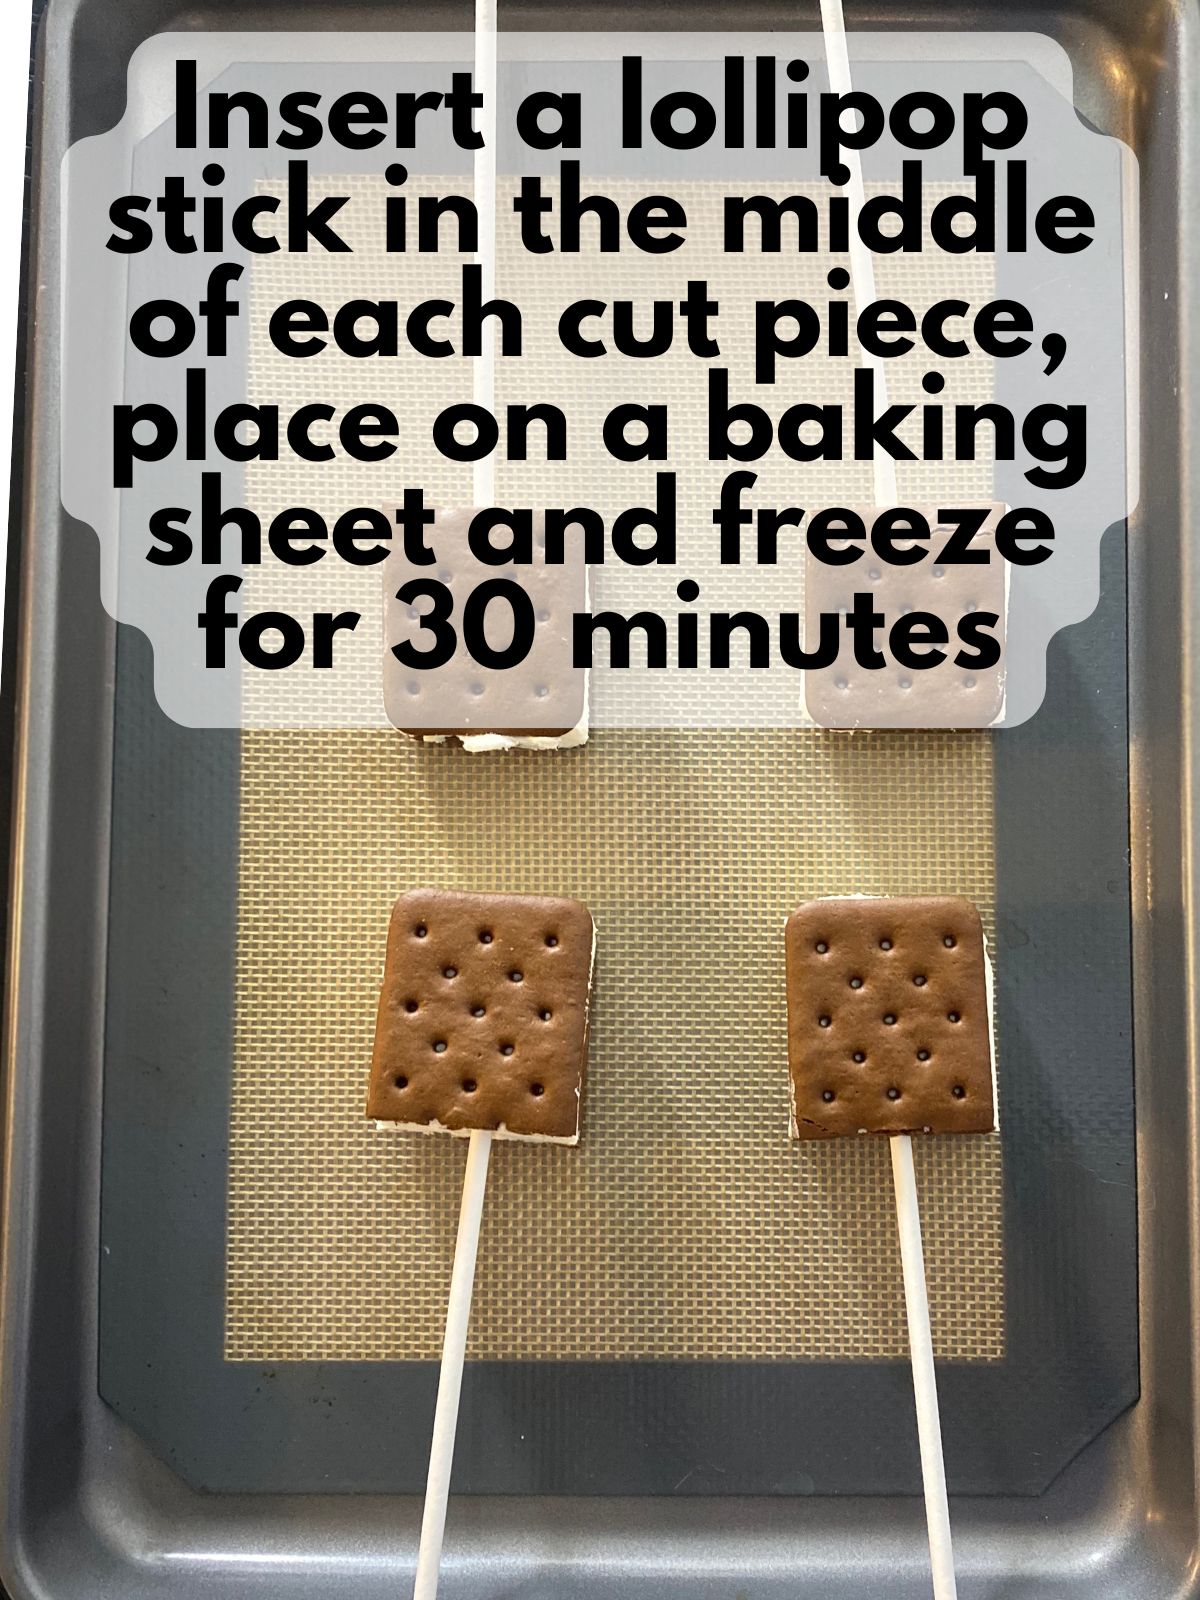
Unwrap the ice cream sandwiches and place them on a parchment-lined baking sheet. Cut each sandwich in half (crosswise) so you have shorter pieces. Insert a lollipop stick into each half. Freeze for 15–30 minutes until very firm. Keep in the freezer until you’re ready to dip.
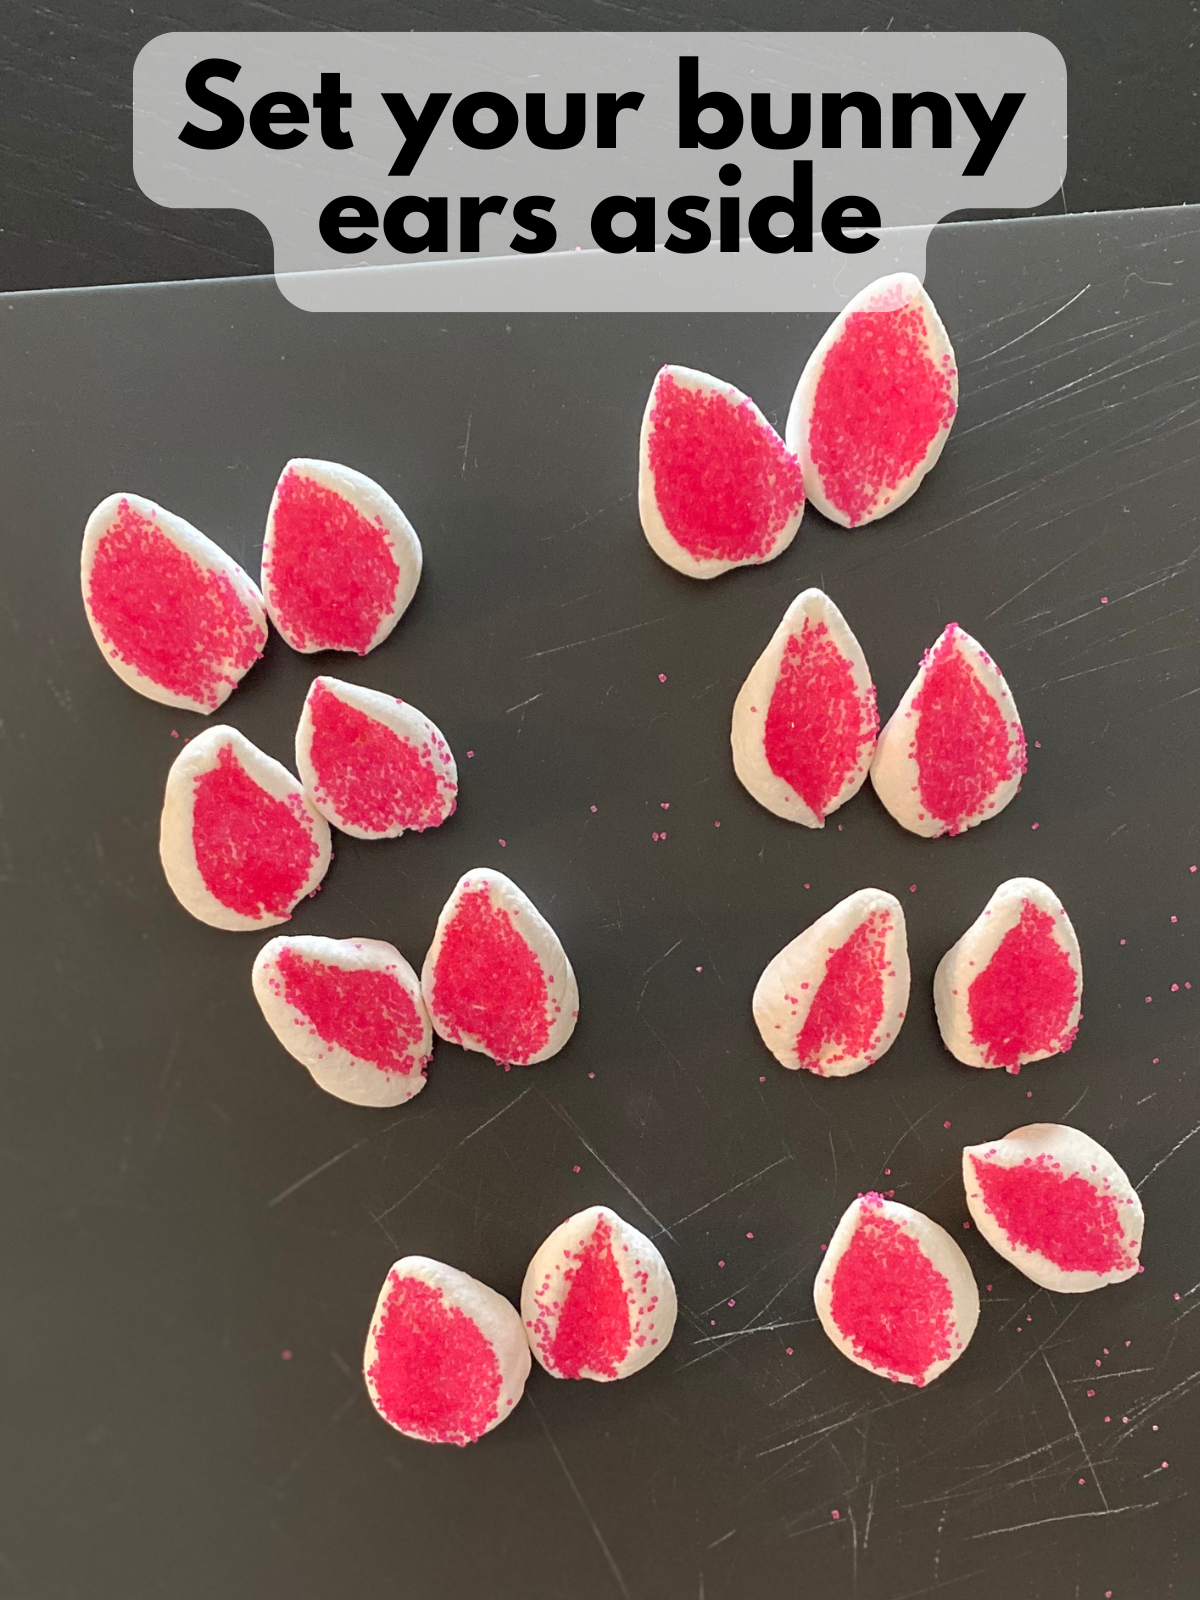
2. Prep the bunny pieces.
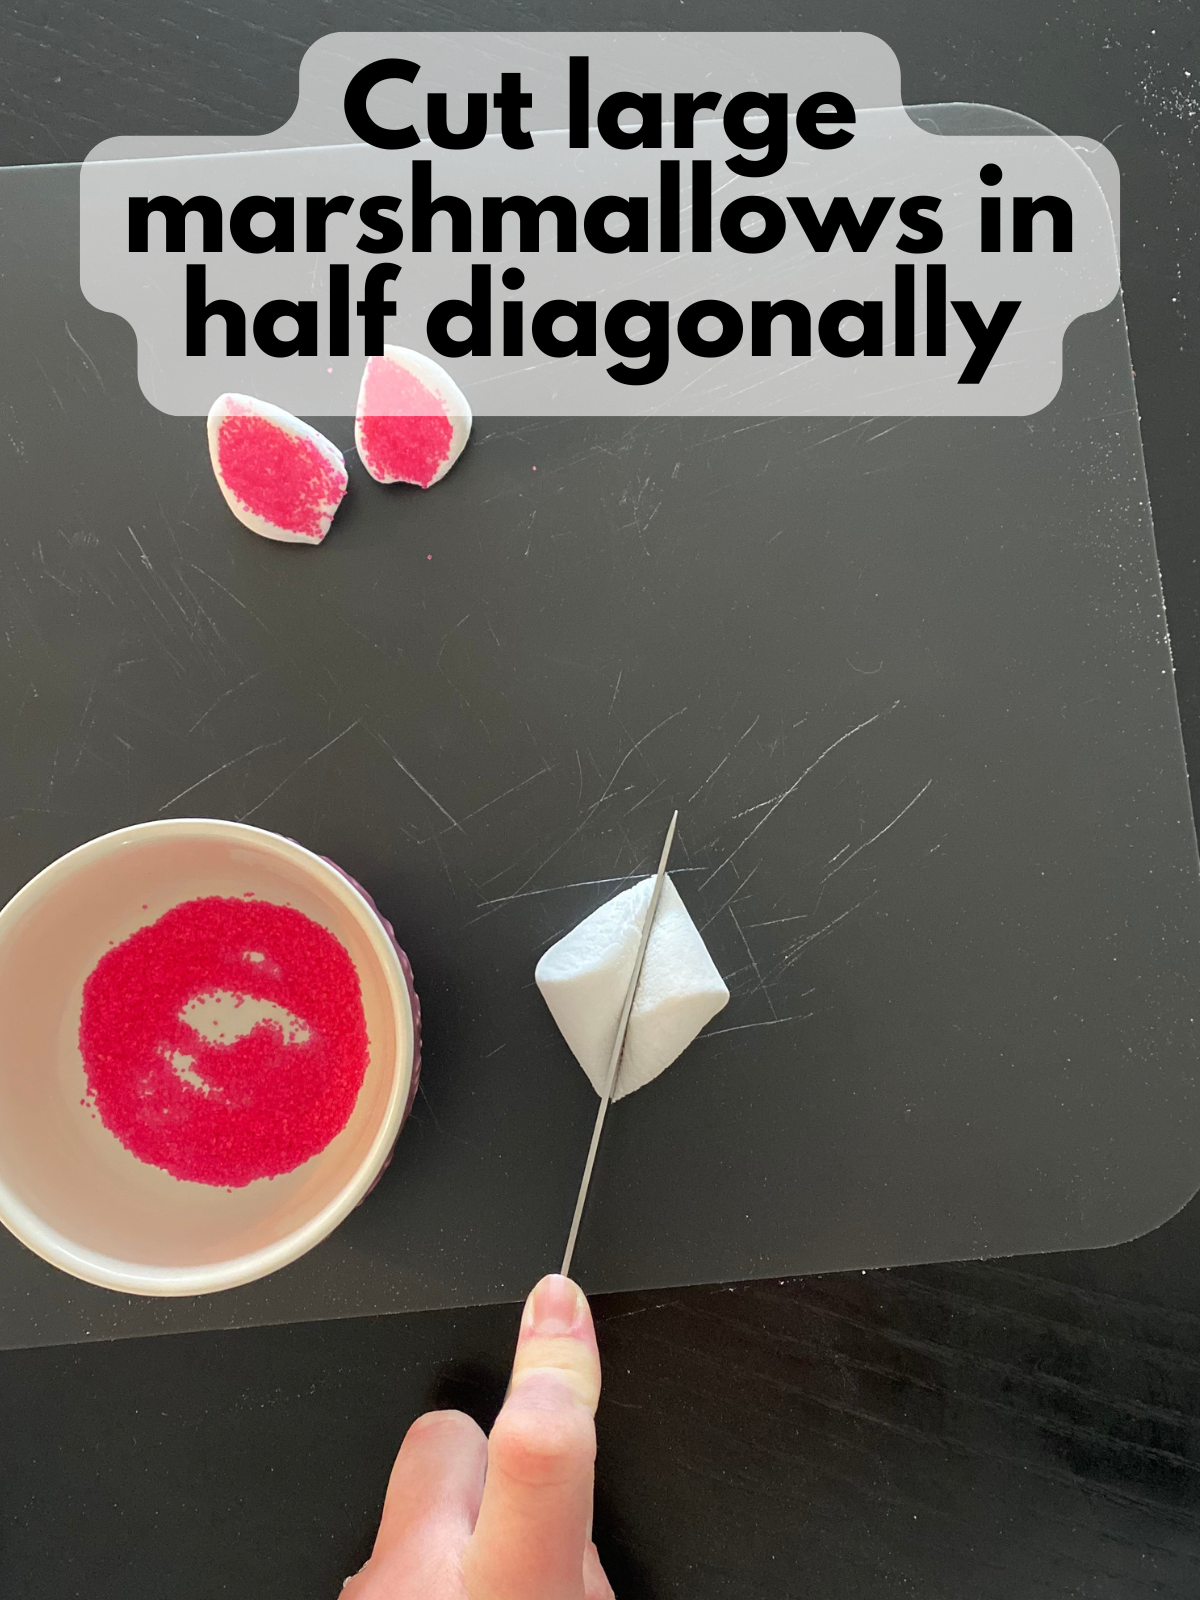
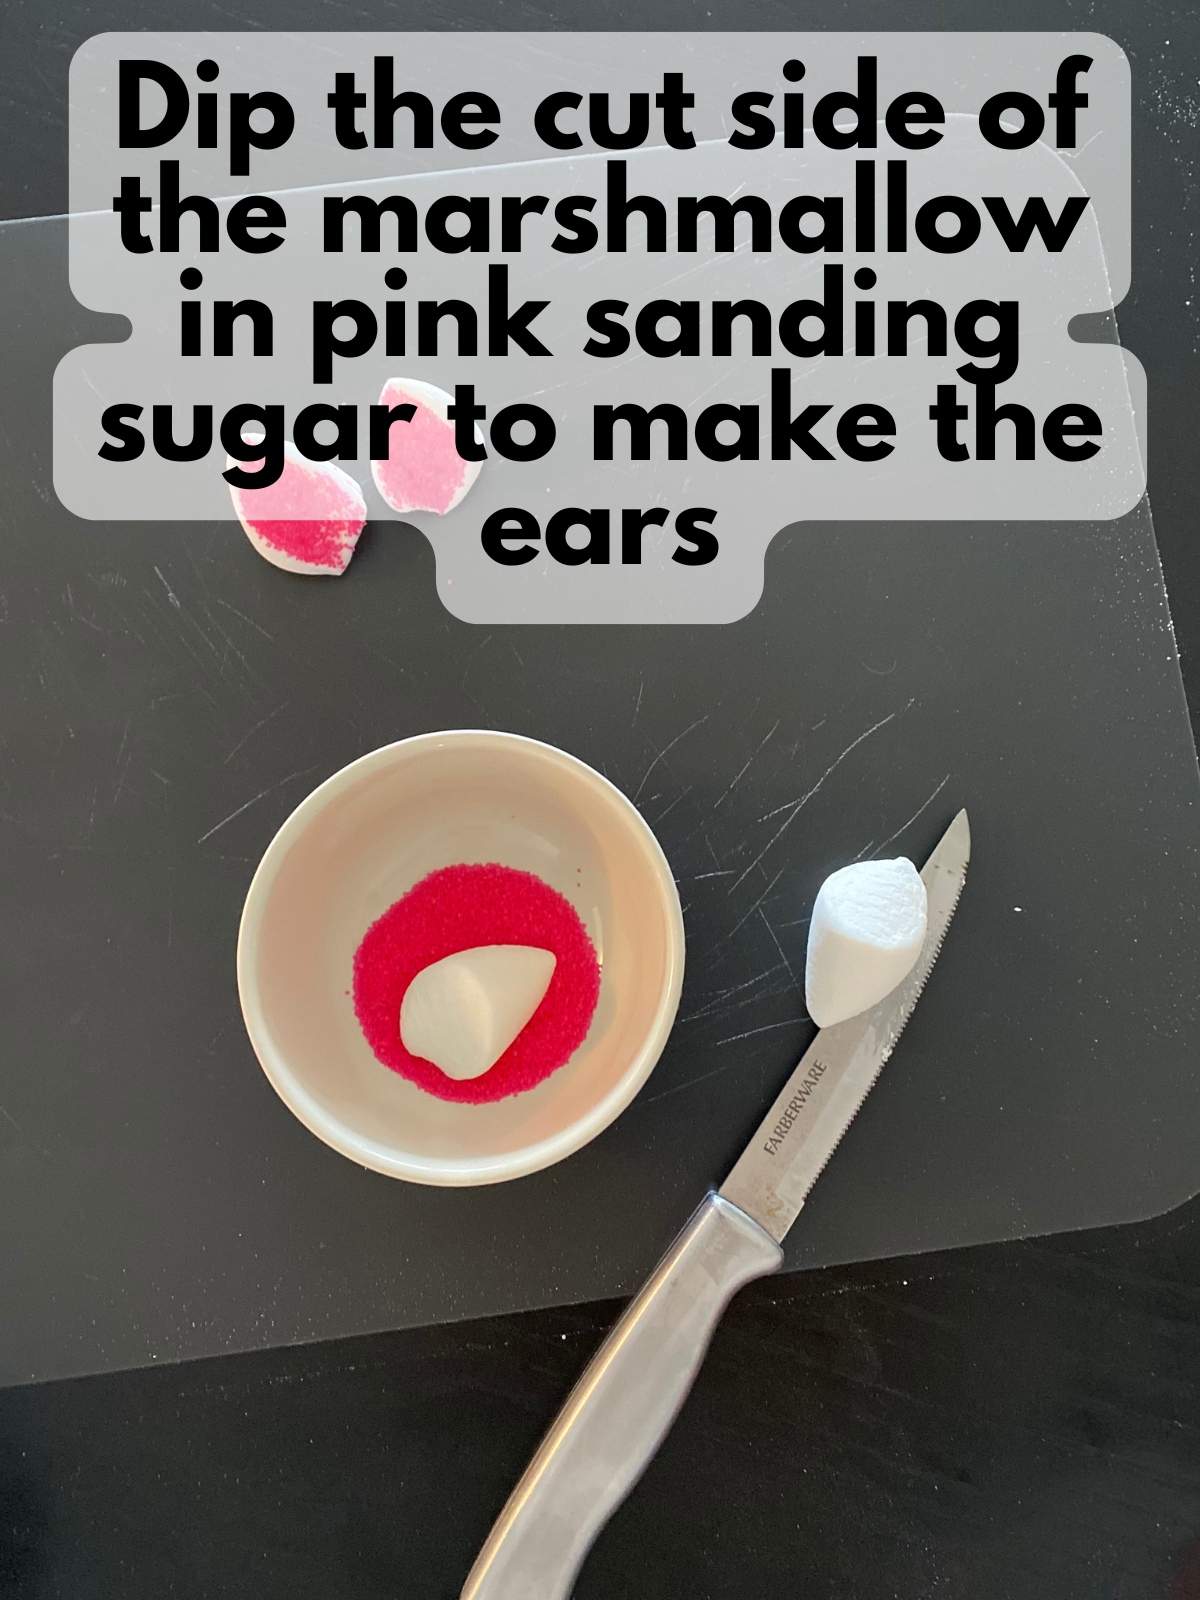
- Ears: Cut large marshmallows diagonally to create ear shapes, then dip the sticky cut side into pink sanding sugar for the inner ear.
- Tails: Set aside mini marshmallows.
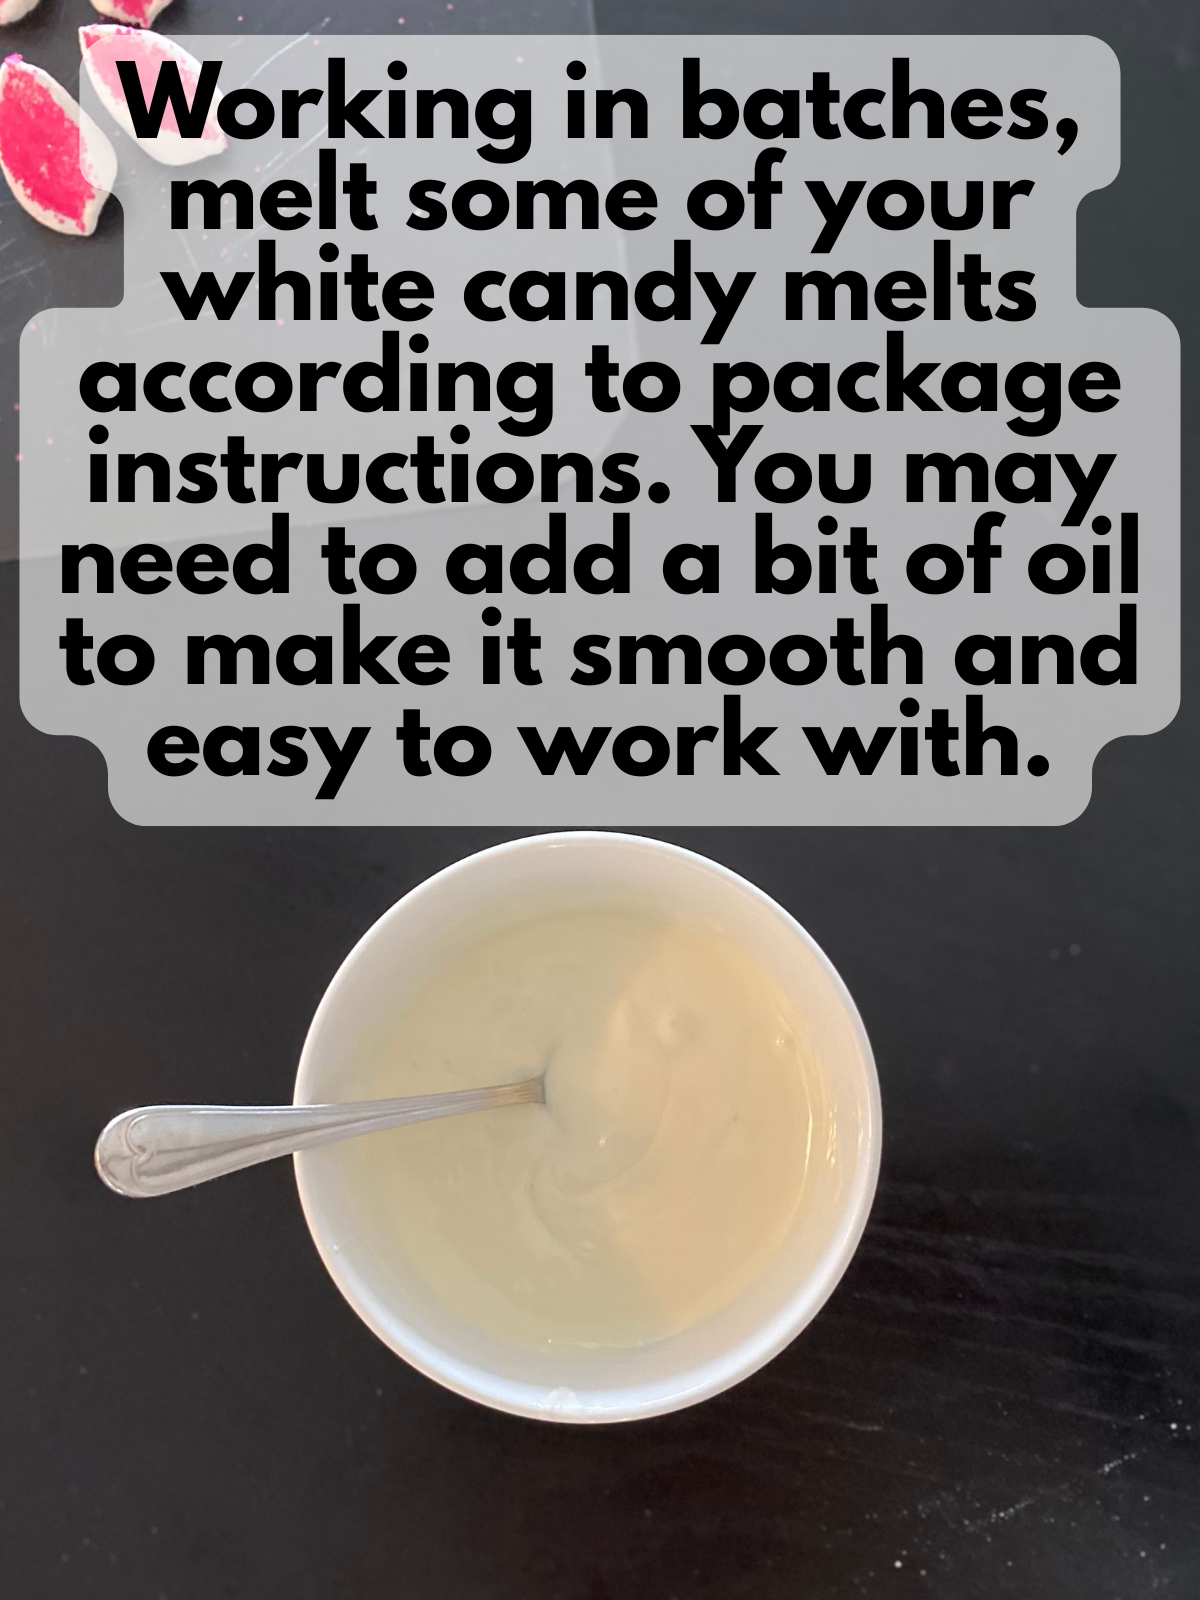
3. Melt the coating.
Melt the white candy melts according to the package directions (microwave in short bursts, stirring between).
Stir in 1 teaspoon coconut oil or vegetable oil to make the coating smoother and easier to dip. If it still feels thick, add a little more oil (up to about 2 teaspoons total).
I found it works best to melt a little of chocolate at a time and work in batches of about 4 ice cream sandwiches at a time. Also, it helped to let the melting candies cool a bit because scalding hot melting candies melt the ice cream sandwiches a bit.
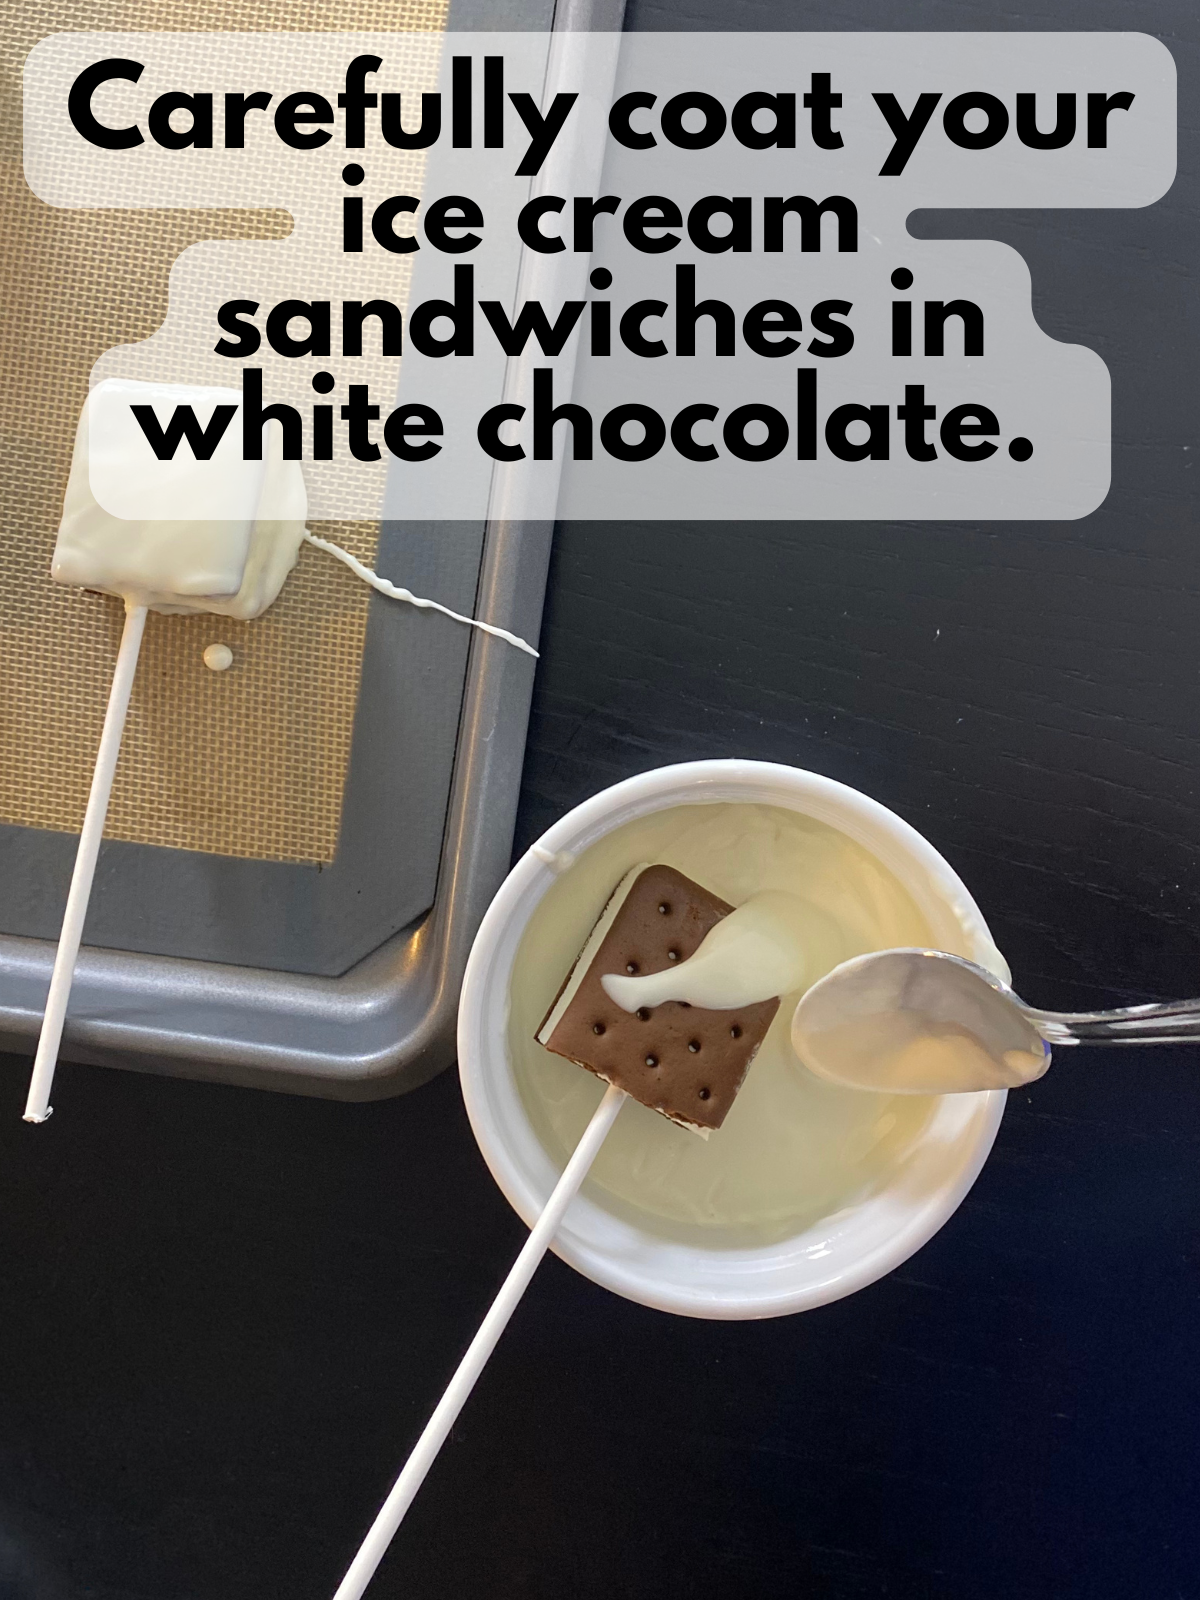
4. Dip, then freeze to set.
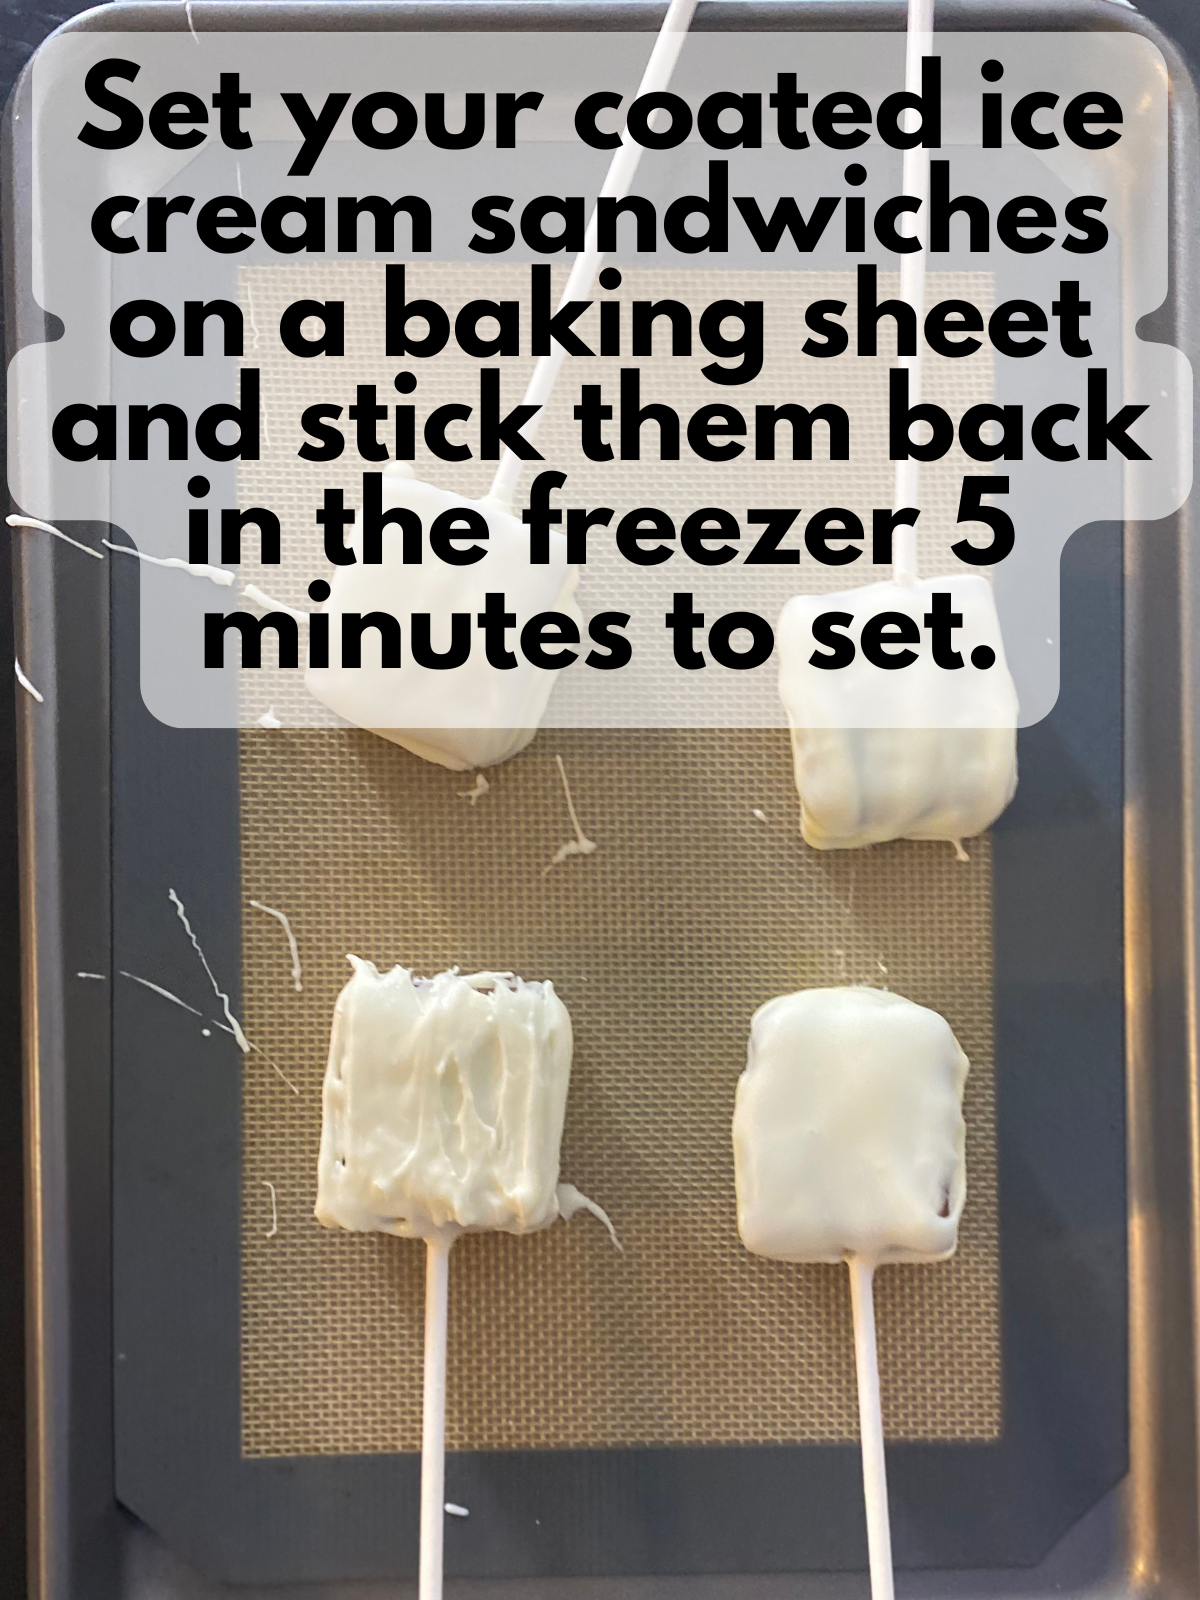
Working with 1–4 pieces at a time (leave the rest in the freezer), dip each ice cream sandwich half into the melted coating. Let the excess drip off, then place it back on the parchment-lined tray. Freeze for 5–10 minutes, or until the coating is set.
5. Attach ears and tails with “chocolate glue.”
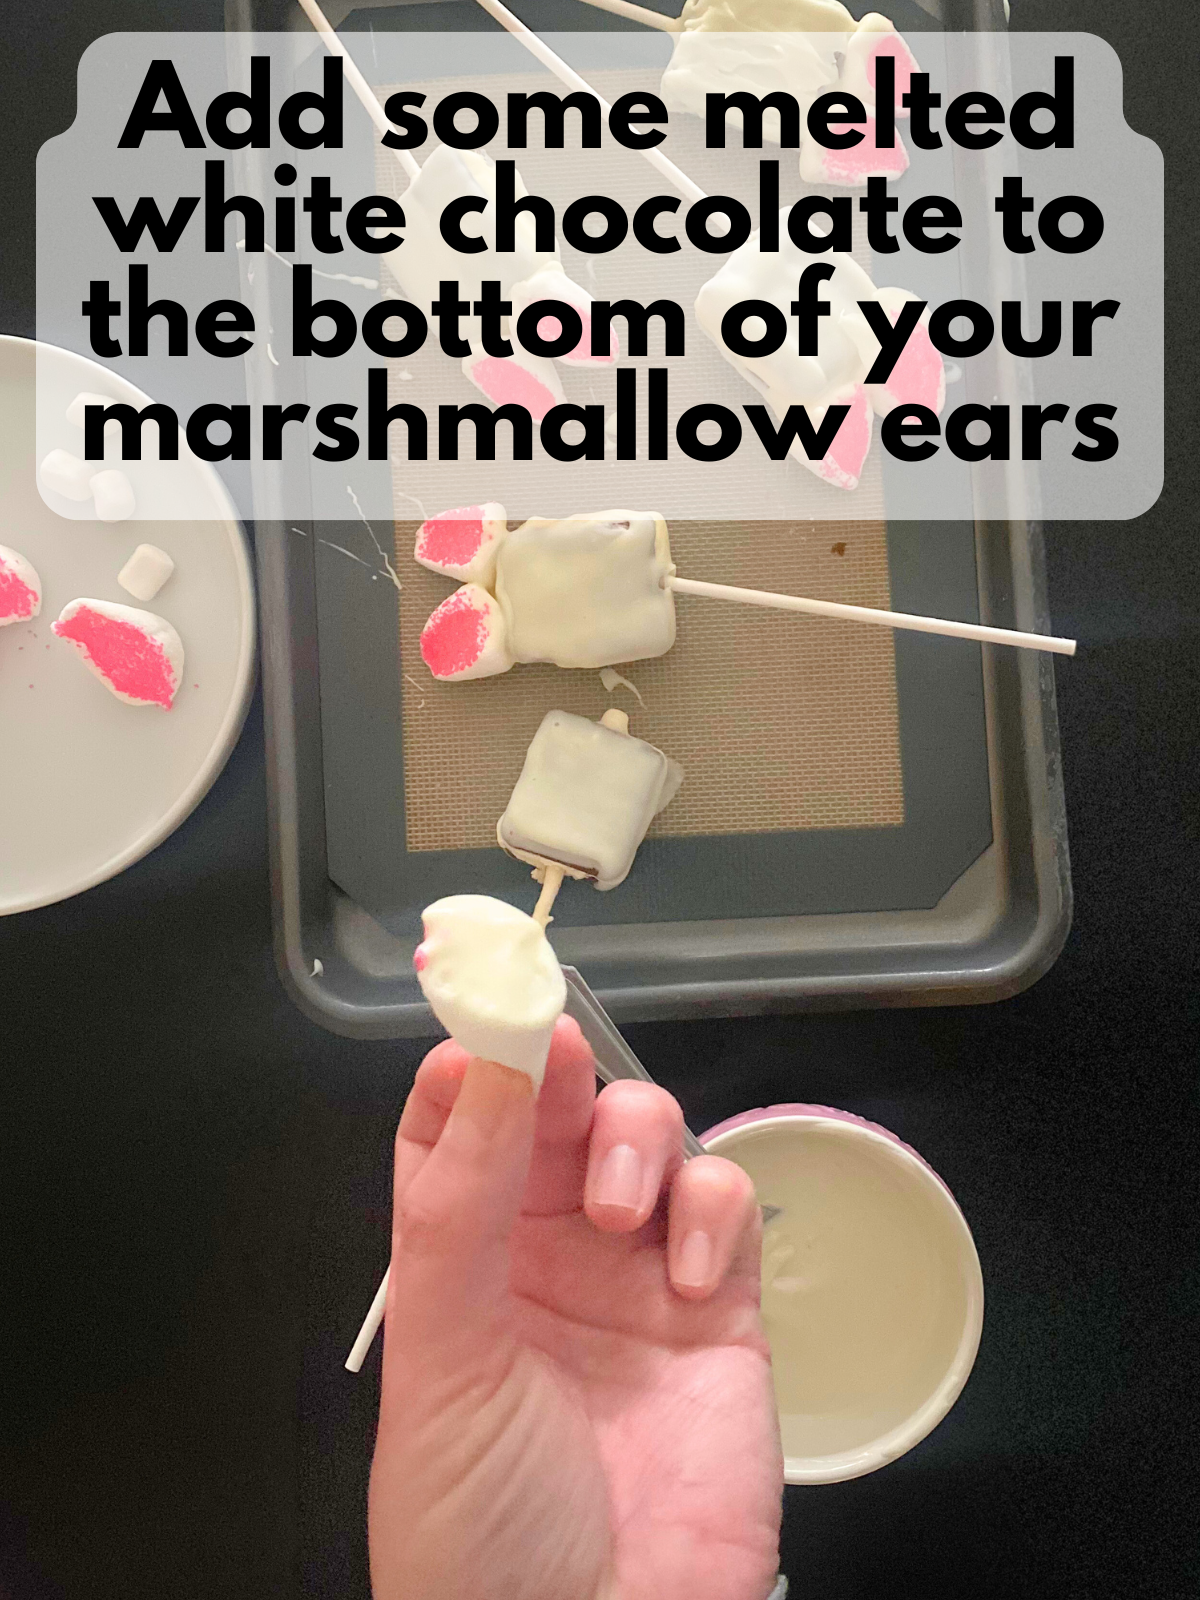
Rewarm a small amount of melted candy melts if needed. Use a small dot of melted coating as “glue” to attach:
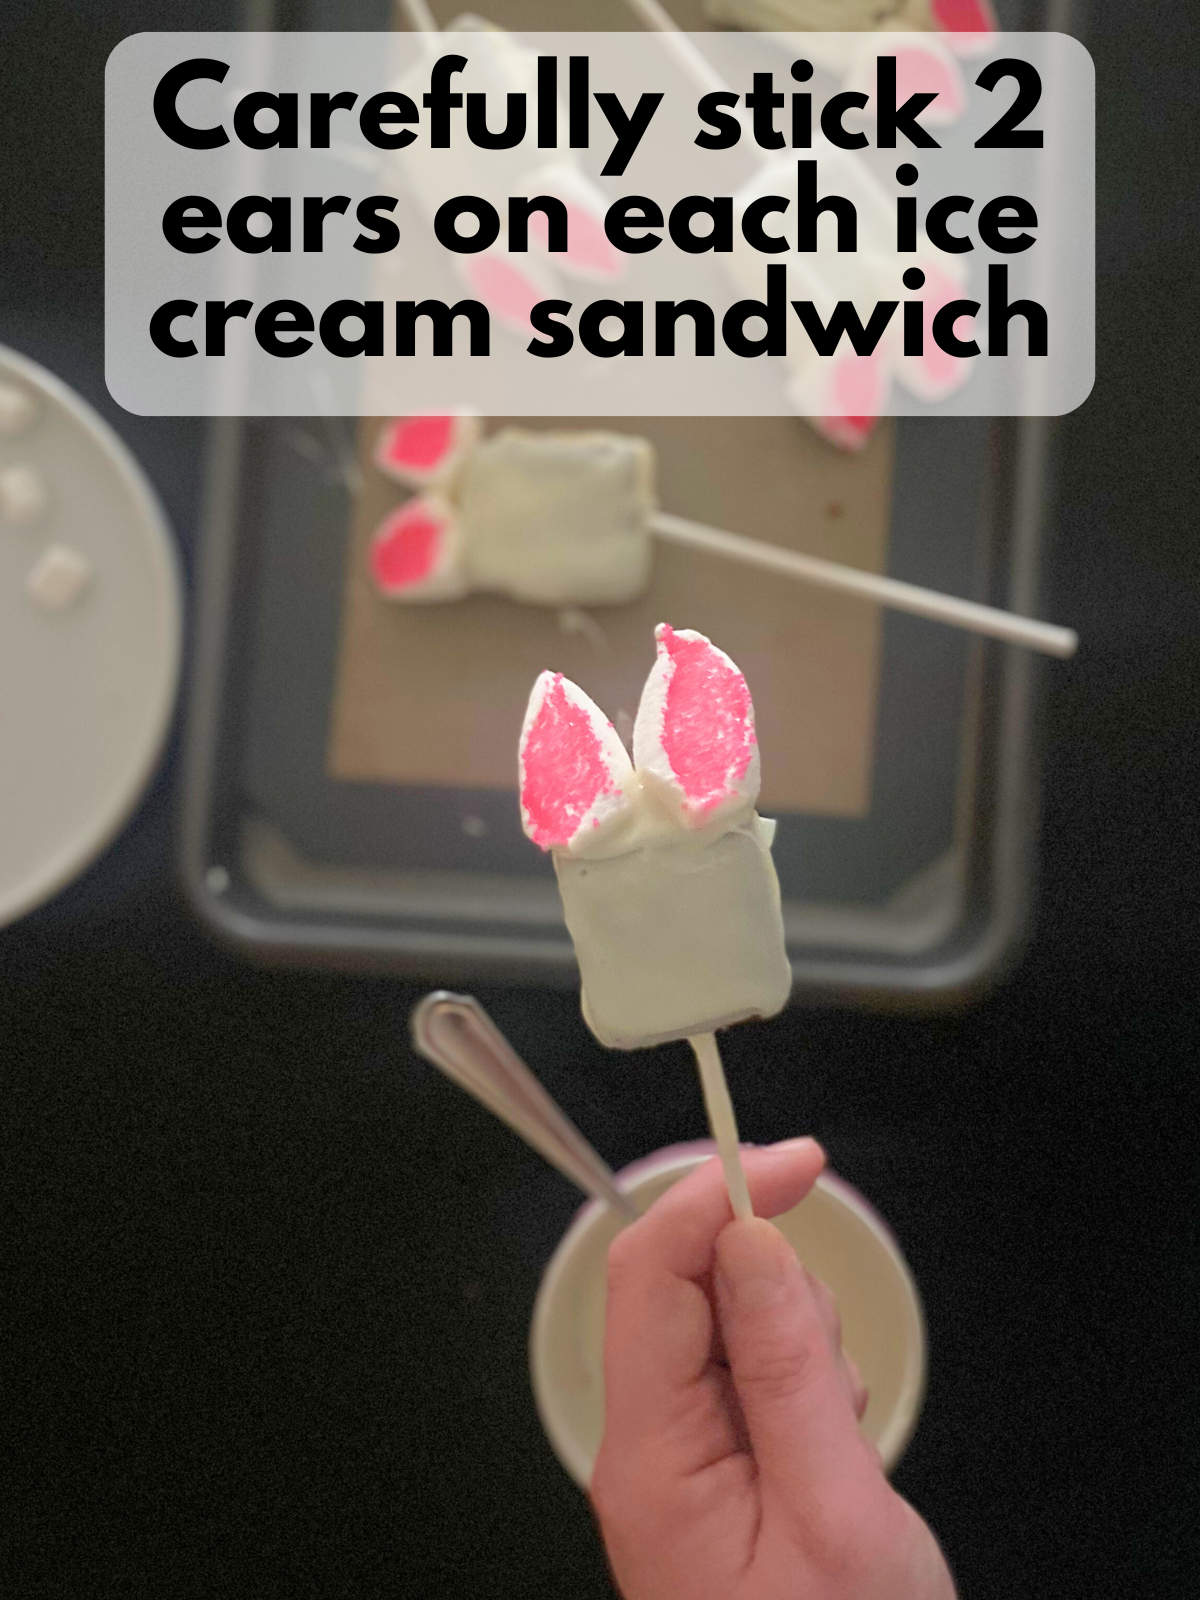
- Two marshmallow ears to the top/front of each pop
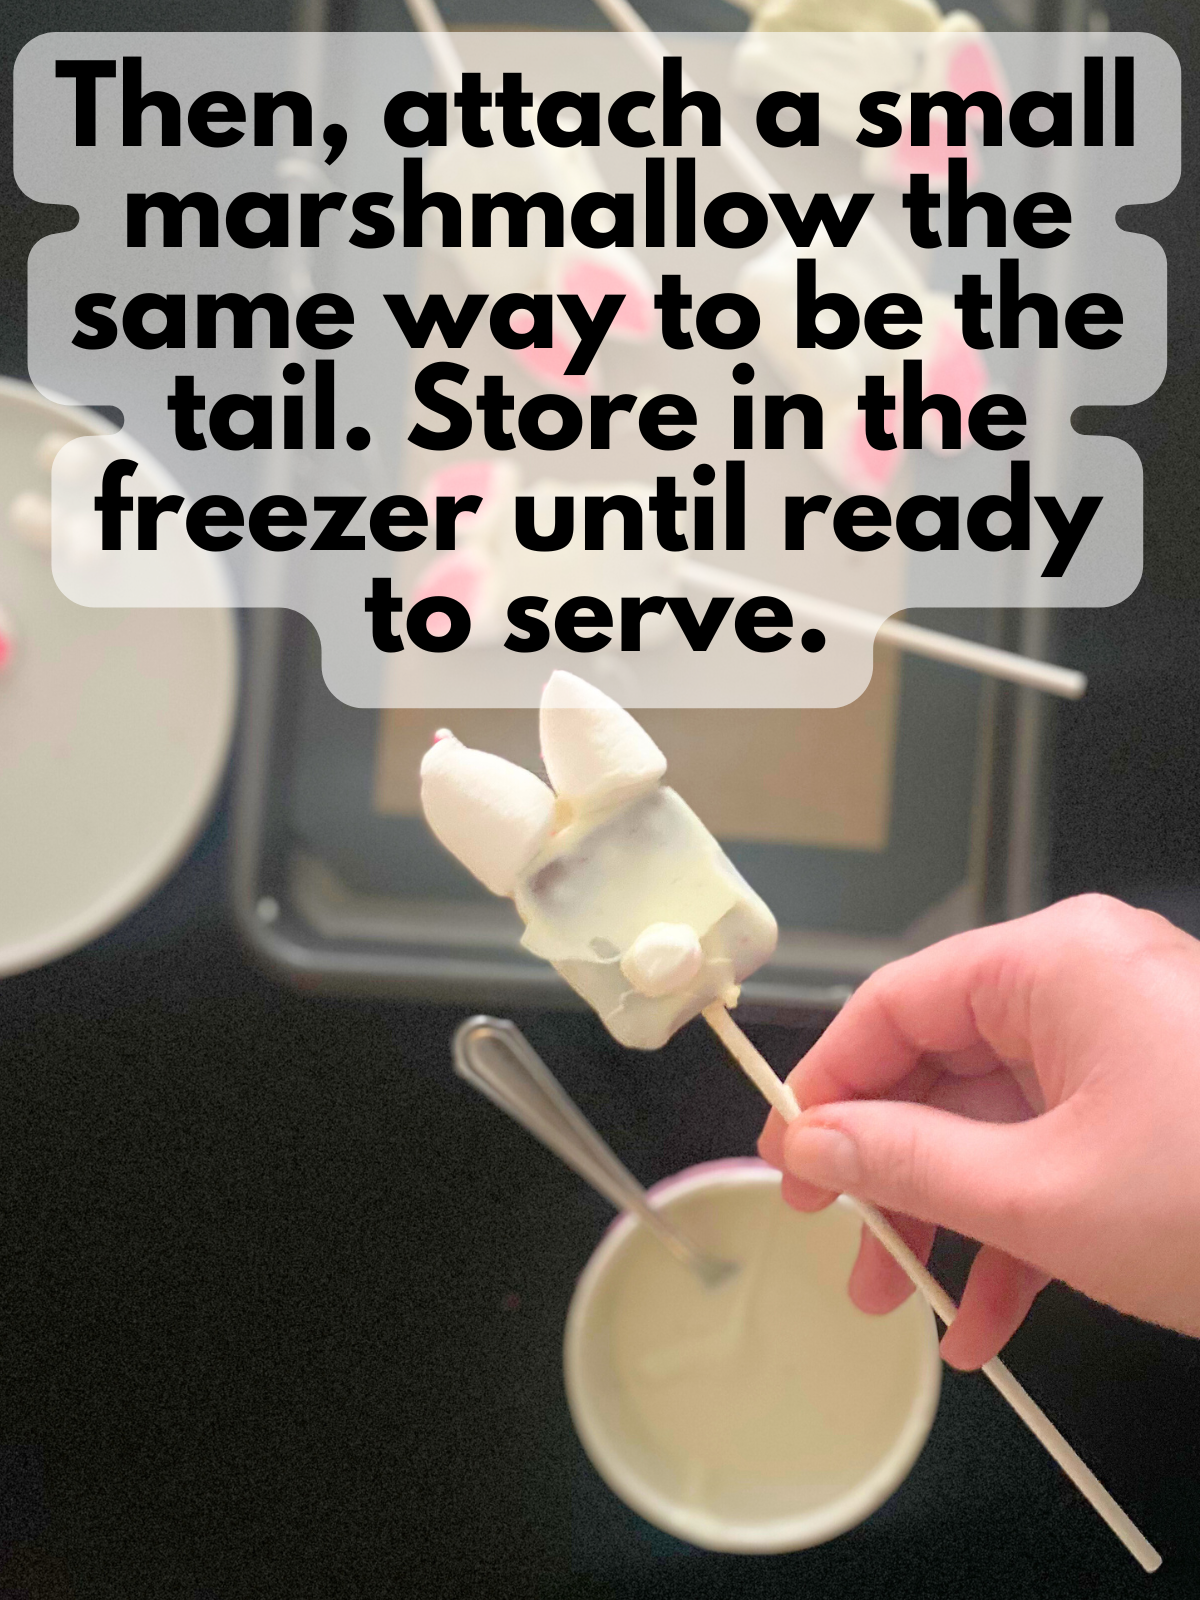
- One mini marshmallow tail on the back
Freeze for another 10 minutes so everything firms up.
6. Decorate (optional)
Add candy eyes, a tiny nose, or sprinkles using a dot of melted candy melts as glue. Freeze again for a few minutes to set.
7. Serve or store.
Keep frozen until serving. Store leftover pops in an airtight container in the freezer.
Pro Tips for the Cutest Bunny Pops
- Don’t skip refreezing the ice cream sandwiches after inserting the lollipop sticks. I really thought I could get away with it, and you just can’t. If you don’t refreeze everything, the ice cream sandwich slides all around on the lollipop stick and it makes dipping the ice cream sandwich impossible.
- Thin the candy melts if needed. I usually add 1 teaspoon coconut oil or vegetable oil for a smoother coating. Add a little more if needed (up to about 2 teaspoons total).
- Use “chocolate glue” for details. A small dot of melted candy melts is perfect for attaching the ears, tail, and any little faces.
- Work in small batches. Dip 1–4 at a time and keep the rest in the freezer so nothing gets soft while you work.
- If your candy melts thicken while you work, rewarm them in short bursts and stir well. If needed, add a tiny splash of more oil to loosen them back up.
- Cleanest ears: Dip the marshmallow cut side into sanding sugar right after cutting so it sticks easily.

FAQs
Can I make these ahead of time?
Yes! These are perfect make-ahead Easter party food. You can make them up to 1–2 weeks ahead and keep them frozen until you’re ready to serve. I would definitely wrap them in plastic and keep them in an airtight container if you make them ahead so that you can avoid freezer burn.
How do I store bunny ice cream sandwich pops?
Store them in an airtight container in the freezer with parchment between layers. For longer storage (or to prevent freezer taste), wrap each pop in plastic wrap before storing.
Why do I need to refreeze after cutting and adding sticks?
Even if the sandwiches started frozen, unwrapping and handling them softens the edges fast. Refreezing helps them stay solid, dip neatly, and hold the stick in place.
My candy melts are thick. What should I do?
Stir in coconut oil or vegetable oil (start with 1 teaspoon, add more as needed up to about 2 teaspoons total). If they thicken again while you work, rewarm in short bursts and stir well.
Can I use white chocolate chips instead of candy melts?
Candy melts work best because they’re made for dipping and setting. White chocolate chips can be finicky and may not coat as smoothly.
What if the ears or tail won’t stick?
Let the coating set first, then gently dip your marshmallows into some more candy melts and use it as glue to attach the ears and tail. Freeze for 10 minutes after attaching so everything sets.
What if I don’t have pink sanding sugar?
Pink sprinkles work great, or you can make tinted sugar by mixing granulated sugar with a tiny drop of pink food coloring.
Can I make these without sticks?
You could, but sticks make them much easier to serve and eat, especially if you’re making a batch for a party.

These bunny ice cream sandwich pops are one of my go-to cute Easter desserts because they’re genuinely easy, make-ahead friendly, and super cute on a dessert table. If you need simple Easter party food that still feels festive, you can make these no bake spring desserts in one evening and keep them ready to go in the freezer.
Bunny Ice Cream Sandwich Pops
Ingredients
- 4 ice cream sandwiches I technically used mini, but I'm sure regular sized would work fine
- 8 lollipop sticks
- 20 oz white candy melts
- 1-2 tsp coconut or vegetable oil
- 8 large marshmallows for ears
- 8 mini marshmallows for tails
- pink sanding sugar
- Optional decorations: candy eyes, mini pink candies for noses, sprinkles, etc.
Instructions
- Unwrap the ice cream sandwiches and place them on a parchment-lined baking sheet. Cut each sandwich in half (crosswise) so you have shorter pieces.
- Insert a lollipop stick into each half. Freeze for 15–30 minutes until very firm (Don't skip this step!). Keep in the freezer until you’re ready to dip.
- Cut large marshmallows diagonally to create ear shapes, then dip the sticky cut side into pink sanding sugar for the inner ear. Set aside mini marshmallows for the tails.
- Melt the white candy melts according to the package directions (microwave in short bursts, stirring between).Stir in 1 teaspoon coconut oil or vegetable oil to make the coating smoother and easier to dip. If it still feels thick, add a little more oil (up to about 2 teaspoons total).*
- Working with 1–4 pieces at a time (leave the rest in the freezer), dip each ice cream sandwich half into the melted coating. Let the excess drip off, then place it back on the parchment-lined tray. Freeze for 5–10 minutes, or until the coating is set.*
- Rewarm a small amount of melted candy melts if needed. Use a small dot of melted coating as “glue” to attach 2 of the large marshmallow ears to the top of each ice cream sandwich pop.
- Then, use some melted candy melts to attach a mini marshmallow to the back of each ice cream sandwich pop for a tail.
- Freeze for another 10 minutes just to make sure everything sets.
- Add candy eyes, a tiny nose, or sprinkles using a dot of melted candy melts as glue. Freeze again for a few minutes to set.
- Keep frozen until serving. Store leftover pops in an airtight container in the freezer.