
Last updated on December 4th, 2025 at 01:35 pm
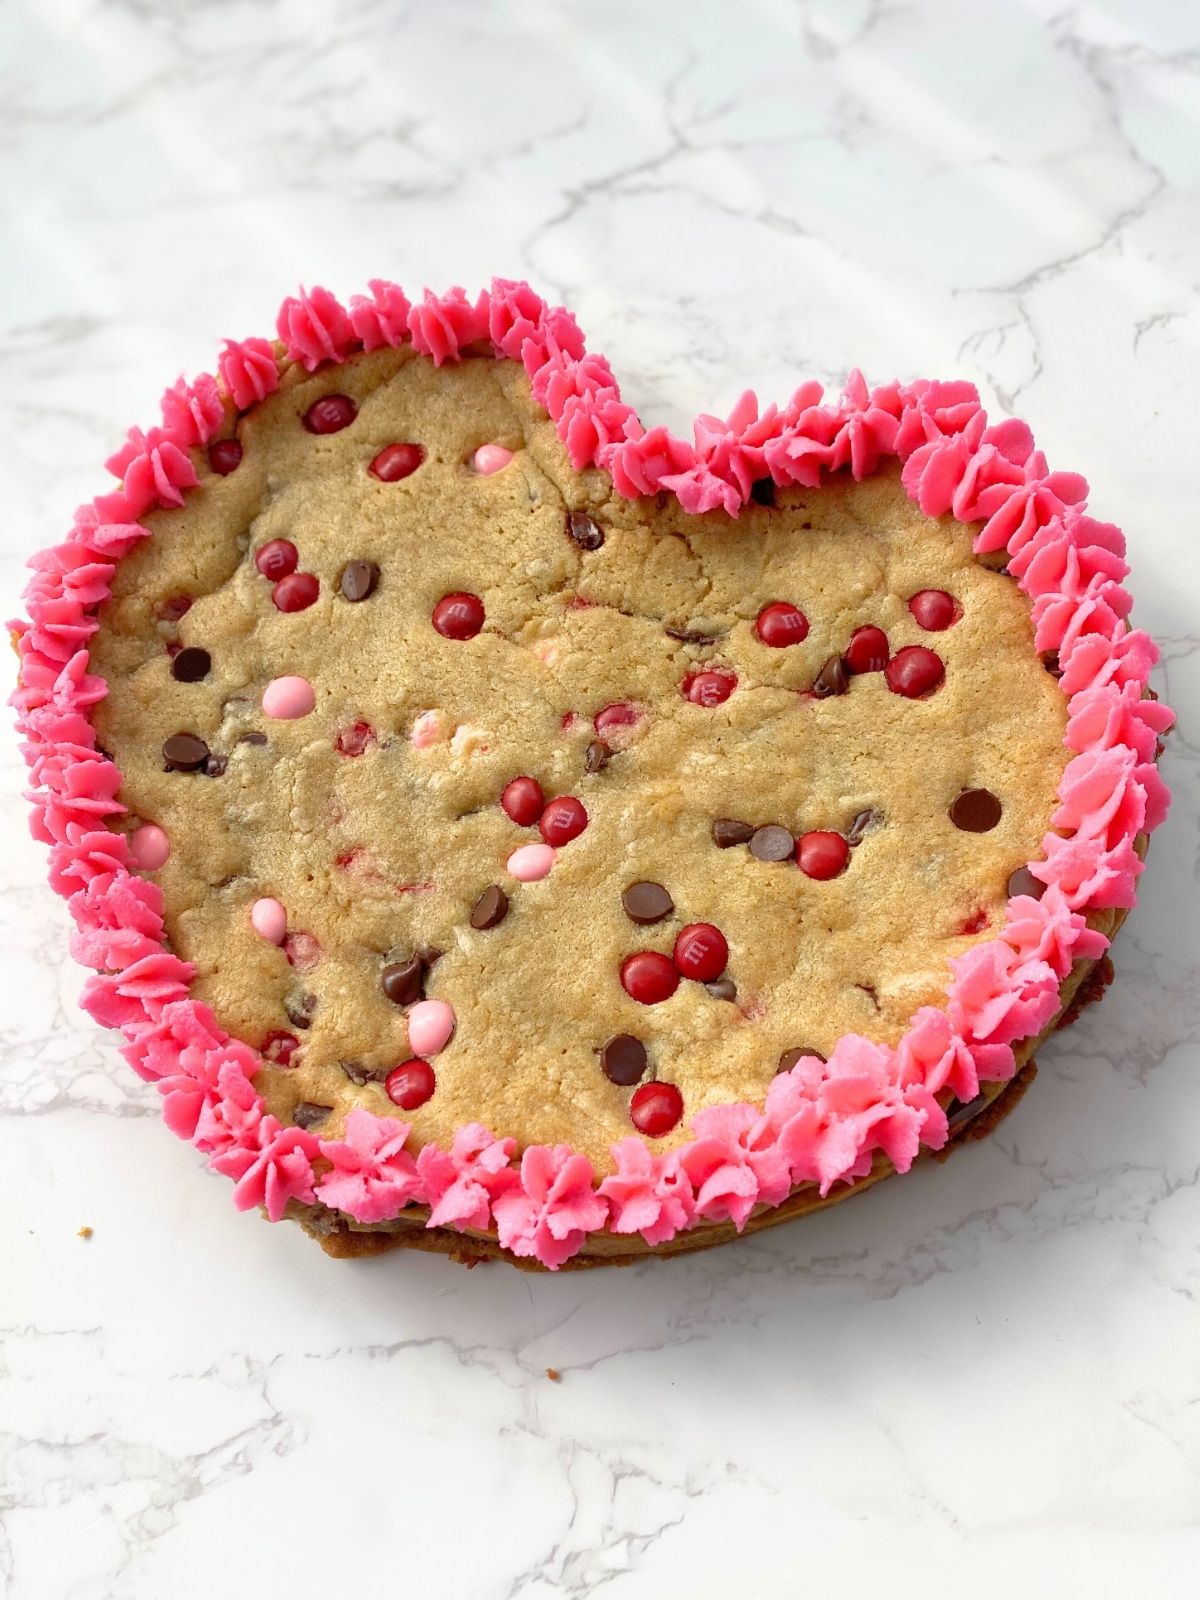
This heart-shaped chocolate chip cookie cake is the cute Valentine’s dessert of the season. It’s simple, fun, and absolutely adorable. It uses everyday ingredients, a quick homemade dough, and a DIY cookie cake mold, so there’s no need for special pans. The cookie bakes up soft and chewy with melty chocolate chips and bright Valentine M&Ms. It’s perfect for parties, gifting, or just adding something festive to your list of Valentines dessert ideas. If you want an easy treat that still looks impressive, this is a great one to try.
Jump to Recipe
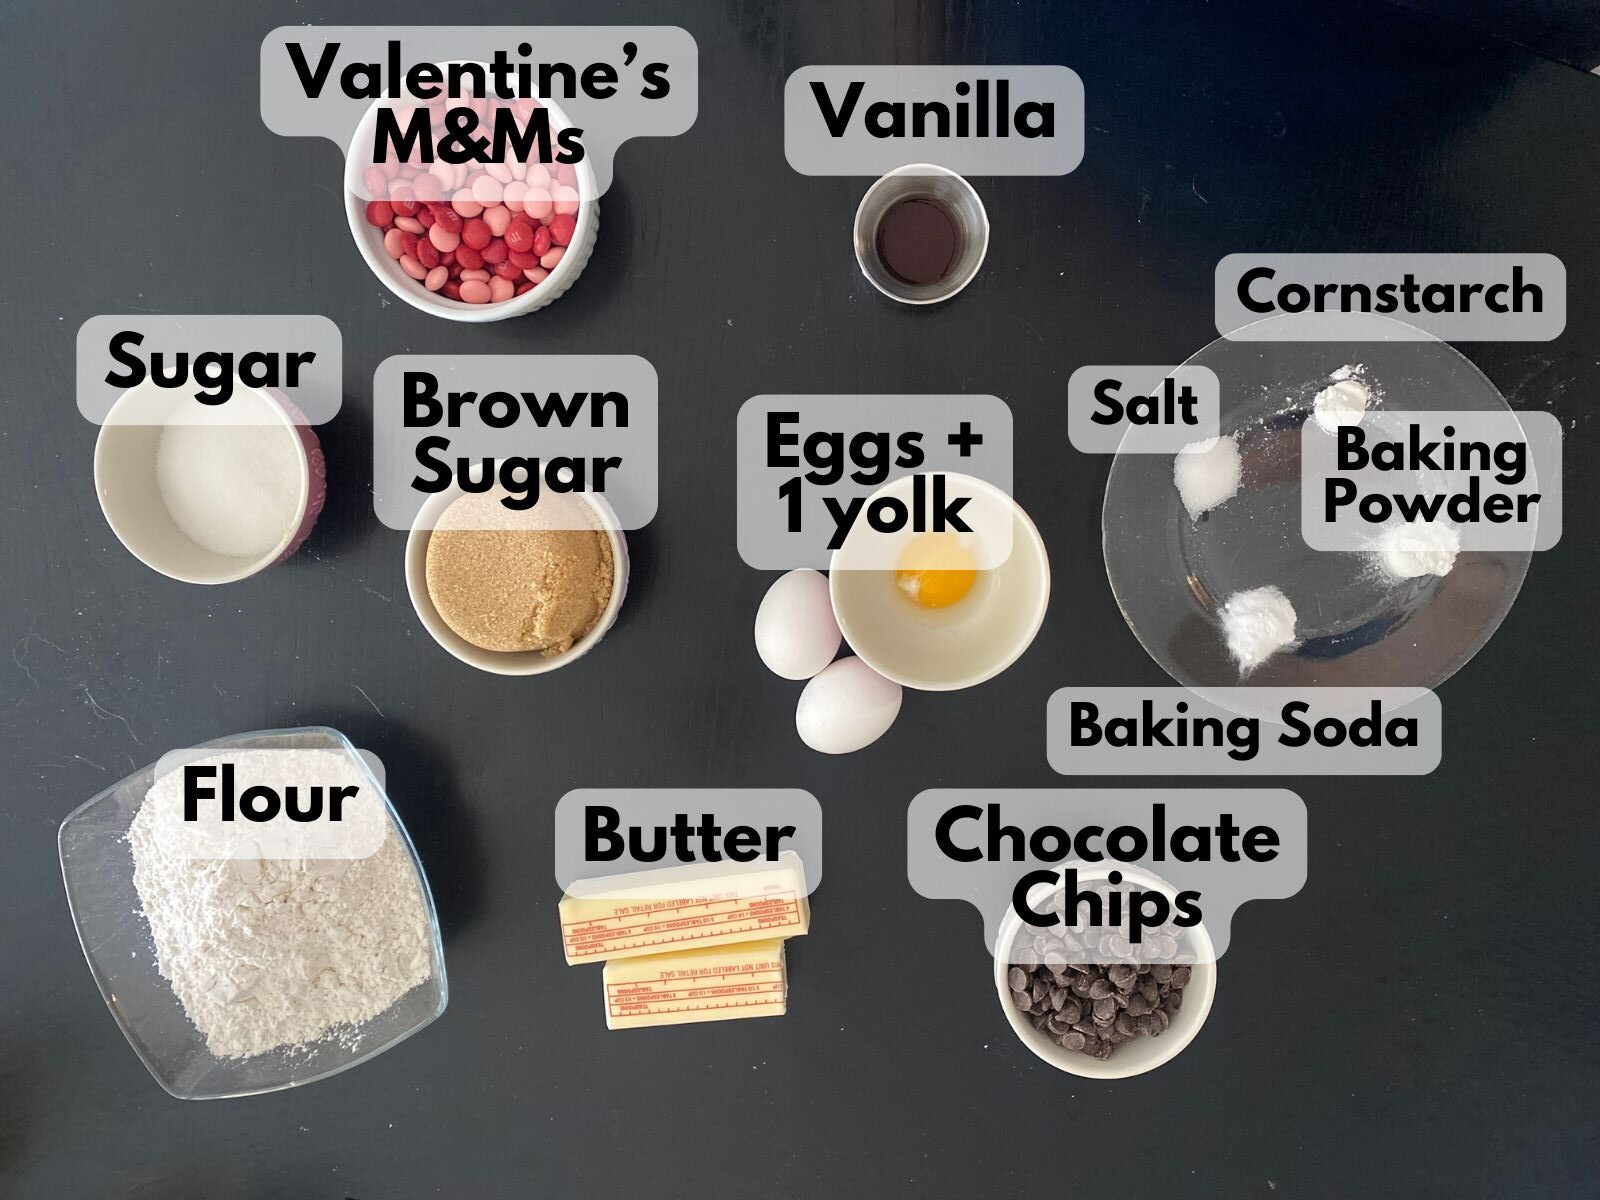
Ingredients for the Heart-Shaped Cookie Cake
Cookie Cake
- 14 tablespoons unsalted butter, melted and cooled
- 1 cup packed brown sugar
- ⅓ cup granulated sugar
- 2 large eggs
- 1 egg yolk
- 2 teaspoons vanilla extract
- 2 ½ cups +2 tablespoons all-purpose flour
- ½ teaspoon cornstarch (optional, for softer texture)
- ½ teaspoon baking soda
- ½ teaspoon baking powder
- ½ teaspoon salt
- 1 cup chocolate chips
- ⅔–1 cup Valentine M&Ms (plus extra for topping)
Pink Buttercream Border
- ¼ cup unsalted butter, softened
- 1 cup powdered sugar
- 1–2 teaspoons milk or heavy cream
- ½ teaspoon vanilla extract
- Pink gel food coloring
How to Make This Heart-Shaped Valentine’s Cookie Cake
1. Prepare the Pan and Foil Mold
- Preheat oven to 350°F and line a half-sheet pan (18×13 inches) with parchment or a silicone baking mat.
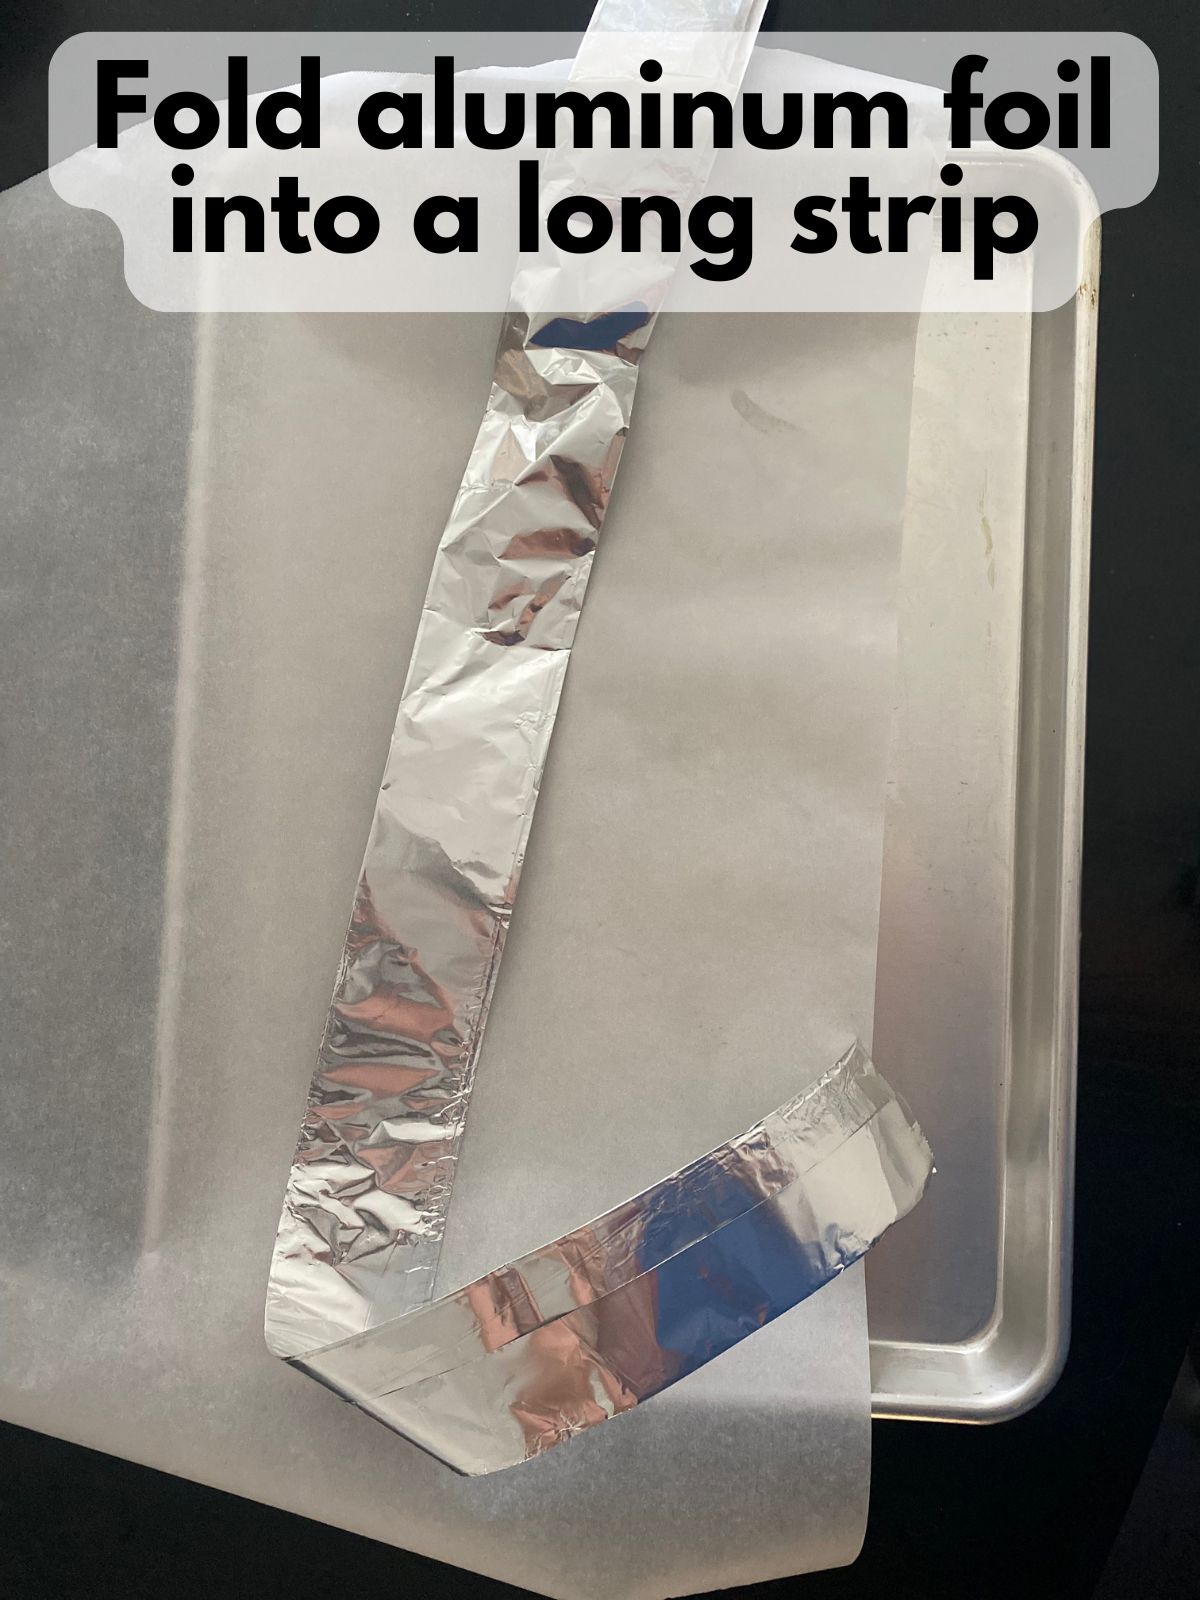
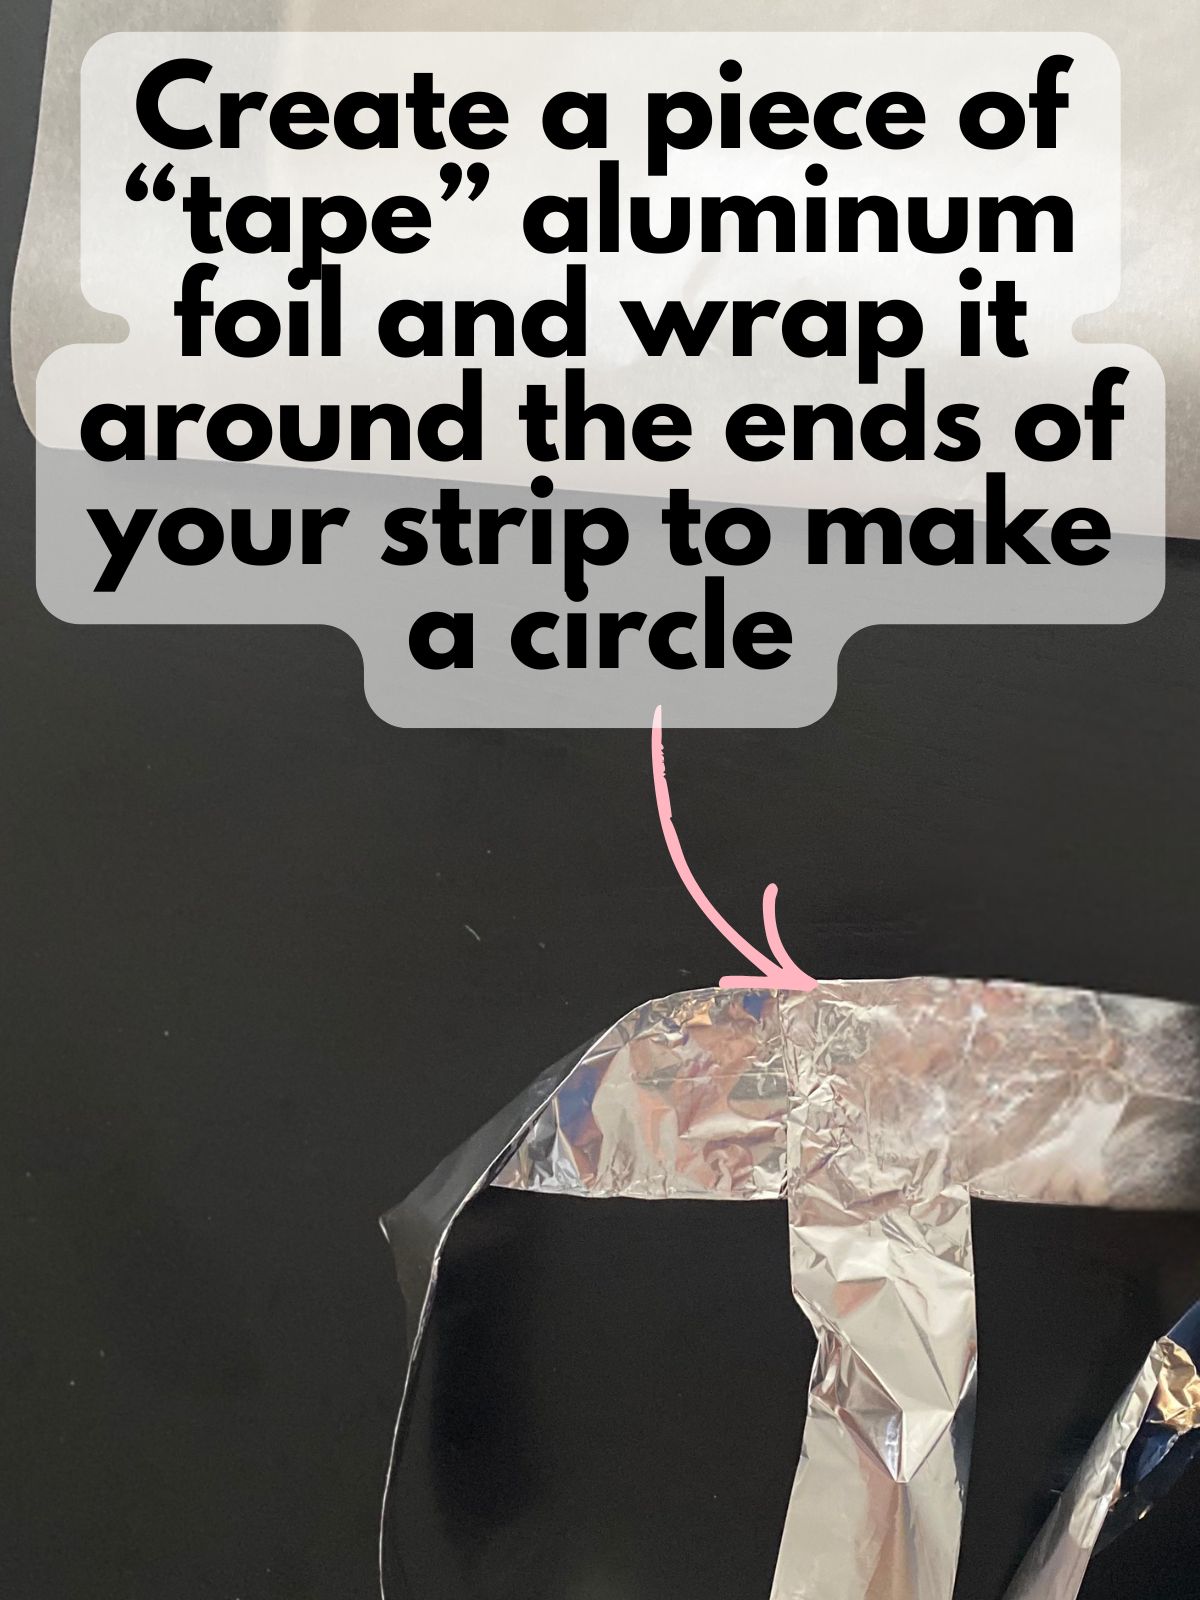
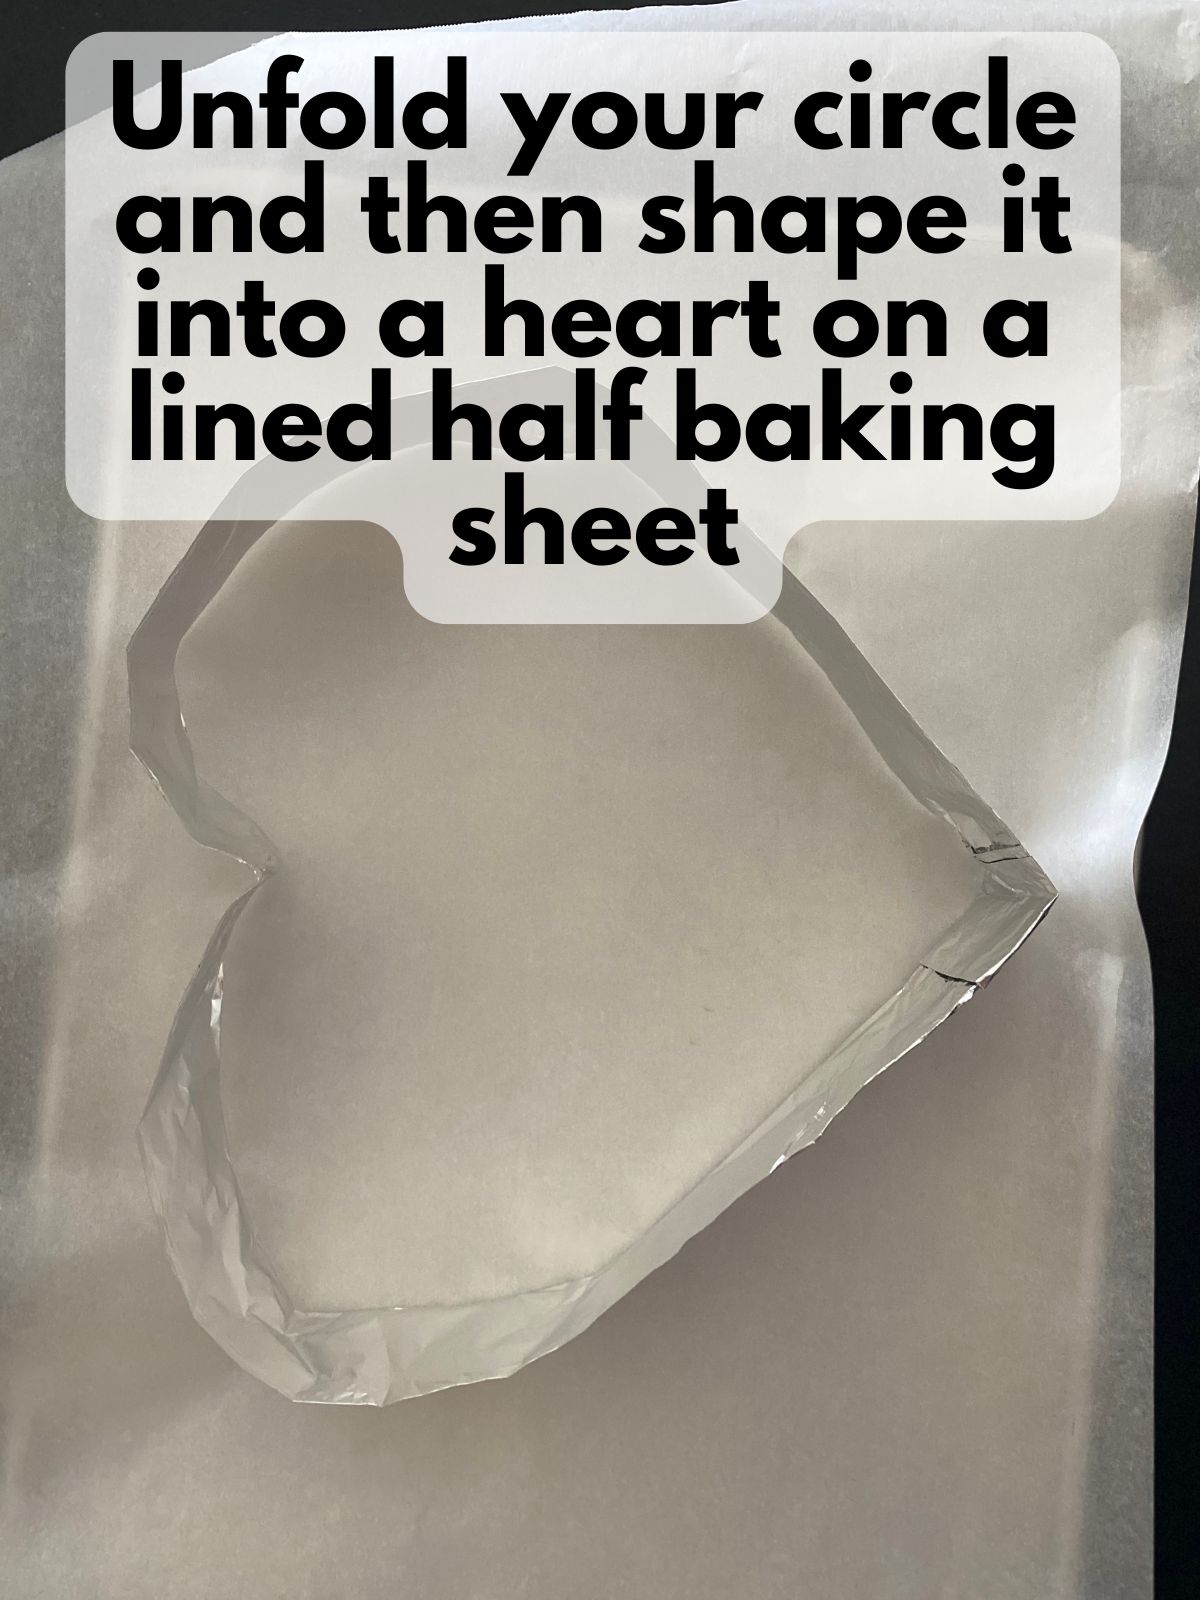
- Create a heart mold with folded heavy-duty foil strips shaped into a heart. I did this by folding a long piece of aluminum foil into a strip that was about 2 inches tall. Then, I made a “tape” piece of aluminum foil to “tape” the ends of the strip together to make a big loop. Finally, I bent the loop into the shape of a heart.
- Place the foil heart on the prepared pan and lightly spray with nonstick spray if desired.
2. Make the Cookie Dough
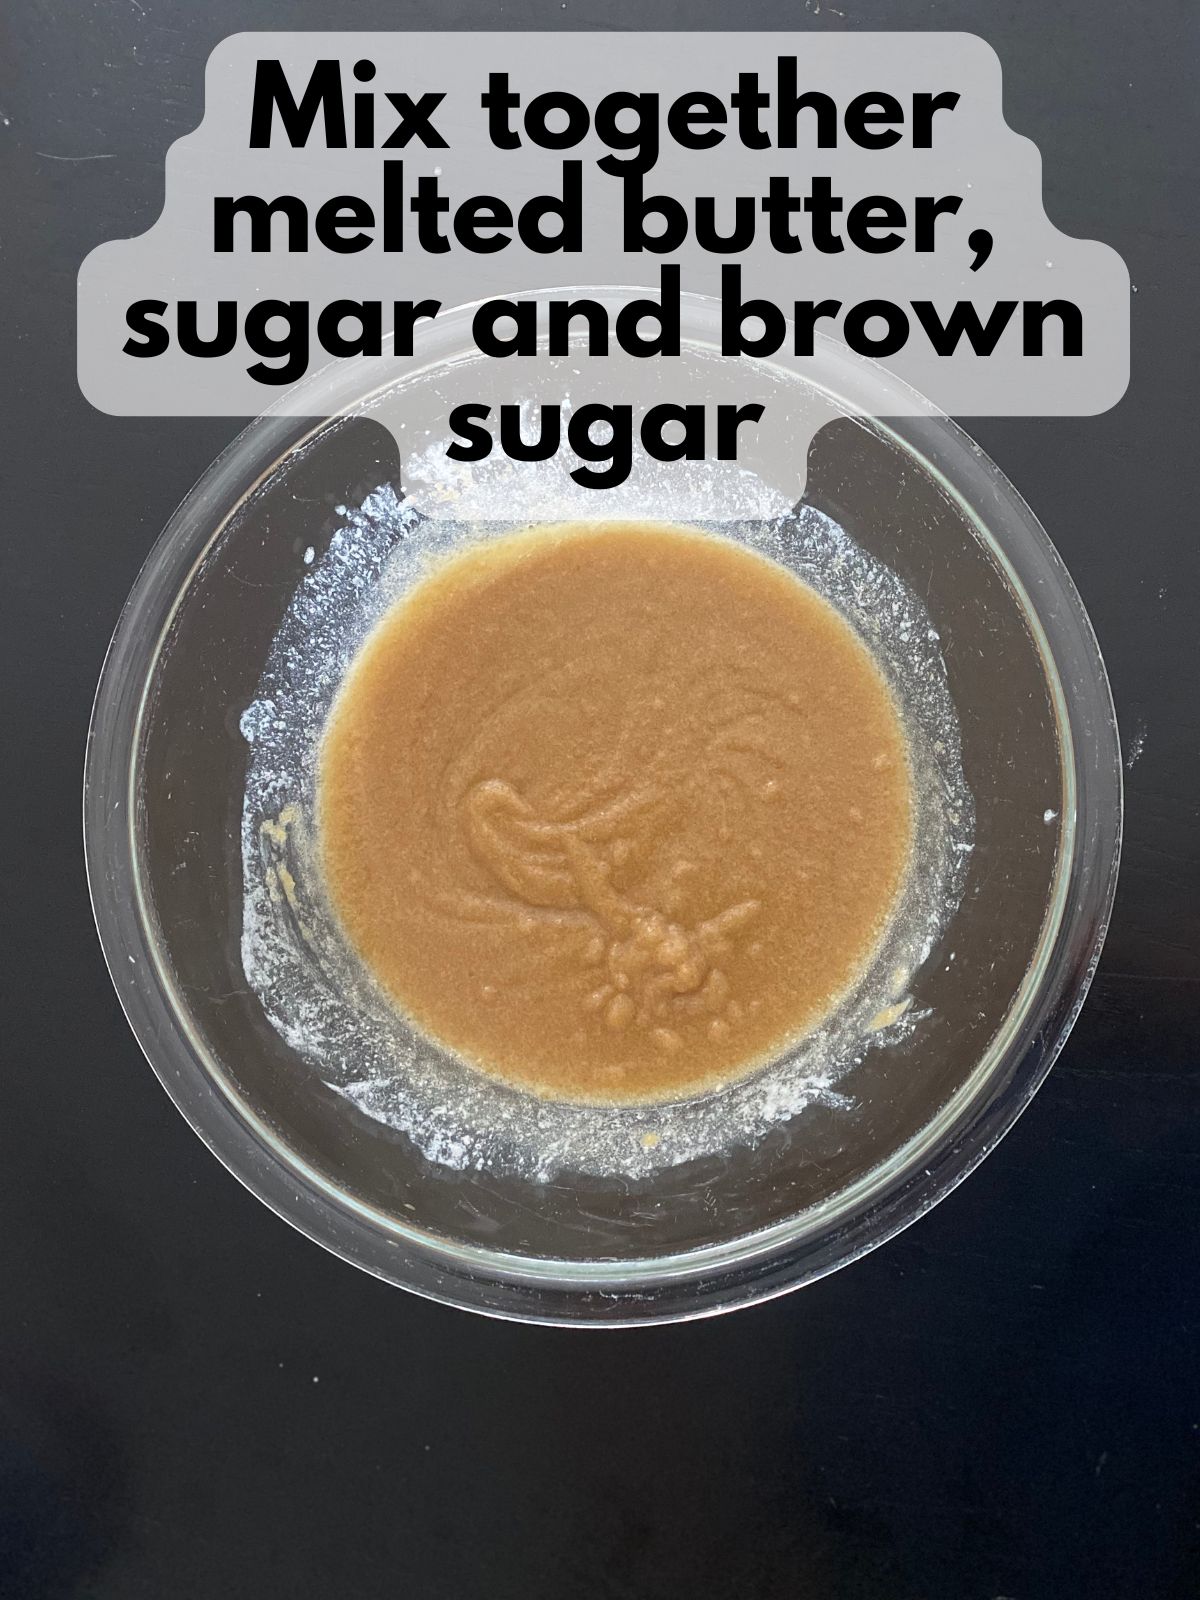
- Whisk melted butter, brown sugar, and granulated sugar until smooth.
- Add eggs, egg yolk, and vanilla; mix well.
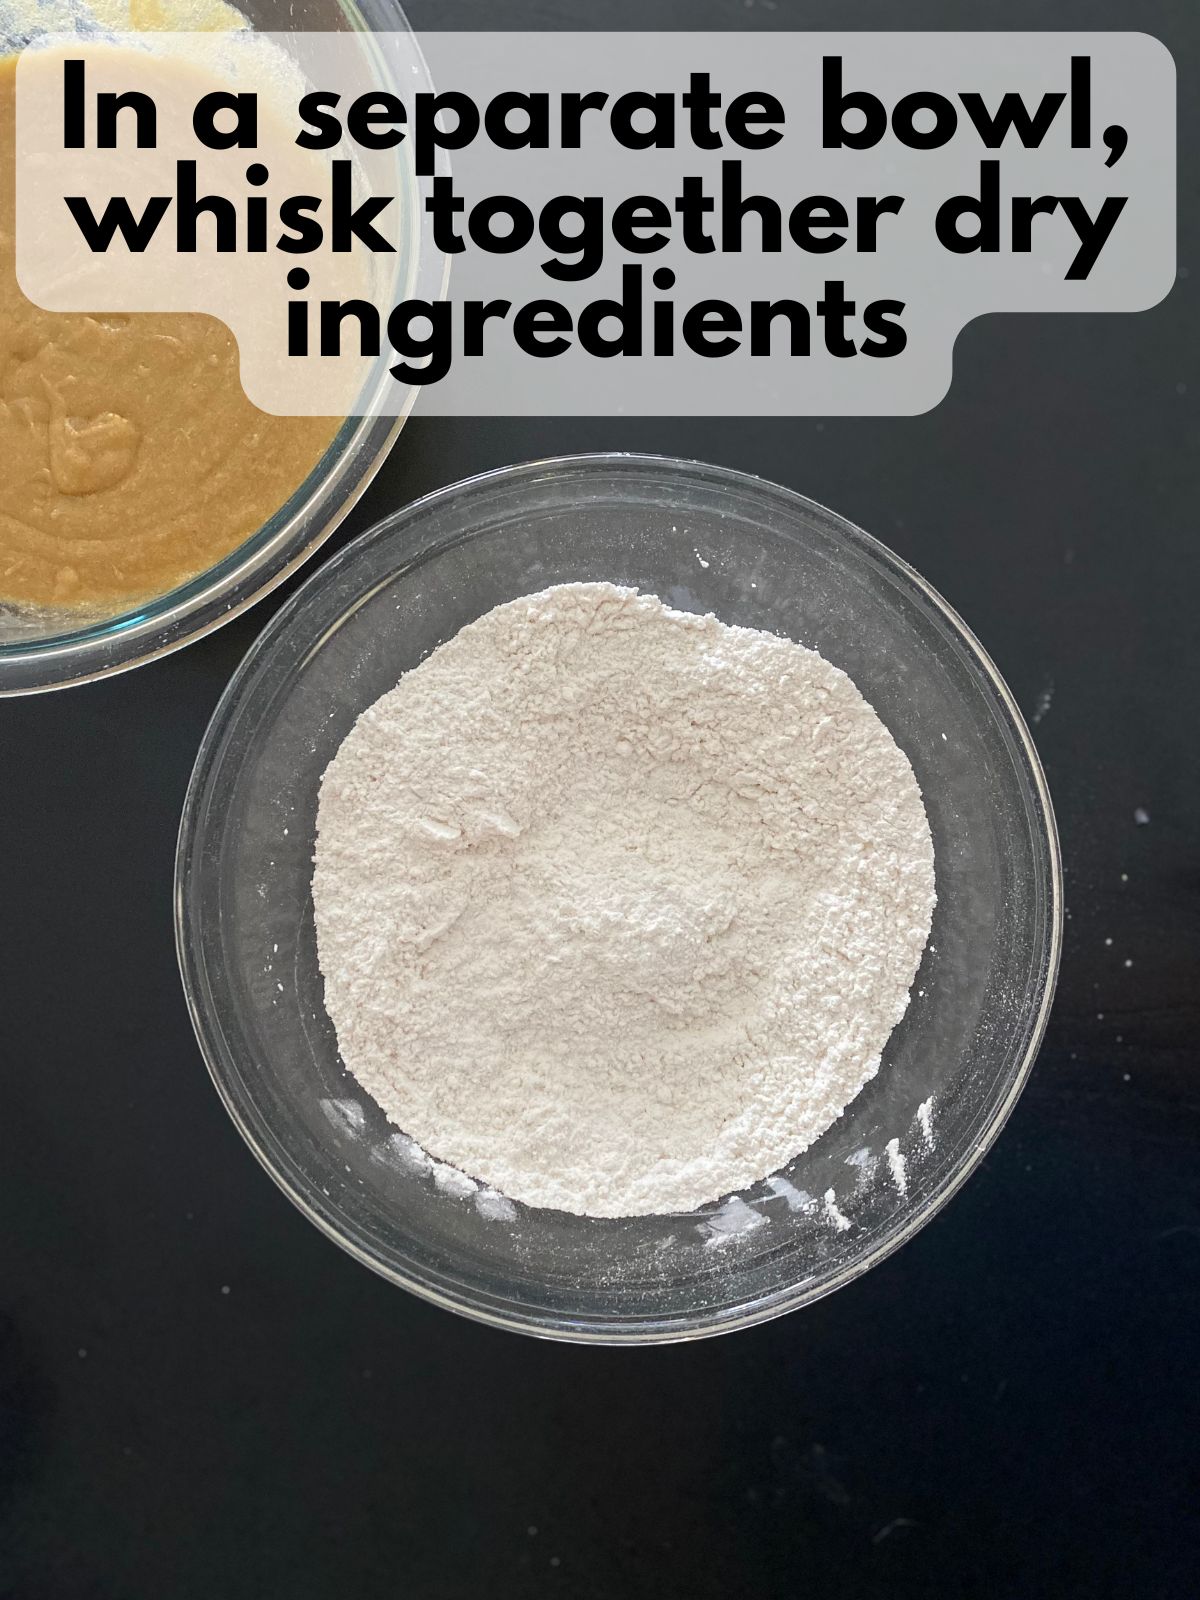
- In a separate bowl, whisk flour, extra flour, cornstarch, baking soda, baking powder, and salt.

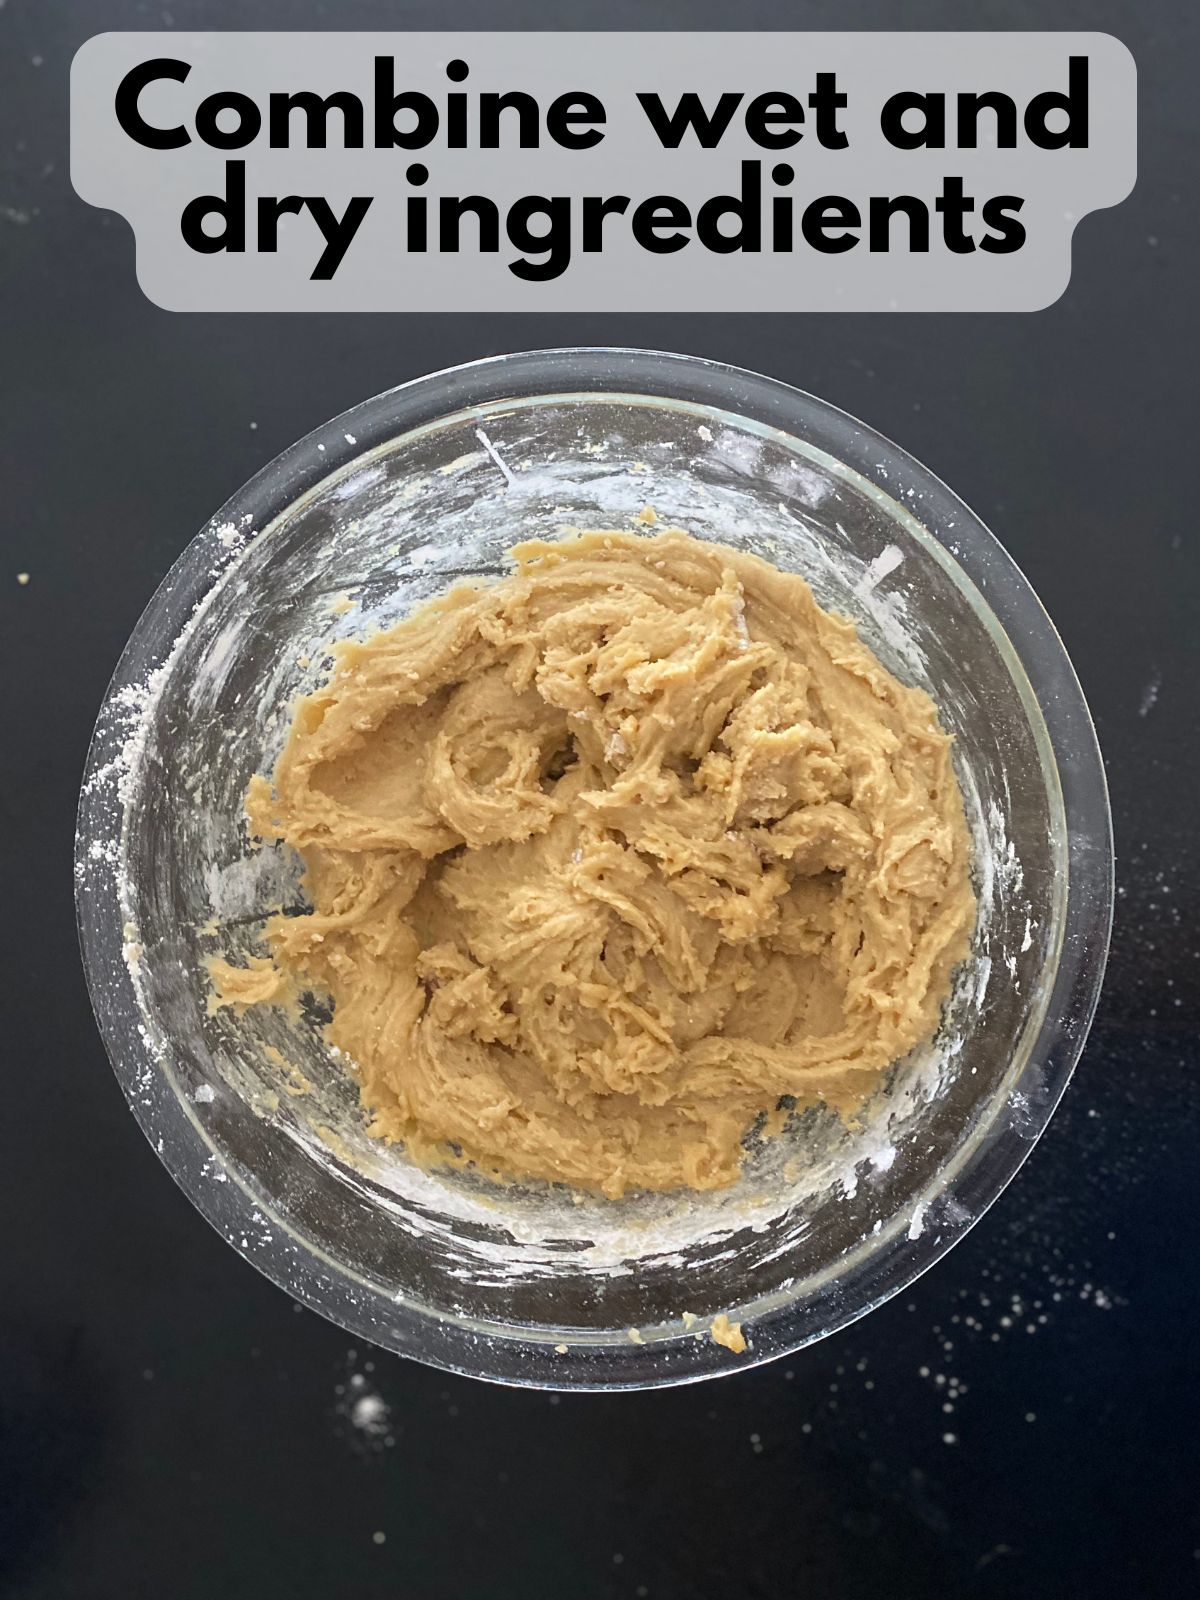
4. Add dry ingredients to the butter mixture and mix until combined.
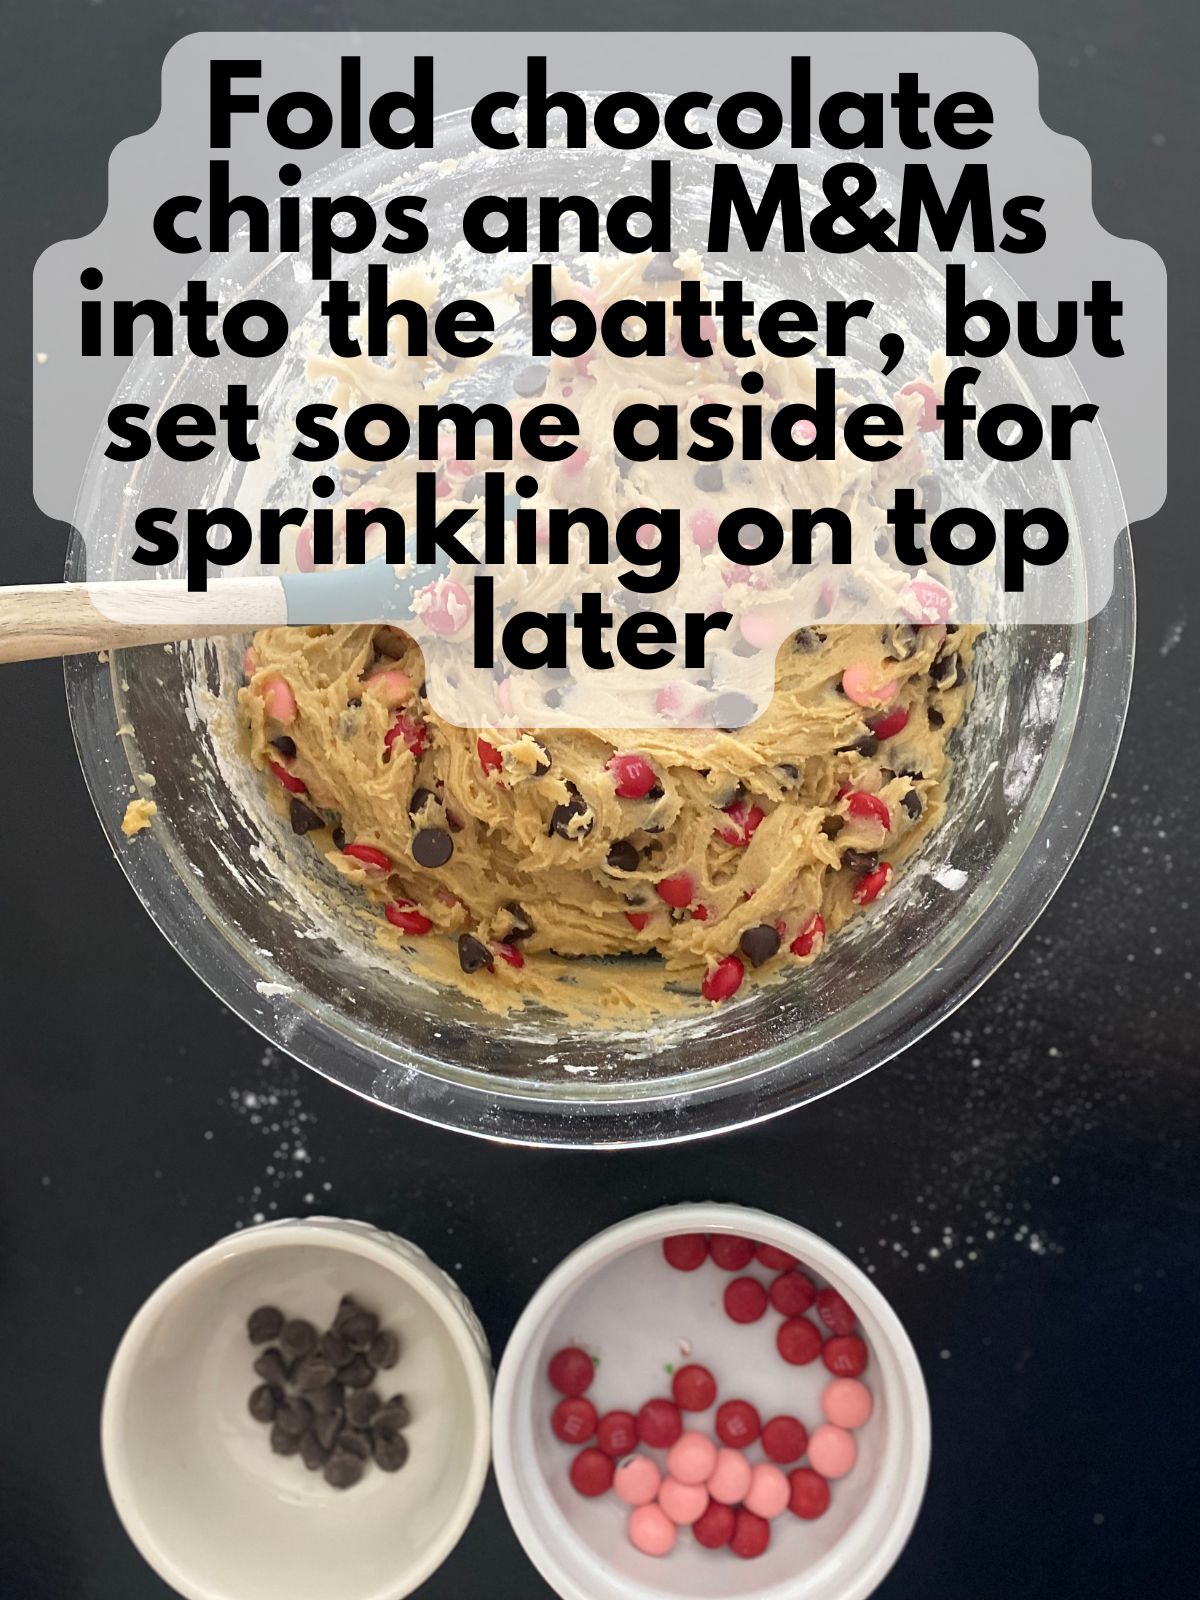
5. Fold in chocolate chips and M&Ms, reserving a handful for topping.
3. Shape the Heart
- Scoop dough into the foil heart and spread it evenly.
- Smooth the edges so the heart is clean and well-defined.
4. Bake
- Bake the cookie cake for about 15 minutes, then carefully remove it from the oven.
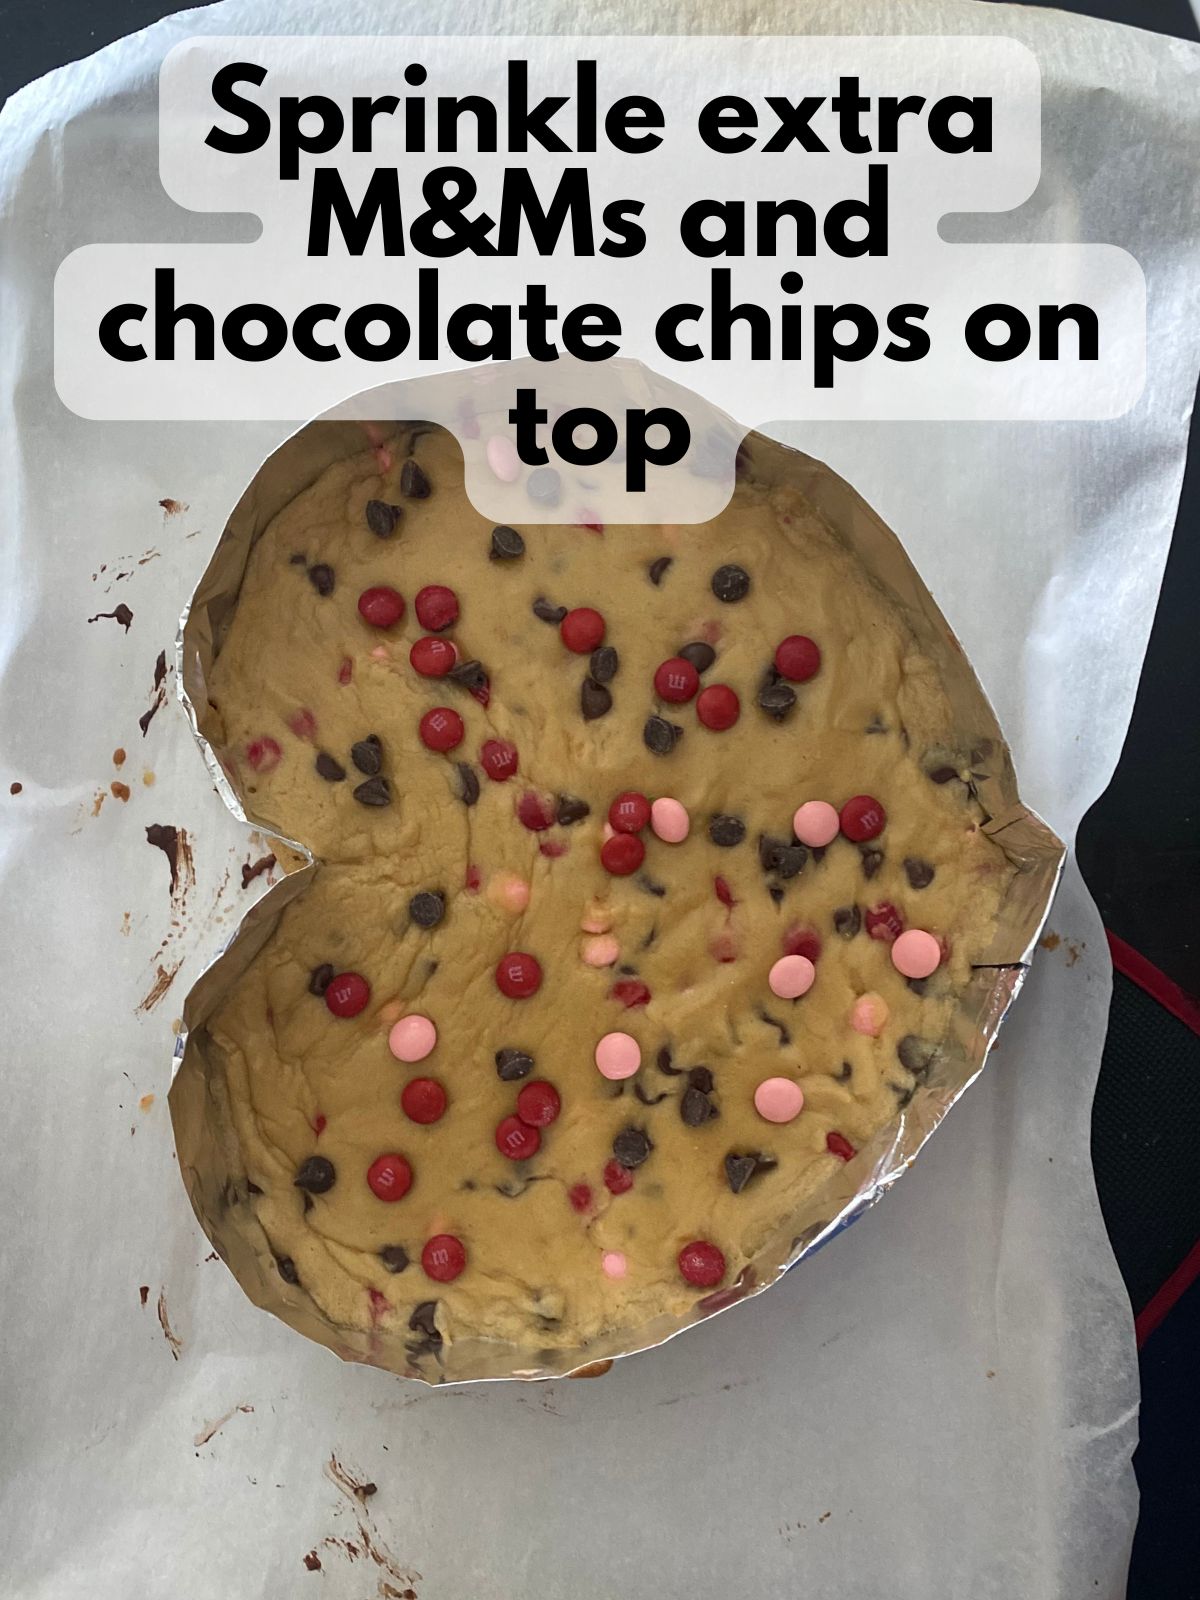
- Sprinkle extra chocolate chips and M&Ms onto the surface for brighter color.

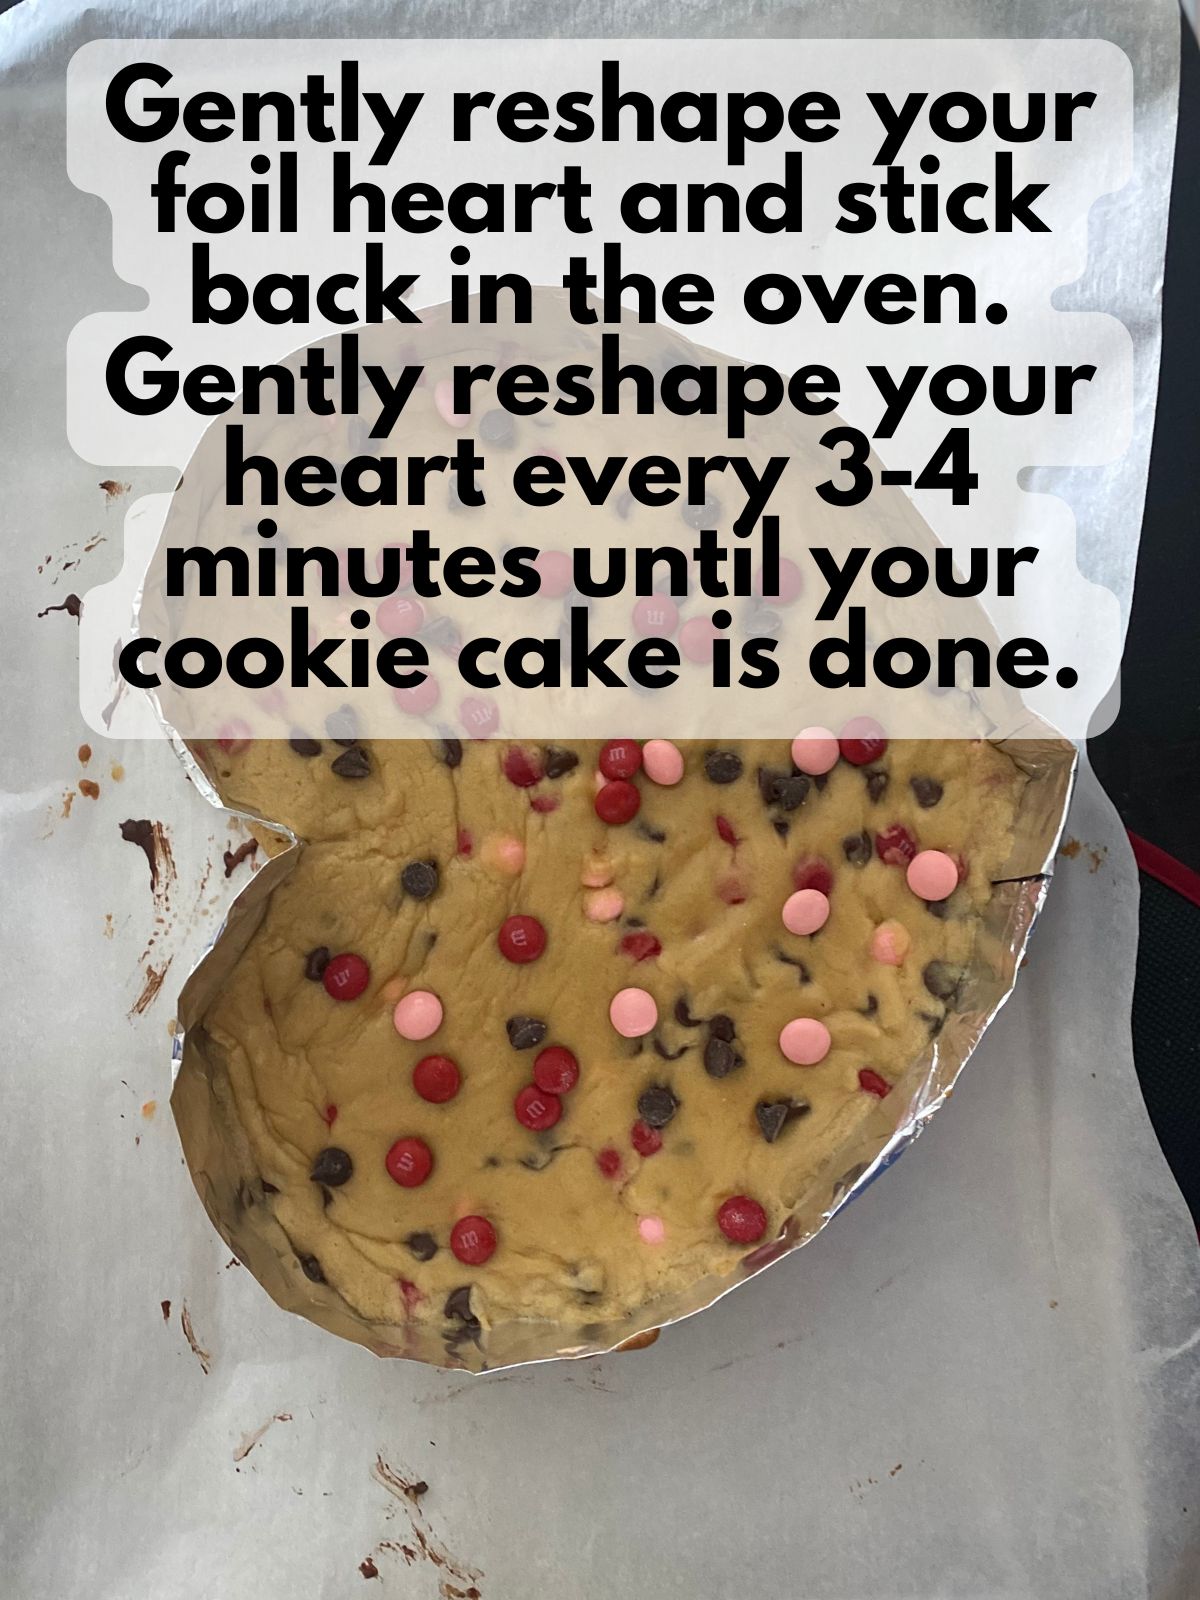
5. Reshape the heart:
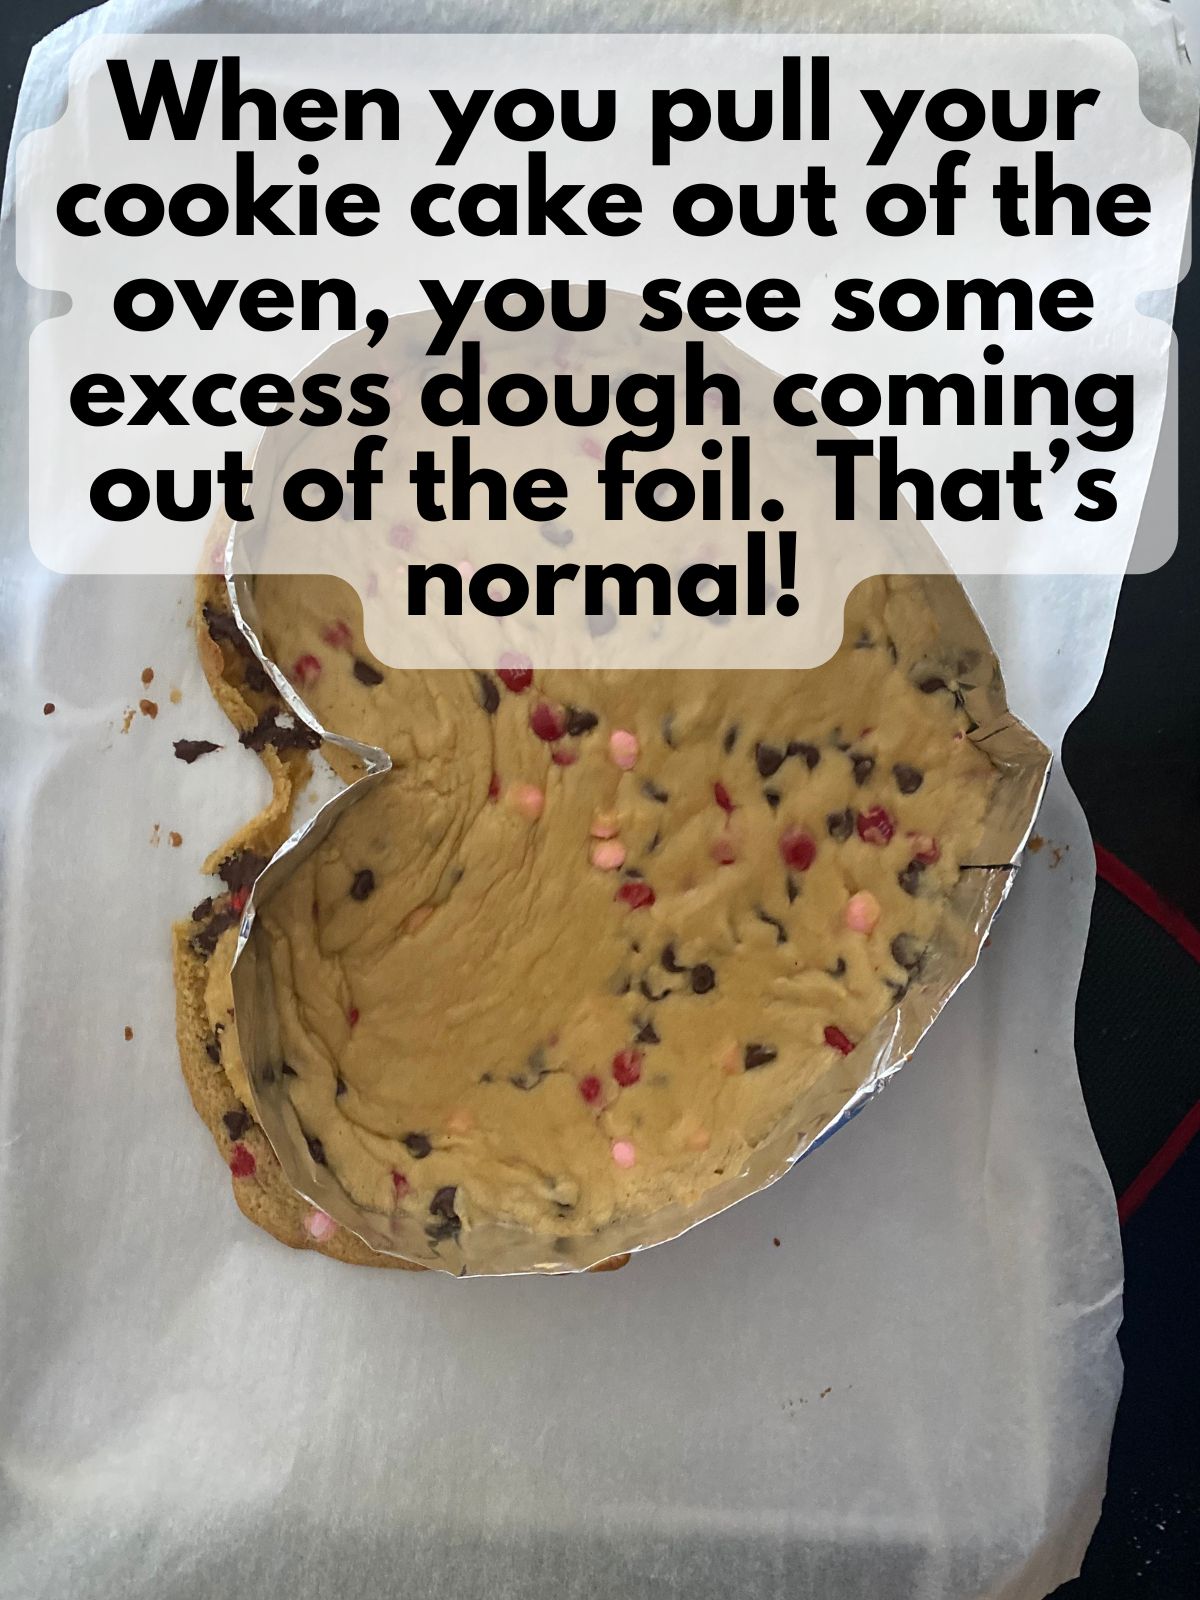
- The dough will expand a bit outside the foil mold, which is to be expected!
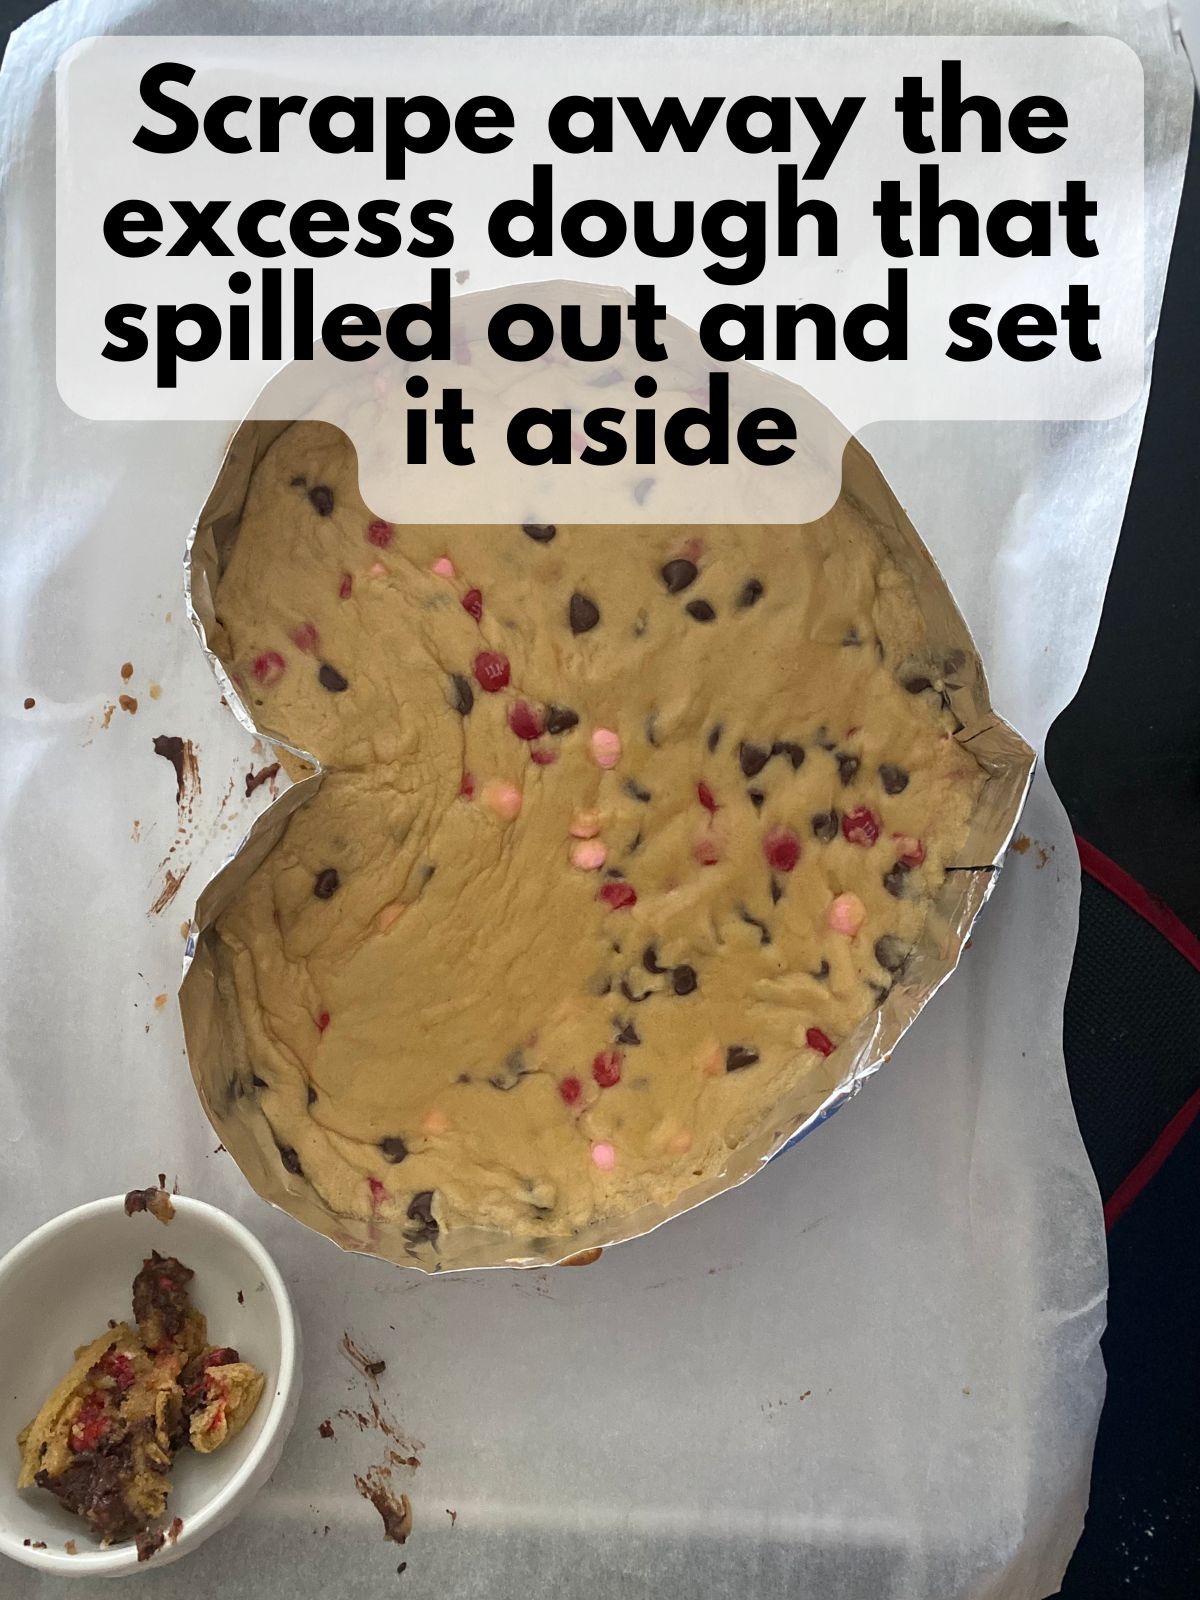
- To keep your crisp heart shape, use a butter knife to gently trim away any cookie that has leaked out of the heart frame.
- Gently press around the edges of your foil frame to push it back into a defined heart, especially the top “V.” Be careful, as it will be hot!
6. Continue baking, checking every 3 minutes:
- Trim any new overflow.
- Reinforce the heart shape using a spatula or the back of a spoon.
- Bake until edges are golden and the center looks just set, about 18–26 minutes total.
- Adjust the shape one last time immediately after removing from the oven if needed.
7. Cool
Let the cookie cake cool completely in the pan before decorating.
8. Make the Pink Buttercream
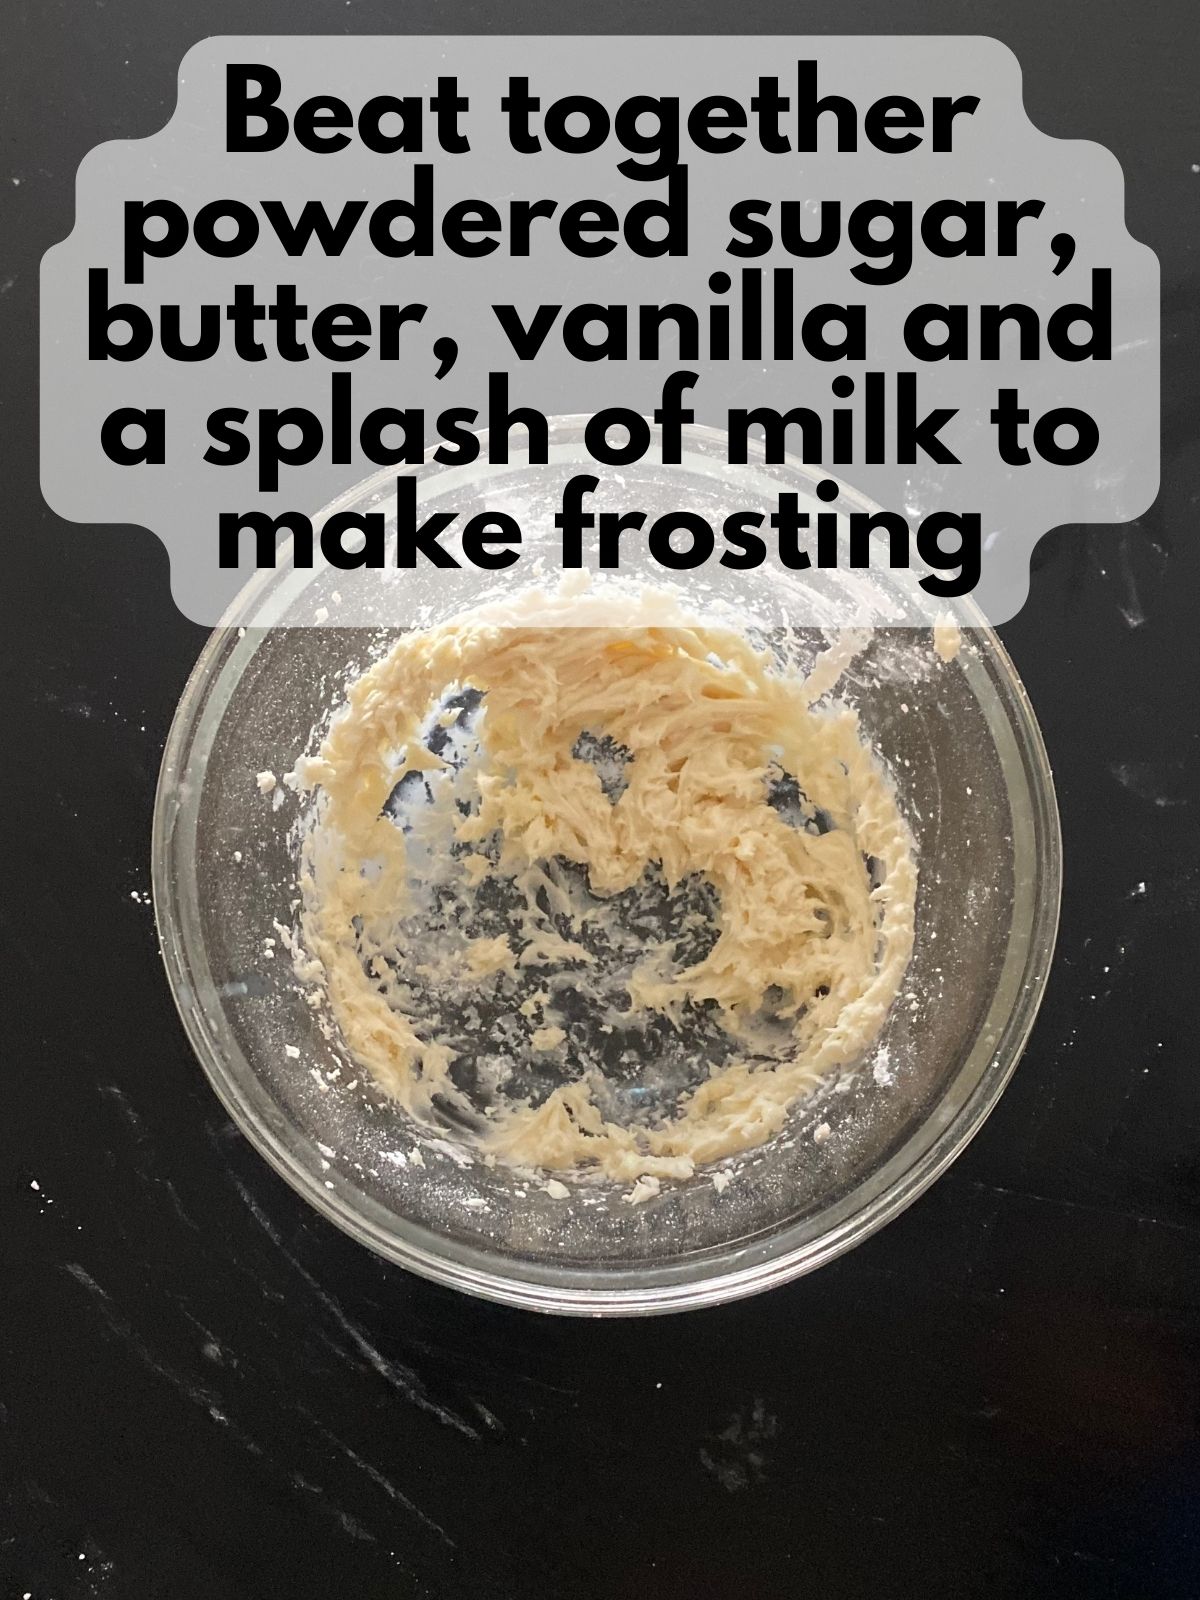
- Beat softened butter, powdered sugar and vanilla until smooth.
- Add a splash of milk or cream as needed to get the right frosting texture.
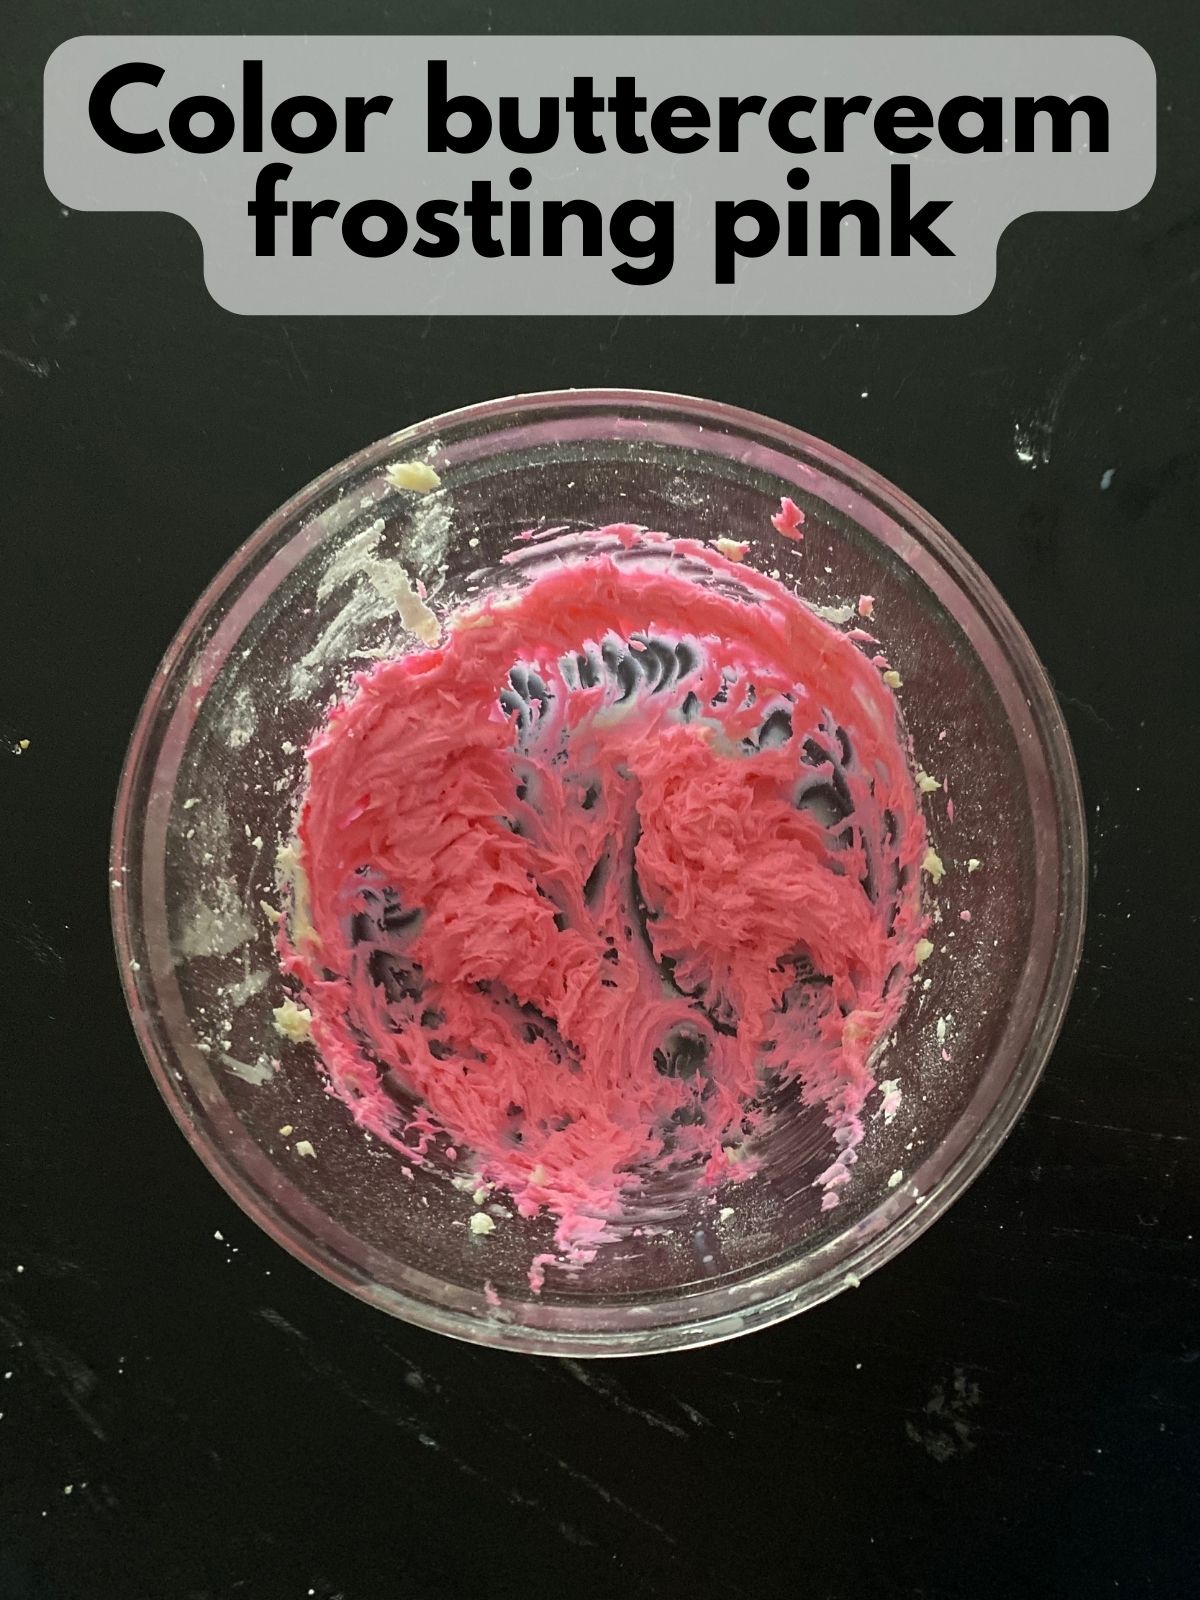
- Tint with pink gel coloring.
9. Decorate
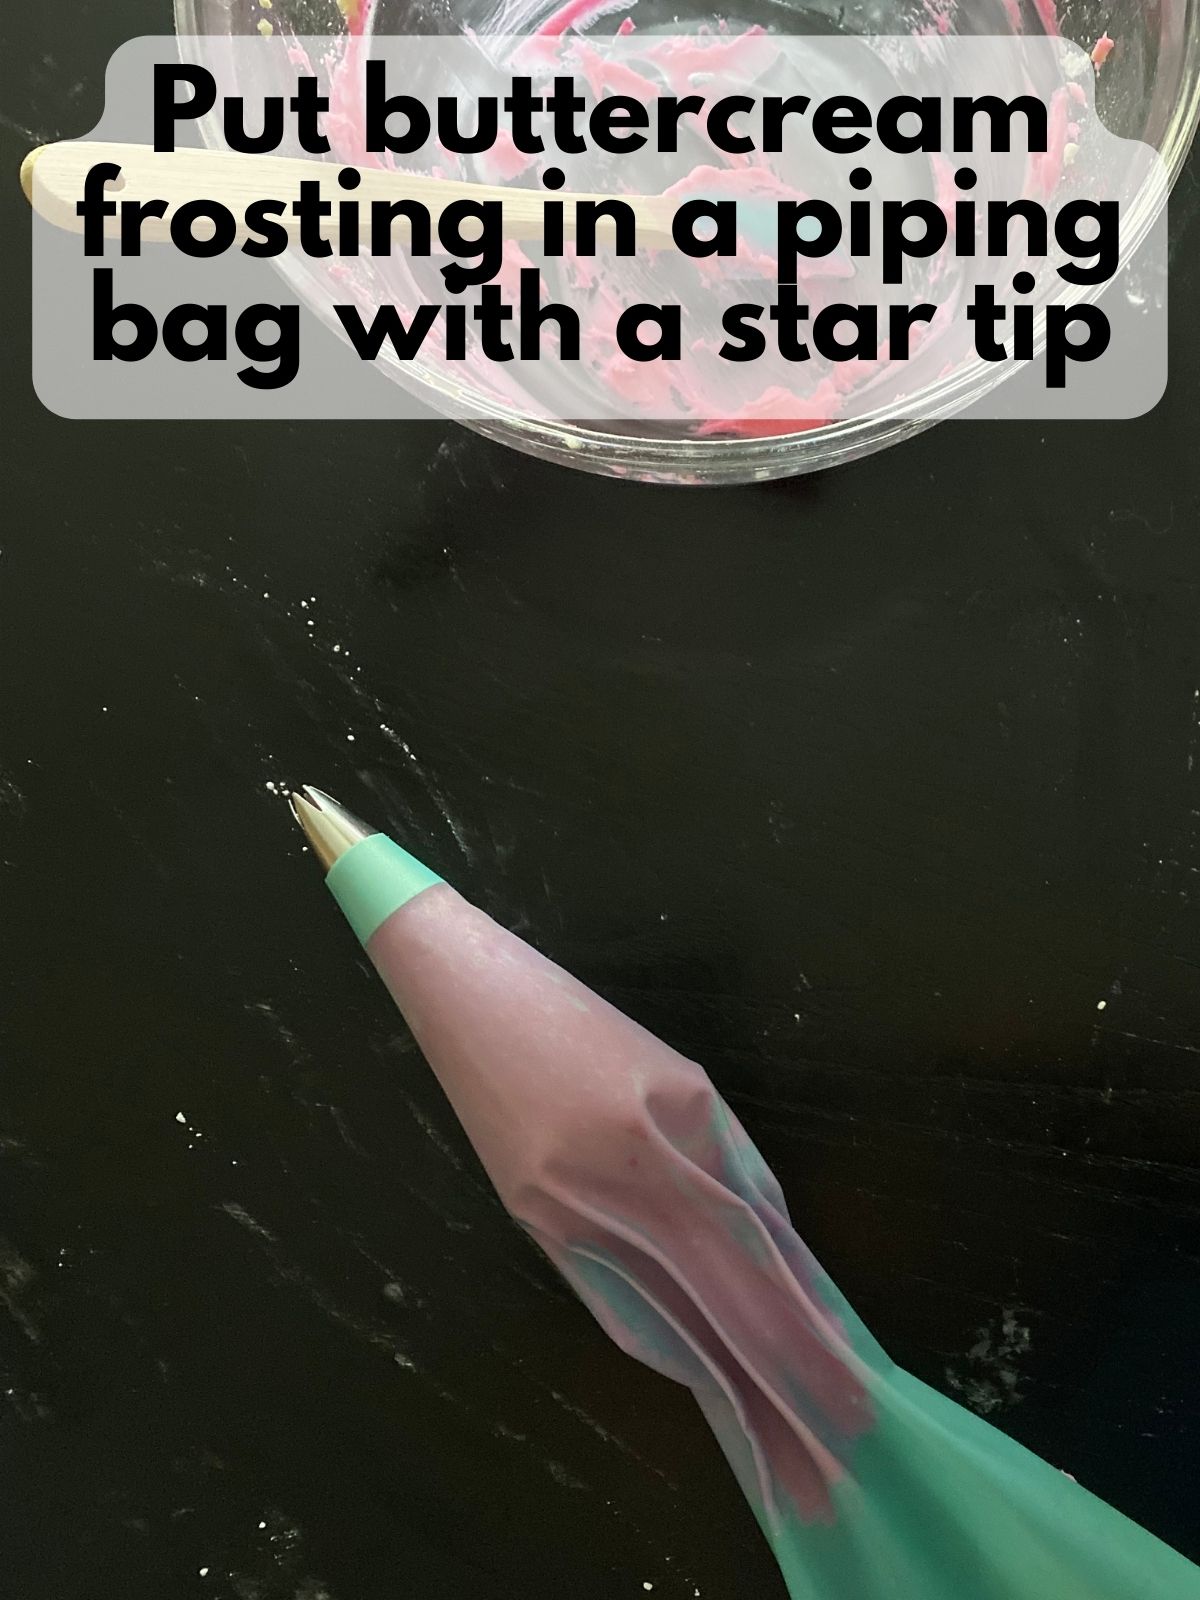
Pipe a border of pink buttercream around the cooled heart using a star tip or your preferred design. I’ve used a Wilton 1M tip and the Wilton 4B tip and thought they both looked great! I liked the 4B one slightly more for this recipe.
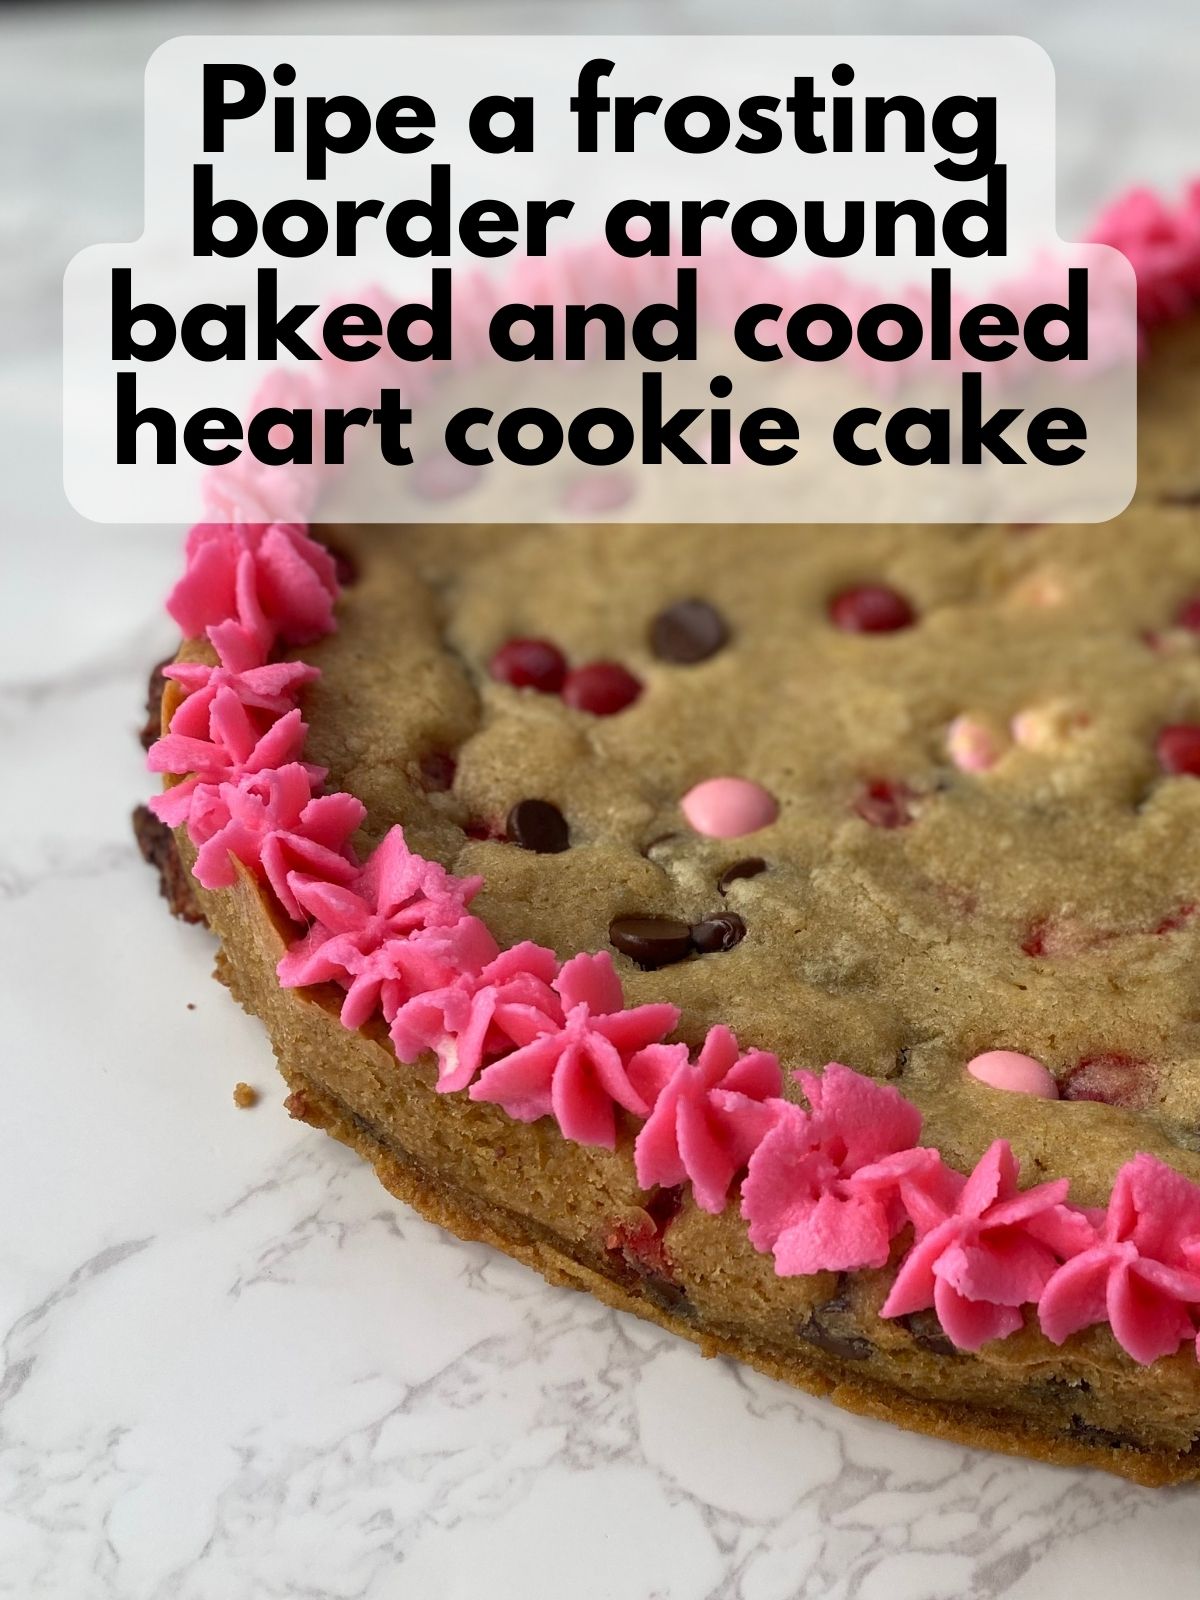
The bright border adds a festive finish and makes this cookie cake perfect for Valentines themed food displays.
Pro Tips
- Keep the Heart Shape Defined. This is the key step to make this adorable Valentine’s treat work without the need of any special pans. The dough will puff and expand as it bakes, so gently reshape the heart at the 15-minute mark and again every 3 minutes until fully baked.
- Use a butter knife to gently trim any dough that leaks outside the foil mold during baking. Do it while reshaping your heart mold every few minutes for best results. Personally, I like to eat the scraps as a mid-baking treat, but technically that’s not safe because the dough is undercooked, so I have to officially recommend throwing them out.
- Immediately reshape the top “V” when you take it out of the oven; it loses its definition quickest.
- Reinforcing the heart while the dough is soft ensures the final cookie looks clean, even, and crisp.
- Don’t over bake: The center should look slightly soft when you pull it out; it firms up as it cools, giving you that perfect soft-chewy cookie cake texture
FAQs
Why does the heart shape need to be reshaped during baking?
The dough naturally expands outward as it heats. Because a foil mold doesn’t lock the shape in like a metal pan, you’ll need to reshape at 15 minutes and again every 3 minutes to keep the heart clean and defined. Trimming overflow keeps it from turning into one large blob. Alternatively, if you have a heart-shaped cookie pan, you could just use that and ignore this step!
What if the cookie spreads a lot outside the mold?
That’s totally normal. Just trim the excess gently with a butter knife, put it on a plate to snack on later (or a separate cookie sheet to fully bake it, because food safety) and continue baking. This step is super important for maintaining the pretty heart shape that makes this one of the cutest Valentines dessert ideas.
Can I skip the reshaping?
You can, but your cookie won’t keep a crisp heart shape. If you want a clean presentation for cute Valentine’s desserts, this step is important and only takes a few seconds. You could also get a heart-shaped cookie pan/mold and bake using that, but depending on the size of your pan, you would have to adjust how much batter you put in it.
Can I double the buttercream?
Yes! If you want extra decoration or thicker borders, feel free to make a larger batch of frosting.
This heart-shaped chocolate chip cookie cake is such a fun way to celebrate Valentine’s Day, and it always turns out adorable with its soft center, chewy edges, and bright pink buttercream border. I love that it uses a simple foil mold, so anyone can make it without special pans and with a little bit of patience and reshaping. Whether you’re baking for a party, sharing with family, or looking for cute Valentine’s desserts that feel extra festive, this cookie cake fits perfectly into any list of Valentines dessert ideas. I hope you enjoy making it as much as you’ll enjoy eating it!
Valentine's Day Heart Cookie Cake
Equipment
- Aluminum foil to make the heart shape
- 1 baking sheet half sheet size is best
Ingredients
Cookie Cake
- 14 Tbsp unsalted butter melted and cooled
- 1 cup brown sugar packed
- 1/3 cup granulated sugar
- 2 eggs + 1 egg yolk
- 2 tsp vanilla
- 2 1/2 cups + 2 Tbsp flour
- 1/2 tsp cornstarch optional, for texture
- 1/2 tsp baking soda
- 1/2 tsp baking powder
- 1/2 tsp salt
- 1 cup chocolate chips
- 2/3 - 1 cup Valentine M&Ms plus some extra for sprinkling on top
Buttercream Frosting
- 1/4 cup unsalted butter softened
- 1 cup powdered sugar
- 1-2 tsp milk or heavy cream
- 1/2 tsp vanilla
- pink gel food coloring
Instructions
Prepare the Pan and Foil Mold
- Preheat oven to 350°F and line a half-sheet pan (18×13 inches) with parchment or a silicone baking mat.
- Folding a long piece of aluminum foil into a strip that's about 2 inches tall. This long pieces will have to be long enough to go all the way around to make a big heart, so make it pretty long.
- Make a “tape” piece of aluminum foil to “tape” the ends of the strip together to make a big loop. Just fold up a smaller strip of aluminum foil into a wide strip. then place the ends of your long strip together and wrap that smaller strip around them to hold them together.
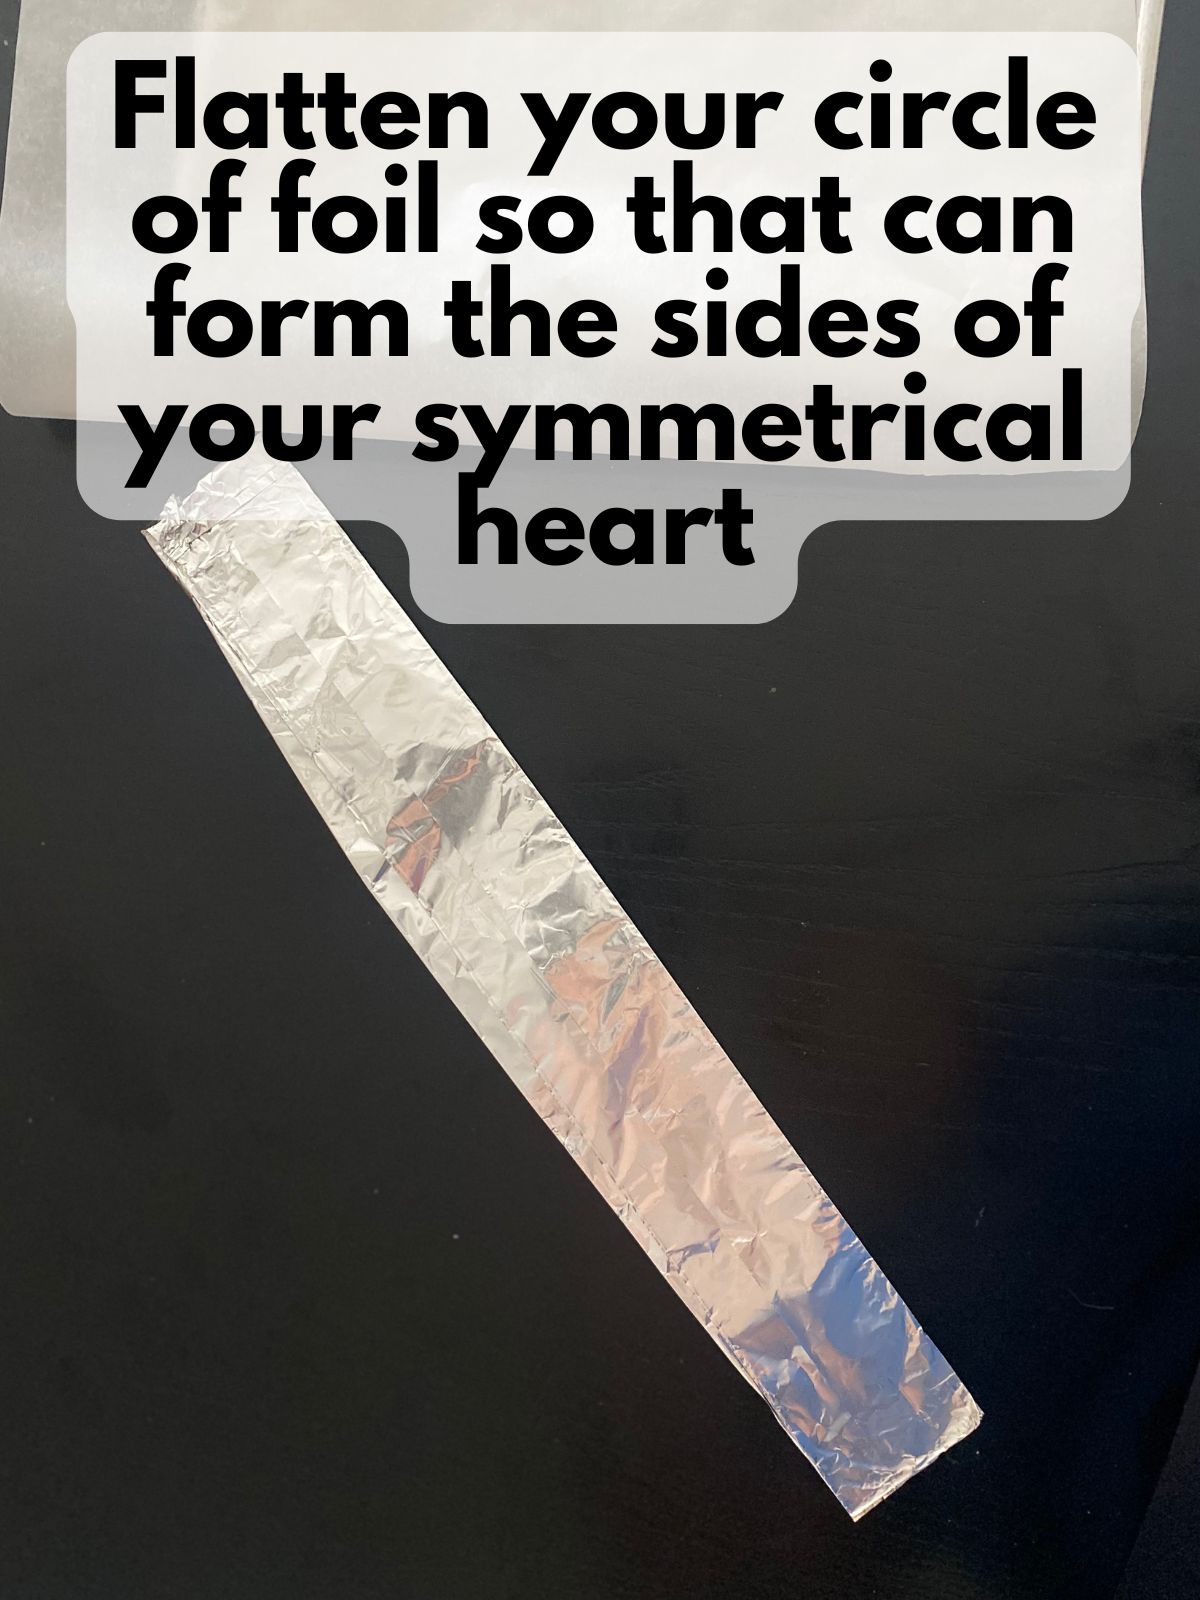
- You should have a large loop. Then, flatten your loop so you don't have any lumps.
- Finally, gently maneuver your loop of foil into the shape of a heart and place it on your line baking sheet.
Make the Cookie Dough
- Whisk melted butter, brown sugar, and granulated sugar until smooth.
- Add eggs, egg yolk, and vanilla; mix well.
- In a separate bowl, whisk flour, extra flour, cornstarch, baking soda, baking powder, and salt.
- Add dry ingredients to the butter mixture and mix until combined.
- Fold in chocolate chips and M&Ms, reserving a handful for topping.
Bake
- Scoop dough into the foil heart and spread it evenly. Smooth the edges so the heart is clean and well-defined.
- Bake the cookie cake for about 15 minutes, then carefully remove it from the oven.
- Sprinkle extra chocolate chips and M&Ms onto the surface for brighter color.
Reshape the Heart
- The dough will expand a bit outside the foil mold during baking, which is to be expected!
- To keep your crisp heart shape, use a butter knife to gently trim away any cookie that has leaked out of the heart frame.
- Gently press around the edges of your foil frame to push it back into a defined heart, especially the top “V.” Be careful, as it will be hot!
Continue baking, checking every 3 minutes
- To keep your heart shape really crisp (the dough will naturally want to expand to be a circle) keep pulling your cookie cake out of the oven every 3-ish minutes to gently reshape the heart.
- Bake until edges are golden and the center looks just set, about 18–27 minutes total (So an extra 3-12 minutes after you initially pull it out and sprinkle on the extra chocolate chips and M&Ms).
- Adjust the shape one last time immediately after removing from the oven if needed.
Cool and Decorate
- Let the cookie cake cool completely in the pan before decorating. Then, carefully remove the aluminum foil from around the edge of the heart.
- Beat softened butter, powdered sugar and vanilla until smooth. Add a splash of milk or cream as needed to get the right frosting texture.
- Tint with pink gel coloring.
- Add frosting to a piping bag with a star tip (I like the Wilton 4B tip, but the Wilton 1M or any other star tip is fine).
- Pipe stars around the border of your cookie cake.