
Last updated on March 4th, 2026 at 08:25 pm
If you love red velvet desserts but don’t have time to frost and slice a whole cake, these red velvet cheesecake parfaits are the perfect solution. Each glass is layered with moist red velvet cake and fluffy no-bake cheesecake mousse for a dessert that’s as pretty as it is delicious. They make such cute valentines desserts because they look elegant, feel special, and are incredibly simple to put together with a boxed cake mix. You can prepare them ahead, chill, and serve for an effortless showstopper. These parfaits are beautiful valentines day baked goods that look impressive but couldn’t be easier.
Jump to Recipe

Ingredients for Red Velvet Cheesecake Parfaits
For the Cake Layer
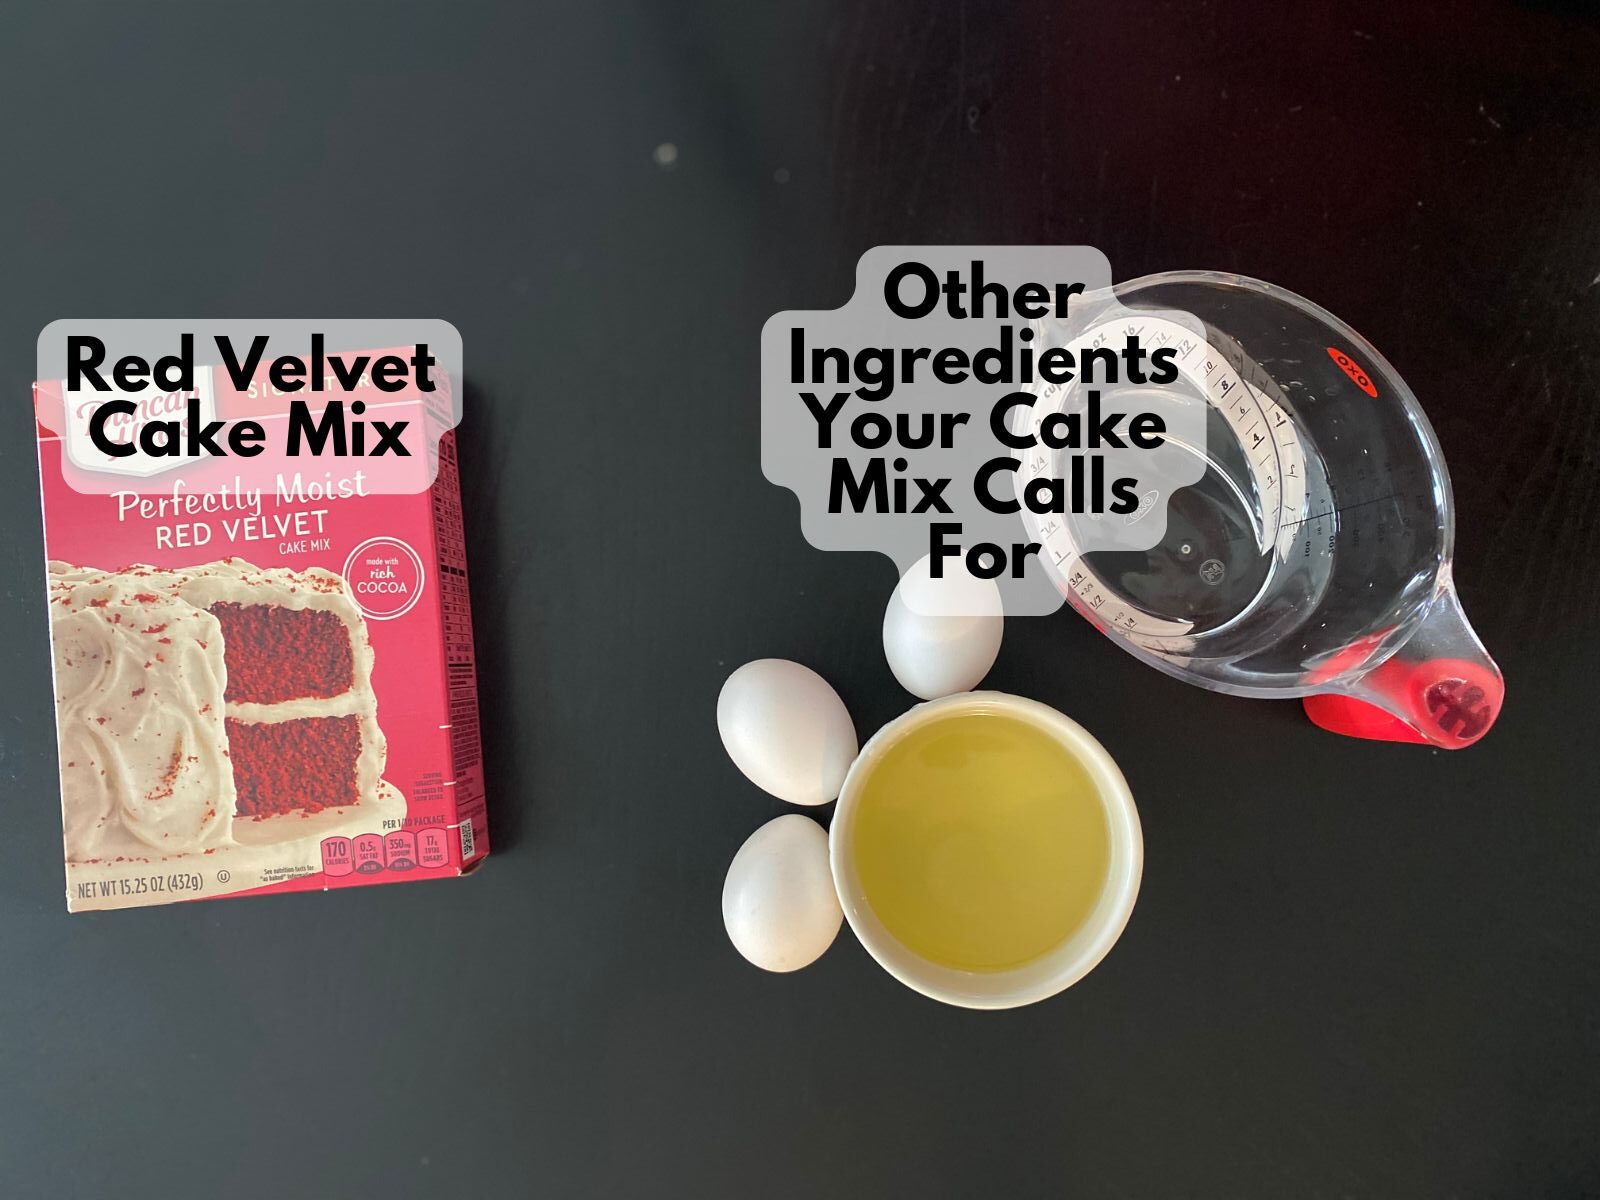
- 1 box red velvet cake mix (15.25 oz)
- Ingredients listed on the box (typically eggs, oil, and water as directed)
For the Cheesecake Filling
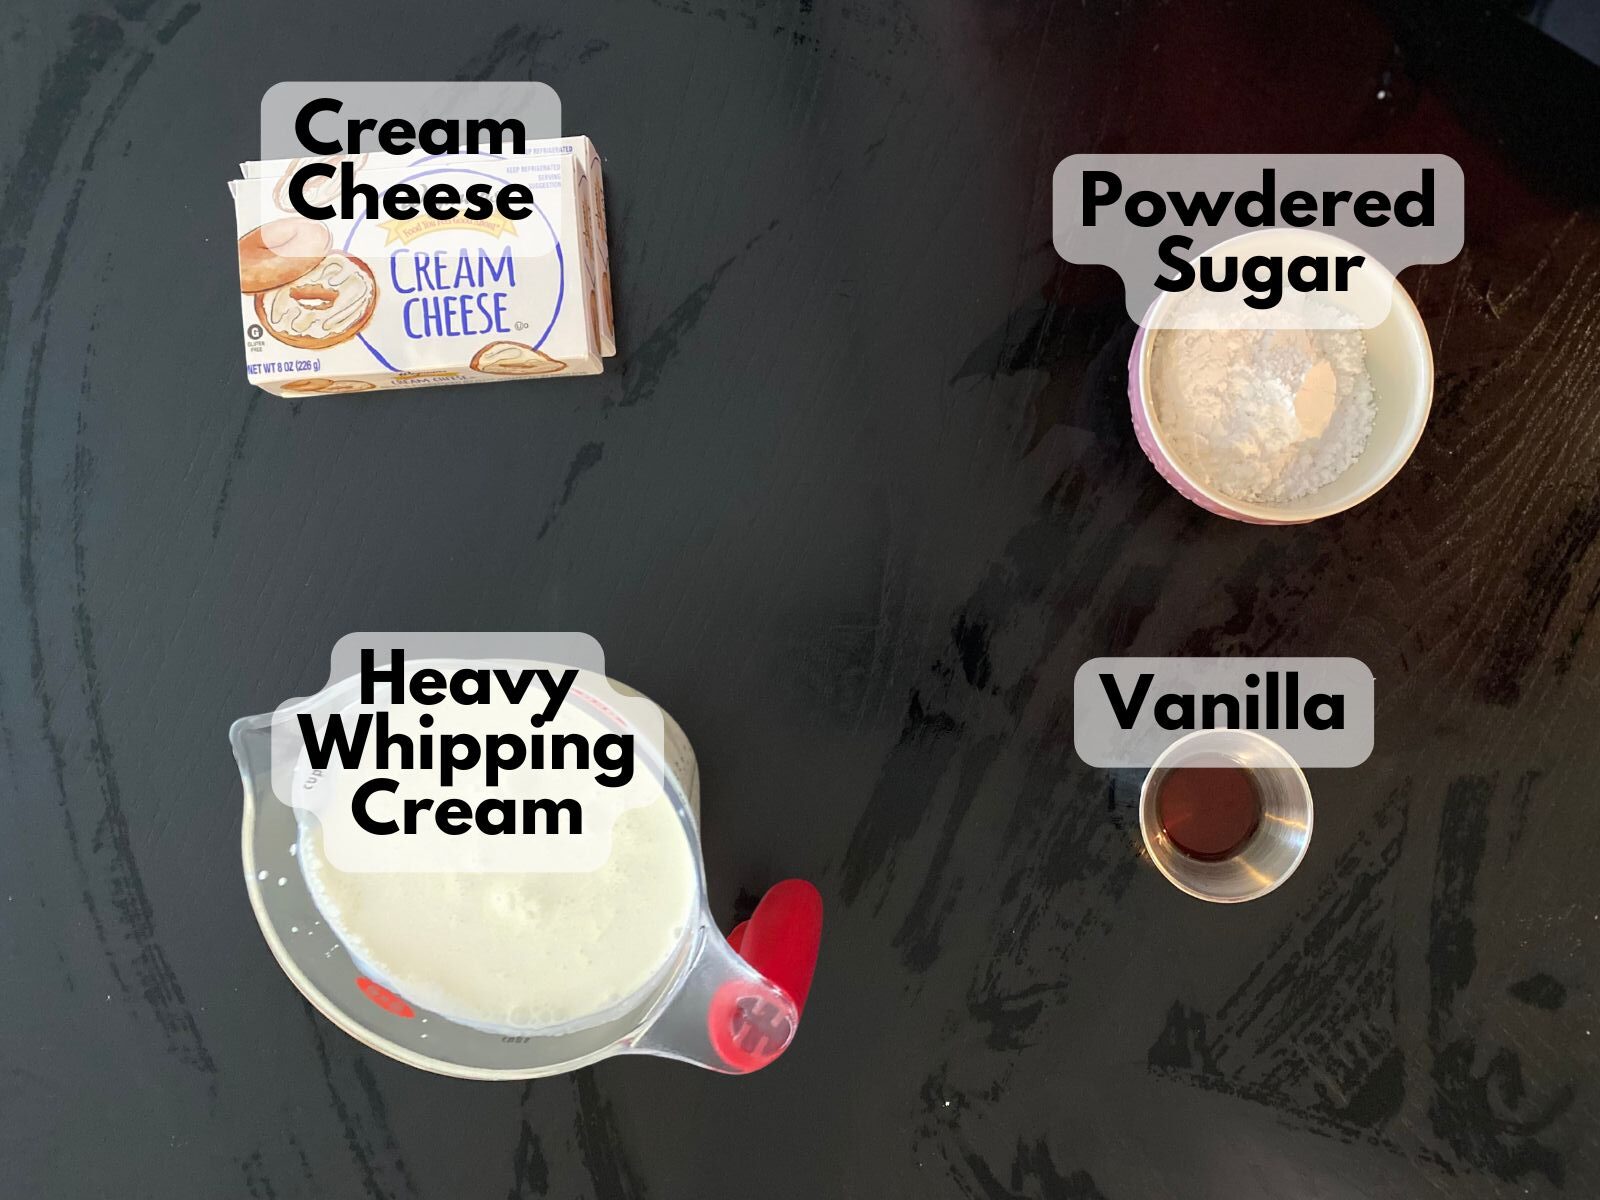
- 16 oz (2 blocks) cream cheese, softened
- 1 cup powdered sugar
- 2 tsp vanilla extract
- 2 cups heavy whipping cream
- Optional: 2–4 tbsp granulated sugar if you prefer a sweeter mousse
For Garnish
- Crumbled red velvet cake
- White chocolate curls, crushed peppermint, or festive sprinkles
How to Make Red Velvet Cheesecake Parfaits
Step 1: Bake the Red Velvet Cake
1. Preheat your oven to 350°F (or as directed on the box).
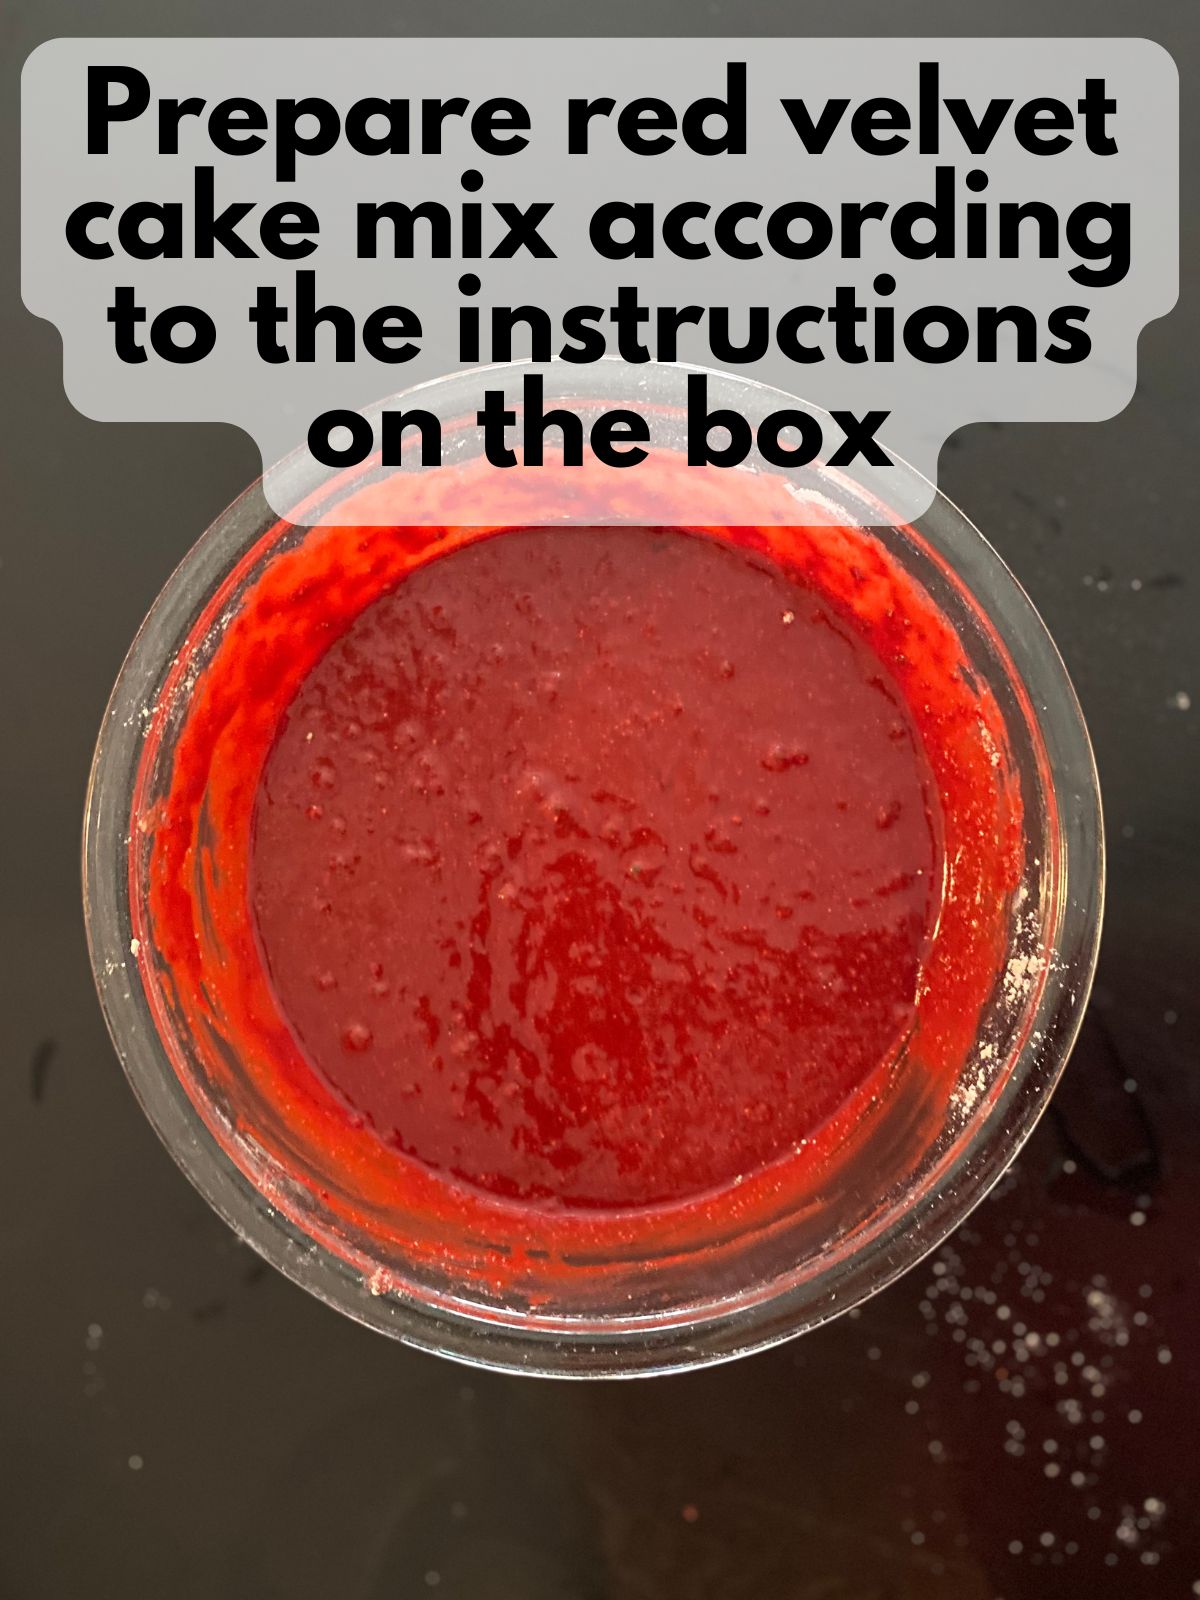
2. Prepare the red velvet cake mix according to package directions using the eggs, oil, and water amounts listed.
3. Pour the batter into a 9×13-inch pan lined with parchment paper or lightly greased.

4. Bake according to the time on the box, usually 25–30 minutes, until a toothpick inserted in the center comes out clean.
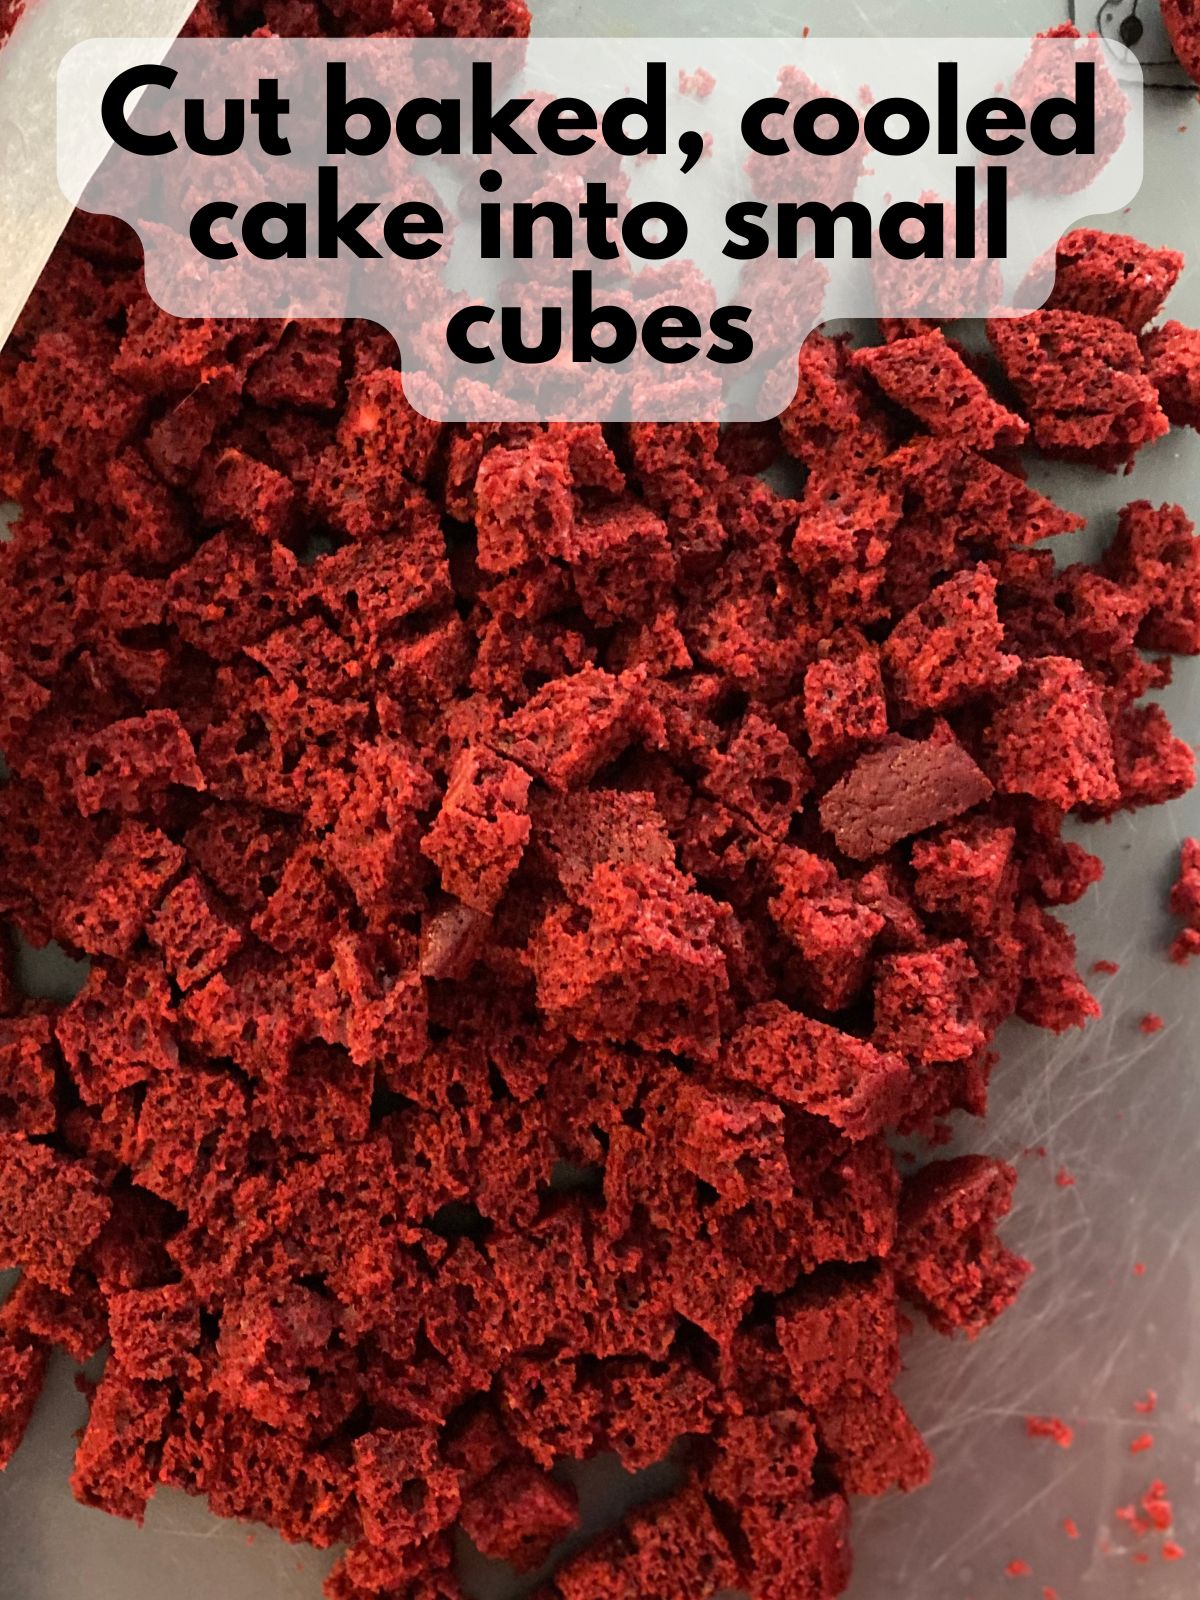
5. Let the cake cool completely, then cut it into small cubes or crumble it gently with your hands.
Tip: You can also bake the cake a day ahead and store it covered at room temperature before assembling the parfaits.
Step 2: Make the Cheesecake Filling
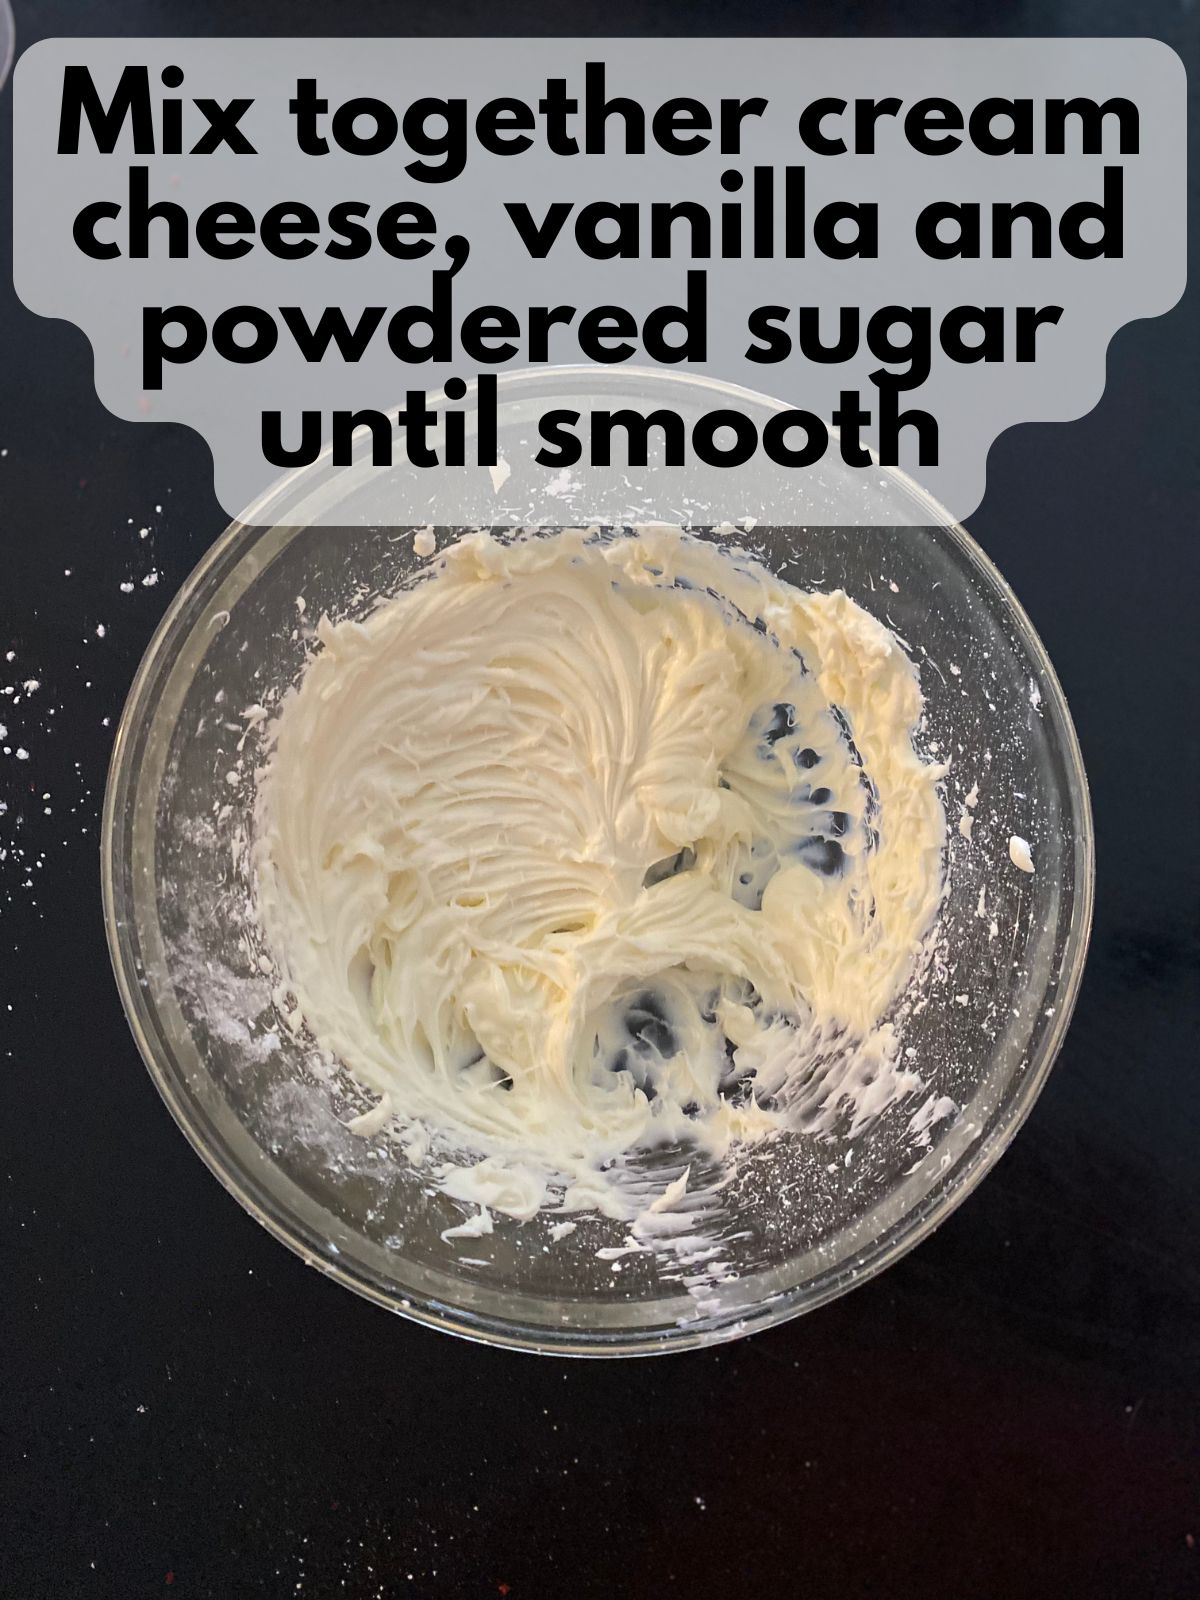
1. In a large bowl, beat together the softened cream cheese, powdered sugar, and vanilla extract until smooth and creamy.
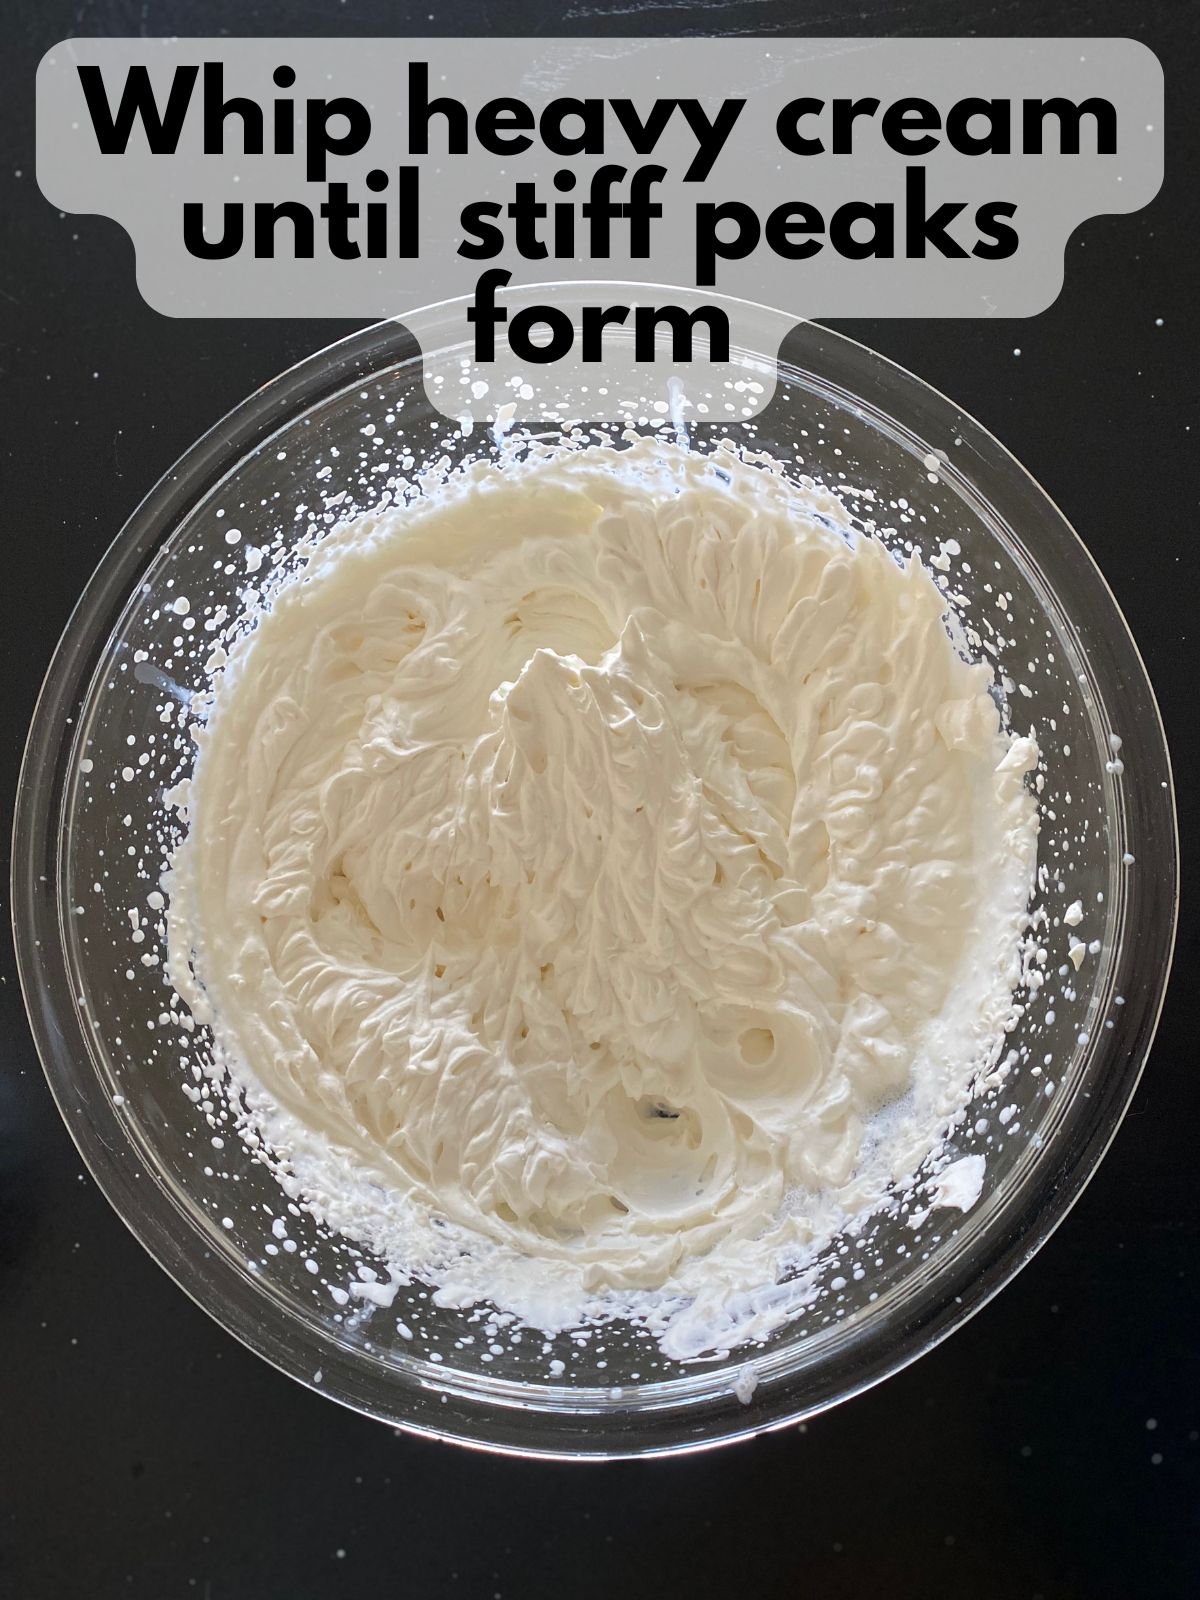
2. In another bowl, whip the heavy cream until stiff peaks form. You can add a little granulated sugar to the cream if you prefer extra sweetness (I didn’t use any and I thought these tasted great, but it depends on your audience.).
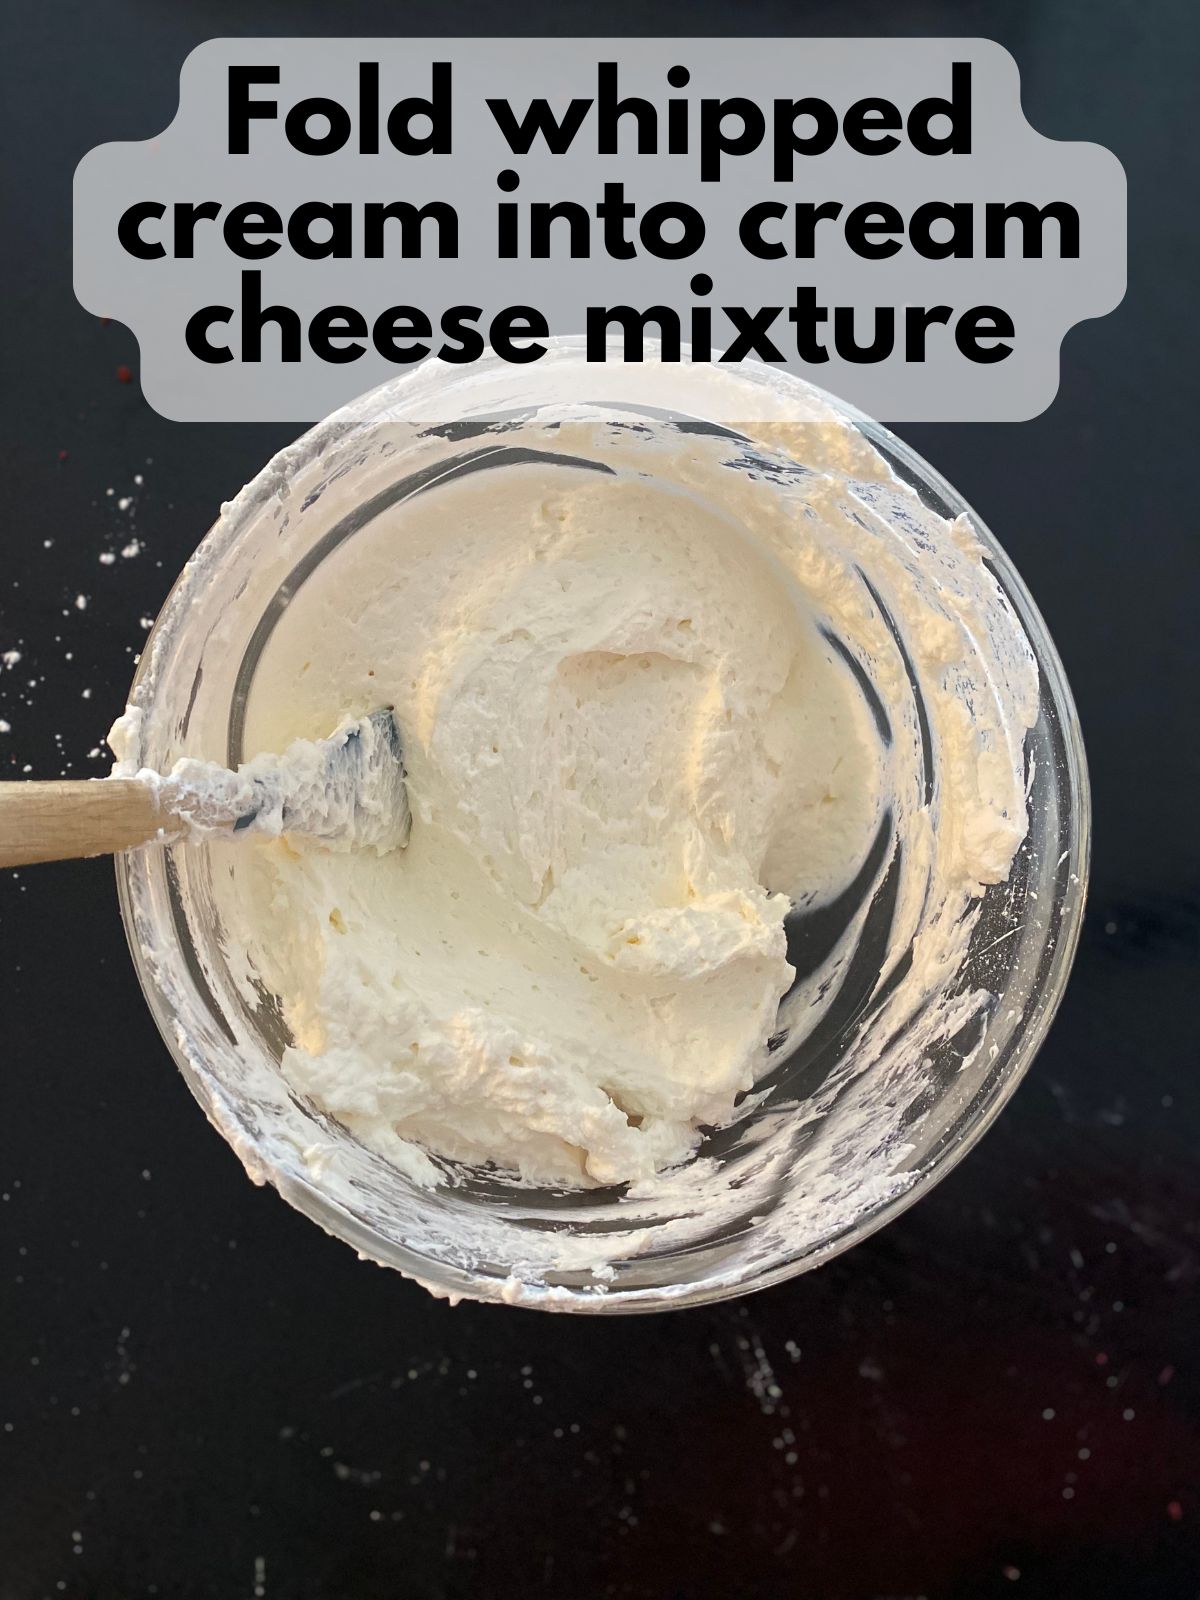
3. Gently fold the whipped cream into the cream cheese mixture until fully combined. The texture should be light, airy, and spreadable.
4. To make layering easier (and neater), put your cheesecake filling in a piping bag with no tip (just snip it right off) or a plain round tip.
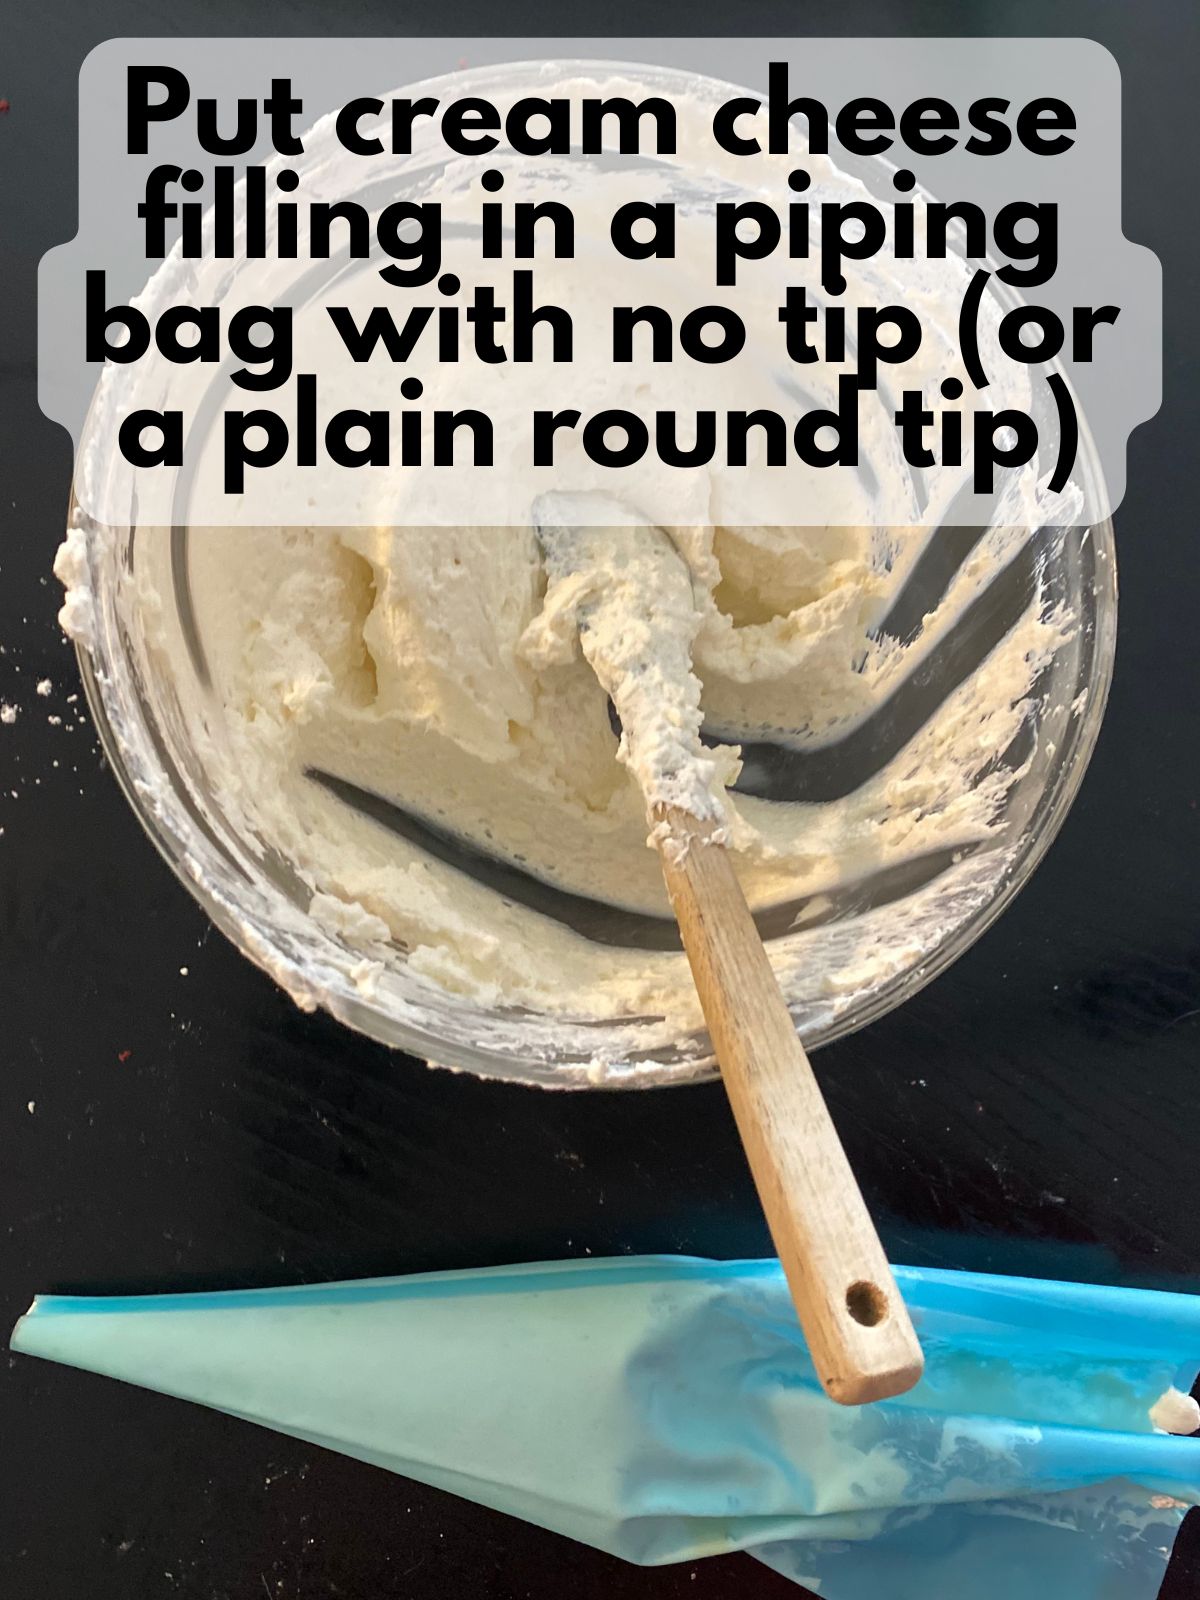
Note: This filling makes enough filling for 6–8 generous parfaits or up to 10 smaller portions. You could end up with some extra cake in the end, which you can reserve for crumbling on top of some whipped cream before serving, or making some yummy red velvet cake pops.
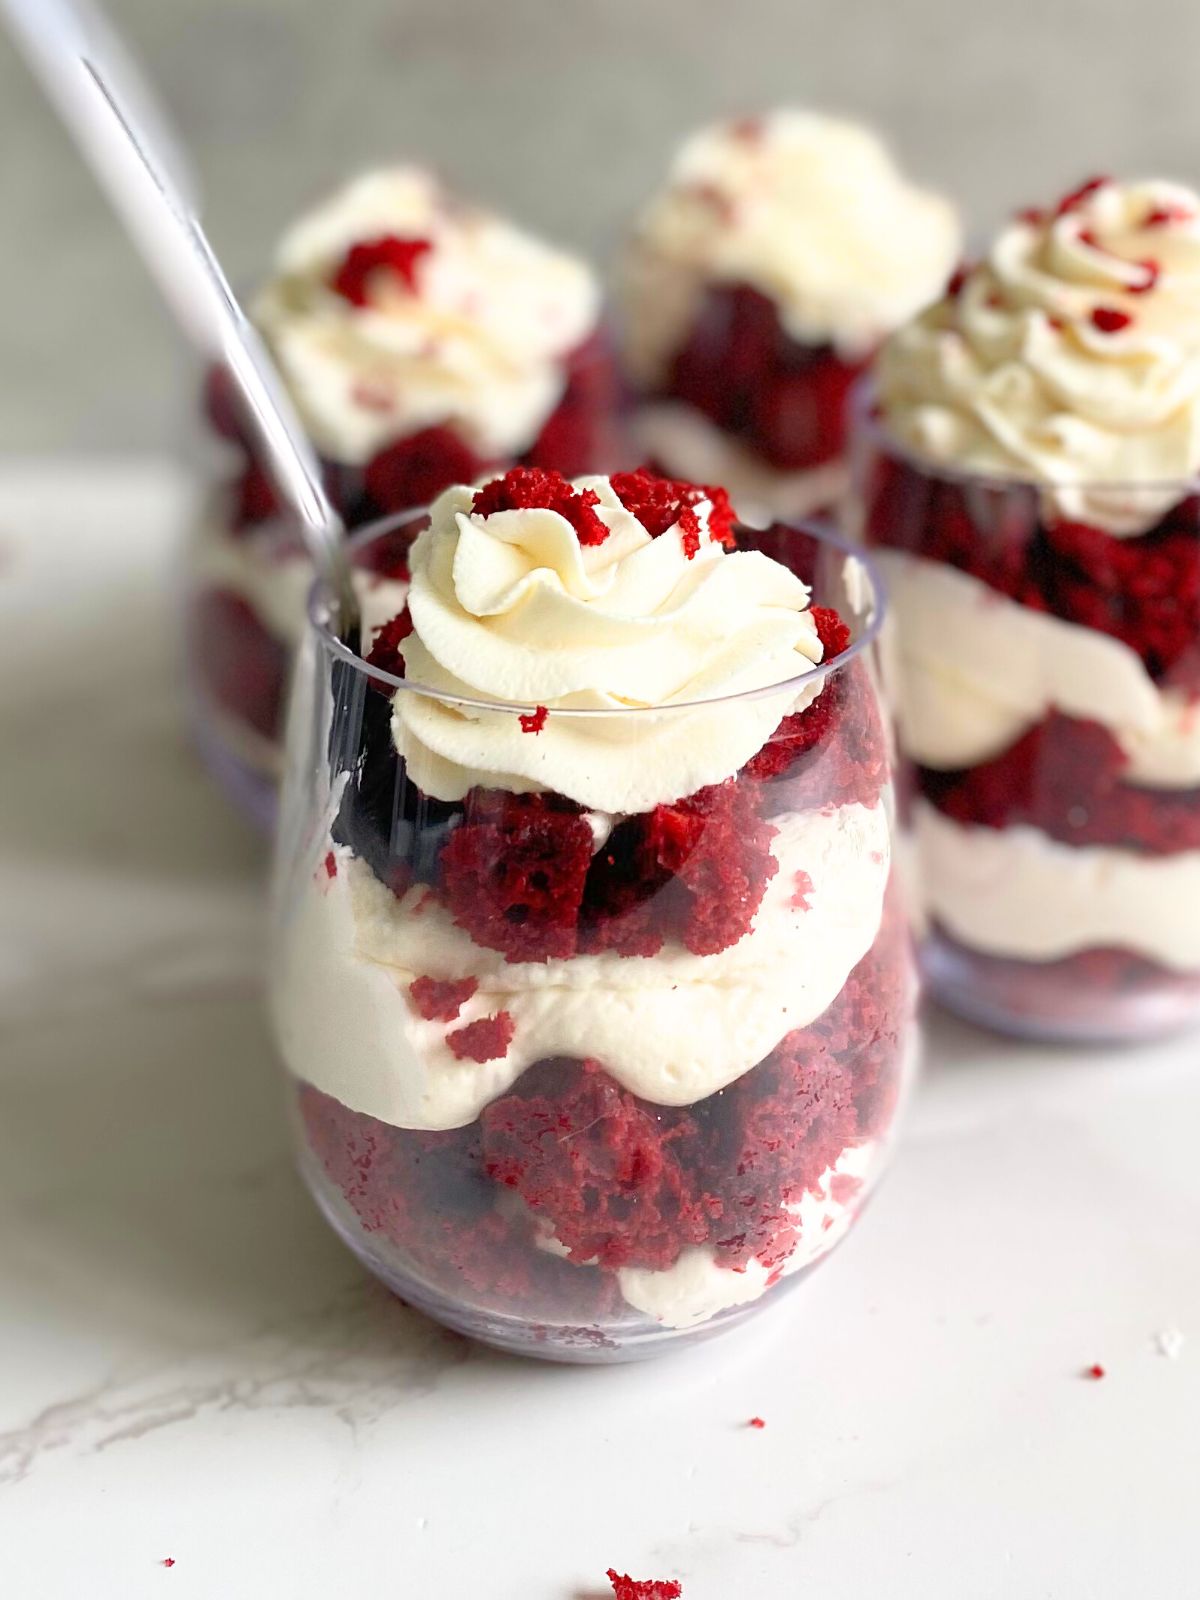
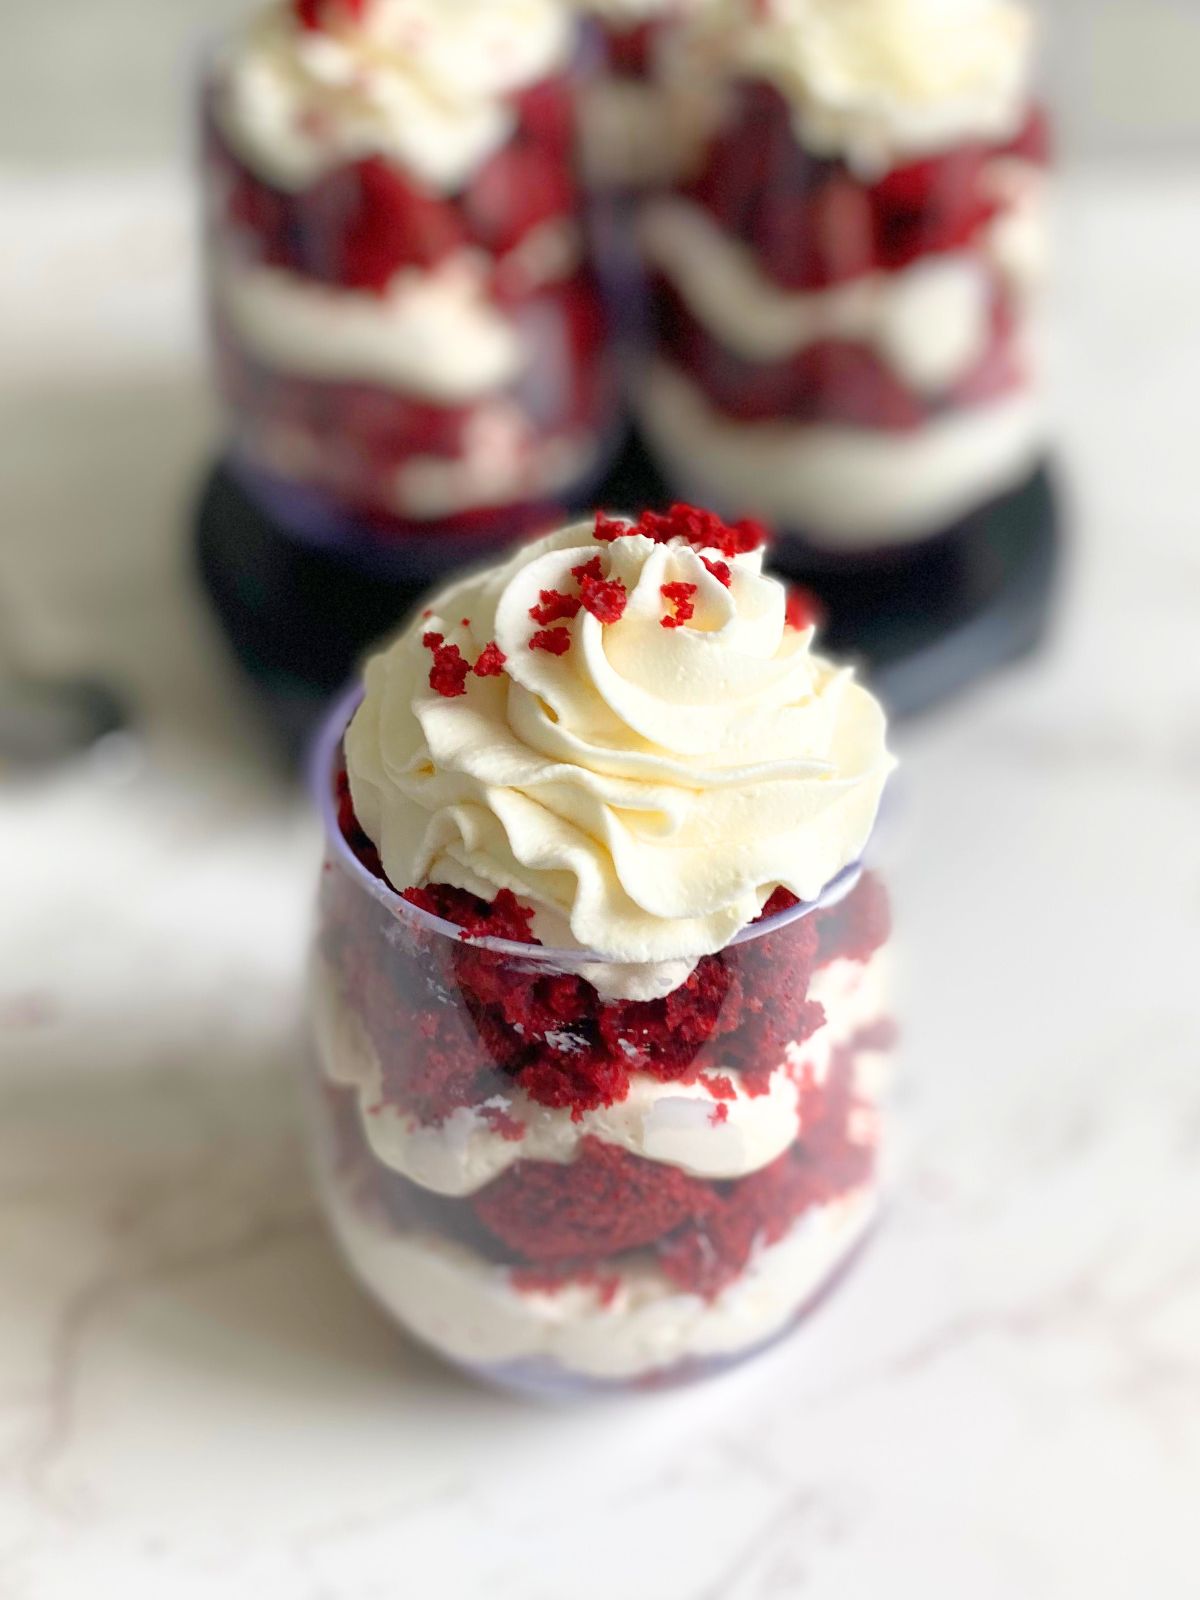
Step 3: Assemble the Parfaits
1. Place a layer of red velvet cake cubes in the bottom of each glass.
2. Spoon or pipe a layer of cheesecake mousse over the cake.

3. Continue layering cake and mousse until the glass is full, ending with a layer of cake.
You can assemble these in stemless wine glasses, mason jars, or clear dessert cups for a pretty layered look. Each glass will show off those festive red and white layers perfectly.
Step 4: Chill and Serve
1. Cover the parfaits loosely with plastic wrap and refrigerate for at least one hour before serving.
2. When ready to serve, top with some whipped cream and add any final toppings like extra cake crumbs or a sprinkle of crushed peppermint.

These parfaits taste even better after chilling, as the cake softens slightly and the mousse sets. They’re an effortless make-ahead option for parties or family gatherings.
Pro Tips
- Follow your box mix instructions.
Each brand varies in required ingredients. Follow the package for the best texture and flavor. - Don’t overbake the cake.
A soft, moist cake blends beautifully with the creamy mousse, so pull it from the oven as soon as a toothpick comes out clean. - Pipe the filling for a clean, polished look.
This keeps the sides of your glasses neat and gives your parfaits that “dessert shop” finish; perfect for cute valentines desserts photos. - Make ahead for easy serving.
These parfaits can be assembled up to 24 hours in advance, making them ideal valentines day baked goods for busy days. - Homemade whipped cream goes a long way.
Beat 1 cup heavy cream with 1 tsp vanilla and ¼ cup powdered sugar. I like to pipe it with a Wilton 1M tip for pretty swirls. If you use the whipped cream from a can, put it on right before serving. However, if you use homemade whipped cream, it holds up very well in the fridge for hours and you can pull it out right before serving.
FAQs
Can I use store-bought cake instead of baking a box mix?
Yes. If you’re in a hurry, store-bought red velvet cake or cupcakes work great. Just crumble or cube them and layer as directed.
How many parfaits does this recipe make?
Using a full cake mix and all filling yields about 8–10 large parfaits, depending on glass size. I was able to fill about 9 (quite large) stemless wine glasses, and I would say each of those glasses holds 12 ounces of wine. If you use smaller cups, you can definitely get 12-16 parfaits.
Can I use whipped topping instead of homemade whipped cream?
Yes. Substitute 3 cups of whipped topping (like Cool Whip) for the heavy cream. It keeps the texture light and saves a step.
Can I assemble these the night before?
For sure. They hold up super well overnight. Just keep them chilled and covered until serving time.
Can I make one large trifle instead of individual parfaits?
Definitely. Layer everything in a clear trifle dish for a gorgeous centerpiece, perfect for Valentine’s gatherings.
These red velvet cheesecake parfaits are rich, creamy, and unbelievably easy to make with a boxed cake mix and a quick no-bake cheesecake filling. They feel special enough for a celebration yet simple enough for a weekday treat. With their vibrant red layers and irresistible creaminess, they’re one of the best easy valentines day treats to share with loved ones—or enjoy all to yourself.

Red Velvet Cheesecake Parfaits
Ingredients
Red Velvet Cake Cubes
- 1 box red velvet cake mix I like Duncan Hines, but any brand will do
- all the other ingredients your cake mix calls for in the amounts it specifies usually eggs, oil and water
Cheesecake Filling
- 16 oz (2 blocks) cream cheese softened
- 1 cup powdered sugar
- 2 tsp vanilla
- 2 cups heavy whipping cream
- 2-4 Tbsp granulated sugar optional, for extra sweetness
Optional Garnish and Toppings
- whipped cream
- crumbled red velvet cake
- white chocolate
Instructions
Bake and Cool Red Velvet Cake
- Preheat your oven to 350°F (or as directed on the box).
- Prepare the red velvet cake mix according to package directions using the eggs, oil, and water amounts listed.
- Pour the batter into a 9x13-inch pan lined with parchment paper (Or lightly greased, but parchment paper makes it easier to remove from the pan completely).
- Bake according to the time on the box, usually 25–30 minutes, until a toothpick inserted in the center comes out clean.
- Let the cake cool completely, then cut it into small cubes or crumble it gently with your hands.
Make the Cheesecake Filling
- In a large bowl, beat together the softened cream cheese, powdered sugar, and vanilla extract until smooth and creamy.
- In another bowl, whip the heavy cream until stiff peaks form. You can add a little granulated sugar to the cream if you prefer extra sweetness (I didn’t use any and I thought these tasted great, but it depends on your audience.).
- Gently fold the whipped cream into the cream cheese mixture until fully combined. The texture should be light, airy, and spreadable.
- To make layering easier (and neater), put your cheesecake filling in a piping bag with no tip (just snip it right off) or a plain round tip.
Layer and Assemble Parfaits
- Place a layer of red velvet cake cubes in the bottom of each glass.
- Spoon or pipe a layer of cheesecake mousse over the cake.
- Continue layering cake and filling until the glass is full, ending with a layer of cake.You can assemble these in stemless wine glasses, mason jars, or clear dessert cups for a pretty layered look.
- Cover the parfaits loosely with plastic wrap and refrigerate for at least one hour before serving.
- When ready to serve, top with some whipped cream and add any final toppings like extra cake crumbs or white chocolate shavings.